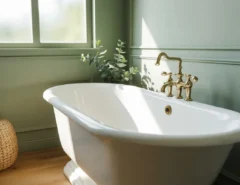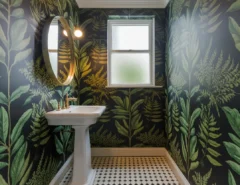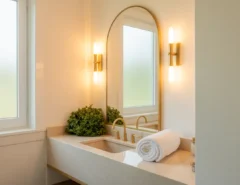
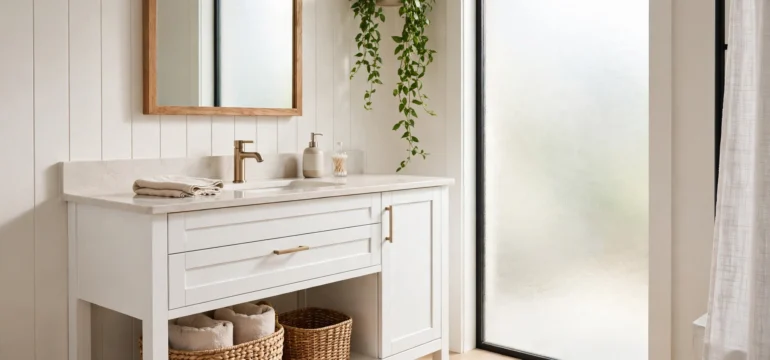
My first apartment bathroom was the color of old dishwater. The landlord allowed nothing permanent, and my budget was whatever remained after rent and groceries. I stood in that tiny room holding a five dollar shower curtain and a clearance rack plant, wondering if that was all. It was not. One weekend I swapped the cabinet knobs, stuck a light frame around the plain mirror with adhesive strips, and painted the vanity deep green with a sample pot. My neighbor knocked Monday and asked who I had hired. Nobody, just me, a free afternoon, and upgrades cheaper than a pizza. That little bathroom taught me something I still believe. Small bathrooms respond fast to small changes, and impressive looking projects usually need less skill than people expect. These are my favorite easy bathroom DIY ideas, the ones that make guests ask for your contractor’s number.
1. Peel and Stick Tiles
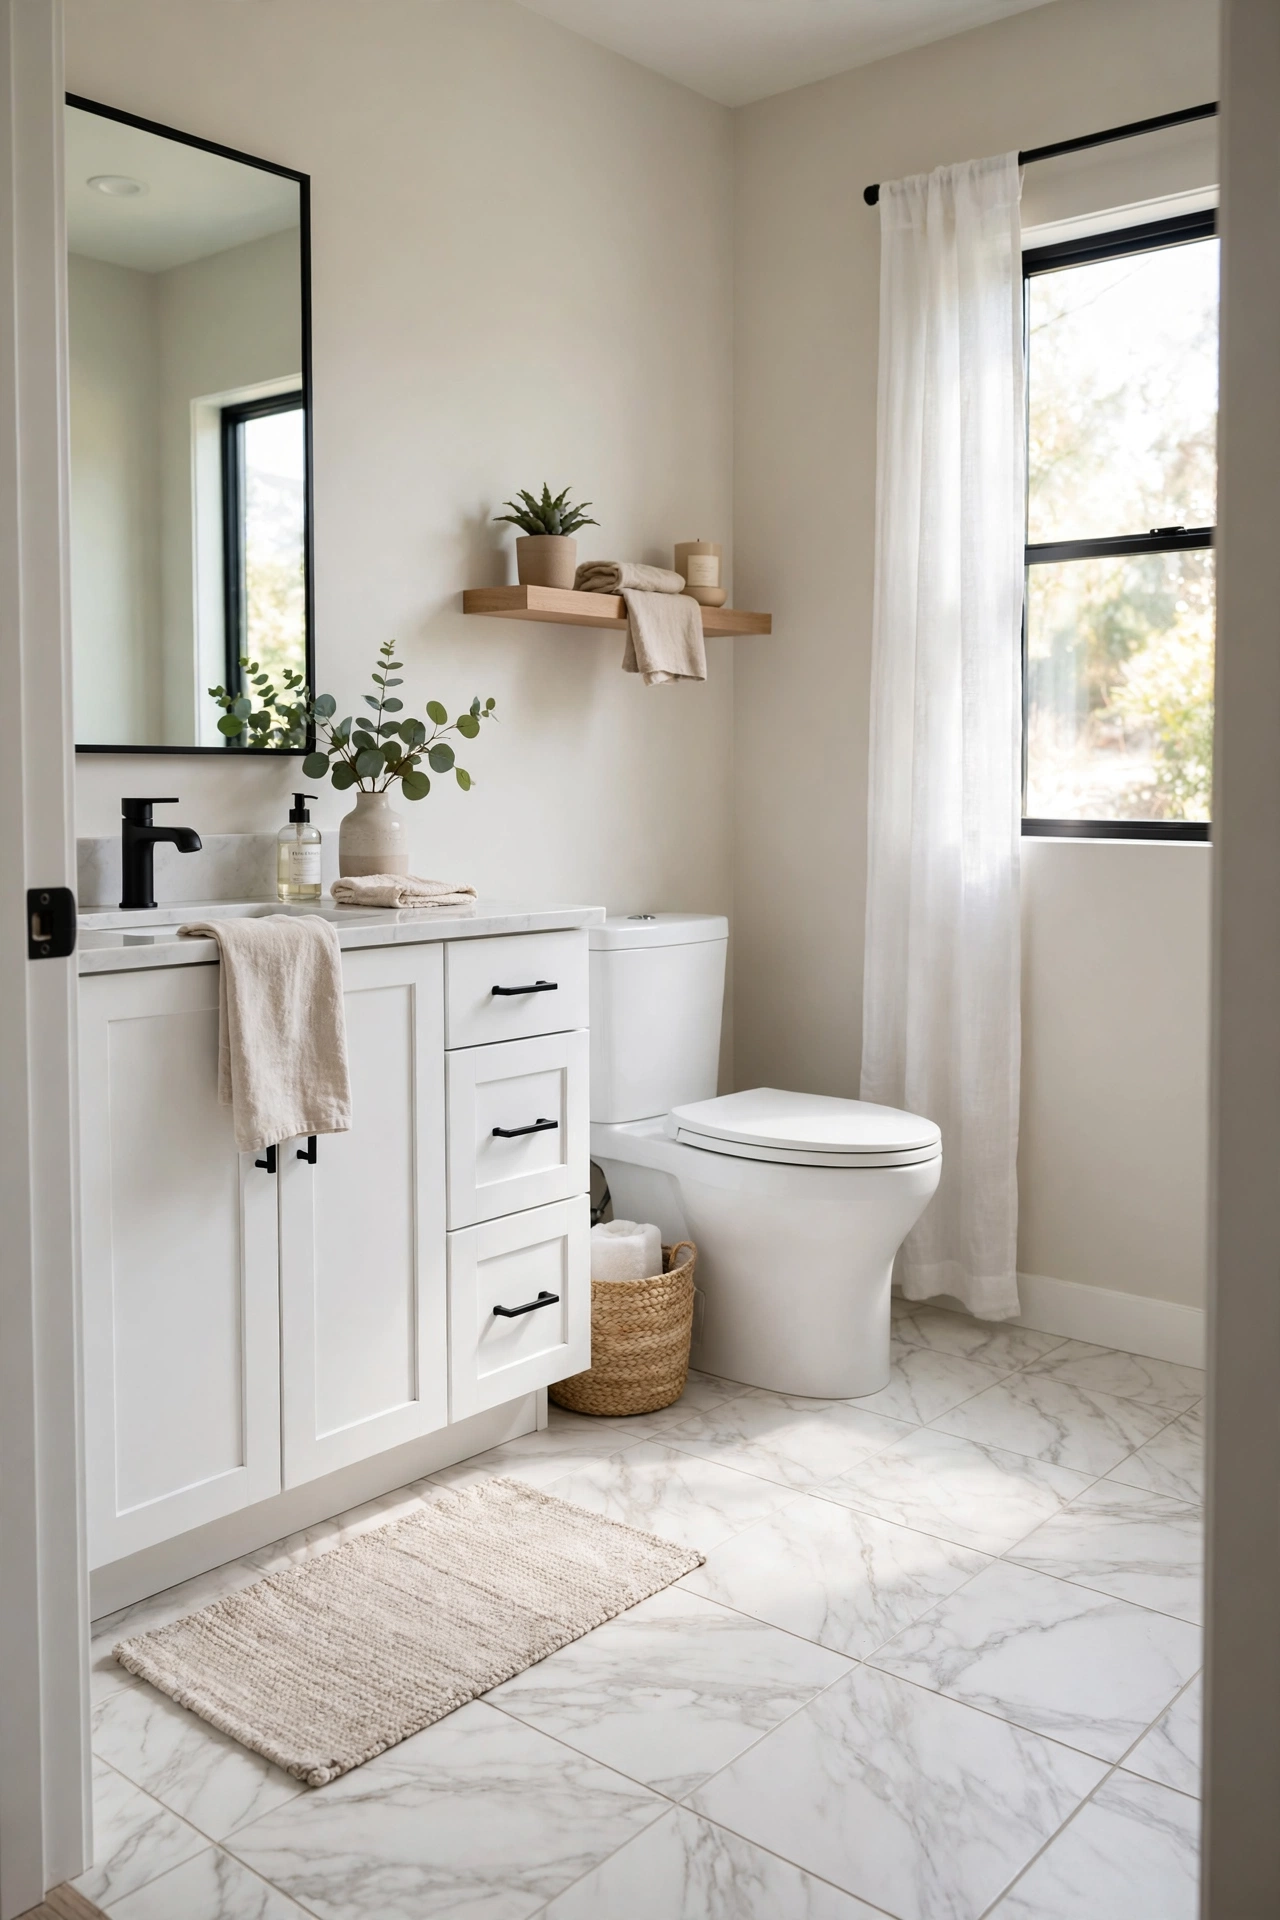
Old bathroom floors with curled edges and mystery stains make the whole room feel tired, and most renters assume replacing the floor is completely off limits. Peel and stick vinyl tiles change that story. You lay them right over clean, dry linoleum or tile with no glue, no grout, and no special tools beyond a utility knife and a straight edge. The patterns look surprisingly real now, from soft marble to bold encaustic cement designs, and a small bathroom floor takes about two hours from start to finish. Good prep is what makes it last. Sweep, mop, and let the floor dry fully, then start from the center of the room so your cut pieces land evenly along the walls instead of leaving one skinny strip.
Buy about ten percent more tiles than your measurements suggest, because corners and the toilet base always eat up extras. Keep the leftovers in a closet, since a damaged tile pops right up and a spare drops straight in. When you move out, warm each tile with a hair dryer and peel it away. Few simple bathroom upgrades deliver this much change for this little money.
2. Painted Vanity Cabinet
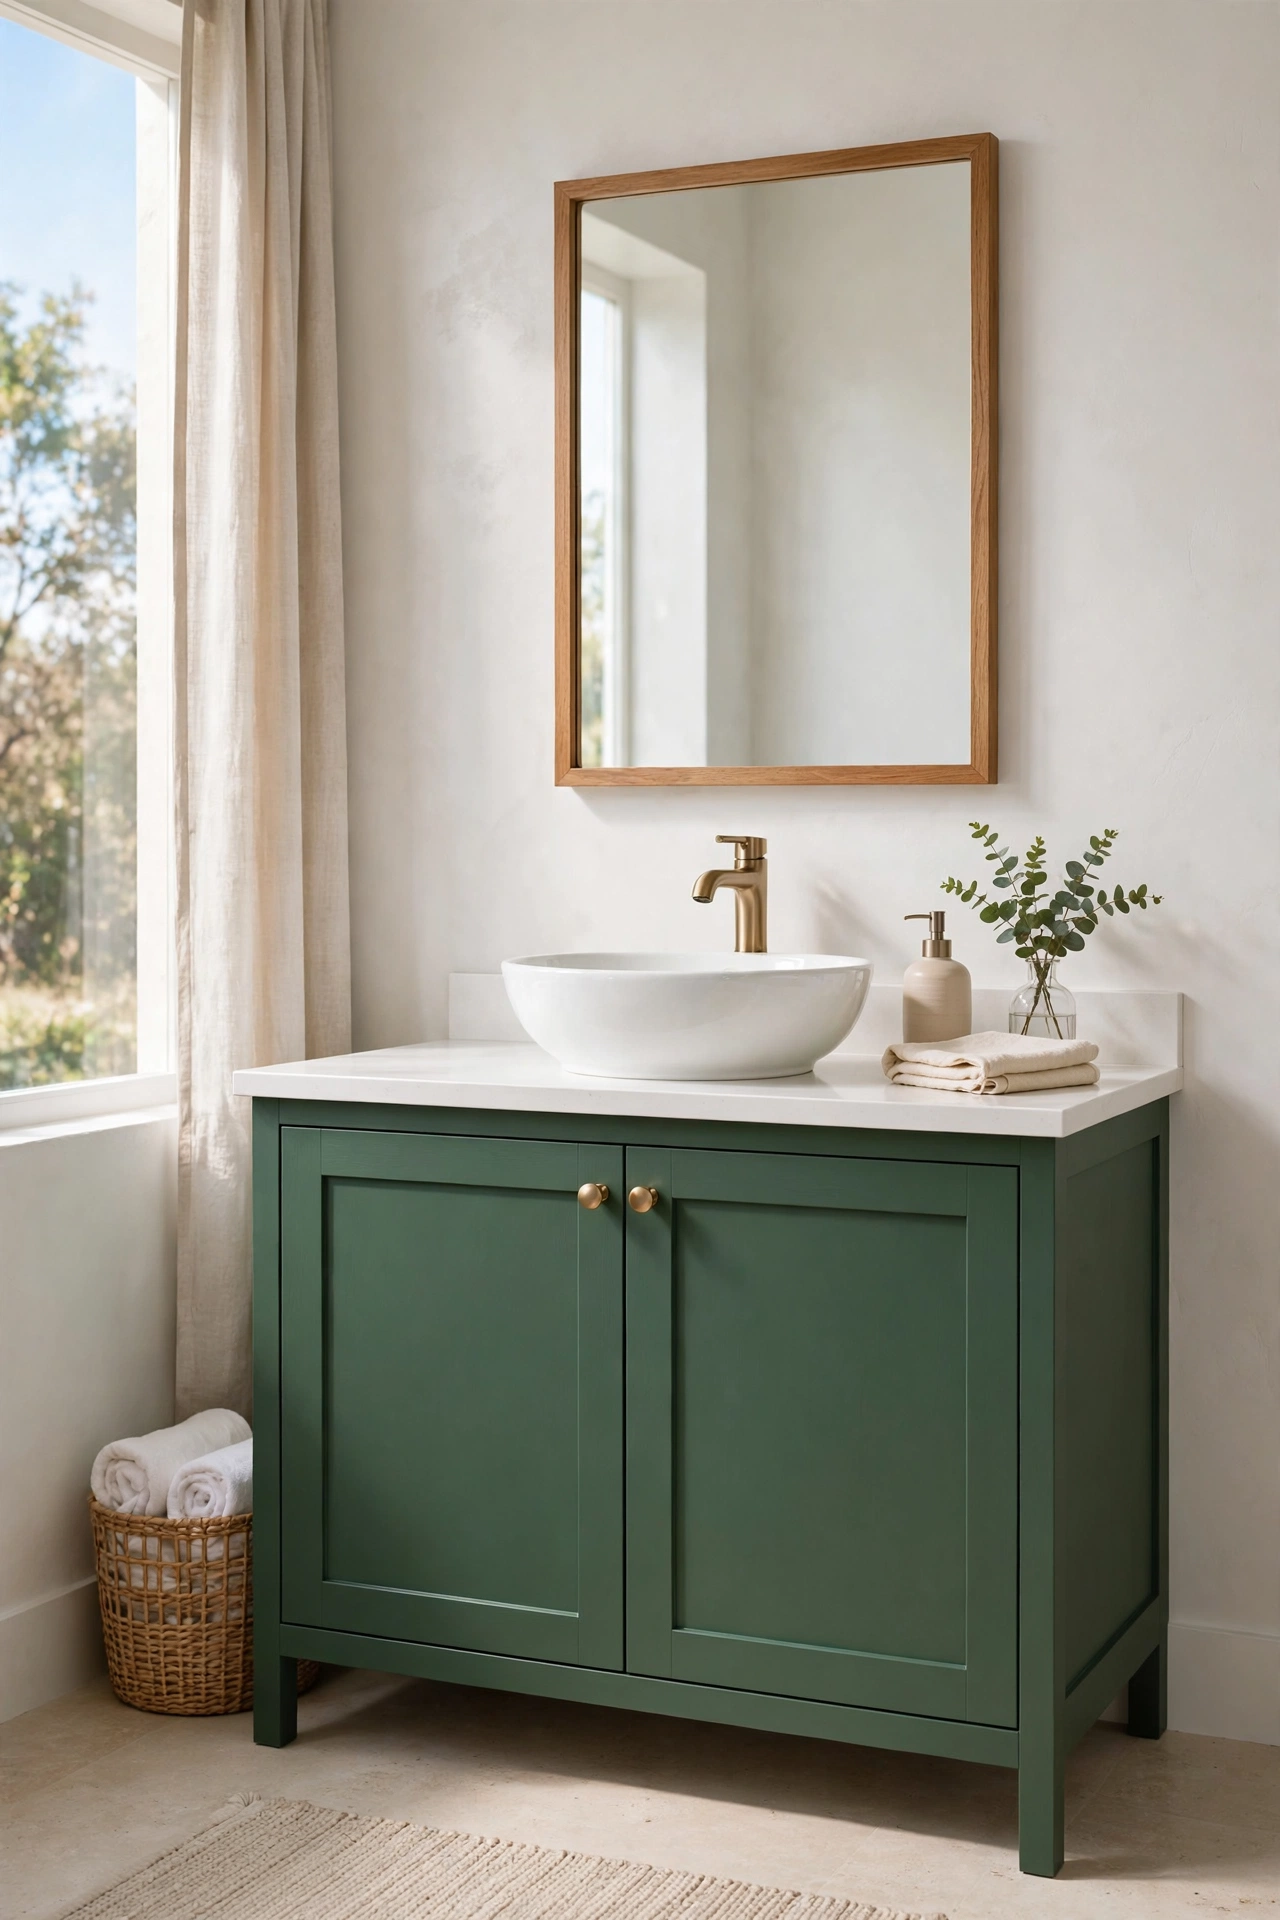
A dated oak vanity drags down an otherwise fine bathroom, and replacing the whole cabinet costs a small fortune. A quart of cabinet paint does the same visual job for under thirty dollars. Take the doors and drawers off, label the hinges with painter’s tape so everything goes back in the right spot, and give every surface a light scuff with fine sandpaper. Wipe away the dust, brush on a bonding primer, then apply two thin coats of paint made for cabinets or trim. Thin coats are the whole secret. Thick paint drips, shows brush marks, and takes forever to harden.
Deep green, navy, and charcoal look rich against white tile, while warm white keeps a small bathroom feeling open. Let the paint cure for a full day before you reattach the doors, even if it feels dry sooner. Pair the fresh color with new vanity hardware and the vanity reads as brand new. This is classic bathroom DIY decor, the kind of project that photographs beautifully and takes one relaxed weekend.
3. Framed Builder Mirror
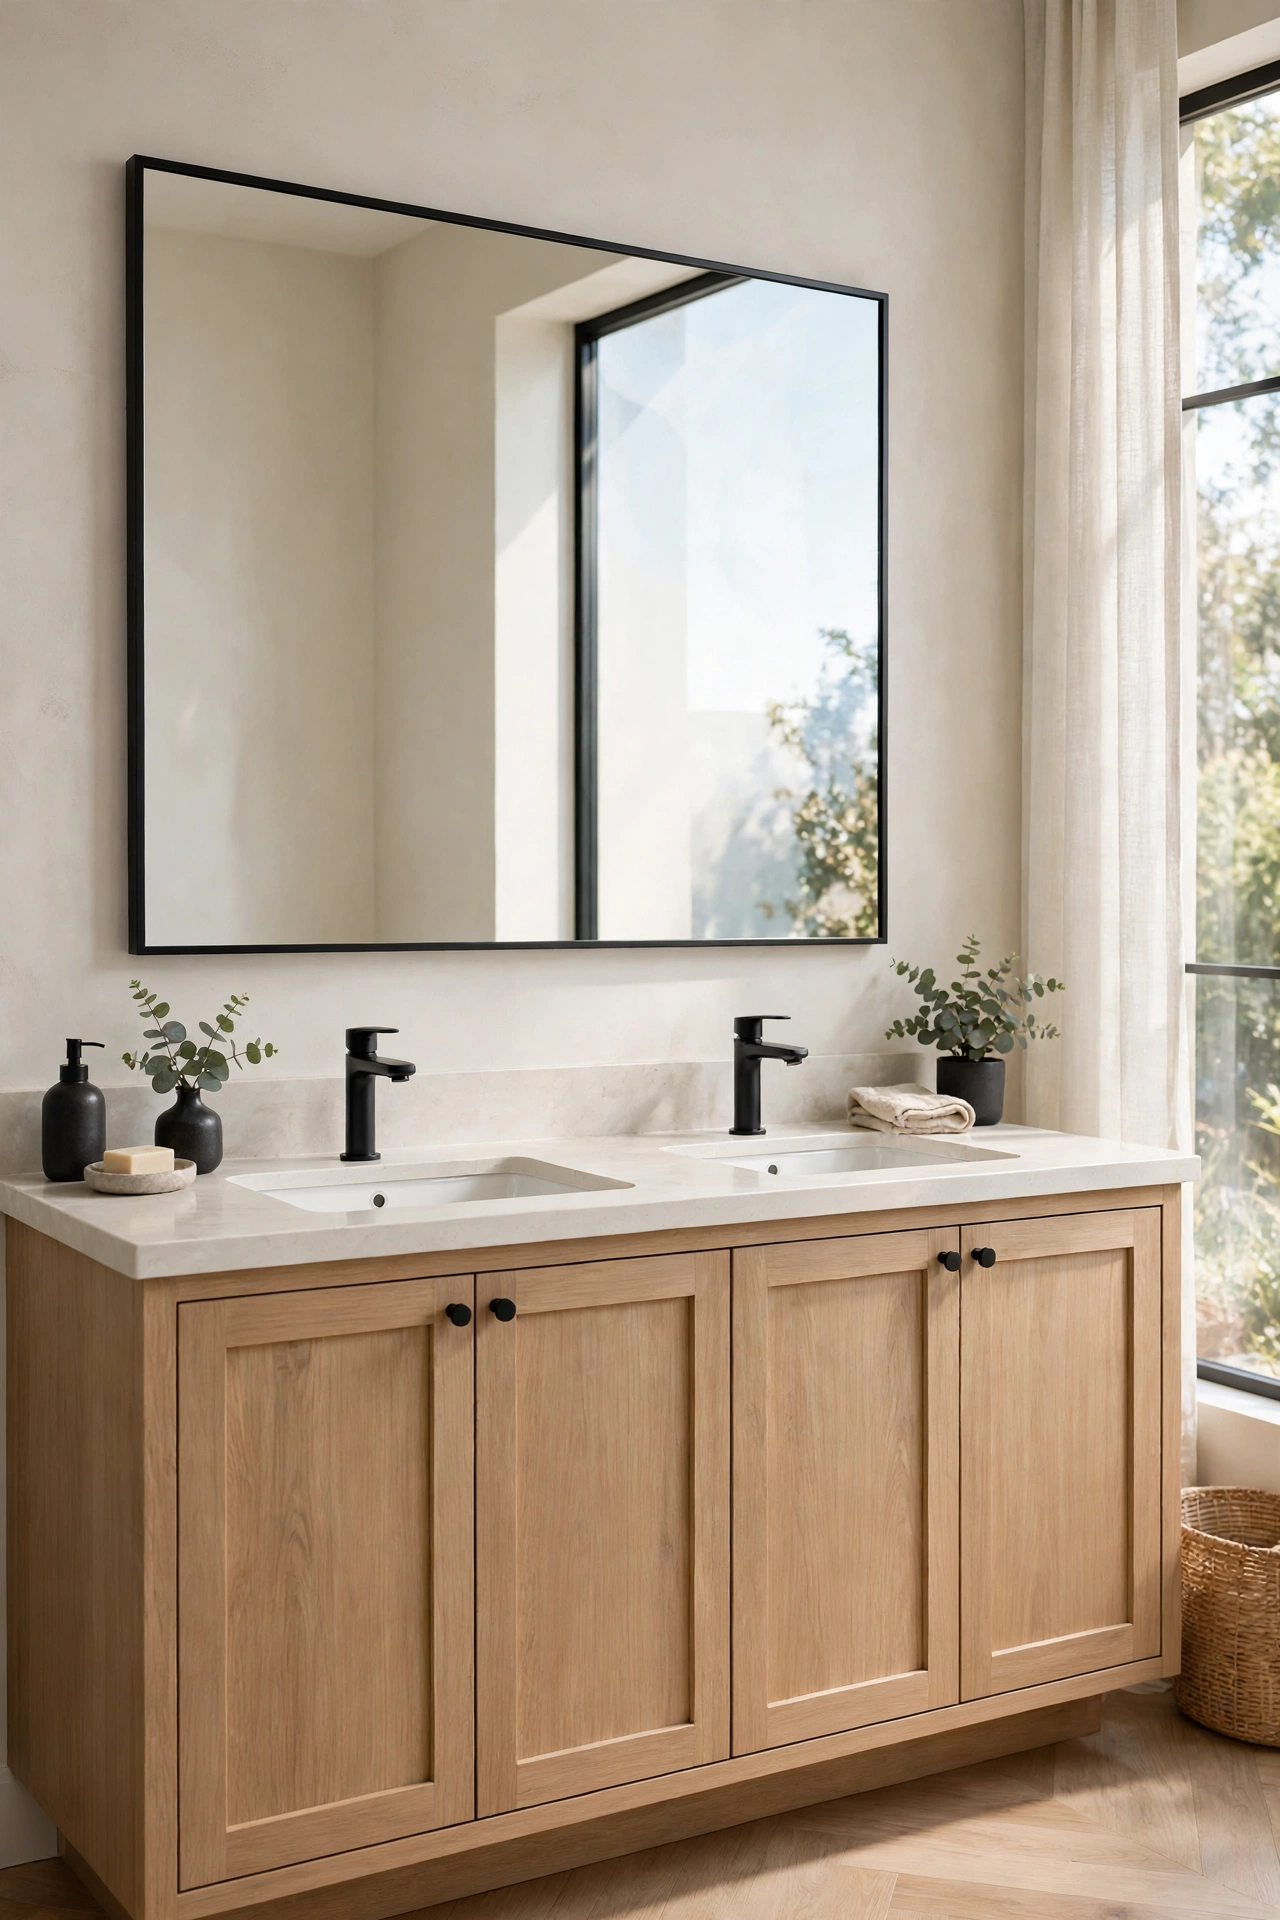
That big flat mirror glued to the wall above every builder grade vanity is fine, but it is also forgettable. Adding a frame turns it into something that looks custom and intentional. You can buy a mirror frame kit made for exactly this purpose, or build one from lightweight trim pieces cut to size at the hardware store. Measure the mirror carefully, cut or order your frame pieces, and attach them with strong construction adhesive or heavy duty mounting strips. Corner blocks hide imperfect cuts if your miter skills are shaky, and nobody will ever know.
Paint or stain the frame to match your vanity hardware for a pulled together look. Black frames feel modern, natural wood feels warm, and white keeps things calm. Press the frame firmly and let the adhesive cure overnight before you hang anything from it or bump it. This one ranks high among renter friendly bathroom ideas because it comes off cleanly when you move, especially if you used mounting strips instead of permanent adhesive.
4. Swapped Cabinet Hardware
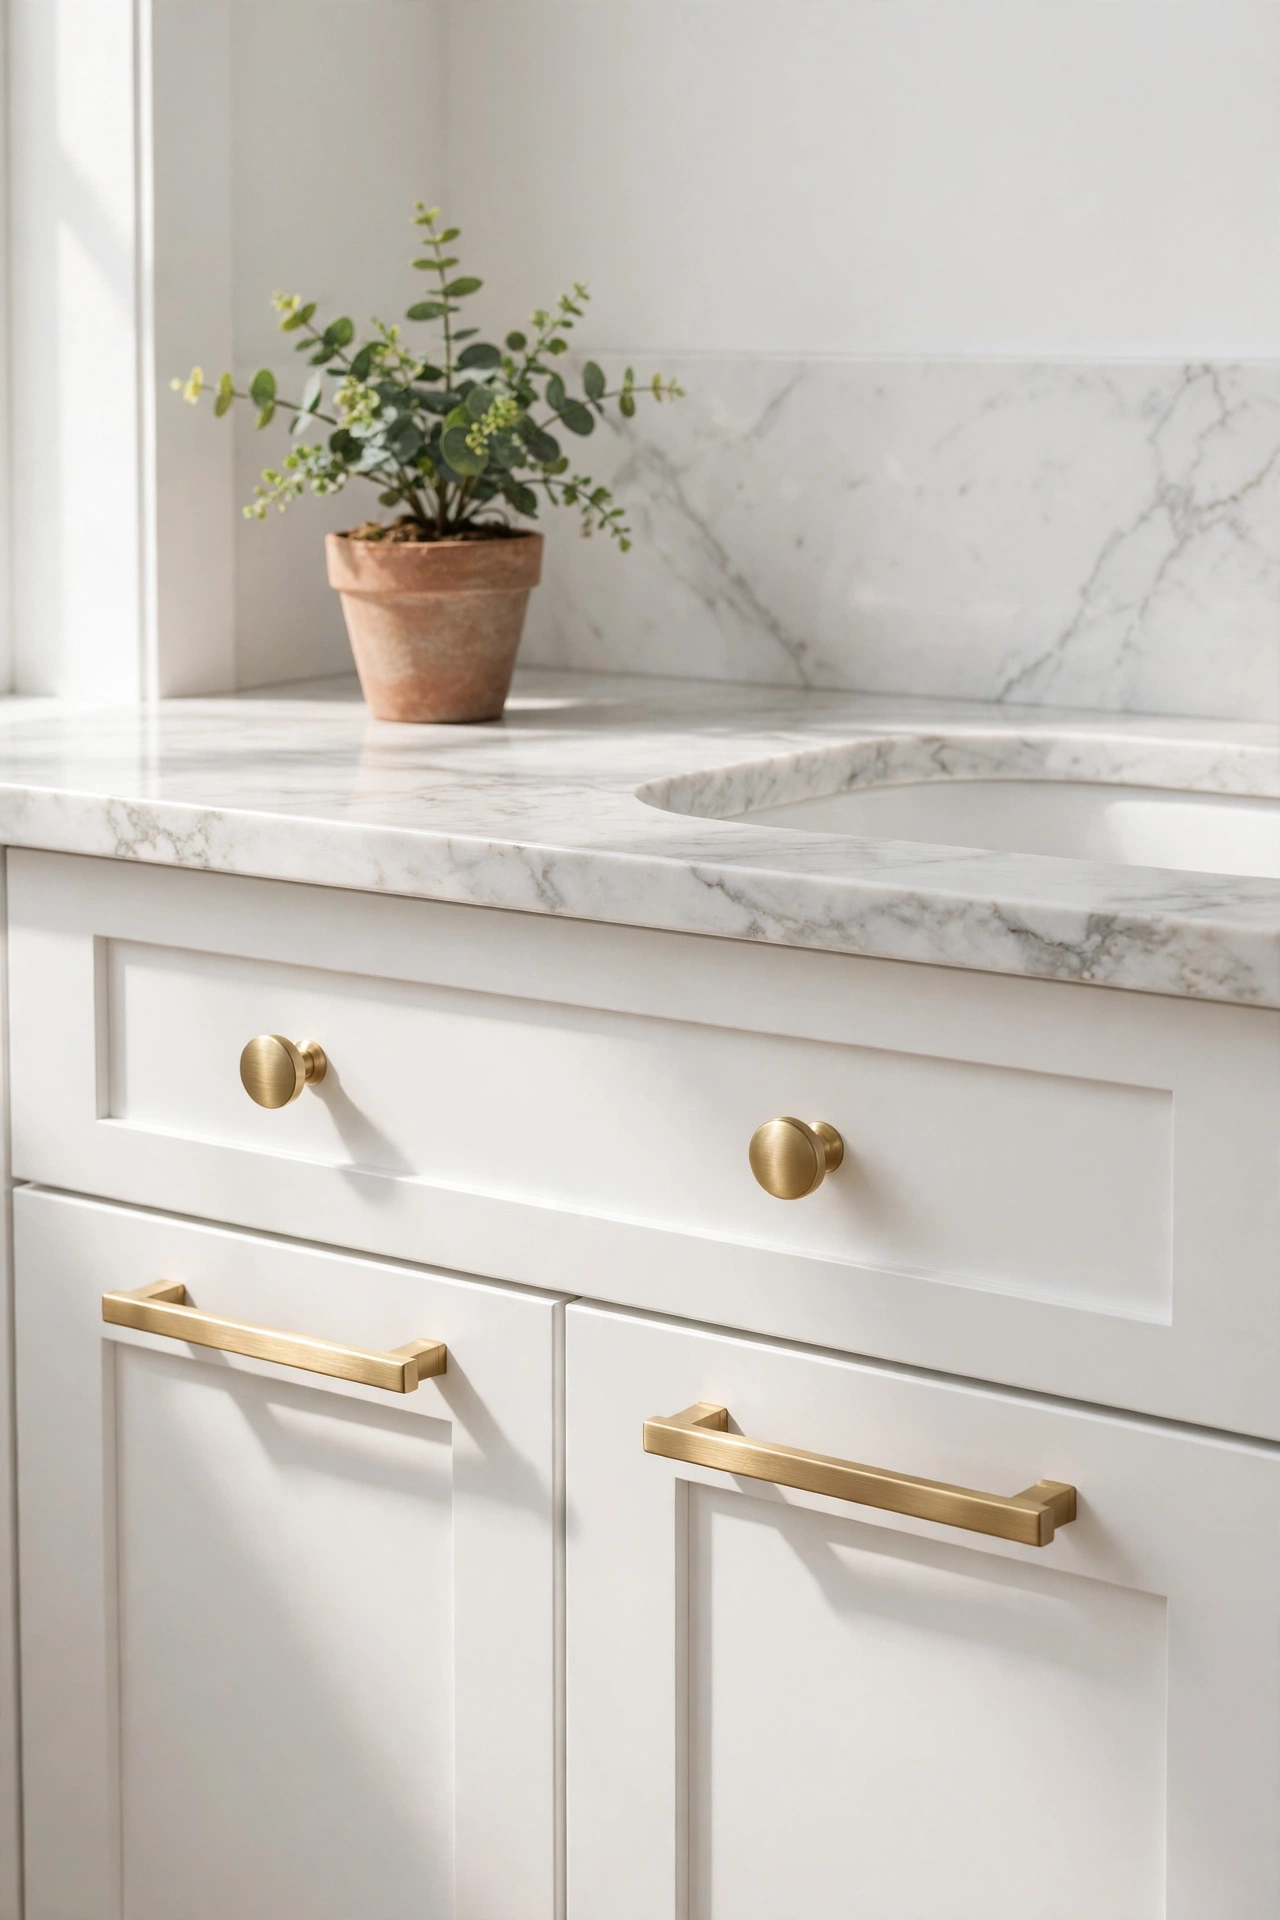
If you only have twenty minutes and a screwdriver, spend them on the cabinet hardware. Swapping tired brass knobs or chipped pulls for fresh ones changes the vanity more than you would believe. Matte black reads modern, brushed brass feels warm and a little fancy, and simple ceramic knobs suit a cottage style bathroom. Before you shop, measure the distance between the screw holes on your current pulls, because pulls come in standard spreads and the new ones need to match the old holes unless you plan to drill.
Take one old knob to the store so you can compare the screw length and thread. Keep every old knob and screw in a labeled bag taped inside the cabinet, which makes move out day painless for renters. Wipe the cabinet fronts with a damp cloth before you install the new pieces so no dust gets trapped underneath. This tiny DIY bathroom project costs less than lunch and takes less time than brewing coffee, yet it shows up in every photo of the room.
5. Floating Wood Shelves
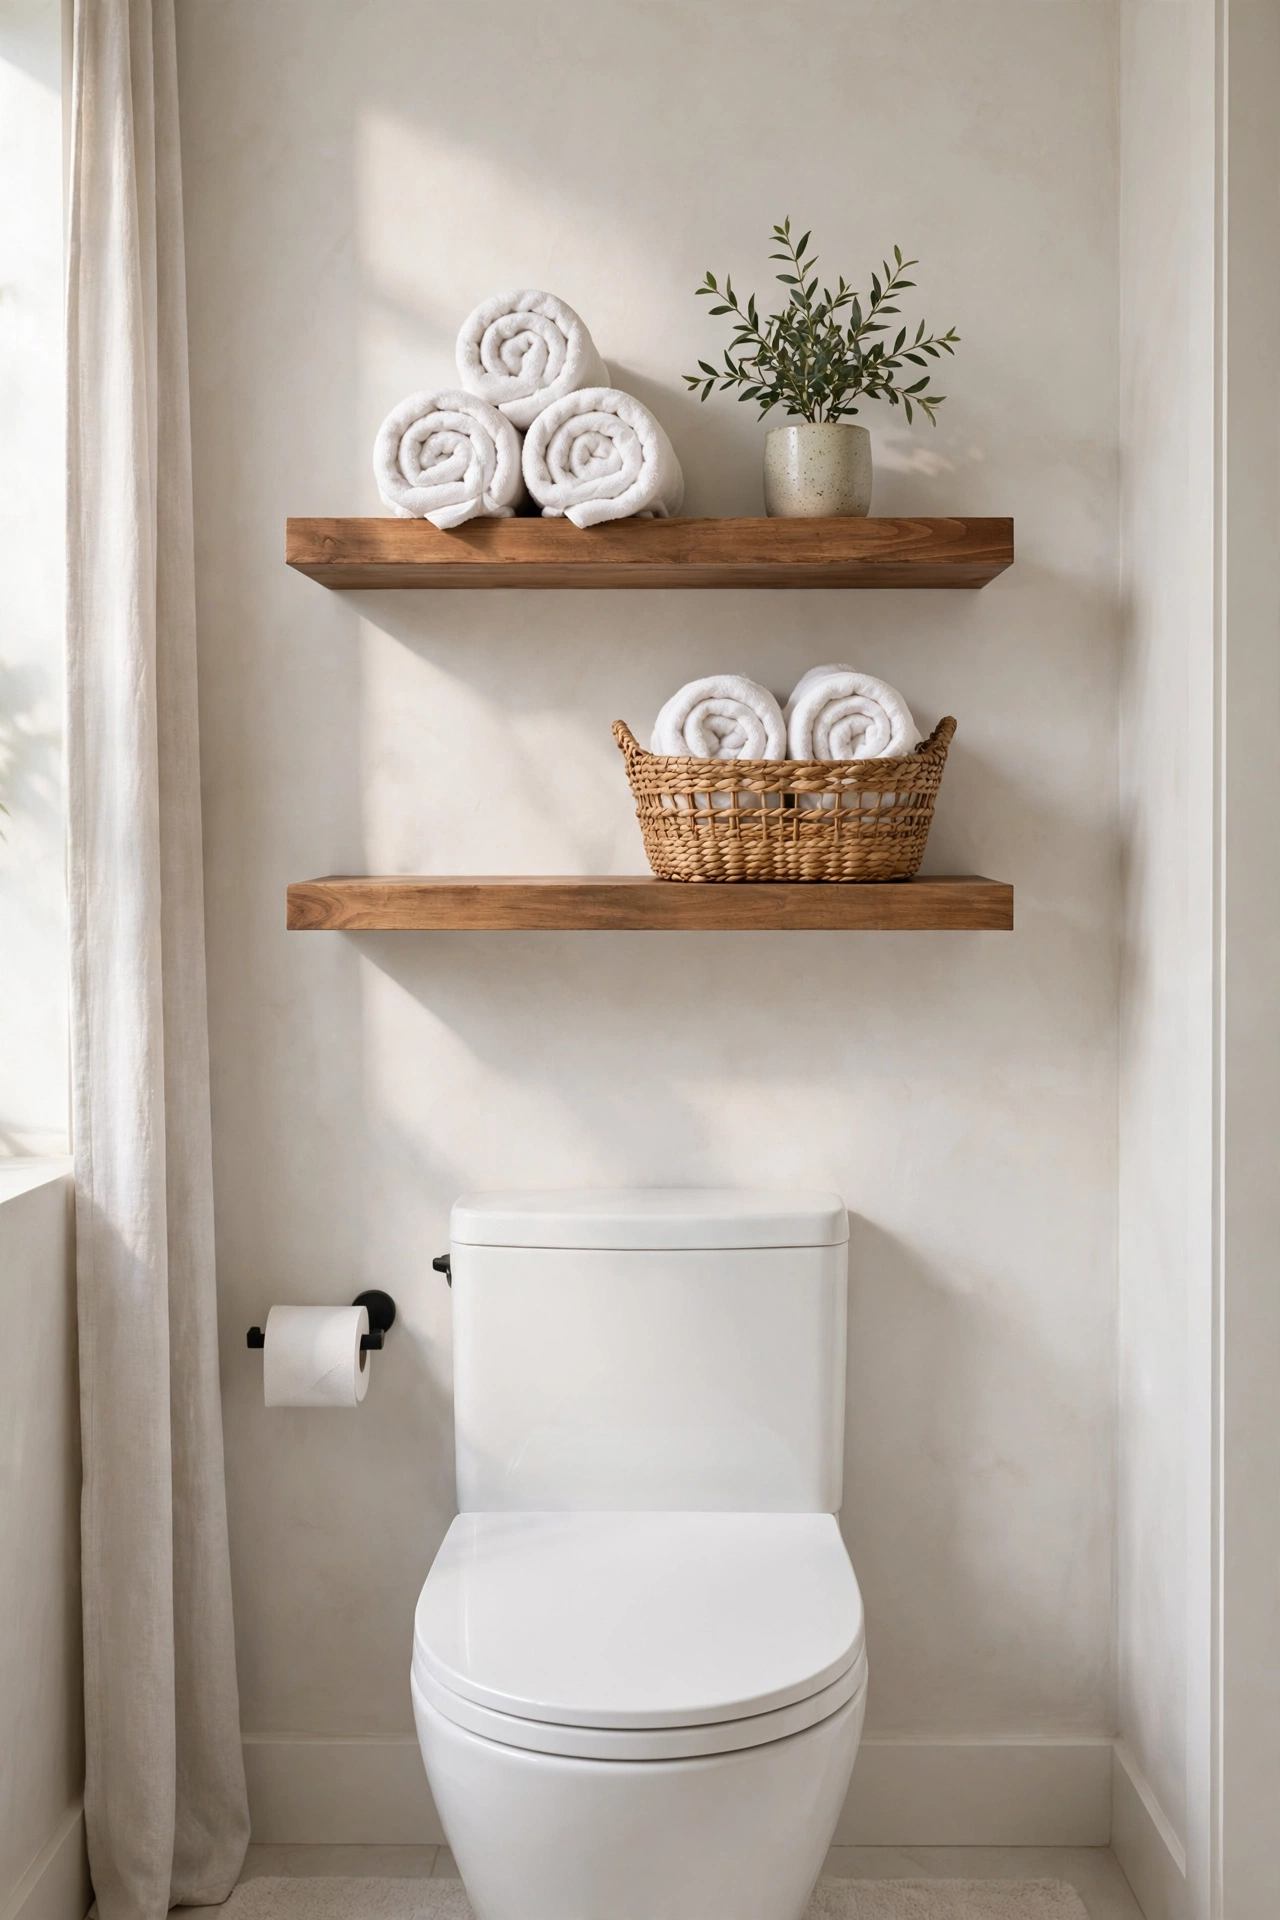
Bathrooms always need more storage, and floating shelves give you a place for rolled towels, baskets, and a plant without eating floor space. A stained pine board and two hidden brackets per shelf is all it takes. The wall above the toilet is the classic spot, but the wall beside the mirror works too if you keep the shelves shallow so nobody bumps their head. Use a stud finder and drive at least one bracket into a stud, because shelves loaded with towels and jars get heavy fast. A small level is worth its weight here, since a crooked shelf is the one thing everyone notices.
Sand the boards smooth, wipe them down, and apply a stain or a coat of water based polyurethane so steam does not raise the grain. Style each shelf with breathing room, a stack of folded towels, one basket, one small plant. Leave some empty space on purpose, because crowded shelves read as clutter instead of decor. These floating shelves are among the most pinned simple bathroom upgrades for good reason.
6. Fresh Caulk Lines
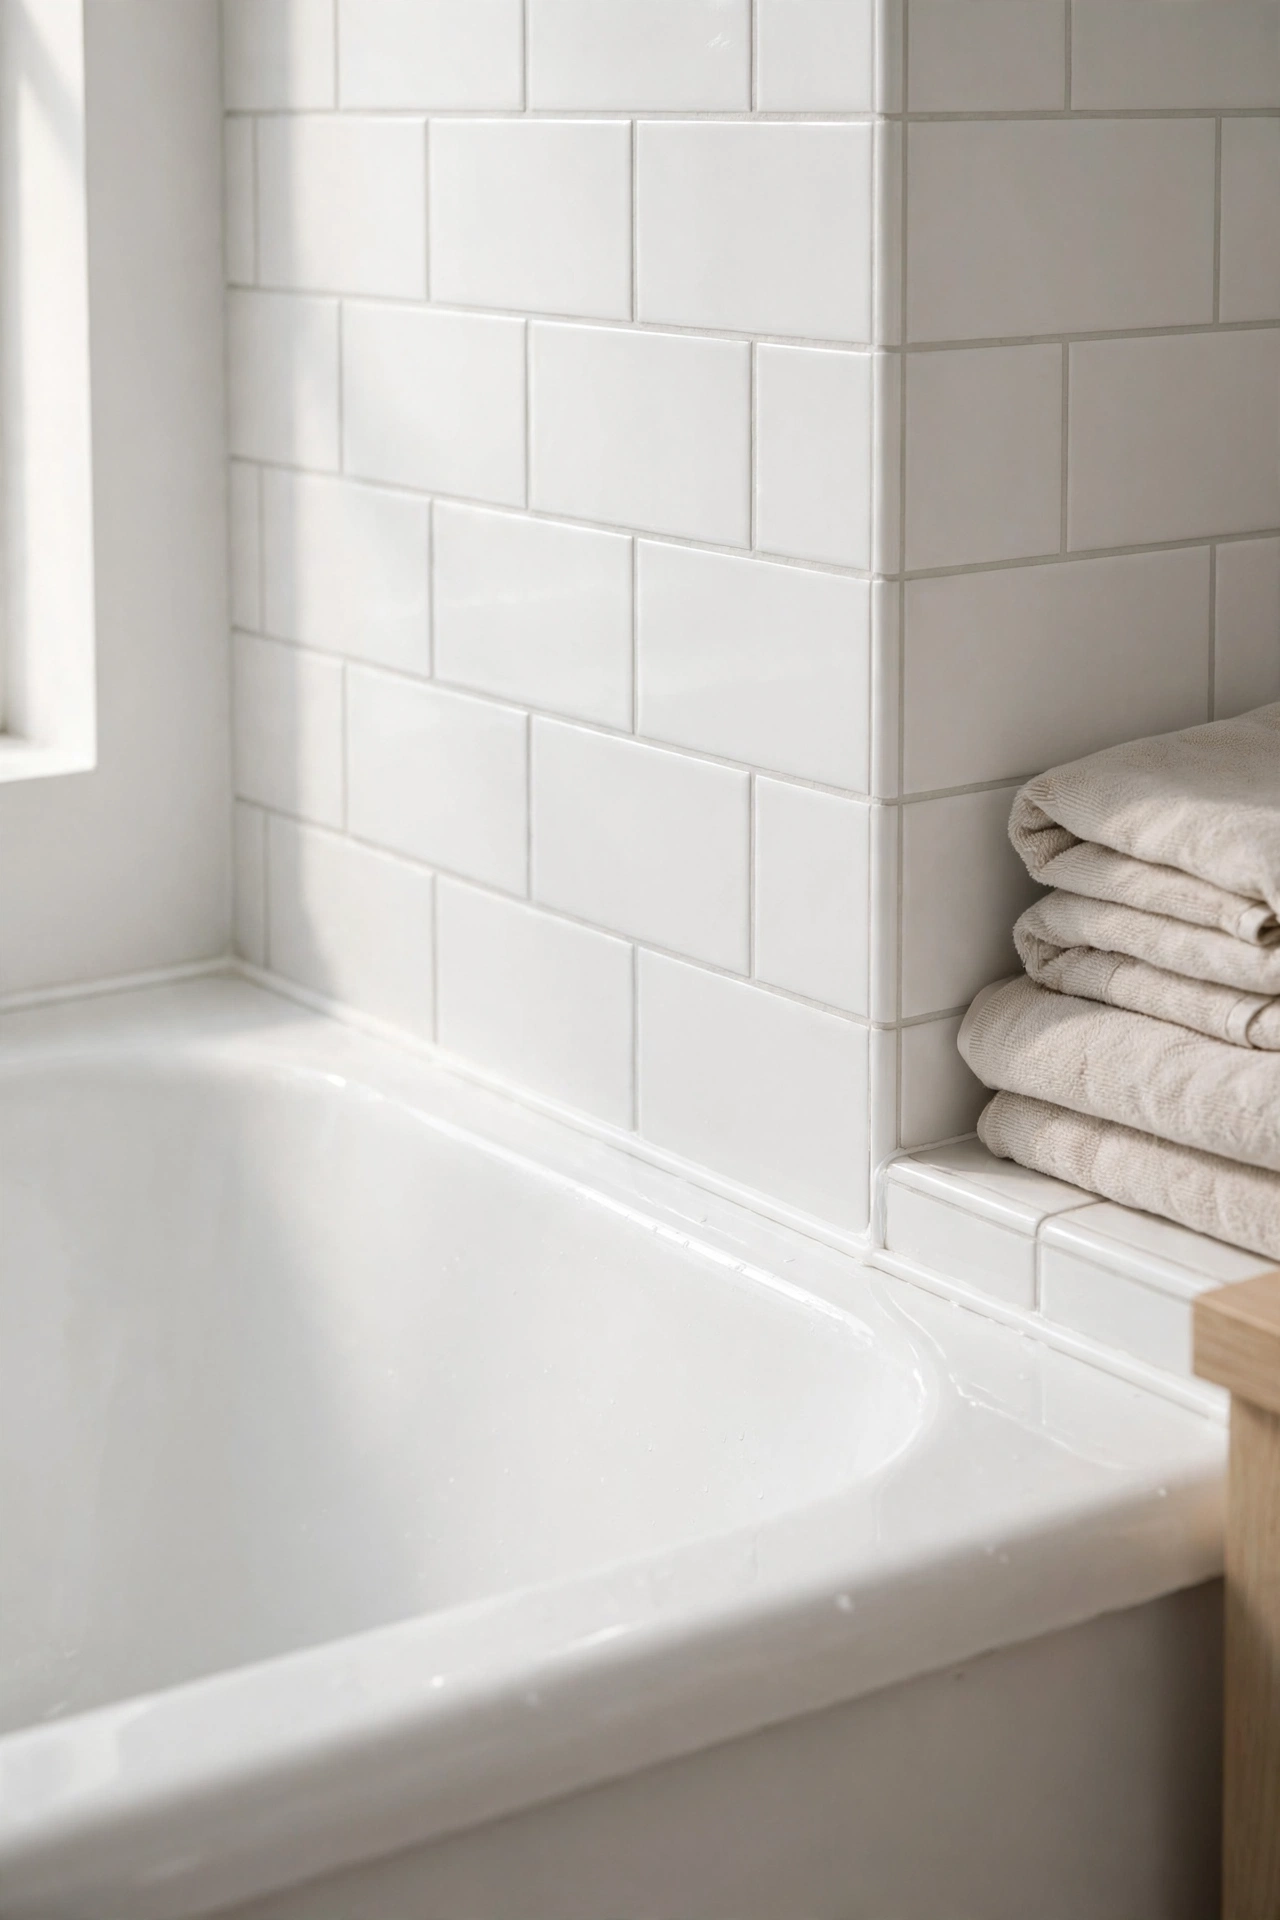
Grimy, cracked caulk around the tub and sink makes even a clean bathroom look neglected, and fresh caulk lines are the closest thing to a magic eraser in home improvement. Pull out the old caulk with a caulk removal tool or an old screwdriver, then scrub the joint with rubbing alcohol so the new bead bonds well. Run painter’s tape along both sides of the joint, leaving a thin even gap, and cut the caulk tube tip small. A smaller opening gives you more control and a neater line.
Squeeze a steady bead, then smooth it in one pass with a wet finger or a damp caulk tool. Pull the tape off immediately while the caulk is still wet, and do not touch the line for a full day while it cures. White silicone works for most tubs, and clear works where you want it invisible. The whole job costs under fifteen dollars. Guests will assume you hired someone, which is exactly the reaction these easy bathroom DIY ideas are going for.
7. Bold Shower Curtain
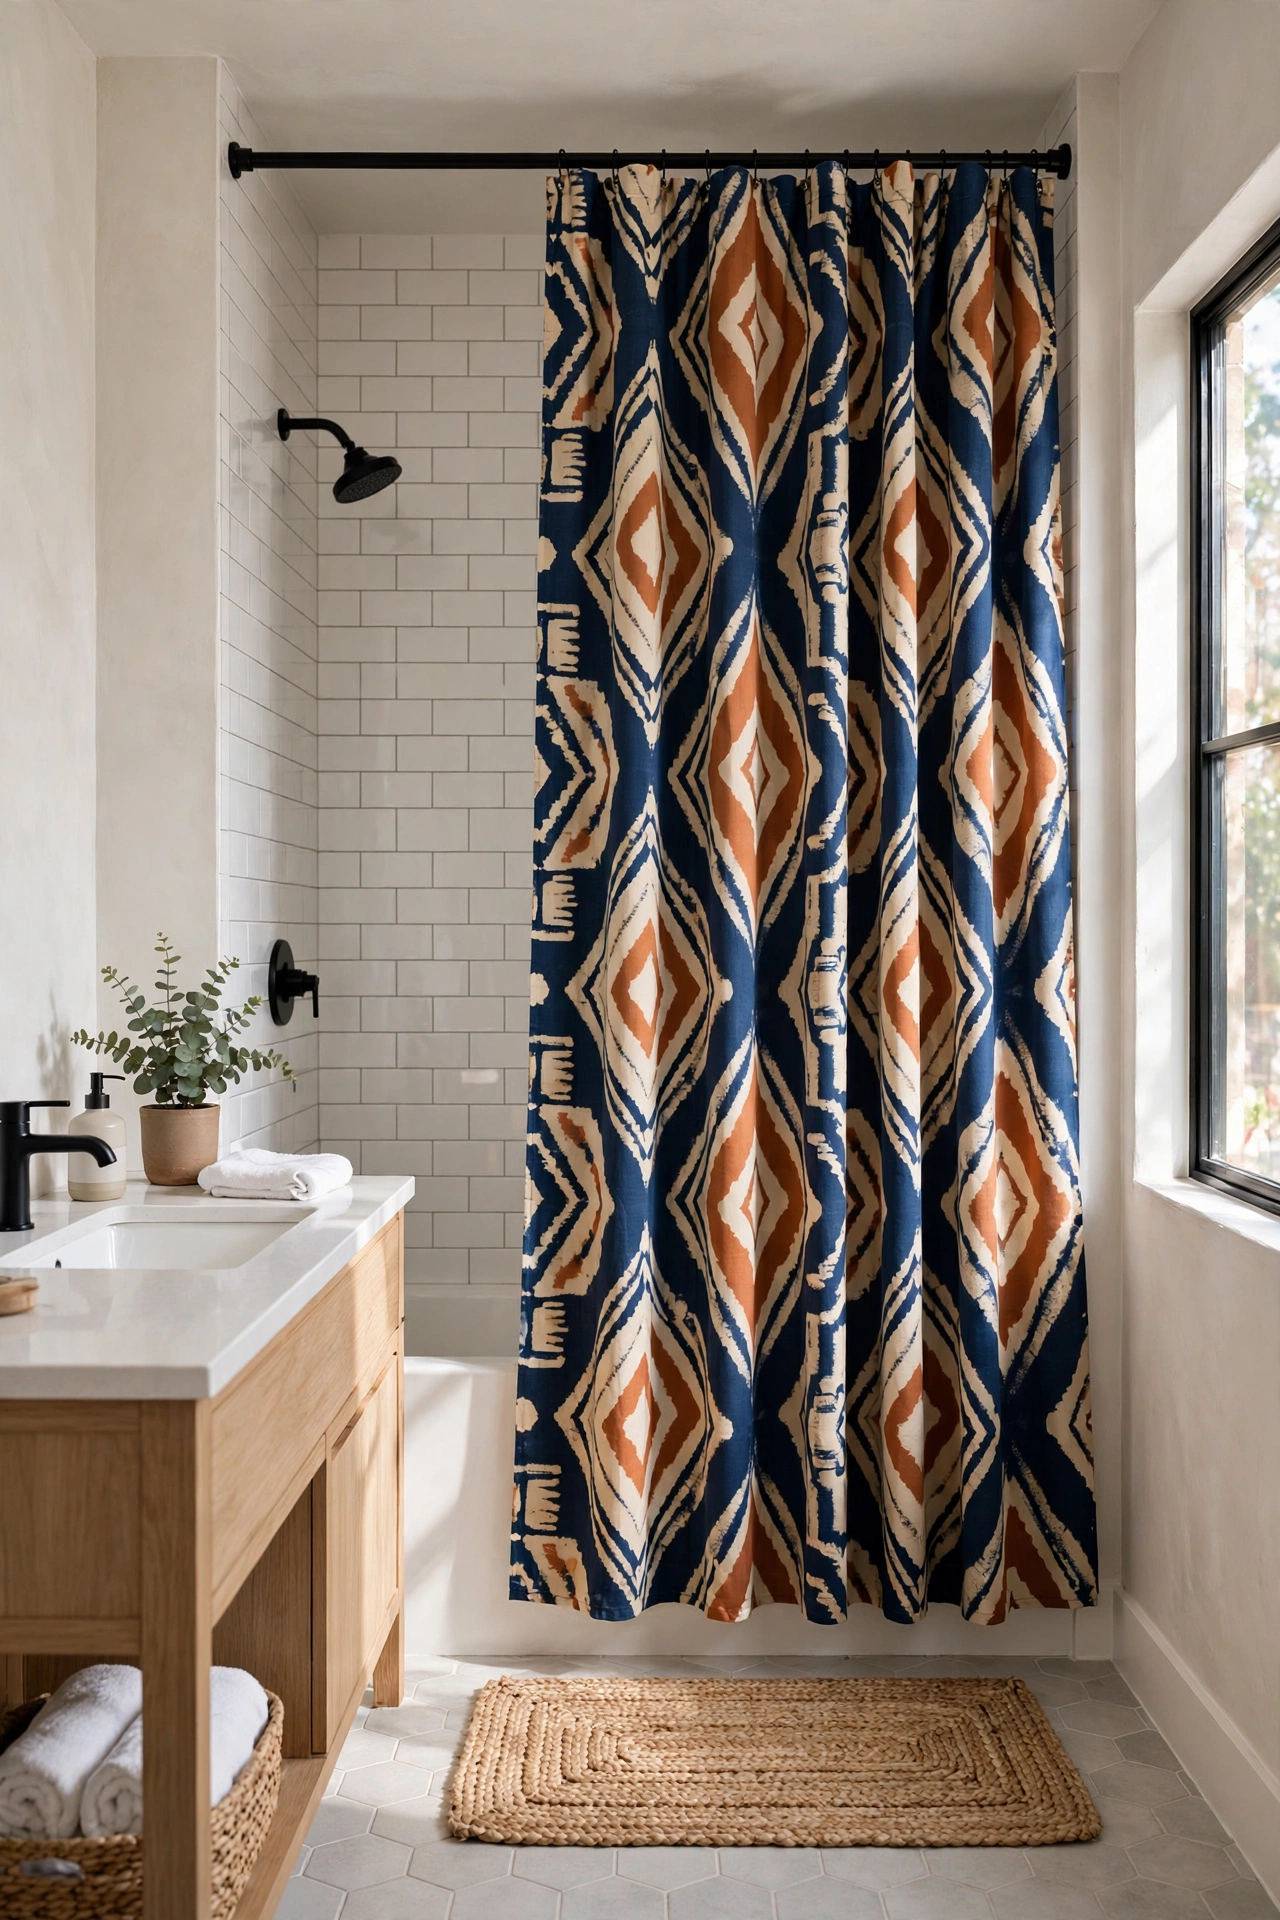
A shower curtain covers a huge visual area, so it works like a giant piece of art you can change in five minutes. Ditch the thin plastic liner look and hang a fabric curtain in a pattern you love, with a plain waterproof liner behind it doing the actual work. Hang the rod as high and wide as the wall allows, which makes the ceiling feel taller and the shower feel bigger. A curtain that just kisses the floor looks tailored, while one that puddles slightly feels relaxed and spa like.
Washable cotton or linen blend curtains hold up well if you keep the liner closed inside the tub. Pick a pattern with colors already in your room, maybe the green from your plant or the brass from your hardware, so everything ties together. Swap it seasonally if you like, light and airy for summer, deep and moody for winter. For a bathroom makeover on a budget, no single purchase changes the mood faster than this one, and renters can take it to the next apartment.
8. Brightened Grout Lines
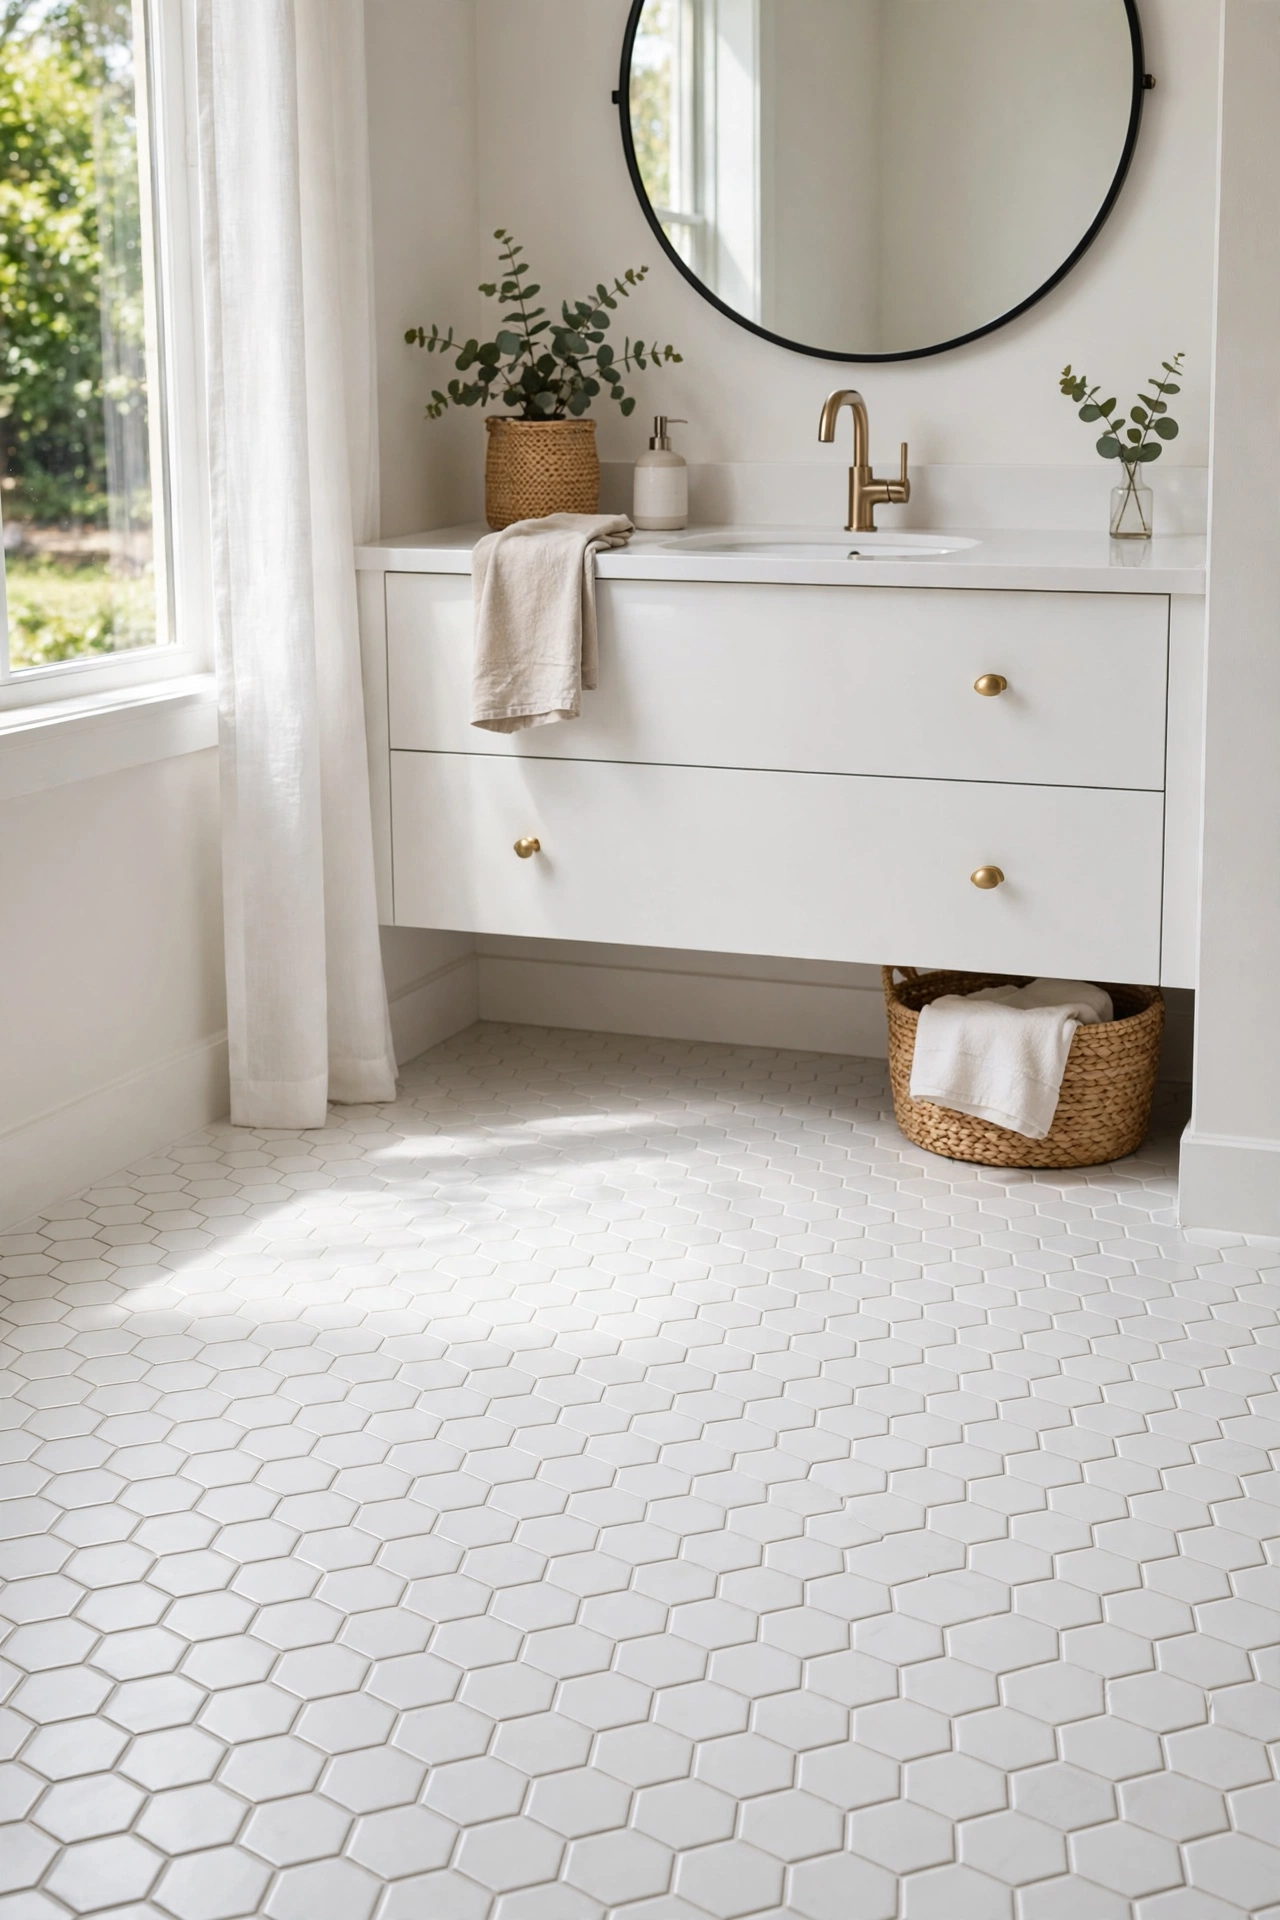
Tile that is structurally fine can still look exhausted when the grout has gone gray and blotchy. A grout pen or a small bottle of grout paint brings those lines back to life for the price of a takeout dinner. Start by scrubbing the grout with an old toothbrush and a paste of baking soda and water, then let it dry completely. Test your pen on one hidden spot first to make sure the color matches what you imagined, because grout paint dries a shade lighter than it looks wet.
Work in small sections and wipe any slip ups off the tile immediately with a damp cloth. Most pens need a second coat for full coverage, so plan a podcast episode or two while you work. Once it cures, brush on a grout sealer to protect your work from future stains. This grout refresh is slow, honest work, but the before and after photos are dramatic. Floors, shower walls, and the backsplash behind the sink all benefit, and the tile itself never needs replacing.
9. Stenciled Bathroom Floor
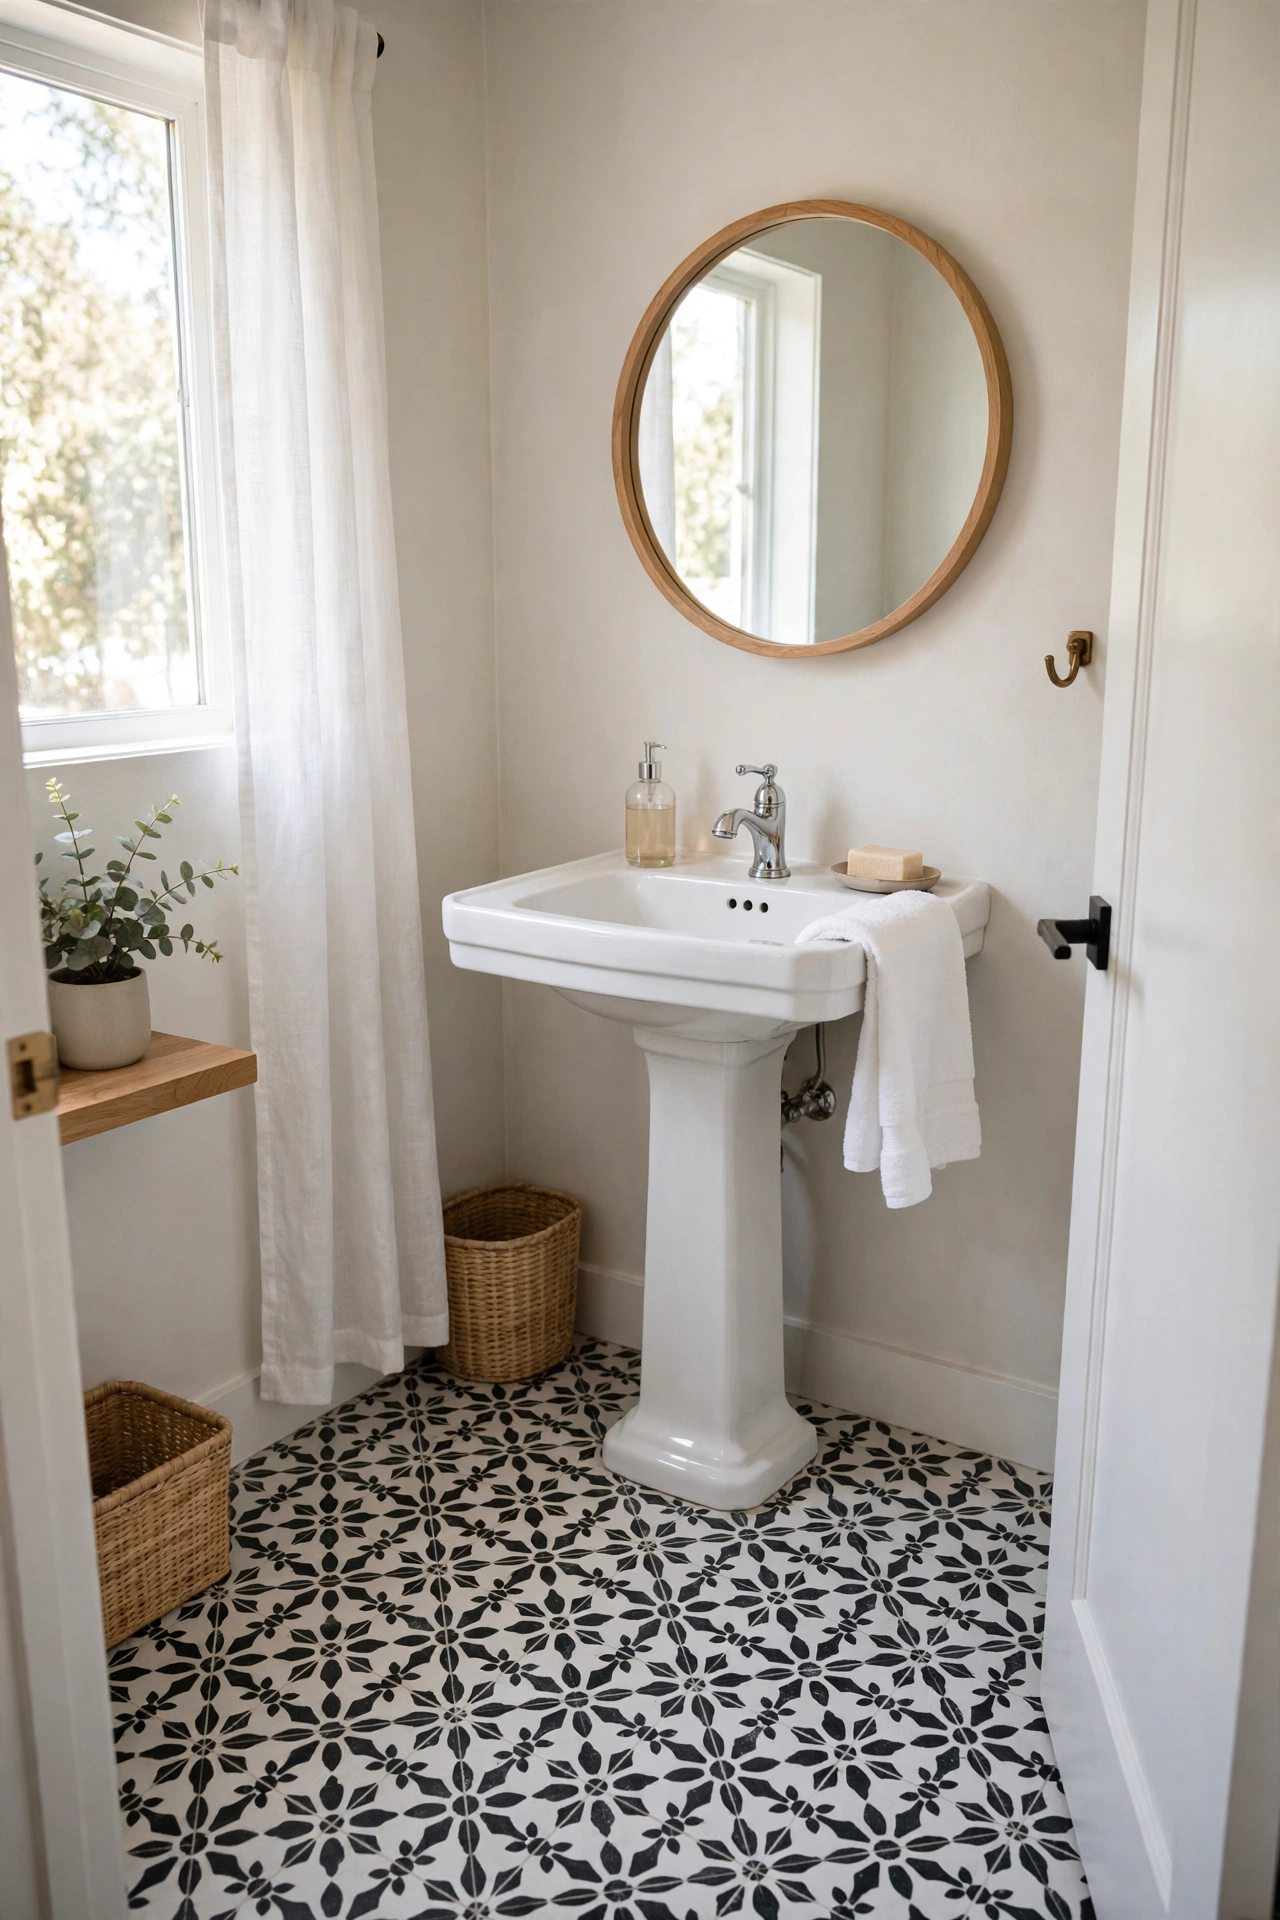
If peel and stick tile is not your style, paint and a stencil give you a custom patterned floor for the cost of a quart of paint. This works best over linoleum or plain tile that is otherwise in good shape. Clean and degrease the floor thoroughly, then roll on a base coat of porch or tile paint and let it cure. Tape your stencil in the center of the room and work outward with a dense foam roller, using very little paint per pass. Two light passes beat one heavy pass every time, because heavy paint bleeds under the stencil edges.
Peel the stencil up carefully and reposition it, wiping the back clean every few placements. When the pattern is done and fully dry, seal everything with two coats of water based polyurethane for a floor that stands up to wet feet. Black and white patterns feel timeless, while soft blue and white feels coastal. It is real work, but it is simple work, and the result looks like expensive cement tile.
10. Hanging Green Plant
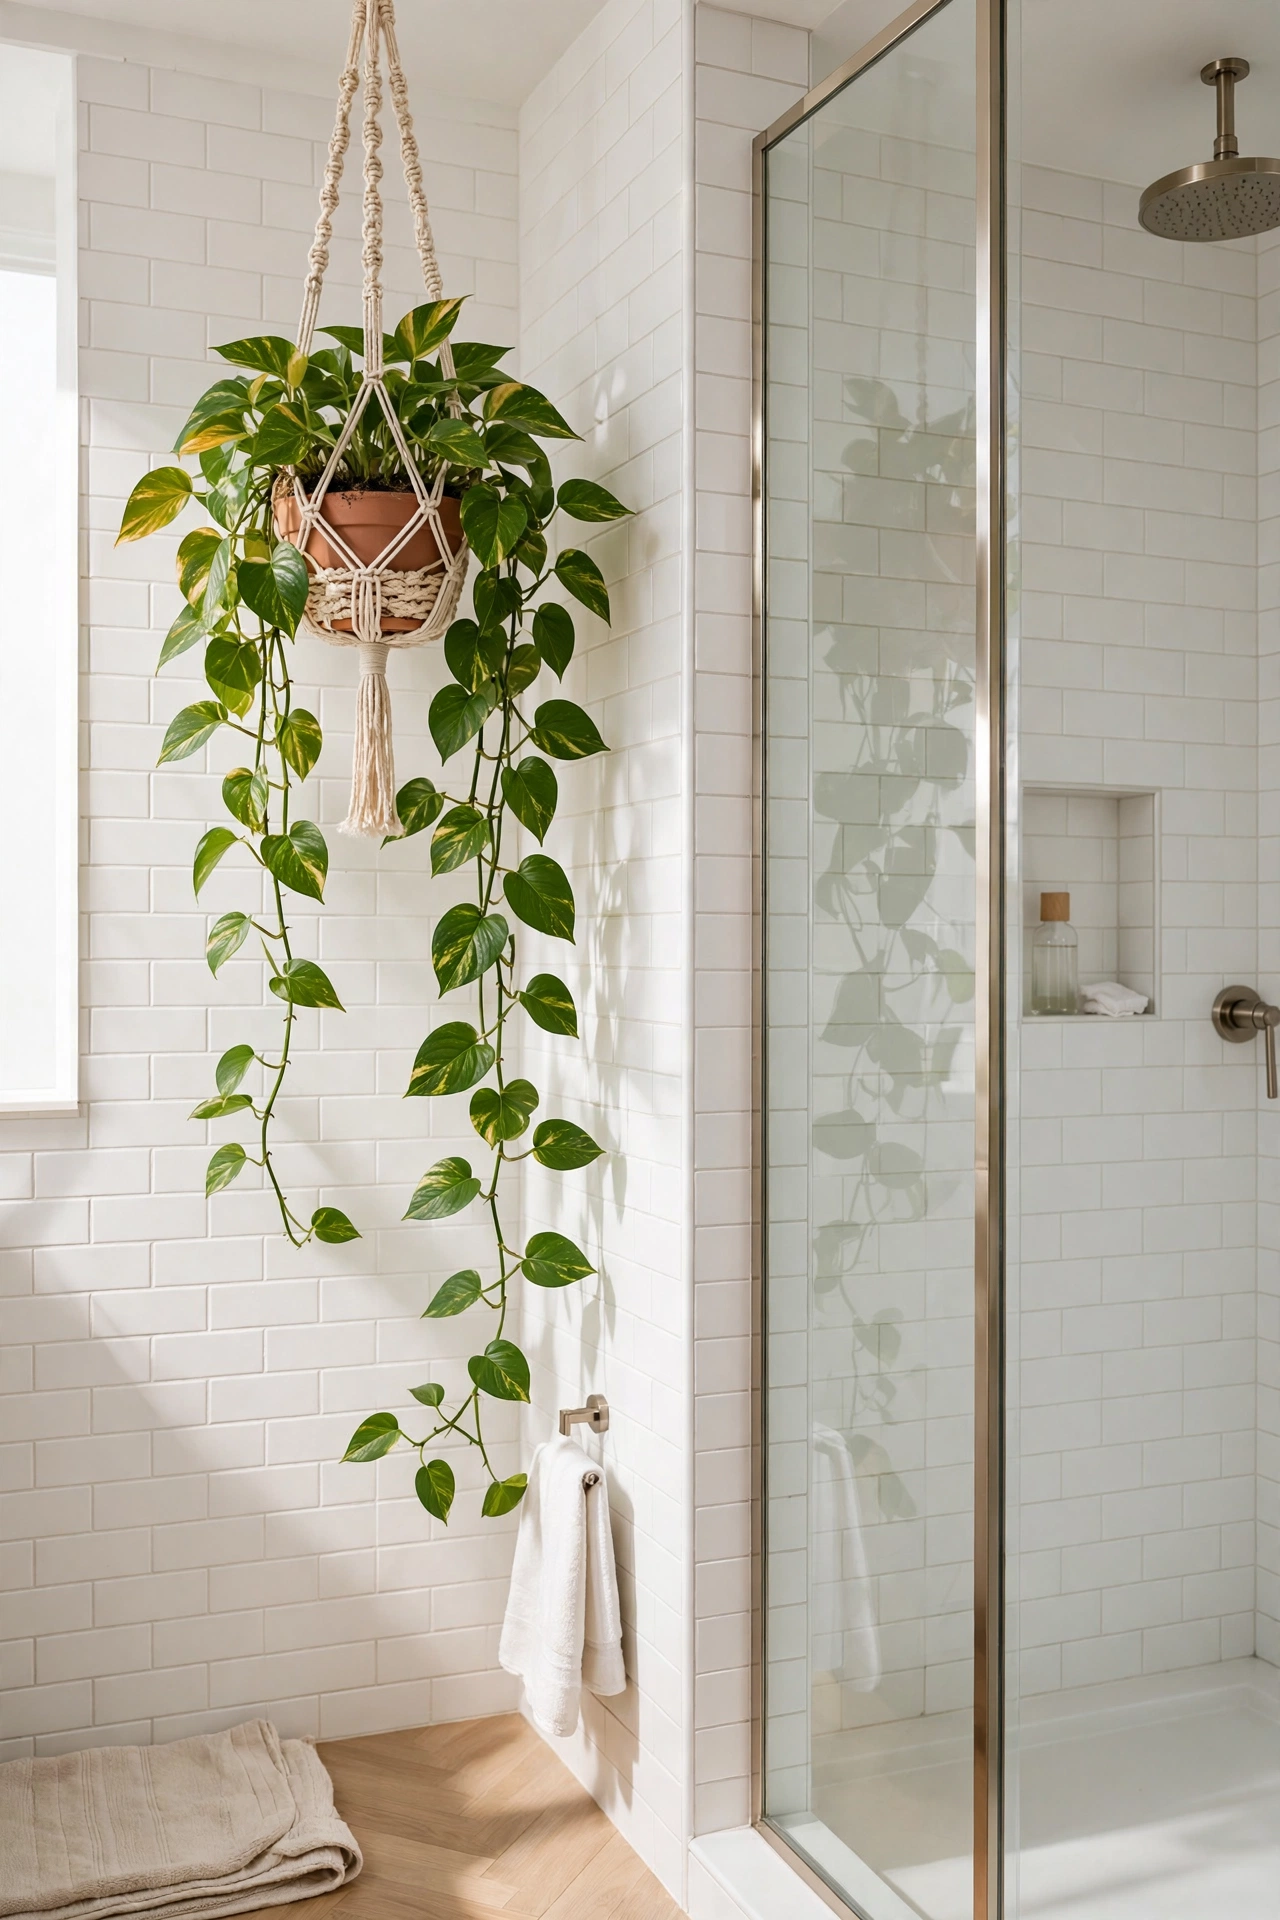
Bathrooms are secretly great homes for plants. The steam from the shower keeps the air humid, and even a small window gives enough light for the right varieties. A trailing pothos in a hanging planter softens all the hard tile and porcelain, and it costs less than ten dollars at any garden center. Hang it from a ceiling hook, from the end of the curtain rod, or on a wall bracket where the leaves can spill down. Use a lightweight plastic pot inside a pretty outer pot, and set a small tray underneath to catch drips.
Water only when the top inch of soil feels dry, because overwatering kills more bathroom plants than neglect. Pothos, philodendron, and spider plants all tolerate low light and humidity swings. Wipe the leaves now and then so dust does not block the light. One plant is enough in a small bathroom, two at most. This is the easiest of all DIY bathroom projects, and it adds life and color that no amount of paint can match.
11. Updated Light Fixture
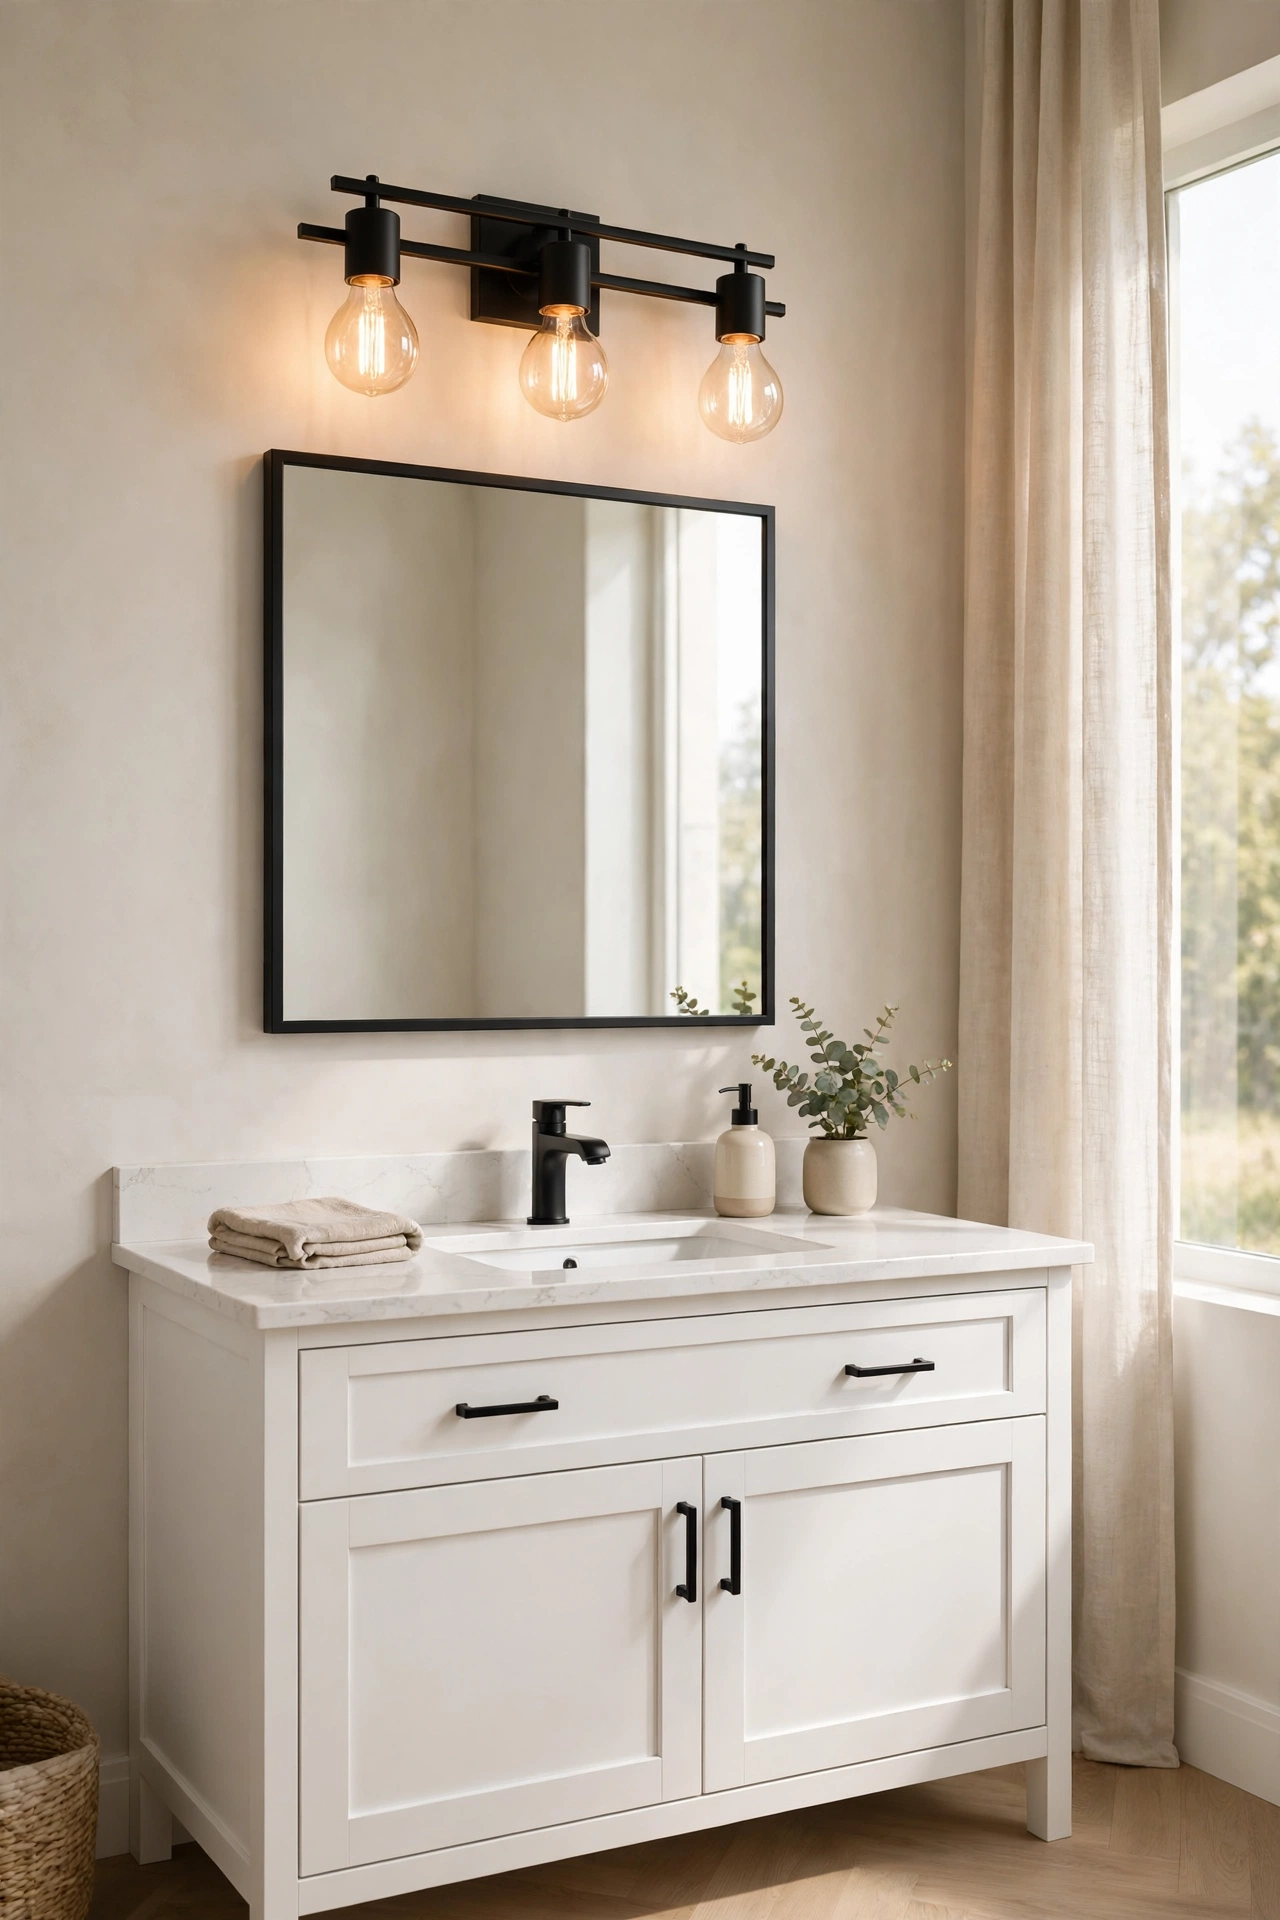
The standard builder light bar with frosted glass shades dates a bathroom instantly. Swapping it for a fixture you actually like is a beginner friendly electrical job that takes about twenty minutes. Turn off the breaker first, not just the wall switch, and take a phone photo of the wiring before you disconnect anything so you can match it wire for wire. Most vanity lights use the same simple connections, black to black, white to white, ground to ground, secured with wire nuts.
Choose a fixture rated for damp locations and sized to your mirror, roughly two thirds the mirror width looks balanced. Warm white bulbs around 2700K flatter skin tones far better than harsh daylight bulbs. If the old fixture left marks on the wall, the new mounting plate usually covers them, or a dab of touch up paint handles it. This one looks like you hired an electrician. You did not, you just flipped a breaker and followed the photo you took.
12. New Bathroom Faucet
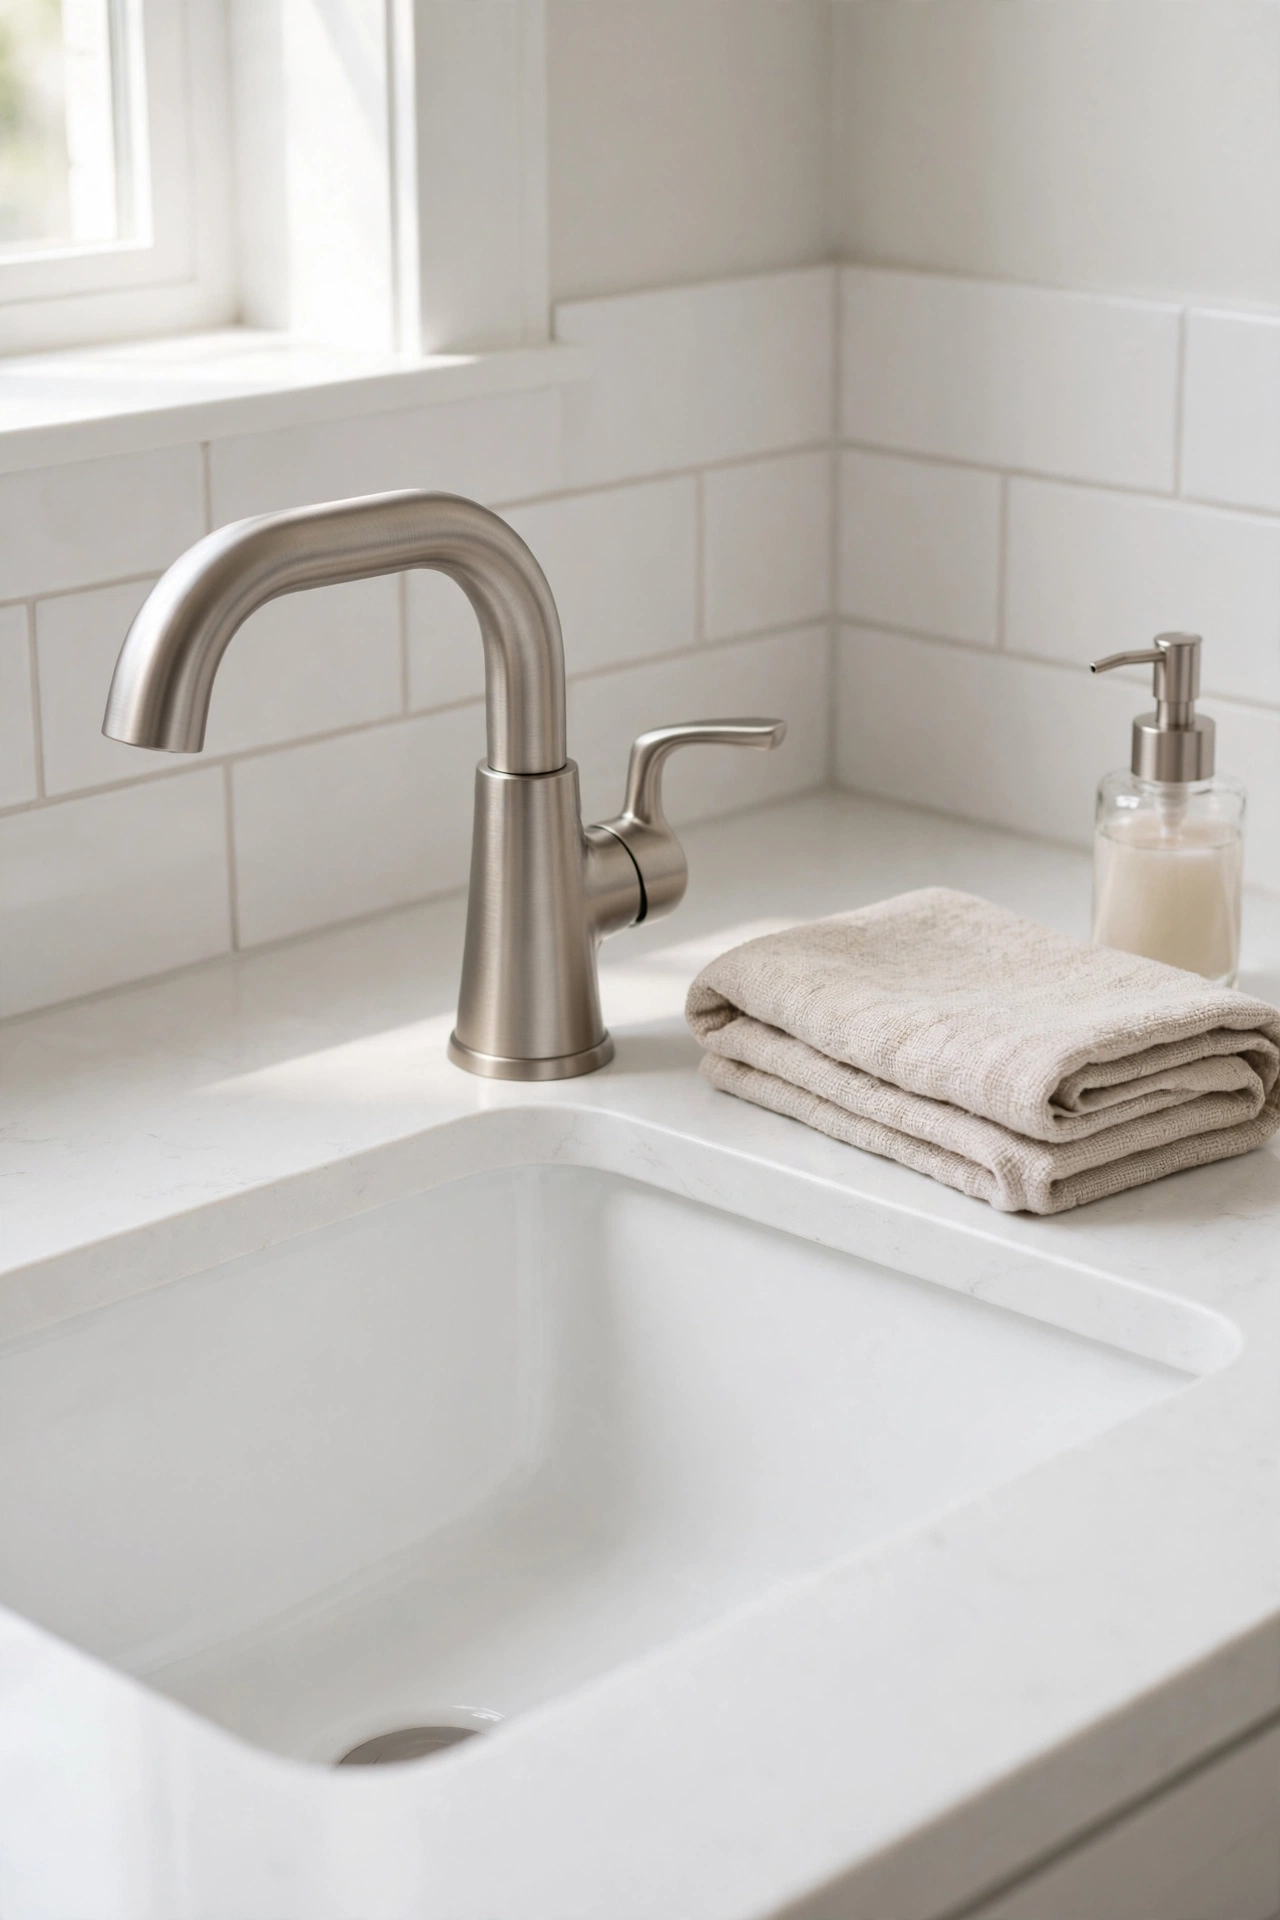
A crusty old faucet with stiff handles makes the whole sink area feel worn out. Replacing it is one of those jobs that sounds like plumbing and is really just unscrewing things in the right order. Turn off the shutoff valves under the sink, open the faucet to release pressure, and put a bucket and an old towel underneath to catch drips. Disconnect the supply lines and the mounting nuts, lift the old faucet out, and clean the sink deck before the new one goes in.
Wrap the threads with plumber’s tape, drop the new faucet through the holes, and tighten everything by hand before giving it a final snug with a wrench. Reconnect the supply lines, turn the water back on slowly, and check for drips. Single hole faucets with an optional deck plate cover old three hole sinks neatly. Brushed nickel hides water spots, matte black makes a statement. Budget forty five minutes and you will wonder why you waited so long.
13. Shower Soap Dispensers
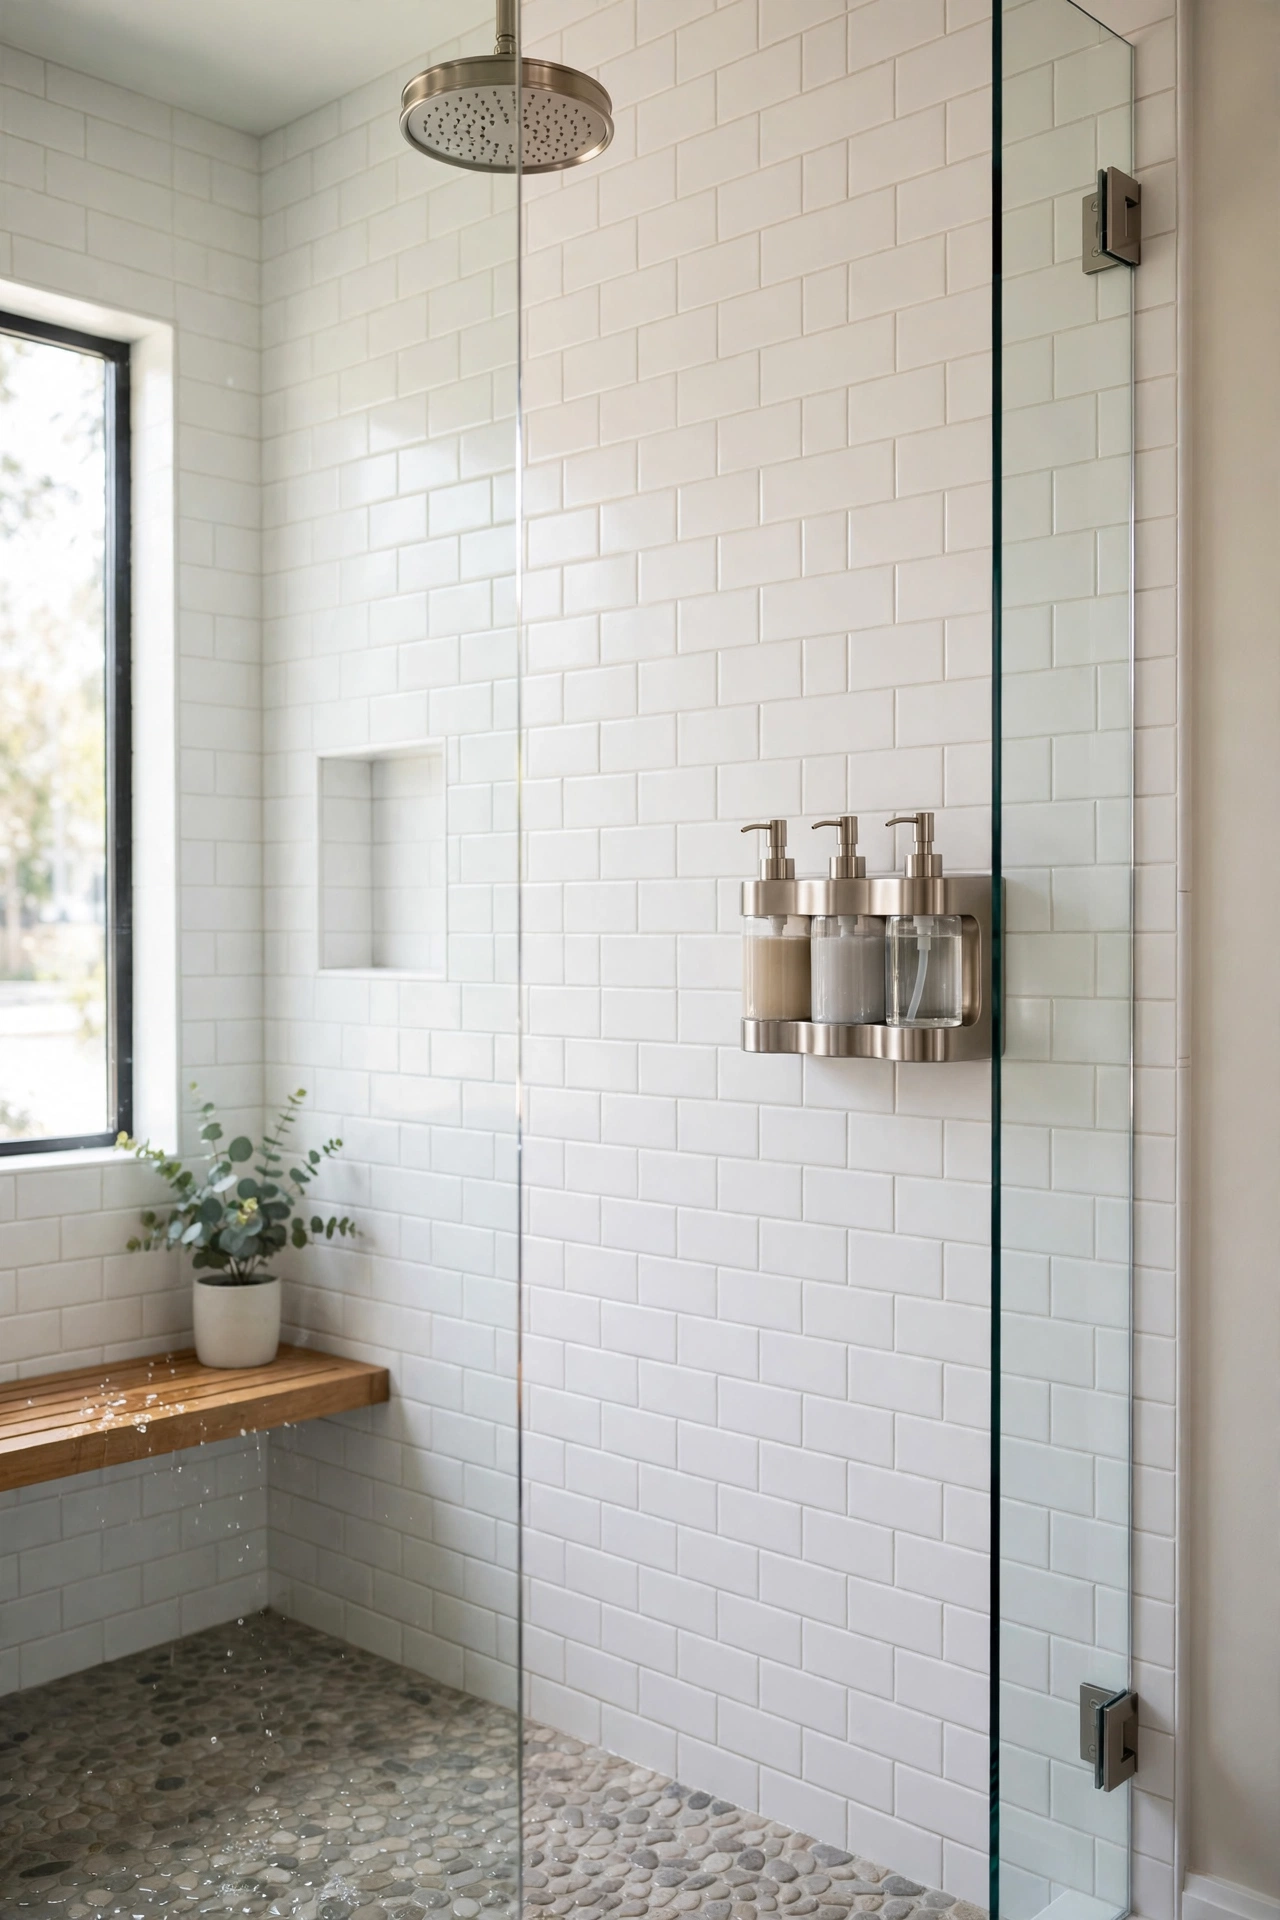
A crowd of half empty shampoo bottles on the tub edge looks messy no matter how nice the bottles are. Wall mounted refillable dispensers fix the clutter in one move and make the shower look like a boutique hotel. Choose a two or three chamber dispenser in a finish that matches your faucet, and mount it at chest height where everyone can reach it comfortably. Many models stick on with waterproof adhesive strong enough for full chambers, while others screw into the wall for a permanent hold. Renters should pick the adhesive kind and check the weight rating.
Fill each chamber with the products you already use and label them with the little tags most sets include, because mystery pumps cause daily frustration. Refill from bulk bottles to save money and cut plastic waste. Wipe the nozzles now and then so they pump smoothly. The shower instantly looks calmer and more intentional, and you will never knock a slippery bottle off the ledge again. Small change, daily payoff.
14. Brass Towel Hooks
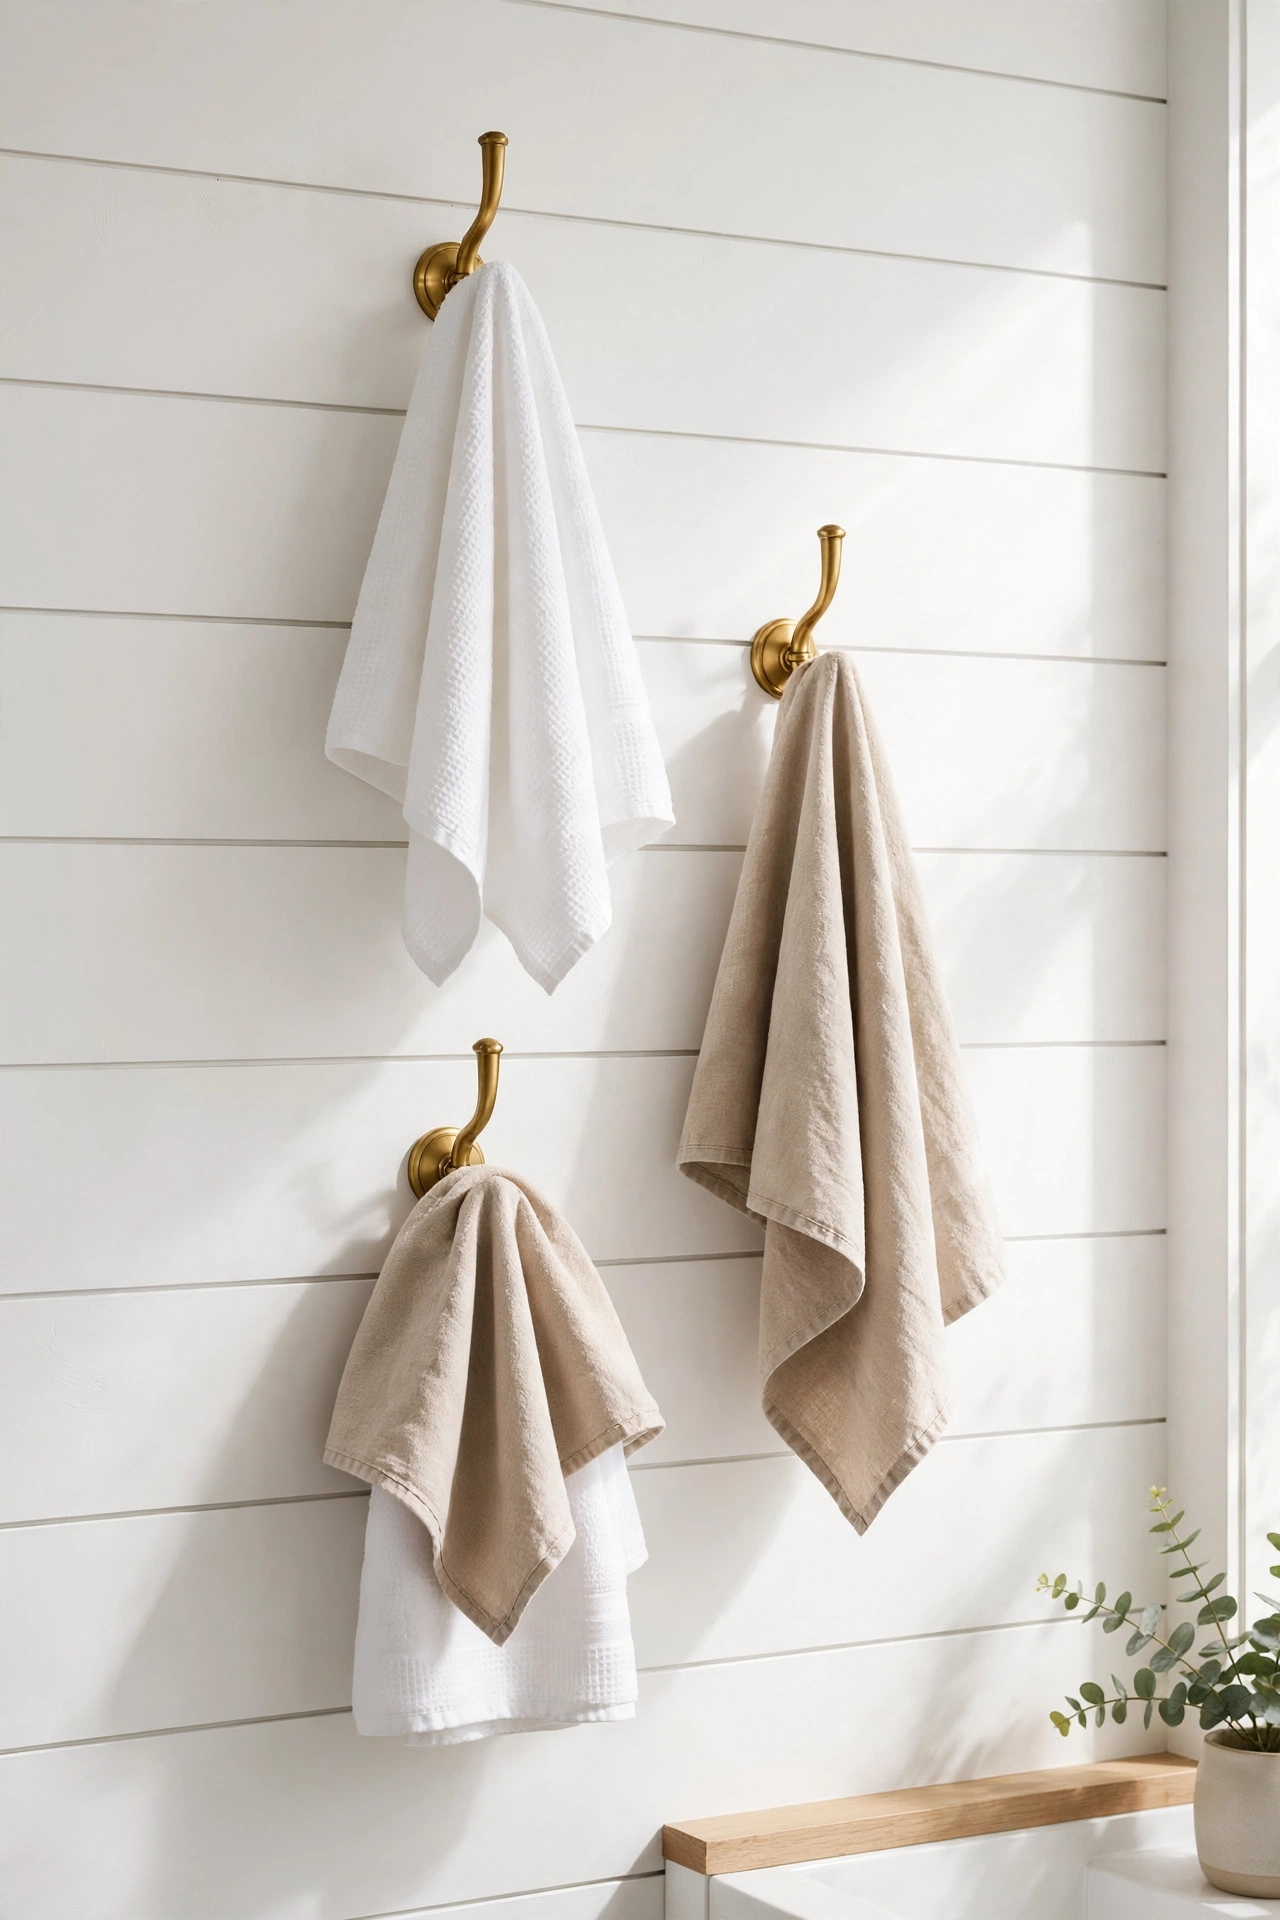
The standard long towel bar eats wall space and always ends up holding one sad damp towel. Individual hooks solve both problems and look far more current. Solid brass hooks in a brushed or aged finish add warmth against white tile and pair beautifully with other brass accents. Plan your layout on the wall with painter’s tape first, spacing hooks about a foot apart and staggering the heights slightly so towels hang without overlapping into a soggy pile.
Drive each hook into a stud where you can, and use quality wall anchors everywhere else, because wet towels are heavier than they look. Hang hand towels near the sink and bath towels near the shower so the flow of the room makes sense. Hooks also give kids a target they can actually reach, which means fewer towels on the floor. This is a thirty minute project with a drill and a level, and it is one of those simple bathroom upgrades that quietly improves how the room works every single day.
15. Lined Cabinet Shelves
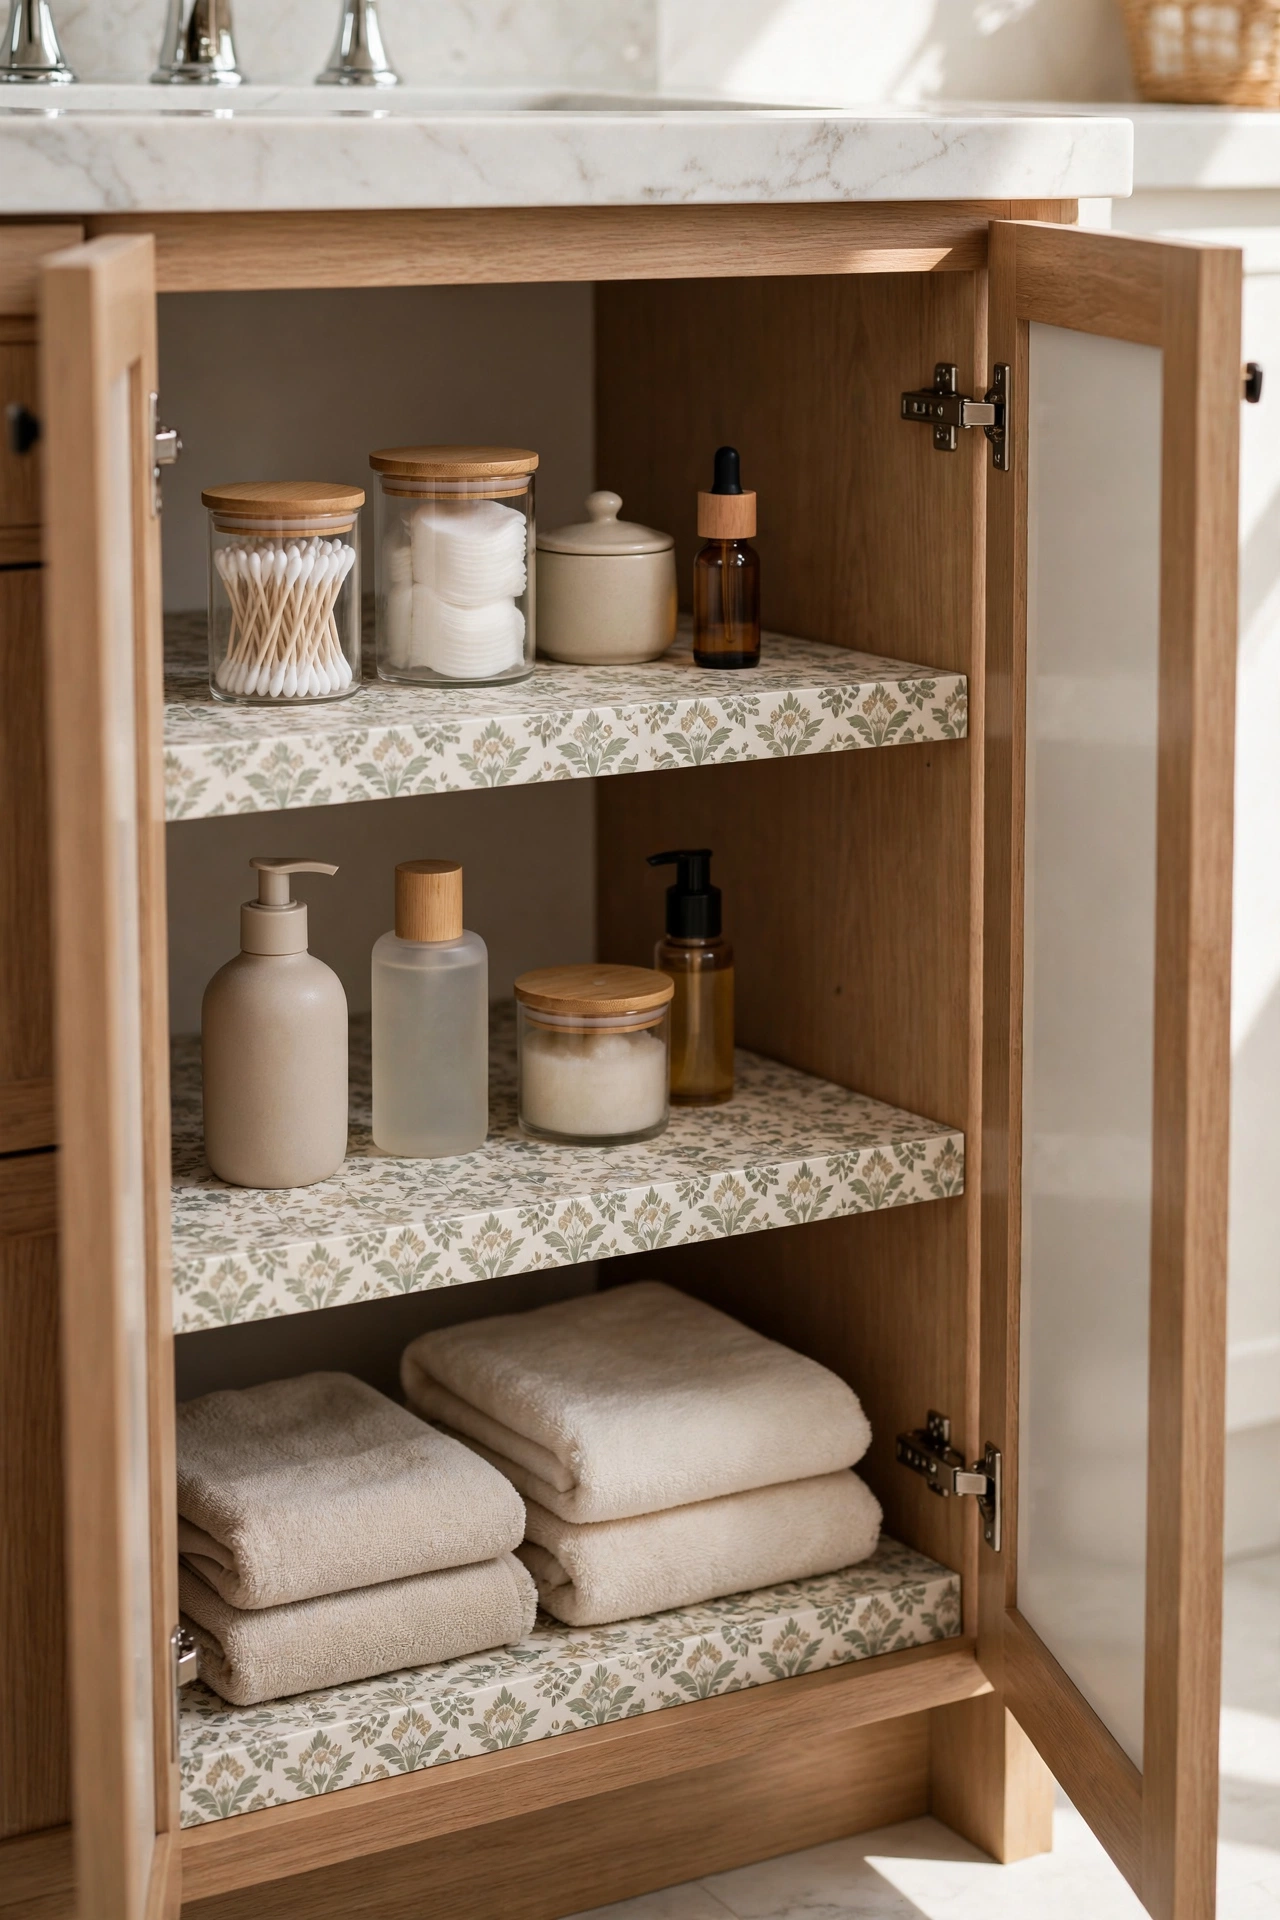
Open the vanity cabinet in most bathrooms and you find stained wood, old drips, and that musty smell of products past. Removable contact paper lines the shelves, hides the stains, and wipes clean with a damp cloth. Pull everything out first and give the shelves a good scrub so the paper adheres to a clean surface. Measure each shelf, cut the paper an inch long, and trim the excess with a utility knife after it is smoothed down. A credit card wrapped in a soft cloth pushes out air bubbles as you go.
Pick a pattern that makes you smile when you open the door, because only you will see it most days. Light patterns brighten dark cabinets, while bold prints feel like a secret. The paper peels off cleanly when you move, which makes this a favorite among renter friendly bathroom ideas. While the shelves are empty, it is the perfect moment to toss expired products and decant the keepers into matching containers.
16. Beadboard Wall Panel
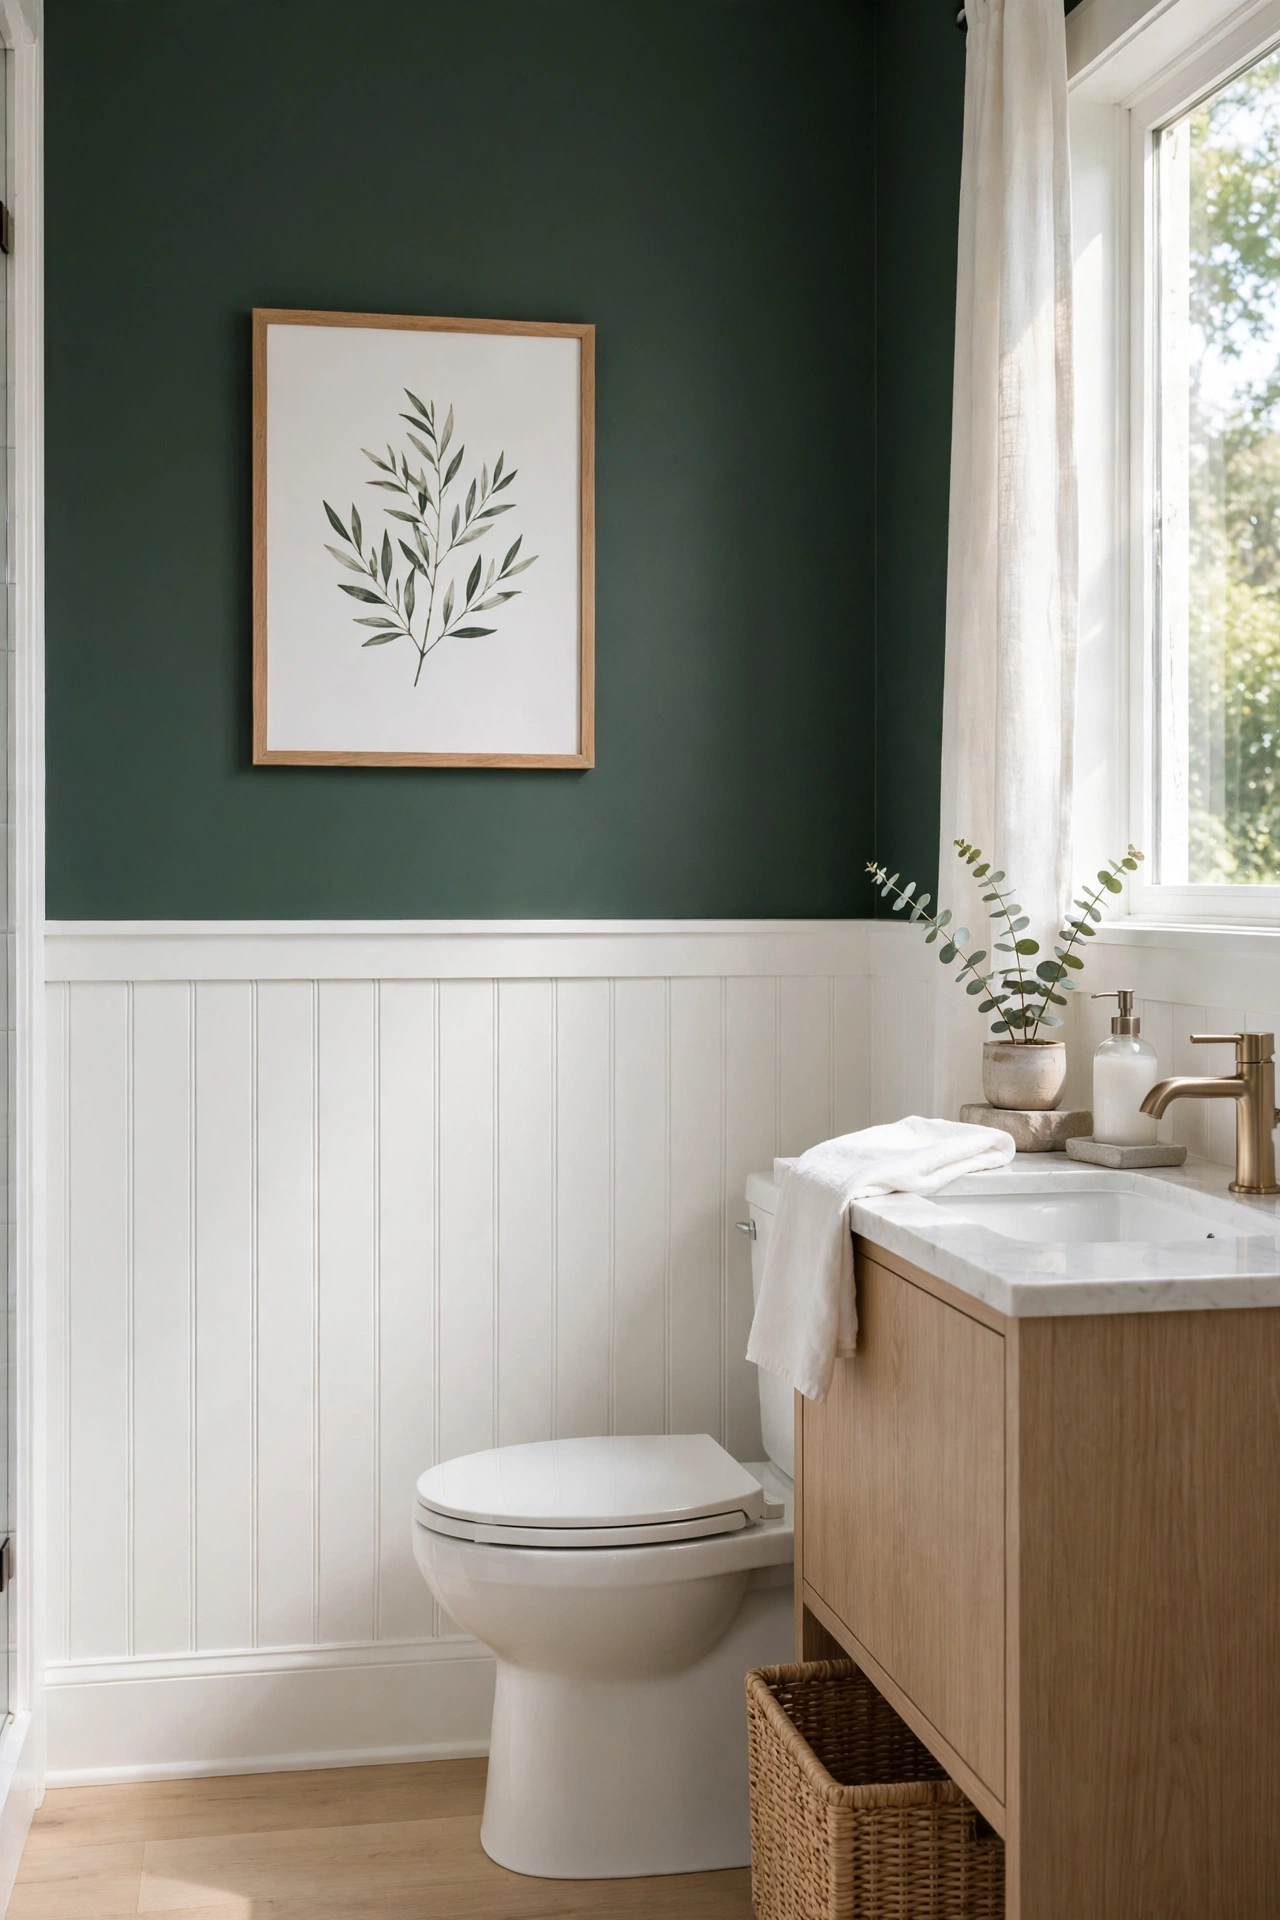
Flat drywall behind the toilet is a missed opportunity. Beadboard paneling adds texture and a cottage or coastal feel, and the lightweight peel and stick or thin MDF panels go up in an afternoon. Measure your wall and cut the panels to fit around outlets and trim, painting them before installation so you are not cutting in around edges later. Press each panel firmly into place following the product directions, then run a thin bead of paintable caulk along the seams and edges for a built in look.
A chair rail or simple trim board across the top edge finishes it like a pro did it. Crisp white beadboard with a darker wall color above feels classic, while painting it the same color as the wall feels modern and calm. Keep the bottom edge slightly off the floor or seal it well, because bathroom floors get wet. This project photographs beautifully and gives flat walls the kind of character people assume came with the house.
17. Framed Art Prints
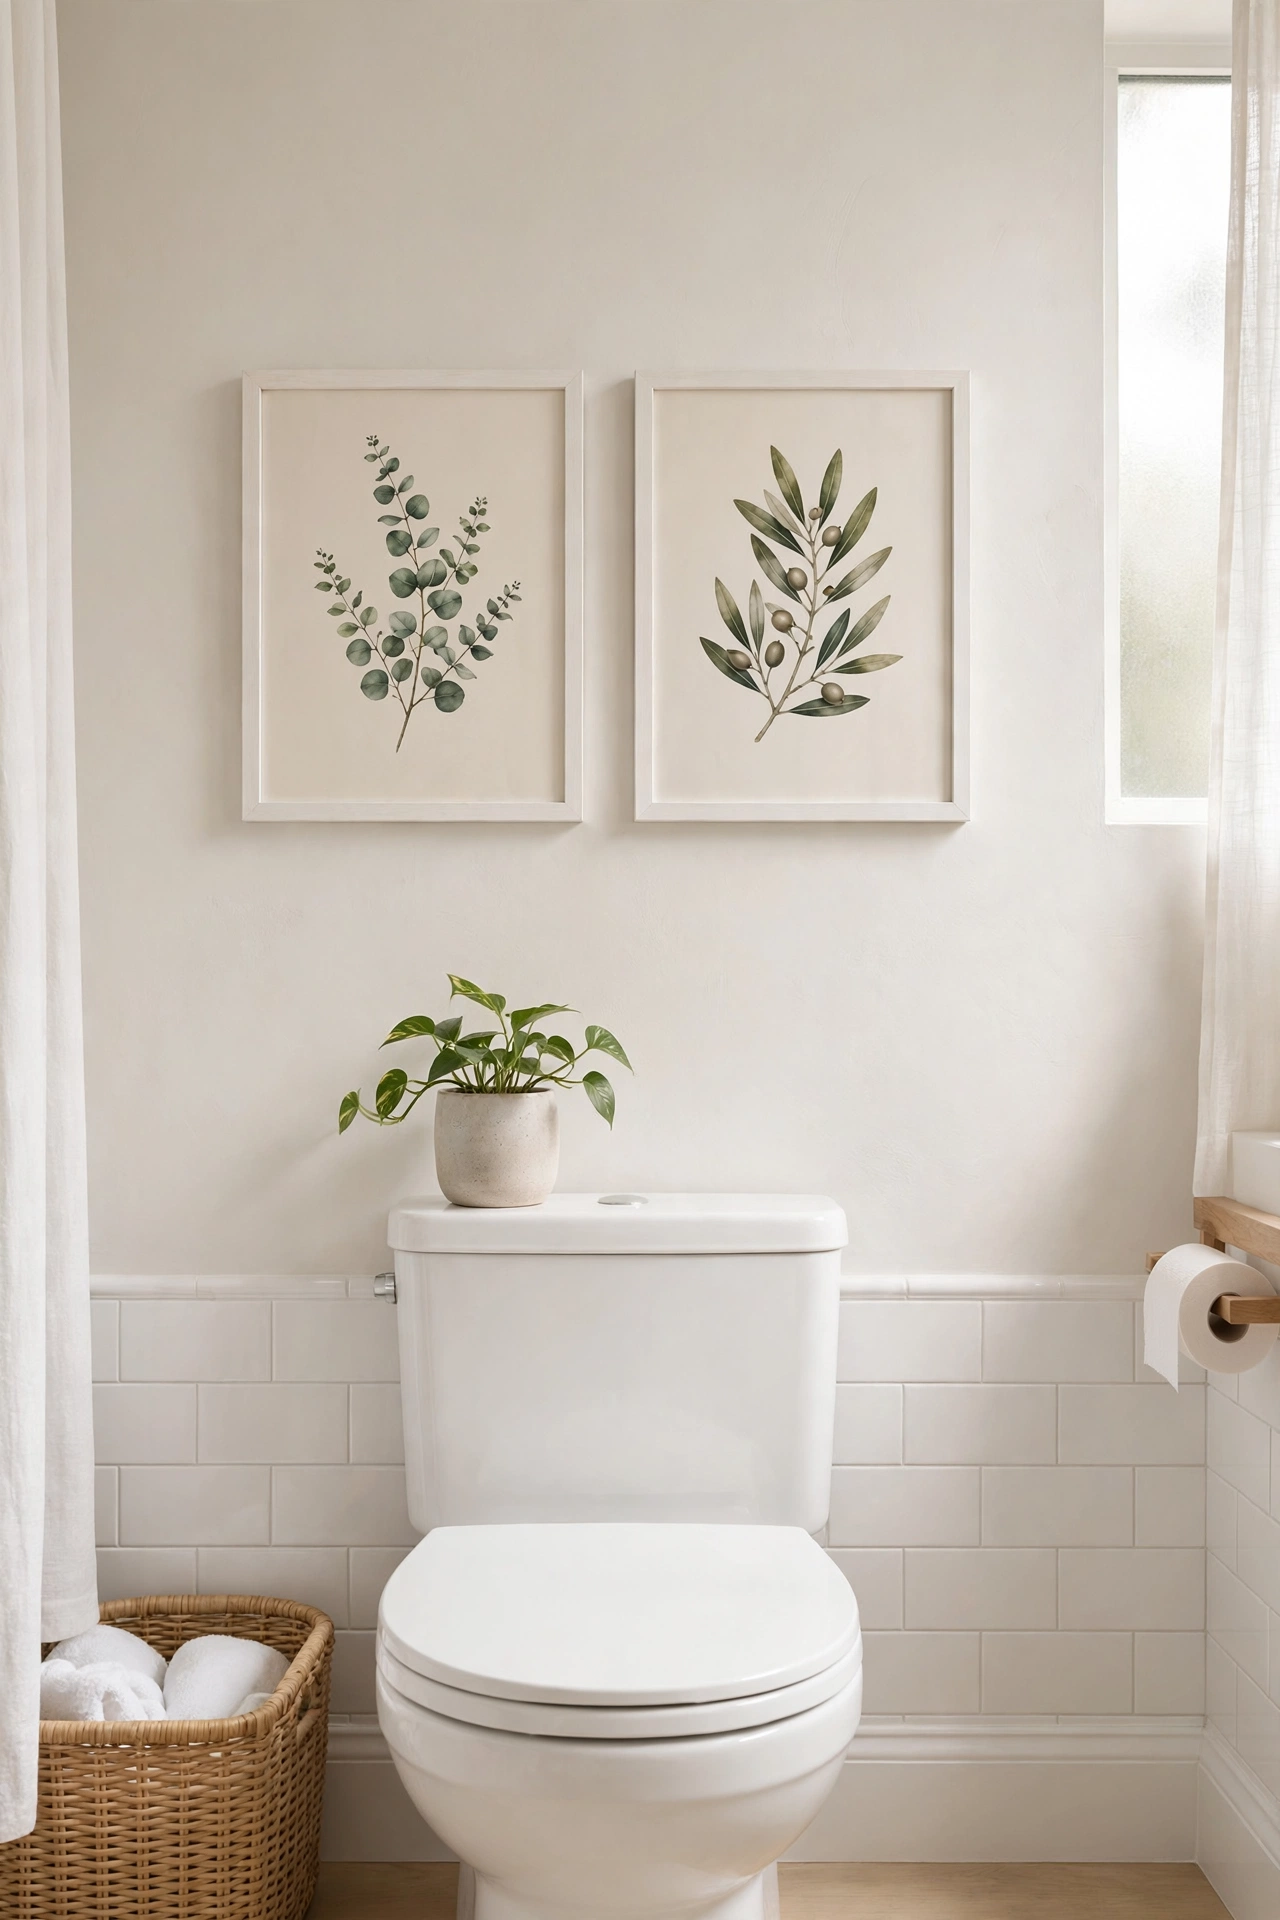
Bathrooms deserve art just as much as living rooms do, and a couple of framed prints turn blank walls into something personal. Thrift stores are full of solid wood frames for a few dollars, and a coat of spray paint in one unifying color makes mismatched frames look like a curated set. Print your art at home or order inexpensive prints online, choosing images that handle humidity well. Abstract shapes, botanical drawings, and simple quotes all work, and glass or acrylic over the print protects it from steam.
Hang one large piece above the toilet or a pair of smaller ones beside the mirror. Renters can use damage free hanging strips rated for the frame weight, which hold surprisingly well on smooth bathroom walls. Keep art away from direct shower spray and it will last for years. This is pure bathroom DIY decor, no tools beyond a hammer or a level, and it is the fastest way to make the room feel finished instead of forgotten.
18. Peel Stick Backsplash
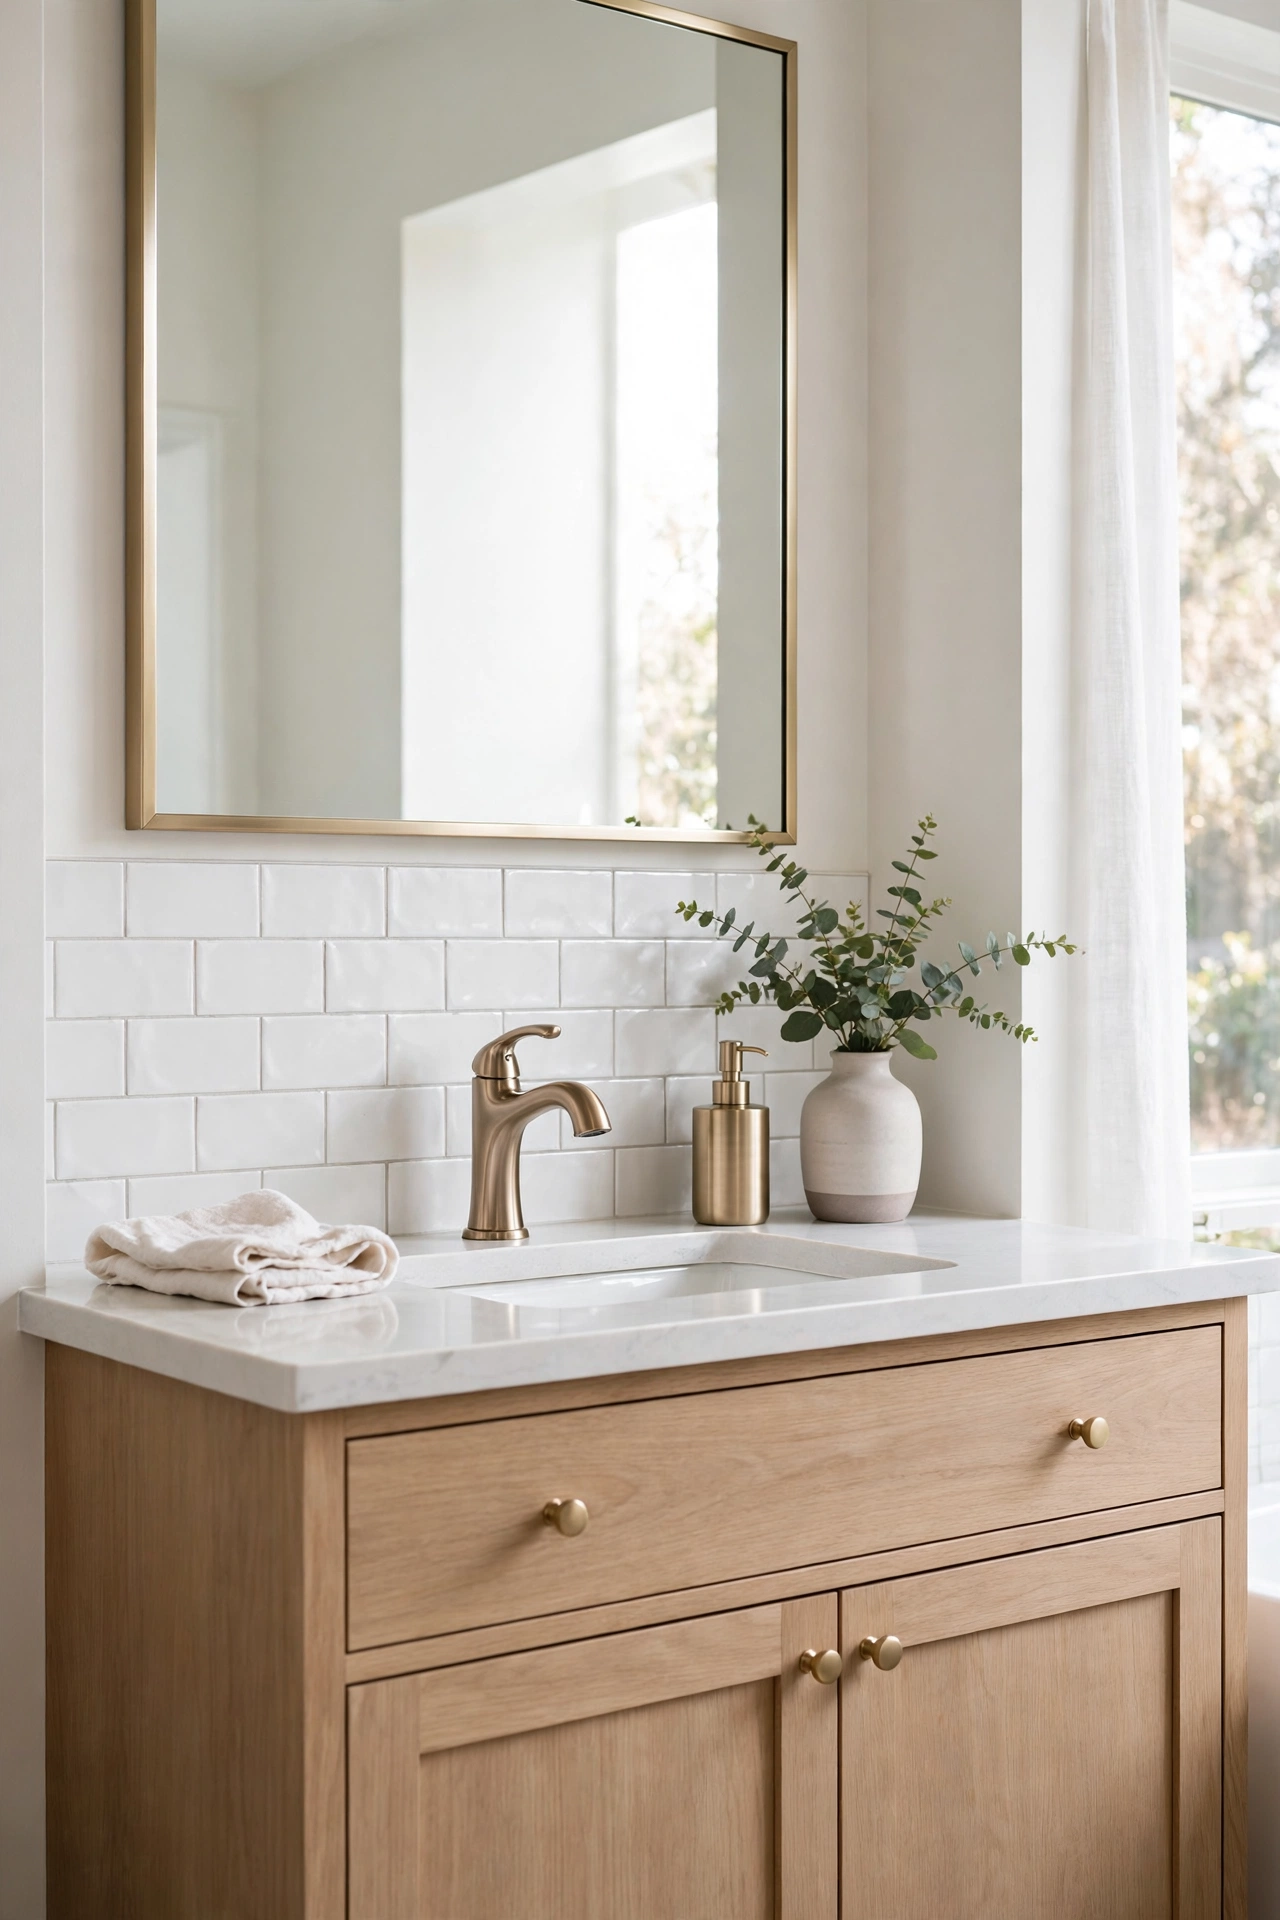
The blank wall between the vanity and the mirror begs for something interesting, and peel and stick backsplash sheets answer without any wet tile work. These thin vinyl or gel sheets mimic subway tile, mosaic, and even marble, and they cut easily with scissors or a utility knife. Clean the wall well and let it dry, because dust is the enemy of adhesion. Start from the center and work outward so the pattern stays balanced, pressing each sheet firmly and smoothing from the middle toward the edges.
Overlap sheets slightly following the pattern lines so the seams disappear. Run a thin bead of clear caulk along the bottom edge where the backsplash meets the vanity to keep water out. If a sheet ever peels at a corner, a dab of construction adhesive fixes it permanently. The whole project takes about an hour and costs less than a dinner out. It is one of the most satisfying DIY bathroom projects because the change is instant and dramatic.
19. Woven Storage Baskets
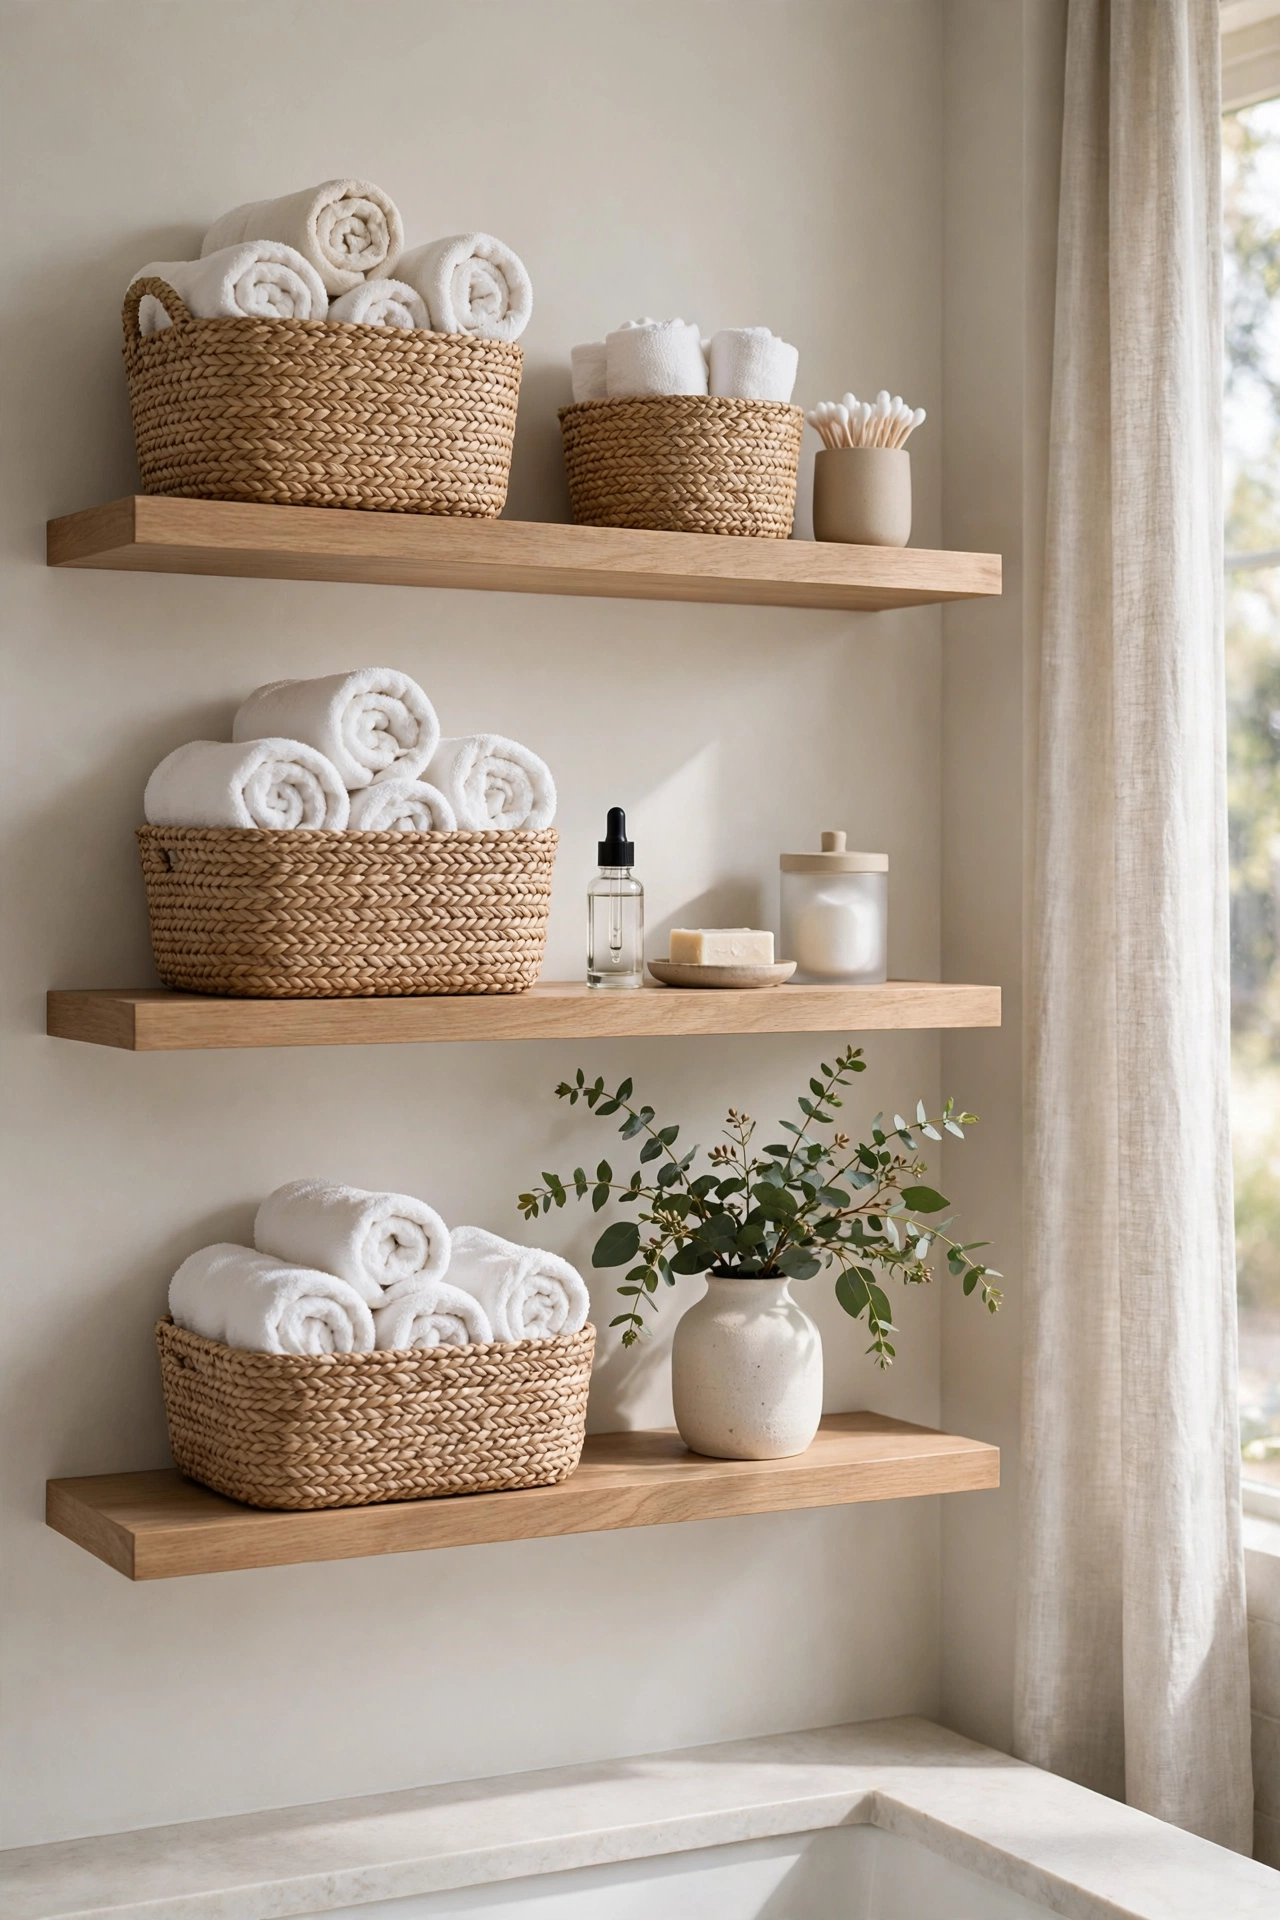
Bathrooms collect clutter faster than any room in the house, and woven baskets corral it into something that looks deliberate. Use them for rolled towels on open shelves, spare toilet paper beside the toilet, and the jumble of products under the sink. Seagrass, rattan, and water hyacinth all handle bathroom humidity well and add natural texture that softens all the hard surfaces. Stick to one material family so the baskets look coordinated instead of random, and choose sizes that fit your actual shelves, measuring first saves a return trip.
Line baskets that hold toiletries with a small washable cloth so leaks do not stain the weave. Roll towels instead of folding them, because rolls look fuller and pull out easily. A tall narrow basket beside the vanity catches hair tools and keeps cords out of sight. This is styling more than building, which is exactly why it belongs on a DIY list. Ten minutes of arranging baskets changes how tidy the whole bathroom feels, and it is completely reversible.
20. Fresh White Walls
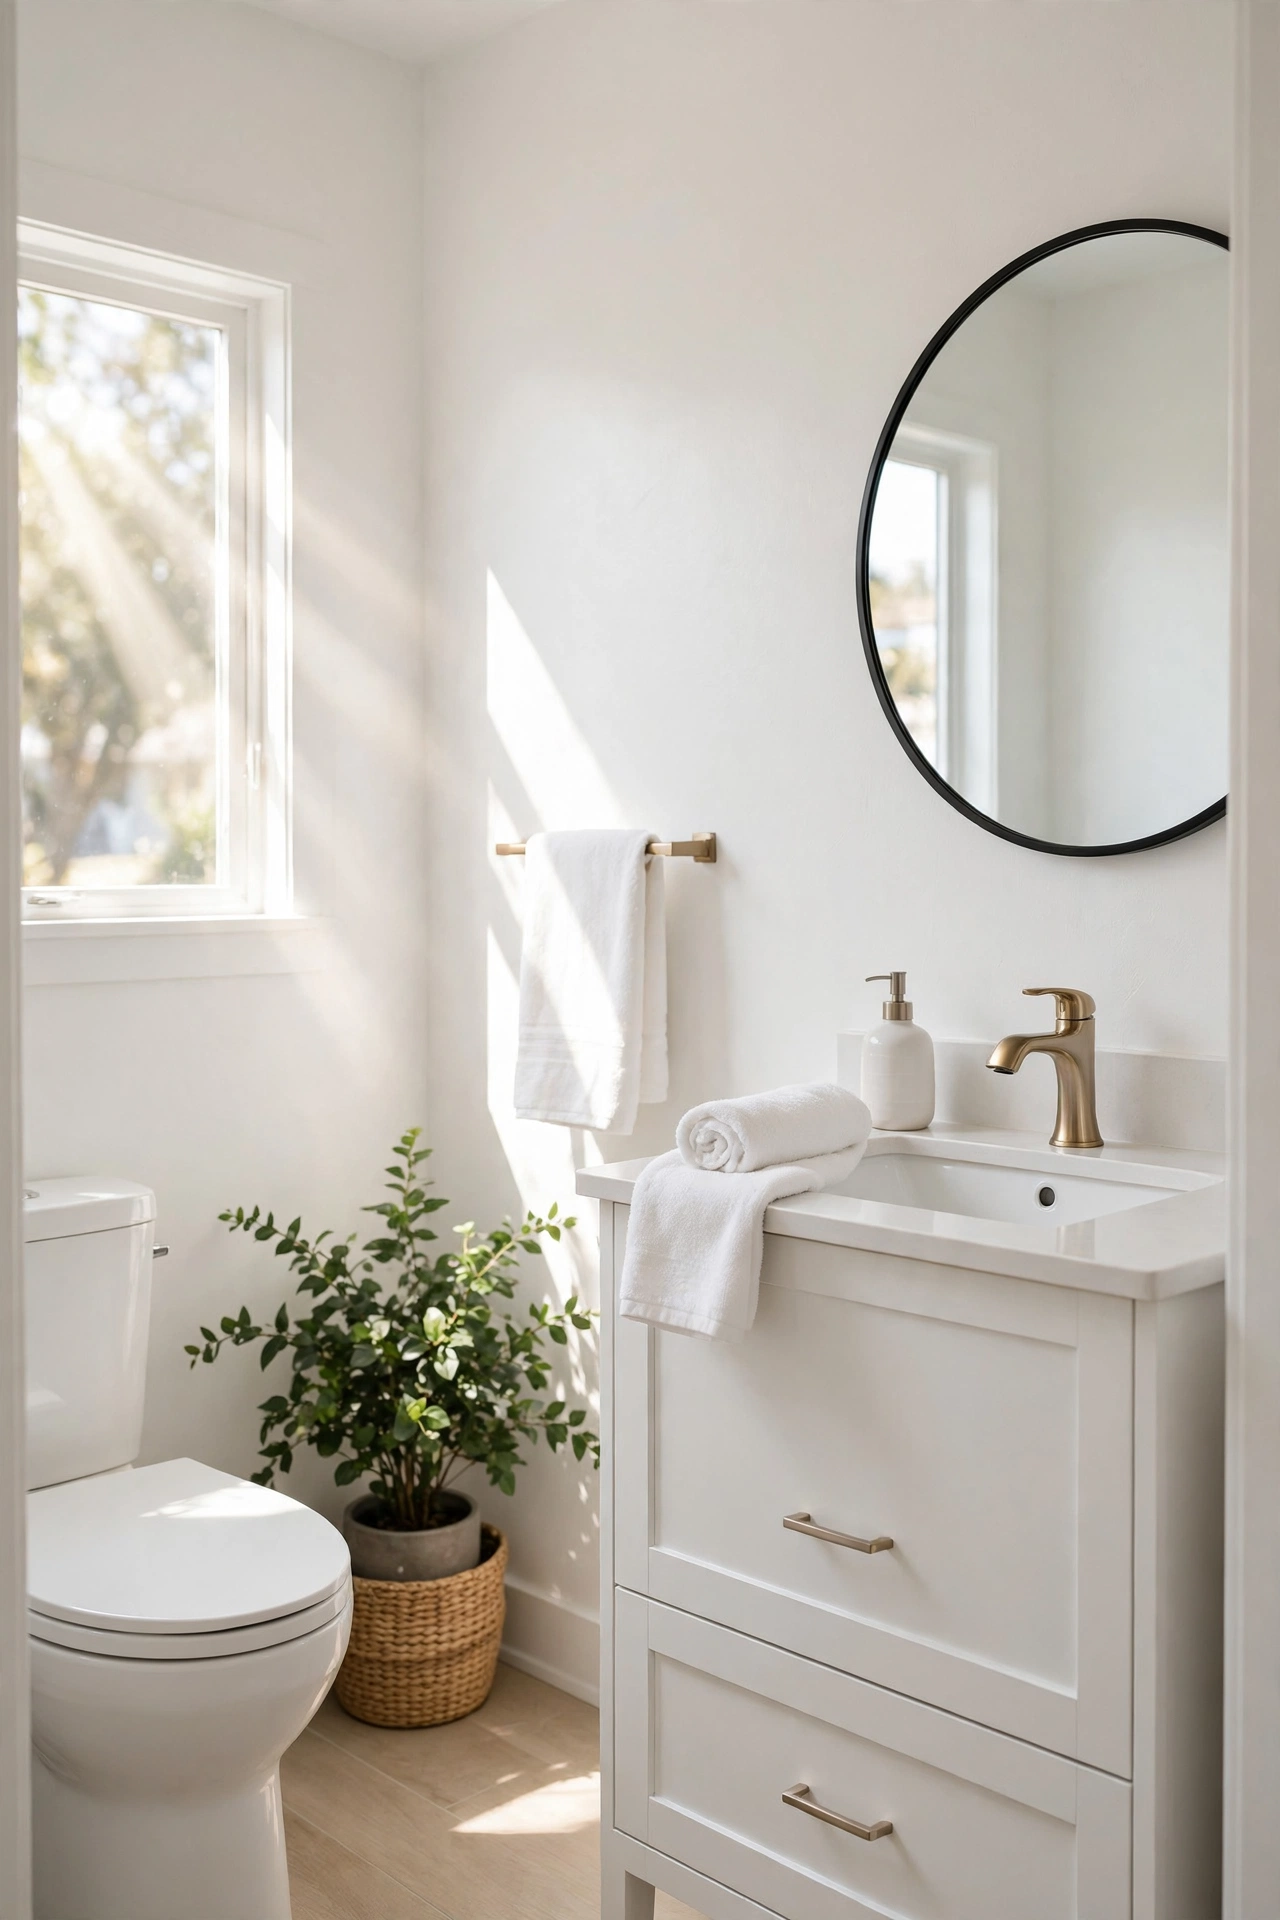
Never underestimate what a single coat of paint does to a bathroom. Walls yellow over time from steam, cleaning products, and plain age, and fresh paint erases years in a day. Choose a paint made for bathrooms, since it resists mildew and wipes clean, and test a sample on the wall first because lighting changes everything. Bright white feels crisp and clean, while warm white feels soft and welcoming. Both make small bathrooms feel bigger by bouncing light around.
Move everything you can out of the room, tape the edges, and use a small roller for the wall behind the toilet where a big roller cannot reach. Two thin coats cover better than one thick coat, and good ventilation speeds drying between coats. Paint the ceiling too if it looks dingy, using flat white ceiling paint. This is the backbone of any bathroom makeover on a budget. Everything else you do, the hardware, the shelves, the art, looks better against fresh walls.
21. Over Toilet Shelf
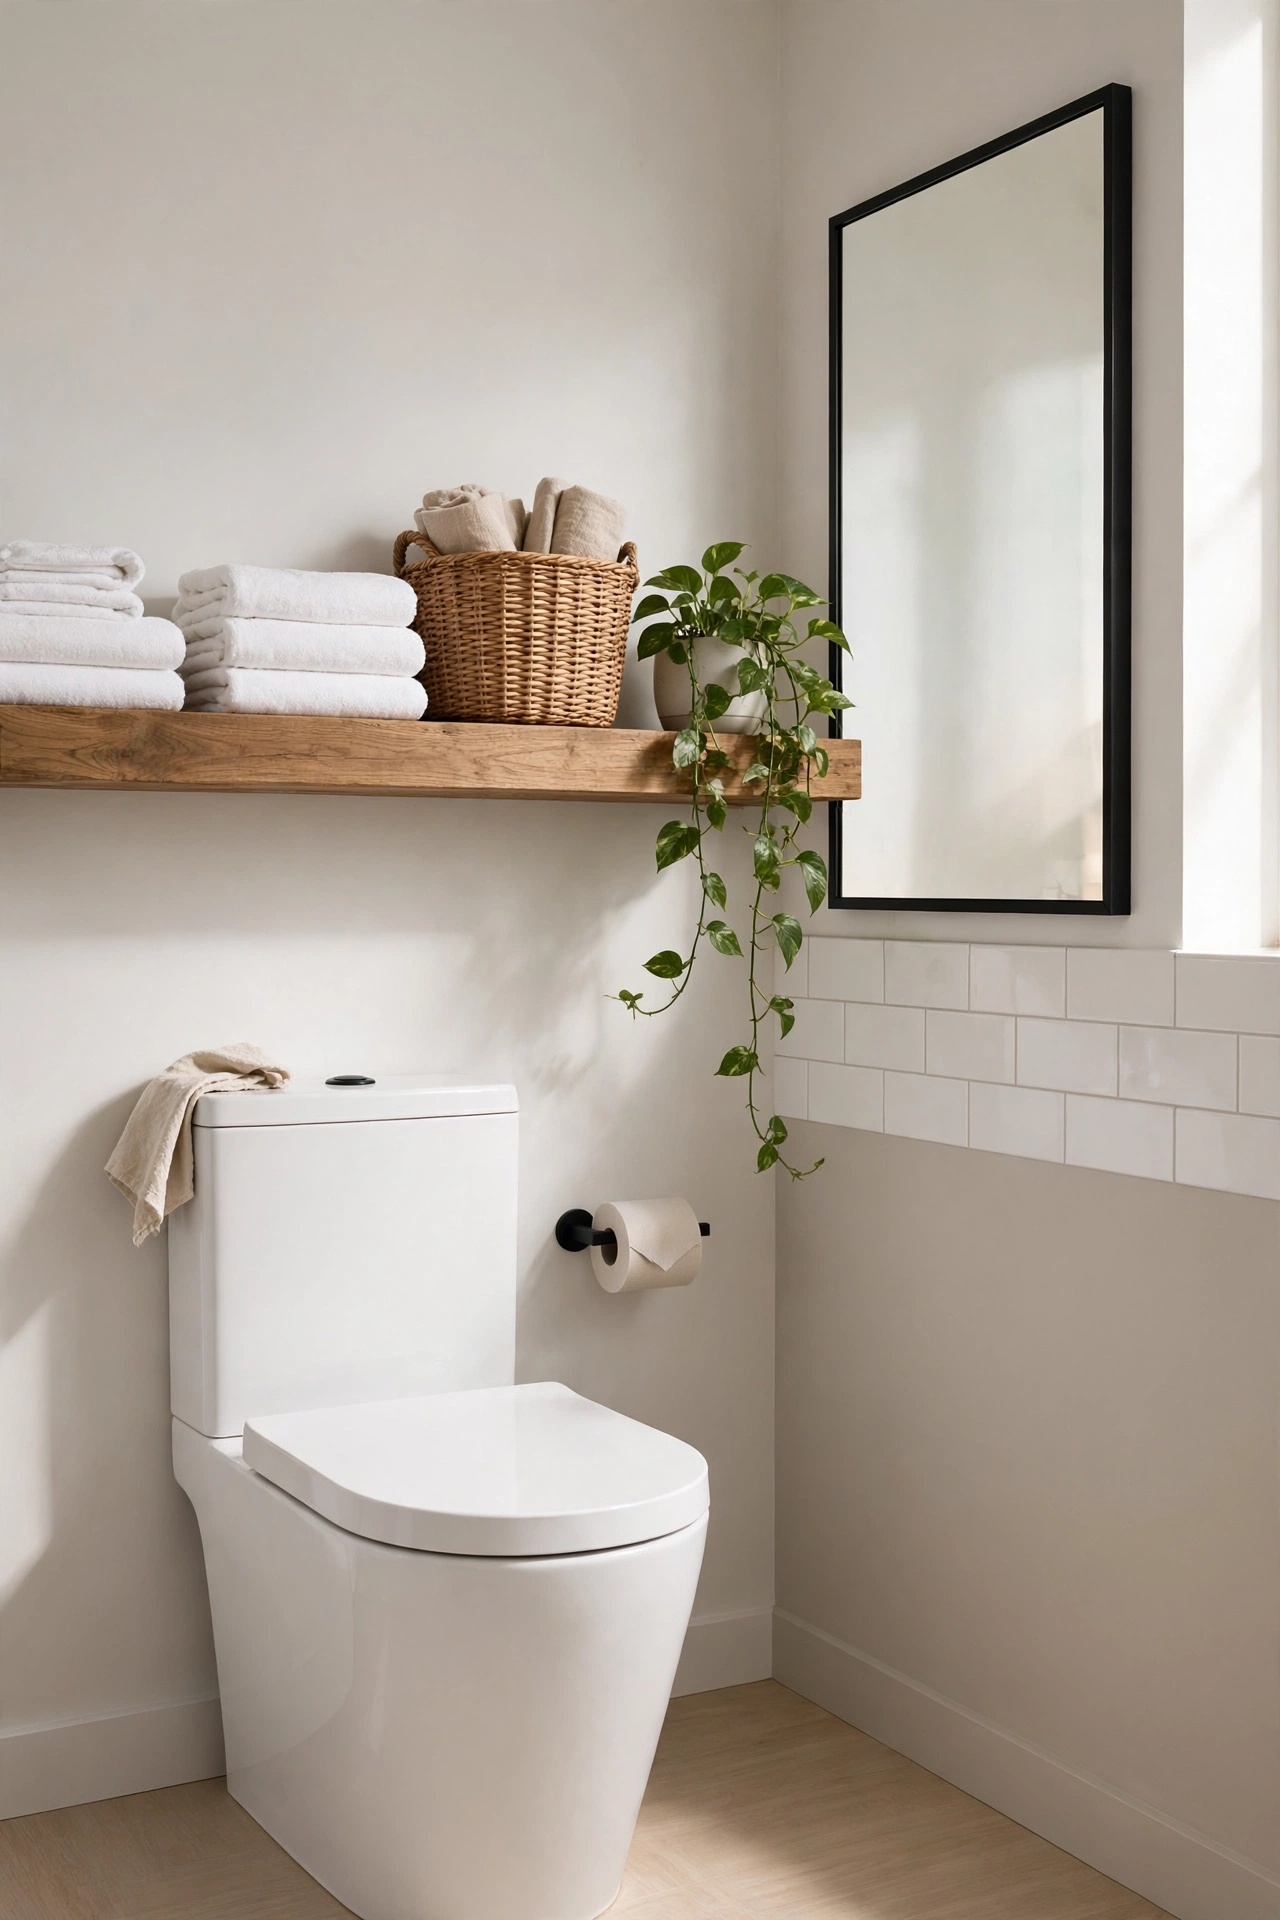
The wall above the toilet is prime real estate that most bathrooms waste completely. A simple shelf or a small wall cabinet there adds storage exactly where you need it, for spare towels, baskets, and everyday items. Measure carefully first, leaving enough clearance that nobody bumps their head when they stand up. Anchor into studs wherever possible, because this shelf will hold real weight. A single thick wood shelf on sturdy brackets looks airy, while a shallow cabinet with doors hides the less pretty necessities.
Style it like the floating shelves, with breathing room between objects. A small plant trailing down one side softens the whole arrangement. Keep daily items at easy reach and relegate the backup supplies to the higher spots. If your toilet sits under a window, use a narrow picture ledge style shelf on the side wall instead. Done well, this spot looks built in and thoughtful rather than like an afterthought, which is the whole goal.
22. Layered Bath Rugs
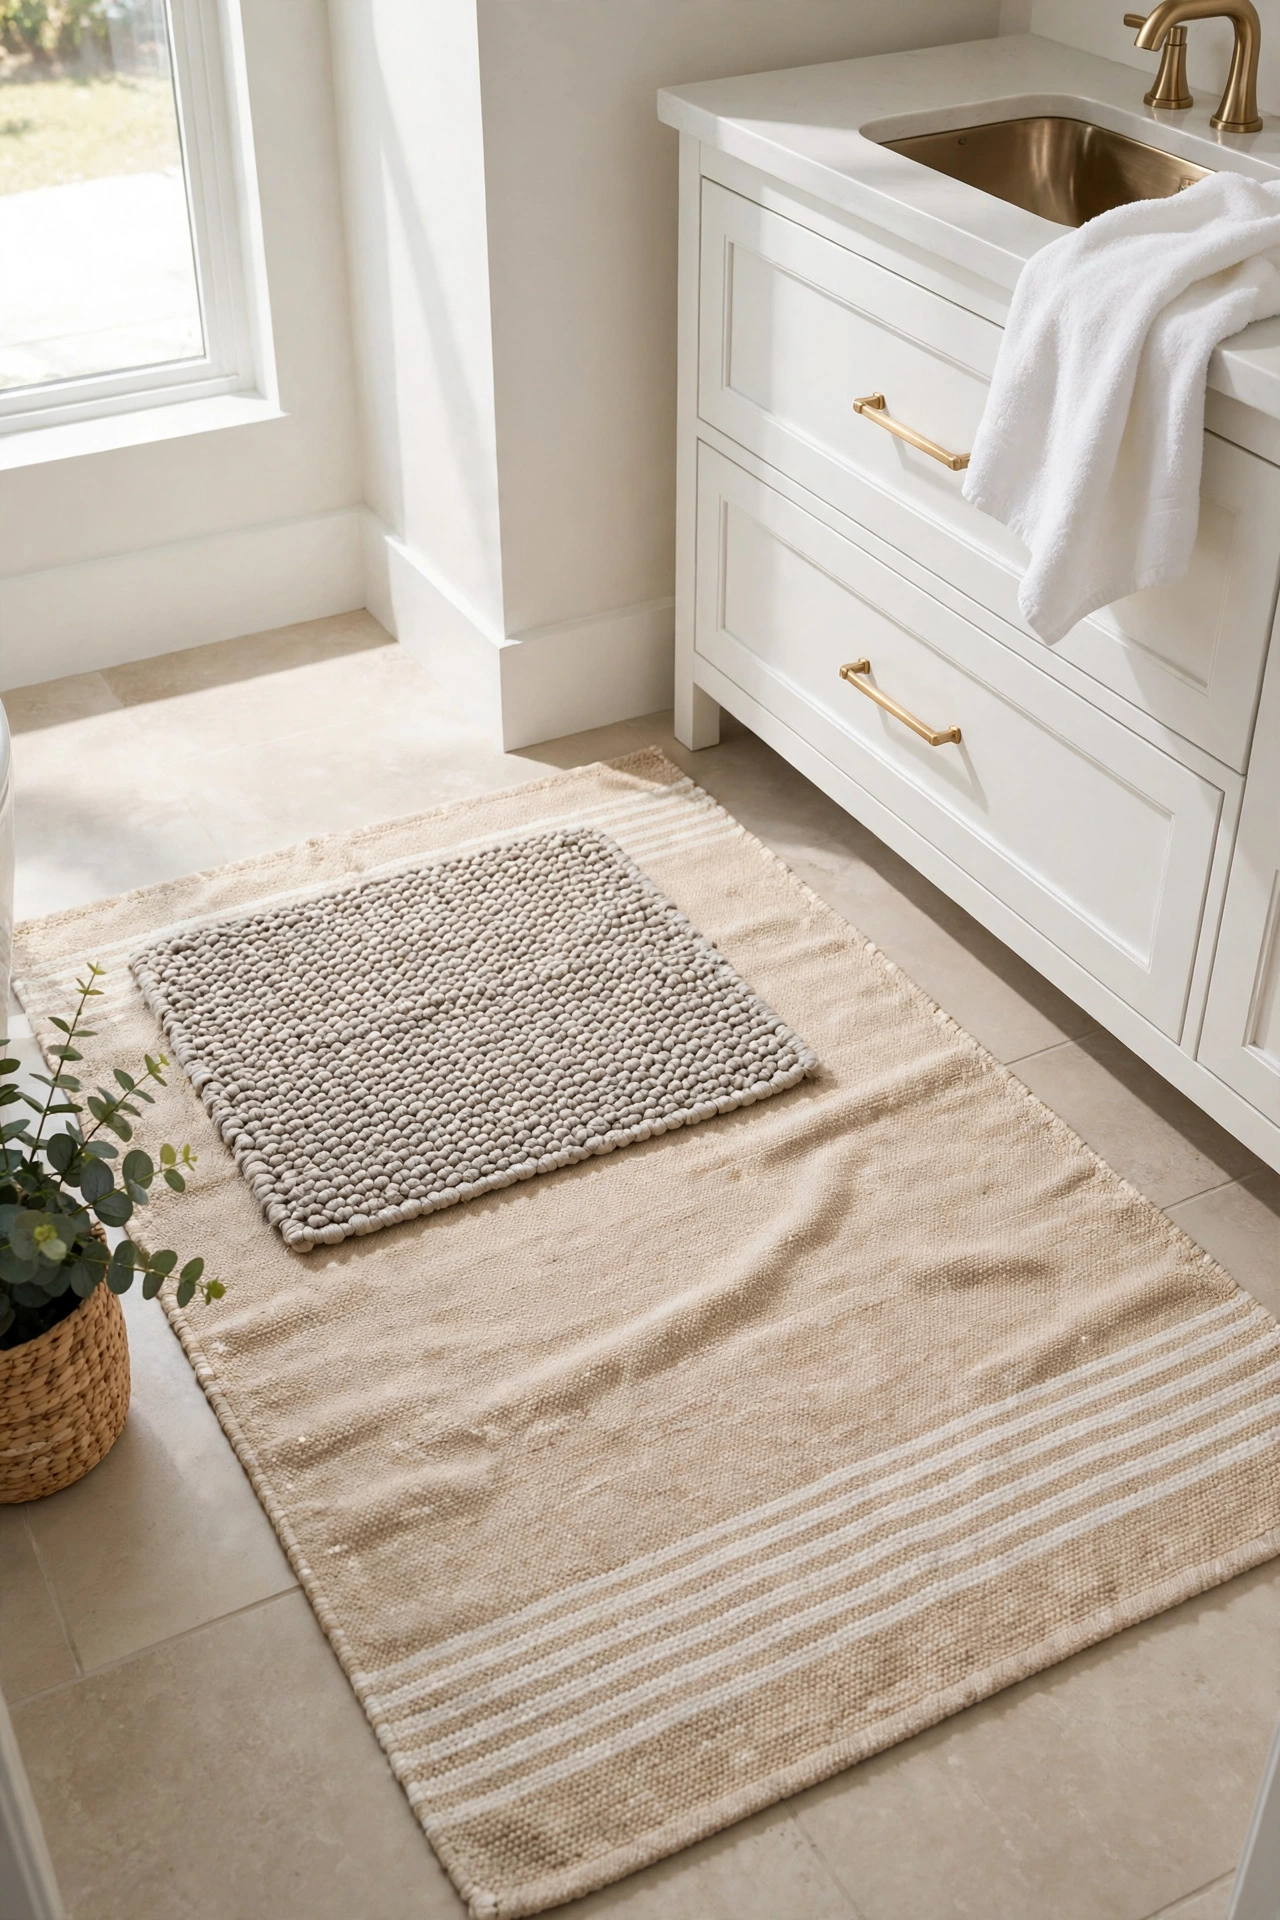
One thin bath mat in front of the sink is fine, but layered rugs make a bathroom feel designed instead of merely functional. Start with a larger washable cotton rug as the base and layer a smaller textured mat or a flatweave runner on top where your feet actually land. Put a non slip pad under the bottom layer so nothing slides on tile. Stick to a simple palette, maybe natural jute tones with white cotton, so the layers add texture without adding visual noise.
Washable matters more than anything in a bathroom, so check the care label before you buy and wash the rugs weekly to keep them fresh. A runner along a double vanity or beside a long tub fills empty floor space beautifully. This trick comes straight from living room styling and works just as well here. It is soft underfoot on cold mornings, it photographs wonderfully, and you can roll the whole thing up and take it with you when you move.
23. Frosted Window Film
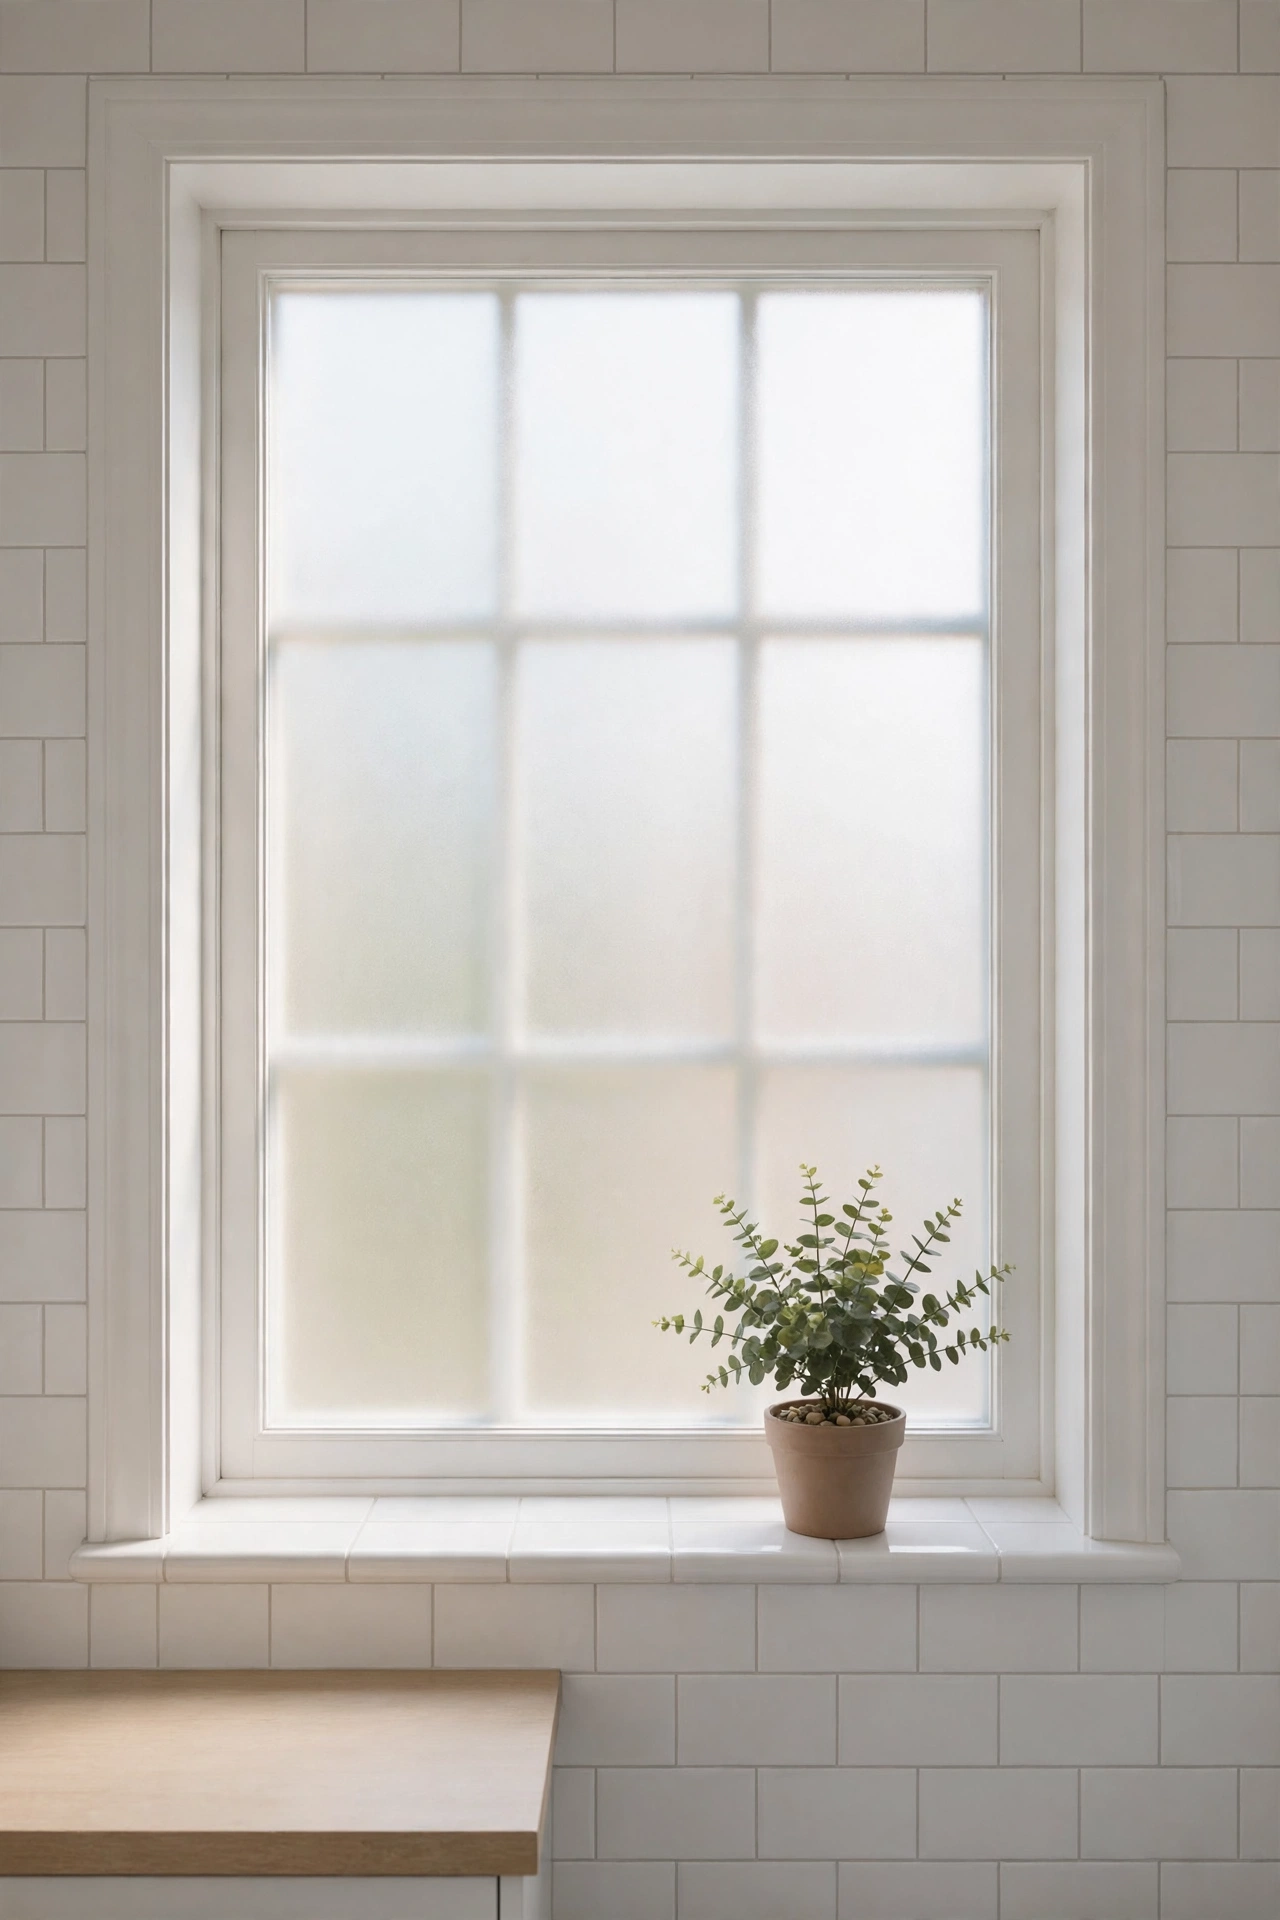
Bathroom windows need privacy without losing daylight, and frosted window film delivers both for the price of a pizza. The static cling kind needs no adhesive at all, just water, which makes it perfect for renters. Measure the glass and cut the film about an inch larger on every side. Spray the window generously with soapy water, lay the film on, and smooth it from the center outward with a squeegee or a credit card wrapped in a soft cloth. Trim the edges with a sharp utility knife and smooth them down.
Bubbles are the only real frustration, and patience plus more soapy water solves them. The film lets in soft diffused light while blurring the view completely, and it peels off cleanly whenever you want it gone. Patterned films that mimic etched glass or rice paper look especially pretty. It takes twenty minutes, requires zero skill, and looks like you ordered custom privacy glass.
Start with the idea that bothers you most every morning, because that is the one you will notice daily. Most of these take a single afternoon and cost less than dinner out. A bathroom does not need a full renovation to feel new. It just needs one or two thoughtful changes done well, and now you have twenty three to choose from
FAQs
Is this renter friendly?
Yes, it is one of the easiest rental upgrades. Keep the old knobs in a labeled bag taped inside the cabinet so you can swap them back on move out day.
Can a beginner really paint a vanity without streaks?
Yes, if you use two thin coats instead of one thick one and sand lightly between them. A small angled brush for the edges and a mini foam roller for the flat areas give the smoothest finish.
Is swapping a light fixture safe for a beginner?
Yes, if you turn off the breaker first and take a photo of the wiring before you disconnect anything. Match the wires exactly the way they were and secure each pair with a wire nut.
Do I need special paint for a bathroom?
Yes, use paint made for bathrooms since it resists mildew and wipes clean. Regular paint breaks down faster in steamy air.
Will they hold up in a steamy bathroom?
Yes, as long as the floor is clean and fully dry before you lay them and you seal the edges with caulk. Most tiles last three to five years in a bathroom, and a damaged tile peels up so you can drop in a spare.
How long does the new caulk need before I can shower?
Wait at least 24 hours so the bead cures fully. Showering too soon lets water get behind the caulk and ruins the seal.