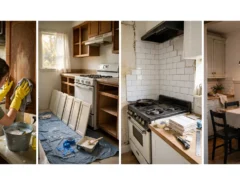
You want to walk into your kitchen in the morning and actually like what you see. Not the orange oak doors, the sticky brass pulls, or the one drawer that never closes right.
Price is what stops most people. New cabinets cost far more than a casual weekend project, and one quote can make you close the tab. But your cabinet boxes are probably fine. It is the finish, the hardware, and a few small details that make them look old.
A DIY kitchen cabinet makeover on a budget fixes exactly those things. Paint, new pulls, trim, and a little patience can make tired cabinets look new, and every idea below costs under $100.
Each one comes with simple steps you can follow in a weekend. Start with the first five, which cover prep, paint, color, and hardware.
1. Degrease and Sand Your Cabinets First So the Paint Actually Sticks
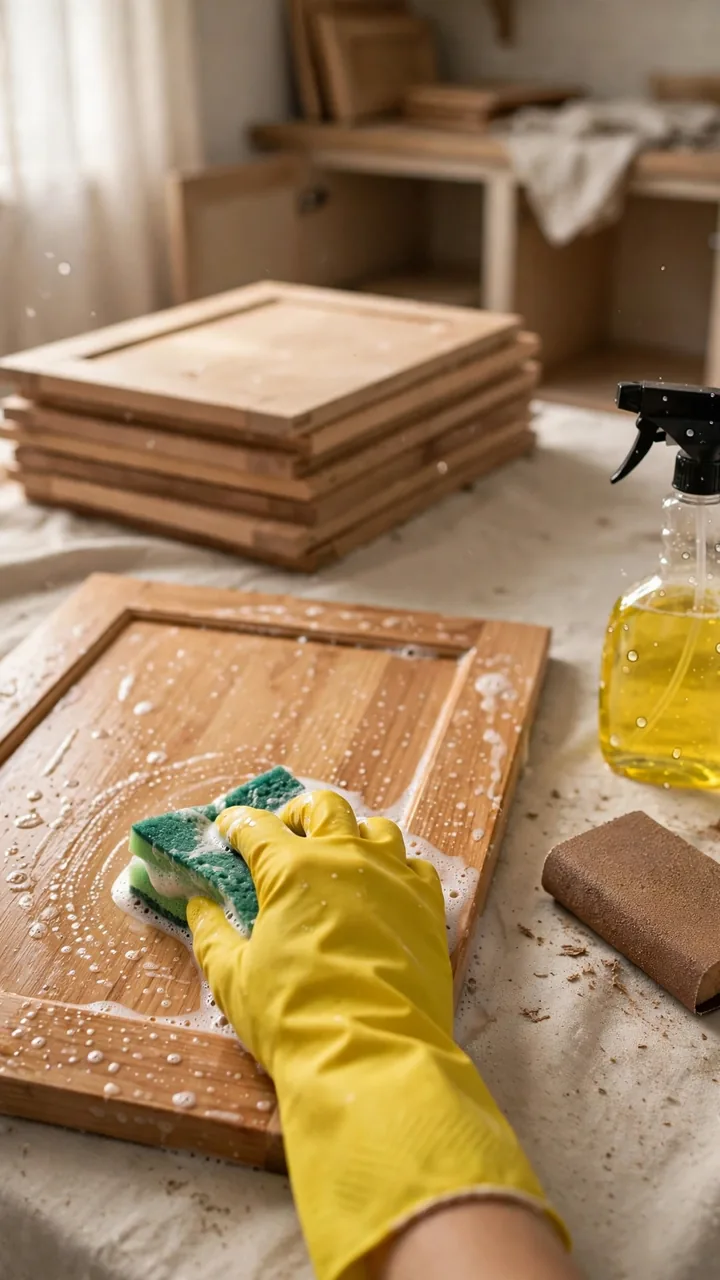
Most peeling paint starts with grease you cannot see.
Years of cooking leave a film on the doors near the stove, and fresh paint slides right off it. Skipping this step is a common reason cabinet paint jobs fail. All you need is a degreasing cleaner, a sanding sponge, and a clean rag, which is a small cost next to the paint.
Label every door before you take it off. Mixing them up is a headache you can easily avoid.
Remove the doors and hardware. Put a numbered piece of tape on the back of each door and the matching cabinet frame.
Scrub every surface with degreaser, wipe with clean water, and let everything dry fully.
Lightly sand with a fine grit sponge until the glossy shine is gone. You are scuffing, not stripping.
Wipe off the dust with a damp rag so the primer has a clean surface to grip.
2. Paint Kitchen Cabinets With a Bonding Primer and Two Thin Coats
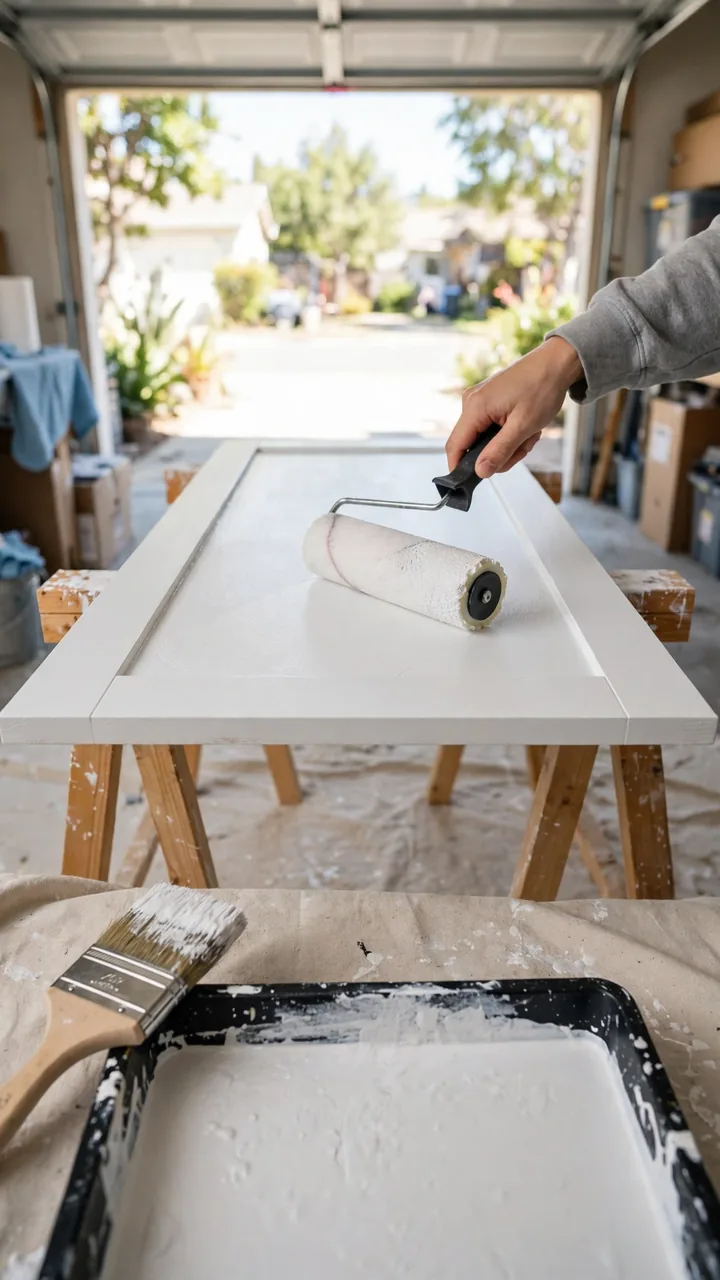
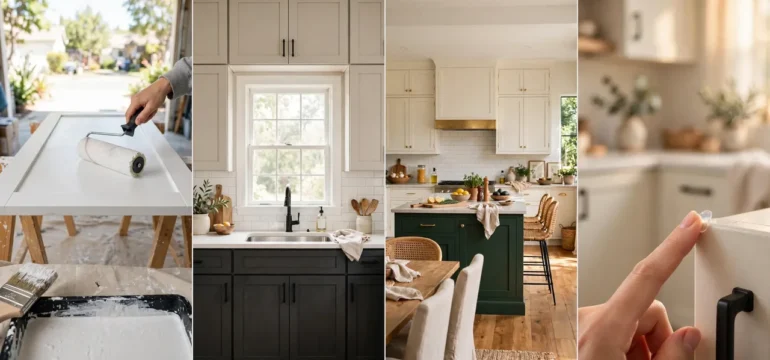
Roll on a bonding primer first, then two thin coats of cabinet or enamel paint. Thin coats dry harder and show fewer drips than one heavy coat.
A few habits make the finish look store bought:
- Use a small foam roller on flat panels and an angled brush in the corners.
- Wait the time on the can between coats.
- Lay doors flat while they dry and handle them gently for the first week.
A single quart often covers a small kitchen, which keeps this idea well under budget.
3. Pick Your Cabinet Paint Color by Matching the Countertop Undertone
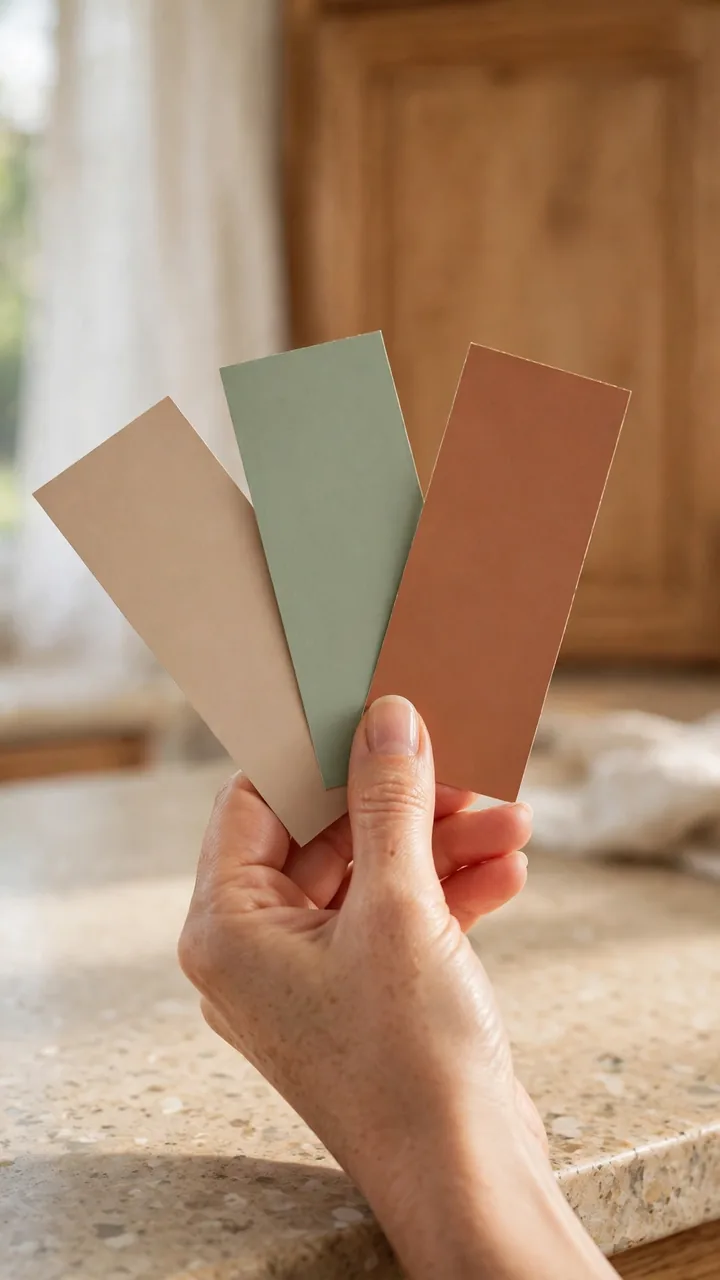
Look at your countertop in daylight and ask one question: does it lean warm or cool?
That answer saves you from the most common color mistake, which is a crisp white cabinet next to a creamy counter. The two fight each other, and the kitchen ends up looking off even when you cannot say why. These kitchen cabinet paint ideas follow the counter instead of fighting it.
Hold a paint sample next to the counter before you buy a full can.
| Warm countertop | Cool countertop |
|---|---|
| Beige, tan, cream, or brown flecks | Gray, white, black, or blue veining |
| Try warm white, soft greige, or olive green | Try crisp white, light gray, or navy |
| Skip stark blue whites | Skip yellow creams |
4. Go Two Tone With Darker Lower Cabinets and Lighter Uppers
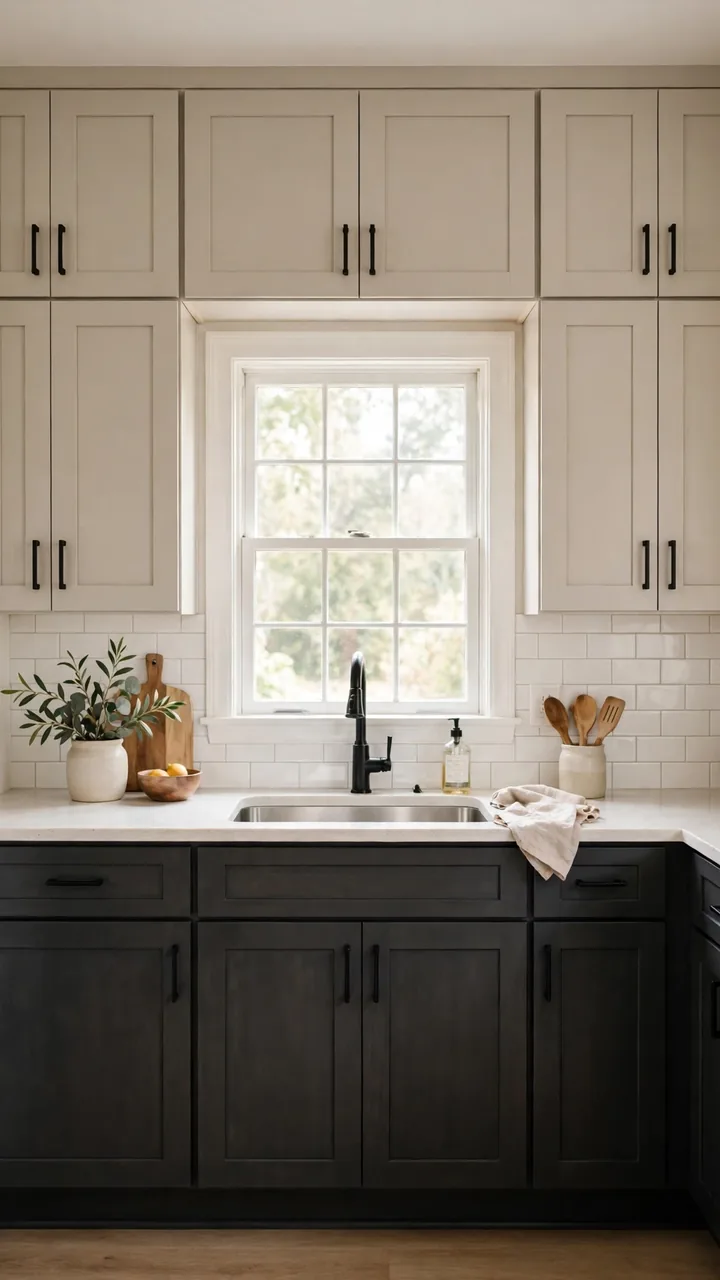
Lower cabinets take the most abuse from shoes, mops, and kicked doors, so a darker color hides scuffs right where they happen. It also makes a dated kitchen look planned instead of patched.
Here is the simple version:
- Pick a deep color like charcoal or forest green for the lowers.
- Keep the uppers soft white or light greige so the room stays bright.
- Use the same hardware on both so the two colors feel connected.
Start with the lowers. If you like the look, paint the uppers the next weekend.
Yellowed oak cabinets in the same orange tone from top to bottom, scuffed at knee height.
Charcoal lowers, light uppers, same layout. Scuffs fade into the dark color and the room feels taller.
5. Swap Old Pulls for New Ones That Use the Same Screw Holes
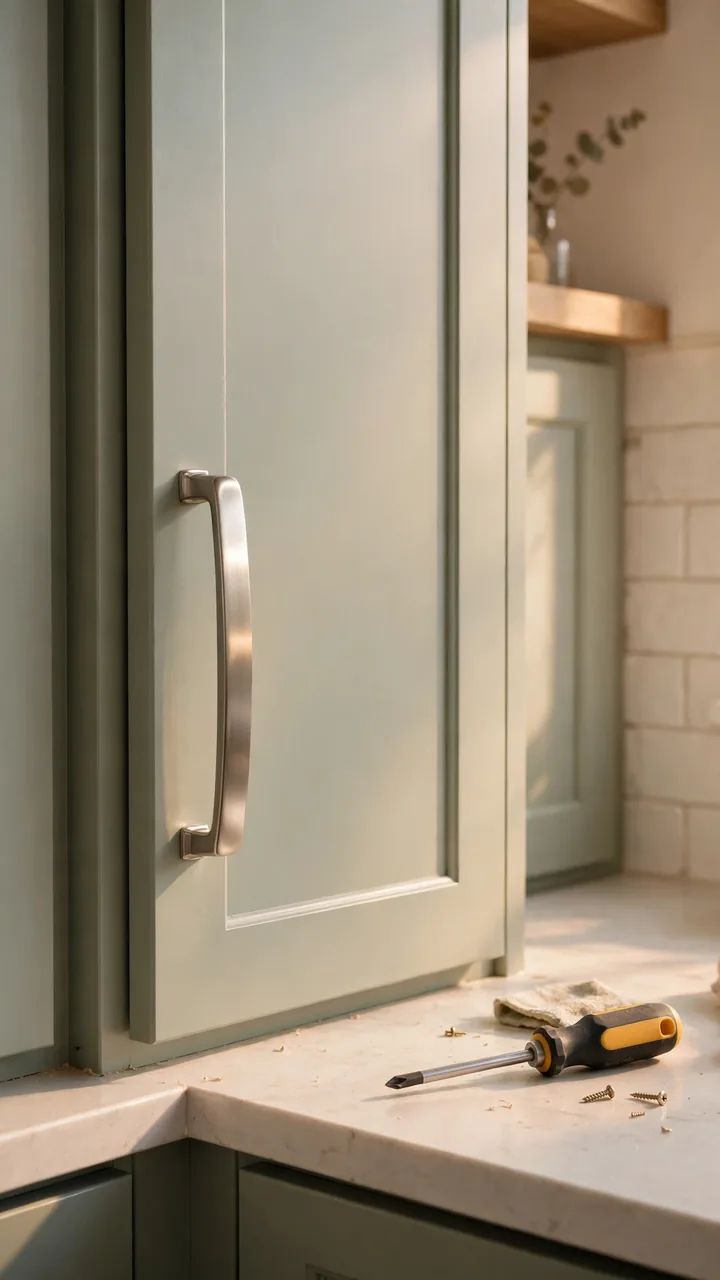
That brass pull that catches your sleeve every morning is the easiest thing in the kitchen to fix.
A cabinet hardware update takes less than an hour for most kitchens, and it changes the whole look of the doors. The trick is matching the hole spacing. Measure from the center of one screw hole to the center of the other, then shop for pulls with that same number. Your old holes line up, so you skip the drilling and the patching.
Matte black and brushed nickel are easy to find at a low price in most hardware aisles.
💡 Quick Tip
Snap a photo of a ruler held across one old pull, then take it to the store. It saves you from buying the wrong size.
6. Fill Old Hardware Holes With Wood Filler When the New Pulls Don’t Line Up
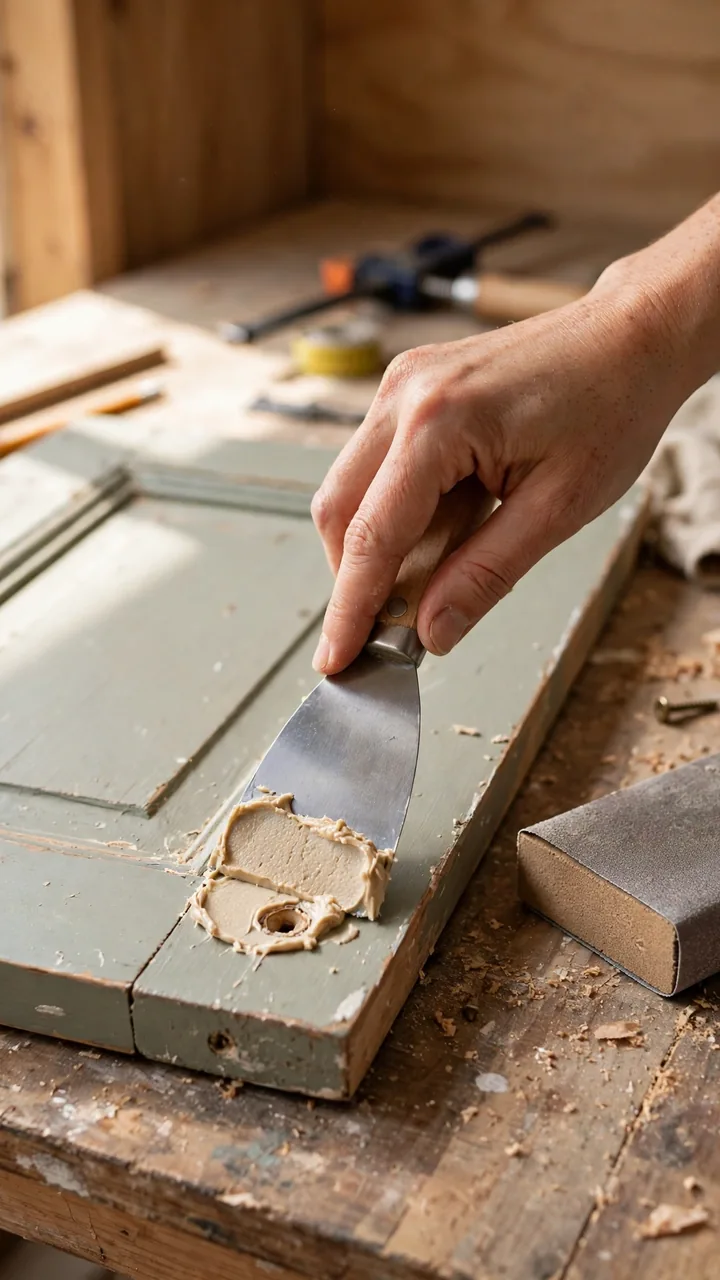
Sometimes the new pulls just won’t fit the old holes.
That is fine, as long as you patch the old ones before you paint. Pressing wood filler into each hole takes a few minutes, and a small tub costs only a few dollars. Overfill each hole a little, because filler shrinks as it dries. Sand it flush once it is hard, then prime over the patch so it does not show through the paint.
Do this before the final coat. A patch under paint is invisible, while a patch on top of paint is not.
Press the filler in with a putty knife and leave a small bump.
Sand smooth after it dries fully.
Prime the patch before painting.
Sanding while the filler is still soft.
Painting straight over bare filler.
Filling the hole flat and hoping it shrinks evenly.
7. Skip the Knobs Altogether With Cheap Finger Pulls or Adhesive Edge Pulls
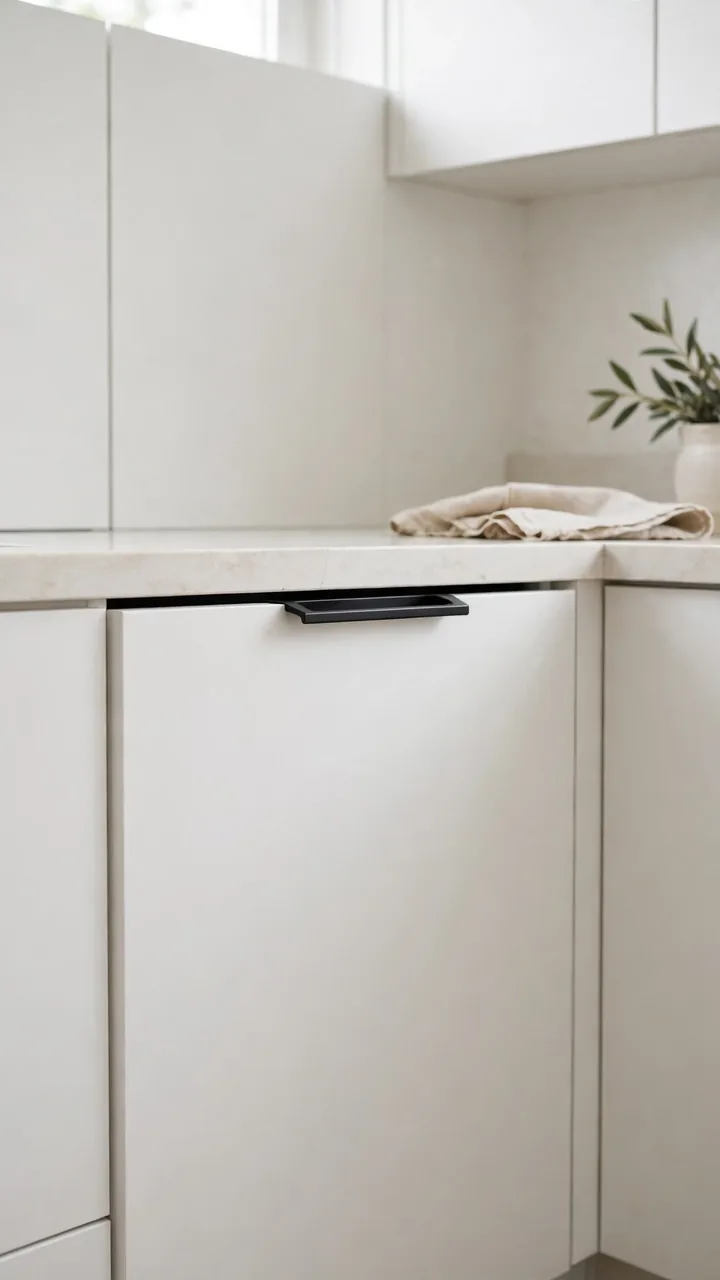
Knobs are not your only option.
A slim finger pull screws onto the top edge of a lower door, while an adhesive edge pull sticks to the side with no screws at all. Both give you a clean, flat door face once you fill the old holes. Adhesive pulls only hold on a clean, dry, painted surface, so wait until the paint has cured for a few days before you press them on.
This works best on flat slab doors, where a bulky pull would look out of place.
What to grab first
8. Add Thin Trim to Flat Cabinet Doors for a Budget Shaker Look
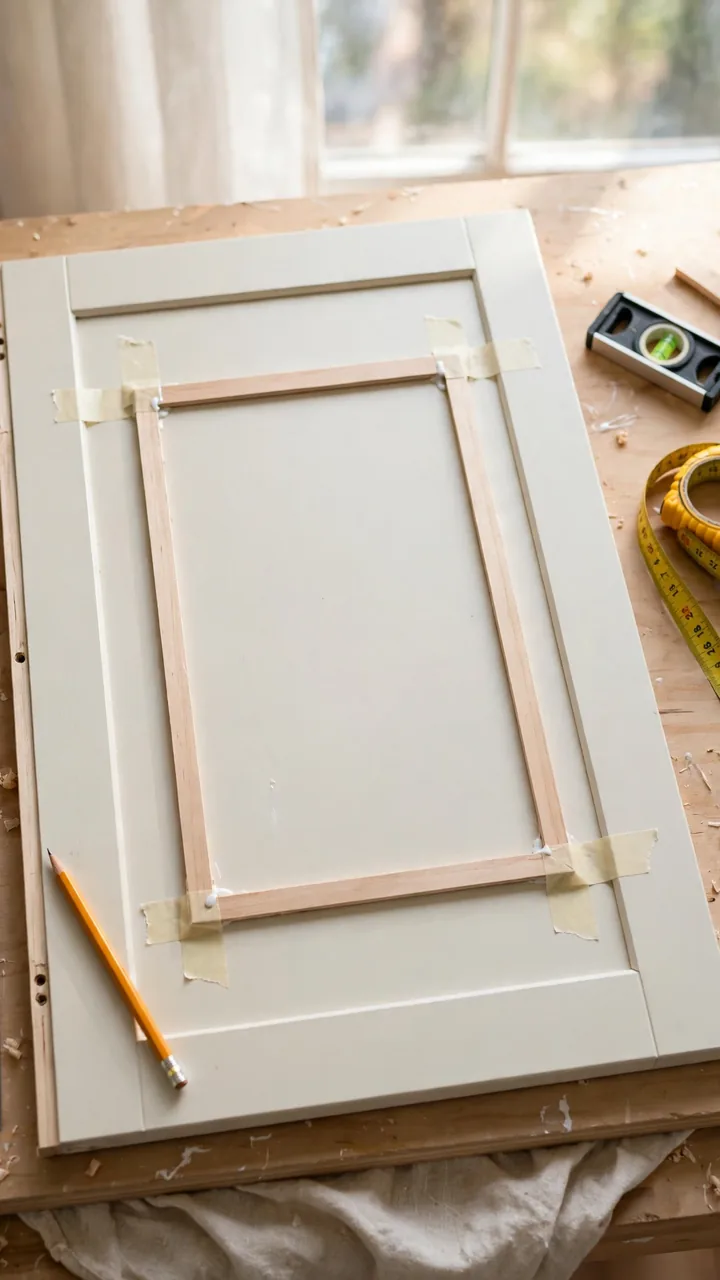
A flat door can pass for a Shaker door with a few strips of thin trim.
Measure a rectangle about two inches in from the edge of each door. Cut thin pine or lattice trim to fit, glue it on, and caulk the seams so they disappear under paint. Paint the whole door one color so the trim reads as part of the door.
Start with one door as a test. If the first looks right, the rest go quickly.
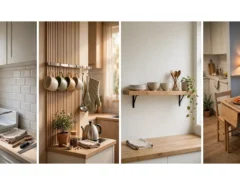
9. Take Off a Few Upper Doors for Open Shelving
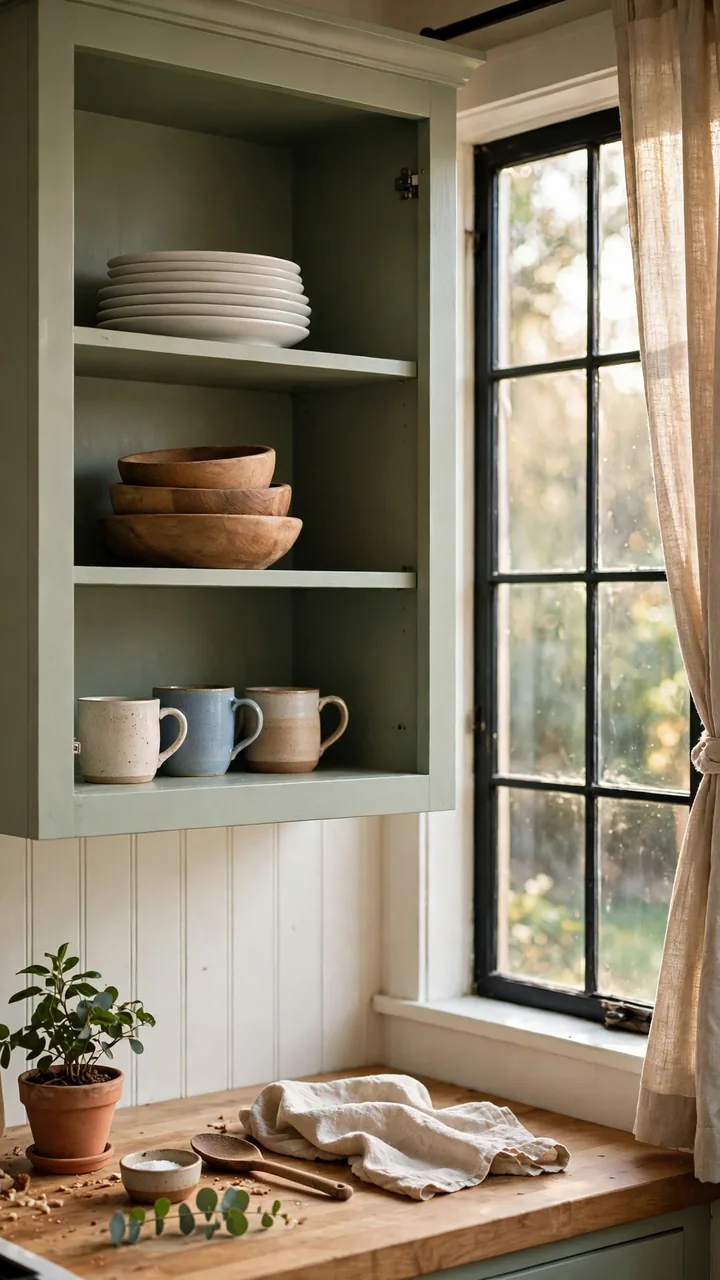
Upper cabinets can make a small kitchen feel heavy, especially when the doors are dark and dated.
Removing two or three doors turns a closed wall of wood into open storage. Unscrew the doors and hinges, fill the hinge holes, and paint the inside of each cabinet so the interior looks finished. Keep the dishes you use every day inside, since open shelves show everything.
Pick the cabinets next to a window or beside the stove first. They tend to feel the most closed in.
- ▸Fill the hinge screw holes and sand them smooth.
- ▸Paint the inside a lighter color than the outside.
- ▸Stack plates, bowls, and mugs in matching sets.
- ▸Leave a little empty space on each shelf so it does not look crowded.
10. Line the Back of Open Shelves With Peel and Stick Wallpaper
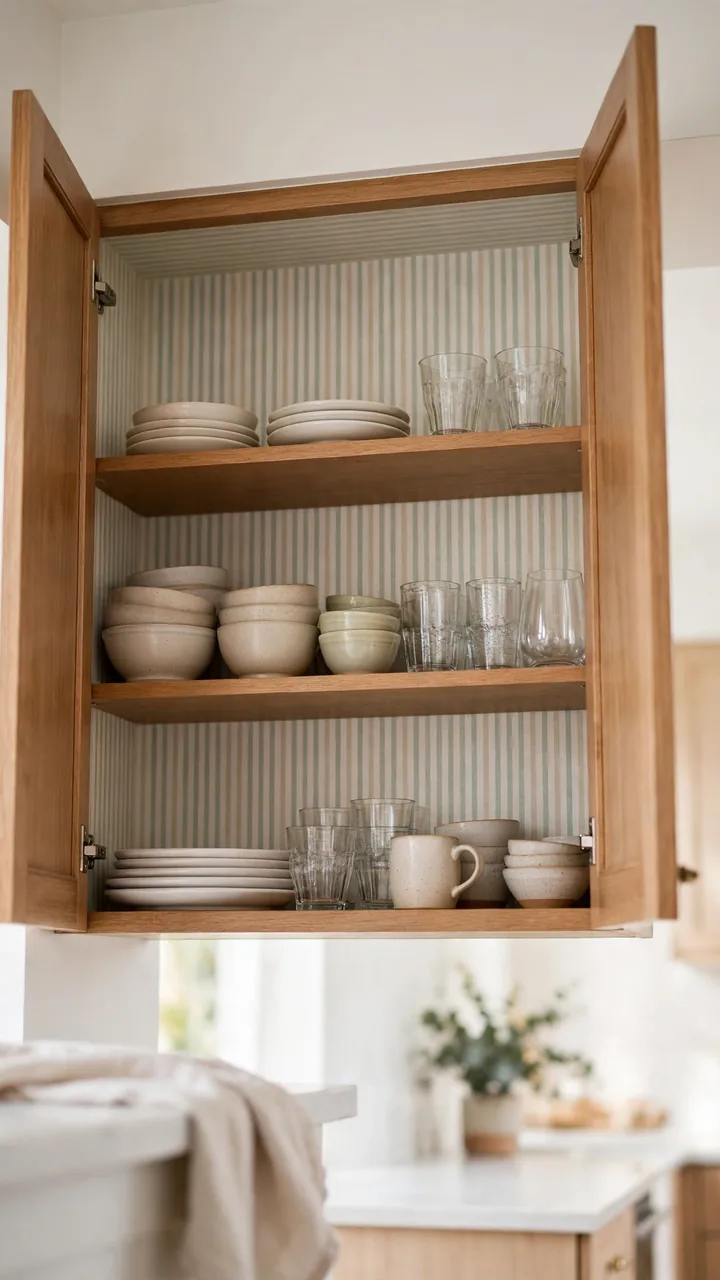
The back panel of an open cabinet is a small canvas, and a pattern there shows up without making the whole kitchen busy.
Cut peel and stick wallpaper a little larger than the panel, press it on from one edge, and smooth out air bubbles with a card as you go. Trim the extra with a sharp blade. A single roll often covers several cabinets, so the cost stays low.
Pick a quiet pattern like a thin stripe or small check so your dishes still stand out.
Cover only the back panel. A small patch of pattern changes the look of the cabinet without the cost or commitment of a full wall.
11. Tighten Loose Hinges and Fix Sagging Doors Before You Paint
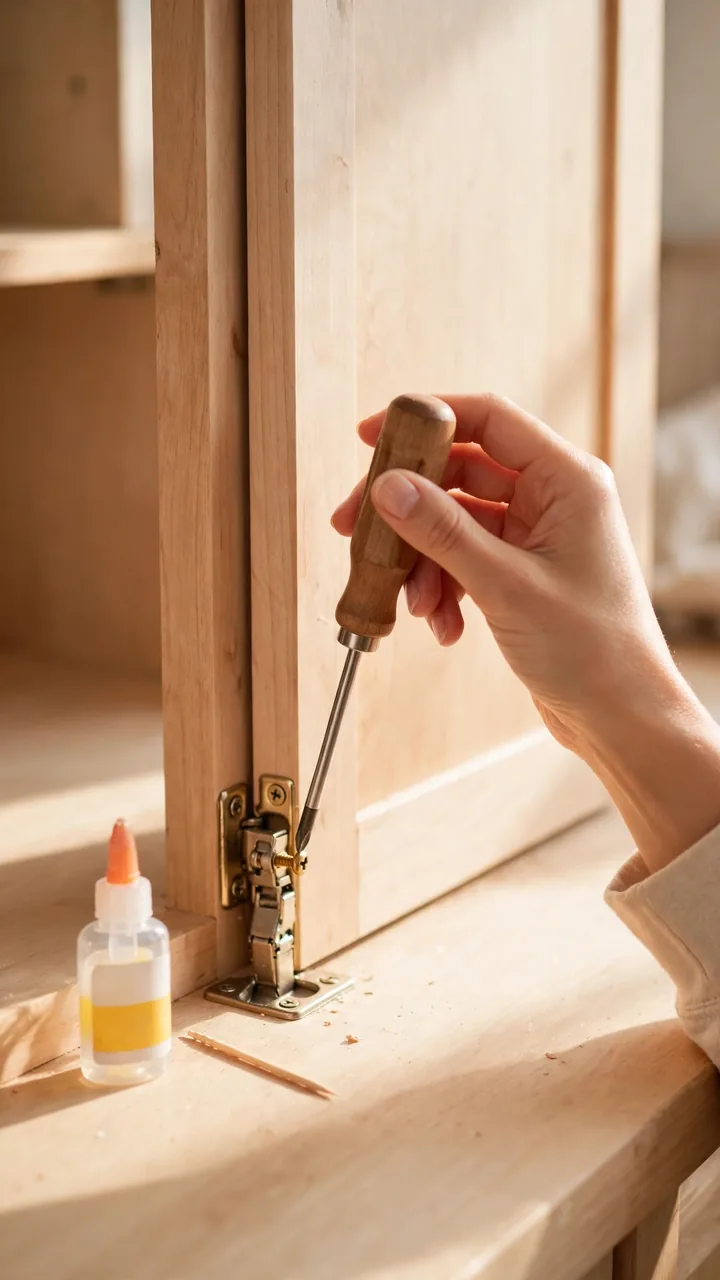
Paint will not fix a door that hangs crooked.
Check each door first. Open it, then give it a gentle wiggle. If it droops or the gap along the edge looks uneven, the hinge screws have probably worked loose over the years.
Tighten every screw by hand. If a screw just spins, the hole is stripped. Dip a toothpick in wood glue, push it into the hole, snap it off flush, and let it dry before you drive the screw back in.
Do this now, while the doors are already off for sanding.
⚠️ Watch Out
Do not over tighten. Turning a screw until it feels tight and then a little more can strip the hole all over again. Stop when the door sits flat and swings freely.
12. Paint the Island a Different Color Than the Rest of the Cabinets
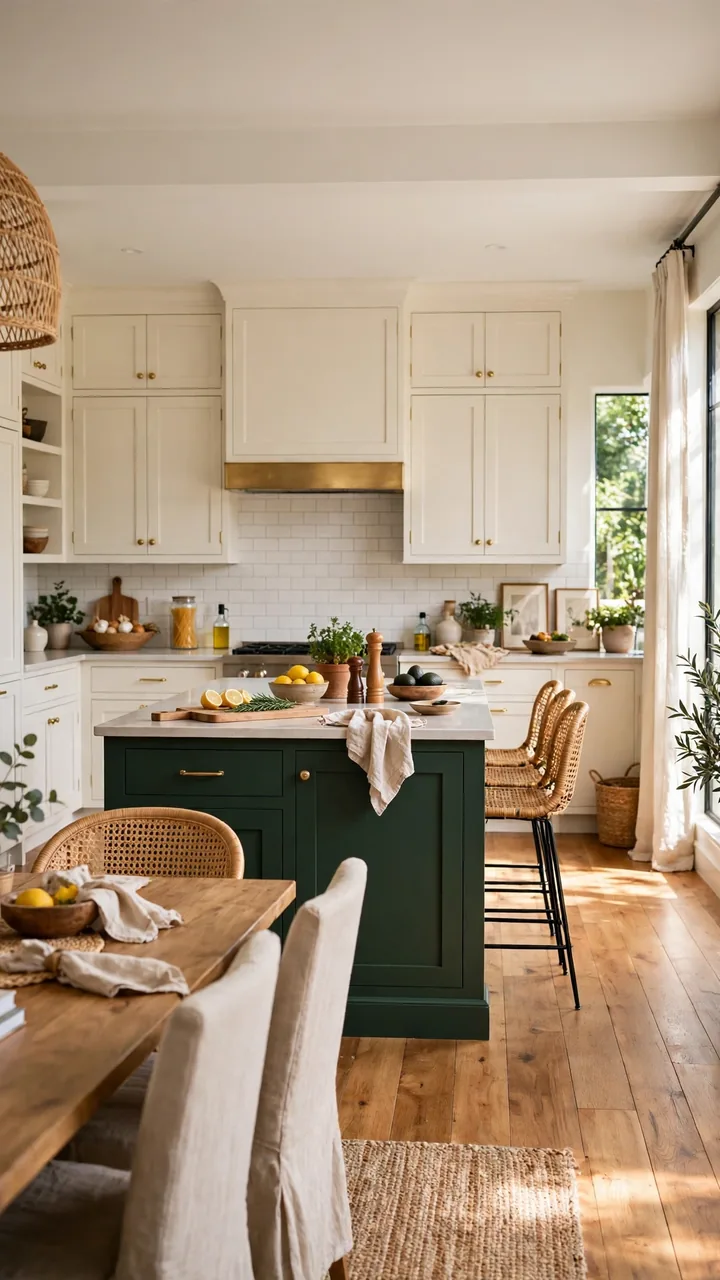
An island is the easiest place to try a bolder color, because it is one small block in the middle of the room.
Pick a shade that works with your main cabinet color, like deep green against warm white or navy against light gray. The steps match the rest of your paint job: degrease, sand, prime, and paint in thin coats. Since people lean on the island all day, finish it with a protective clear coat.
If you cannot decide, paint a scrap of wood and tape it to the island for a few days.
13. Paint the Toe Kick Dark So the Bottom Edge Disappears
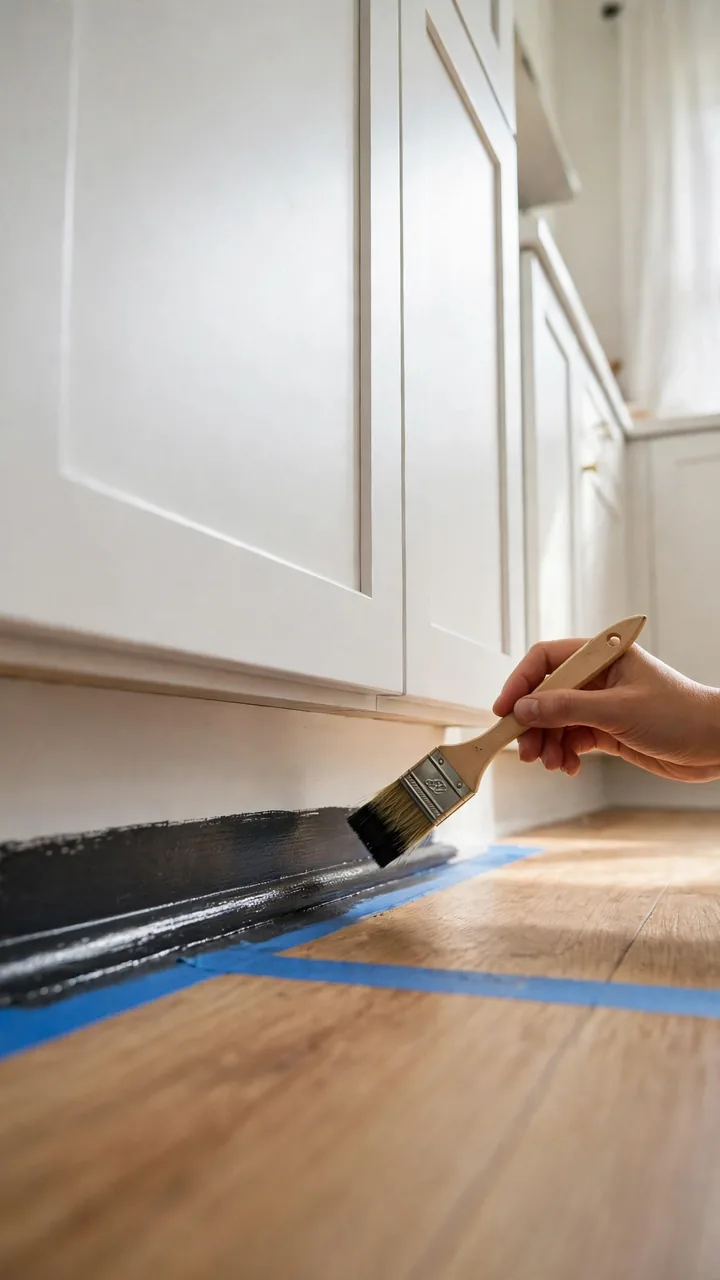
Look at the strip at the very bottom of your lower cabinets. It is usually scuffed, dusty, and the first thing to look old.
Painting the toe kick a dark color hides all of that. Black, charcoal, or a deep brown makes the cabinets look like they float above the floor. It is a tiny job that takes less than an hour, and a sample pot of paint is enough.
Tape the floor first. This is the one spot where drips are almost guaranteed.
Before you paint the toe kick
14. Close the Gap Above Your Upper Cabinets With Crown Molding
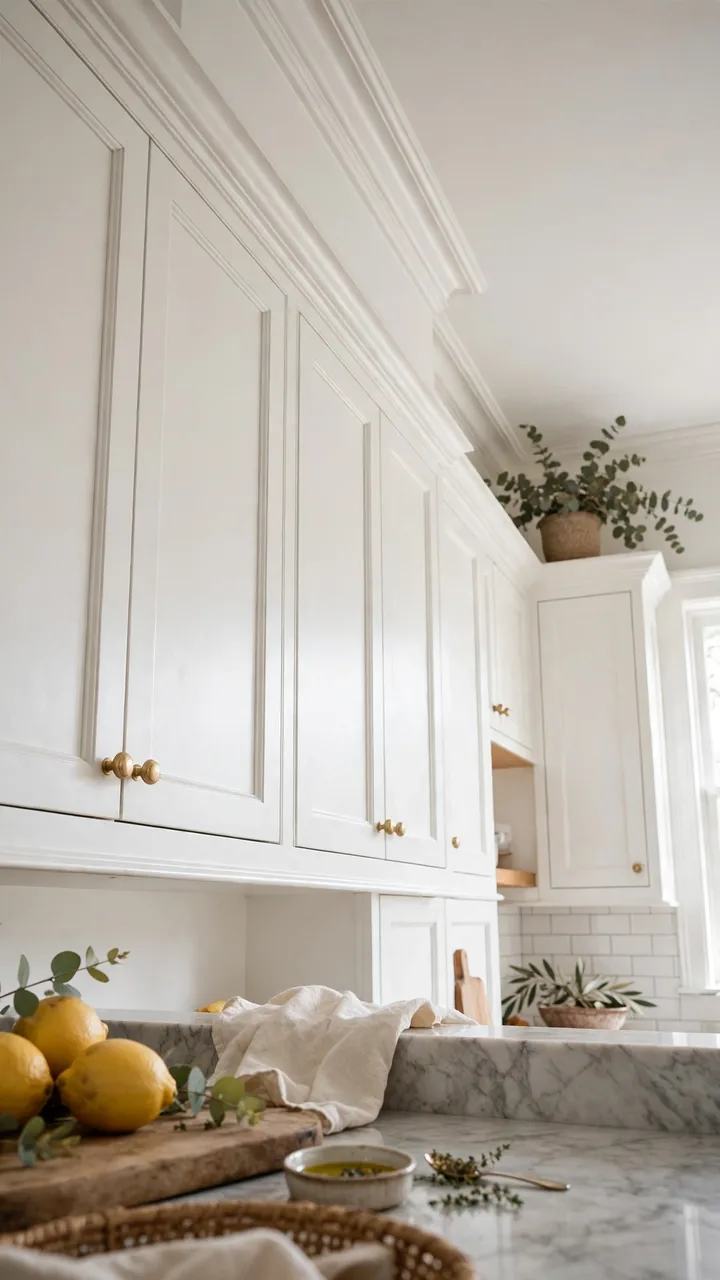
That dusty strip between the cabinet tops and the ceiling makes the kitchen look unfinished.
Crown molding fills it. Measure each run, cut the pieces with a hand miter box, and attach them with finishing nails or construction adhesive. Corners are the tricky part, so cut a spare piece to practice on. Fill the nail holes, caulk the seams, and paint the molding the same color as your cabinets.
Pick a simple profile. A plain, narrow molding is cheaper and easier to cut than an ornate one.
A bare gap above the uppers that collects dust and makes the cabinets look like they stopped short.
Painted molding that ties the cabinets to the ceiling and makes them look built in.
15. Add Under Cabinet Lights That Don’t Need an Electrician
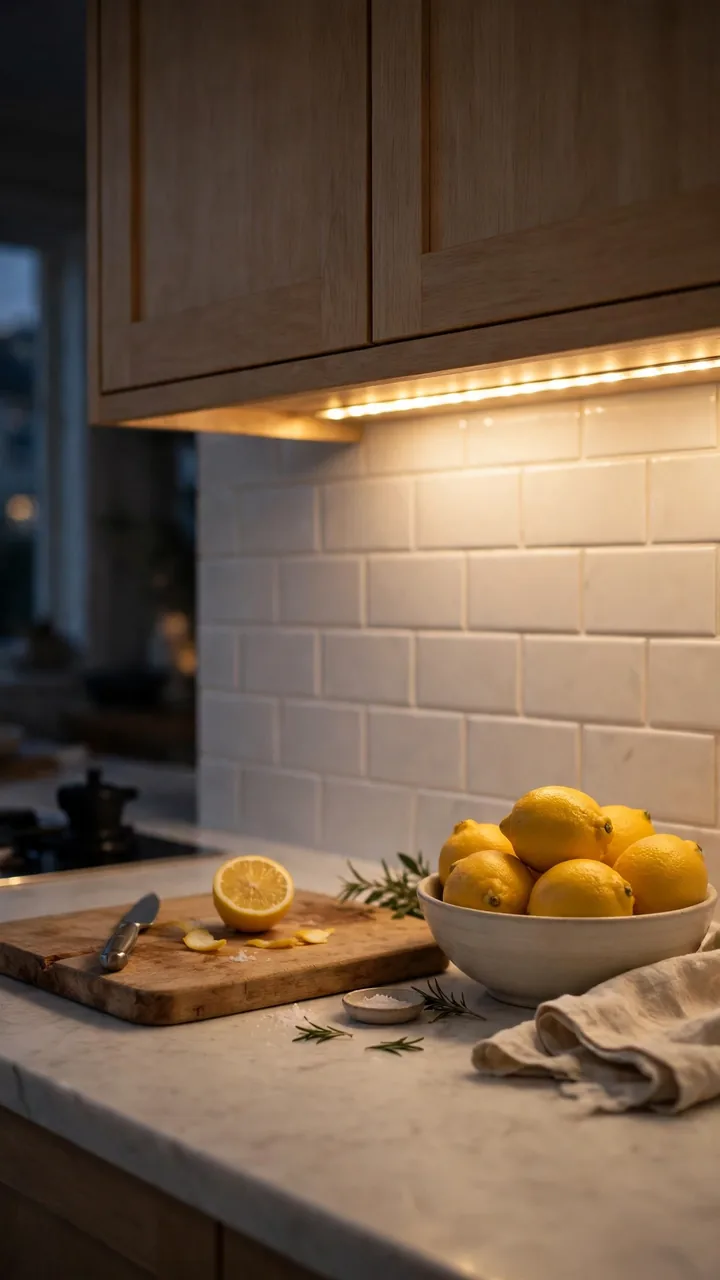
Dark counters make old cabinets look older.
Stick on LED strips or push lights fix that in an afternoon, and none of them need wiring into the wall. Mount them toward the front edge of the cabinet so the light lands on the counter instead of the backsplash. Hide the cord behind the cabinet trim, or use a small clip to keep it neat.
Check how far your outlet sits from the cabinet before you buy. Cord length is what most people forget.
| Plug in strips | Battery push lights |
|---|---|
| Steady light, no batteries to swap | No cord, so nothing to hide |
| Needs a nearby outlet | Works anywhere in the kitchen |
| Best for long, busy counters | Best for small spots and shelves |
16. Replace Dated Door Panels With Cane Webbing Inserts
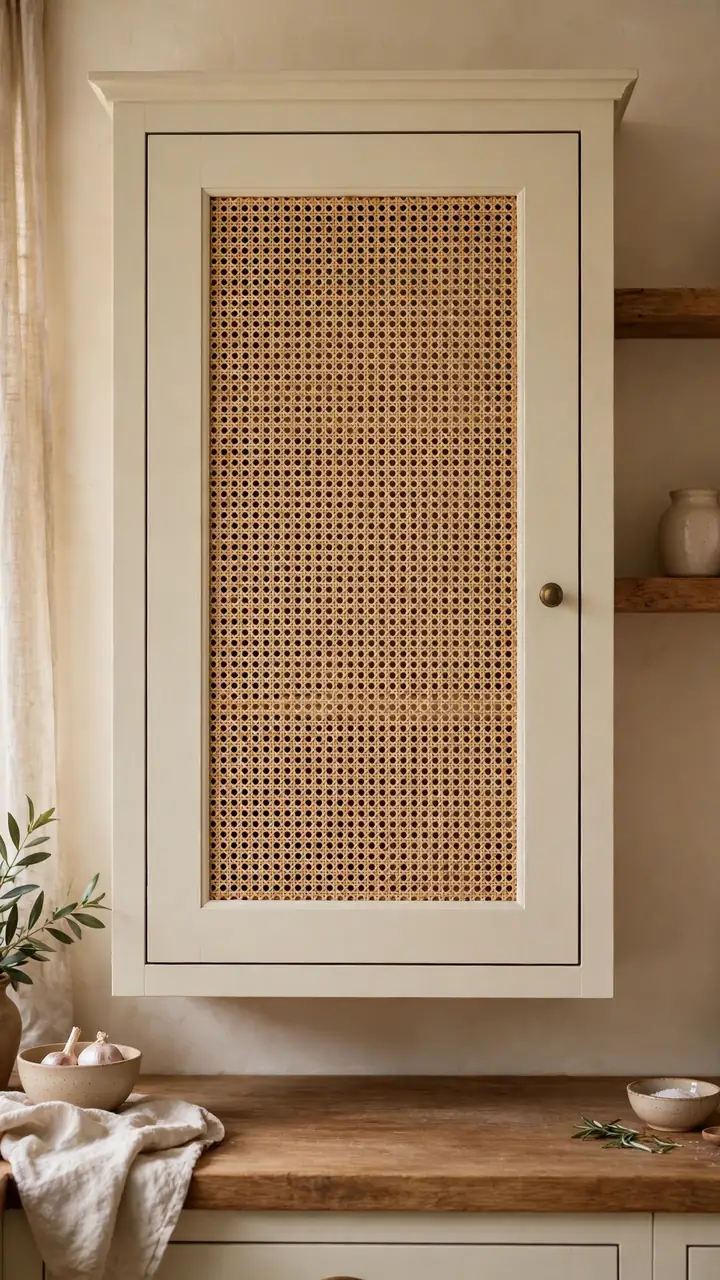
Cane webbing is one of the cheapest ways to make plain cabinets look custom.
It works best on doors with a recessed center panel. Remove the door, then pop out or carefully cut away the thin center panel with a small saw or oscillating tool. Soak a piece of cane webbing in warm water for about 20 minutes, lay it over the opening, and staple it to the back of the frame. As it dries, the webbing pulls tight on its own.
Try it on two or three upper doors first. A little cane goes a long way, and the rest of the kitchen can stay simple.
17. Refresh Drawer Interiors With Shelf Liner and Simple Dividers
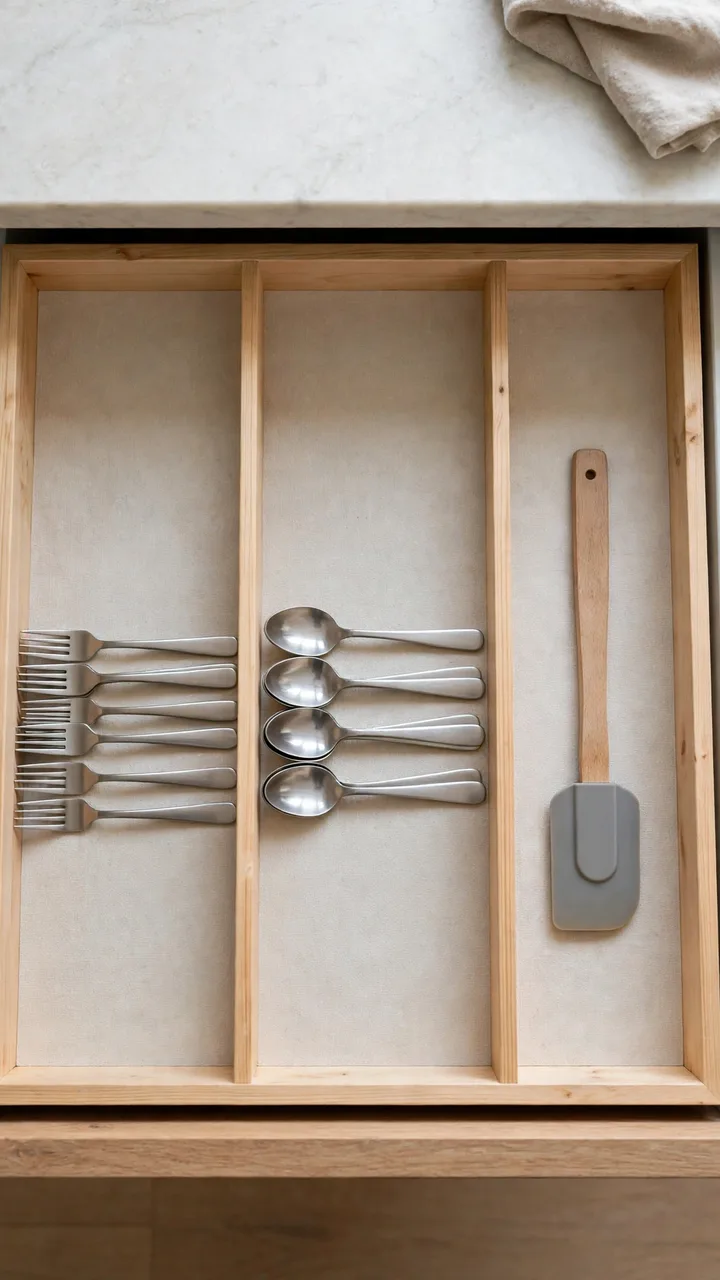
Open a dated drawer and the inside often looks worse than the front.
Cracked paper, crumbs in the corners, and a pile of loose utensils make a new paint job feel unfinished. Fixing the inside costs very little and you use it every single day. Choose a plain liner, then add a few dividers so each tool has a spot.
A drawer that opens to something tidy makes the whole kitchen feel newer.
Empty the drawer, vacuum the crumbs, and wipe it down with a damp cloth.
Measure the length and width, then cut the liner a hair smaller so it lies flat.
Peel back one edge, press it down, and smooth toward the other side to push out bubbles.
Set in expandable dividers and sort your tools by how often you grab them.
18. Repaint Drawer Fronts Separately So the Brush Marks Stay Out
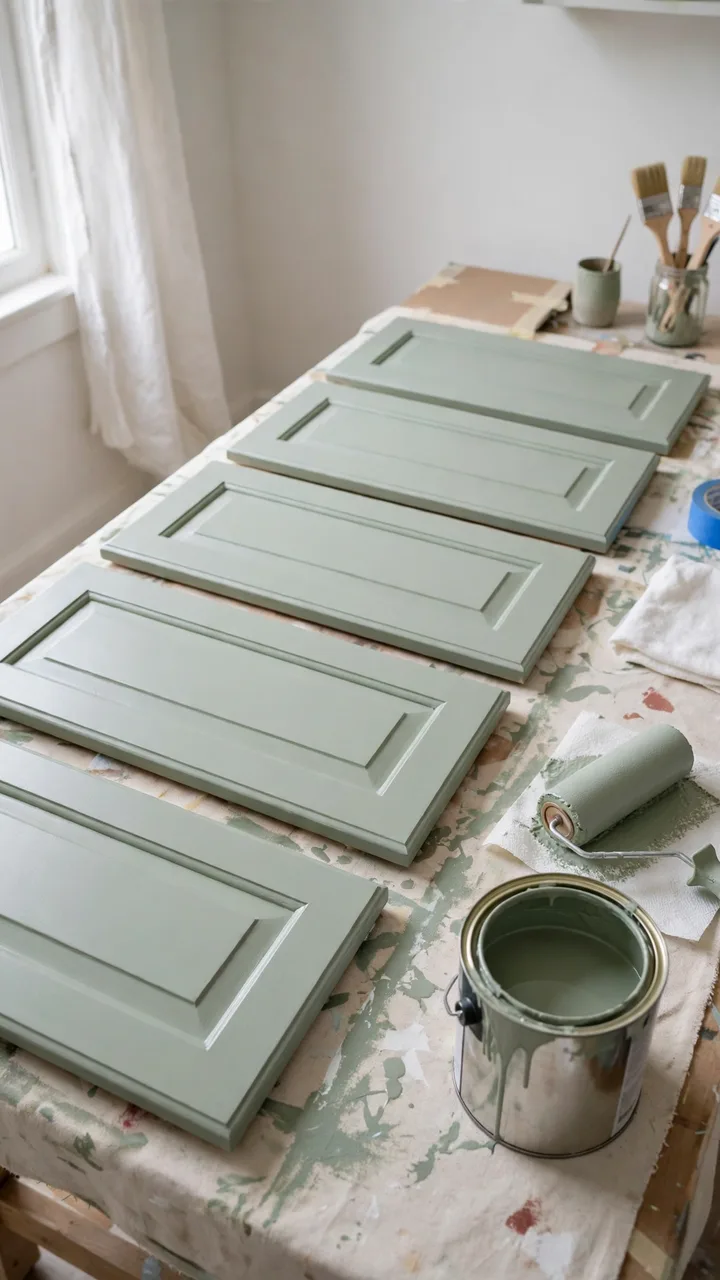
Drawer fronts are flat, wide, and right at eye level, so every brush stroke shows.
Take them off the drawer boxes and lay them flat on a work surface. A small foam roller gives a smooth finish, and thin coats keep the paint from running over the edges. Painting them flat also stops drips from sliding down the face.
Let them cure fully before you put them back. Fresh paint scratches easily, and drawers get used more than almost anything else in the kitchen.
Paint fronts lying flat.
Use a foam roller and thin coats.
Wait a few days before heavy use.
Painting them while still on the drawer.
Loading on one thick coat.
Closing a drawer on tacky paint.
19. Restain Wood Cabinets With Gel Stain Instead of Painting Them
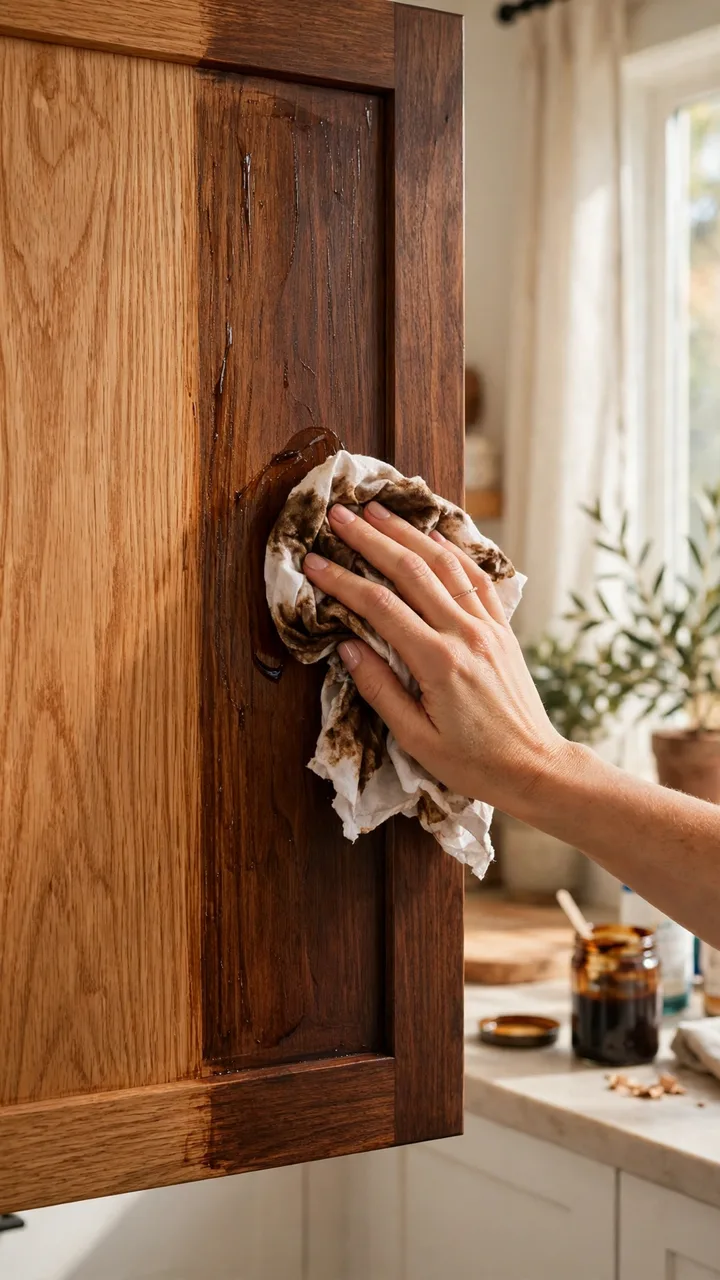
If your cabinets are real wood with a nice grain, you may not want to cover it.
Gel stain goes over an existing finish, so you do not have to strip the old varnish. Clean the doors, scuff them lightly, then wipe the stain on with a rag in thin layers. Let each layer dry before you add the next, and build the color slowly until it looks even.
Going darker is far easier than going lighter, so pick a deeper shade like walnut or espresso if your wood is orange.
📌 Good To Know
Gel stain only works well on real wood or wood veneer. Test it inside a cabinet or on the back of a door before you commit to the whole kitchen.
20. Seal the Finish With a Clear Topcoat and Add Soft Close Bumpers
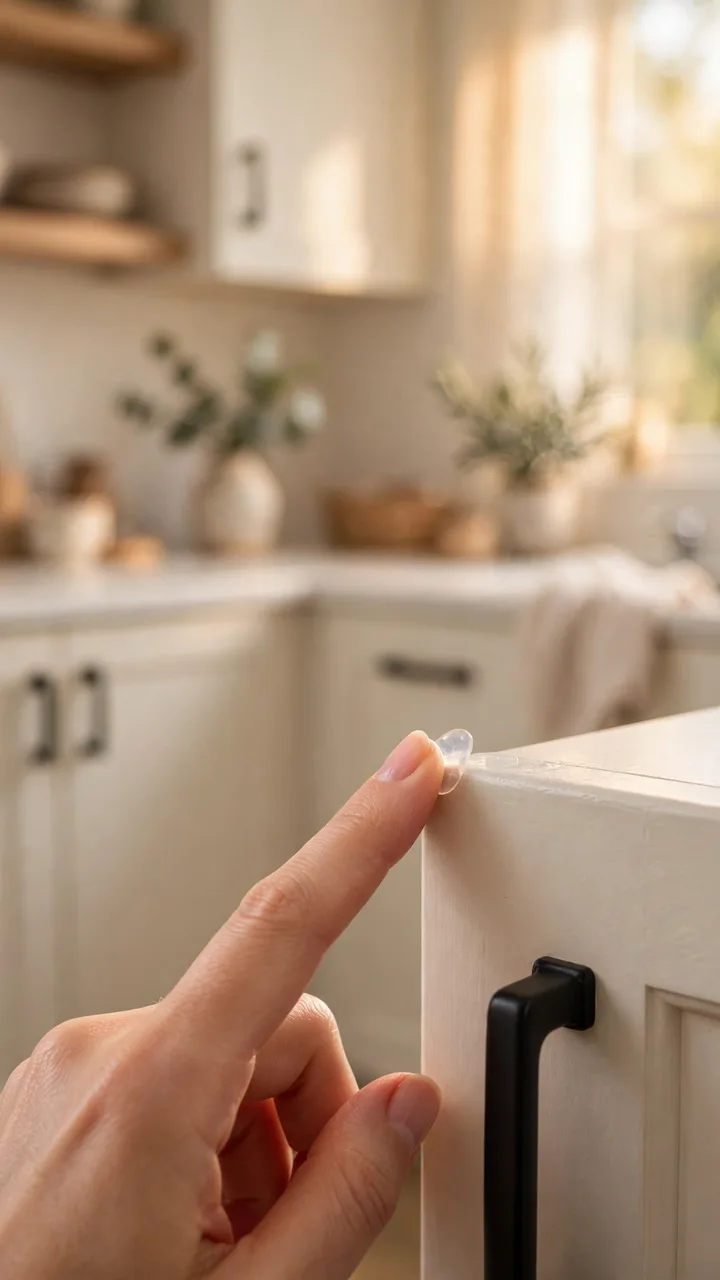
The last step protects everything you just did.
Paint and stain scratch and chip more easily around handles, so a coat of water based clear topcoat gives them a tougher surface. Apply it thin, let it dry, and skip any spot that already feels thick. Then press small soft bumpers onto the corners of the doors so they stop slamming against the frame.
Bumpers cost a few dollars for a whole pack. They keep your fresh paint from chipping every time a door swings shut.
Protect the work. A thin clear coat and a few bumpers keep a new cabinet finish looking fresh long after the project is done.
Conclusion
Old cabinets do not have to mean an old kitchen. Most of the time the boxes are solid, and all they need is a clean surface, fresh paint, and hardware that suits you now.
A DIY kitchen cabinet makeover on a budget works best one small step at a time. Prep and paint first, then add one or two details like new pulls or under cabinet lights. Every idea here stays under $100, so you can stop whenever your budget says stop.
Save this list to your Kitchen Makeover Ideas board so it is ready for your next free weekend.
Your simple weekend plan