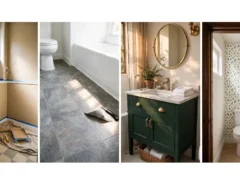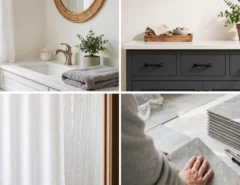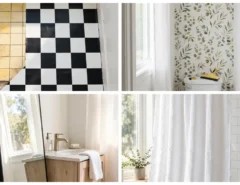
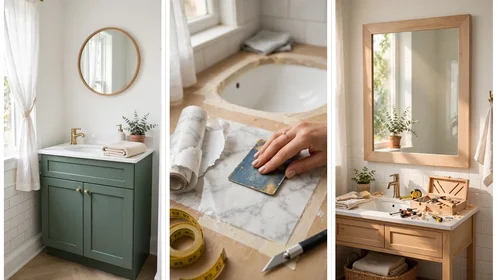
Every morning, the vanity is the first thing you see, and it can set the mood for the whole day. You want it to look like part of a home you chose. Instead you get yellow oak doors, a stained top, and pulls from another decade.
A new vanity can cost far more than most of us have set aside, and ripping the old one out brings plumbing headaches too. The good news is that you rarely need to. A DIY bathroom vanity makeover on a budget works on the parts you can actually reach, like the doors, hardware, top, faucet, and mirror.
This list has 20 ideas, and each one stays under $100. Most take a weekend or less. Pick one fix or stack a few, and use the steps even if you have never held a paint brush. Your ugly vanity may only be a few small changes away from looking good.
1. Clean and Sand the Doors First
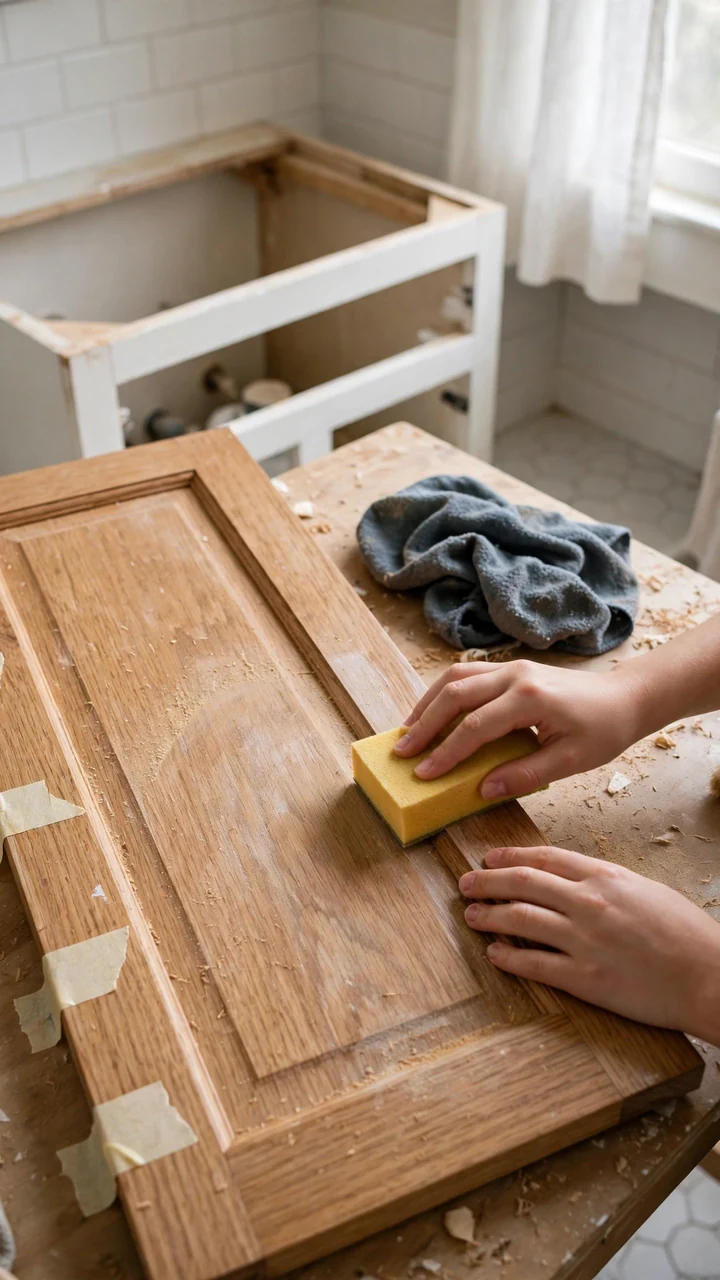
Most paint jobs fail before the first coat.
Years of hairspray, soap, and steam leave a film on the doors that you cannot always see. Paint slides right over it and peels in a few weeks. Spend twenty minutes on prep and you will not have to redo the work. Before you paint your bathroom vanity, take the doors off, label each one with painter’s tape, and lay them flat. A medium grit sanding sponge is enough. You only want to dull the shine, not strip the wood.
Keep a damp rag nearby so dust never sits on the surface while you work.
Wipe the doors and frame with dish soap and warm water, then dry them with a clean towel.
Sand every flat surface and edge until the glossy shine is gone and the wood feels slightly rough.
Wipe off the dust with a damp rag and let everything dry fully before you add primer.
2. Paint the Vanity a Deep Green
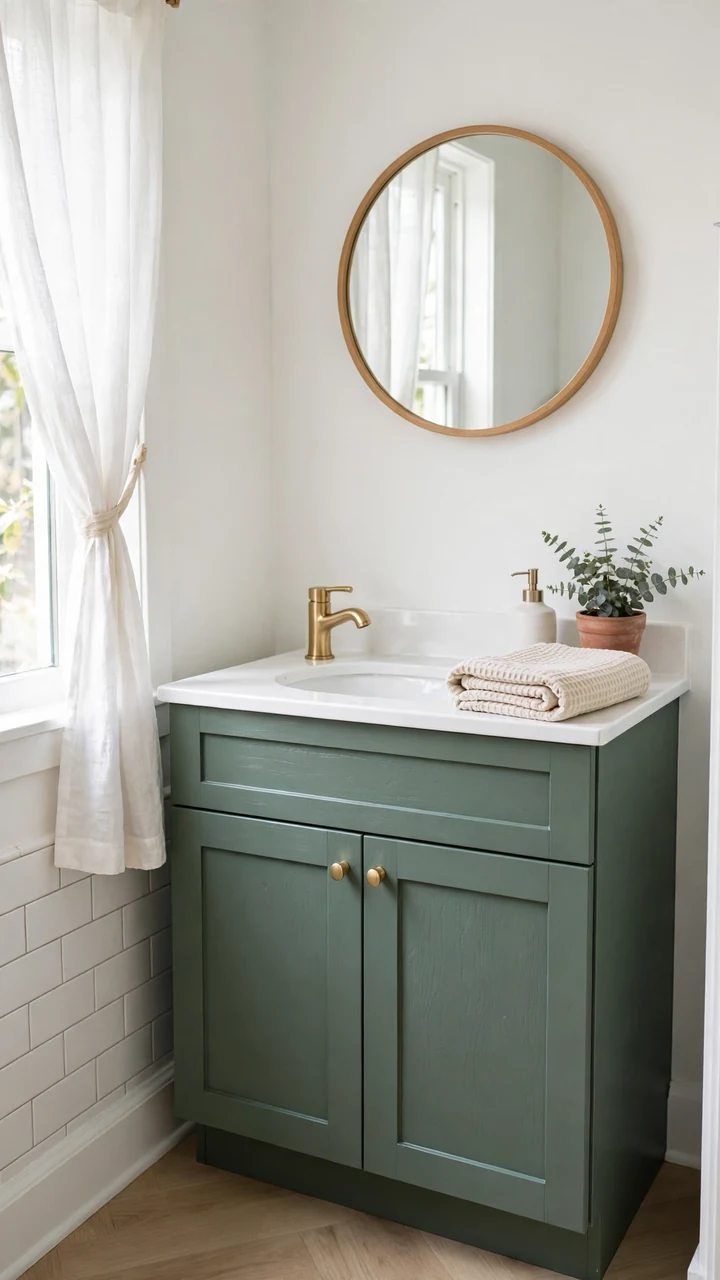
Deep green hides scuffs better than white ever will.
Dark colors cover old stains and wood grain well, and green feels calm in a small bathroom. It is one of the easiest bathroom vanity paint ideas to pull off because it pairs with almost anything. Look for a cabinet or enamel paint, since regular wall paint scratches fast. Good shades to look at:
- A muted forest green
- A gray green like sage
- A dark olive
Test a sample on the inside of one door first, because green can read lighter or darker under bathroom lights.
3. Use Thin Coats for Smooth Paint
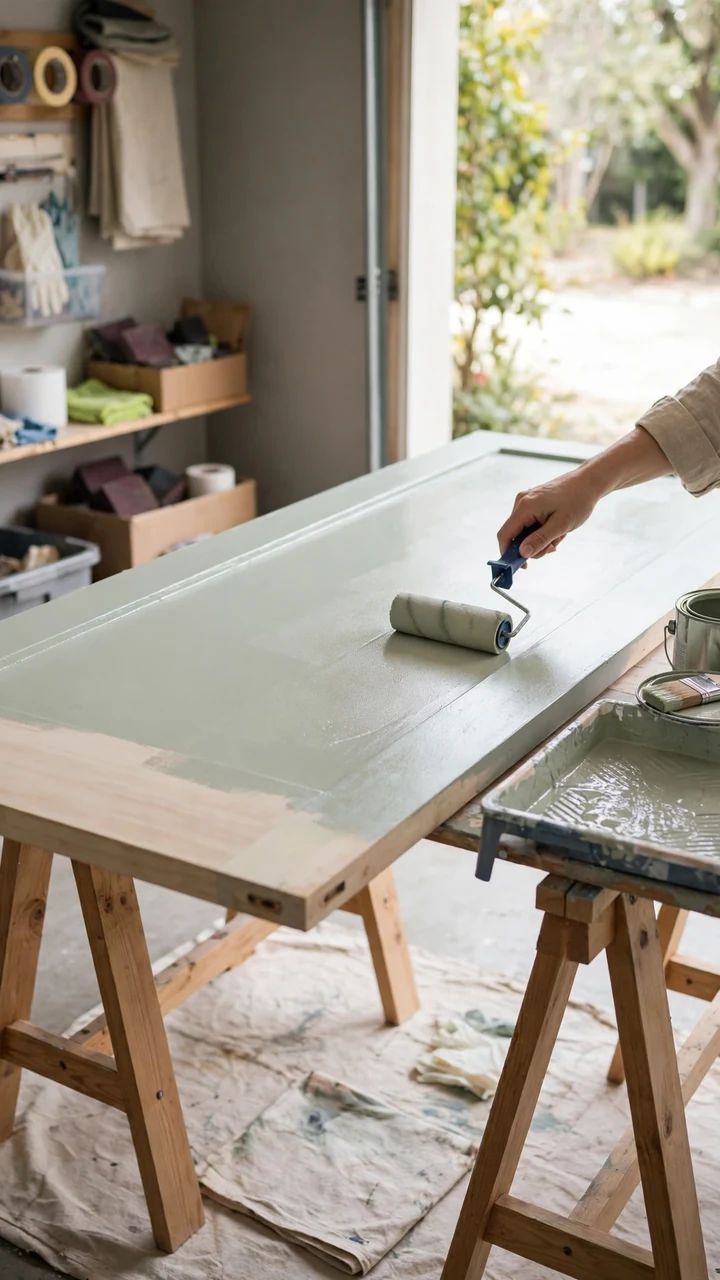
Two thin coats beat one thick coat.
Thick paint drips, pools in corners, and leaves brush marks that show up in daylight. Load your roller lightly, roll the flat parts, and use a small brush for the edges and grooves. Wait until the first coat is dry to the touch, then follow the recoat time on the can. Rushing this step is the most common reason a cheap bathroom vanity makeover ends up streaky.
A small foam roller gives a finish closer to a sprayed look.
💡 Quick Tip
Right after rolling, drag a dry brush lightly over the wet paint in one direction, following the grain. It flattens roller texture and hides small bubbles before they set.
4. Try a Two Tone Vanity
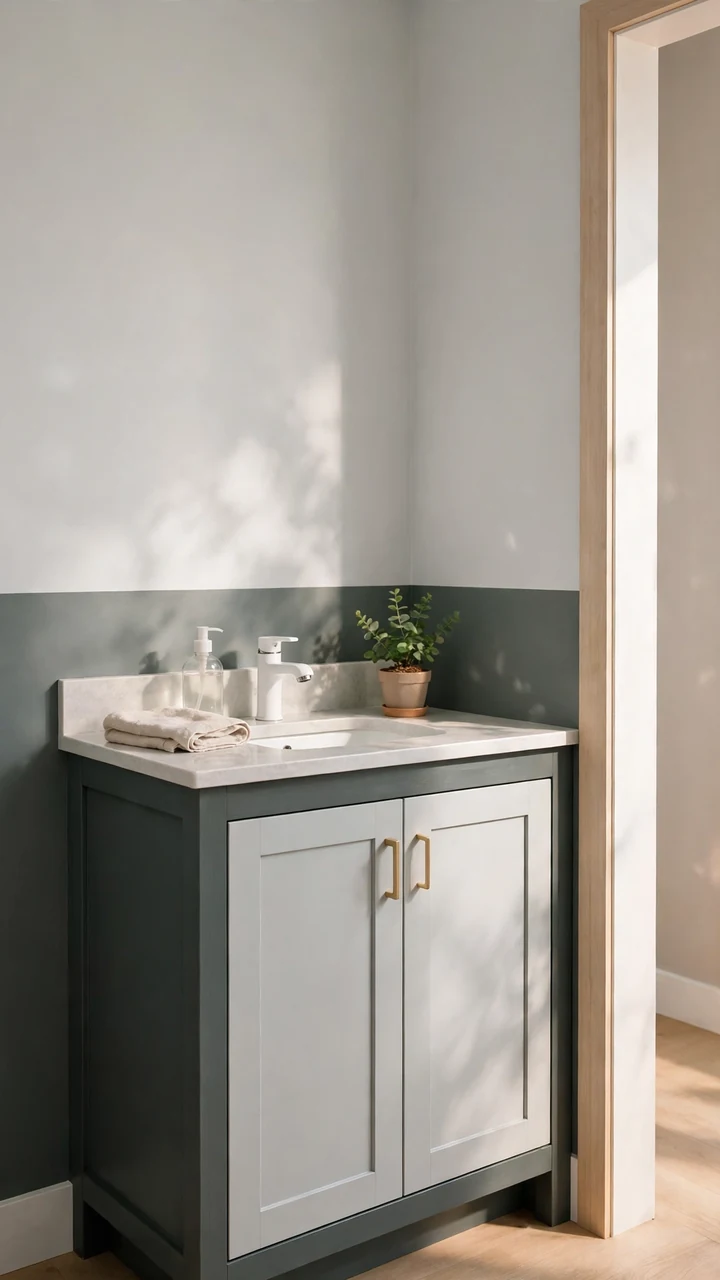
A single color vanity is safe, but two colors make it look custom built.
Paint the cabinet body in a deeper shade and the doors in a lighter one, or flip it the other way. Another easy split is a white frame with soft gray doors. Use painter’s tape where the colors meet, and pull it off while the last coat is still slightly tacky for a clean line. This works best when your countertop is pale.
Skip it if your doors have lots of tiny trim, since the taping gets fiddly.
One flat color, a dull oak finish, and doors that blend into the wall behind them.
A darker frame, lighter doors, and a crisp line where the two colors meet.
5. Swap in Matte Black Pulls
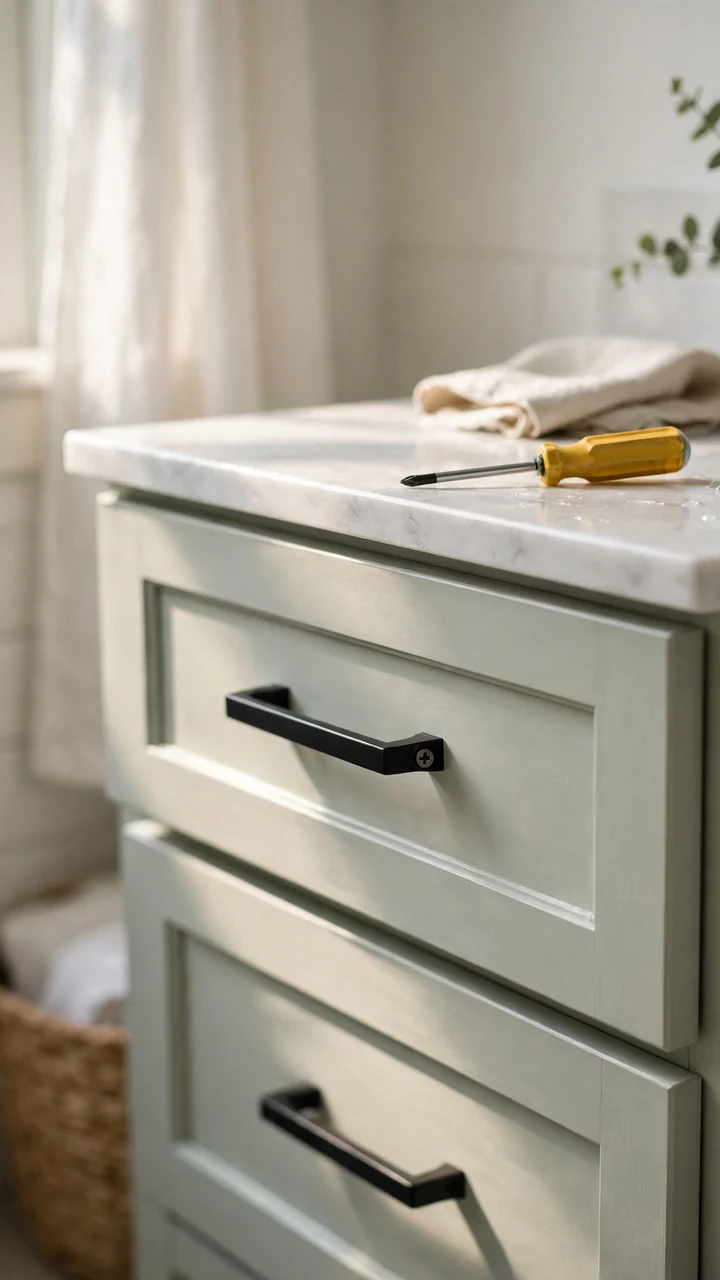
Black pulls against a green or white door look sharp from across the room.
A vanity hardware update is the fastest change on this list. Unscrew the old pulls, measure the space between the two screw holes, and buy new ones in the same size. Matching the size means you never have to drill. Buy a full pack, since packs usually cost less than single pieces.
Rubbed bronze is a softer choice if black feels too bold.
| Knobs | Bar pulls |
|---|---|
| One screw per door, so they install fast. | Two screws, and the hole spacing must match. |
| Fit almost any old door, even if the holes were moved. | Measure center to center before you buy. |
| Often lower cost per piece. | Cleaner lines that look a bit more modern. |
6. Fill Old Holes Before New Hardware
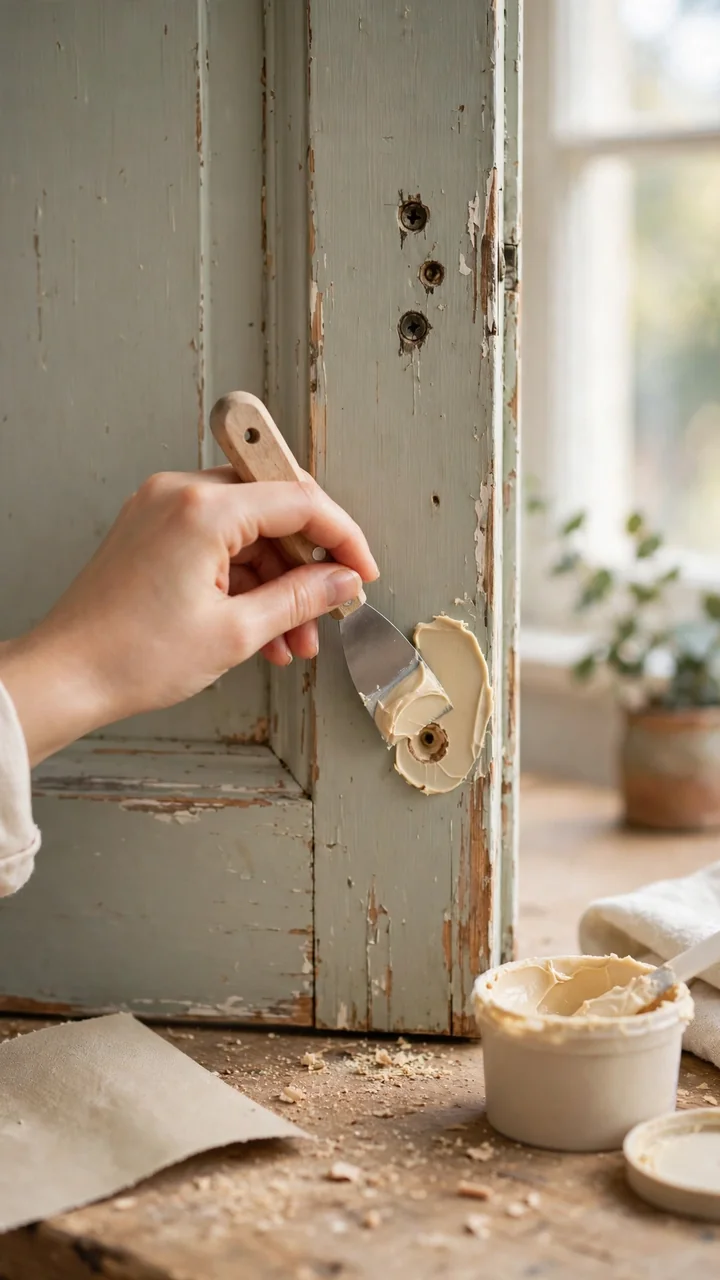
New pulls rarely line up with the old holes.
When the spacing is off, the old holes sit right beside the new ones, and that ruins a fresh coat of paint. Fill them before you paint, not after. Press wood filler into each hole with a putty knife, let it dry, then sand it flush. Grab these first:
- Wood filler
- A small putty knife
- Fine sandpaper
- Primer
Fill slightly above the surface, since filler shrinks as it dries.
7. Cover the Top with Marble Film
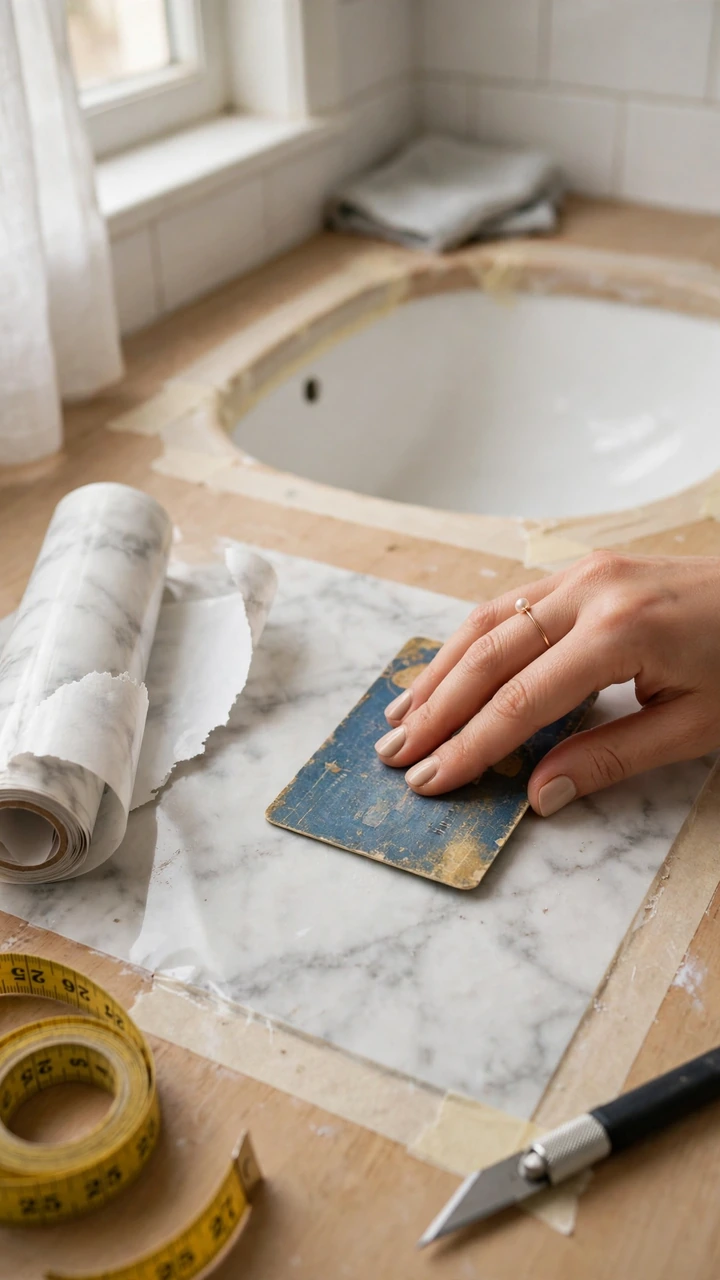
A worn laminate top can look like stone in an afternoon.
Peel and stick film hides burns, scratches, and the dull patch around the sink. It sticks best to a clean, flat, dry top. Cut each piece a little large, press it down from the center out, and trim the edges last with a sharp blade.
Pick a soft white with gray veining, because bold patterns look fake up close. Seal the edge near the sink with clear caulk so water stays out.
What to grab first
8. Refinish the Countertop with Paint
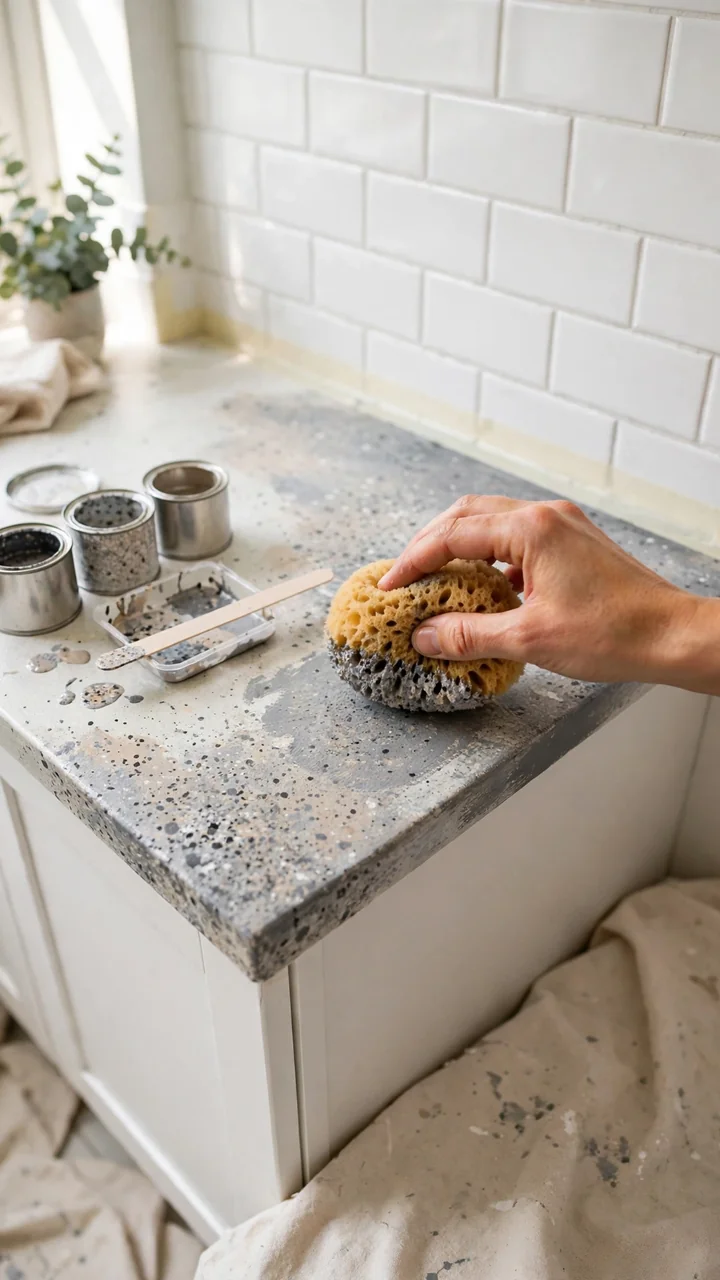
Most people expect a painted counter to peel in a month.
That happens with plain wall paint. A countertop paint kit works differently. It gives you a base coat, a stone effect, and a clear topcoat, and the topcoat does most of the protecting. Sand lightly, clean well, then dab the stone effect on with a sponge for a soft, uneven look.
Give the finish the full cure time on the label before you use the sink. It feels dry long before it is ready.
Sand lightly and clean off all grease.
Dab the stone effect on with a sponge.
Add every coat of clear topcoat in the kit.
Using regular wall paint on the top.
Leaving out the topcoat to save time.
Using the sink before the finish cures.
9. Replace the Old Faucet
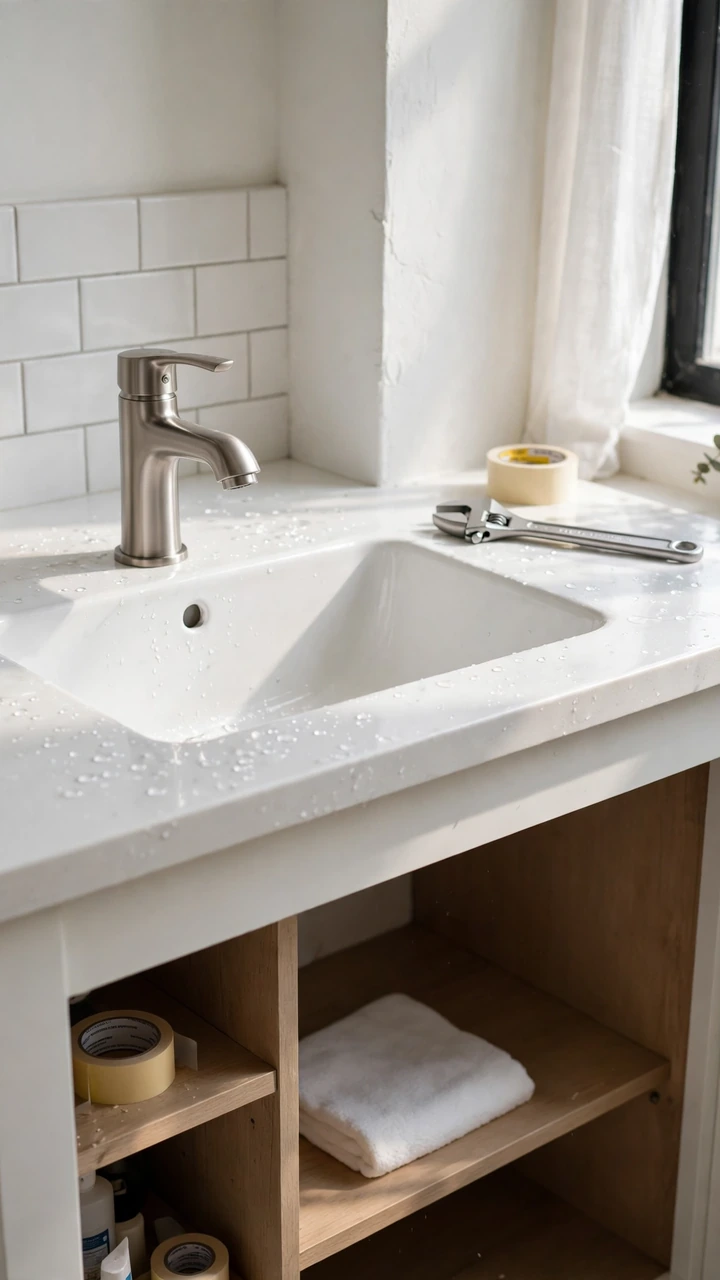
The usual faucet mistake is buying one that does not fit your sink.
Look under the sink and count the holes in the top. One hole takes a single handle faucet. Three holes take a widespread one, unless you add a cover plate. A single handle model also leaves more room to wipe around the base, which helps in a small bathroom.
Wrap the new threads with plumber’s tape and keep a bucket under the pipes. This is a good DIY vanity update for a weekend morning.
⚠️ Watch Out
Shut off both water valves under the sink and open the old faucet to drain the lines before you loosen anything. If a valve will not turn or starts to leak, stop and call a plumber.
10. Reglaze Chips in the Sink
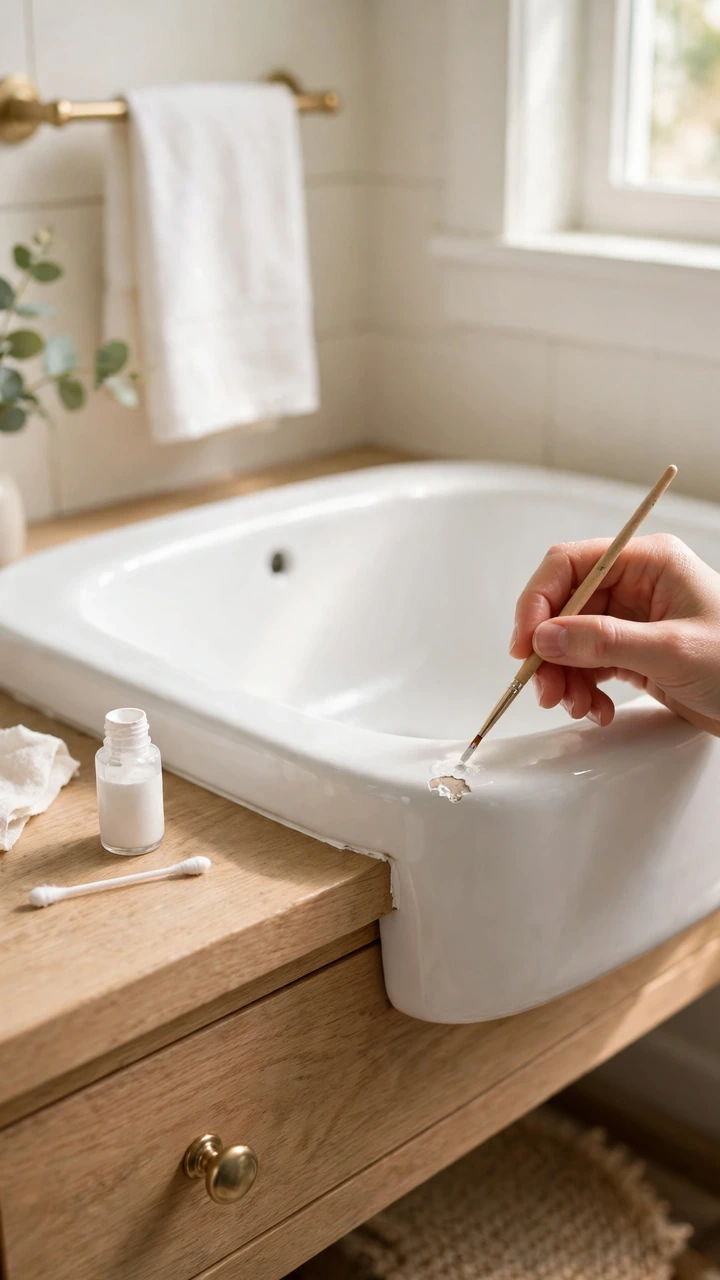
Fix small chips, and leave big cracks to a pro.
A porcelain touch up kit handles chips and rust marks well. Clean the spot with rubbing alcohol, then dab on thin layers instead of one thick blob. Let each layer dry before you add the next.
A full sink reglaze is a bigger job, so for bathroom vanity ideas under $100, keep your focus on the small spots. Work in good light so you can see the edges of the chip.
Fix small chips early. Water works its way into them and makes the damage bigger over time.
11. Redo the Caulk Around the Sink
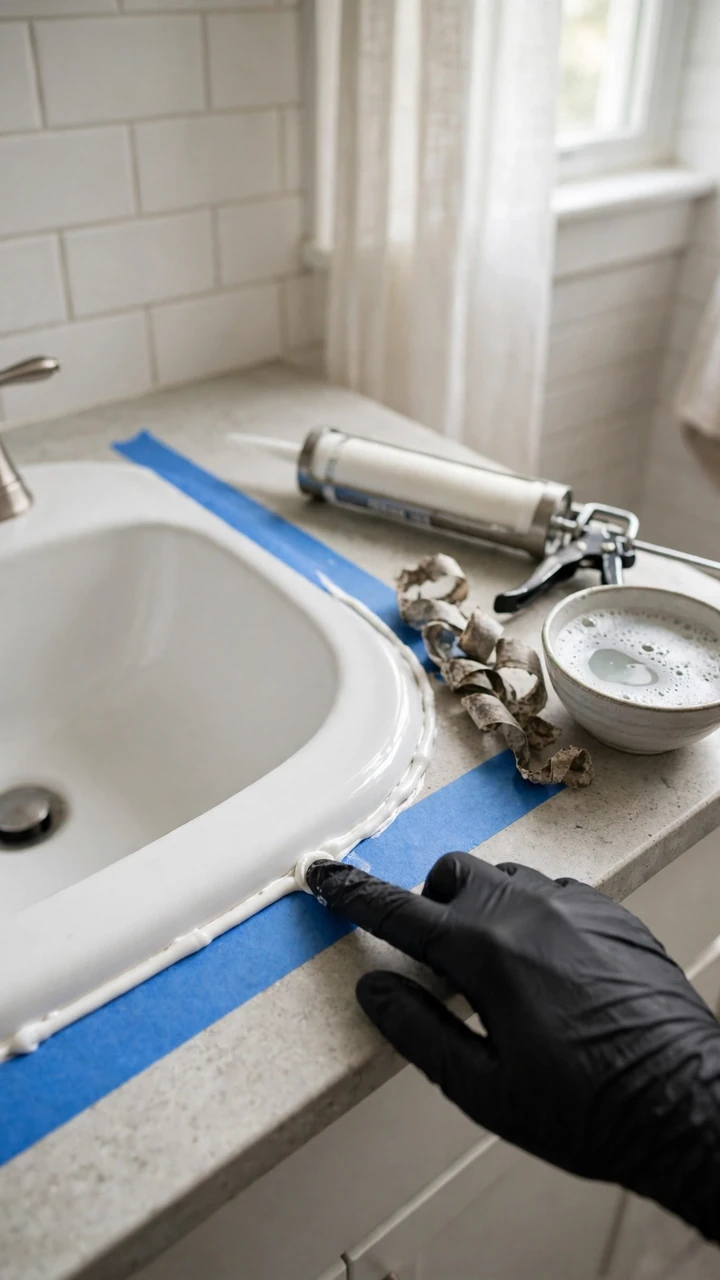
Black specks along the sink edge age a vanity faster than any dated door.
Old caulk cracks, turns yellow, and holds moisture against the wood. Fresh caulk takes about an hour, costs a few dollars, and is the best deal in any cheap bathroom vanity makeover. Choose a silicone caulk made for kitchens and baths. Run painter’s tape along both sides of the line so the edges come out crisp. Then stay out of the sink for a full day so the bead can cure.
Cut the old caulk with a utility knife, then peel and scrape it out in strips. Wipe the gap with rubbing alcohol and let it dry.
Tape both sides of the gap, then squeeze a steady bead of silicone along it in one slow pass.
Smooth the bead with a gloved finger dipped in soapy water, then pull the tape off while the caulk is still wet.
12. Add Beadboard to Flat Doors
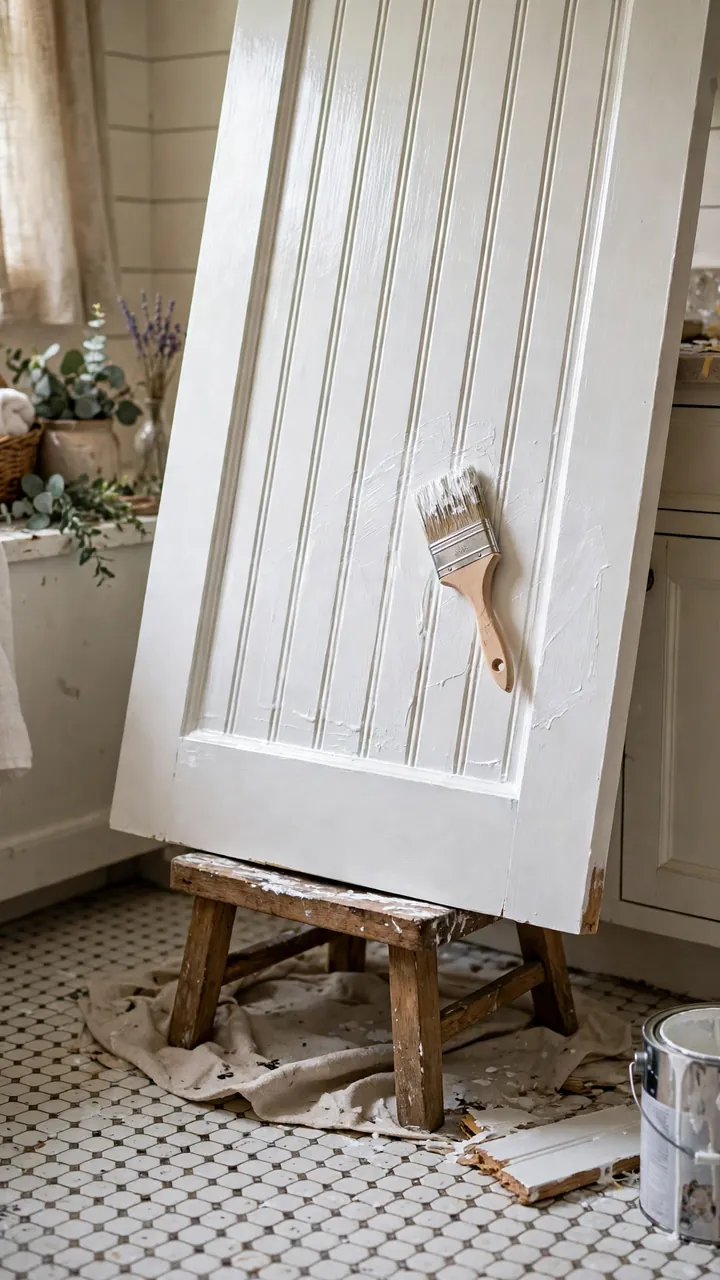
Texture does what a new door would, for a fraction of the price.
Flat slab doors are what make a vanity look builder grade. Peel and stick beadboard panels add lines and shadow, and they take paint well, so they work with any of the bathroom vanity paint ideas on this list. Measure the face of each door, cut the panel to size, press it on, and paint the whole door afterward.
- Dry fit each panel before you peel off the backing
- Leave a thin border so the door edge still shows
- Skip doors that already have a raised or recessed panel
13. Fix Loose Hinges and Doors
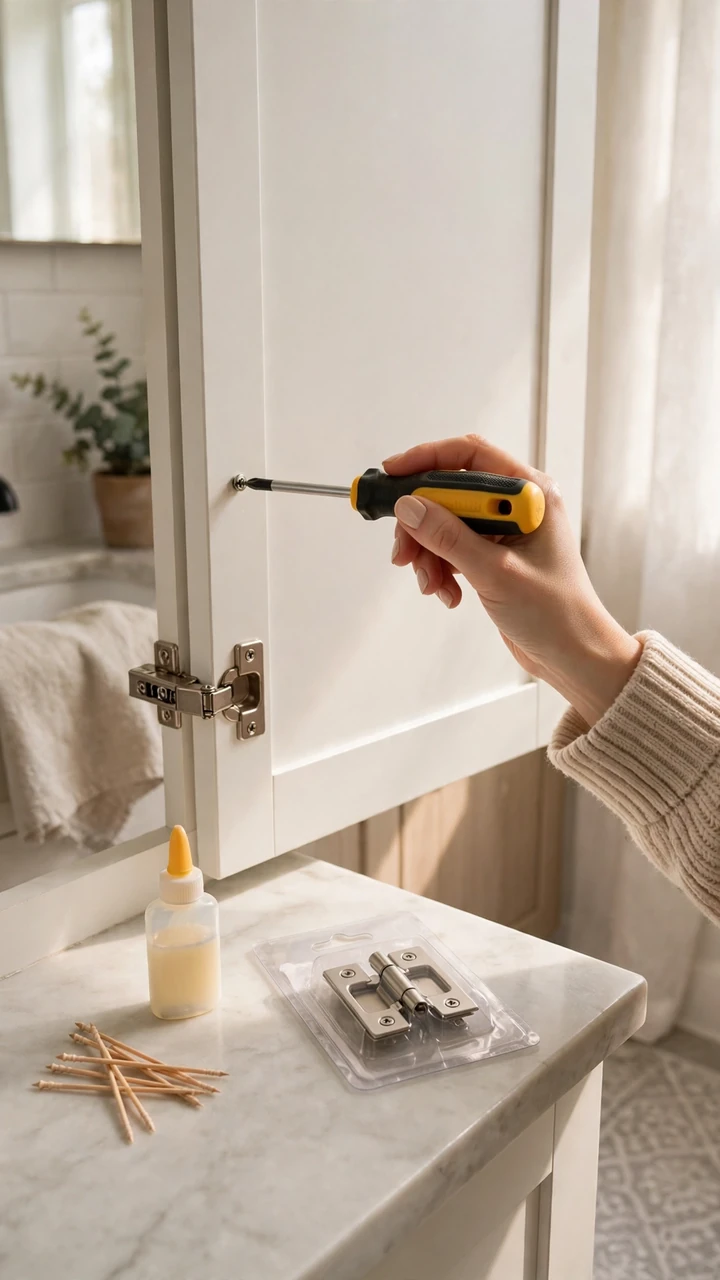
Tighten before you replace anything.
A door that hangs crooked or will not close flush usually has a loose hinge screw, not a bad door. Screws pull out of old wood over time. Pack the hole with a few toothpicks dipped in wood glue, snap them off flush, and drive the screw back in. If the hinge itself is bent or buried under old paint, swap it for a matching one. Match the size and style so it fits the same cut out.
| Tighten the screws | Replace the hinge |
|---|---|
| Door sags but the hinge looks fine. | Hinge is bent, rusty, or caked in paint. |
| Cost: close to free. | Cost: a few dollars a pair. |
| Fill stripped holes with toothpicks and glue. | Take the old hinge to the store to match it. |
14. Frame the Plain Mirror
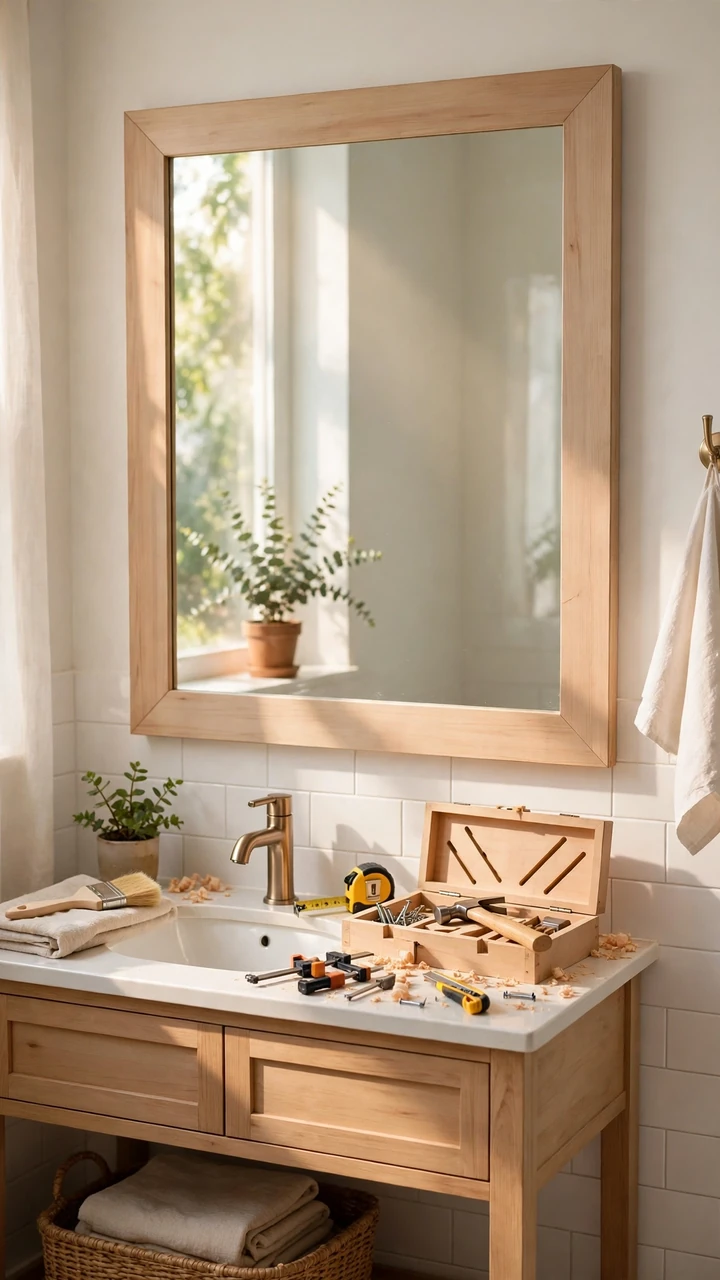
Look at the edge of a builder grade mirror and you will see bare glass and a pair of flat metal clips.
Framing hides both. Buy basic wood trim from the hardware store, cut four pieces to fit with a miter box and hand saw, and paint them to match the new pulls or the vanity. Attach the frame to the glass with mirror safe adhesive and hold it with tape until it sets. Mirrors are heavy and slippery, so ask a friend to help you lift it. This small step makes a DIY bathroom vanity makeover feel finished.
A plain glass rectangle held up by metal clips, with bare edges and nothing tying it to the vanity.
A wood frame in the same finish as the hardware, hiding the clips and giving the mirror some weight.
15. Switch to a Better Vanity Light
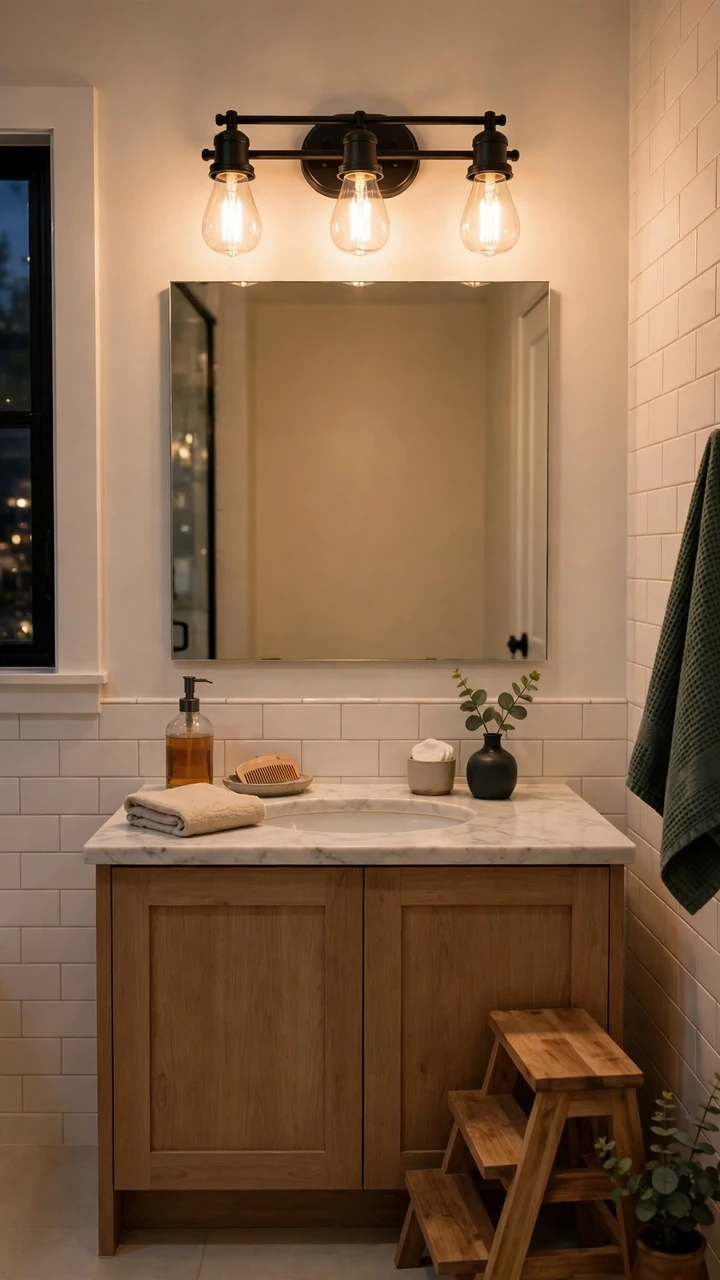
Turn off the power at the breaker before you touch the old light.
Flip the wall switch off as well, then check the wires with a voltage tester. Unscrew the old fixture, match black wire to black and white to white, and fasten the new fixture to its bracket. A fixture with two or three bulbs spreads light evenly across your face, which helps with shaving and makeup. It is also a clean finishing step in a bathroom vanity makeover on a budget. If your wiring looks different from the instructions, stop and call an electrician.
Have this ready first
16. Pick Warm Bulbs for the Paint
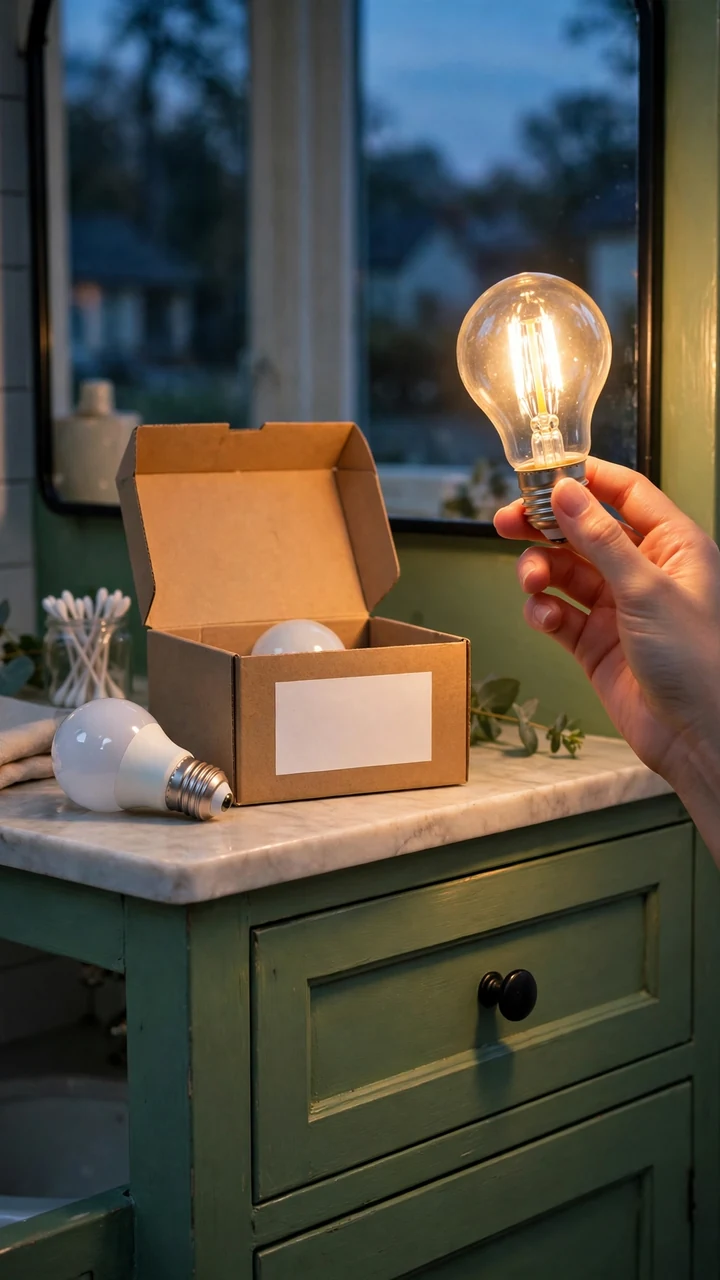
Cool white bulbs can turn a nice green or soft cream into something flat and gray.
Check the box before you buy. Look for the words “soft white” or “warm white,” since those make wood tones, paint, and skin look more natural. Daylight bulbs are fine in a garage, but they feel harsh next to a freshly painted vanity.
Take a spare bulb into the bathroom at night and hold it up beside the mirror. If the paint color looks right under it, buy the full pack.
17. Build a Shelf Under the Sink
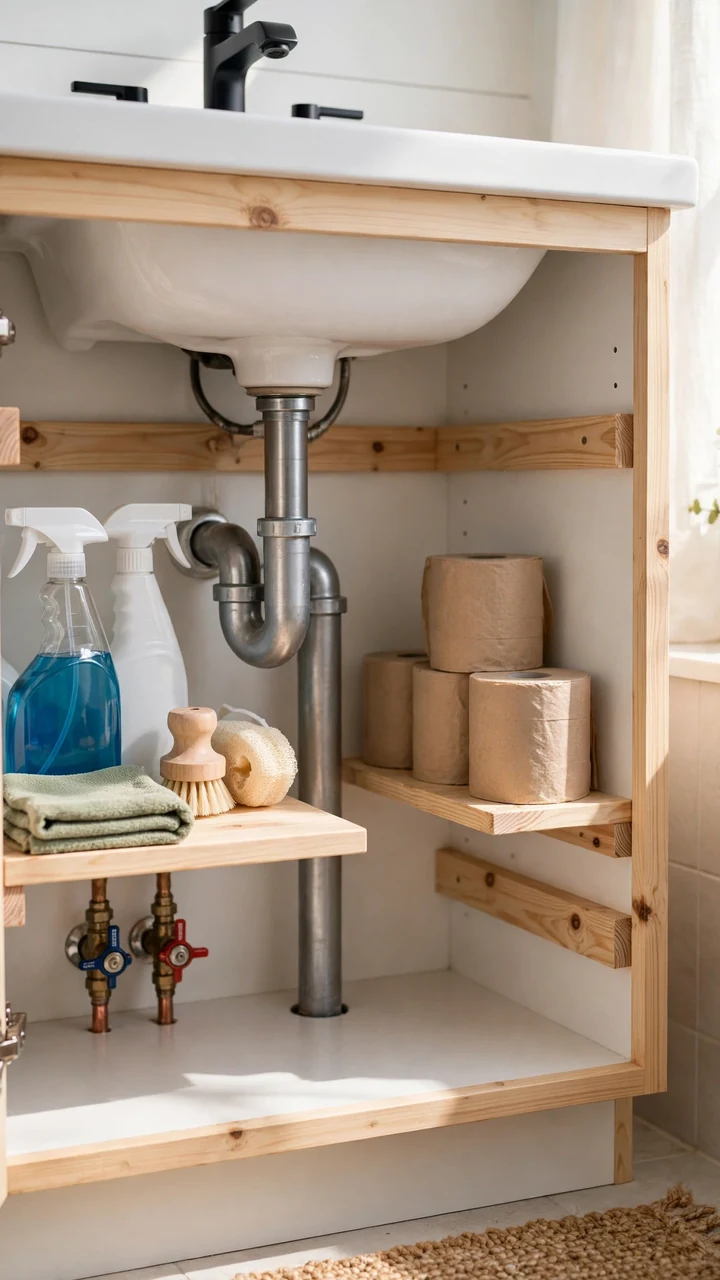
You open the cabinet and everything is piled on the floor, with the drain pipe running right through the middle.
A simple shelf fixes that. Measure the space on each side of the pipe, then cut two narrow boards from a pine shelf board. Screw a short wood cleat to the inside wall of the cabinet at the height you want. Rest each board on its cleat. Now the cleaning spray sits on top and the spare toilet paper sits below.
Sand the cut edges so they do not snag anything.
📌 Good To Know
Keep the water shutoff valves clear. Build the shelf so you can reach them without moving a single bottle, because you will need them in a hurry someday.
18. Use the Inside of the Doors
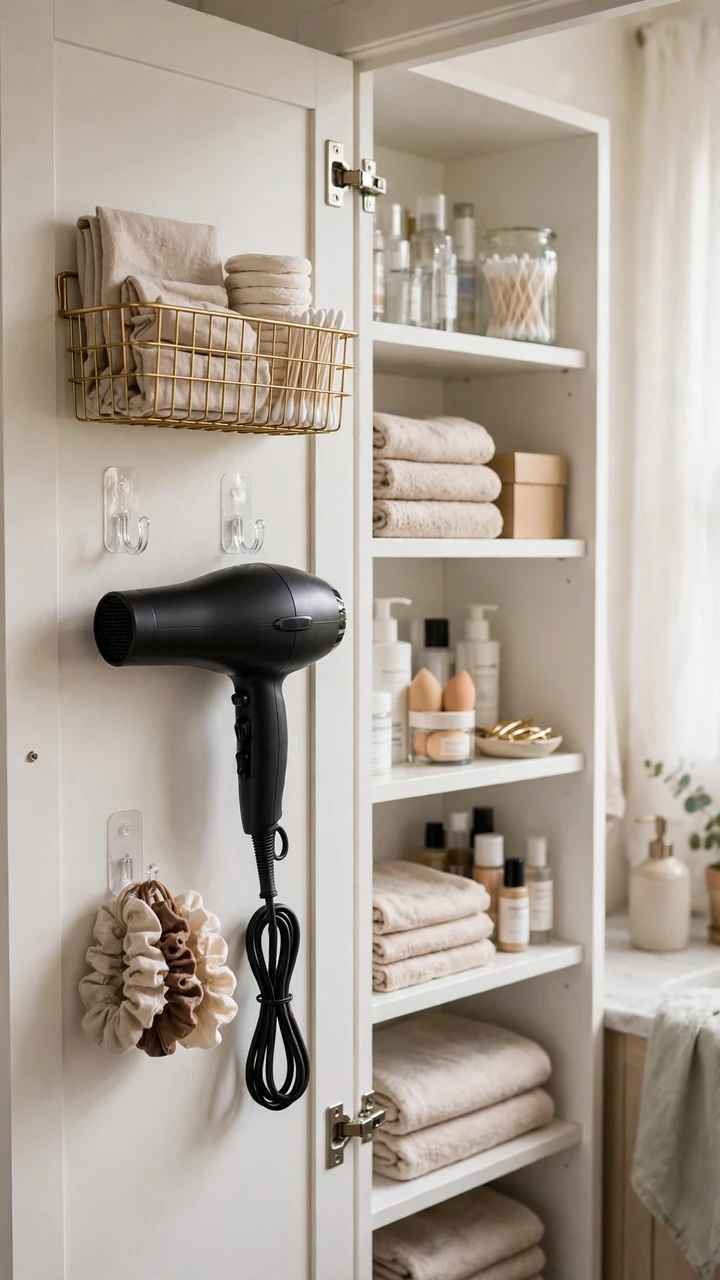
Anything that fits flat against a door is free storage.
Small baskets and hooks on the inside of the cabinet doors hold the things that always get lost, like hair ties, a hair dryer, or a toothbrush for cleaning grout. Stick-on hooks and light wire baskets work best on solid doors. Wipe the surface with rubbing alcohol first so the adhesive grips.
Close the door slowly after you hang something. If it bumps a pipe or a shelf, move it higher.
Hang light items like a hair dryer or small brushes.
Clean the door before you stick anything on.
Test the door swing before you load it up.
Hanging heavy bottles on adhesive hooks.
Putting hooks on freshly painted doors that are still curing.
Blocking the hinge side of the door.
19. Line the Drawers and Add Dividers
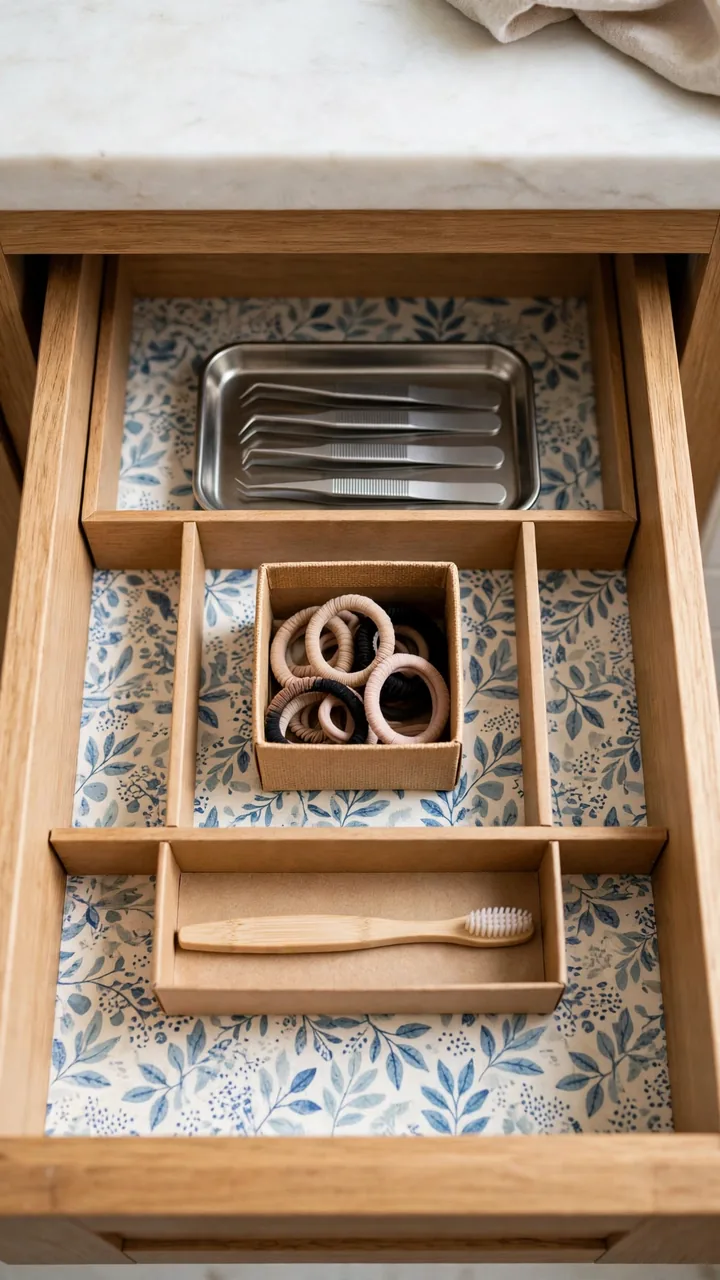
Drawers that rattle every time you open them are usually a sign that nothing has a home.
Cut shelf liner to fit and lay it flat so small items stop sliding. Then split the drawer into zones. Small boxes, jar lids, or cut down cardboard all work as dividers, so you do not need to buy a set. It is one of the cheapest ways to make a vanity feel new on the inside as well.
Wipe the drawer clean before the liner goes in, or you will trap crumbs of old makeup under it.
- ▸Use one zone for daily items like toothpaste and a hairbrush.
- ▸Give small things like hair ties and cotton swabs their own box.
- ▸Keep sharp tools like razors and tweezers in a separate tray at the back.
- ▸Leave a little open space so the drawer does not feel crammed.
20. Style the Top with a Tray
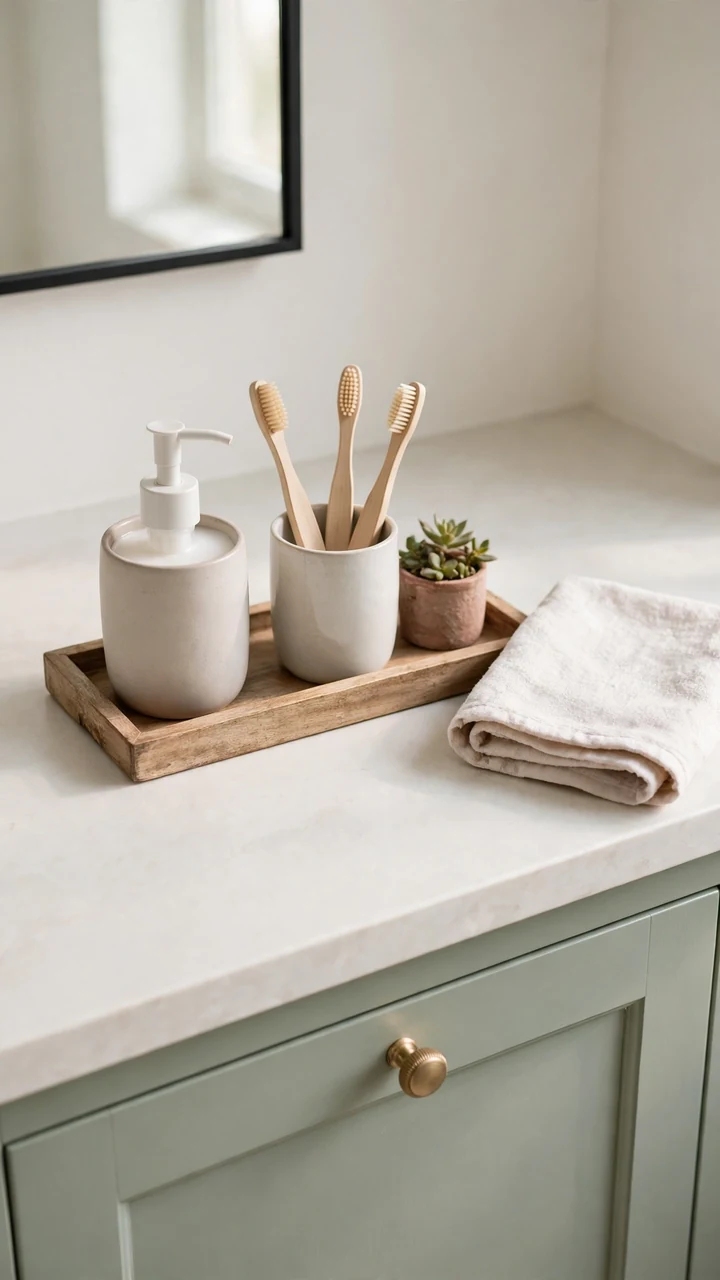
A bare counter looks unfinished, and a crowded one looks messy.
A small tray solves both. Set it near the faucet and keep only what you use every day on it, like a soap dispenser, a cup for your toothbrush, and one small plant or candle. Everything else goes in the drawers you just organized. A wood or ceramic tray also hides the water marks that build up around the faucet base. After all the work above, this is the finishing touch that makes your DIY bathroom vanity makeover look planned.
Keep to three items on the tray. When everything else has a place, the counter stays clear and the vanity looks finished.
Conclusion
You do not need a new vanity to stop dreading the one you have. A few hours with a sanding sponge, a can of paint, and a set of new pulls can change how the whole room feels. Start with the cheapest fix, which is usually the caulk or the hardware, and add one more each weekend.
Even a small DIY bathroom vanity makeover on a budget adds up, because each fix makes the next one look better. The paint makes the new pulls pop, and the framed mirror makes the fresh light look intentional. Keep your receipts and you will probably land well under $100.
When you are ready to start, save this list so the steps are easy to find next time you stand in front of that ugly vanity.
Your weekend starter plan
Save this list to your Bathroom Makeover Ideas board, so you can come back to it when you are ready to pick up a paint brush.