You want a kitchen that looks pulled together on a Tuesday night, not just on the day you cleaned it. One with counters that shrug off spilled juice and cabinets that don’t show every sticky fingerprint.
Then real life shows up. Backpacks land on the counter. Someone draws on the table. The junk drawer stops closing. Dinner happens in twelve minutes flat, and the stove pays the price.
A budget kitchen makeover for busy families doesn’t mean picking between pretty and practical. It means choosing finishes that wipe clean, storage that kids can actually use, and small upgrades that cost far less than a full remodel.
The 20 ideas below cover cabinets, counters, floors, lighting, and the dining table. Most take a weekend or less, and every one is built for parents who want a stylish kitchen that survives daily chaos. Start with the one that bugs you most, and save the rest for later.
1. Paint Cabinets in Satin Finish
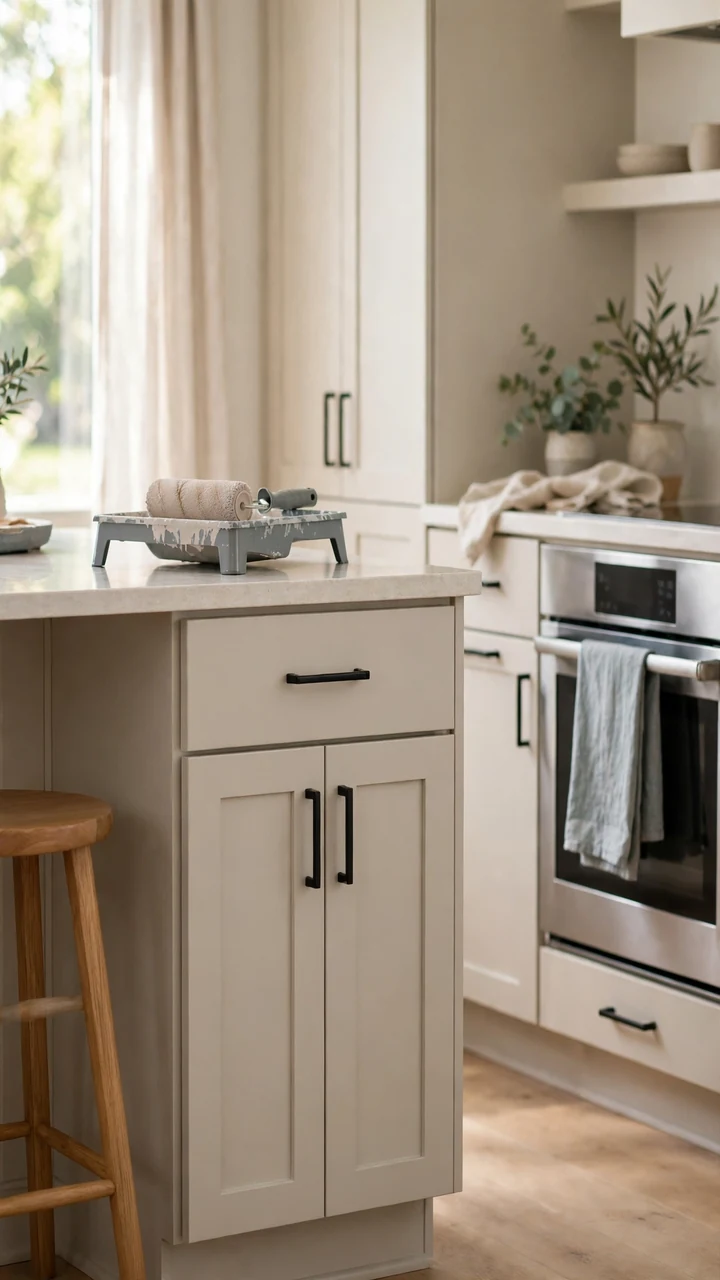
Sticky handprints show up fastest on flat paint.
Cabinets take the most abuse in a family kitchen, so the finish matters more than the color. Satin or semi-gloss cleans with a damp cloth. Matte soaks up grime and stays marked.
Here is the short version of the job:
- Degrease with warm soapy water first
- Sand lightly and wipe off the dust
- Prime, then roll on two thin coats of cabinet or enamel paint
Greige, soft white, and muted green hide smudges better than stark white. Give the paint a few days to harden before you load the shelves.
Flat, chalky paint with fingerprints around every handle and dull patches near the stove.
A satin finish that wipes clean in one pass, in a soft color that hides small marks.
2. Switch to Easy-Grip Pulls
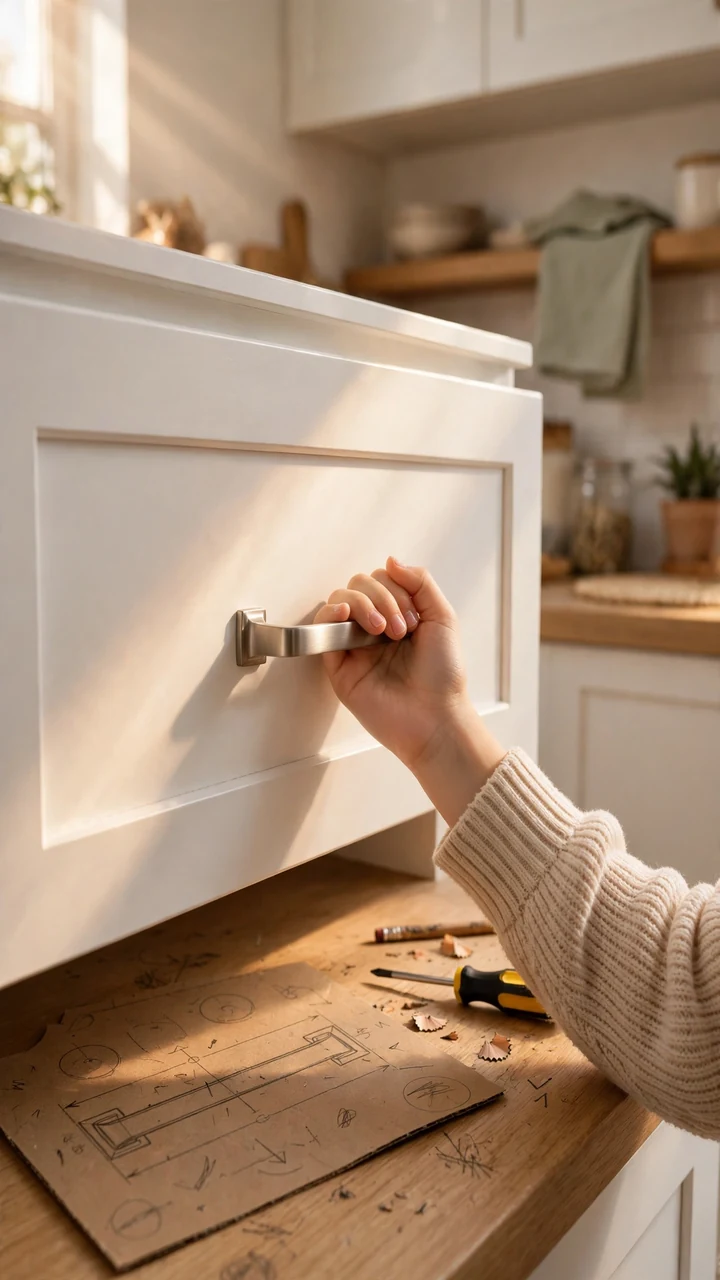
Choose pulls over knobs. Every time.
Small round knobs are hard for little fingers, and for anyone carrying a laundry basket in one arm. A bar pull gives you a full hand grip and uses the same two holes as many older handles.
Measure the distance between the two screw holes before you shop, since that number decides which pull fits. Matte black and brushed nickel hide fingerprints better than shiny chrome.
Stick to one finish across the whole room so it looks planned.
💡 Quick Tip
Cut a cardboard template with two hole marks and tape it to each door. Drill through the template and every pull lands in exactly the same spot.
3. Resurface Scratched Counters
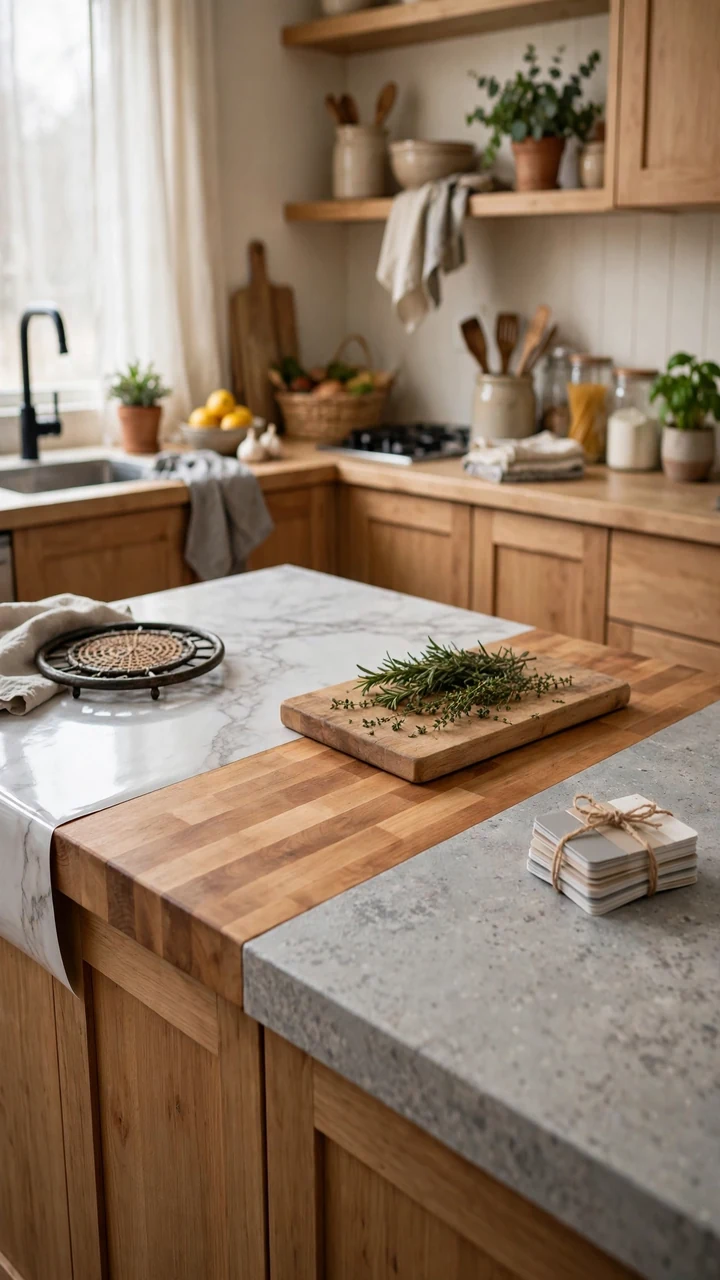
Counters take the hits, so pick a fix that matches your mess level.
Peel-and-stick film covers scratches fast and wipes clean, though sharp knives and hot pans can mark it. Butcher block gives you real wood, but it needs sealing and a trivet habit. Counter paint kits with a clear top coat give a stone look for the smallest spend.
Whichever you pick:
- Clean and degrease the surface first
- Seal the edge along the backsplash with a thin bead of caulk
- Keep trivets near the stove
4. Add a Peel-and-Stick Backsplash
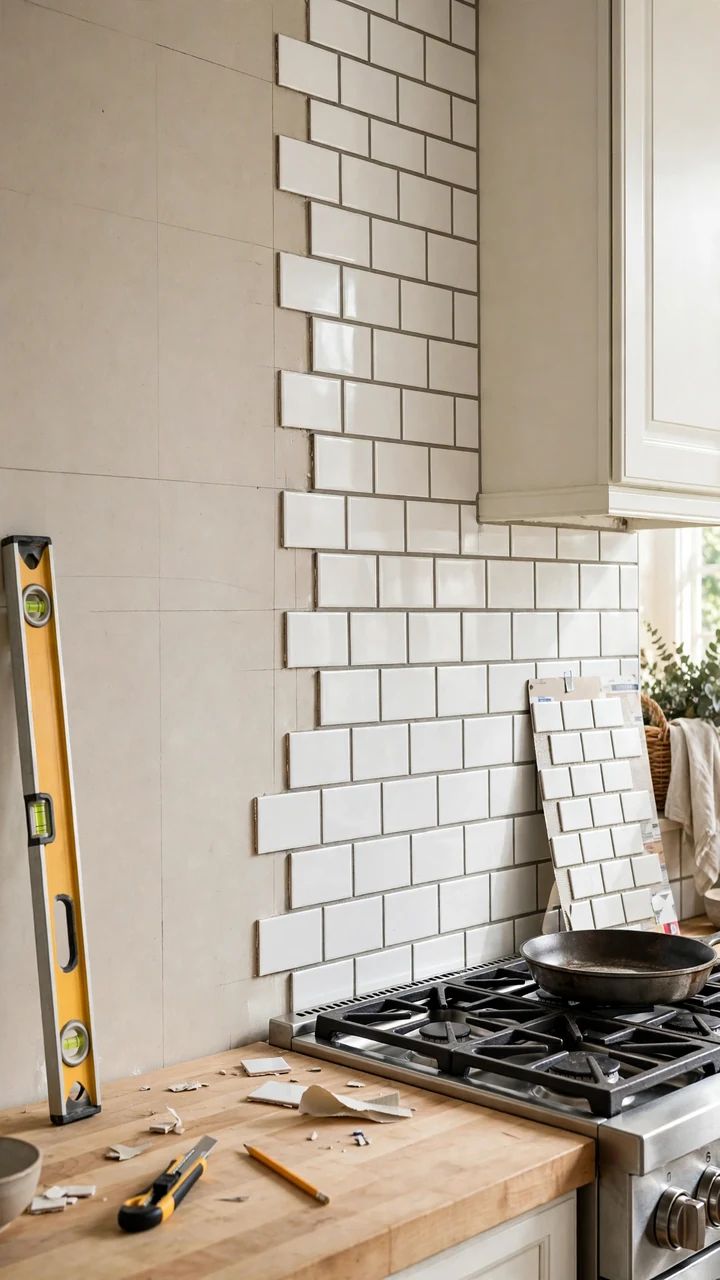
Splatter behind the stove is the stain that never fully leaves a painted wall.
A peel-and-stick backsplash gives you a smooth, wipeable surface for a small weekend project. Look for thick vinyl or gel tiles in a subway or small hex pattern, since simple patterns hide seams better. Tiles with soft grey grout lines also hide cooking spills better than stark white.
Keep them a few inches back from open flames, and check the label for heat guidance.
Turn off power at the breaker before you remove any outlet covers.
Wash the wall with a degreaser and let it dry completely.
Draw a level pencil line and start your first tile at the center.
Press each tile from one edge to the other to push out air, and trim around outlets with a utility knife.
5. Use Washable Paint by the Stove
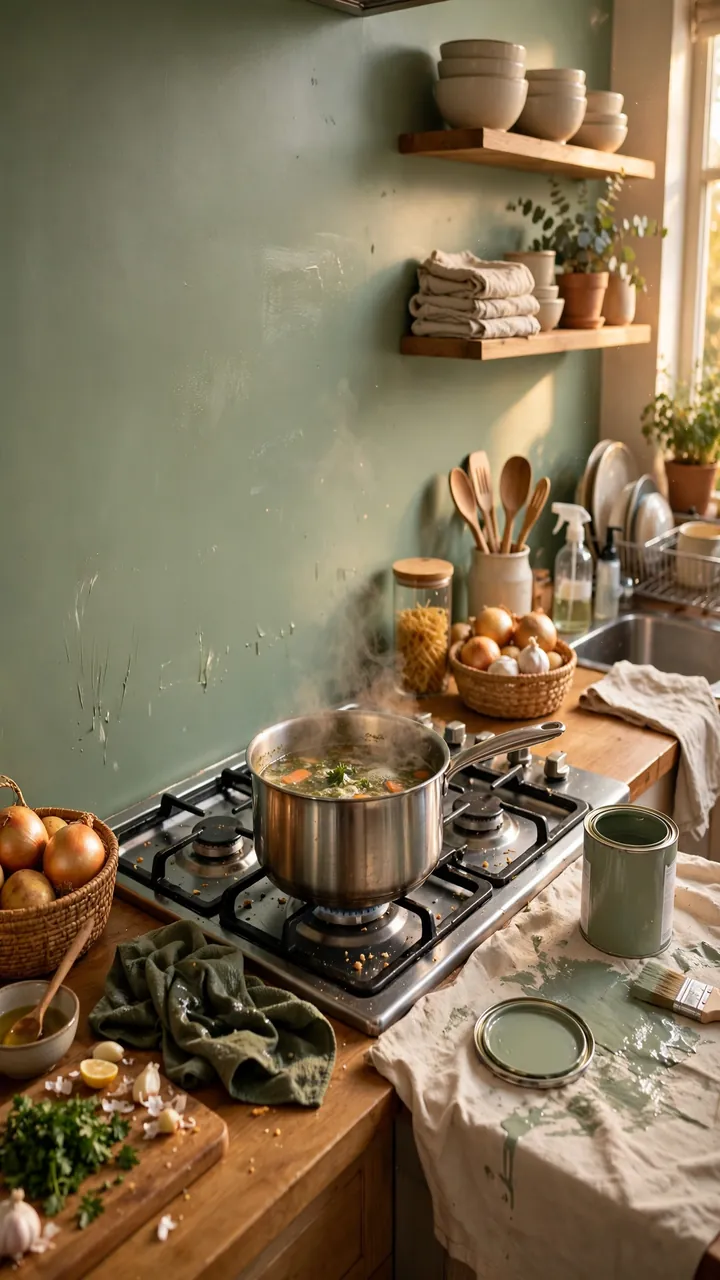
Washable does not mean shiny.
Look for paint labeled scrubbable or made for kitchens and baths, in satin or eggshell. It holds up to a damp cloth and still looks soft in daylight. Flat wall paint marks the moment a spoon of sauce lands on it.
Pick the zones that get hit hardest:
- The wall behind the stove
- The strip beside the sink
- The wall by the table where backpacks land
You can leave the rest of the room alone and save the paint.
Wash grease off the wall and let it dry before painting.
Choose paint labeled scrubbable or washable.
Flat ceiling paint on walls that get splashed.
Scrubbing fresh paint before the can says it has cured.
6. Set Up a Drop Zone
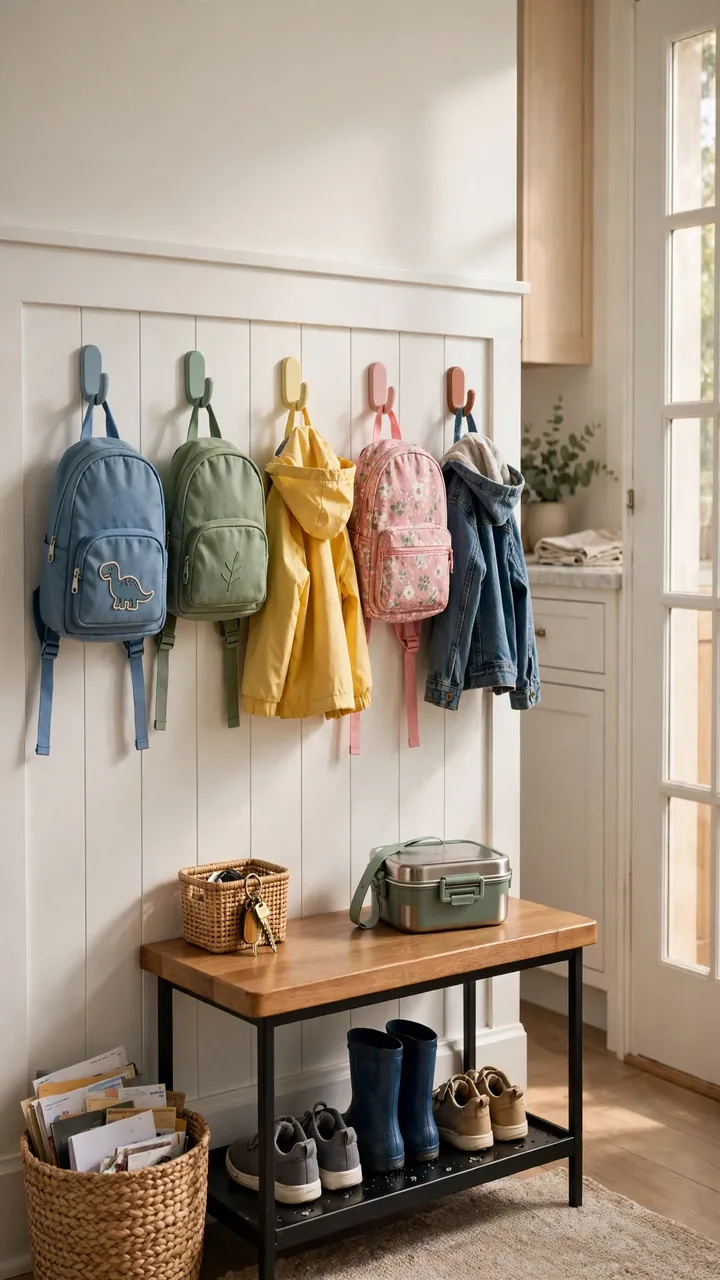
By 4 p.m., shoes are in a heap and three backpacks are sitting on the counter.
One of the simplest busy family kitchen ideas is giving every item a home before it reaches the kitchen. Use the wall nearest the door, or the end of a cabinet run. Hang hooks at kid height, one per person, and add a shallow tray below for shoes. A small basket for mail keeps paper from spreading across the counter.
Label each hook with a name or a color so nobody argues about whose bag is whose.
What to grab first
7. Create a Kid Snack Drawer
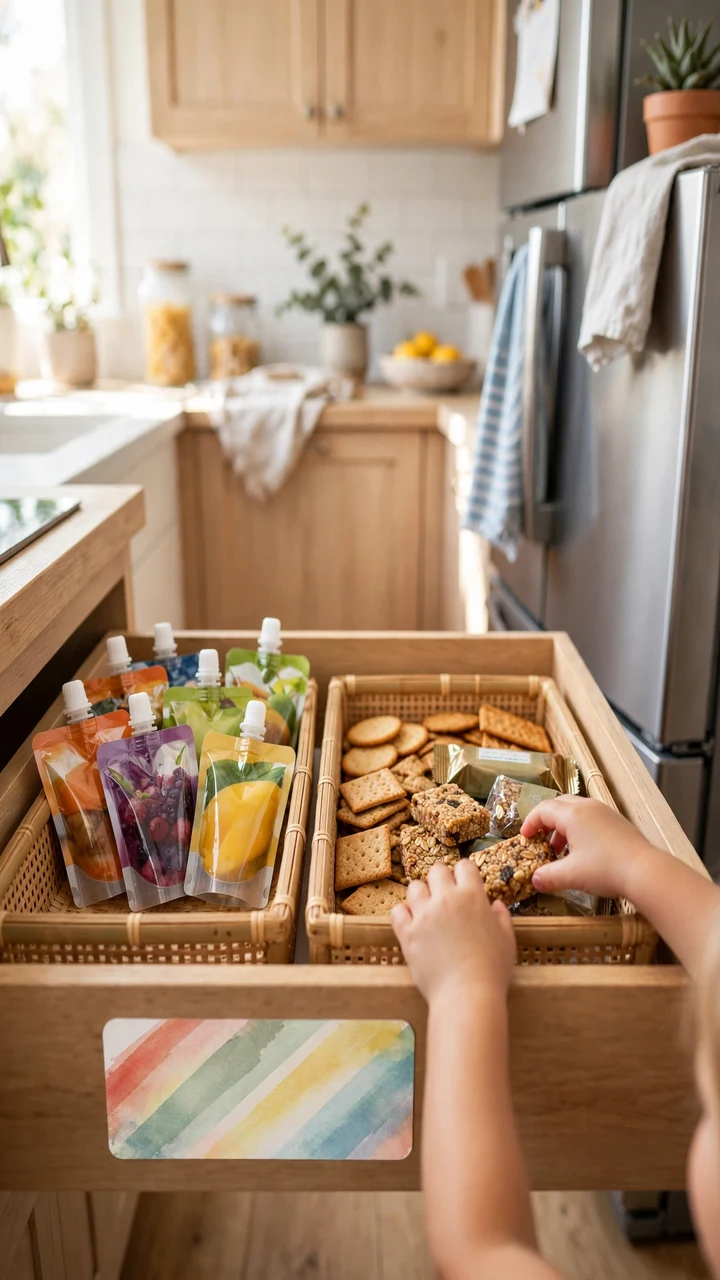
Fewer snack requests while you cook is the whole point.
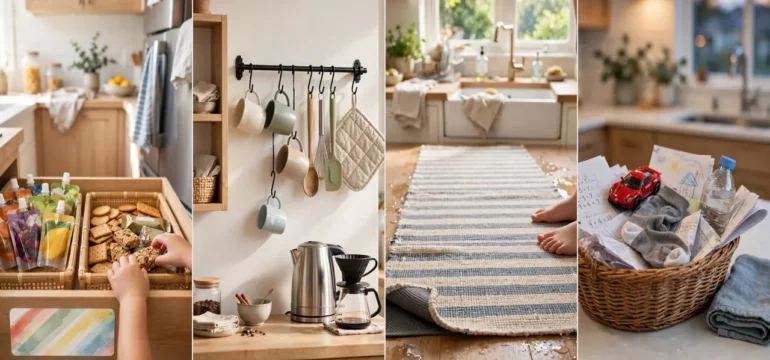
Pick the lowest drawer near the fridge and fill it with food that is safe for kids to grab on their own. Use one or two shallow bins so it stays tidy. Keep anything sharp or messy on a higher shelf.
Good picks to start with:
- Fruit pouches
- Crackers in small bags
- Granola bars
Stick a colorful label on the front so the drawer is clearly theirs. Restock it once a week so it never turns into another junk drawer.
8. Cover Floors with Vinyl Tiles
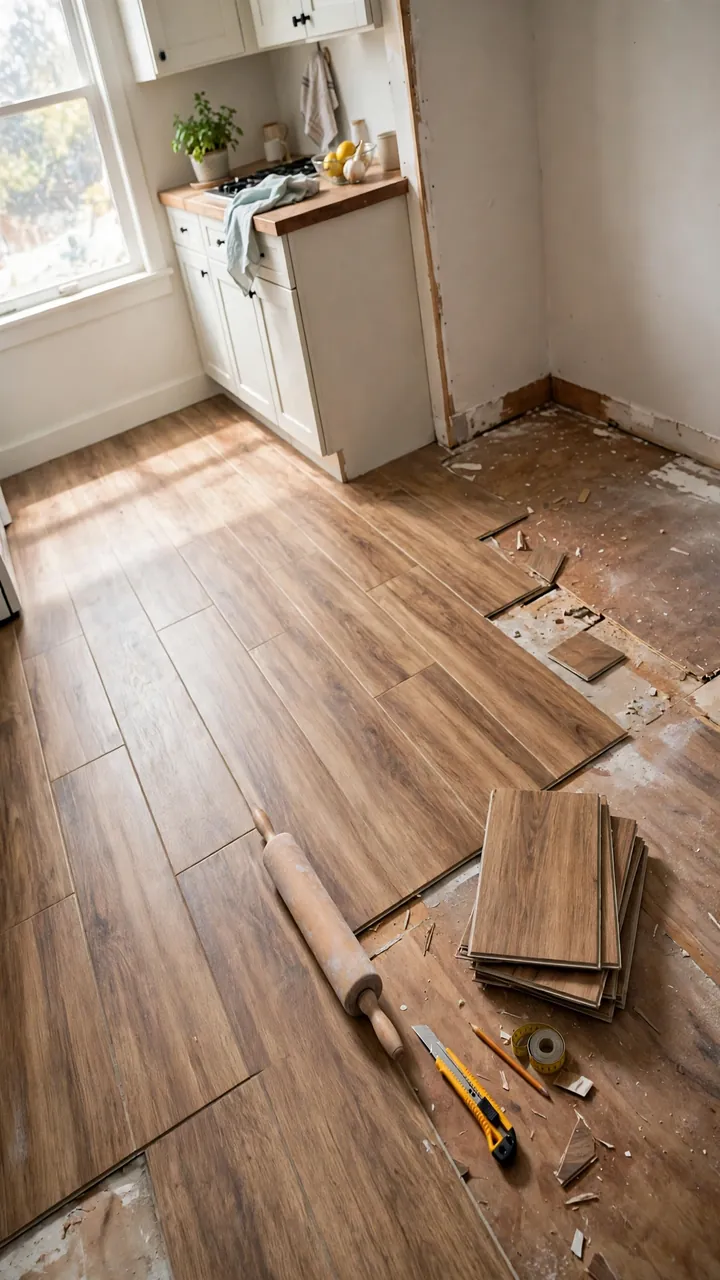
The mistake most people make is sticking new tile onto a floor that still has grease on it. The corners lift over time.
Scrub, rinse, and dry the old floor first, then fill any deep cracks. Start your first row at the center of the room, not at a wall, so the edges end up even on both sides. Pick a wood look or soft stone pattern with a little texture. Pure white shows every crumb, and a flat dark floor shows every speck of flour.
It makes a durable kitchen idea for families on a tight budget. A rolling pin presses each row down evenly.
| Peel-and-stick tiles | Click-lock planks |
|---|---|
| Peel and press, cut with a utility knife | Planks snap together, no glue |
| Needs a smooth, clean floor underneath | More forgiving over small bumps |
| Usually the lower price | Usually costs more |
| Best for small kitchens and quick refreshes | Best for larger rooms and longer stays |
9. Make a Dish Drying Station
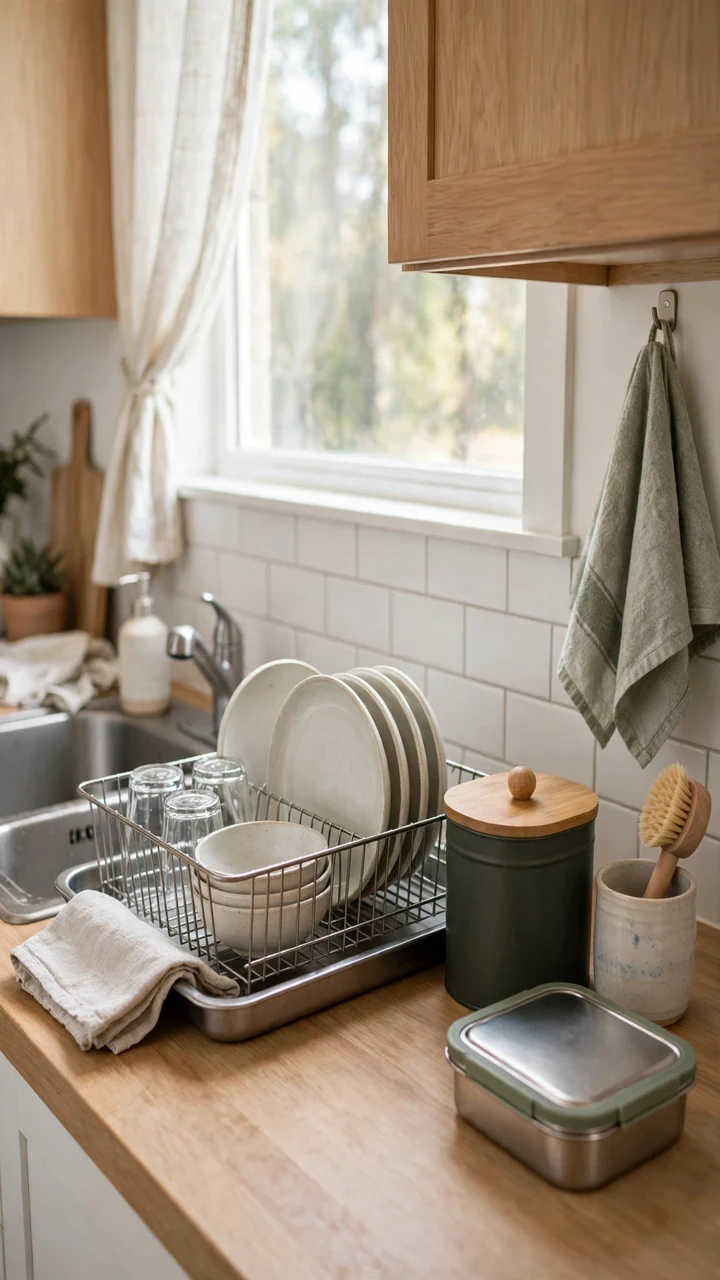
Give dishes a clear path from the table to the sink to the rack.
Set a dish rack inside a rimmed tray, then tuck a folded towel under one edge so water runs back toward the sink. Add a small lidded bin for scraps and a hook for a hand towel within easy reach. Keep a dish brush in a cup by the faucet so older kids can rinse their own plates.
Choose a rack with a flat top, so cups and lunch containers have somewhere to dry. Wipe the tray down once a week.
Clear the drying rack before bed, so tomorrow’s dishes have a place to land.
10. Add Battery Lights Under Cabinets
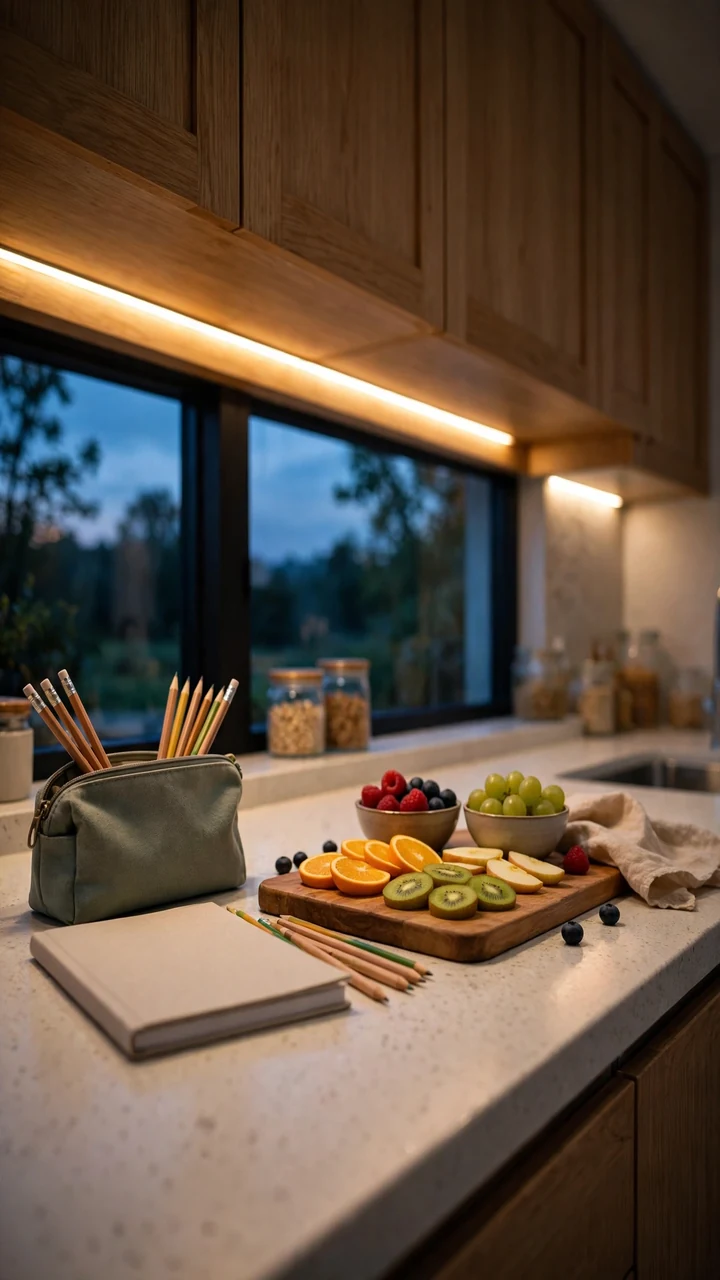
Shadows under the upper cabinets make every counter task harder.
Stick-on LED strips and tap lights fit under cabinets and need no electrician. Choose a warm white tone so food looks natural and the room stays cozy. Mount them near the front edge of the cabinet, not the back, so the light lands on the counter instead of the wall.
Put them over the spot where homework, chopping, and lunch packing actually happen.
⚠️ Watch Out
Keep loose batteries and small light parts away from young children. Pick a light with a screw or locking battery cover, and mount it high enough that little hands can’t pull it down.
11. Hang a Rail for Mugs and Tools
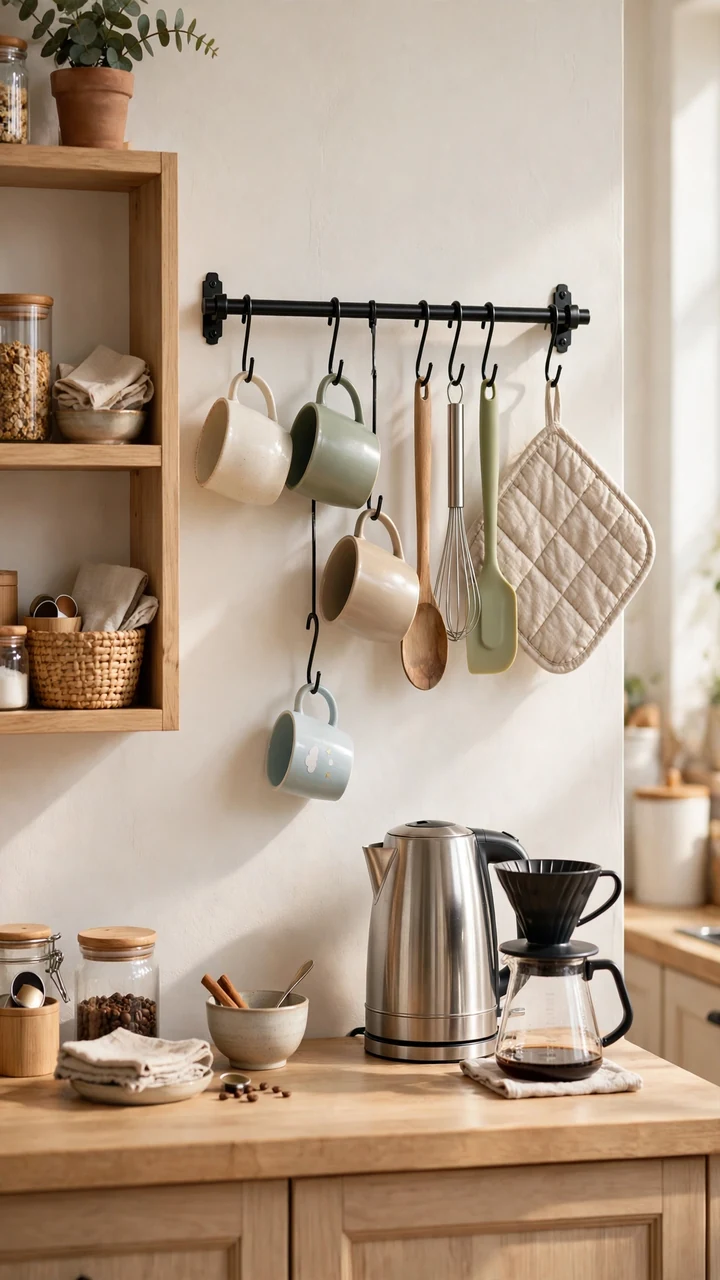
One cheap rail can clear more counter than any organizer.
Mount a metal rail on the wall beside the stove or coffee spot. Screw it into studs or use heavy-duty anchors, because full mugs and pans weigh more than they look. Hang it low enough that older kids can reach their own cup.
Good things to hang:
- Mugs by the handle
- Utensils on S-hooks
- Pot holders near the stove
Keep sharp tools off the rail. Matching hooks make a mixed set of mugs look planned.
12. Seal the Kitchen Table
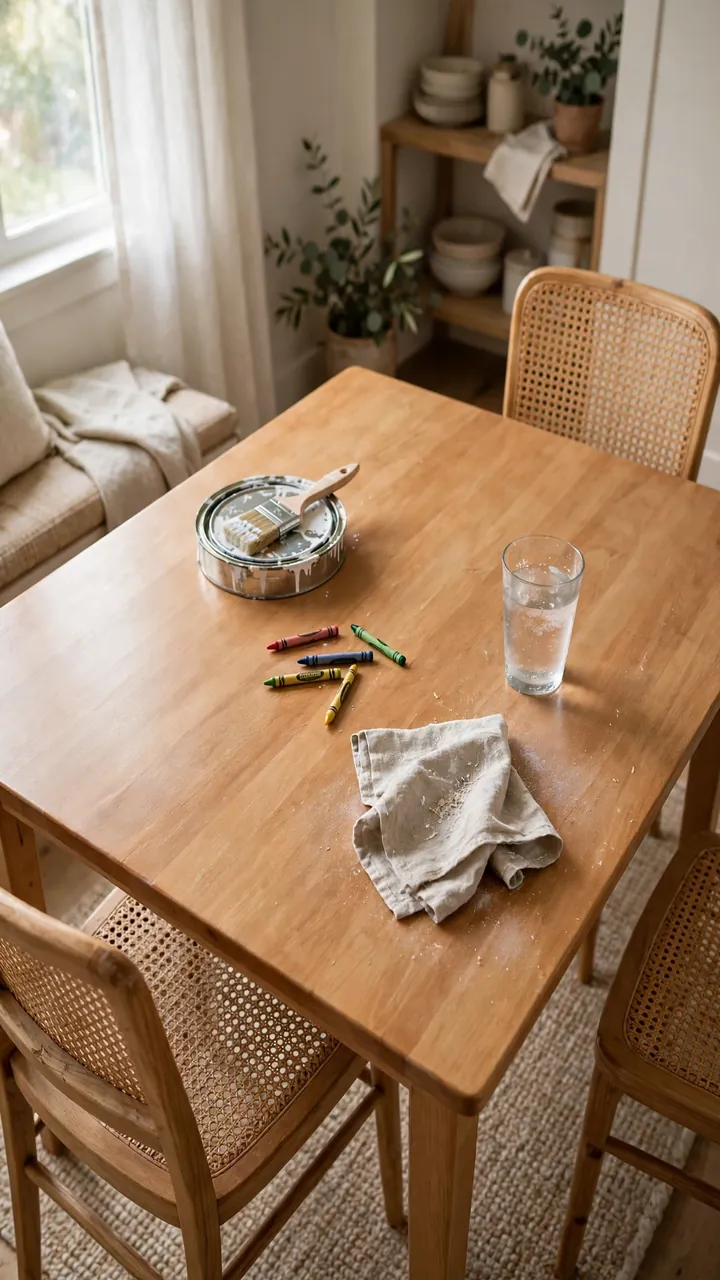
The table has a water ring, a crayon scribble, and a dent from last month’s science fair project.
You don’t need a new one. A thin layer of paint or stain plus a clear water-based sealer gives the top a hard, wipeable skin that handles juice and glue. Matte or satin sealer hides scratches better than a high gloss one.
It is one of the easiest family friendly kitchen decor updates, since the table is the center of the room. Cover it with a cloth for the first few days while the finish hardens.
Wipe the table clean and sand the top lightly until it feels smooth.
Wipe off the dust with a damp cloth, then add paint or stain and let it dry fully.
Brush on a thin coat of water-based sealer, let it dry, then sand lightly with fine paper.
Add a second coat, then wait out the cure time on the can before heavy use.
13. Use Wipe-Clean Chair Cushions
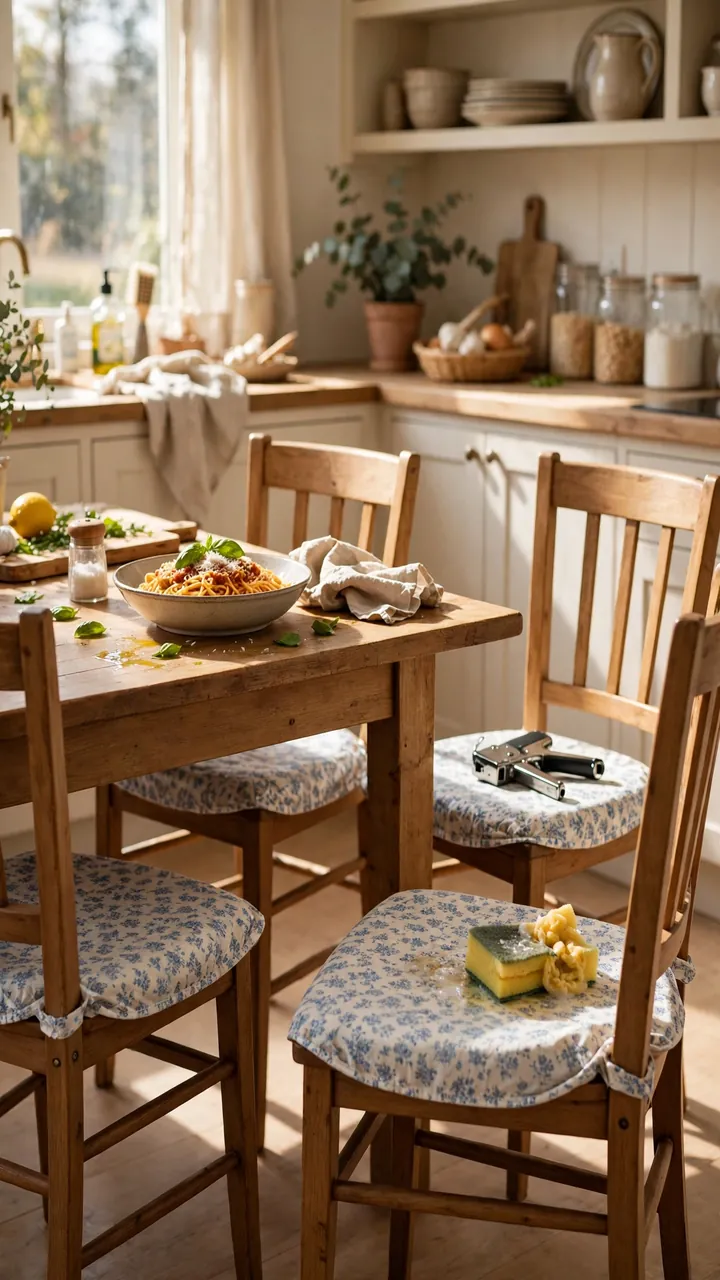
Fabric seat pads look soft until the first bowl of spaghetti.
Swap them for wipe-clean covers made from vinyl-coated cotton, oilcloth, or outdoor fabric. If your chairs have a drop-in seat, new fabric stapled underneath is a quick job with a staple gun. If they don’t, tie-on pads in the same fabrics work too.
Small prints and mid-tone colors hide spots longer than solid light colors. This is one of those durable kitchen ideas for families that pays off at every meal.
Cloth seats with juice rings and crumbs stuck in the seams.
Wipeable seat covers in a small pattern that cleans up with one swipe.
14. Paint a Chalkboard Wall
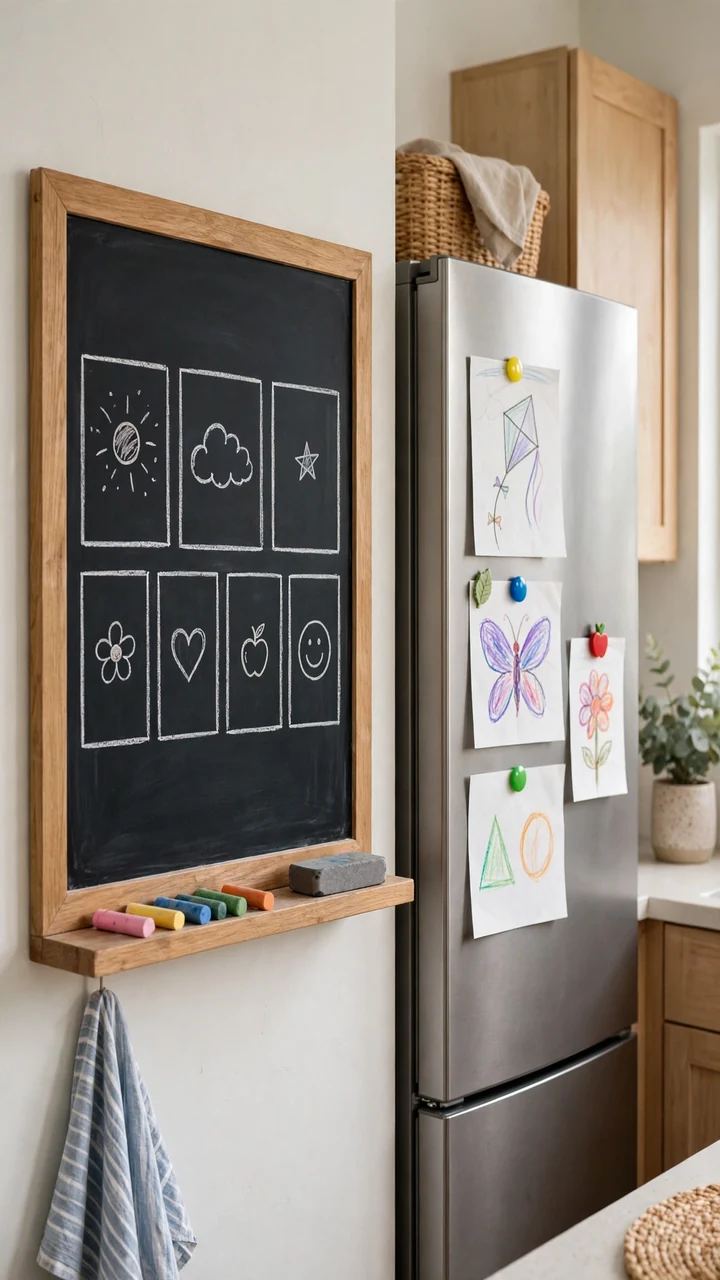
Pick one wall near the table or the fridge, and paint a panel, not the whole room.
Chalkboard paint gives you a spot for the week’s schedule, spelling words, or a grocery list. Magnetic primer under regular paint works better if you want to hang school papers and art. Both need a couple of thin coats and a full dry before use.
Keep the panel away from the stove and prep area. Chalk dust and cooking steam don’t mix.
What to gather
15. Lay a Washable Runner
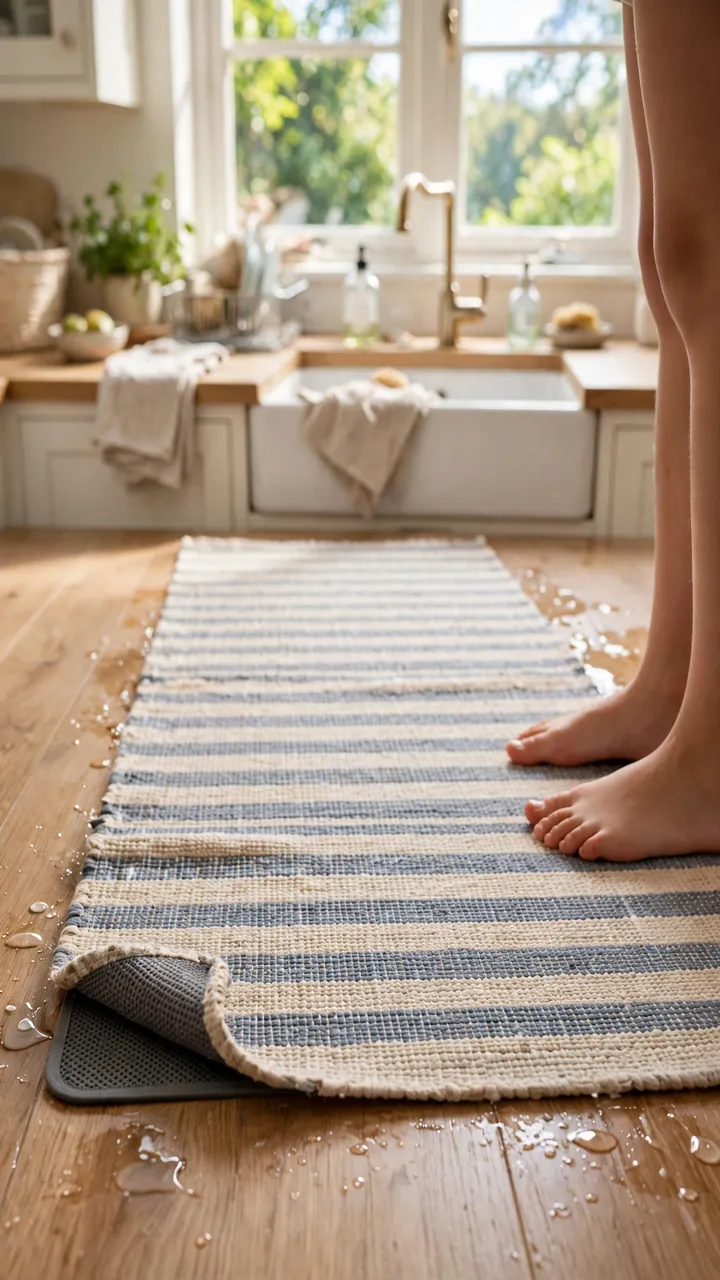
The floor in front of the sink catches the most splashes.
A washable runner protects it and gives tired feet something softer to stand on. Choose a flat-woven or low-pile rug with a non-slip pad, since thick pile traps crumbs and long fringe tangles in the vacuum.
Look for:
- A machine washable label
- A thin profile, so cabinet doors and the dishwasher still open
- A pattern or stripe that hides splashes
Toss it in the wash every couple of weeks.
16. Hang Washable Window Shades
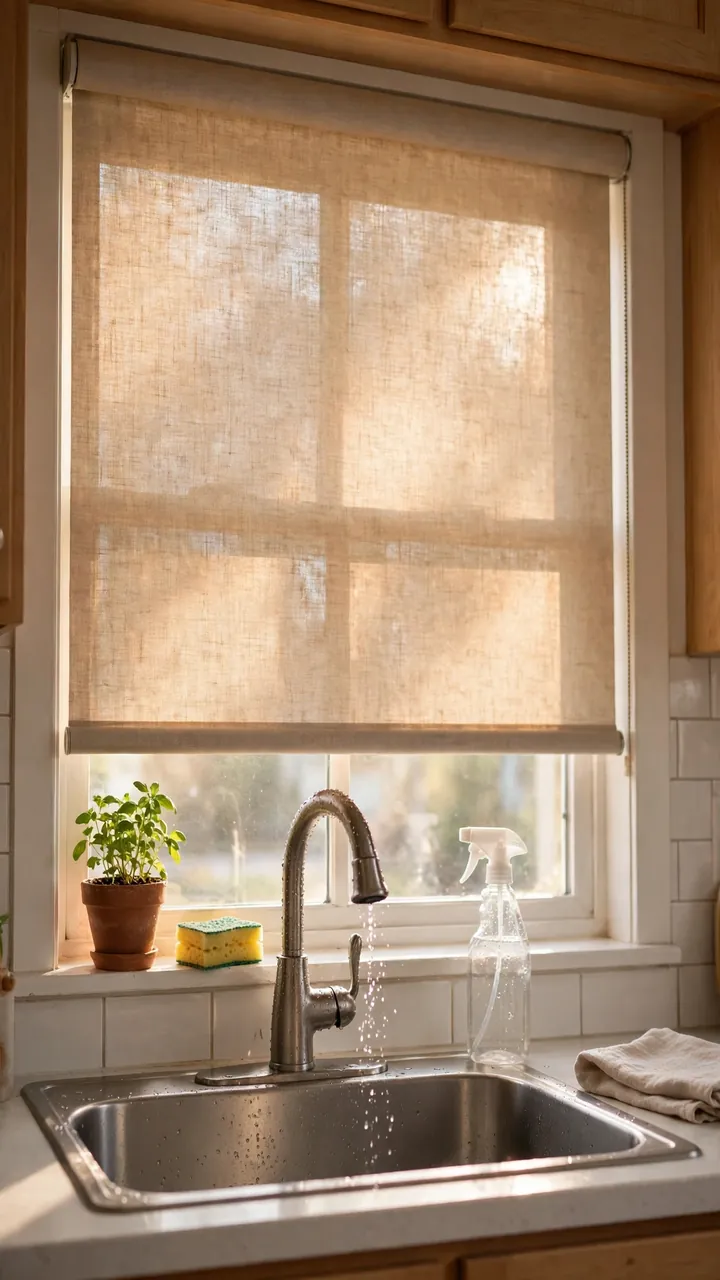
Curtains near the sink soak up splashes and cooking smells.
Swap them for a simple roller shade in vinyl or a wipeable polyester blend. A damp cloth handles the drips, and the shade rolls out of the way when you want daylight. Cordless styles are safer around kids and pets.
For a neat fit, mount the shade inside the window frame. Measure the width at the top, middle, and bottom, then use the narrowest number.
| Fabric curtains | Washable shades |
|---|---|
| Cleaning: take down and machine wash | Cleaning: wipe with a damp cloth |
| Near the sink: absorbs drips and smells | Near the sink: sheds drips |
| Light: panels always cover part of the glass | Light: rolls up to clear the whole window |
| Kids and pets: hems get tugged | Kids and pets: cordless styles stay out of reach |
17. Store Snacks in Clear Bins
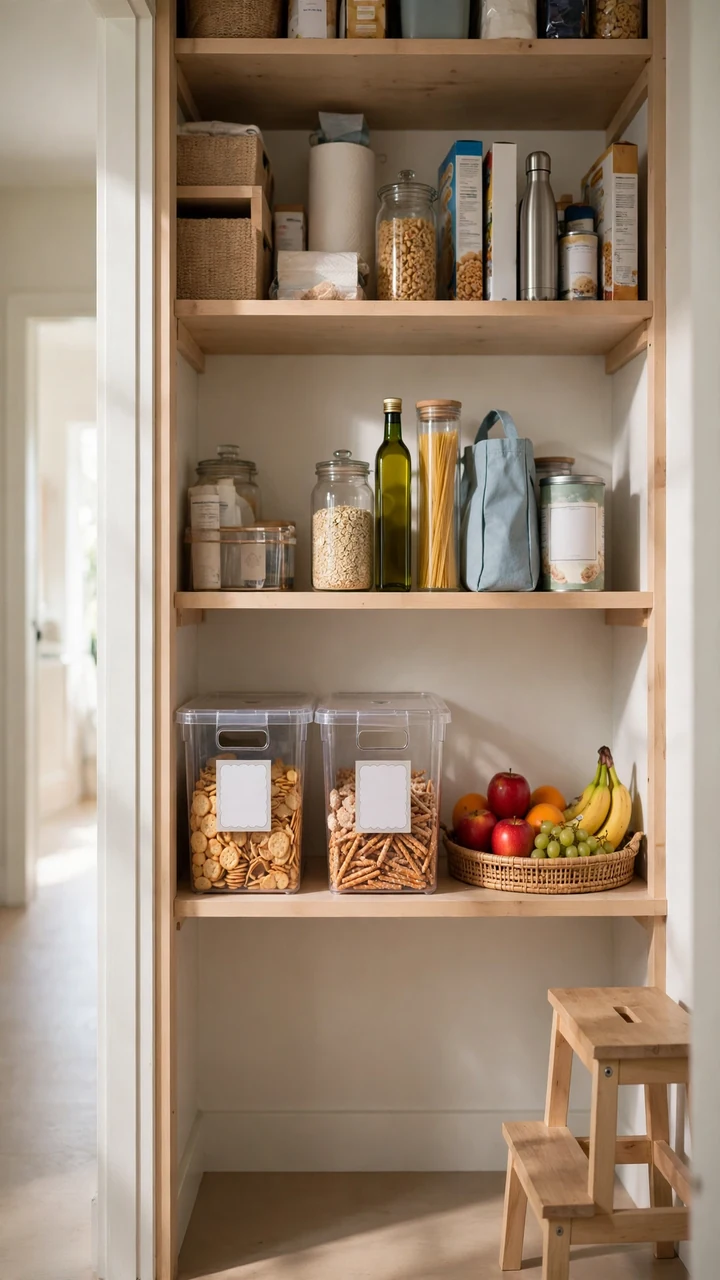
The usual mistake is putting snacks on the top shelf, then answering “can I have a snack” forty times a day.
Kitchen ideas for parents work best when kids can help themselves. Set a clear bin on the lowest pantry shelf with a few approved snacks. Everything else goes up high, where you control it.
Lidded bins also keep opened crackers and cereal fresh. Tape the best-by date from the original box to the bin so you know when to toss it.
Use clear, lidded bins so kids can see what’s inside.
Label with a word or a small picture for younger kids.
Glass jars on the lowest shelf.
Tossing the box before you save the best-by date.
18. Add a Splatter Guard at the Stove
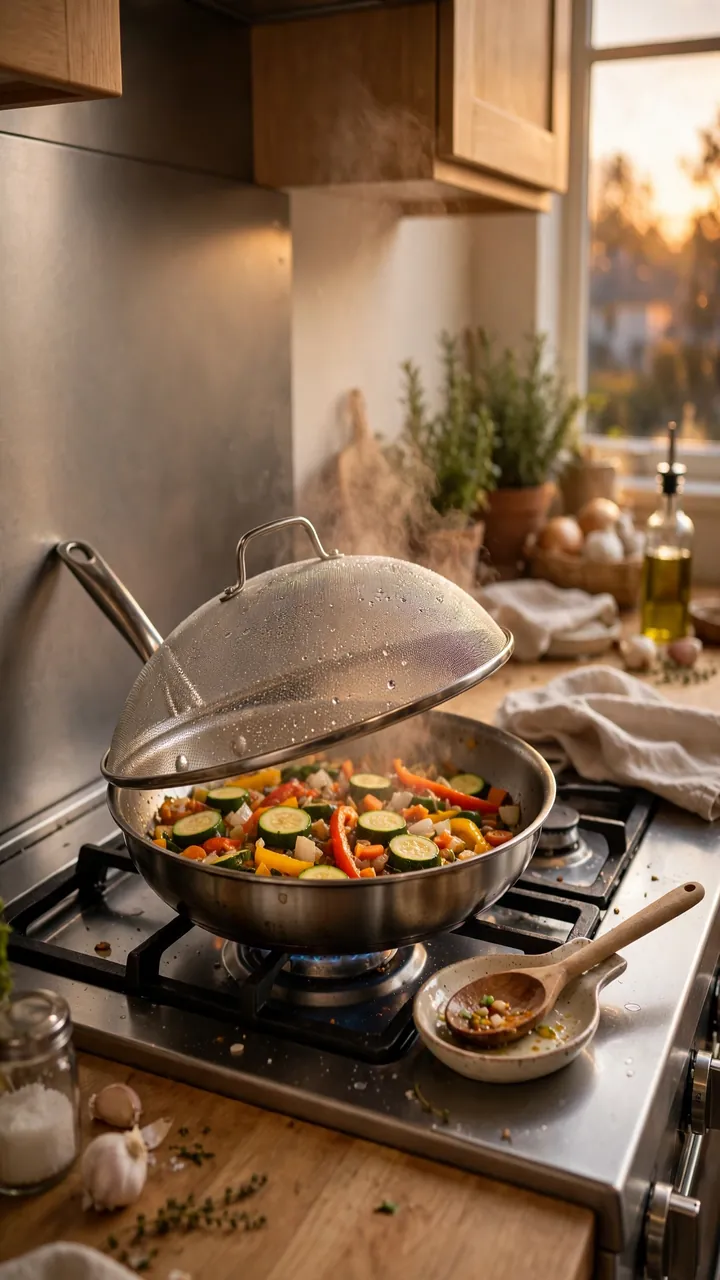
Grease travels farther than most of us expect.
A mesh splatter screen that sits over the pan catches most of it. Add a stainless sheet or wipeable panel on the wall behind the burners, and cleanup shrinks to a quick wipe.
For daily cooking:
- Turn pan handles inward
- Keep the screen hanging within reach
- Wipe the panel once it has cooled
Both items are cheap, and both save you from scrubbing a stained wall later.
⚠️ Watch Out
Keep towels, paper, and anything that can burn well away from the burners, and never mount a rail directly above them. Set up a clear zone around the stove for kids while you cook.
19. Frame Kid Art in Acrylic
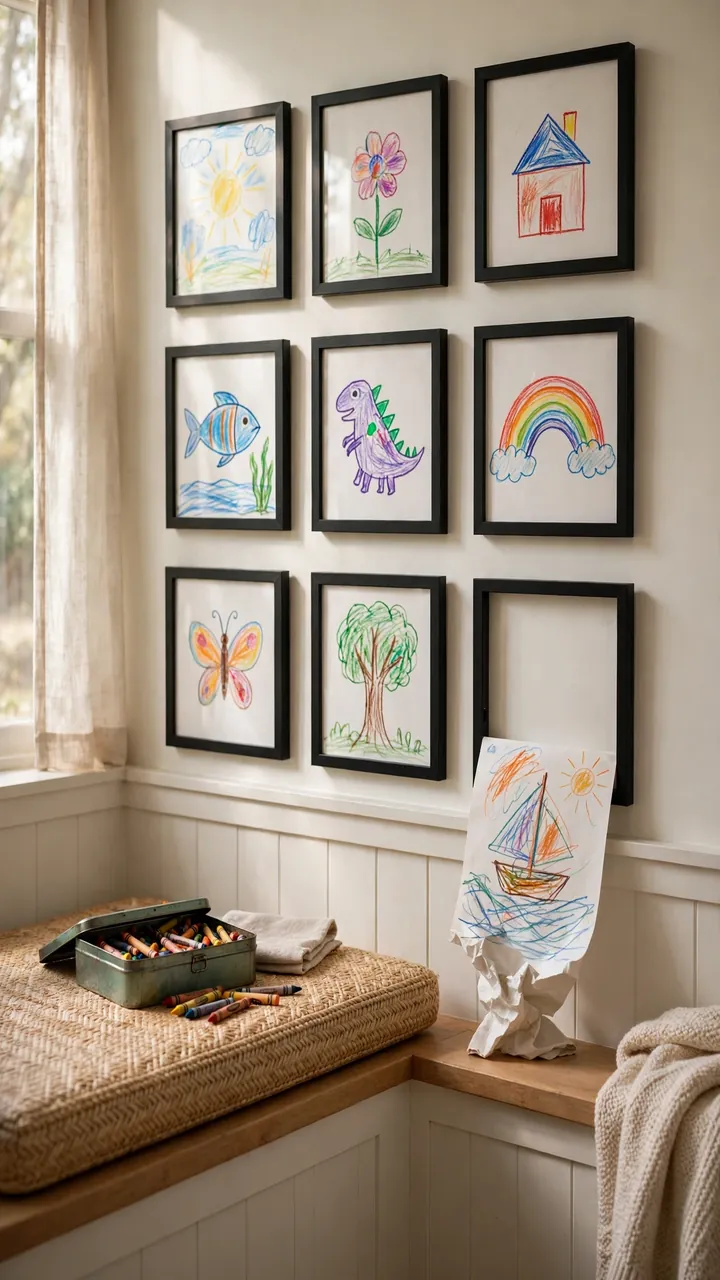
Look closely at the fridge door and you’ll see layers of paper curling at the corners.
Frames with acrylic fronts give the best drawings a clean spot on the wall. Acrylic is lighter than glass and won’t shatter if a ball hits it. Use matching black or white frames so the art, not the frame, is what stands out.
To make it work:
- Hang the frames at a height kids can see
- Choose frames that open from the back, so swapping is easy
- Rotate the art every month or so
Frame the art your kids make, and the kitchen starts to feel like it belongs to the whole family.
20. Keep a Weekly Reset Basket
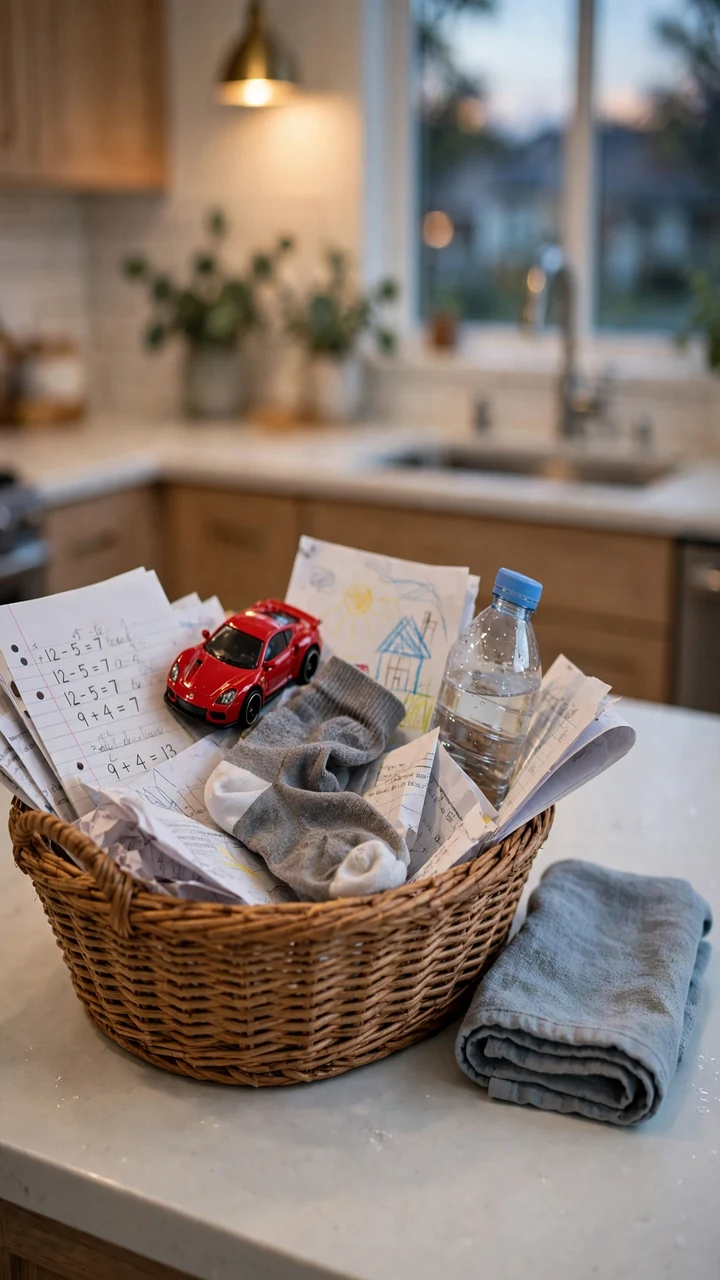
One basket. One reset. Every Sunday.
Set a basket at the end of the counter. During the week, anything that doesn’t belong in the kitchen goes into it: toys, school papers, stray socks. On Sunday, walk it through the house and put each thing back where it lives.
It keeps counters clear without you nagging anyone. In a budget family kitchen, it may also be the cheapest idea of all, since you probably already own a basket.
Sunday reset checklist
Conclusion
A kitchen that works for a family doesn’t need a big budget. It needs finishes that wipe clean, storage kids can reach, and small fixes where the mess happens most.
You don’t have to do all 20. Pick one this weekend, maybe the cabinets or the drop zone, and see how it changes your week.
That is the heart of a budget kitchen makeover for busy families: a room that looks good on a normal Tuesday and still holds up when the chaos arrives.
Good places to start
Save this list for the next time you want to refresh your kitchen.