You want to walk into your living room on Sunday night and feel like it finally belongs to you. Not a full renovation or a three month project, just a room that looks pulled together and feels good to sit in.
The problem is time. Most makeover advice assumes you have weeks, a big budget, and a contractor on speed dial. You have two days, a paint roller, and a drill that lives in the junk drawer.
That is what this list is built for. Every idea below can start and finish between Friday evening and Sunday night. They use simple materials and basic tools, and they cover different parts of the room, so you can pick the ones that fit your space.
Choose three, choose ten, or work down the whole list. A one weekend living room makeover does not need a big plan. It just needs a few smart moves done in a sensible order. Grab a coffee and start scrolling.
1. Paint One Accent Wall
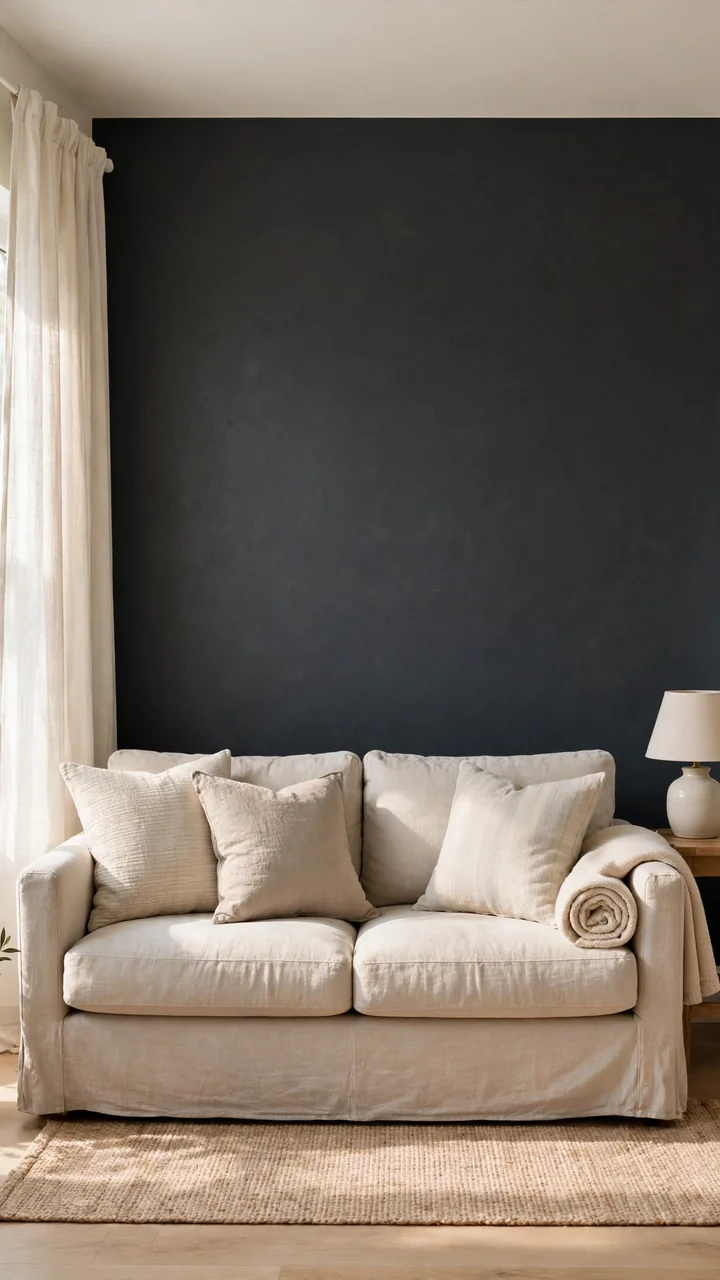
One painted wall changes how the whole room reads.
Pick the wall behind your sofa or the one you face when you walk in, since that is where eyes land first. Go a few shades deeper than your other walls. Charcoal, warm greige, and muted olive all look good with most furniture. Tape the edges, cut in with a brush, then roll two coats.
Before you start:
- Pull furniture to the center and cover it
- Wipe the wall so paint sticks evenly
- Check the can for dry time before you hang anything
2. Hang a Gallery Wall
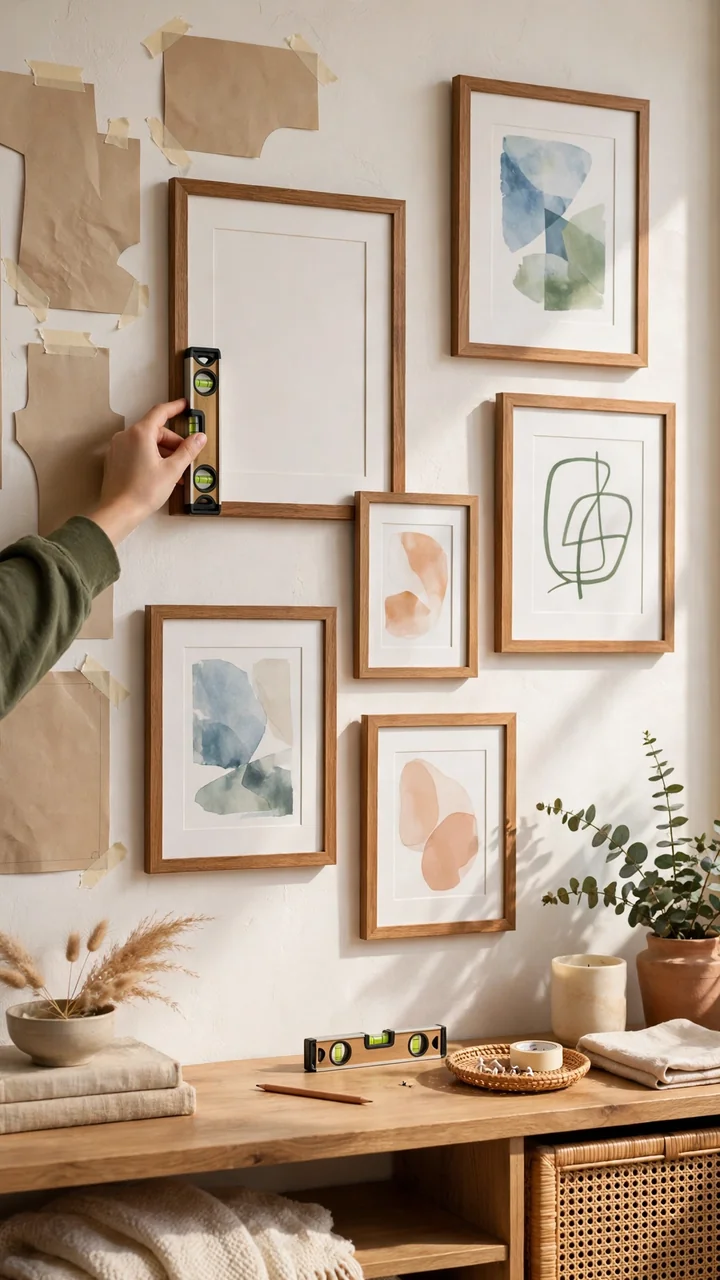
Nail holes in the wrong spot are why most people never try a gallery wall.
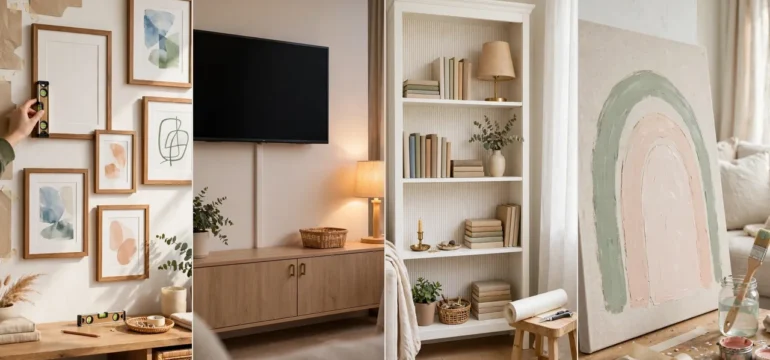
Paper templates fix that. Cut paper to the size of each frame, tape the shapes to the wall, and shuffle them until the group feels right. Keep the gaps between frames small and even, and center the whole group around eye level.
Trace each frame on newspaper or kraft paper and cut out the shapes.
Stick the paper to the wall with painter’s tape and rearrange until you like it.
Hammer each nail through its paper at the hanging spot, then tear the paper away and hang the frame.
Mixed frame finishes work fine as long as the mats stay white.
3. Hang Curtains High and Wide
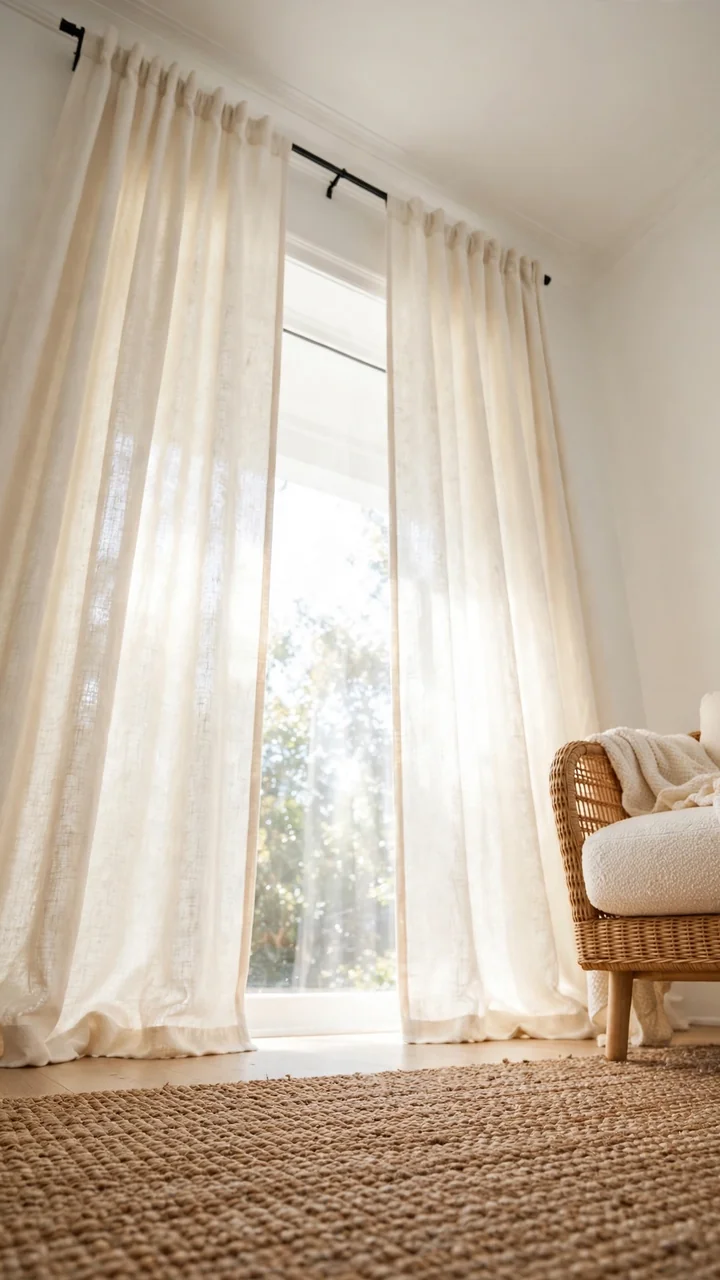
Most curtains sit right at the window frame, which makes the window look smaller than it is.
Mount the rod close to the ceiling and let it stick out past the frame on both sides. The panels then cover wall instead of glass, so the window looks taller and wider and the same amount of light still comes in.
You will need:
- A drill and a level
- A tape measure
- Long panels that nearly touch the floor
Short curtains hang right at the frame. The window looks boxed in and the ceiling feels low.
Floor length panels hang from a high, wide rod. The window looks bigger and the wall looks taller.
4. Get a Bigger Rug
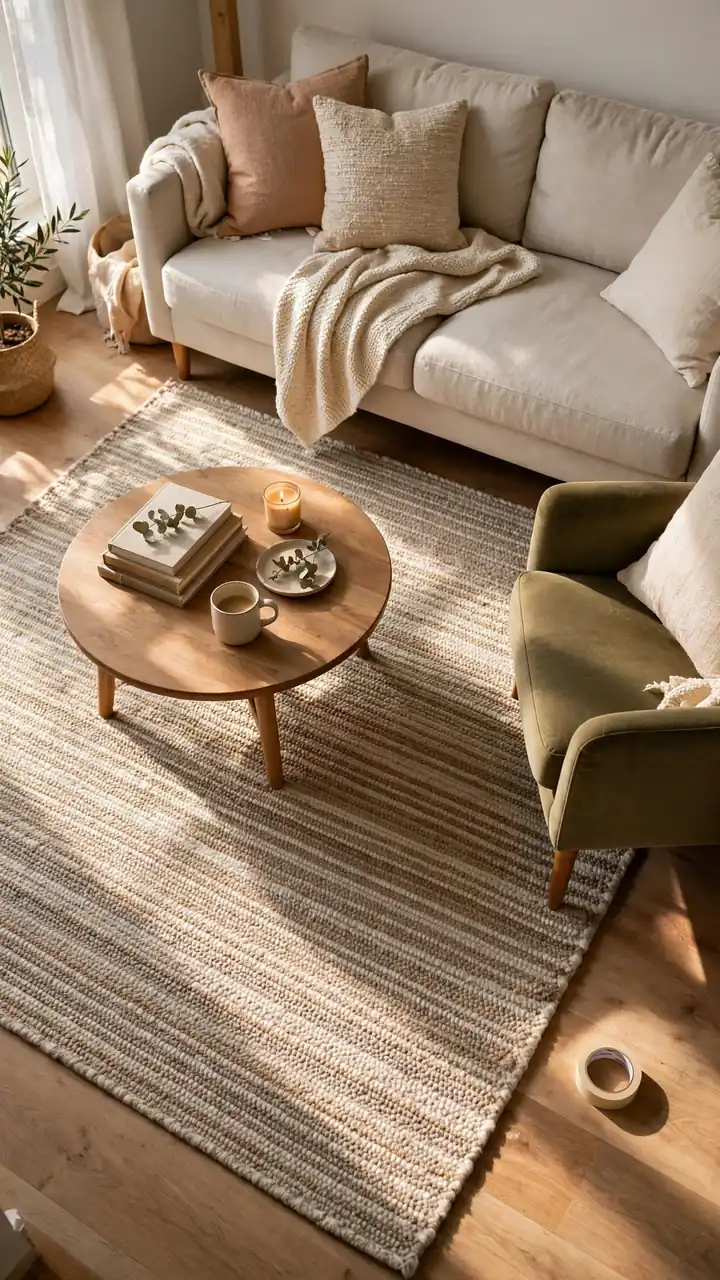
Rule of thumb: the front legs of your sofa and chairs should sit on the rug.
A small rug floating in the middle of the room splits the seating area into pieces. A larger one pulls everything together and makes the room feel wider. Flat weave wool or jute hides dirt well and goes with almost any color.
Lift each sofa corner one at a time to slide it into place.
💡 Quick Tip
Before you buy, mark the rug size on the floor with painter’s tape. Walk around it and leave it overnight. If it looks too big, it is probably just right.
5. Refresh Your Sofa Pillows
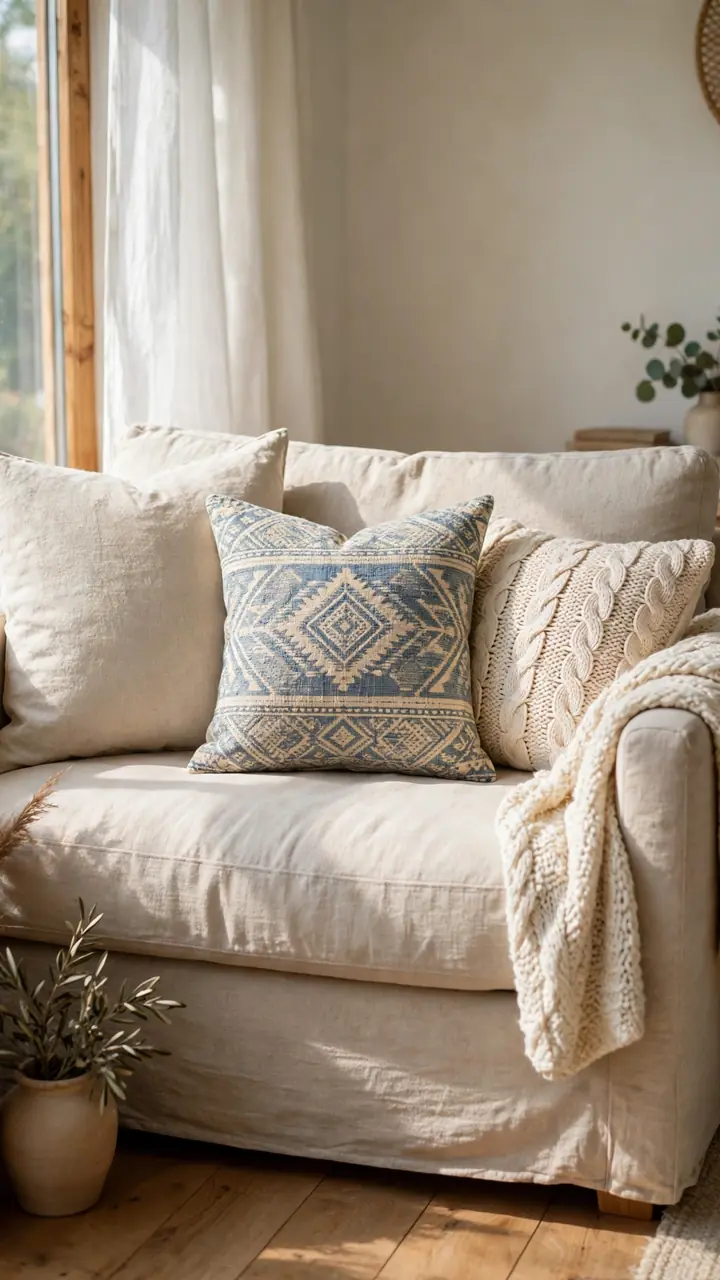
A tired sofa often just needs better pillows.
Start fresh with three sizes: a large one for the corners, a medium one for color or pattern, and a lumbar for the middle. Mix one solid, one pattern, and one texture like linen, knit, or velvet. Keep the colors within two or three shades so it looks planned.
Drape one chunky throw over an arm instead of folding it into a neat square. Buy new covers and reuse your old inserts to save money.
6. Style the Coffee Table
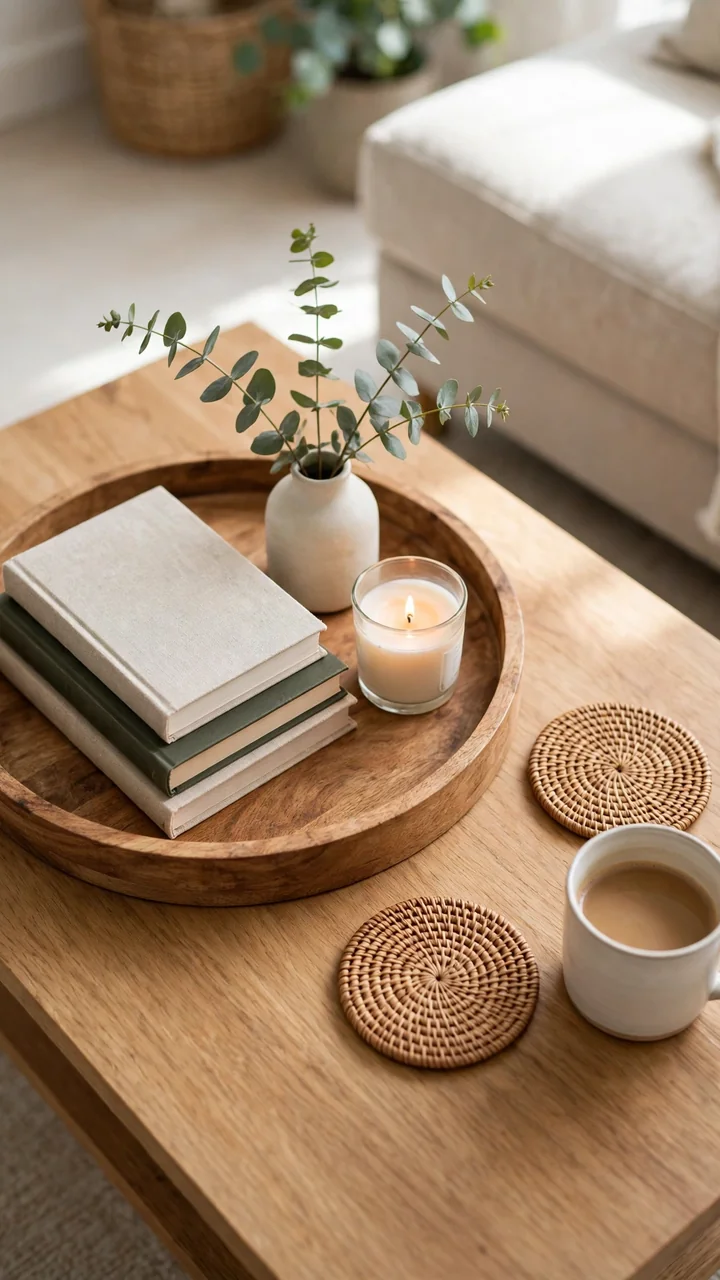
Rule one: a tray, then three things on it.
A bare coffee table looks unfinished, and a crowded one looks like a drop zone. The tray draws a border around the pile, so it reads as styled instead of messy. Pick objects in different heights, one flat, one tall, and one small. Leave a good stretch of empty tabletop for mugs and remotes, since a table you cannot use gets cluttered fast.
Round trays soften a boxy table. Rectangular ones suit a long, narrow one.
What to grab first
7. Tidy the TV Wall
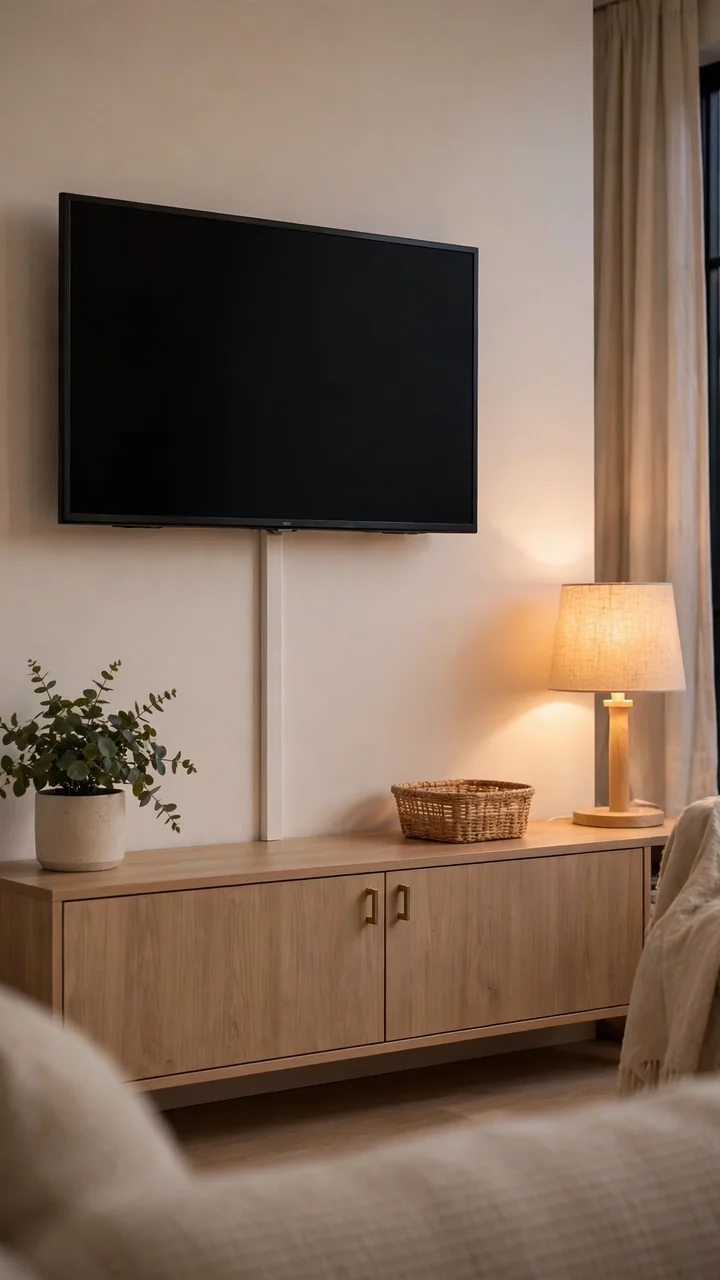
Cords hanging down a TV wall make even a nice room look unfinished.
The fix takes about an hour. Center the TV on the wall or stand, then gather every cord into one bundle:
- Clip or zip tie the cords together
- Run a paintable cord cover from the TV down to the outlet
- Plug everything into one power strip tucked behind the stand
Paint the cover the same color as the wall and it nearly disappears. It is one of the fast living room update ideas that pays off right away.
Center the screen at seated eye level.
Keep the console top mostly clear.
Add a side lamp to soften screen glare.
Mount it so high you tilt your neck.
Leave the power strip in view on the floor.
Let cords cross in front of the stand.
8. Switch to Warm Light Bulbs
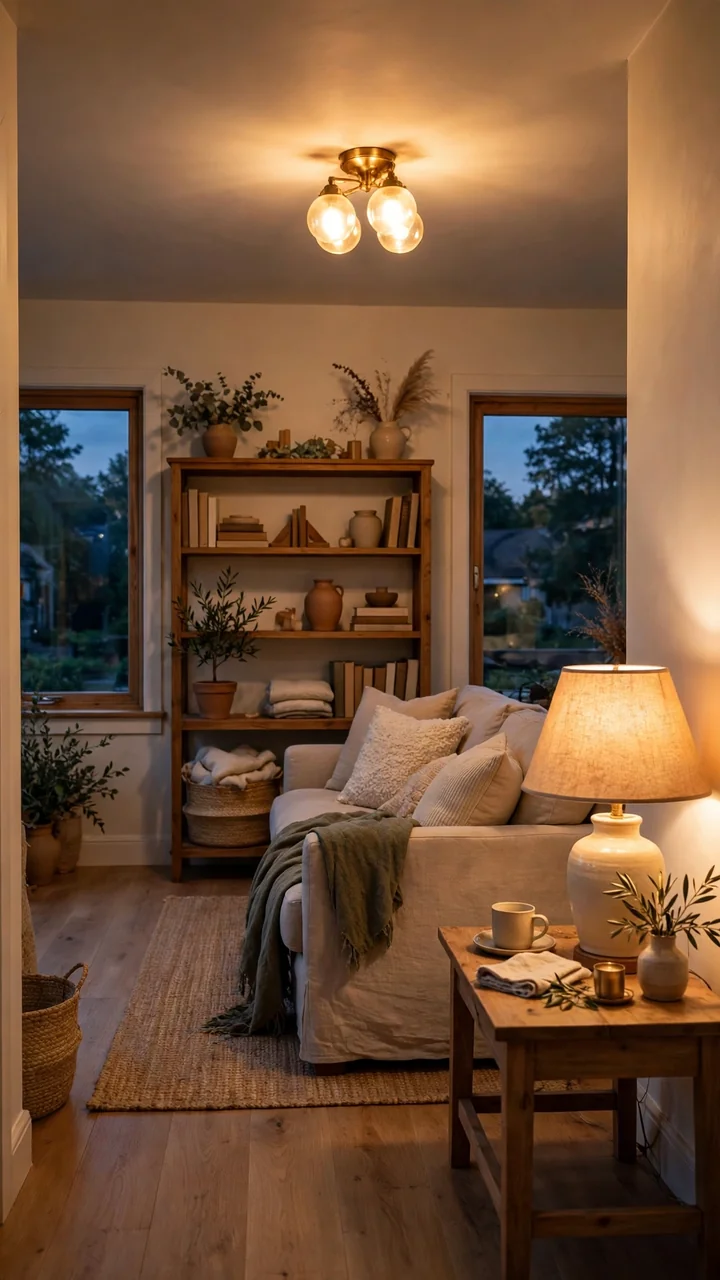
Bulb color decides whether a room feels like a lounge or a waiting room.
Check the box for the words “warm white,” or a number near 2700K. Swap every bulb in your lamps and ceiling fixtures in one go so the room matches. Mixed colors look patchy once the sun goes down. This is an easy living room makeover that costs very little and takes under an hour.
A dimmer or plug-in dimmer is worth adding if your budget allows.
| Warm white | Cool white |
|---|---|
| Feels like a cozy evening glow | Feels like a bright office |
| Suits lamps and ceiling fixtures | Suits garages and workspaces |
| Makes wood and fabric look rich | Can make them look flat and grey |
9. Add a Floor Lamp
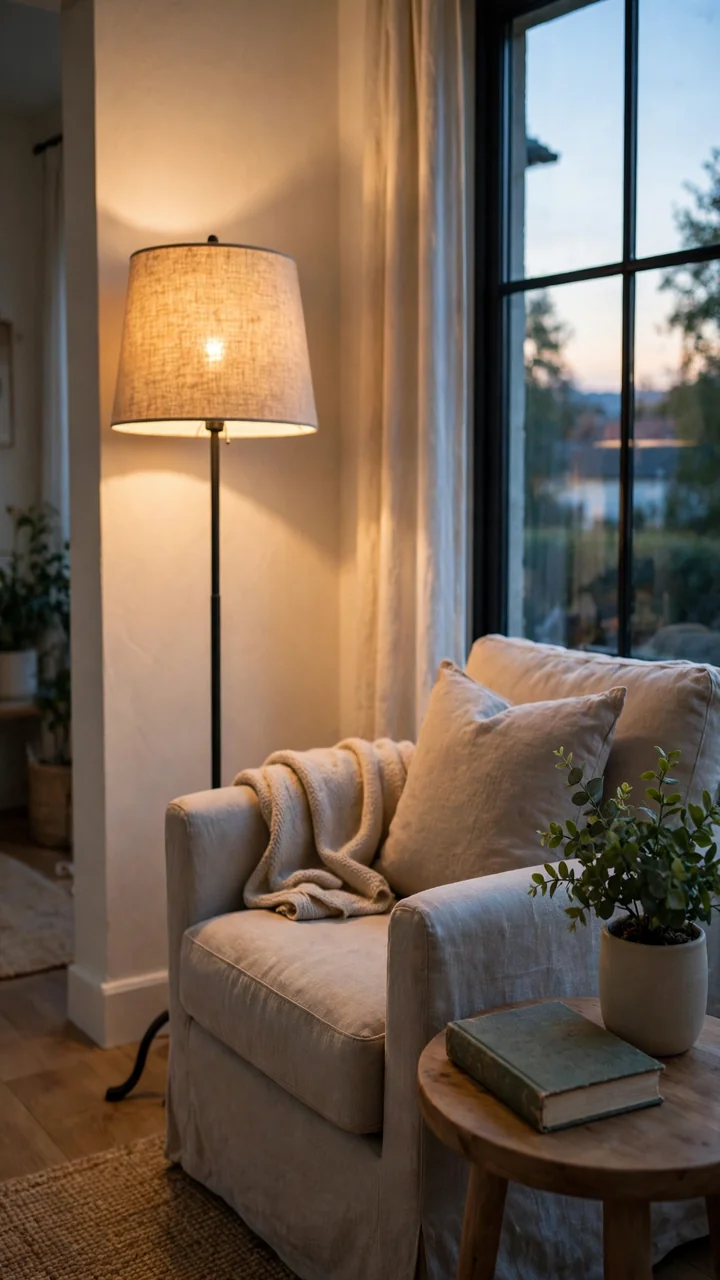
Look at your living room after dark and find the corner that disappears.
That is where a floor lamp goes. A tall lamp pulls the eye upward and fills the dead zone, so the room feels bigger and less like a box. Pick a shade that sits around eye level when you stand next to it, so the bulb stays hidden.
Good spots to try:
- Behind a corner chair
- At the end of the sofa
- Next to a bookcase
An arc lamp works well over a sofa end when there is no room for a side table.
Use at least three light sources at different heights, like a floor lamp, a table lamp, and one overhead light.
10. Style Open Shelves
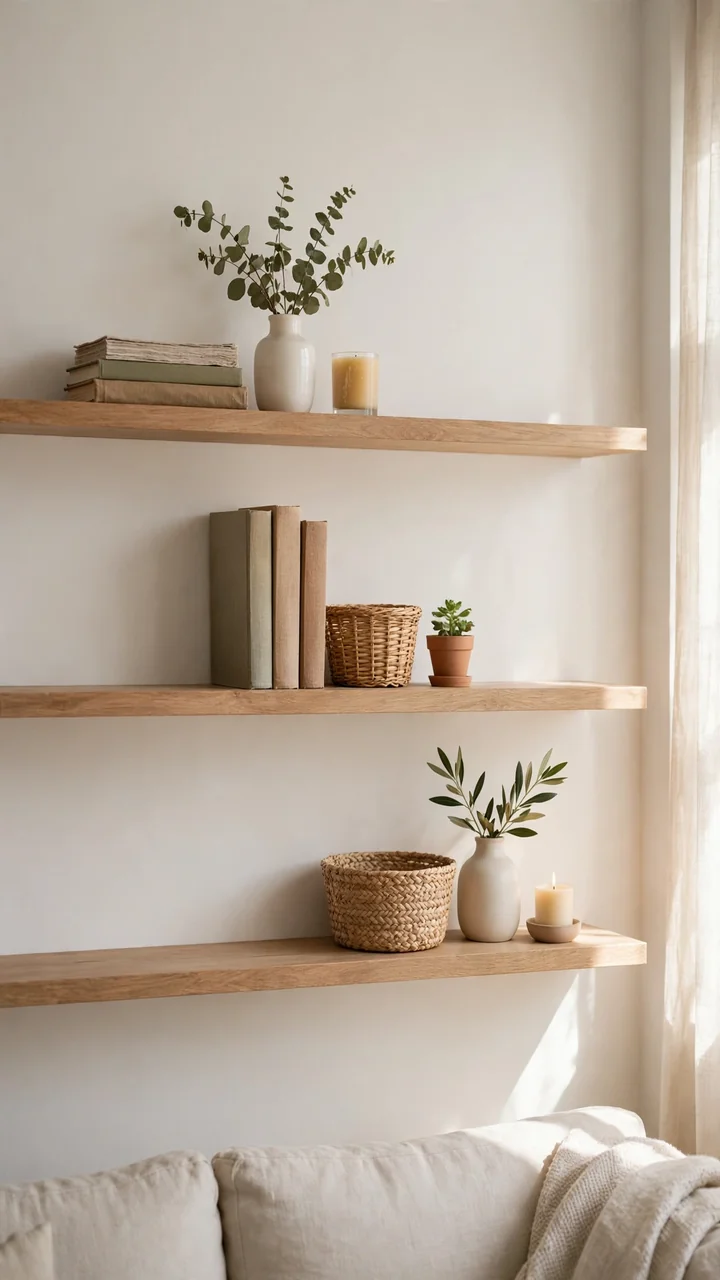
Full shelves are not the goal.
About a third of the space should stay empty, which gives each group room to breathe. Build small groups of three objects in different sizes, and space the groups apart. Repeat the idea on the next shelf with a twist so the rows do not match. Stack some books flat and stand others up, so it looks lived in instead of like a library.
- ▸Tall: a vase, a framed photo, or a small lamp
- ▸Medium: a stack of books or a woven basket
- ▸Low: a candle, a bowl, or a tiny plant
- ▸Keep one personal piece in every few groups, like a travel souvenir
11. Add Wallpaper to a Bookcase
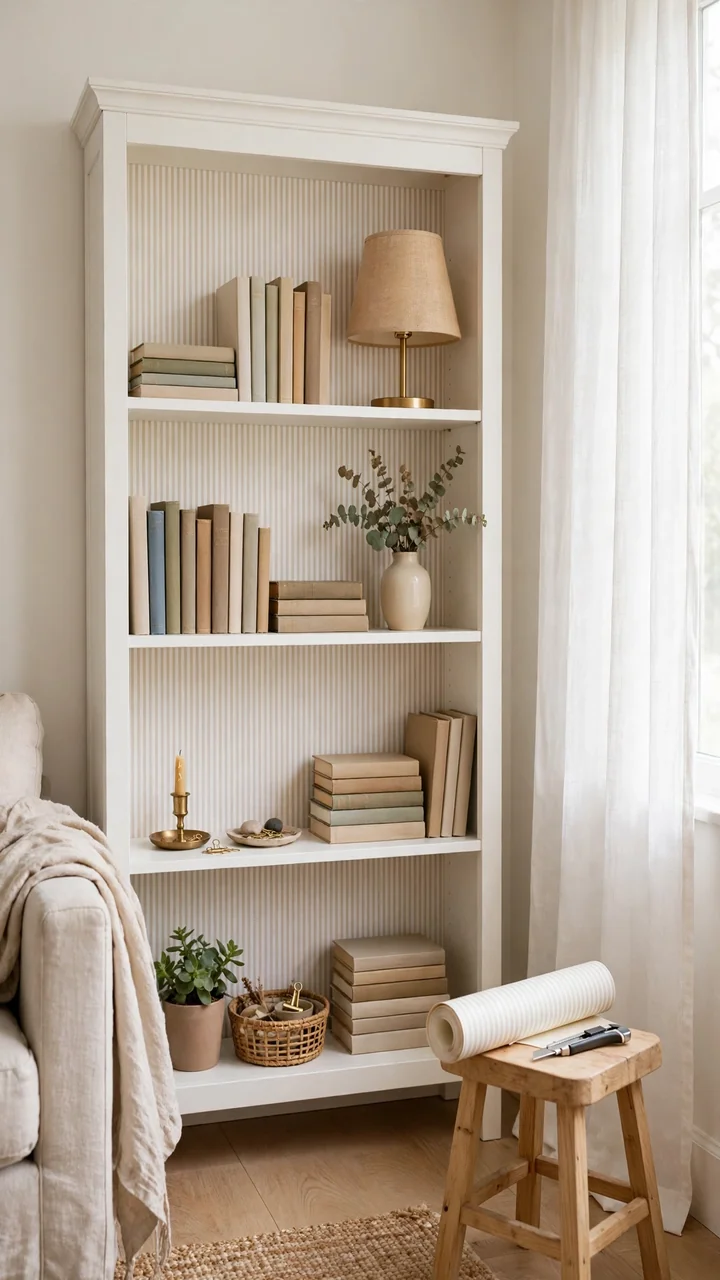
The back panel of a bookcase is a blank wall hiding in plain sight.
Peel and stick wallpaper turns it into a feature in an afternoon. Take the shelves out, measure the back panel, and cut the paper a little oversize. Peel back a few inches at a time and smooth it with a credit card as you go. Trim the edges with a sharp utility knife.
Pick a pattern with a small repeat so books and objects do not fight it. Solid grasscloth looks calm, and a fine stripe adds some life.
A plain white back panel. The shelves blend into the wall and the books look scattered.
A patterned backing gives depth. Every object on the shelves now stands out against it.
12. Move the Sofa Off the Wall
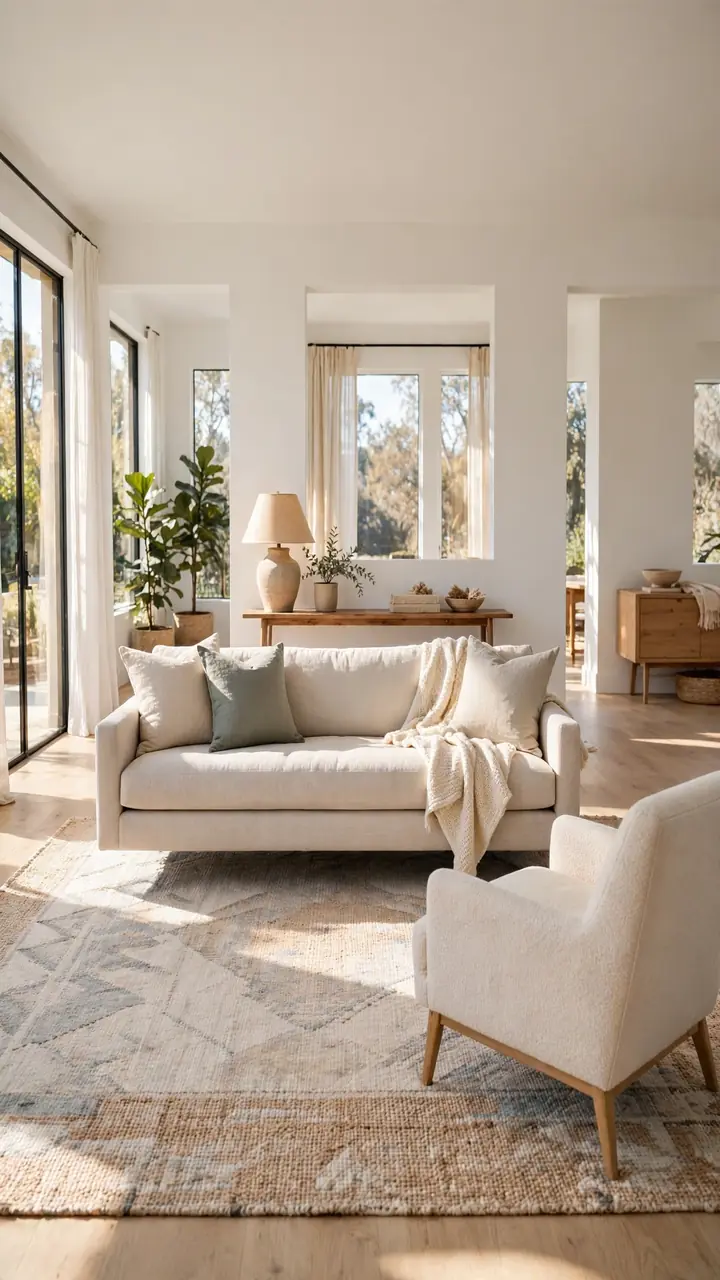
Pushing every piece against the wall is the most common layout mistake.
Pull your sofa out a few inches, or float it fully if the room is big enough, and the seating area starts to feel like a real zone. A narrow console table behind it adds a spot for a lamp and keeps the layout tidy. Angle a chair toward the sofa so people face each other when they talk.
Slide felt pads under the legs first, so the floor stays safe while you shuffle things around.
⚠️ Watch Out
Check where your outlets are before you float anything. Lamps and chargers still need to reach power, and a cord stretched across the floor is a trip hazard.
13. Mix Your Wood Tones
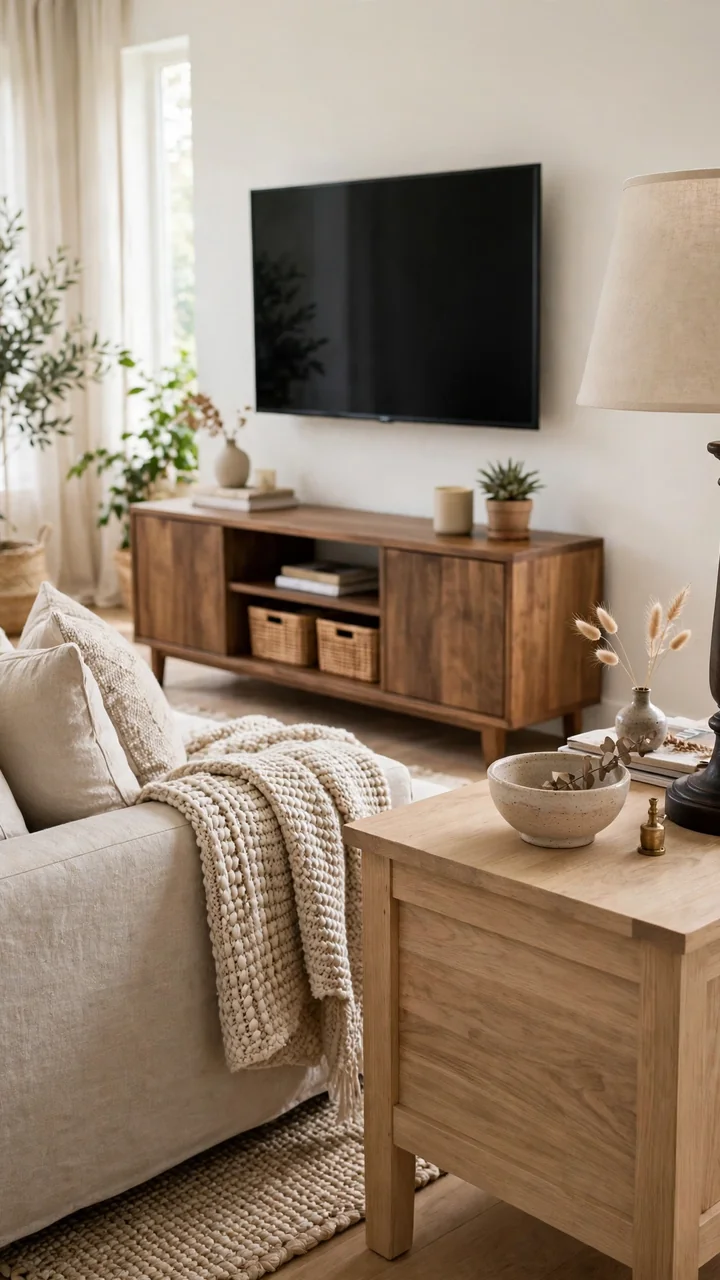
Matching wood is not a rule, and a room full of one finish can feel flat.
Aim for two or three tones, spread around the room so no single one sits in a clump. Say a pale oak side table, a mid tone media stand, and one dark frame or lamp base. Look at the undertones too. If most of your wood leans warm and reddish, stay warm and choose the new piece to match.
You are not buying much here. Often it is just shifting pieces from one room to another.
14. Make Big, Cheap Wall Art
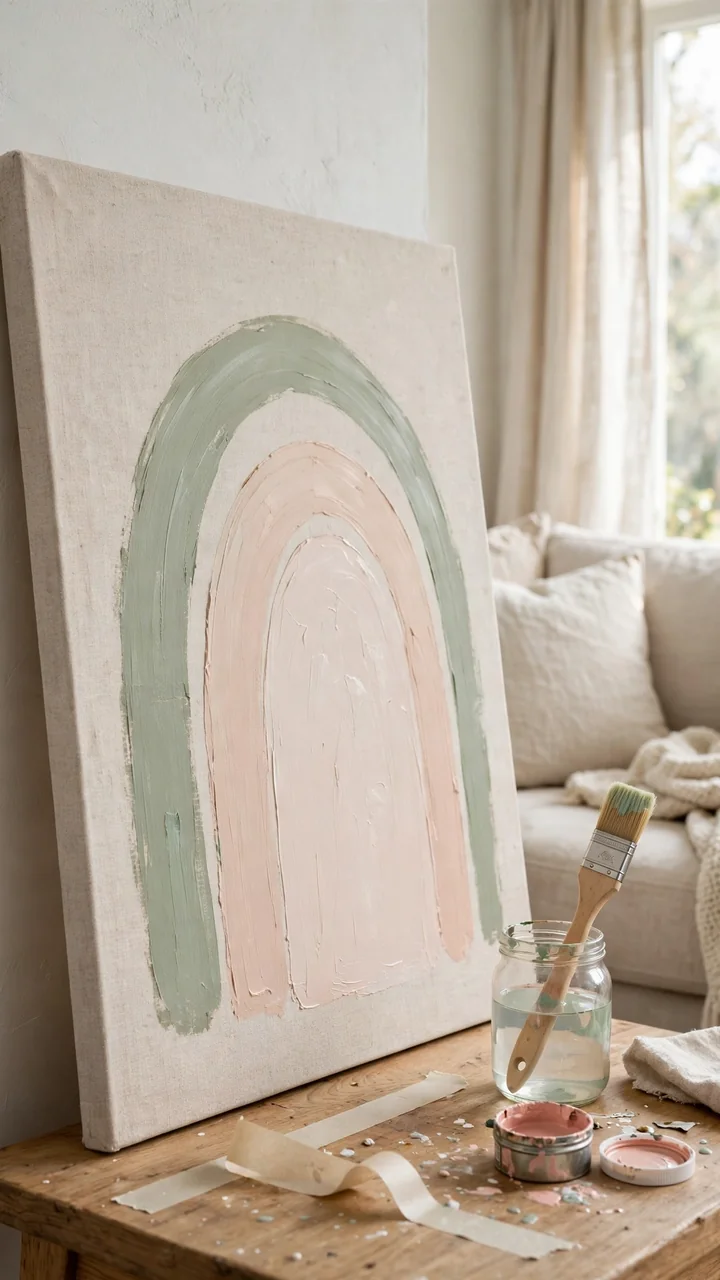
Large art fills a big wall for a fraction of what a print costs.
Start with a big blank canvas or a thin board from a craft or hardware store. Grab a sample pot of paint in two colors that suit your room. Painter’s tape gives you crisp shapes, and the whole thing dries while you work on something else.
Paint the whole canvas in your lighter color and let it dry.
Press painter’s tape across the canvas in simple blocks or arches.
Paint the open shapes in your second color.
Peel the tape while the paint is still a little tacky, then hang it.
Abstract shapes forgive wobbly hands better than anything realistic.
15. Paint Your Side Tables
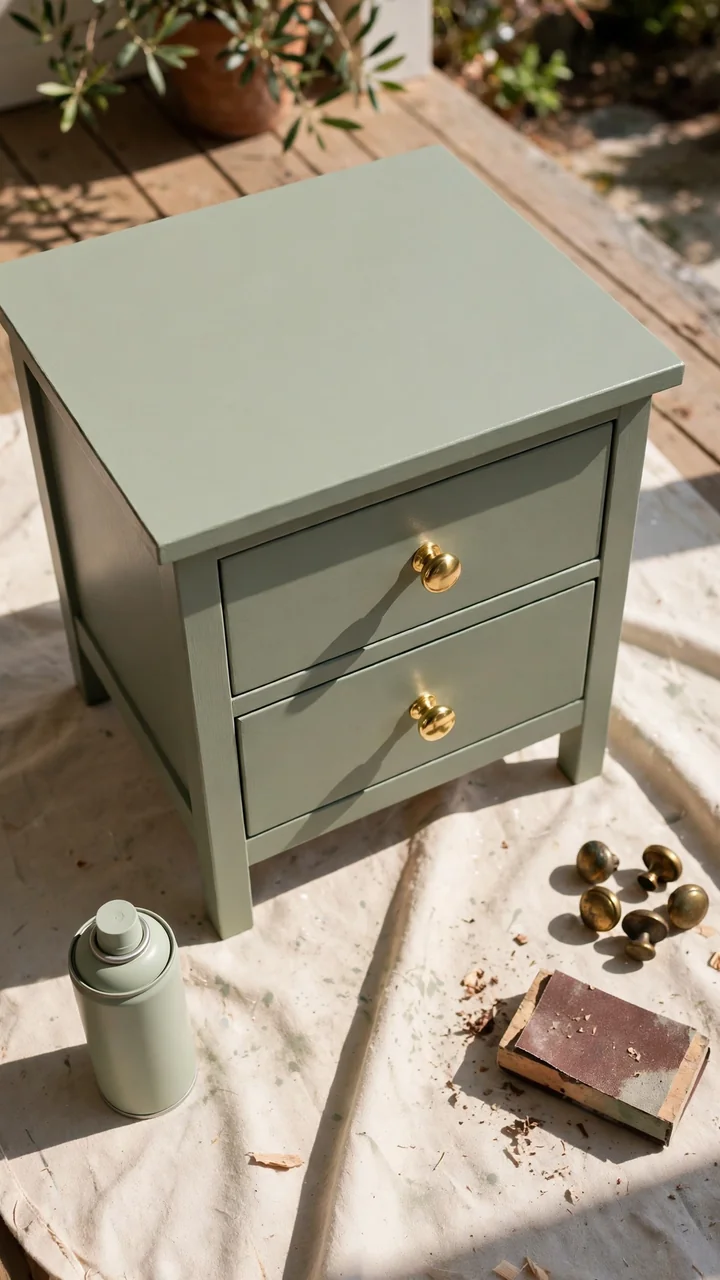
Dated side tables are one of the quickest wins in a living room.
Lightly sand the surface, wipe off the dust, and spray in thin coats rather than one heavy one. Heavy coats drip. Work outside or in a well ventilated spot, and let each coat dry before the next.
While the paint cures, swap the old knobs or pulls for new ones. Matte black, brass, and plain wood all look good on most colors. This is one of those quick living room makeover ideas that makes secondhand furniture look brand new.
16. Hide Clutter in Baskets
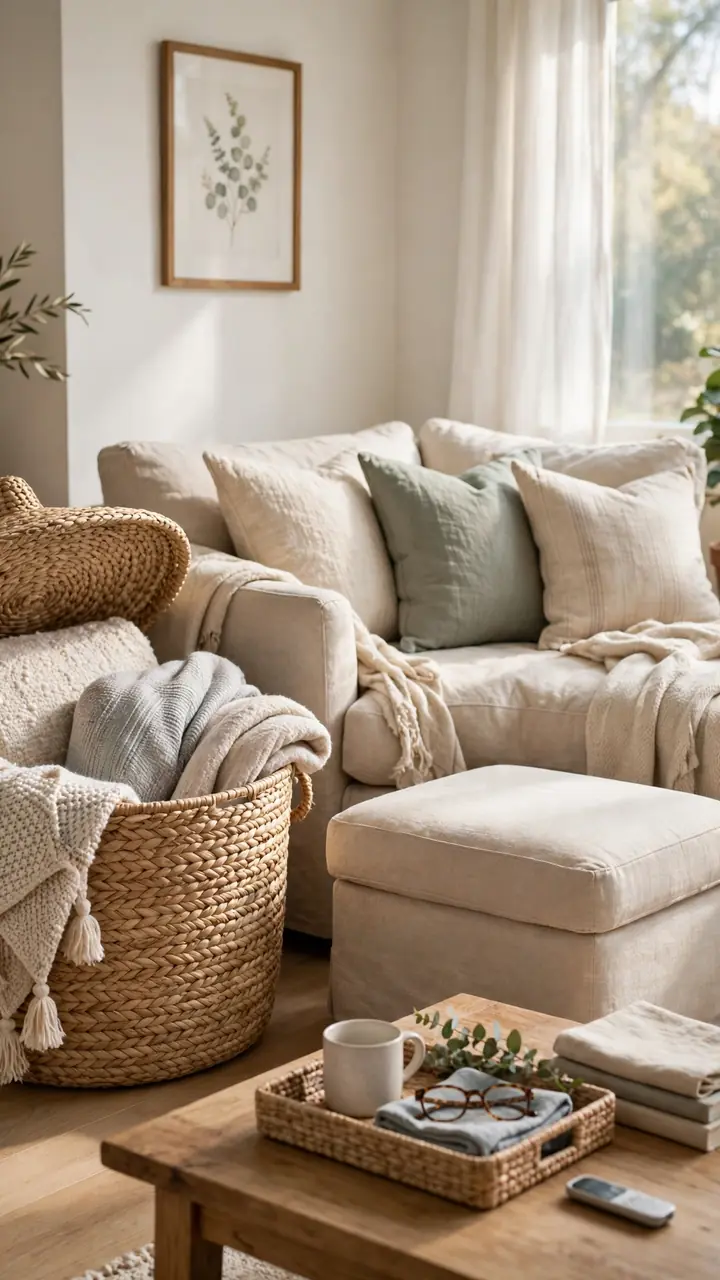
Remote controls, kids’ toys, and that pile of throw blankets all need a home, or the room never looks finished.
Give each category its own container. A lidded basket takes the blankets, a shallow one holds the remotes and magazines, and a storage ottoman swallows toys while doubling as a footrest. Natural fibers like seagrass and jute look warm next to most sofas. Place them where the clutter lands, not where they look best, or they will sit empty.
Where each container goes
17. Lean a Large Mirror
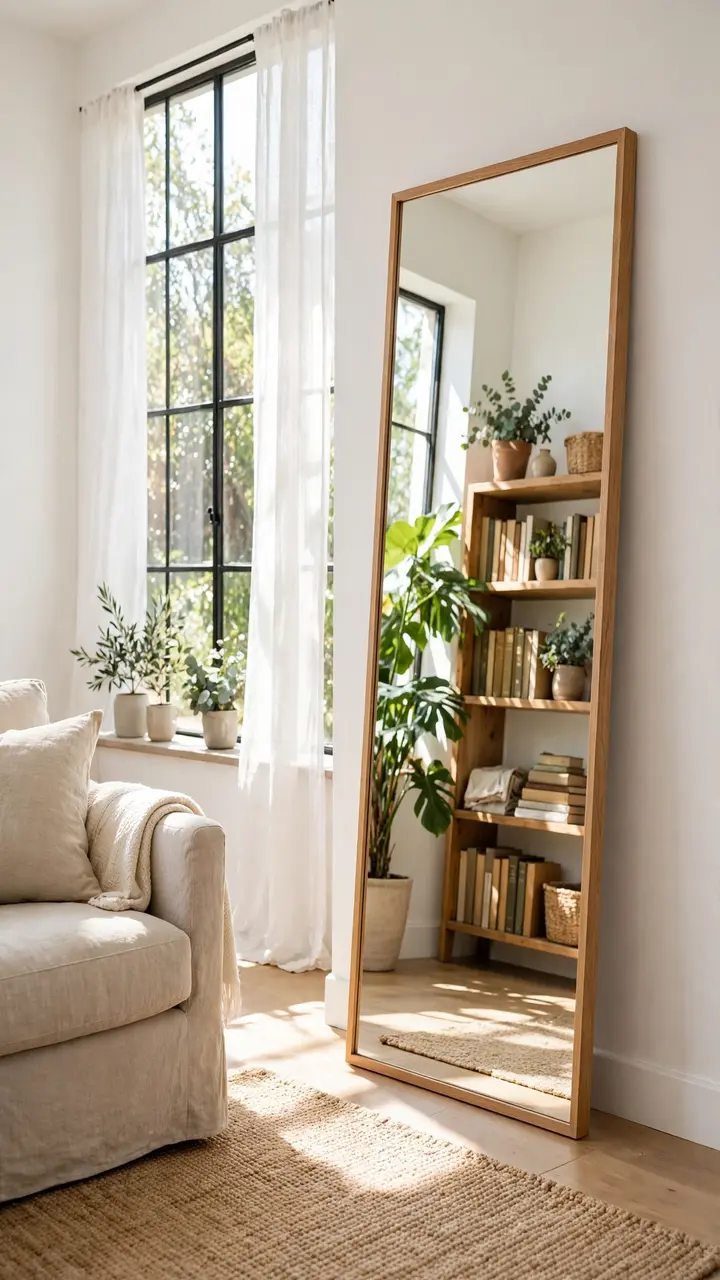
A big mirror does two jobs at once. It bounces daylight around and makes the room look deeper.
Set a tall floor mirror on the floor and lean it against the wall opposite your window, or across from a lamp. Check the reflection from your sofa before you commit, since you want it to catch something nice, like a plant or a bookshelf, not a pile of laundry.
Leaning is easy, but a heavy mirror can slip. Anchor it to the wall with an anti tip strap, and keep it away from walkways where kids run.
Place it across from a window.
Choose a frame that matches your wood or metal tones.
Strap it to the wall for safety.
Face it toward clutter or a blank wall.
Lean it where the door swings.
Pick one so small it looks lost.
18. Use the 60/30/10 Color Rule
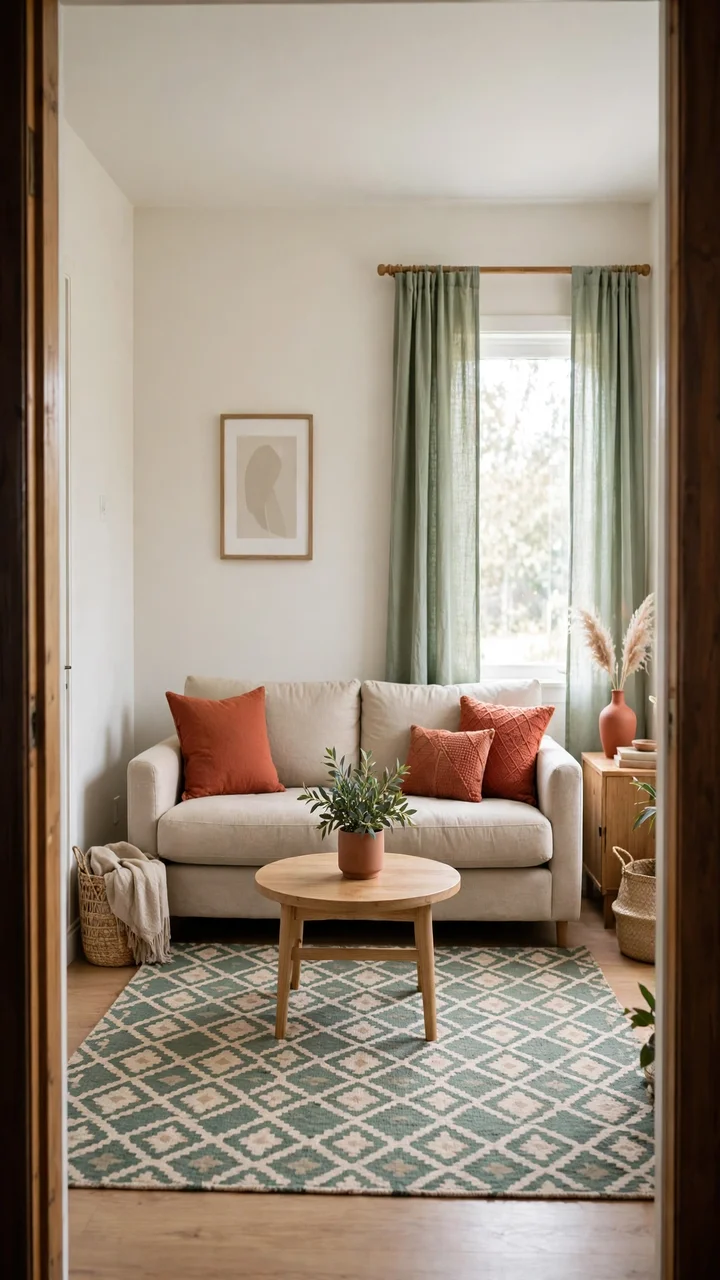
Not sure why your room feels busy? Too many colors competing at once is the usual cause.
The 60/30/10 split fixes that. Most of the room, around 60 percent, stays in one calm base color, usually your walls and sofa. About 30 percent goes to a second color on things like the rug and curtains. The last 10 percent is an accent, like pillows, a vase, or art.
Walk through your room and count what you already have before you buy anything new.
| Share | Where it shows up |
|---|---|
| 60 percent base | Walls, sofa, large furniture |
| 30 percent second color | Rug, curtains, an armchair |
| 10 percent accent | Pillows, vases, art, small decor |
19. Create a Reading Nook
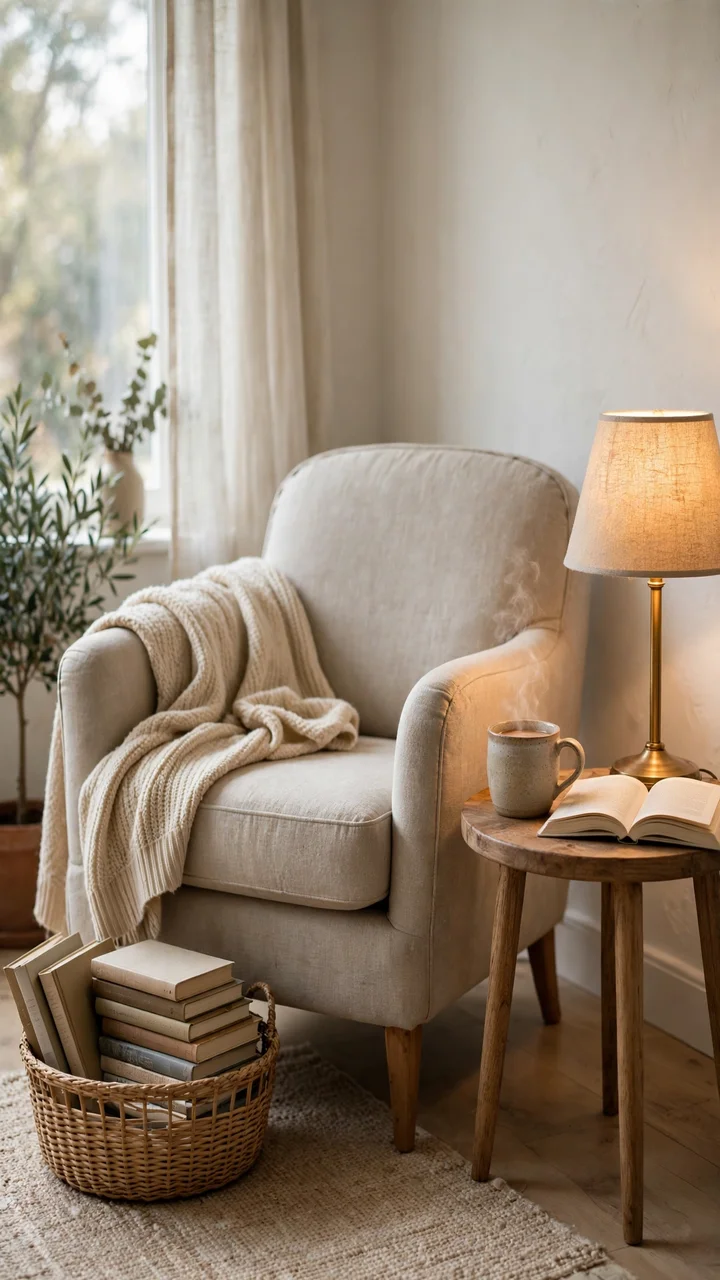
Every living room has that one empty corner where nothing seems to belong.
Give it a job. A comfy armchair is the start, then add a small side table for a mug and a lamp or a wall sconce for light. Angle the chair a little toward the room instead of pushing it flat into the corner. A throw over one arm and a basket for books finish it off.
You can pull most of this together from other rooms in the house. Shop your own home first.
A bare corner with a stray plant and nothing to sit on. It collects bags and boxes.
An angled chair, a small table, and a warm lamp. The corner now invites you to sit down with a book.
20. Do a Sunday Evening Reset
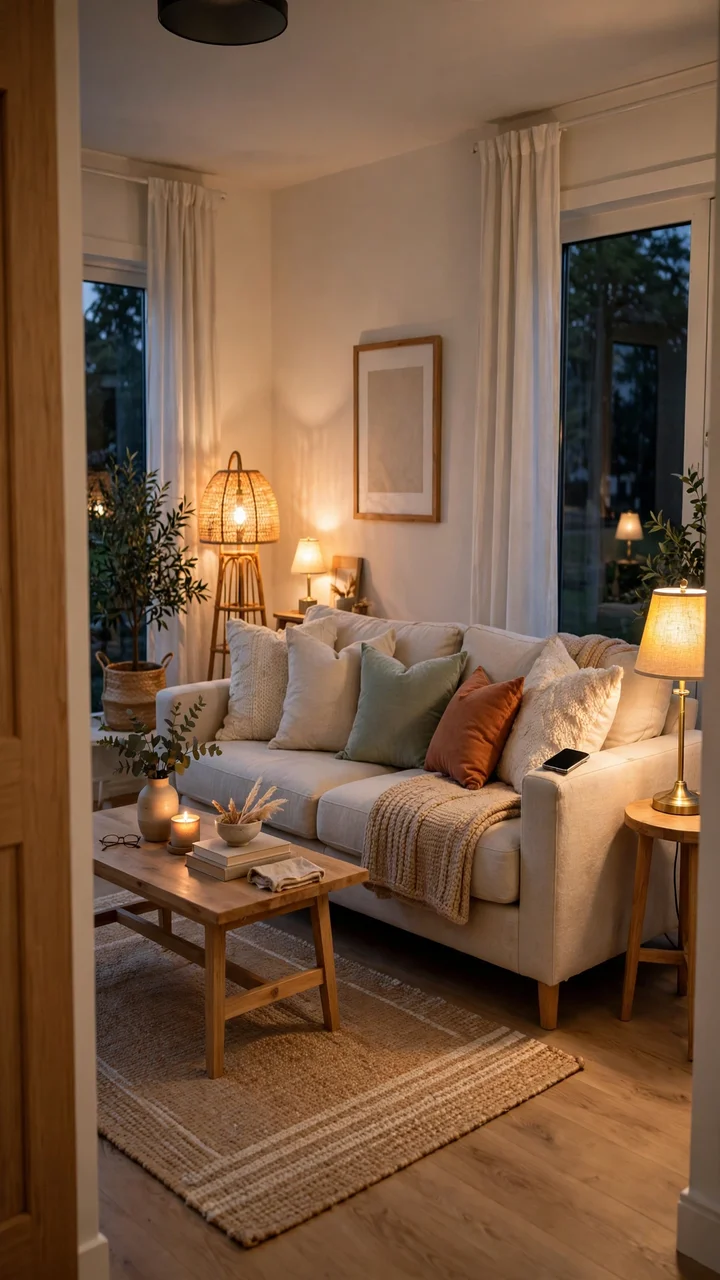
The last hour of the weekend is where the room comes together.
Start with the big stuff and work down. Straighten the rug, fluff and arrange the pillows, and fold the throw. Wipe every surface, then place your coffee table and shelf styling back where you planned it. Turn on all the lamps, switch off the overhead light, and sit on the sofa for a minute.
If something feels off, move it now while you still have energy. That final walk through is what turns a pile of projects into a real living room transformation weekend.
💡 Quick Tip
Take a photo of the room from the doorway. A photo shows you what your eyes skip, like a crooked frame or a bare patch that needs one more object.
Conclusion
You do not need a free month or a big budget to make your living room feel better. A few smart moves, done in the right order, can change how the whole room looks and feels by Sunday night.
Start with the ideas that bother you most. Maybe it is the bare wall, the dark corner, or the cords behind the TV. Fix those first, then add the small touches that make the room feel like yours.
A one weekend living room makeover works because you stop planning and start doing. Two days is plenty when each job is small and clear.
Save this list to your living room board so it is ready the next time you want a quick refresh. Pick your first three ideas, clear your Saturday, and get started.