
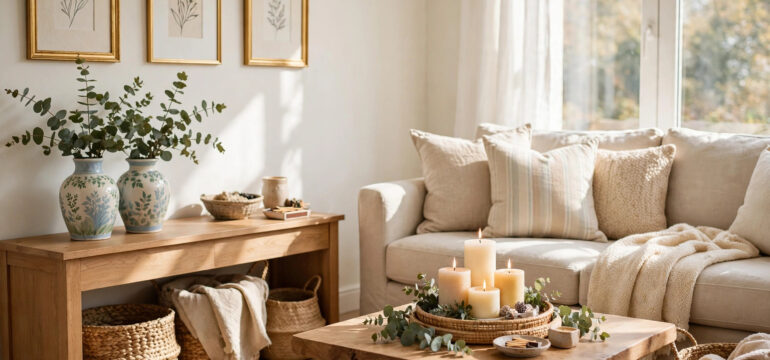
Okay friend, can we talk about the dollar store for a minute? I know some people turn their nose up at it, but honestly, some of my favorite pieces in my whole house came from those shelves. I am talking about vases that guests assume cost forty dollars, candle holders that look like they belong in a fancy boutique hotel, and little styling tricks that make a room feel pulled together. The secret is not about buying cheap stuff and hoping nobody notices. It is about knowing which pieces have good bones, giving them a little love, and styling them like you mean it. Once you learn to shop with a designer eye instead of a bargain hunter eye, the dollar store becomes a goldmine.
I will be honest with you, my first dollar store decorating attempts were rough. I came home with a bag full of random shiny things, scattered them around my living room, and it looked like a yard sale exploded. Nothing matched, everything looked cheap, and I felt a little embarrassed. But I did not give up. I started paying attention to what actually looks expensive: simple shapes, matte finishes, natural textures, and neutral colors. I learned that one great vase styled beautifully beats five random knickknacks every single time. After a few rounds of trial and error, my friends started asking where I got things, and their jaws dropped when I told them the truth. That is the moment I knew I had cracked the code, and now I am handing it straight to you.
So here is my promise. Every single idea below is something I have actually tried in my own home or helped a friend do in theirs. Nothing here requires fancy tools or art school skills. Most of these cost just a few dollars each, and a couple of them are basically free if you already have paint at home. You can totally do this, even if you have never picked up a paintbrush in your life. Grab a coffee, get comfy, and let us walk through nineteen dollar store decor ideas that will make your home look like you hired a designer. Your wallet is going to thank you, and your rooms are about to get a whole lot prettier.
1. Painted Ceramic-Style Vases
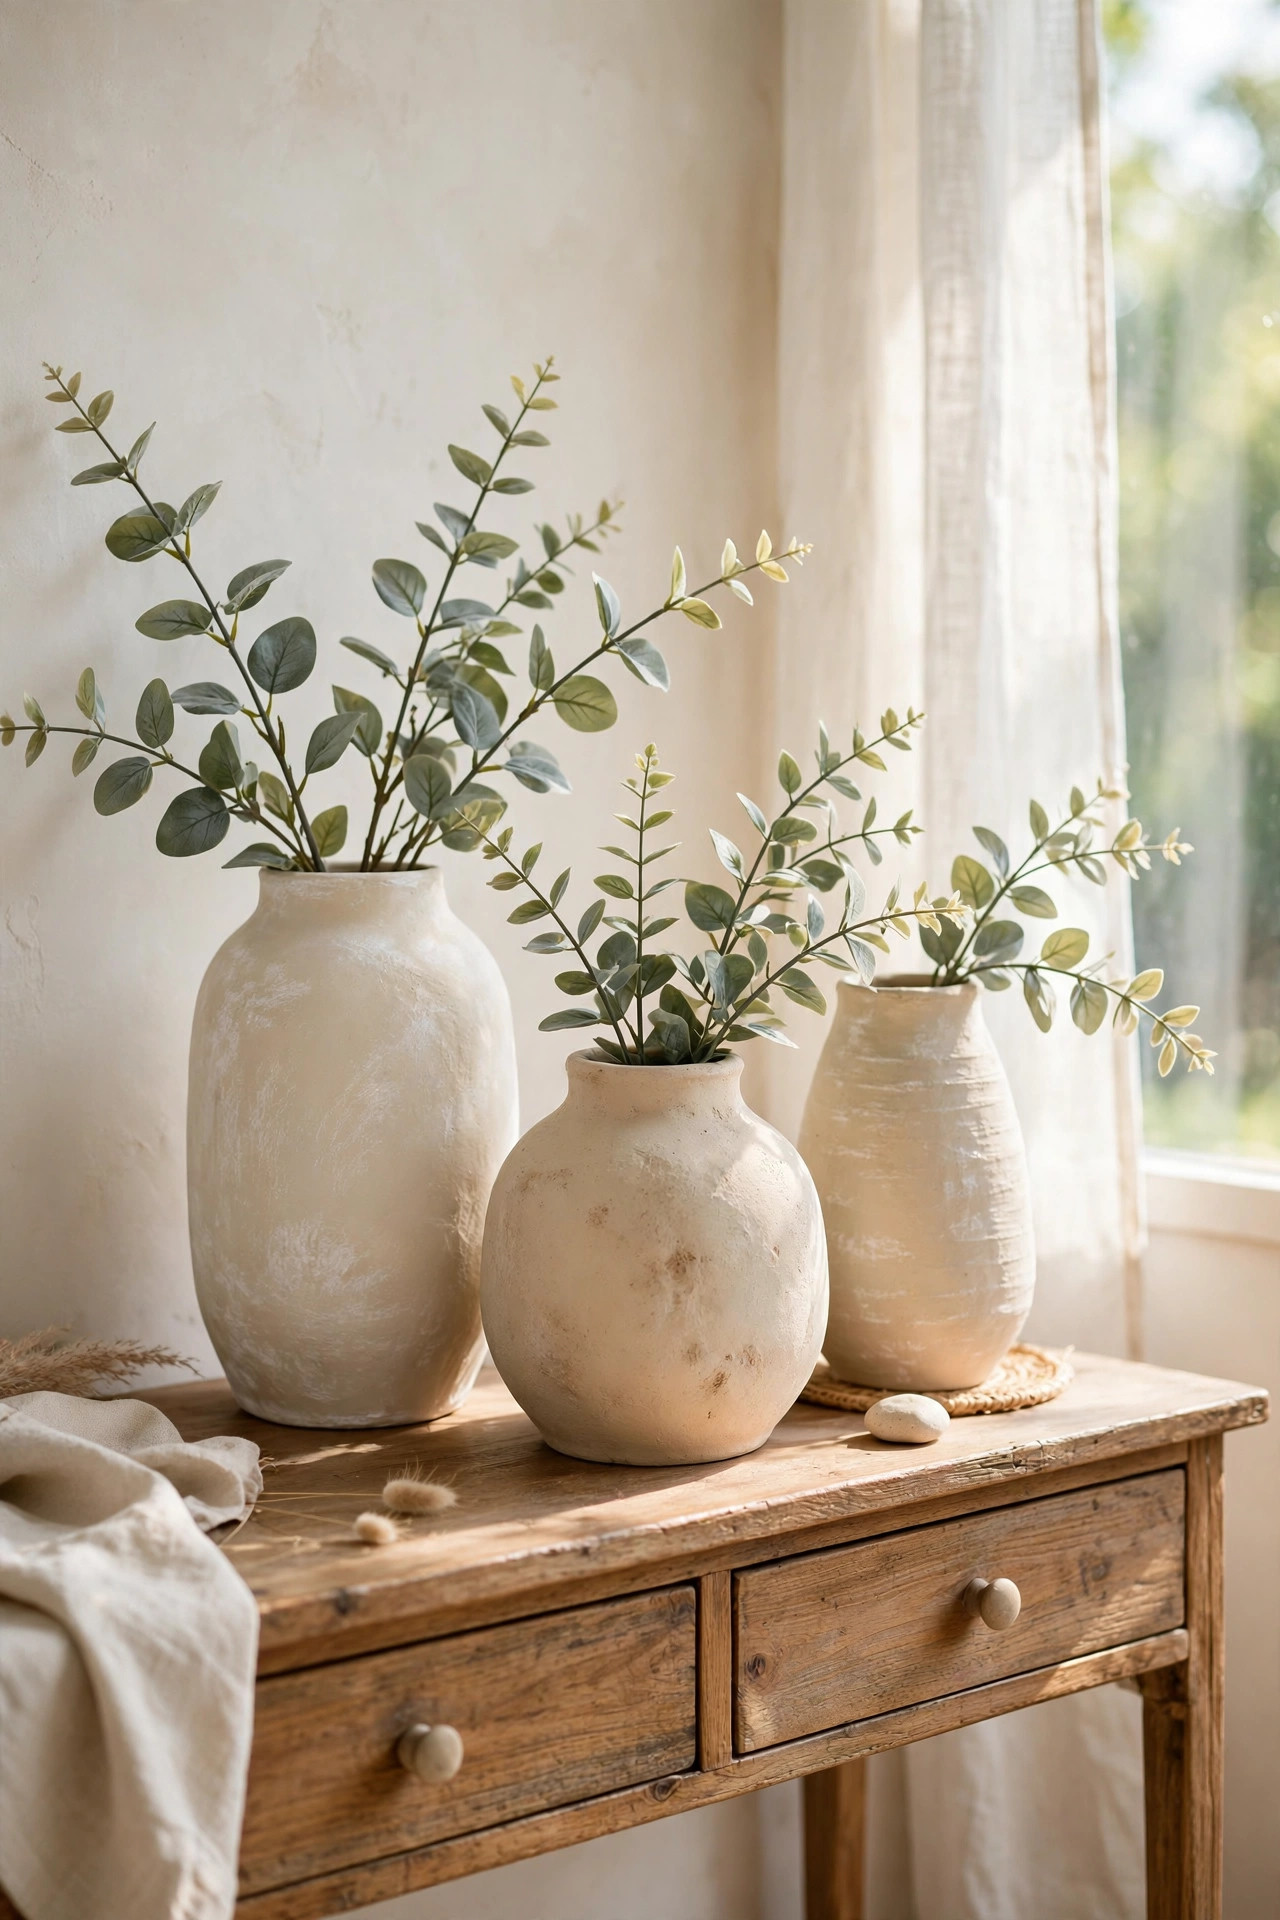
This is the project that started my whole dollar store obsession, so it had to be number one. You know those plain glass vases they sell for a dollar or two? They look fine, but they scream budget. Here is the trick. Grab a bottle of matte acrylic paint in white, cream, or soft beige, and mix in a spoonful of baking soda. I am serious. The baking soda gives the paint this amazing chalky, textured finish that looks exactly like handmade ceramic. Paint two thin coats on the vase, letting it dry in between, and suddenly you have a piece that looks like it came from a pottery studio. My first attempt was streaky because I globbed the paint on too thick, so learn from my mistake and go thin. Two light coats will always beat one heavy coat. Another thing I learned is that your color choice makes a huge difference in the final look. White and cream are the safest bets because they go with literally everything, but soft sage green and dusty terracotta look amazing too if you want a little more personality. I like to do my painting outside on top of newspaper or an old cardboard box so I never stress about drips on my table. If you do get a drip, just let it dry completely and then lightly sand that spot before your next coat, and it will disappear like magic. Some people like to seal their painted vases with a clear matte spray sealer, and I honestly recommend it if the vase will be handled a lot. The sealer protects the finish and keeps it looking fresh for years. Fair warning, once you paint your first vase, you will want to paint everything in sight.
Once your vase is dry, the styling is where the magic happens. Pop in a few stems of faux eucalyptus or some dried pampas grass, and set it on a stack of books or a wooden tray. I have one on my entryway table right now, and three different guests have asked me which artisan shop it came from. Nobody believes me when I say the whole thing cost less than three dollars. You can make a whole set in different sizes for a mantel or shelf, and they look incredible grouped together. Try mixing shapes too, because a tall skinny vase next to a short round one looks very designer. This little project takes maybe twenty minutes plus drying time, and it will change how you look at that vase aisle forever. Here is another fun idea for your painted vases. Make a matching set of three in different heights and line them up on a windowsill, because the natural light shows off that chalky texture beautifully. You can also switch out what goes inside them with the seasons, like faux cherry blossoms in spring and dried wheat stems in fall. These vases make wonderful gifts too. I gave a set to my sister for her birthday with a sweet handwritten note, and she had no idea they started life as dollar store glass. If you love the look but feel nervous about painting, start with just one small vase. It is such a low pressure project, and even a slightly imperfect finish looks charming and handmade. That is the beauty of this craft.
2. Gold Spray-Painted Picture Frames
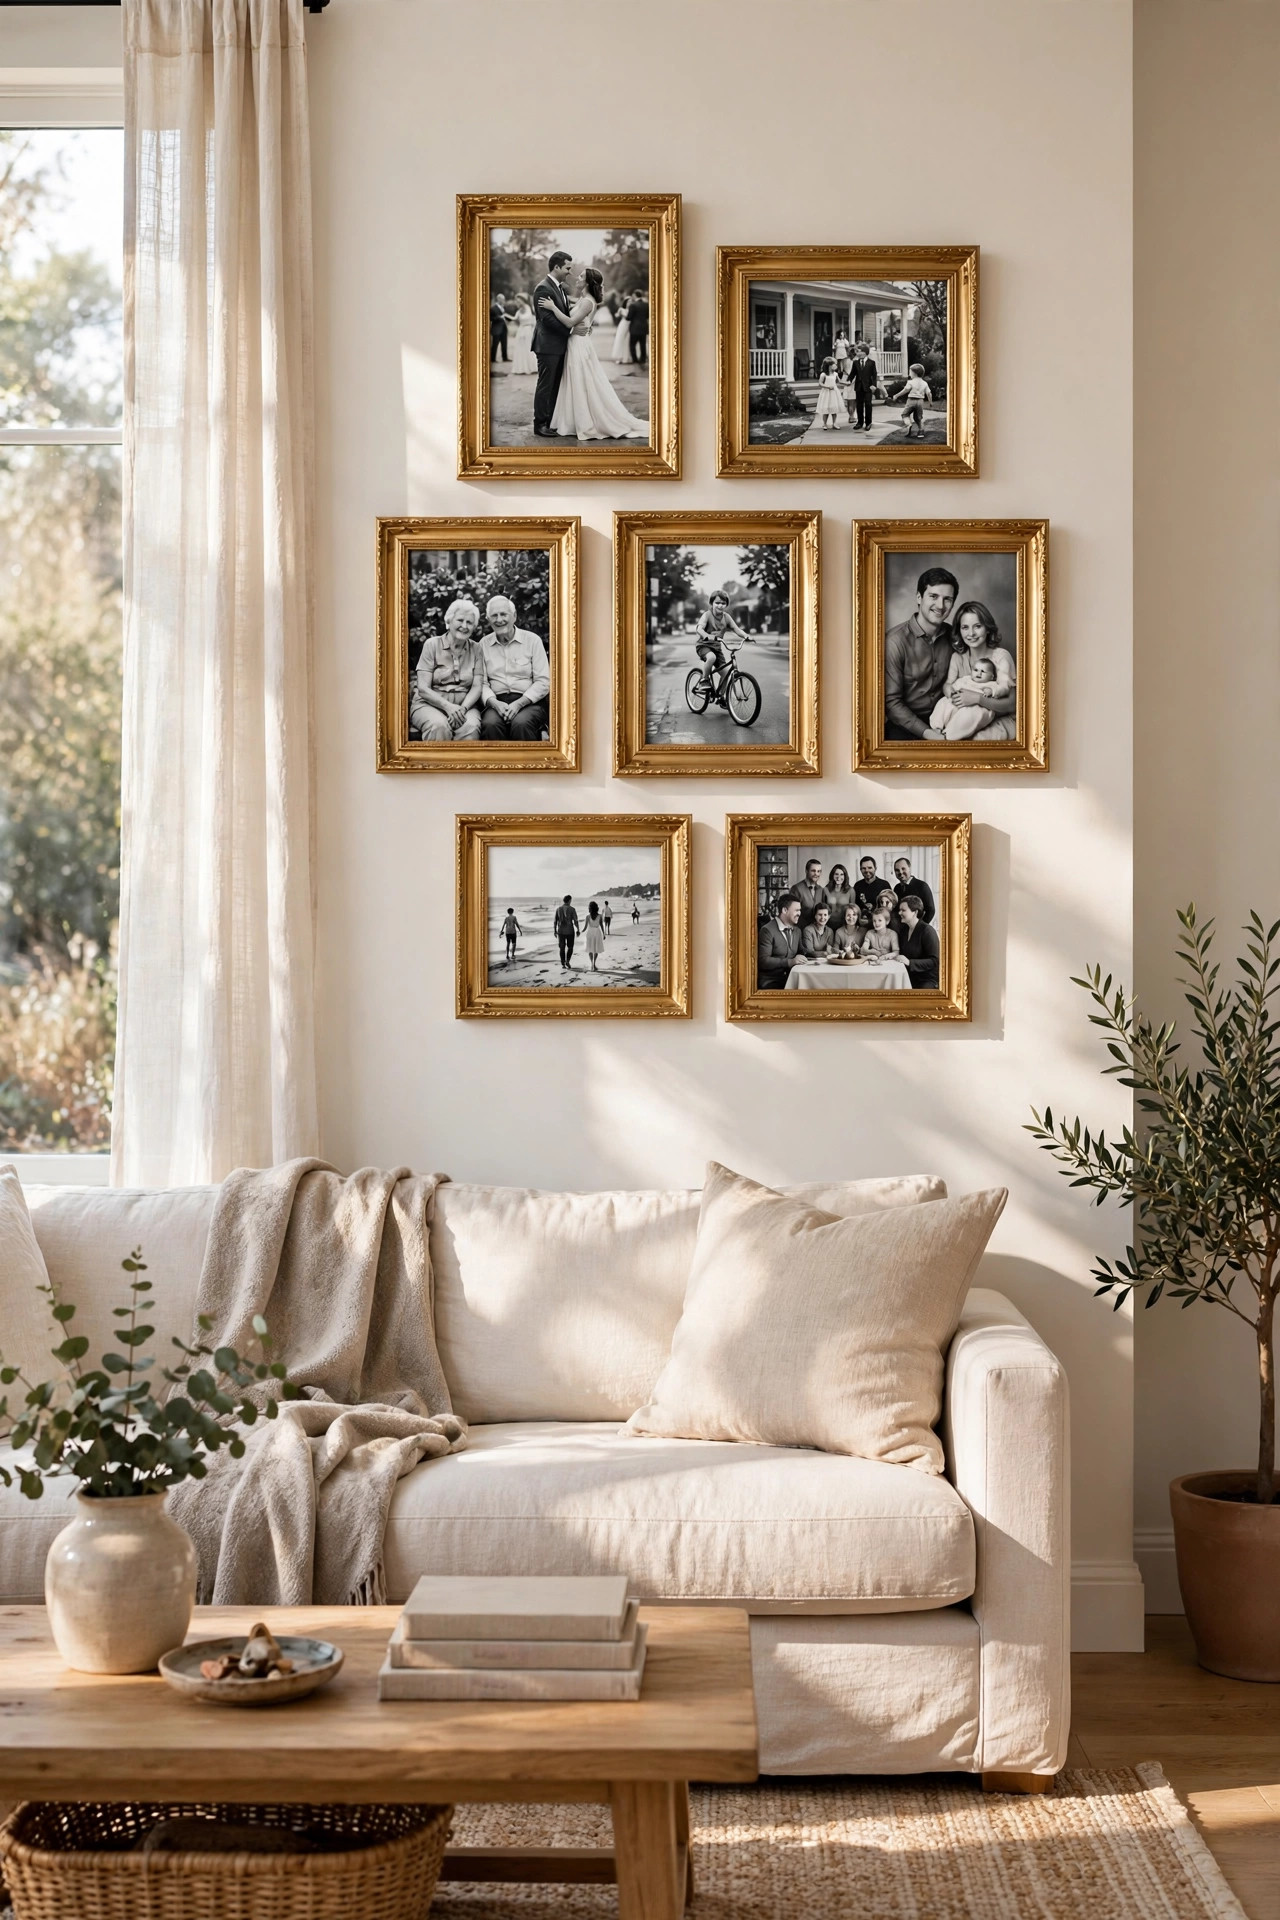
Picture frames are one of the best things to buy at the dollar store because the basic shapes are usually really solid. The problem is that shiny black or weird brown plastic finish that gives away the price tag instantly. But here is your fix. A can of gold spray paint costs a few dollars and will cover a whole pile of frames. I like to use a soft champagne gold or an antique brass tone because they look way more expensive than bright yellow gold. Take the glass and backing out first, give the frames a light sanding if they are super glossy, then spray two light coats outside or in a well ventilated garage. Let them dry completely before you put the glass back in, or you will get fingerprints in the finish like I did the first time. Let me share a few more tips that will make your spray painting go smoothly. Always shake the can for a full minute before you start, because the paint mixes better and sprays more evenly. Hold the can about ten inches away from the frame and use light sweeping motions, starting your spray just off the edge of the frame and sweeping across. This keeps the paint from pooling in one spot. I also like to prop my frames up on small blocks or an old box so I can spray the edges without them sticking to the newspaper. If you miss a spot, do not try to fix it while it is wet. Just wait for the coat to dry and catch it on the next pass. Patience really is the whole game with spray paint.
Now you have frames that look like they cost thirty dollars each, and nobody will ever know. I filled mine with black and white family photos, and the gold frames against the monochrome prints look so classic and chic. You can also print free art from the internet, because there are tons of beautiful vintage botanical prints and abstract designs available at no cost. Hang a cluster of them on one wall for a mini gallery moment, or lean a couple on a dresser against the wall for that relaxed layered look. The gold finish catches the light so nicely, especially in the afternoon sun. This is such an easy weekend project, and it works in literally every room of the house. You can take this frame idea even further once you get comfortable. Try painting the inner edge of the frame a different shade for a layered look, or use a dark bronze on some frames and champagne gold on others for a collected over time feel. I have a hallway wall with six mismatched frames that I unified with the same gold paint, and it looks like a curated art collection. Thrift stores are another great place to find interesting frame shapes to spray paint. An ugly ornate frame becomes stunning in matte black or antique gold. Keep a can of your favorite gold on hand, because once friends see your frames, everyone will want you to paint theirs too.
3. Layered Candle Displays
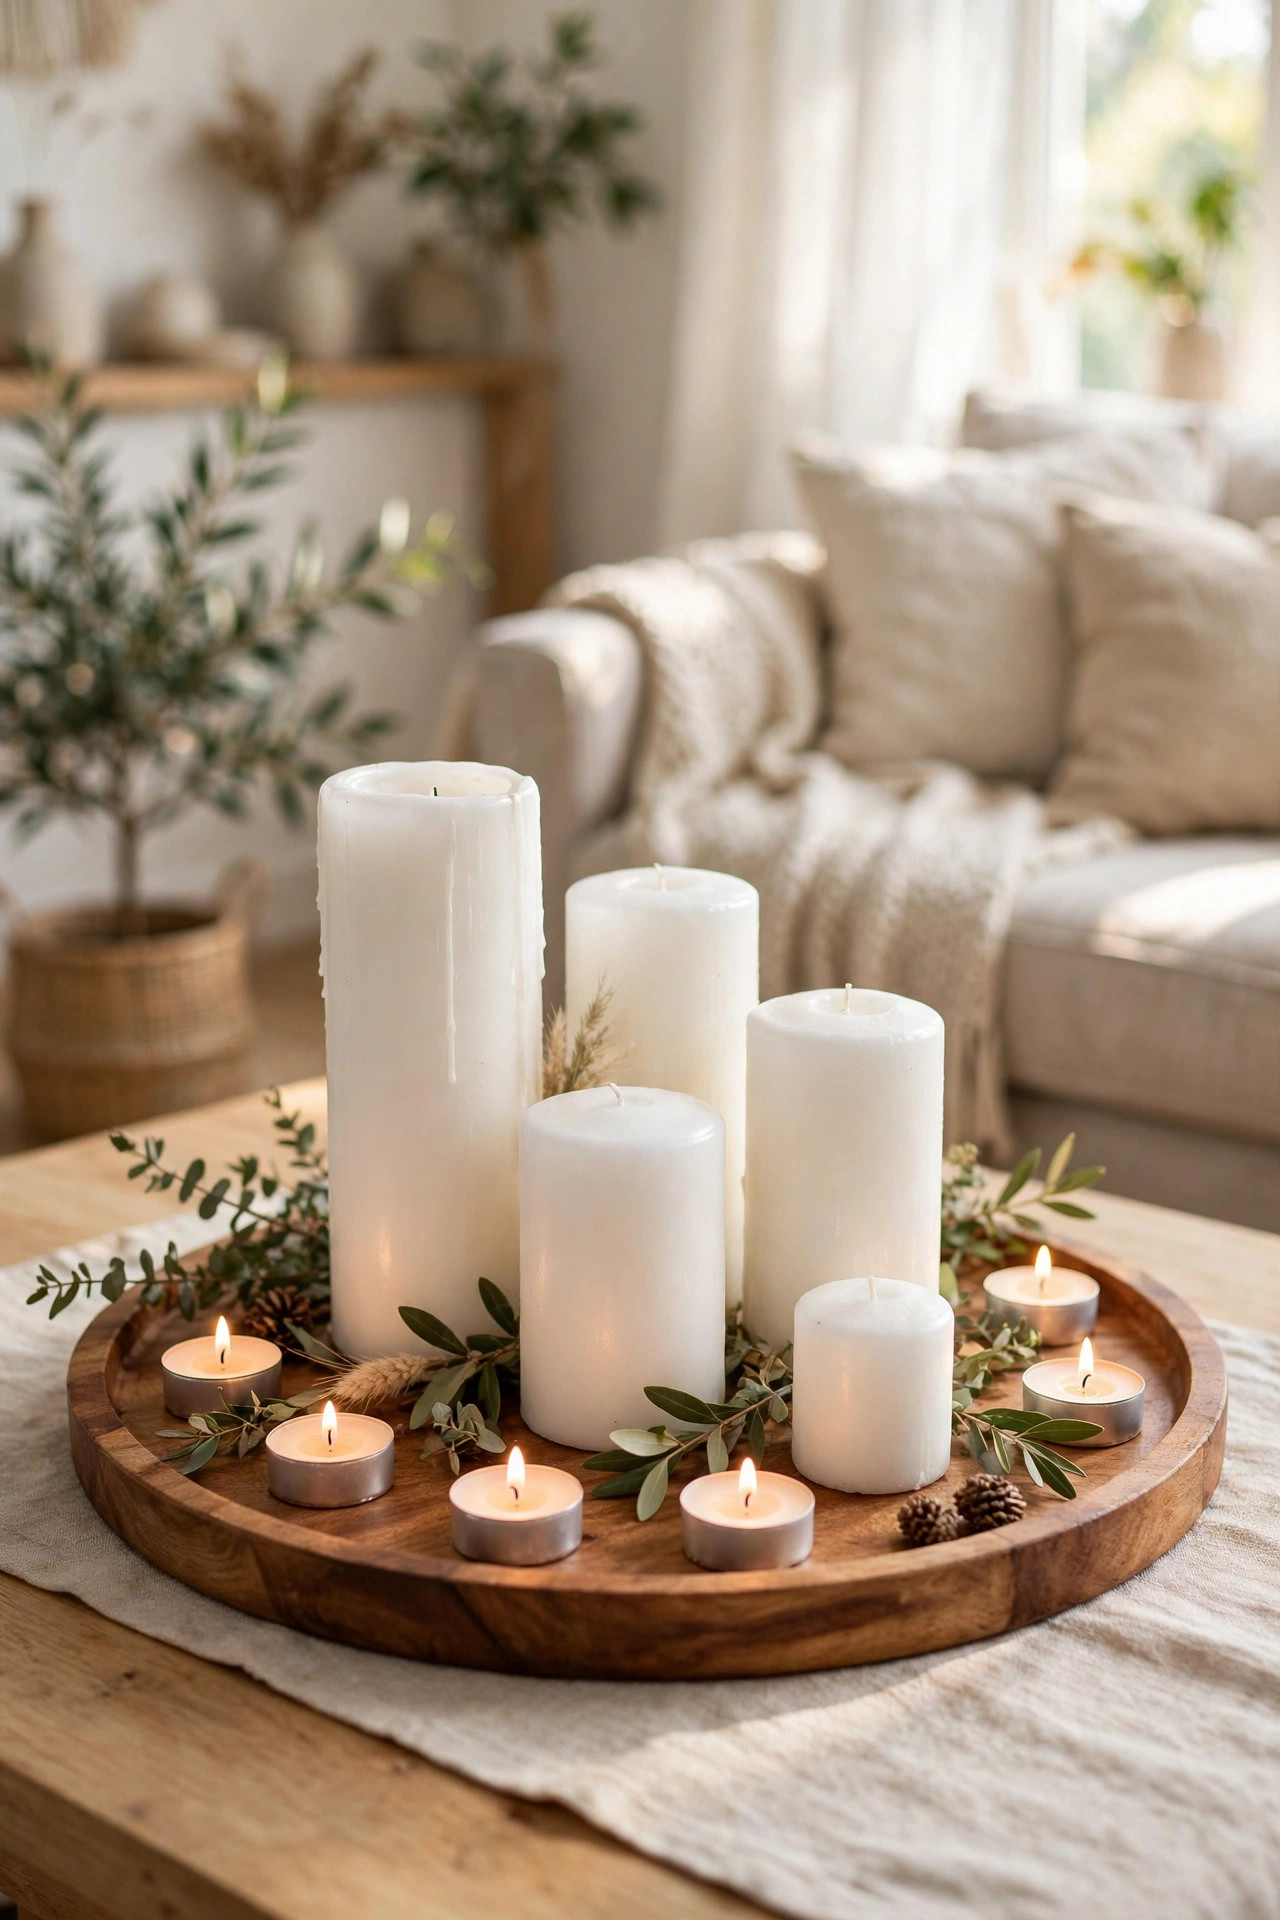
Candles are the fastest way to make any room feel cozy and expensive, and the dollar store has a surprisingly good candle aisle. The trick is not to just plop one candle on a table and call it done. You want to layer them. Grab candles in a few different heights, some plain glass holders, and a tray or a round mirror to put everything on. I like to stick to one color family, like all white or all cream candles, because that looks calm and high end. Mix pillar candles with little tea lights and maybe one chunky candle in a glass jar. When you group them together on a tray, they suddenly look like a curated display instead of random candles. A quick note on candle safety and shopping smart. When you are picking out dollar store candles, give them a little sniff and check that the wick is centered, because a centered wick burns much more evenly. I avoid the heavily scented ones for the living room since strong fragrance can give me a headache, and I save those for the bathroom instead. Unscented ivory pillars are my favorite because they look elegant and never clash with anything. If you find candles in odd colors, you can always group them by color family on separate trays. And here is a money saving trick. Buy your candles after holidays when seasonal colors go on clearance, then save them for next year.
Here is a little story. I set up a layered candle display on my coffee table before a dinner party, and my friend literally asked if I had hired someone to style my house. It was maybe eight dollars worth of candles and a tray I already owned. The secret is the tray, because it pulls everything together and makes it look intentional. You can do this on a dining table, a bathroom counter, a bedroom dresser, or even on a fireplace hearth. Just please be careful with real flames, and never leave them burning when you leave the room. If you have kids or pets, the battery operated tea lights from the dollar store work beautifully and you cannot tell they are fake once they are glowing inside a frosted holder. Let me tell you about my favorite seasonal candle swap. In autumn I use cream candles with little faux pumpkins tucked around the tray, and in winter I switch to deep red candles with pine sprigs. It takes five minutes and the whole room feels brand new. I also keep a small candle display on my nightstand, because lighting a candle before bed has become my favorite wind down ritual. There is something about that soft flickering light that tells your brain it is time to relax. If you are worried about open flames, the flameless candles with timers are wonderful. You set them once and they turn themselves on every evening like magic.
4. Woven-Style Storage Baskets
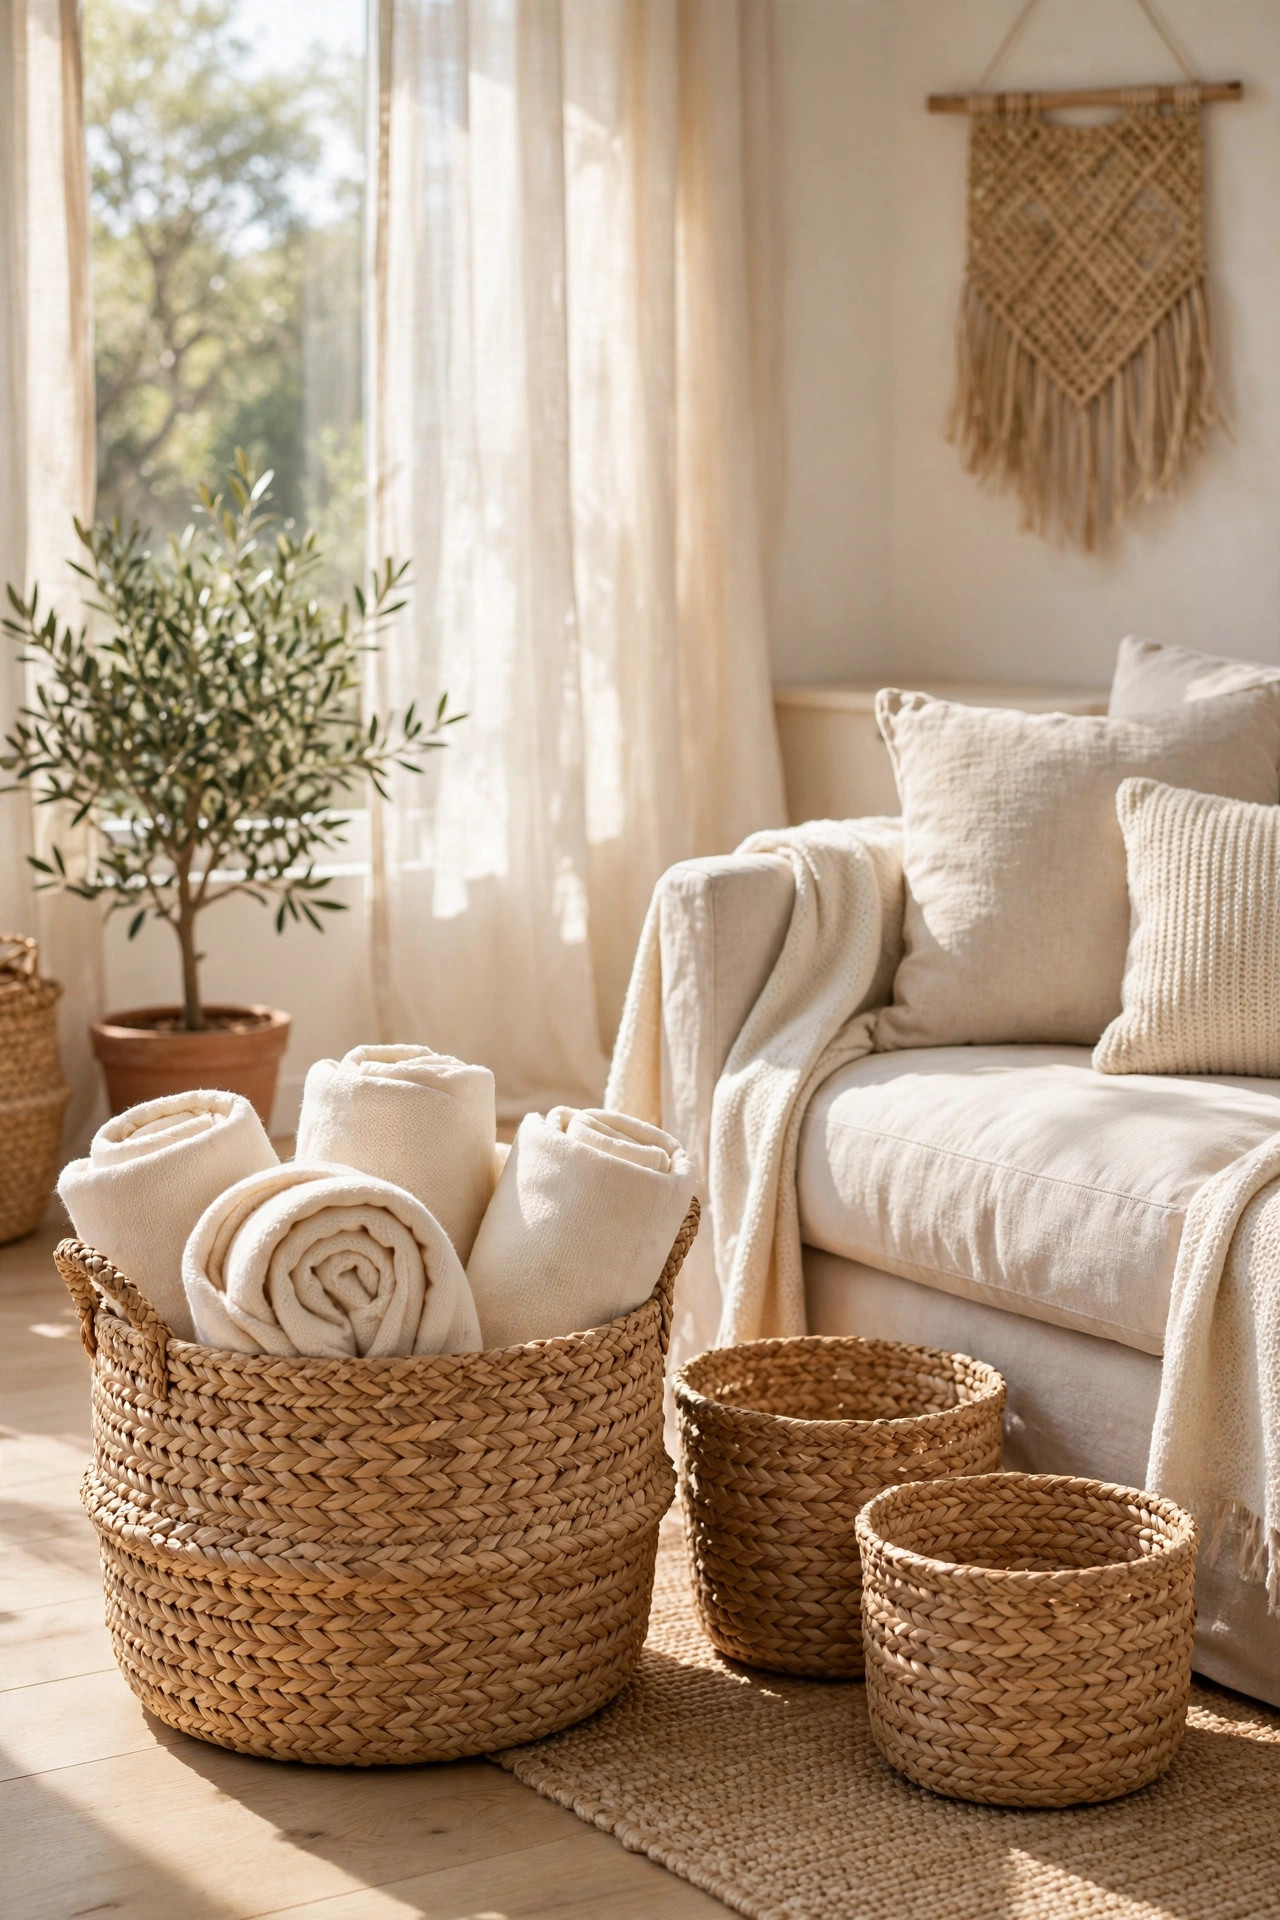
Baskets are a decorator’s best friend because they hide clutter and look beautiful at the same time. The dollar store usually has a decent selection, but some of them can look a little plasticky up close. Here is what I do. Look for baskets in natural tones like tan, cream, or soft brown, and run your hand over them. If the weave feels tight and the color looks natural, grab it. Avoid anything super shiny or in bright colors, because those are the ones that look cheap. I found the most gorgeous seagrass style baskets there last spring, and they look identical to ones I have seen in home decor stores for ten times the price. You really have to touch and inspect them, but the good ones are absolutely there. I want to help you spot the best baskets, so here is exactly what I look for. I flip the basket over and check the bottom, because a sturdy flat base means it will sit nicely and not wobble. I also give it a gentle squeeze to make sure the weave is tight and does not gap or bend too easily. The color should look like natural fibers, not orangey or gray, which usually means the dye job was cheap. Round baskets are great for blankets, rectangular ones fit better on shelves, and little ones are perfect for drawers and tabletops. I once passed up an ugly shiny basket and found a beautiful natural one hiding behind it on the same shelf, so always dig a little.
Once you bring them home, use them everywhere. I have one holding throw blankets next to my couch, a smaller one corralling remotes and coasters on a shelf, and a cute little one in the bathroom holding rolled hand towels. Rolled towels in a basket instantly make a bathroom feel like a spa, and it takes about thirty seconds to do. You can also line a basket with a cloth napkin and use it as a bread basket for dinner parties, which always gets compliments. If you find a basket you love but the color is slightly off, a light coat of spray paint in a matte finish can fix it. Baskets add that warm, natural texture that every room needs, and at these prices you can afford to put one in every corner. Baskets also make fantastic gift packaging, which is a fun bonus. I have given housewarming gifts arranged in a pretty basket instead of a gift bag, and people love it because the basket itself is part of the gift. For the holidays, I fill a basket with cozy socks, hot cocoa packets, and a candle for the easiest thoughtful gift ever. Around the house, I use a flat wide basket as a catch all tray on my coffee table for coasters and the remote. It keeps the table tidy but still looks warm and inviting. Once you start seeing baskets as both storage and decor, you will find a use for them in every single room.
5. Faux Eucalyptus Arrangements
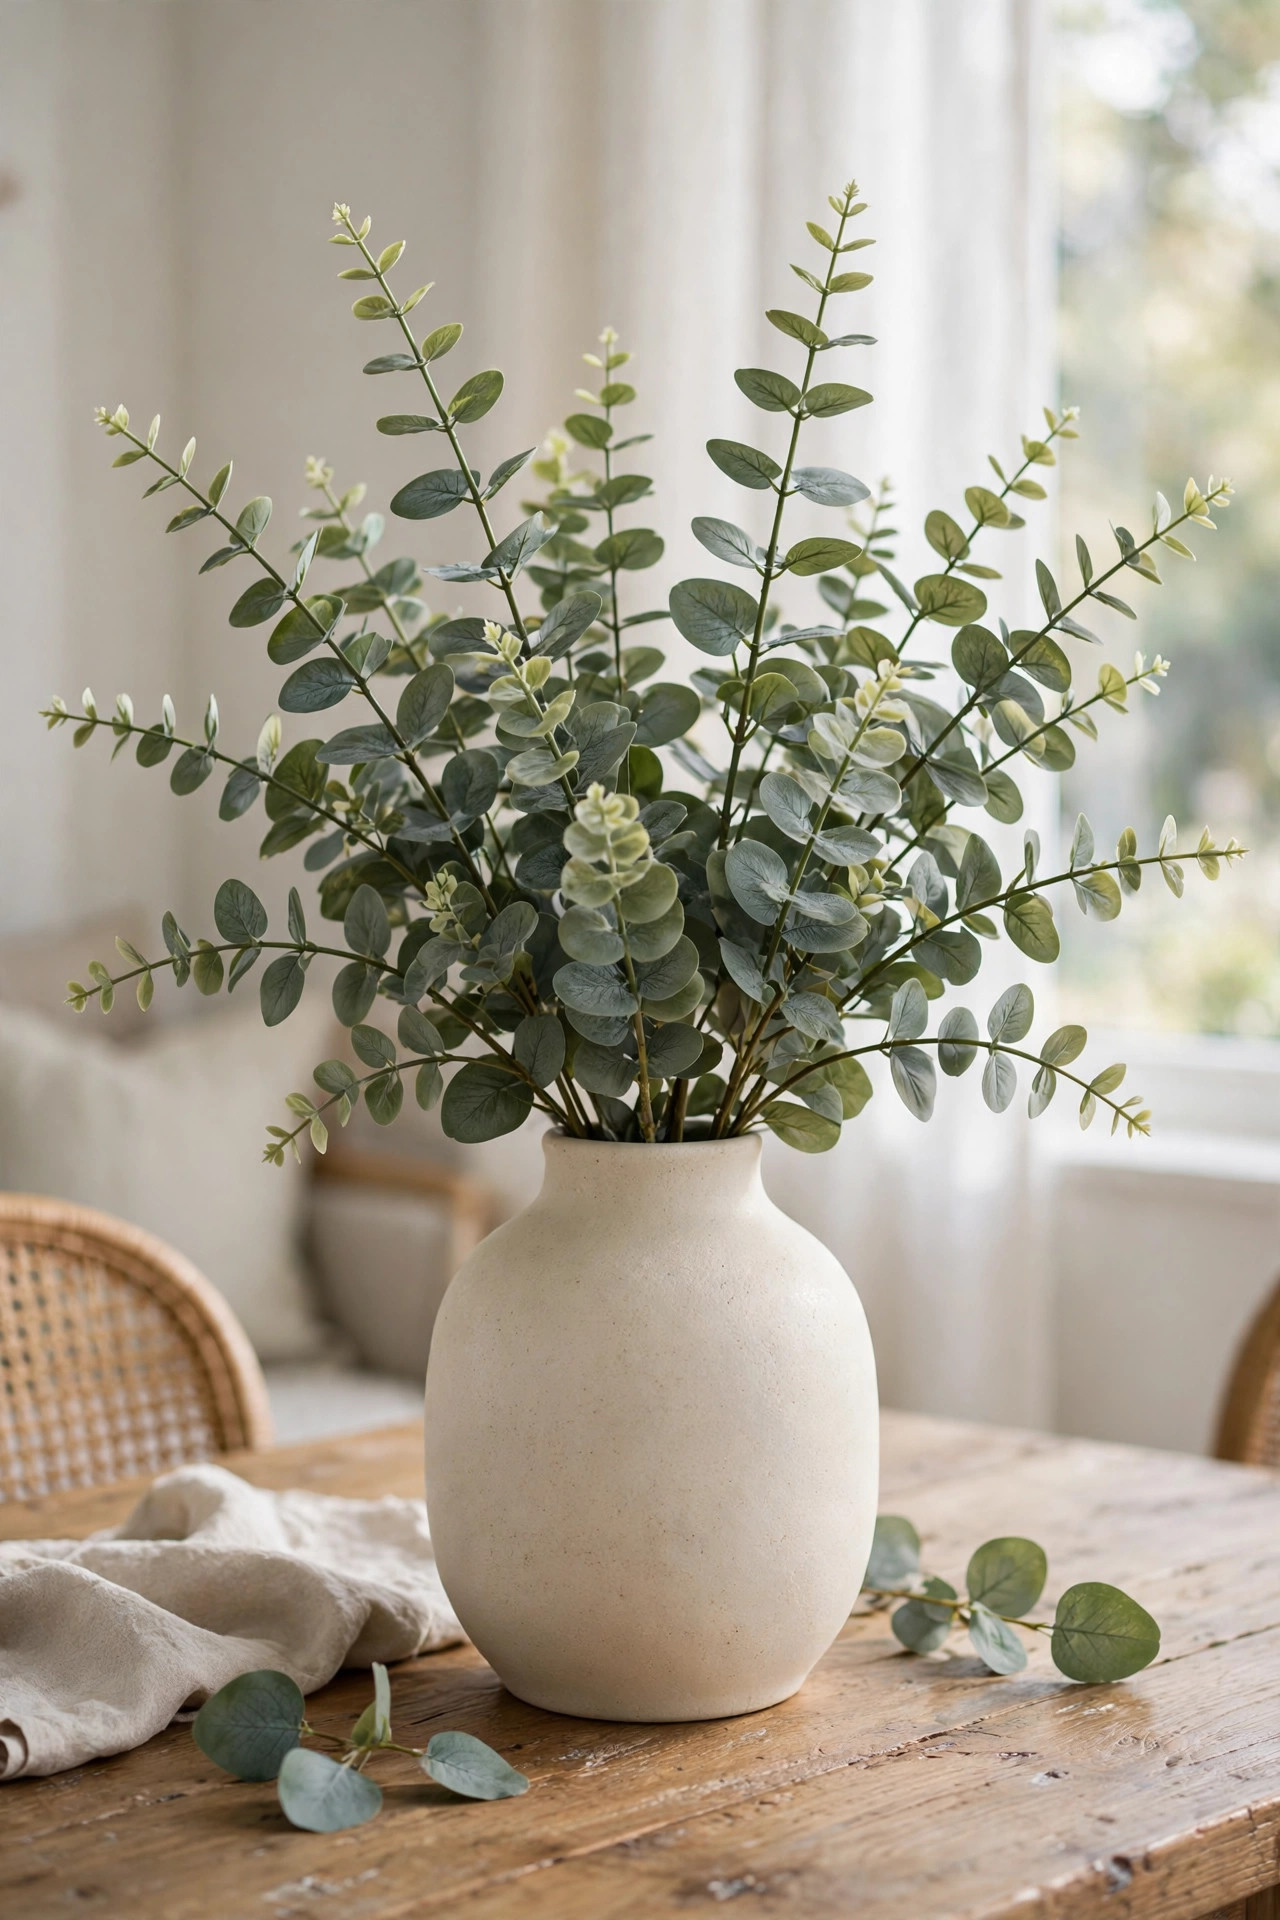
Real eucalyptus is lovely, but it dries out, it costs a lot, and you have to keep replacing it. The faux eucalyptus stems at the dollar store, though, have gotten shockingly good. I am not talking about the shiny plastic leaves from years ago. The newer ones have a soft matte finish and flexible stems that actually look real from a normal viewing distance. My rule is to buy several bunches of the same type rather than mixing lots of different fake plants together, because a full bunch of one thing always looks more realistic. Grab five or six stems, and do not be shy about bending and fluffing them once you get home. Here is how I make faux eucalyptus look its most realistic. First, I trim the stems at an angle with wire cutters so they sit at different heights in the vase, because real plants never grow in a perfect uniform bunch. Then I gently bend a few stems outward so the arrangement has a natural loose shape instead of standing straight up like soldiers. I also mix in one or two stems of a different faux green, like a little ruscus or baby’s breath, to add variety. The final trick is to place your arrangement where it gets natural light. Sunlight hitting the leaves makes them look alive and fresh, and nobody questions them.
The arrangement part is easier than you think. Stick them in one of your painted ceramic style vases from idea number one, and you have a match made in heaven. I keep a big bunch on my dining table and a smaller one in the bathroom, and they add this fresh, airy feeling to both rooms. Every few months I take them outside and shake the dust off, and they look brand new again. If a stem looks a little too perfect or plasticky, you can trim it or tuck it behind fuller stems so only the best parts show. This is one of those ideas where less is more. One lush bunch in a pretty vase beats a whole jungle of sad fake plants scattered around the house. I keep faux greenery in some unexpected spots that always get compliments. There is a small bunch tucked into a basket on top of my bookshelf, a single stem in a bud vase in the guest bathroom, and a big bunch in the kitchen where real plants never survive because I forget to water them. That is the real beauty of faux plants. They thrive on neglect. Every few months I give them a quick rinse in the sink or a shake outside to keep the dust off. If a stem ever starts looking tired, I just replace that one stem instead of the whole bunch. It is the lowest maintenance greenery you will ever own.
6. Chic Mirror Vanity Trays
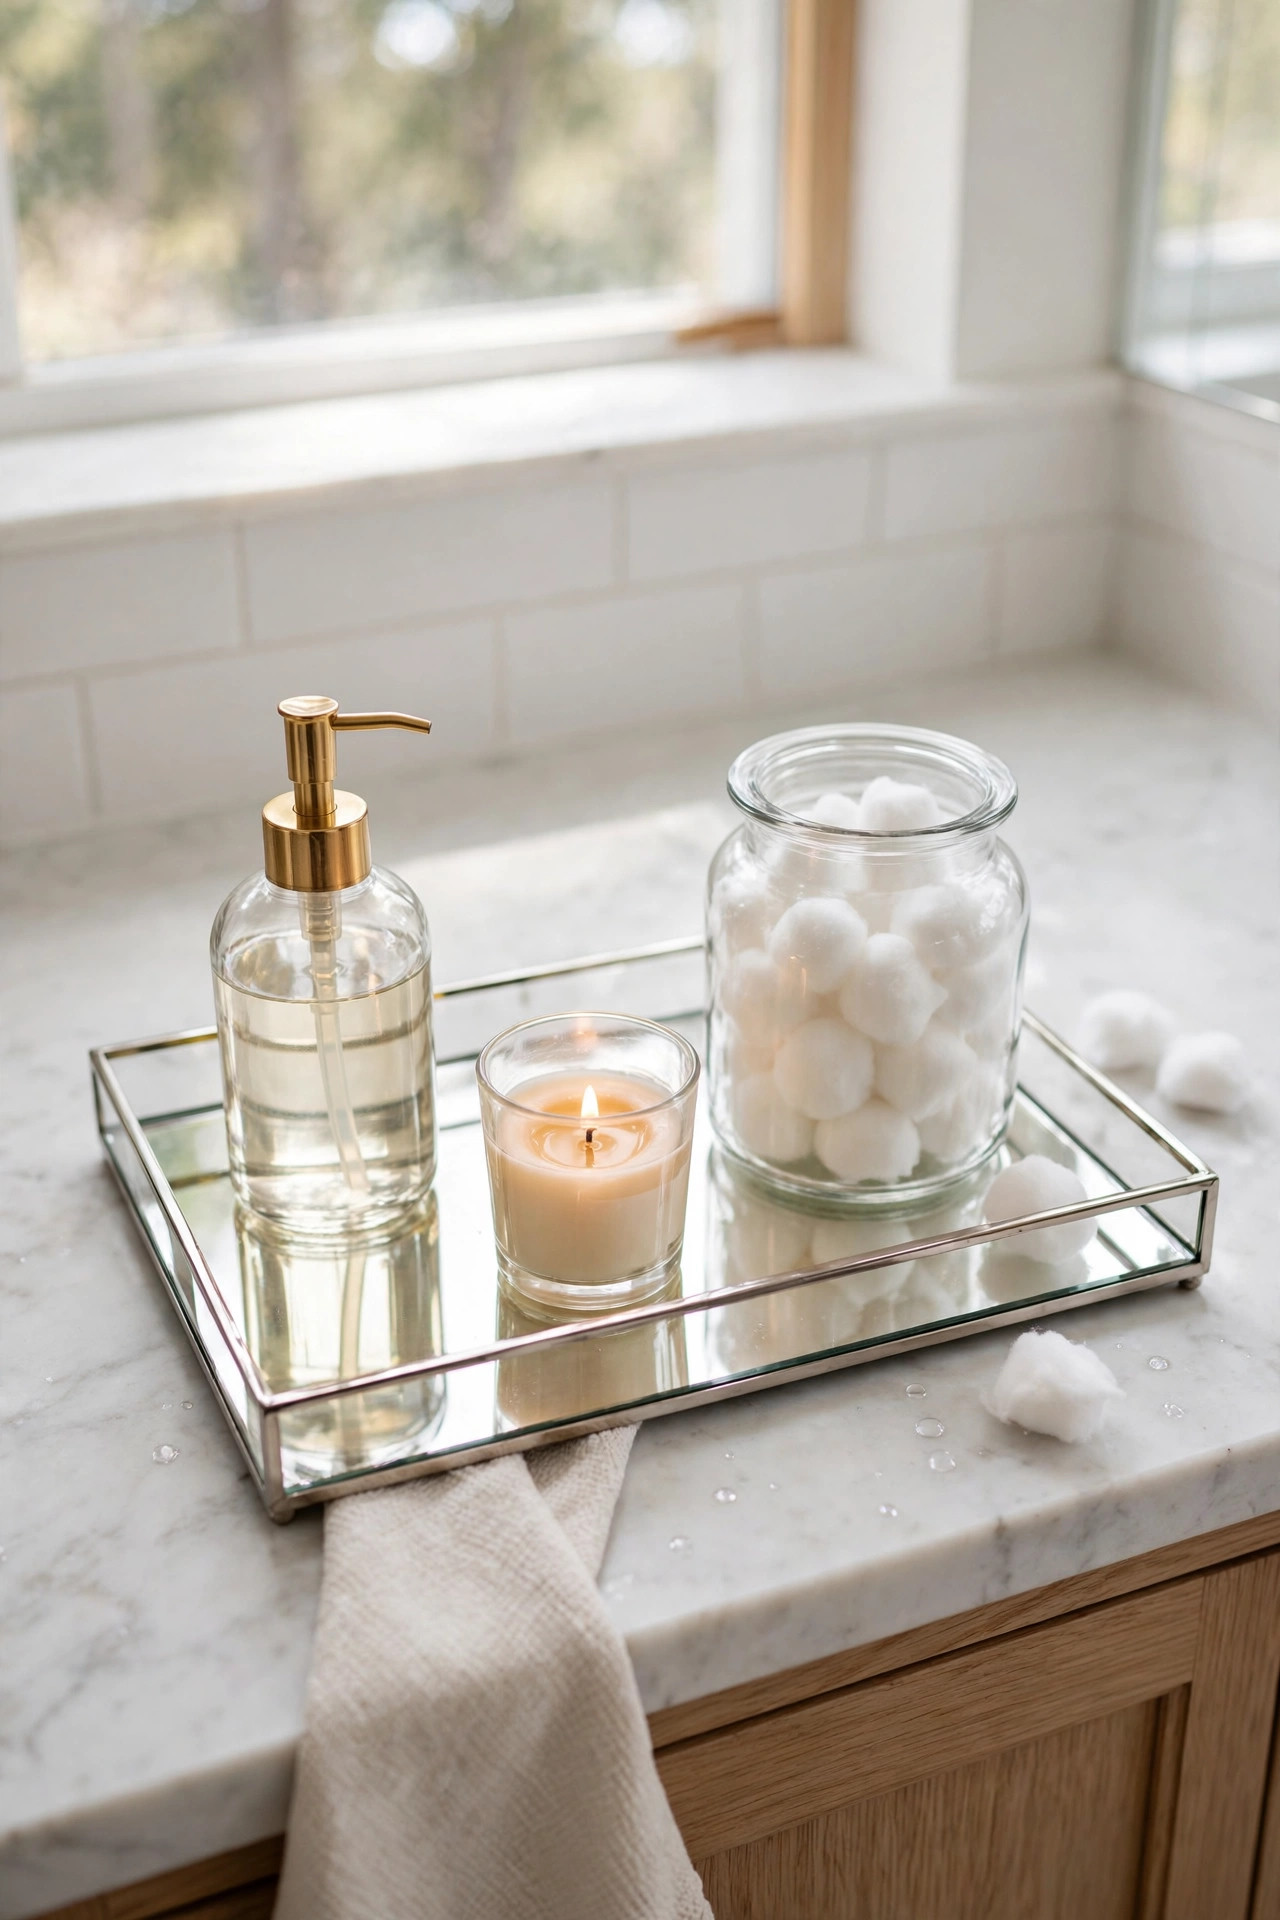
A tray is like a magic wand for making random items look like a styled display, and a mirrored tray takes it up another notch. The dollar store sometimes carries small mirrored trays, or you can make your own with a picture frame and a piece of mirror or even mirrored contact paper. I found a pretty rectangular mirrored tray there for a couple of dollars, and it lives on my bathroom counter now. On it I have a small pump bottle of hand soap, a little dish with cotton balls, and a tiny candle. That is it. Three things on a tray, and my basic bathroom counter suddenly looks like a hotel vanity. If you cannot find a mirrored tray, do not worry, because you can make one in about ten minutes. Grab a simple picture frame with glass, remove the backing, and place a piece of decorative scrapbook paper or fabric where the photo would go. Put the glass back over it and you have a custom tray with a pretty patterned base. I made one with a floral paper that matches my bedroom, and it looks adorable holding my jewelry. You can also use a shallow wooden box lid or even a sturdy baking sheet as a tray base. The whole point is just having that defined space that gathers your items together.
You can use this trick in so many places. On a dresser, a mirrored tray can hold your perfume bottles and a small jewelry dish, and it looks incredibly glamorous. On a coffee table, it can anchor a candle and a small plant. The mirror reflects light around the room, which makes everything feel brighter and a little bit luxurious. If you cannot find a mirrored tray, a regular decorative tray works too, especially in wood or a metallic finish. The point is the grouping. Loose items scattered on a surface look messy, but the same items on a tray look deliberate and chic. It is one of the simplest styling tricks I know, and it costs almost nothing. I want to mention a few more spots where a tray works wonders. On a nightstand, a small tray keeps your lip balm, hand cream, and book looking tidy instead of scattered. In the entryway, a tray on the console table becomes the perfect landing spot for keys and sunglasses, and you will never lose them again. I even use a tray inside my kitchen cabinets to group small spice jars together so they do not topple over. Once you start thinking in trays, clutter starts disappearing all over the house. It is such a simple habit, and it makes your whole home feel more pulled together with almost zero effort.
7. Linen-Look Throw Pillow Covers
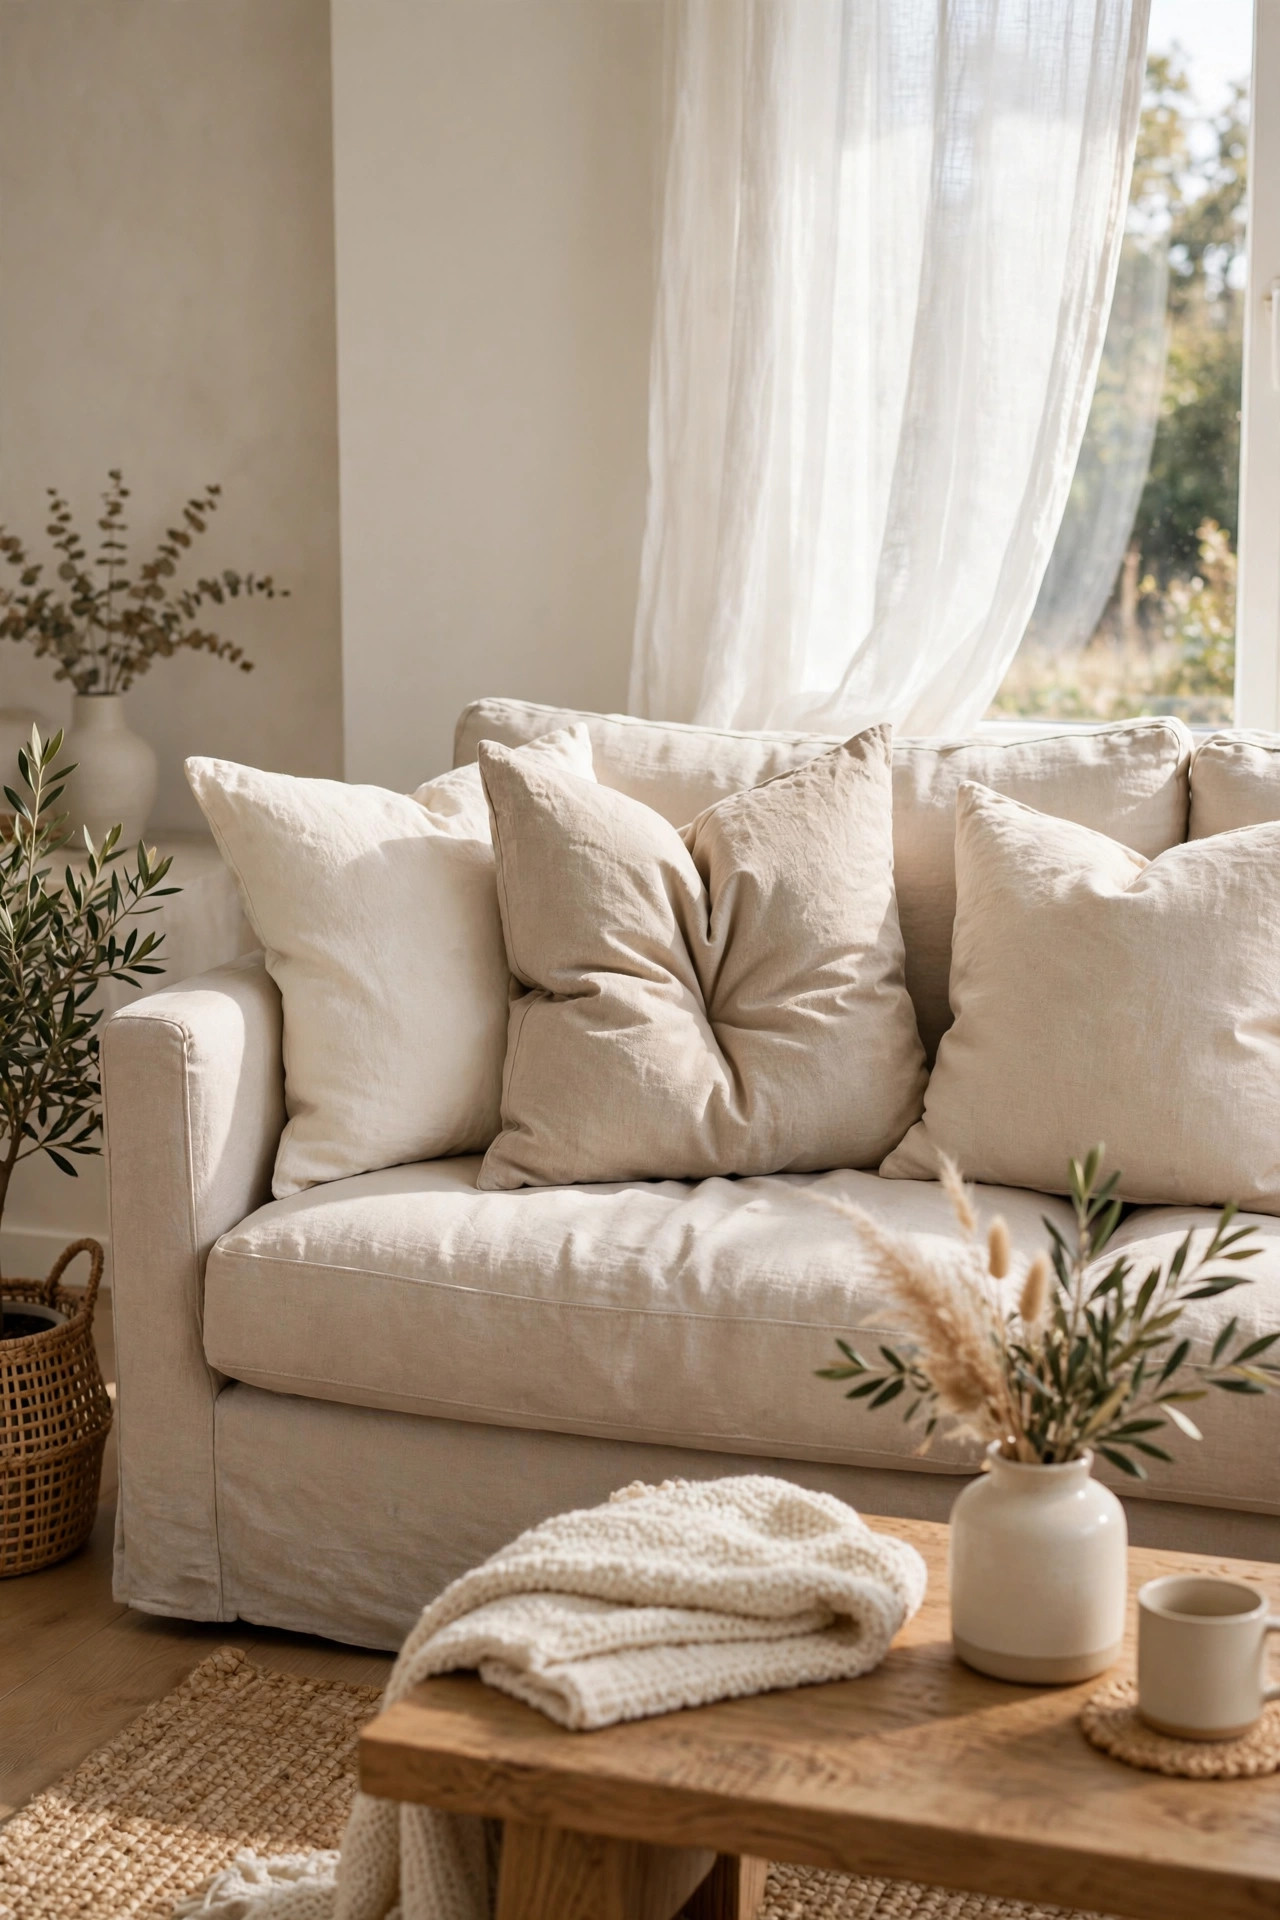
Throw pillows are expensive, there is no way around it. A single nice pillow cover can cost twenty or thirty dollars at a regular store. But the dollar store often has simple pillow covers in neutral colors, and with the right styling, they can look surprisingly high end. Look for covers in cream, beige, light gray, or soft white, and feel the fabric. You want something with a little texture, like a linen look or a subtle weave, because flat shiny fabric is what gives away a cheap pillow. I bought four cream covers with a nice nubby texture, stuffed them with the inserts I already had, and my couch looked brand new. Let me tell you where else to hunt for good pillow covers. The dollar store stock changes constantly, so I check the home section every time I go, even if I am there for something else. The best finds often hide on the bottom shelf or pushed behind other items. I also look right after holidays when they clear out seasonal stock, because I have found gorgeous neutral covers marked down to almost nothing. If the cover is a little wrinkled from packaging, a quick toss in the dryer with a damp towel smooths it right out. And if you sew even a little, you can easily take in a cover that is slightly too big.
Here is my best tip for making budget pillows look expensive. Go one size down on the cover compared to your insert, so the pillow looks plump and full instead of sad and flat. Then do the karate chop, that little dent in the top middle of the pillow that you see in all the decor magazines. It sounds silly, but it really does make pillows look professionally styled. Mix your dollar store covers with one or two nicer pillows you already own, and nobody can tell which is which. I also like to stick to a simple color palette, like creams and tans together, because coordinated colors always read as expensive. Your couch is the first thing people see in the living room, so this little upgrade makes a huge impact. Here is my foolproof pillow formula for a couch that looks designer. Start with two larger pillows in a solid neutral at the back corners, then add two medium pillows with a little texture in front of those, and finish with one small fun pillow in the center. That layered look is what you see in all the beautiful living rooms online. I keep my color palette to three colors max, like cream, tan, and a soft green, so everything feels calm and coordinated. When the seasons change, I just swap the small center pillow for a new color, and the whole couch feels fresh. It is the cheapest room refresh I know.
8. Stacked Decorative Storage Boxes
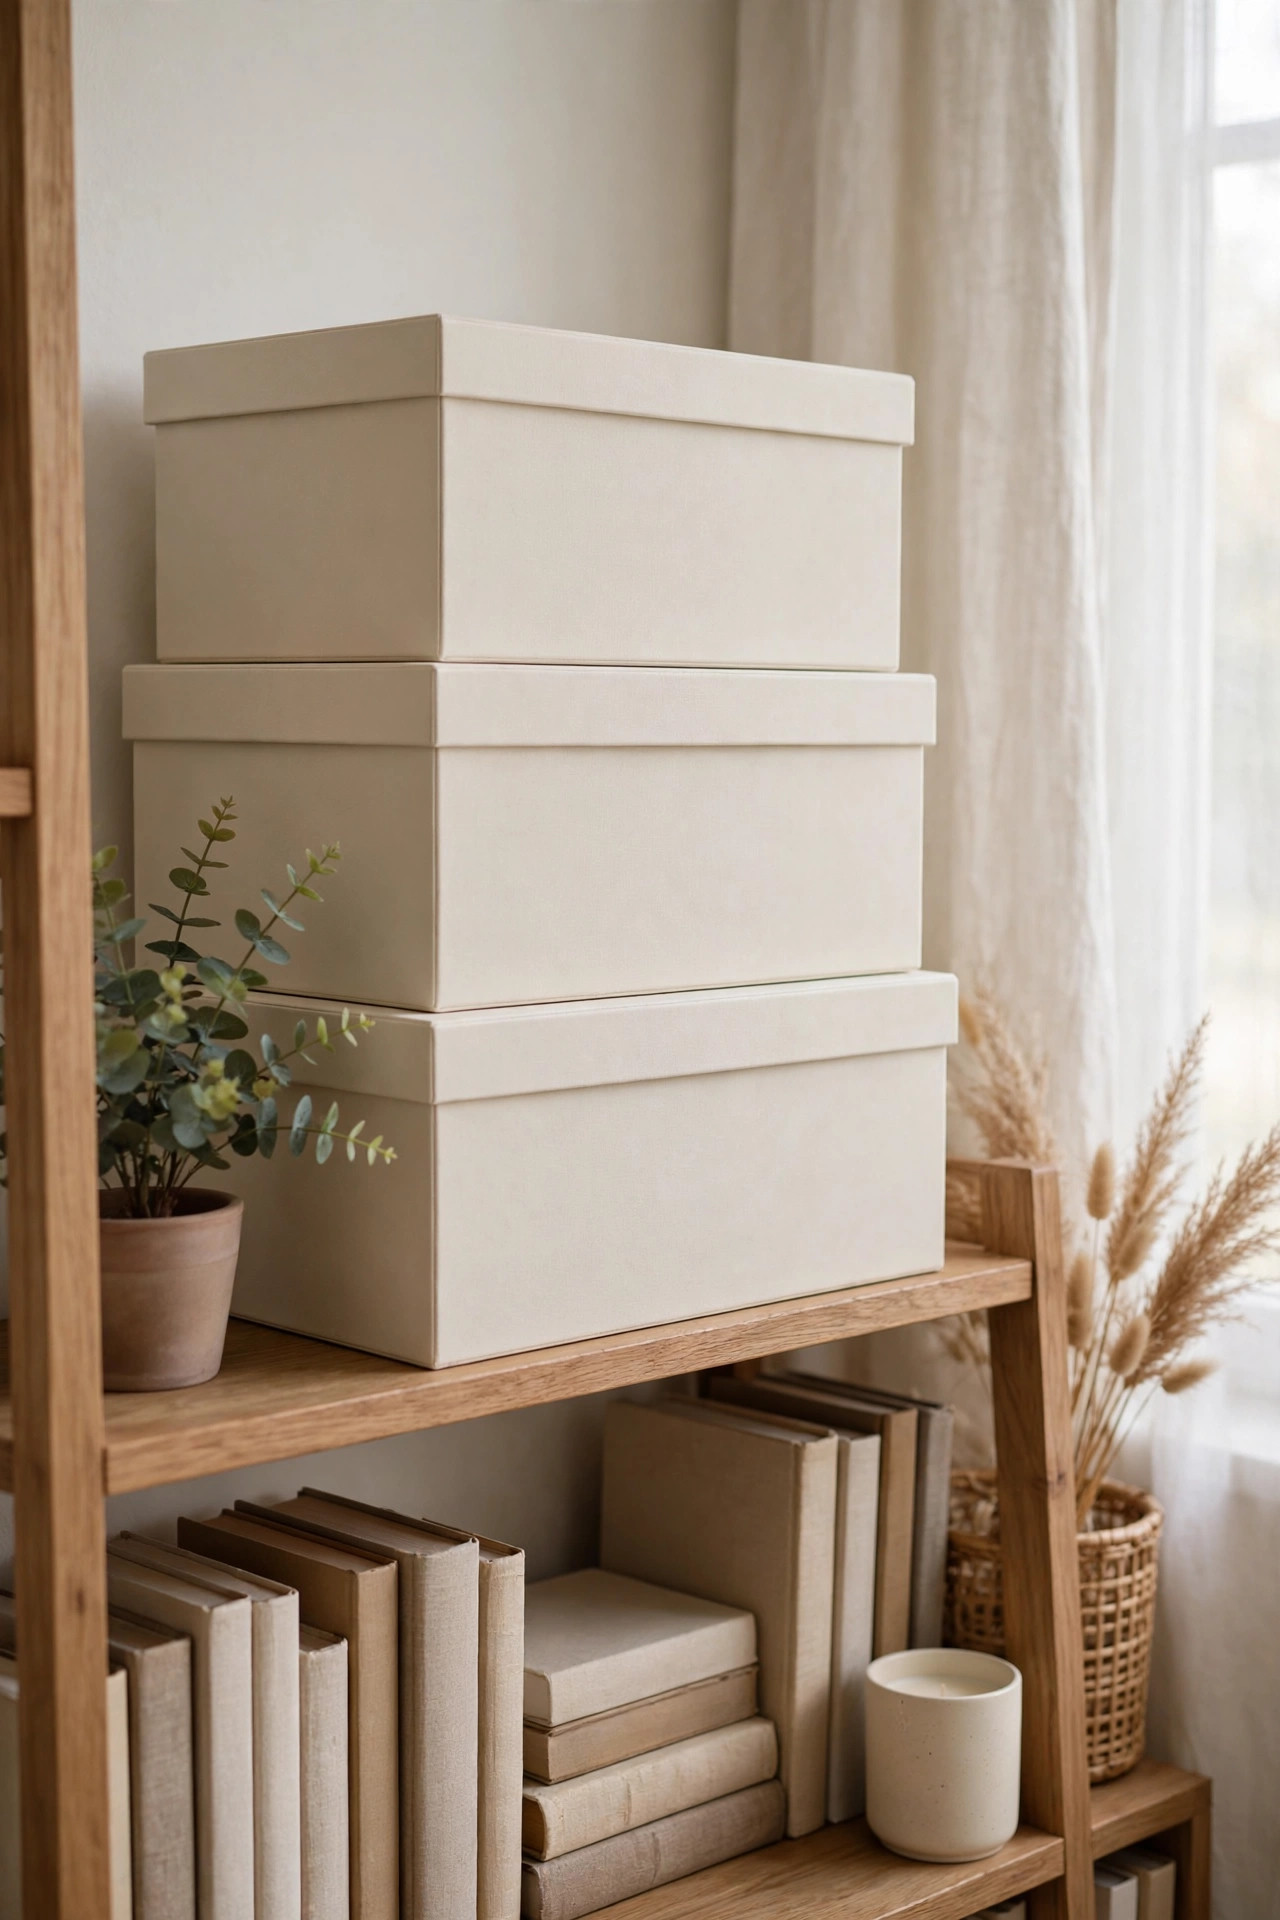
Decorative boxes are one of those things that look fancy but are secretly so practical. The dollar store sells them in various sizes, and when you stack two or three together, they look like a chic storage set. I look for boxes in neutral colors or simple patterns, because those blend into any decor style. Avoid the super glossy ones with loud prints, since those tend to look cheap. A set of matte cream or soft gray boxes stacked on a shelf looks incredibly polished. I have a stack on my bookshelf holding old photos and random cords, and guests always think they are just pretty decor. Little do they know they are hiding my mess. I have a few more ideas for dressing up plain boxes. A simple grosgrain ribbon tied around a box instantly makes it look gift worthy, and you can change the ribbon with the seasons. Small adhesive labels in a pretty font make boxes look organized and intentional, especially on closet shelves. I labeled my boxes with words like photos, cables, and keepsakes, and now I can actually find things. If you are feeling crafty, you can decoupage pretty napkins onto a plain box with a little glue, and it looks like expensive patterned paper. The box underneath is still just a dollar store box, but nobody would ever guess.
These boxes are perfect for all the little things that make a room look cluttered. Remote controls, chargers, spare batteries, receipts, all of it can live inside pretty boxes instead of scattered around. I keep one on my nightstand for lip balm and hair ties, and one in the living room for coasters and game controllers. If you find plain boxes, you can dress them up with a little ribbon or a small label, but honestly the simple ones look best. Stacking them at slightly different angles looks relaxed and stylish, while stacking them perfectly straight looks more formal. Either way, you get storage that doubles as decor, and that is the kind of double duty win I love. Let me share where I use decorative boxes that you might not have thought of. I keep one in my car for napkins and spare change, one in the laundry room for dryer sheets and stain remover, and one under the bathroom sink hiding all those half used bottles. In my closet, a row of matching boxes on the top shelf holds off season accessories and looks so neat. They are also wonderful for organizing craft supplies, because you can see everything at a glance when you lift the lid. Pretty boxes turn boring storage into something you are happy to leave out in the open, and that changes how tidy your whole house feels.
9. Glass Hurricane Candle Holders
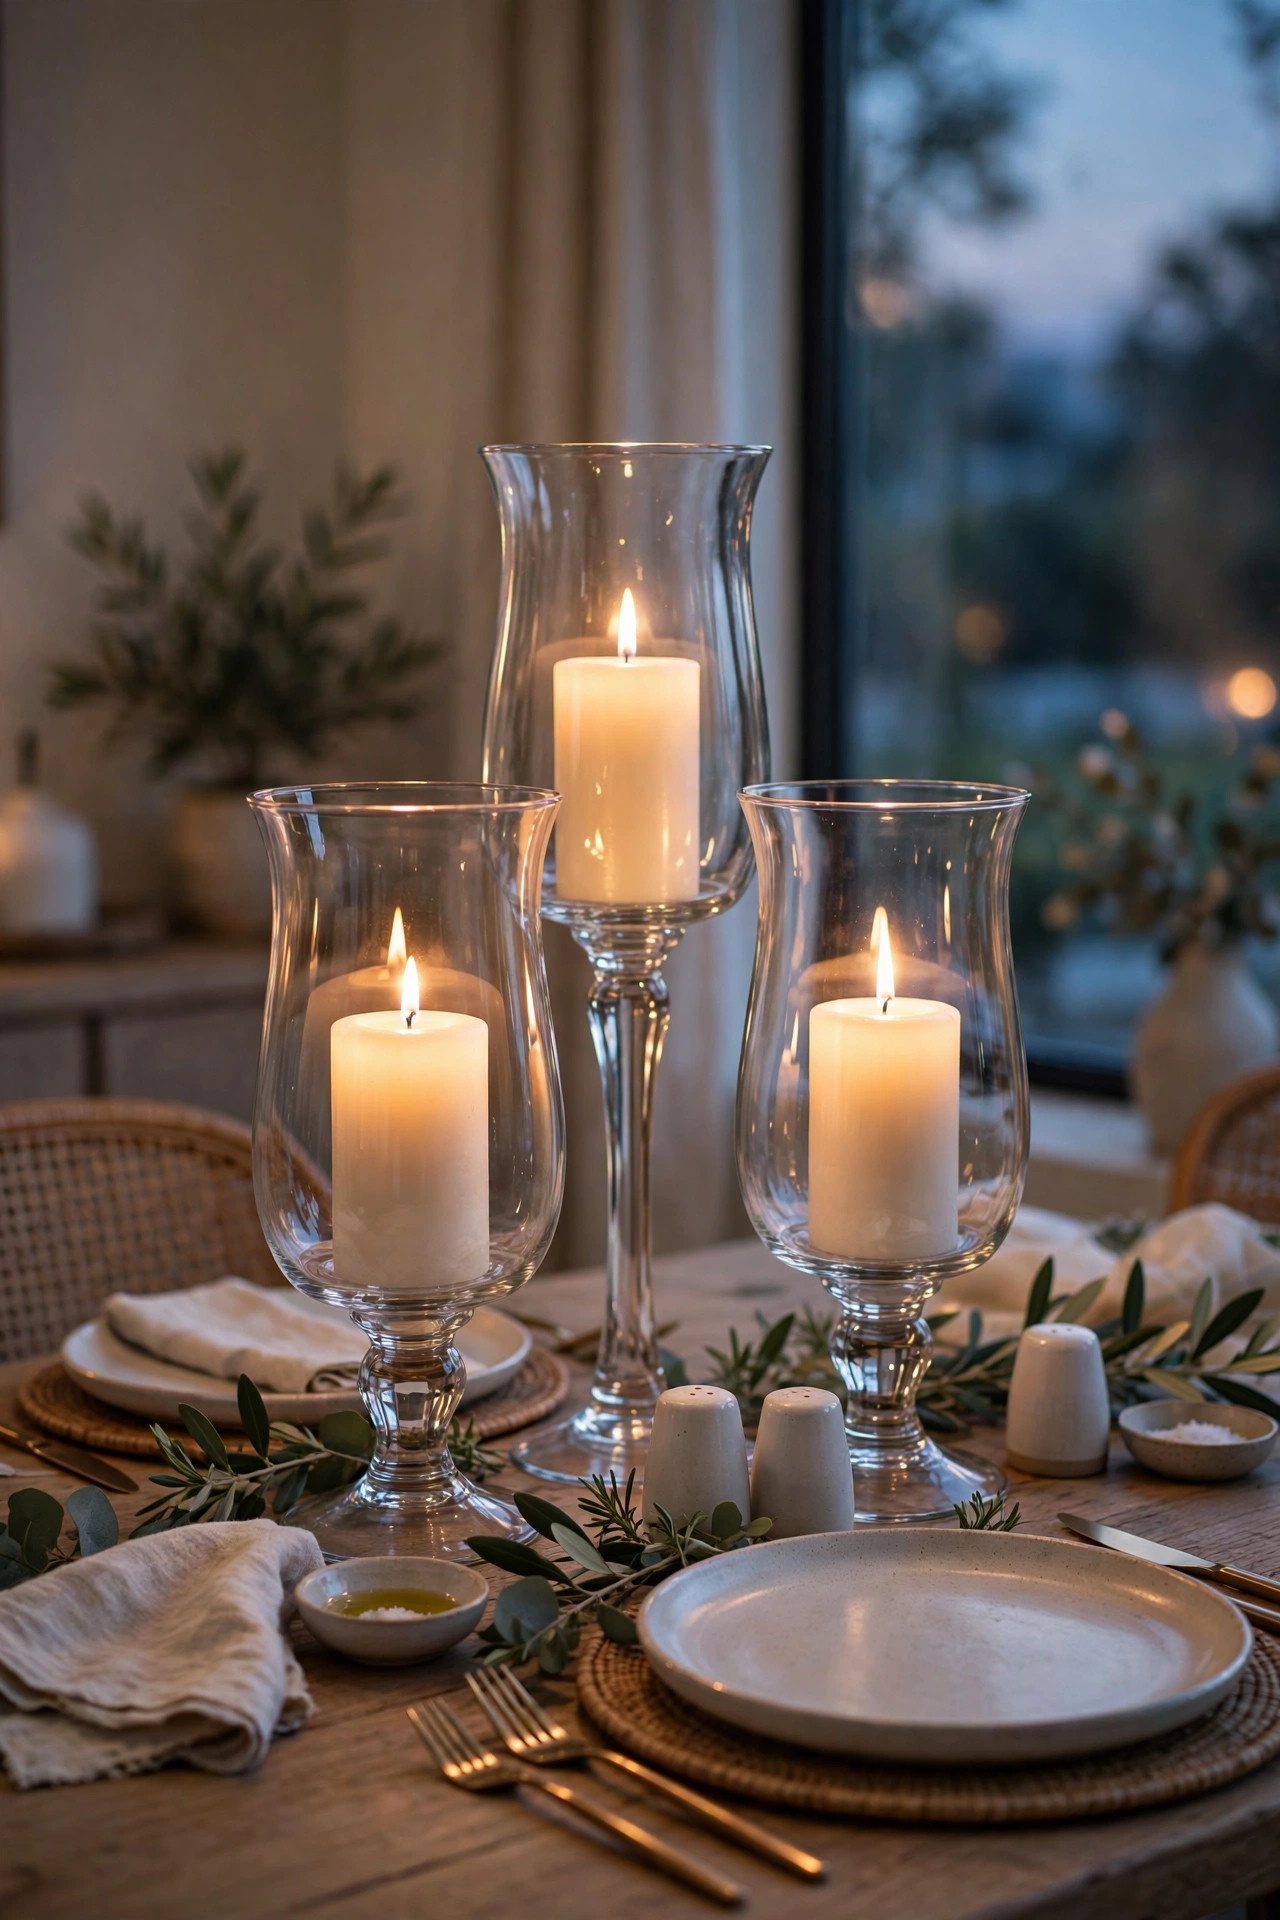
Hurricane candle holders, those tall glass cylinders that go around a candle, look so elegant and they cost a fortune at fancy stores. At the dollar store, you can often find simple glass cylinders or tall vases that work exactly the same way. I bought three glass cylinders in different heights, placed a pillar candle inside each one, and set them on my dining table. The glow through the glass is absolutely gorgeous at night, and the whole setup cost less than ten dollars. It looks like something straight out of a wedding venue, and I am not even exaggerating. A little shopping advice for finding the best glass cylinders. Look for glass that is clear without a green or gray tint, because crystal clear glass looks the most expensive. Check the rim for chips and make sure the base sits flat on the shelf without wobbling. I like to buy cylinders in odd numbers, like three or five, because odd groupings always look more natural and pleasing to the eye. If the store only has one size, you can create height variety by setting some on top of stacked books or small wooden risers. I found little wood slices in the craft aisle that work perfectly as risers and add a nice natural touch.
You can change these up for every season, which makes them even better. In the fall, I put a little faux leaf garland around the base. At Christmas, I tuck some faux pine sprigs and red berries around them. In the summer, I fill the bottom with sand and shells. The glass protects the flame and makes the candlelight flicker beautifully, so it feels extra cozy. I also love using one big hurricane on a bathroom counter with a candle inside, because it makes bath time feel like a spa retreat. Just make sure the candle is stable and the glass is heat safe, which most of them are. This is such a simple idea, but it brings so much atmosphere to a room. Here is a trick that makes hurricanes look even more magical. Pour a thin layer of sand, small pebbles, or even dried lentils into the bottom of the cylinder before adding the candle. It anchors the candle so it does not tip, and it adds a beautiful textured base that catches the light. In the summer I use white sand with a seashell on top, and it feels like the beach. For a dinner party, I scatter a few faux flower petals around the base of each hurricane on the table. The whole table glows and looks so romantic. Your guests will feel like they walked into a fancy restaurant, all for a few dollars.
10. Faux Marble Contact Paper Upgrades
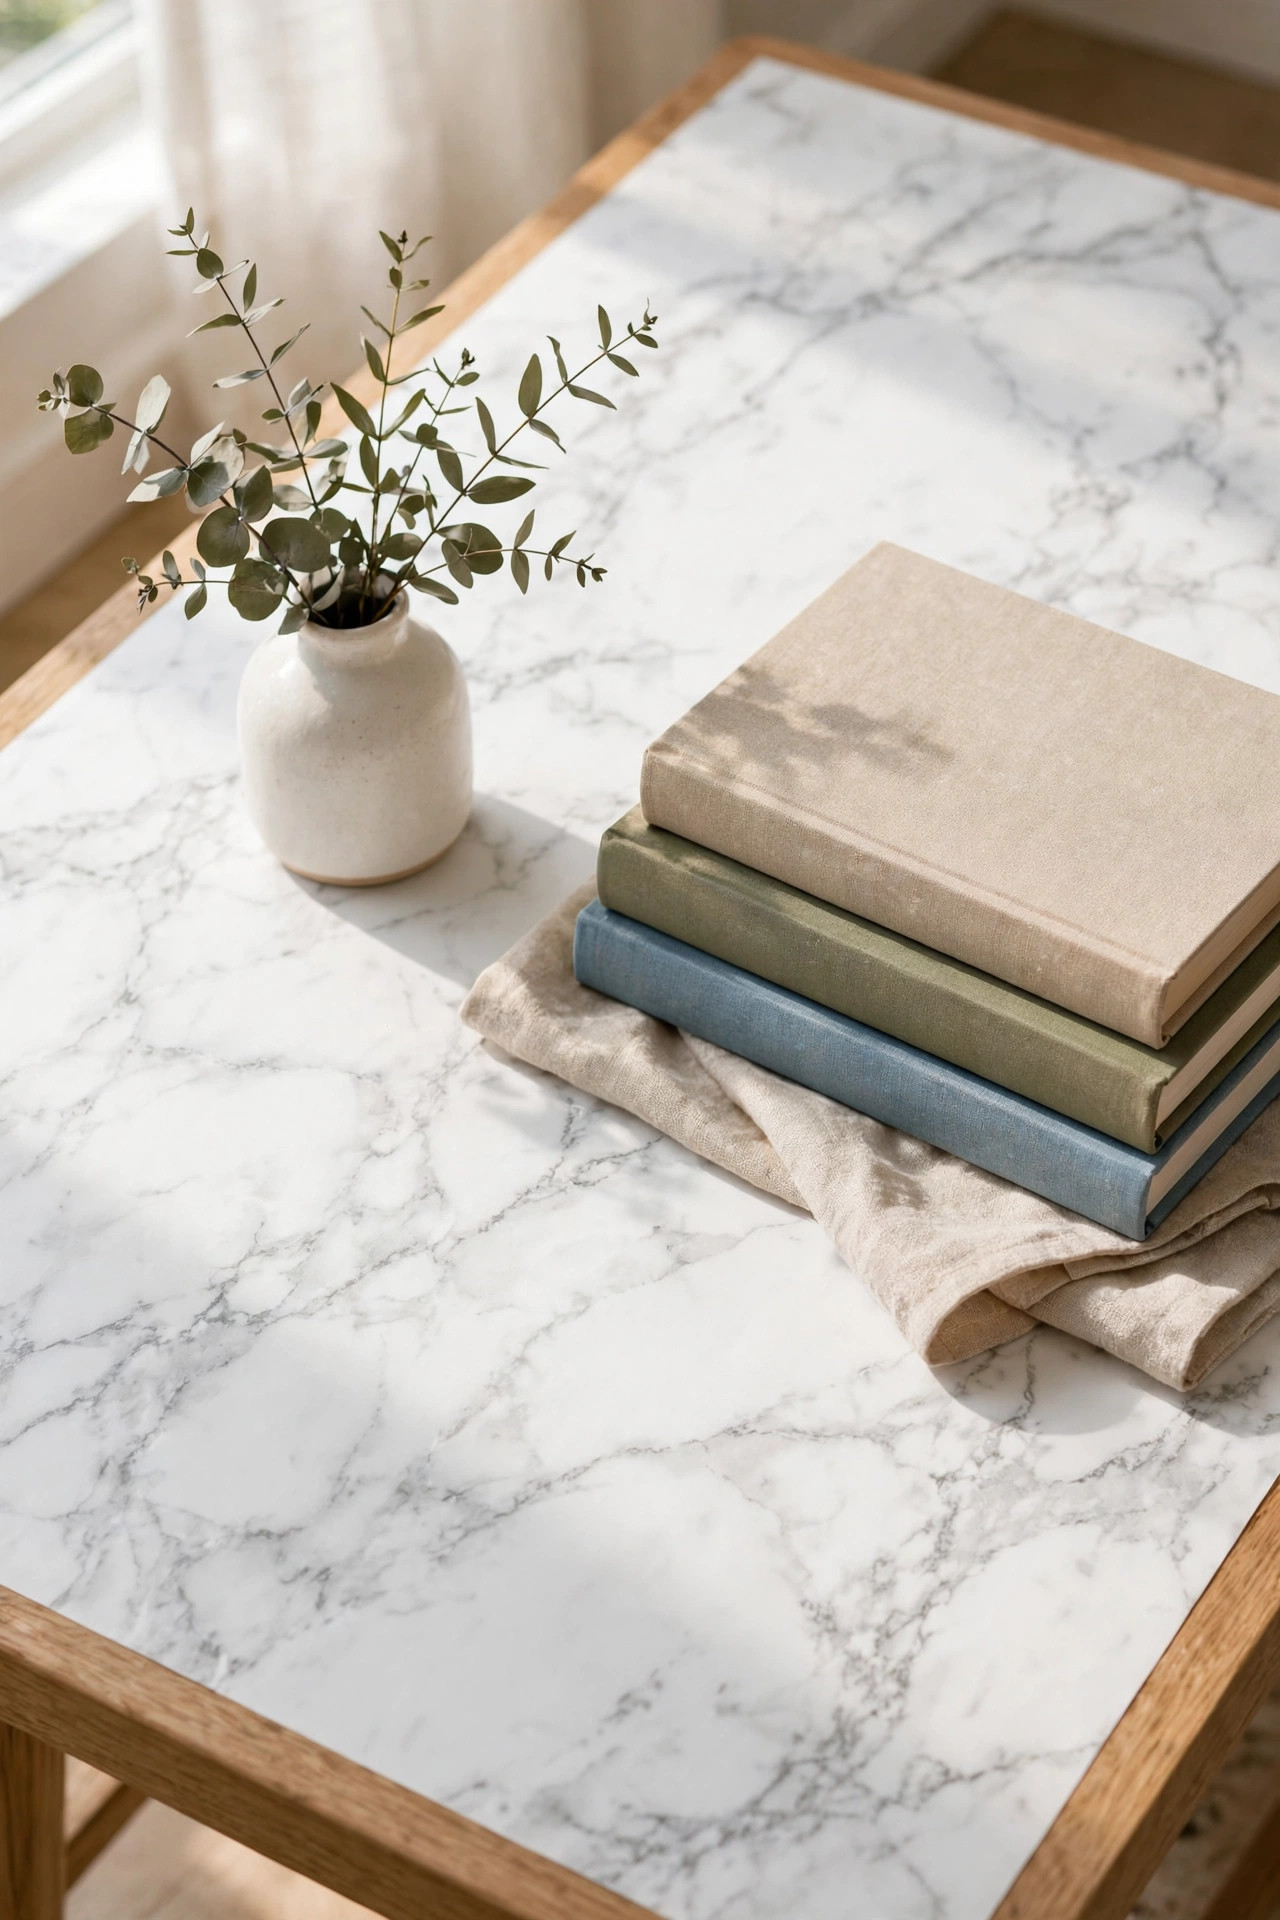
Contact paper is my secret weapon, and the faux marble version from the dollar store is shockingly convincing. I used it to cover an old wooden tray that had seen better days, and now it looks like a slab of real marble. The trick is to go slow and smooth out bubbles as you go. I use an old credit card to press the paper down flat, working from the center outward. My first try had a million bubbles because I rushed it, so take your time. Once it is smooth, trim the edges carefully with a sharp craft knife, and the result is so sleek. Let me walk you through the application process in more detail so you get a perfect result. Start by cleaning your surface really well with a damp cloth and letting it dry completely, because dust and grease stop the paper from sticking. Cut your contact paper a little larger than you need, then peel back just a few inches of the backing to start. Line up one edge carefully and press it down, then slowly peel the backing while smoothing with your credit card as you go. If you get a bubble, gently lift the paper back to the bubble and re smooth it. Working slowly is the entire secret to a flawless finish.
There are so many things you can upgrade with this stuff. I have seen people cover the tops of side tables, line the backs of bookshelves, and even refresh old dresser tops. I used it on a plain cutting board to make a chic serving tray, and on the inside of a cabinet to make it feel fancy every time I open the door. The marble pattern hides a lot of sins, so it is perfect for furniture that is sturdy but ugly. Just keep it away from high heat and heavy water exposure, since it is paper after all. For a couple of dollars, you can give tired surfaces a brand new expensive looking finish, and that is hard to beat. I have to tell you about my favorite contact paper project ever. I had an old nightstand with a scratched up top that I was embarrassed about, and I covered just the top surface with the faux marble paper. It looked like a brand new piece of furniture, and I am not exaggerating. I also lined the inside of my kitchen drawers with it, and every time I open a drawer it feels like a little luxury. A friend used it to cover her ugly apartment countertops, and her landlord never even noticed the upgrade. Just remember it is not meant for direct heat, so always use trivets and cutting boards to protect your beautiful new surface.
11. Mini Gallery Wall Moment
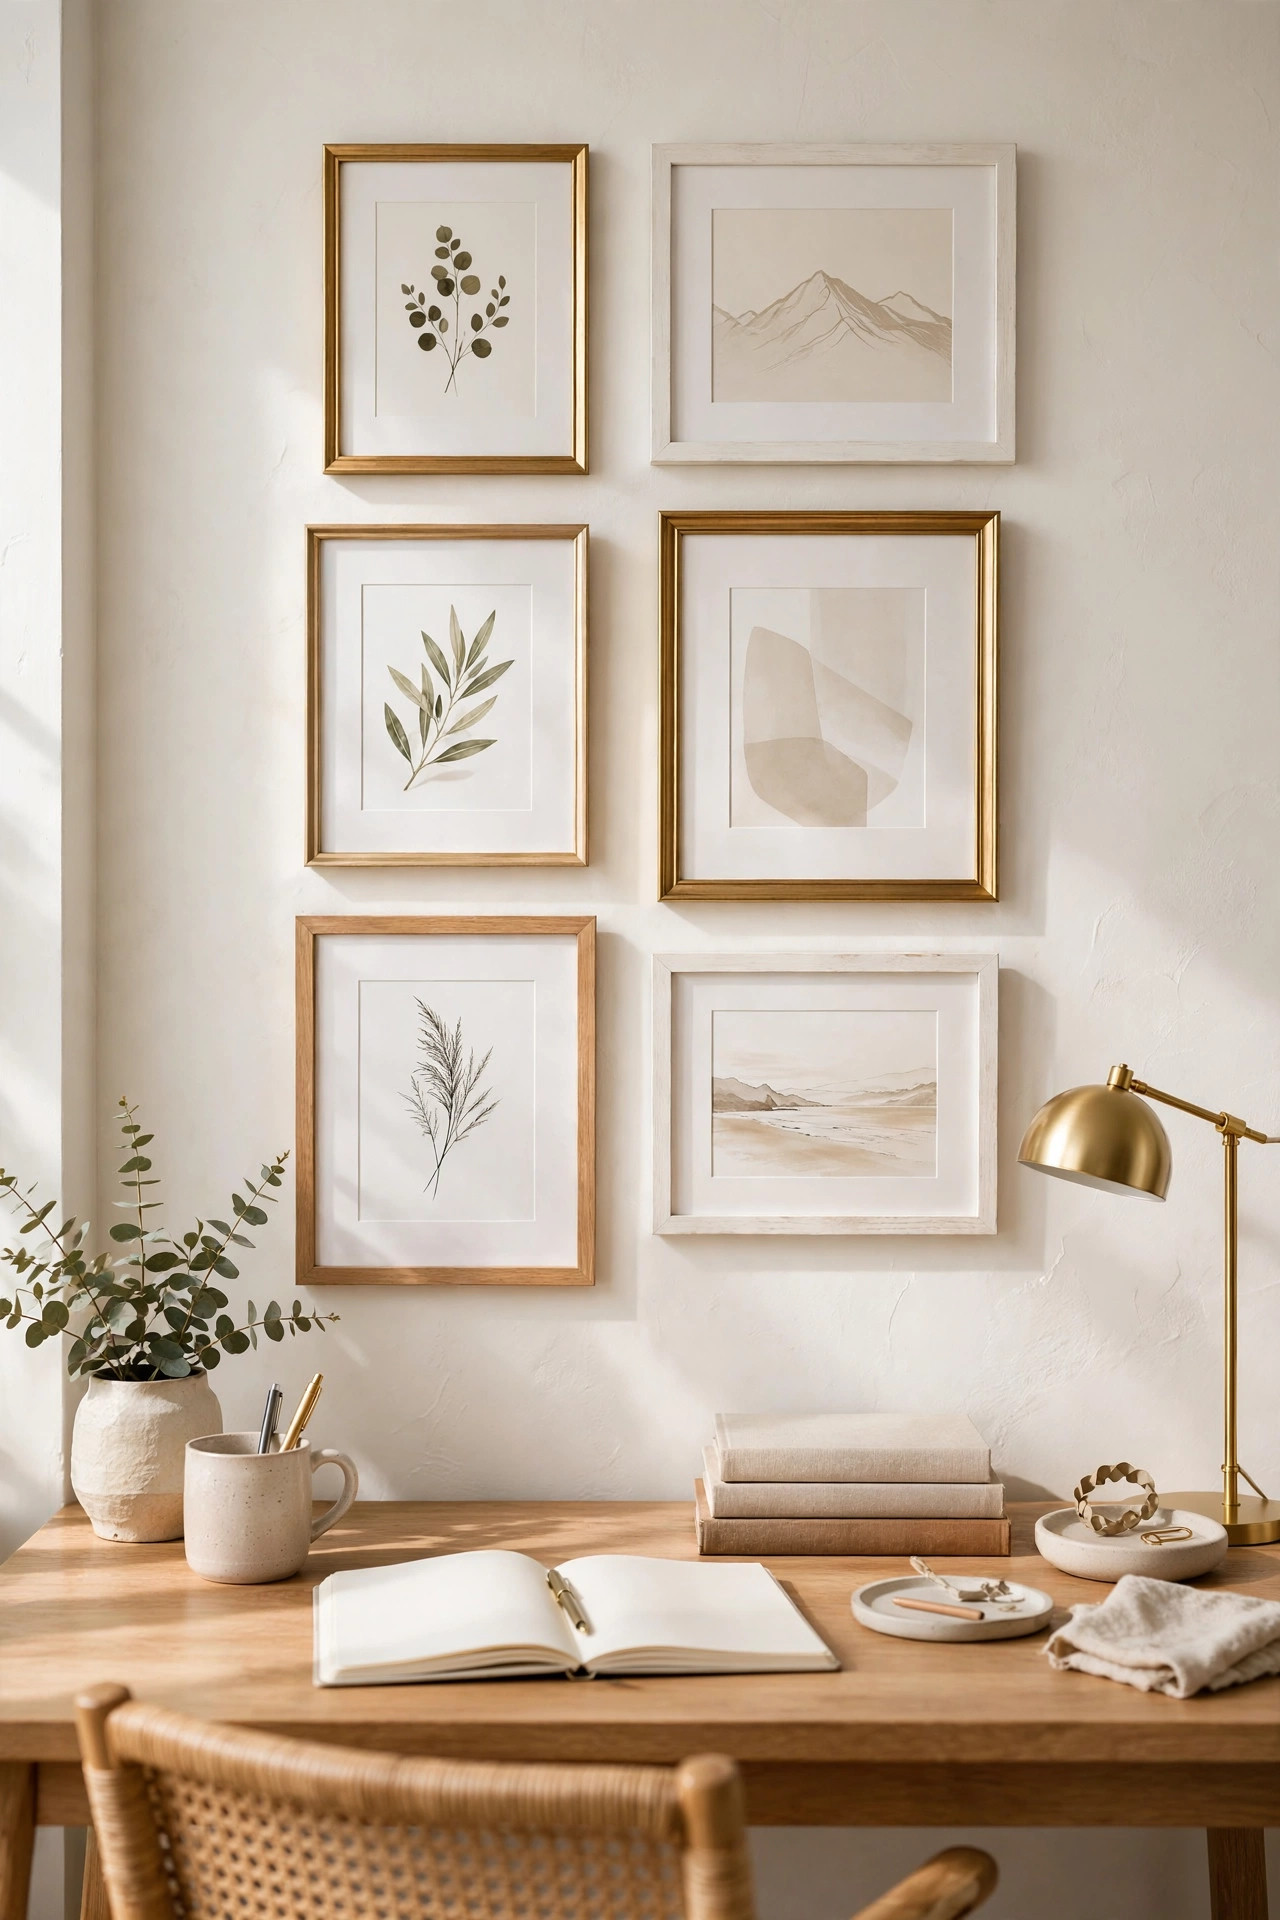
A gallery wall sounds intimidating, but a mini version is totally doable and so charming. You just need three to five small frames, and the dollar store has you covered. I used my gold spray painted frames from idea number two, mixed with a couple of plain white ones, and hung them in a little cluster above my desk. The whole thing took up maybe two feet of wall space, but it completely changed the feel of that corner. It went from a boring blank wall to a spot that makes me smile every time I sit down to work. Choosing what goes in your frames is half the fun. I love mixing personal photos with art prints, because the combination feels personal but still polished. Free printable art is everywhere online, and I have found gorgeous botanical illustrations, simple abstract shapes, and sweet handwritten quotes. Old calendars are another goldmine, since the photos are usually beautiful and sized perfectly for small frames. I once framed a pretty postcard from a friend’s wedding, and it is still one of my favorite pieces. Do not overthink it. If an image makes you happy when you look at it, it belongs on your wall. Trust your gut here, because the best gallery walls are the ones that feel personal, not perfect.
The key to making it look good is planning the layout on the floor first. Lay your frames out, play around with the arrangement, and take a photo of the layout you like before you start hammering nails. I like to mix art prints with a small mirror or a meaningful photo, because the variety keeps it interesting. You can print beautiful free art online, use pages from old calendars, or even frame pretty greeting cards. Keep the spacing between frames consistent, about two inches apart, and it will look professionally done. A mini gallery wall adds so much personality to a hallway, a bathroom, or that awkward empty wall in the bedroom. It is proof that you do not need a big budget to make a big statement. Here are a few layout ideas to get you started. A simple grid of four matching frames looks clean and modern, while a loose organic cluster feels more relaxed and artsy. I like to put the biggest frame slightly off center and arrange the smaller ones around it, which creates a nice sense of balance. Use painter’s tape on the wall to mark where each frame will go before you hammer any nails, because it saves you from extra holes. Step back and squint at your tape layout from across the room. If it looks balanced when you squint, it will look great with the actual frames up.
12. Coffee Table Book Stacks
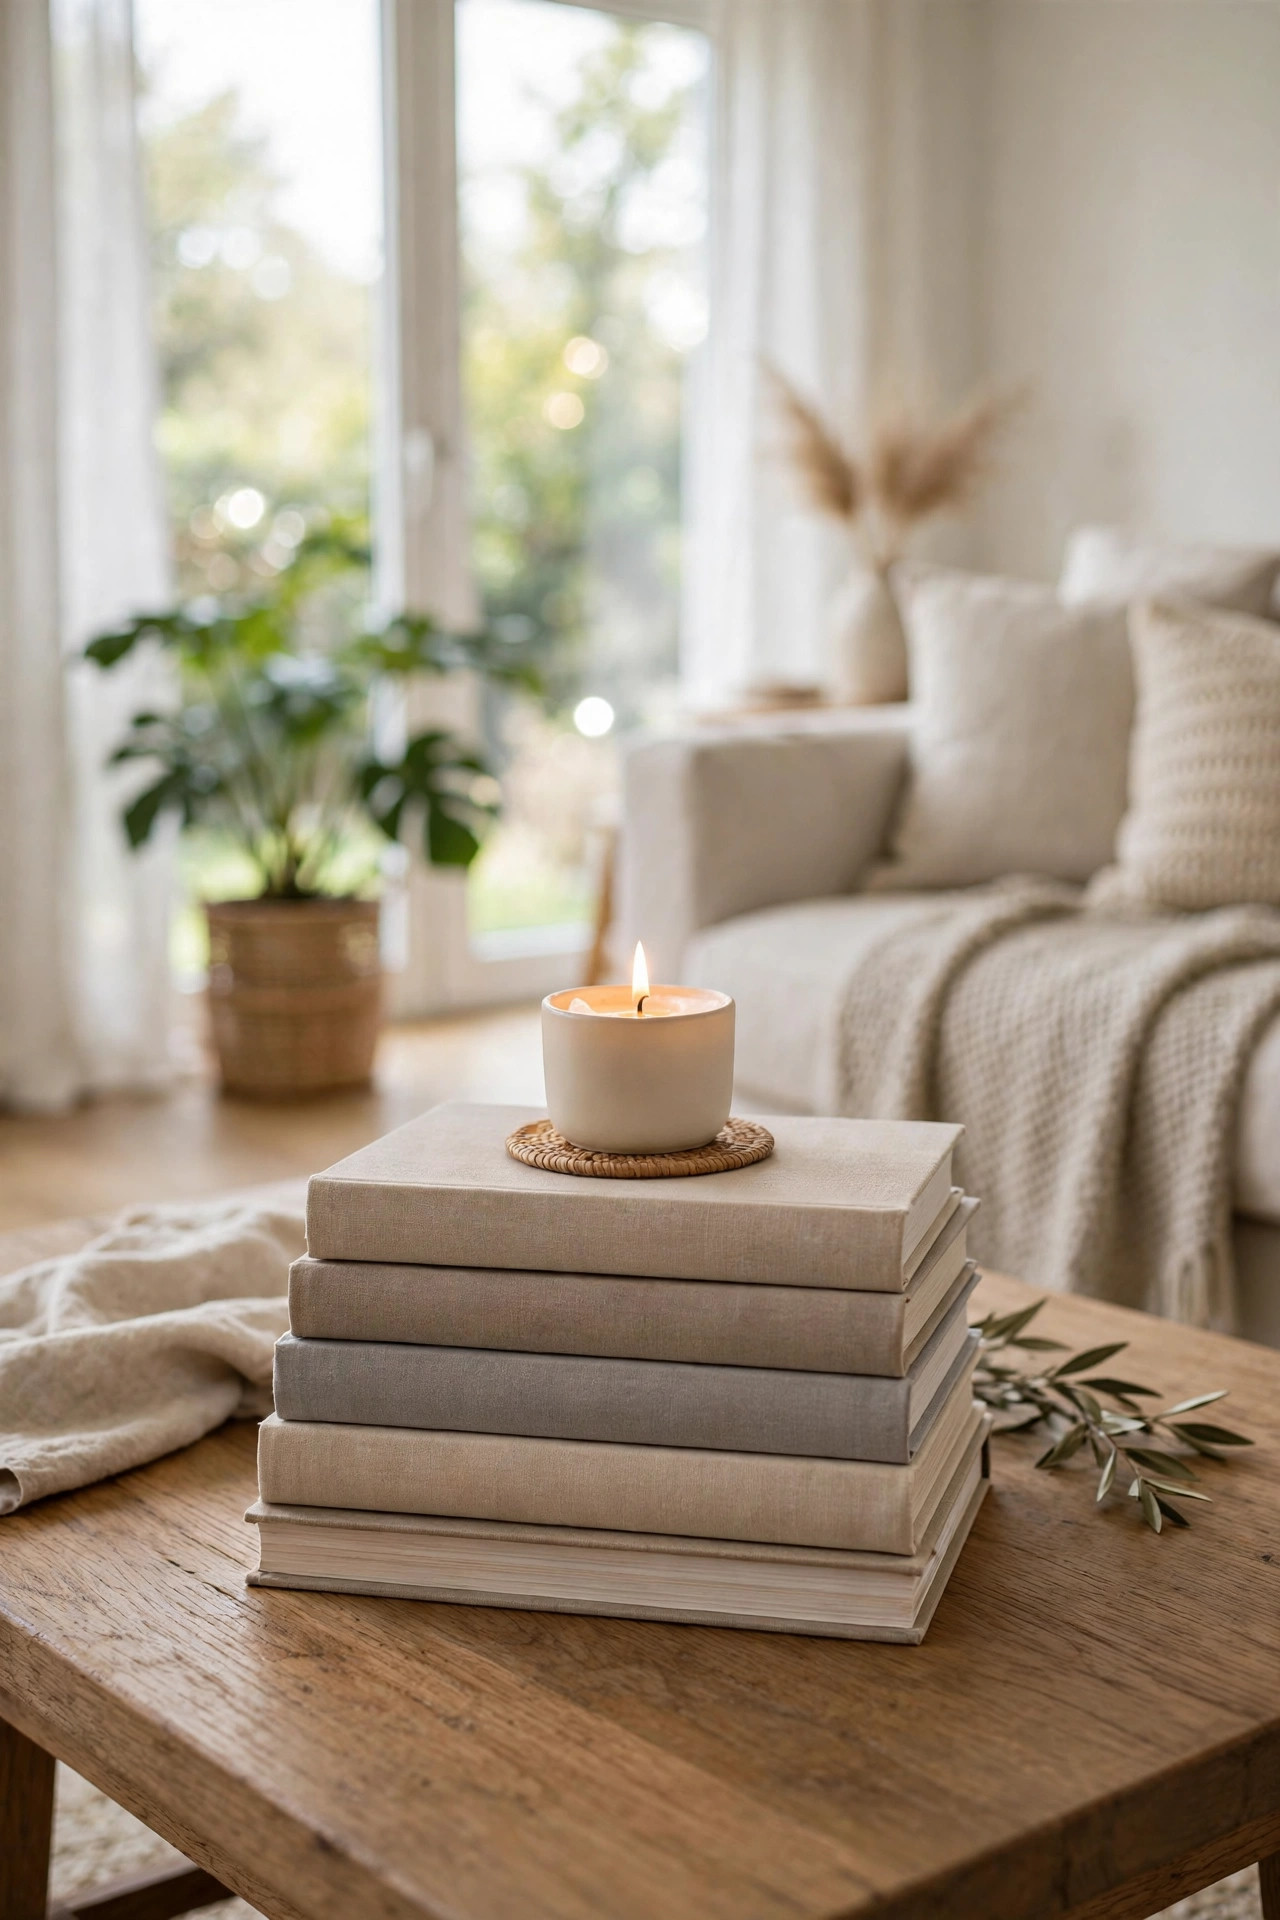
Big beautiful coffee table books cost a lot of money, but you can fake the look for almost nothing. The dollar store sometimes has surprisingly decent hardcover books, especially around the holidays. I look for books with pretty covers in neutral colors, because the cover is really all that matters for this trick. Nobody is going to open them and check the content. I stack two or three books on my coffee table, largest on the bottom, and suddenly I have that layered designer look. It is such a simple styling move, but it makes a table feel finished. If you cannot find pretty books, here is my favorite workaround. Wrap any hardcover book in kraft paper or fabric, and suddenly you have a custom designer looking book. I wrap mine in beige linen fabric secured with a little double sided tape on the back, and they look like those expensive neutral decor books everyone loves. You can also paint old book covers with matte acrylic paint in cream or white for the same effect. Stack them from largest to smallest, and tie the whole stack with a piece of twine for a charming finishing touch. Nobody will ever know what is hiding under those pretty covers. It is such a satisfying little secret every time someone compliments your beautiful book collection.
If you cannot find good looking books at the dollar store, check thrift stores too, since old books with nice covers are everywhere. You can also wrap plain books in kraft paper or pretty wrapping paper for a custom look. I wrapped a few ugly books in beige linen fabric once, and they looked like expensive decor books. On top of the stack, place a small candle or a little dish, and you have a perfect vignette. You can also use book stacks on shelves, nightstands, and entryway tables to add height to your displays. Books add that lived in, intellectual feeling to a room, and they are one of the easiest things to style. Book stacks are not just for coffee tables. I use a small stack on my nightstand to raise a lamp to the perfect height, and it looks so much better than the lamp sitting flat. On a bookshelf, a horizontal stack of books breaks up rows of vertical books and gives your eyes a nice resting spot. In the entryway, a stack of books under a small plant adds height and interest to the console table. I even keep a pretty stack in the bathroom with a rolled towel on top, which sounds odd but looks adorable. Anywhere you have a flat surface that feels a little empty, a book stack will fix it.
13. Wooden Bead Garland Accents
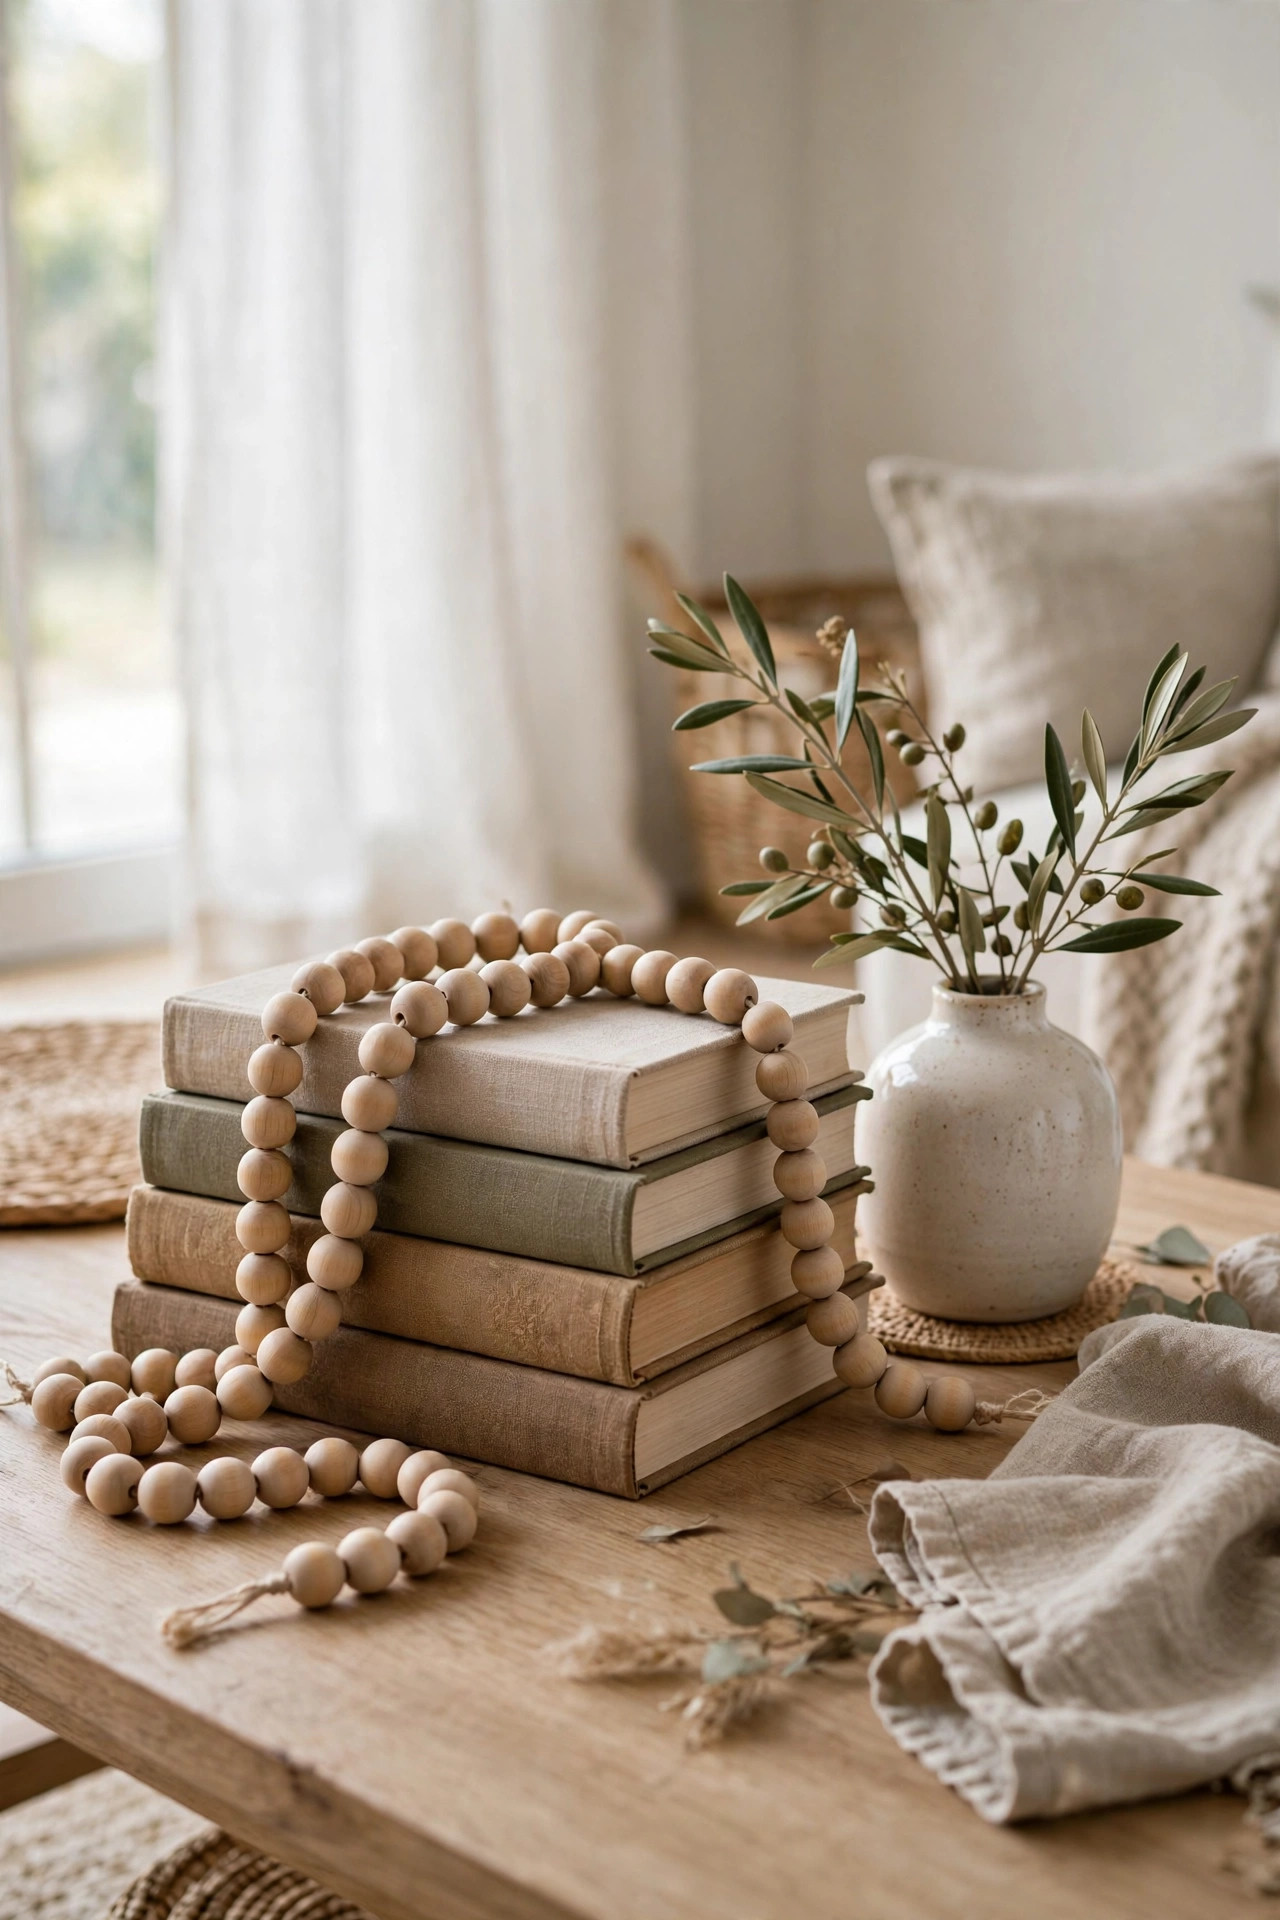
Wooden bead garlands are everywhere in home decor right now, and they usually cost way more than they should for what is basically beads on a string. The dollar store sometimes carries them, or you can make your own with wooden beads and twine from the craft aisle. I drape mine over a stack of books on the coffee table, and it adds this lovely natural texture that makes the whole display feel complete. It is one of those little finishing touches that you cannot quite put your finger on, but the room just looks better with it there. If your store does not carry bead garlands, making one is honestly so easy. You just need wooden beads with holes, some twine or jute string, and about fifteen minutes. Thread the beads onto the twine, tie a knot at each end, and add a little tassel made from yarn if you want to get fancy. I made three garlands in one evening while watching my favorite show, and they look just like the ones I have seen in boutiques. You can paint the beads white or leave them natural, and both look great. It is a perfect project for a relaxing night in, and you end up with something beautiful. Put on some music, pour yourself a cozy drink, and enjoy the simple pleasure of making something with your hands.
I also love draping a bead garland over the edge of a decorative bowl, hanging one on a doorknob, or laying one across a mantel. They come in natural wood tones and sometimes whitewashed finishes, both of which go with everything. If yours looks a little plain, you can add a small tassel at the end with some yarn, which takes about five minutes. My friend thought mine came from a fancy boutique, and she laughed so hard when I told her it was a dollar store find. These garlands are the perfect example of how tiny details make a home feel styled. They cost almost nothing, they go with every decor style, and they instantly make a surface look thoughtfully arranged. Let me share my favorite unexpected place for a bead garland. I drape one over the corner of a big mirror, and it softens the whole look in the most charming way. They also look lovely hanging from a cabinet knob in the kitchen, draped over a stack of cutting boards, or looped around a candle. During the holidays, I weave tiny fairy lights through mine for the coziest glow. My mom saw mine and asked me to make her two, which tells you how giftable these are. They are one of those rare decor items that work in literally every room and with every style, from farmhouse to modern.
14. Faux Fur Throw Blankets
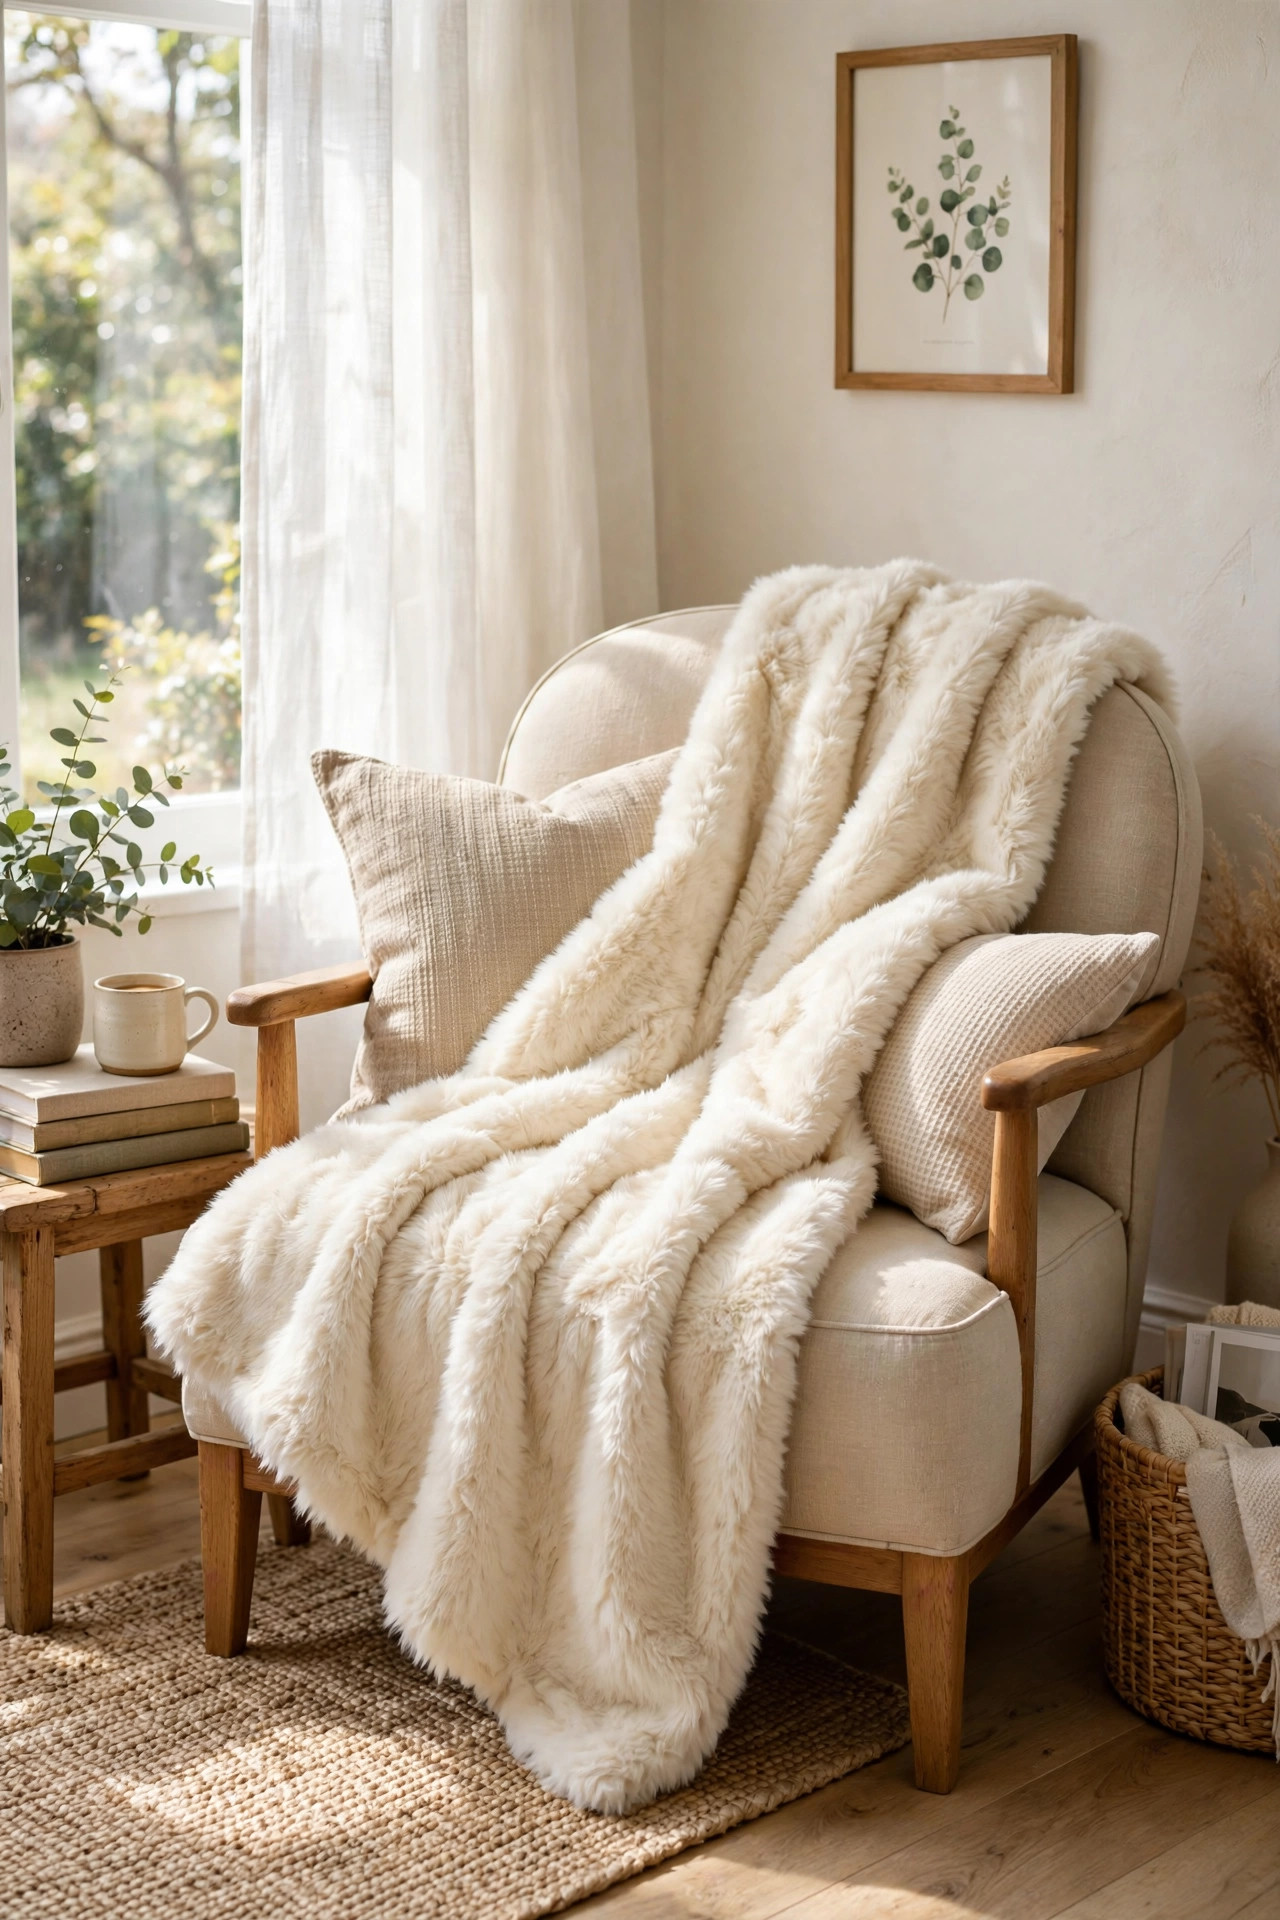
A soft throw blanket draped over a couch or chair is the ultimate cozy move, and faux fur throws look incredibly luxurious. The dollar store versions are smaller than the big department store ones, but they are perfect for draping over an armchair or the arm of a couch. I found a cream faux fur throw that is so soft, and it lives on my reading chair. Every time I sit down with a book, I pull it over my lap, and it feels like such a treat. The texture adds richness to the room, and cream or white faux fur goes with absolutely everything. Shopping for faux fur can be tricky, so here is what I check. I run my hand across the fur and look for softness without that scratchy plasticky feeling, because the soft ones always look more realistic. I also check the backing to make sure it is not too thin or stiff, since a floppy drape looks much more luxurious than a stiff board like throw. Cream, white, and light gray are the most versatile colors and the hardest to mess up. If the throw looks a little flat from packaging, toss it in the dryer on no heat with a couple of tennis balls for ten minutes. It fluffs right up like magic.
Here is how I style it so it looks expensive. I fold it loosely in thirds and drape it diagonally across the corner of the couch, letting it look a little rumpled and relaxed. Perfectly folded throws can look stiff, but a casual drape looks inviting. I also keep one at the foot of my bed, folded neatly across the bottom, and it makes the whole bedroom feel like a boutique hotel. If the throw is on the thinner side, layer it over another blanket you already own for extra plushness. Wash it gently and let it air dry to keep it fluffy. For a couple of dollars, you get that touch of luxury that makes a room feel warm and welcoming, and honestly, who does not want that? I want to tell you about the coziest corner of my house. I have an armchair by the window with my faux fur throw, a little side table with a candle, and a basket holding my current book. It is my reading nook, and it is my favorite spot in the whole house. The throw is what makes it feel special, because it adds that touch of softness that invites you to curl up and stay awhile. I also keep a faux fur throw in the car for chilly evenings, which sounds funny but has saved me more than once. For a couple of dollars, this little blanket brings so much comfort and luxury into everyday moments.
15. Decorative Metal Lanterns
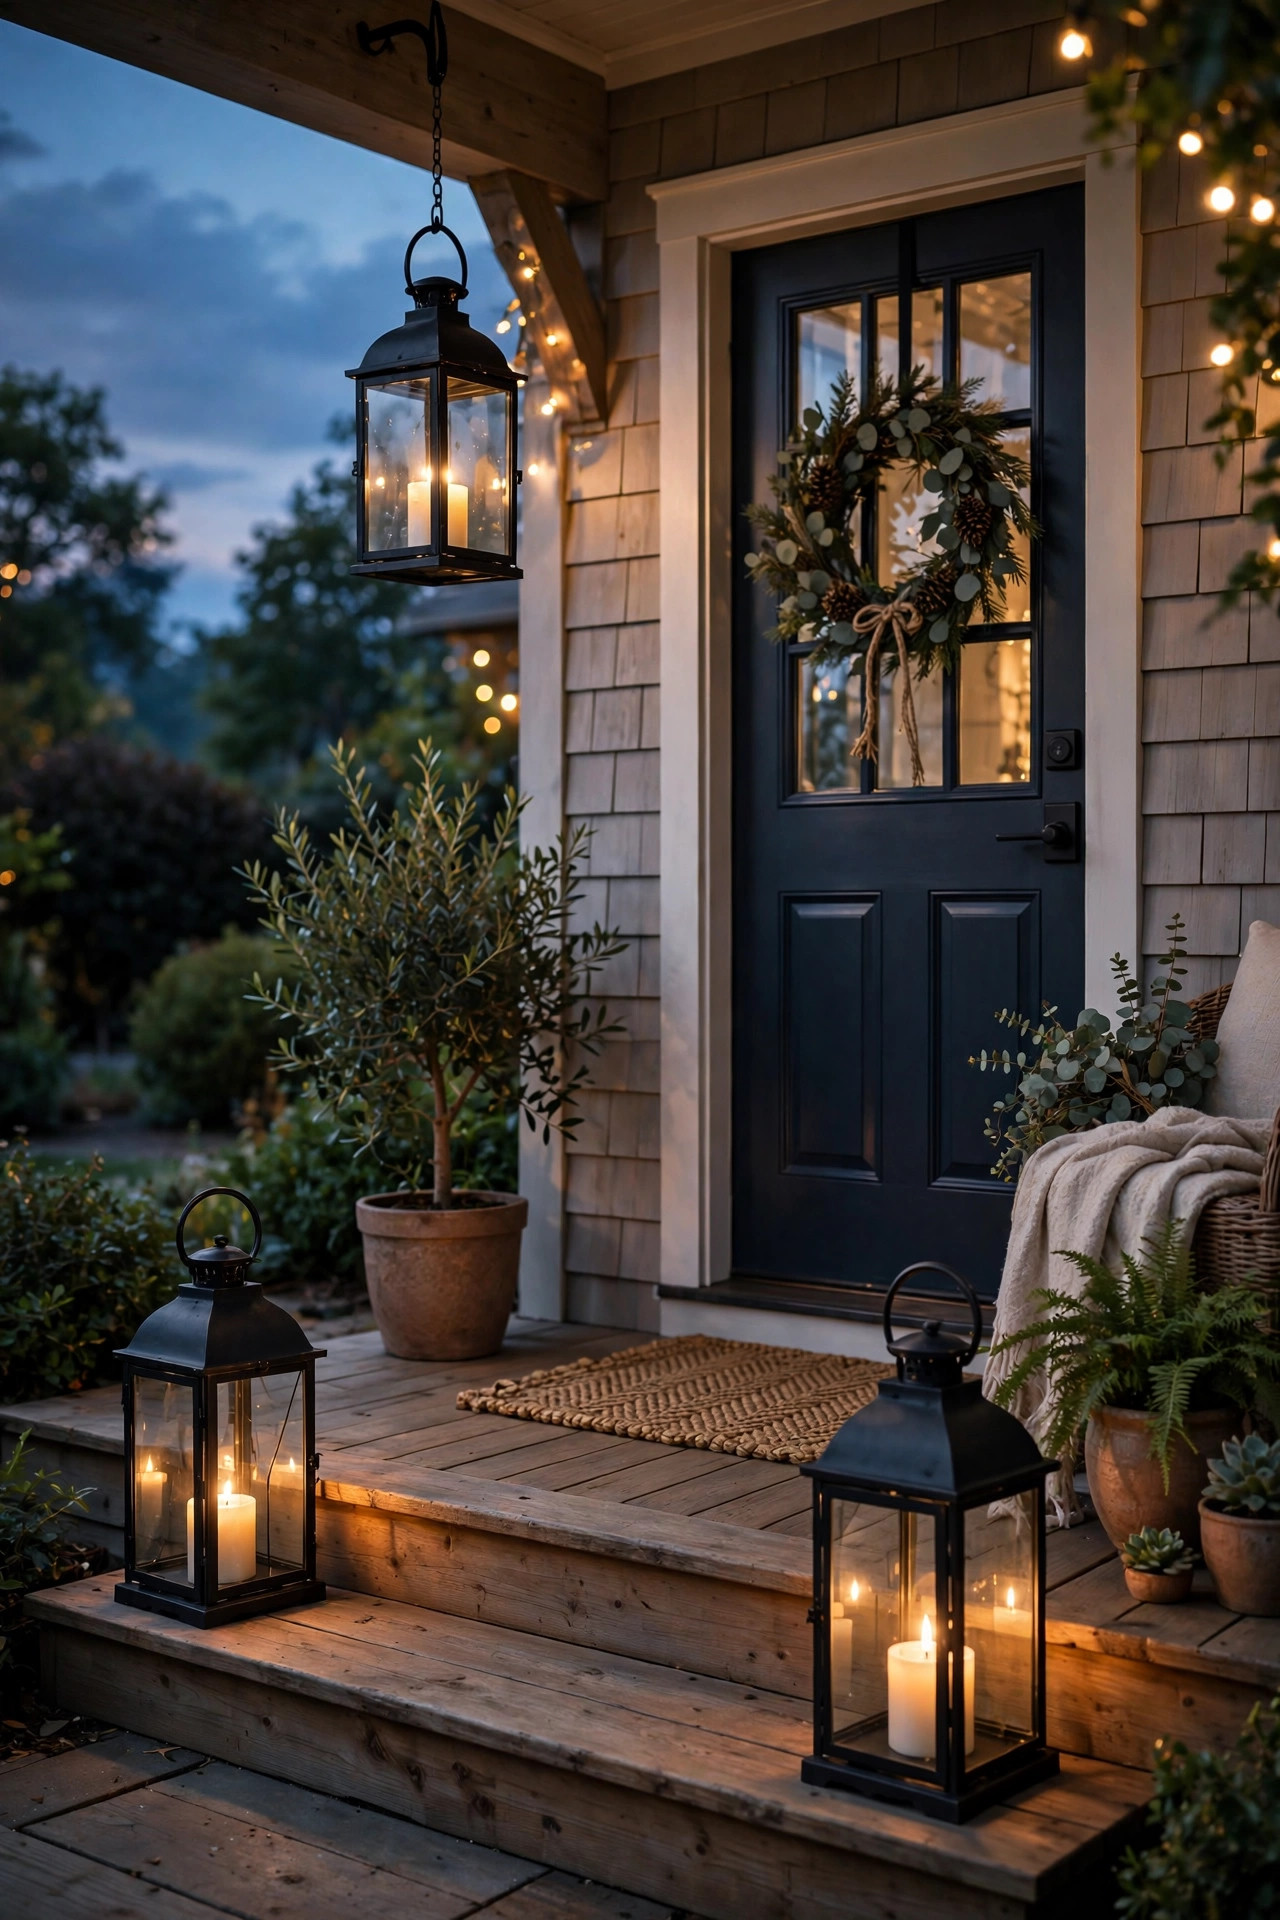
Lanterns are one of my favorite dollar store finds because they look good literally everywhere. The metal ones with glass panels have this timeless quality that works with farmhouse style, modern style, coastal style, you name it. I bought two in black metal, put battery operated candles inside, and set them on my front porch. At night they glow so beautifully, and my porch went from plain to welcoming instantly. The neighbors even complimented them, which made me giggle because they cost less than my morning coffee run. When you are shopping for lanterns, here is my inspection routine. I open and close the little door to make sure it moves smoothly, because a sticky door is annoying every single time you change the candle. I check that the glass panels are secure and not rattling around, and I look at the finish for any chips or uneven spots. Black and white are the safest color choices since they go with everything, but do not pass up a lantern in a color you love. I found a gorgeous deep green one once that became the star of my mantel. A can of spray paint can fix any color you do not love, so focus on finding a good shape. Shape is what you cannot change, but color is always an easy fix with a little paint.
Inside the house, lanterns are just as versatile. I have a small white one on my bookshelf with a tea light inside, and a larger one on the floor next to my fireplace filled with a big pillar candle. You can also fill them with fairy lights for a magical twinkle, or with faux greenery for a fresh look. During the holidays, I tuck ornaments inside mine, and it becomes instant seasonal decor. The black finish looks classic, but if you find them in a color you do not love, spray paint works wonders here too. Lanterns add height and structure to your styling, and they make any corner feel intentional and cozy. For the price, they are one of the best bangs for your buck in the whole store. I love changing what goes inside my lanterns with the seasons. In spring I fill one with faux tulips, in summer I use seashells and a tea light, in fall I add mini pumpkins, and in winter I nestle in pinecones and ornaments. It is like having brand new decor four times a year without buying anything new. I also use a big lantern as a centerpiece on my outdoor table in the summer with a citronella candle inside, which keeps the bugs away while looking pretty. Lanterns are one of those pieces that just keep giving. They work indoors, outdoors, in every season, and they never go out of style.
16. Spa-Like Bathroom Tray
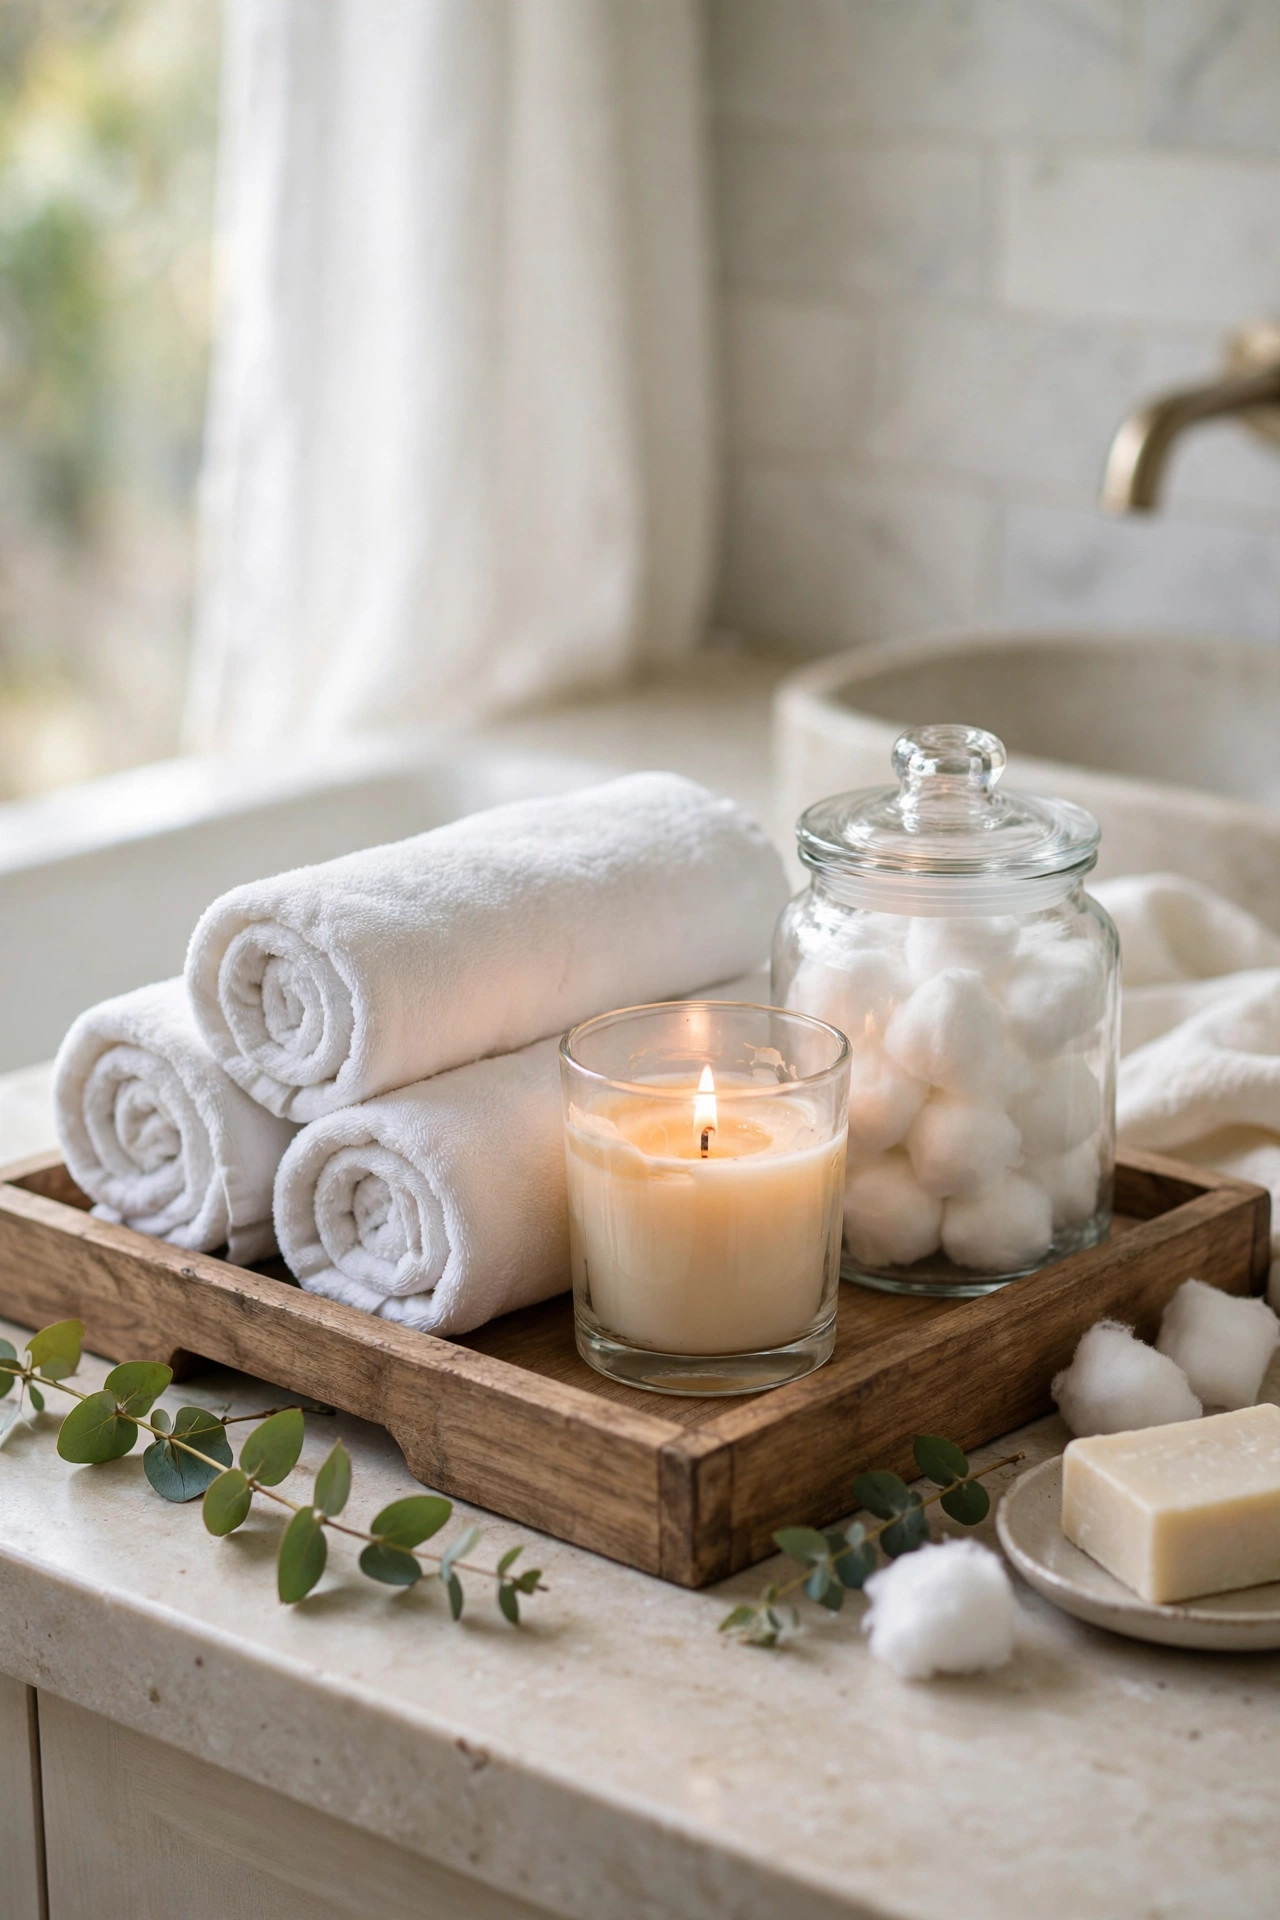
Bathrooms are often forgotten when it comes to decor, but a few small touches can make yours feel like a spa. It starts with a tray on the counter or on the back of the toilet. I used a simple wooden tray from the dollar store, and on it I placed a rolled white hand towel, a small candle, and a little glass jar filled with cotton balls. That is the whole setup, and it took me five minutes. But now when I walk into my bathroom, it feels calm and pampered instead of just functional. It is amazing what a little intention does. Let me help you pick the perfect tray for your bathroom. A wooden tray adds warmth, a white tray looks clean and fresh, and a mirrored tray adds a touch of glam. Just make sure whatever you choose can handle a little moisture, since bathrooms get steamy. I sealed my wooden tray with a clear waterproof sealer, and it has held up beautifully for over a year. Size matters too. You want a tray big enough to hold your items without crowding, but small enough that it does not eat your whole counter. Measure your space before you shop, and you will find the perfect fit. I learned this the hard way after bringing home a tray that was two inches too wide for my tiny bathroom counter.
You can build on this idea with a few more dollar store finds. A small faux plant adds life, a pretty soap dispenser looks so much nicer than the plastic bottle soap comes in, and a little dish for your rings keeps things tidy. I also rolled a few washcloths and stacked them in a small basket next to the sink, which looks adorable. Keep the color palette simple, like whites and natural wood tones, because that spa feeling comes from calm colors. The best part is that all of this is stuff you actually use every day, so it is decor that earns its keep. Your bathroom deserves a little love too, and this is the easiest upgrade ever. Here are a few extra touches that take a bathroom tray from nice to amazing. A small bud vase with a single faux flower adds a sweet feminine touch. A folded washcloth with a sprig of faux lavender on top looks like a fancy hotel detail. I also keep a little dish of mints on my guest bathroom tray, which always makes visitors smile. Keep everything in the same color family for that calm spa feeling. Whites, creams, and soft greens are my favorites. The whole point is creating a little moment of beauty in a room that is usually all about function, and your guests will definitely notice.
17. Styled Floating Shelves
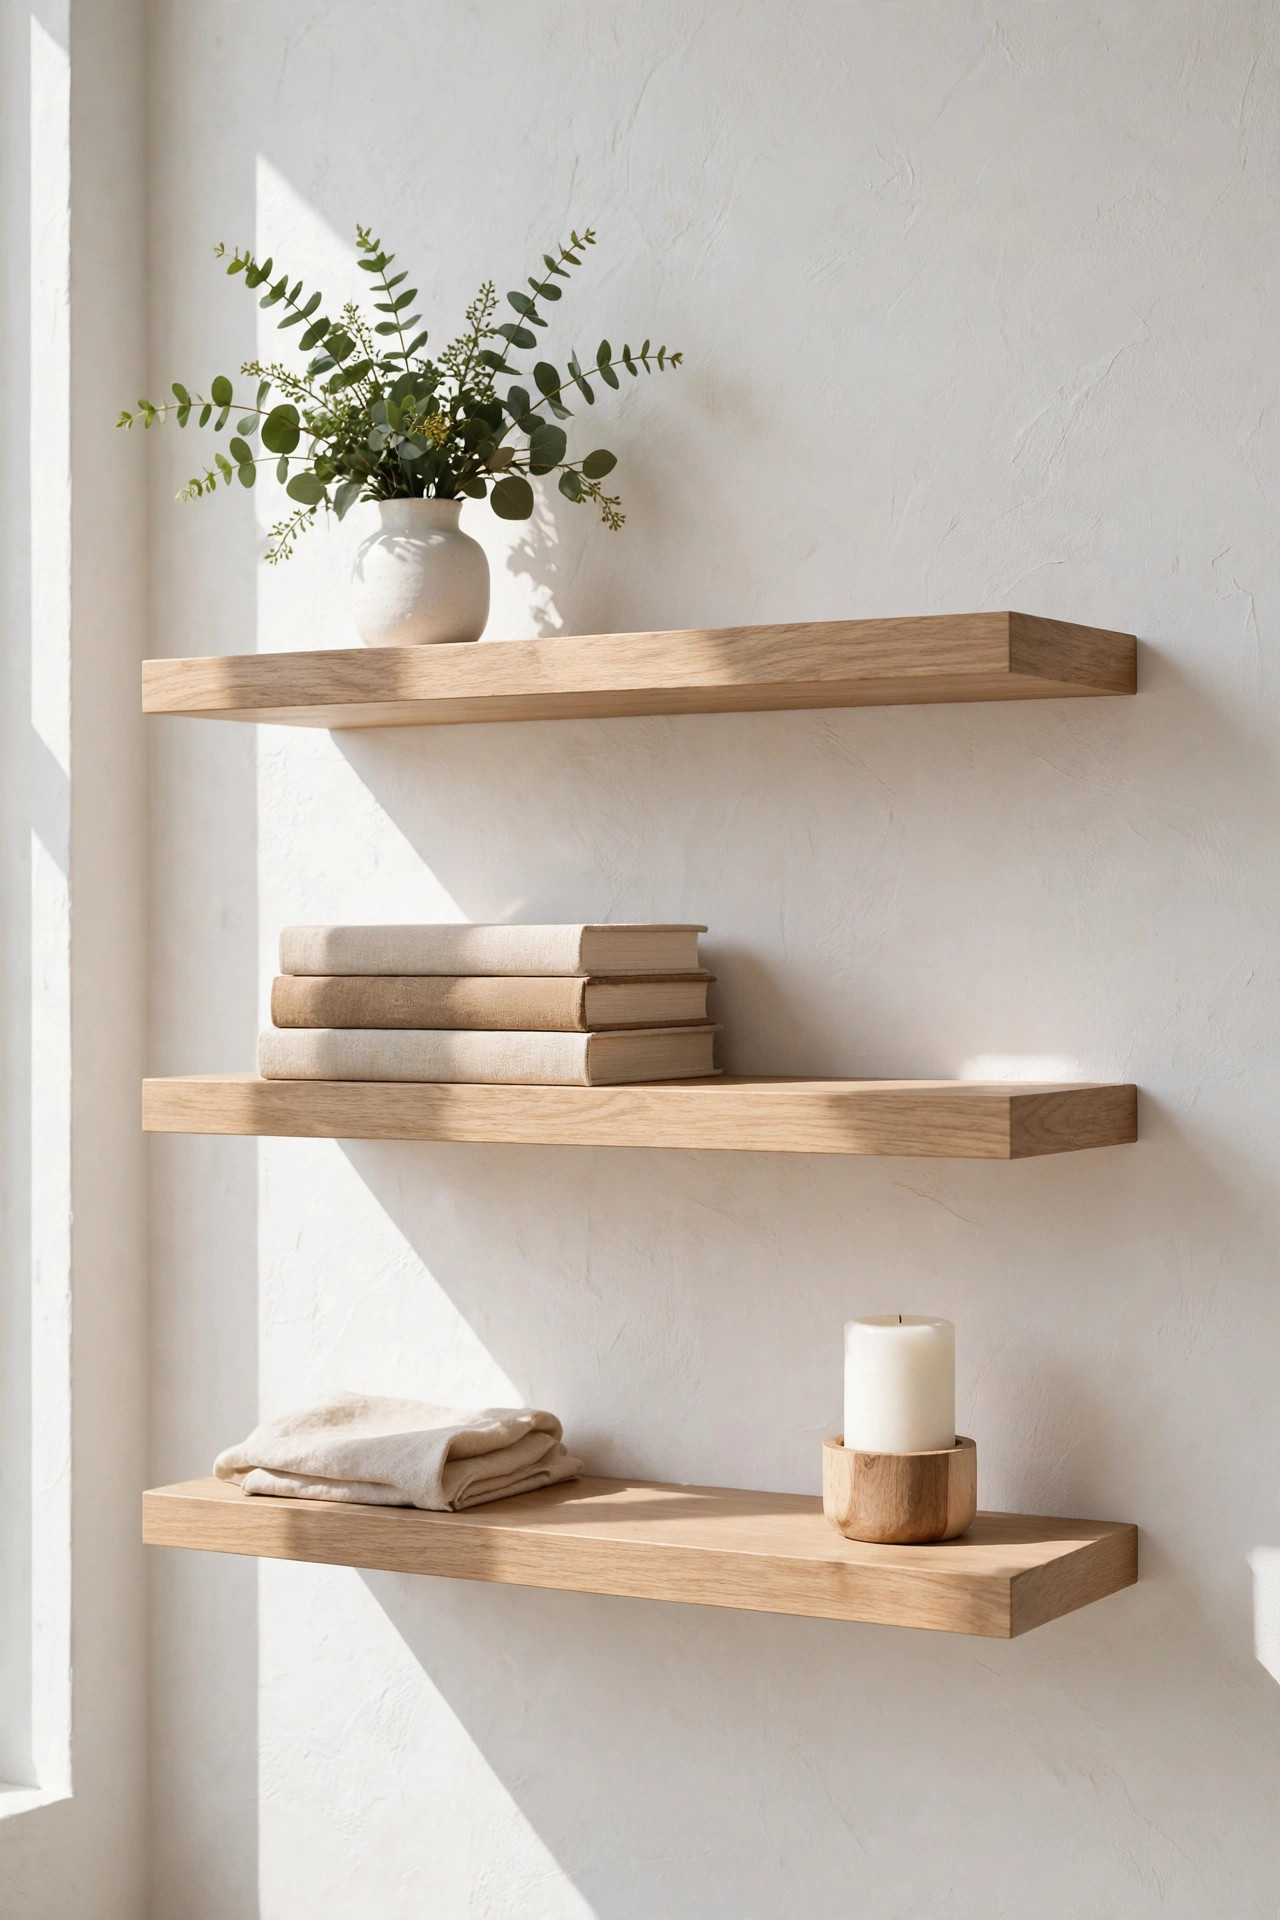
Floating shelves are a renter friendly way to add display space, and the dollar store sometimes has small ones, or you can style shelves you already have with dollar store finds. The secret to shelves that look expensive is the styling, not the shelf itself. I follow a simple formula. On each shelf, I put something tall, something short, and something with texture. So maybe a small vase with faux greenery, a stack of two books, and a little candle. That mix of heights and textures is what makes shelves look professionally styled instead of randomly cluttered. I want to share the styling formula that changed my shelf game forever. Think in groups of three, with one tall item, one medium item, and one small item on each shelf. The tall item could be a vase with greenery, the medium could be a stack of books, and the small could be a candle or a tiny plant. Vary the arrangement from shelf to shelf so it does not look too matchy. I also love the triangle trick, where you arrange items so your eye moves in a triangle shape across the shelf. It sounds technical, but it just means placing things at different heights so the shelf feels balanced and interesting. Once you see it working on your own shelf, you will use this trick everywhere in your home.
Here is a mistake I made that you can avoid. My first attempt at styling shelves involved cramming every cute thing I owned onto them, and it looked so busy and stressful. Less really is more. Leave some breathing room between items, because empty space makes each piece stand out. I also like to stick to a color palette across the whole shelf, like whites, woods, and greens, so everything feels coordinated. Step back and look at your shelves from across the room, because that is how guests will see them. Adjust until it feels balanced. With a few dollar store vases, candles, and books, you can create shelves that look straight out of a magazine. It is all about restraint and balance. One more shelf secret that makes a huge difference. Leave more empty space than you think you need. I know it feels wrong, but breathing room is what separates styled shelves from cluttered shelves. I aim for about a third of each shelf to be empty, and it makes every item stand out beautifully. I also repeat one or two colors across all the shelves to tie everything together. In my living room, I use cream, wood tones, and green on every shelf, and the whole wall looks cohesive. Take a photo of your shelves when you think you are done, because photos reveal clutter your eyes miss in person. Adjust, snap another photo, and repeat until you love it.
18. Faux Peony Centerpiece
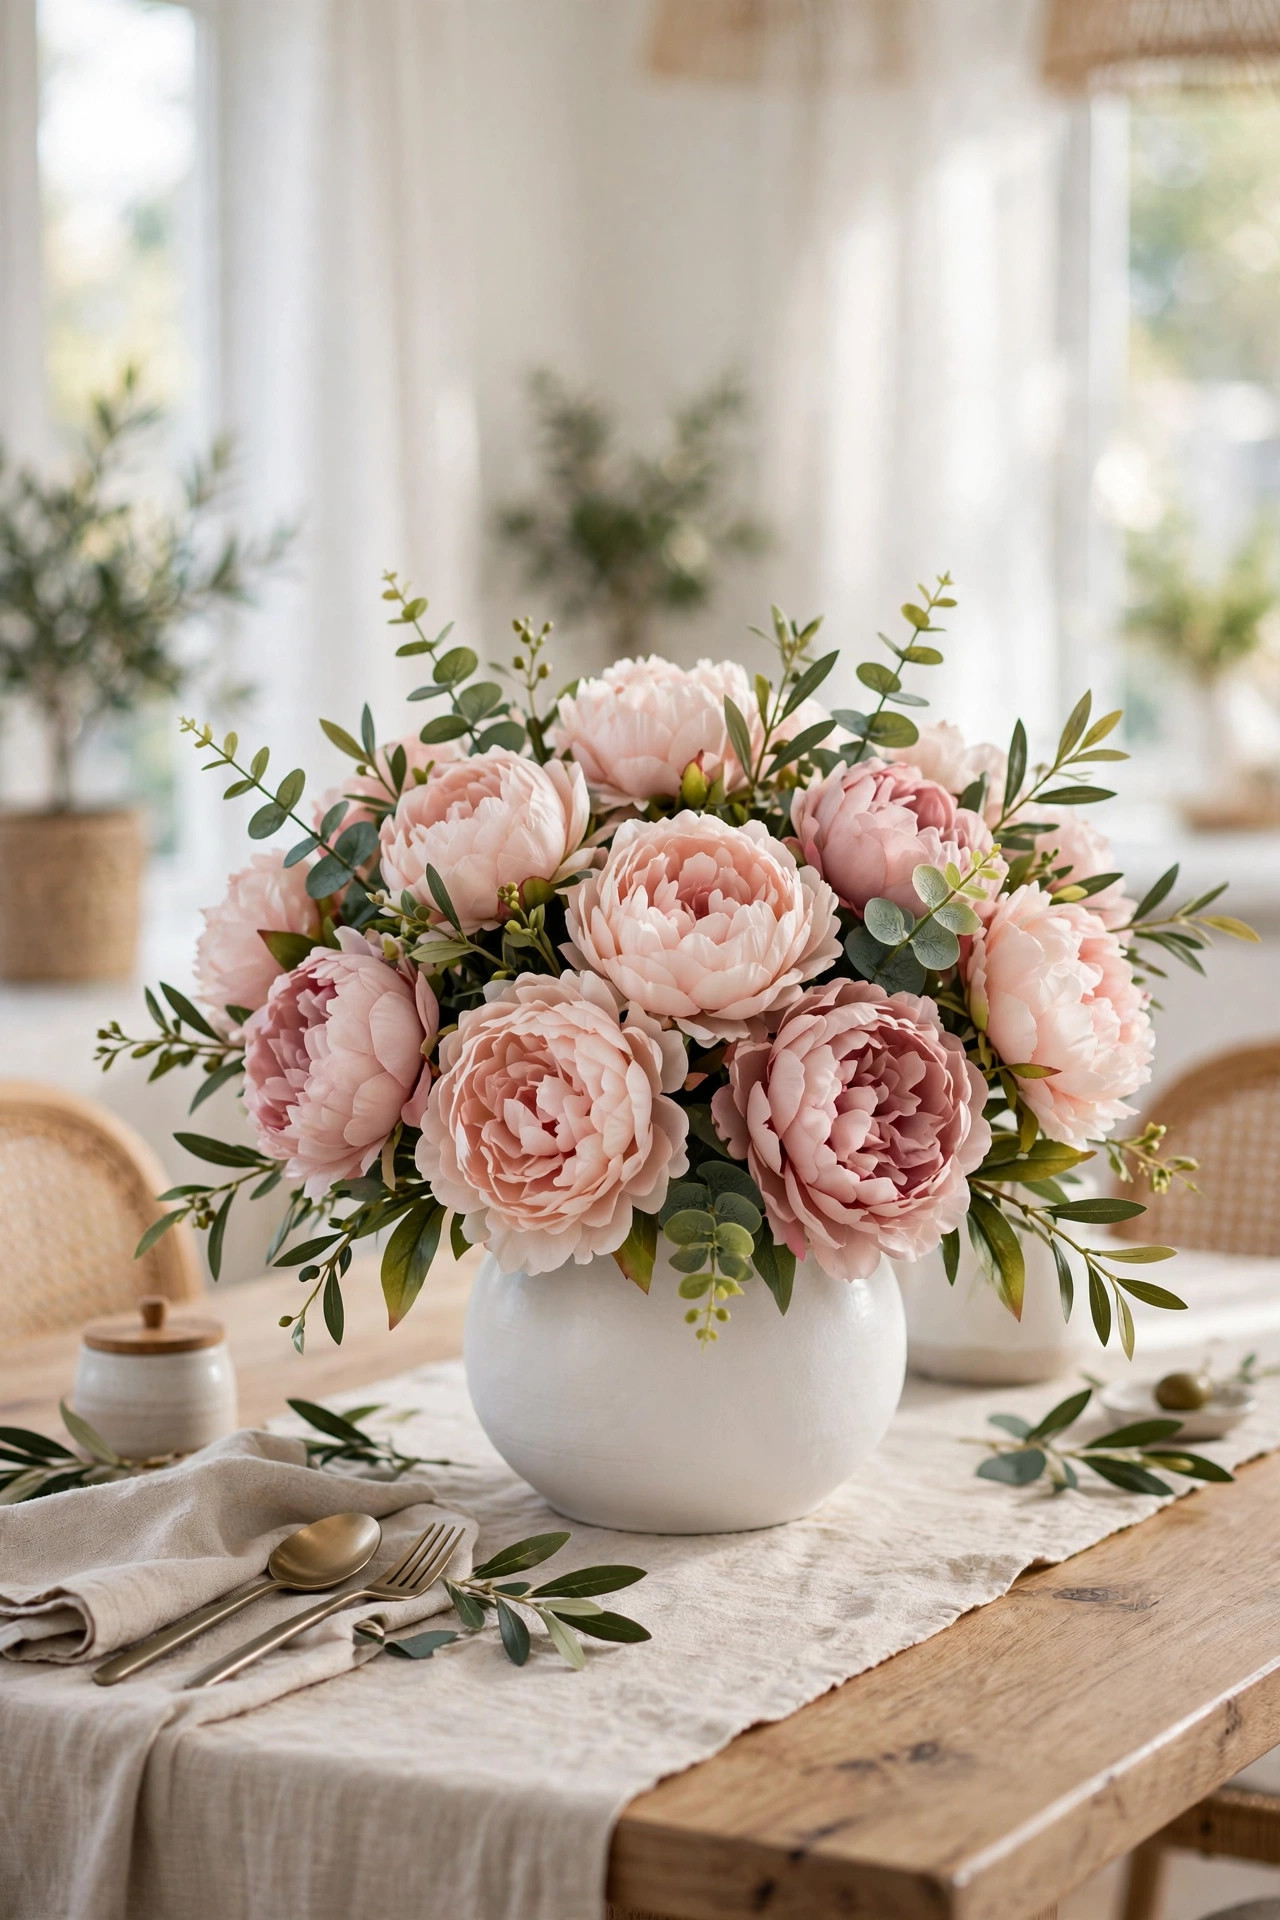
A big lush floral centerpiece makes a dining table feel special, but real flowers are expensive and they die in a week. Faux peonies from the dollar store are the answer. Peonies have those big ruffled blooms that look luxurious even when they are fake, much more so than small daisy style flowers. I bought two bunches in a soft blush pink, fluffed up every petal, and arranged them in a short wide vase. From across the room, they look completely real. Up close, you can tell, but nobody is inspecting your centerpiece with a magnifying glass. Picking good faux peonies takes a little practice, so here is my method. I look for blooms with layered petals in slightly different shades, because real peonies are never one flat color. The petals should feel soft and slightly flexible, not stiff and papery. I avoid the super shiny ones, since that plastic sheen is the biggest giveaway. Blush pink, cream, and white are the most realistic colors and the easiest to style. I also check that the stems are bendable, because you will want to shape them in the vase. Buy more stems than you think you need, since a full lush arrangement always looks better than a sparse one. A skimpy arrangement is the one thing that can make faux flowers look cheap, so go generous.
The fluffing step is really important, so do not skip it. When faux flowers come packaged, the petals are all squished flat. Spend a few minutes gently opening each bloom and bending the petals outward, and it makes a world of difference. I also cut the stems to different heights so the arrangement looks natural and full. A low wide arrangement works best for a dining table because guests can still see each other over it. I leave mine up all the time, and it makes everyday dinners feel a little fancy. Every couple of months I dust the petals with a soft cloth, and they keep looking fresh. For under ten dollars, you get a centerpiece that never wilts and always looks gorgeous. I use faux peonies in more places than just the dining table. A single stem in a bud vase on my nightstand makes my bedroom feel special every morning. A small bunch in the guest bathroom is such a welcoming touch that visitors always mention. I even tuck a few stems into a basket on my bookshelf for a pop of soft color. The best part is that they look perfect every single day with zero effort. No watering, no wilting, no sad droopy petals in the trash after five days. For the price of one real bouquet that lasts a week, you get flowers that look gorgeous for years.
19. Hand-Painted Decorative Bowls
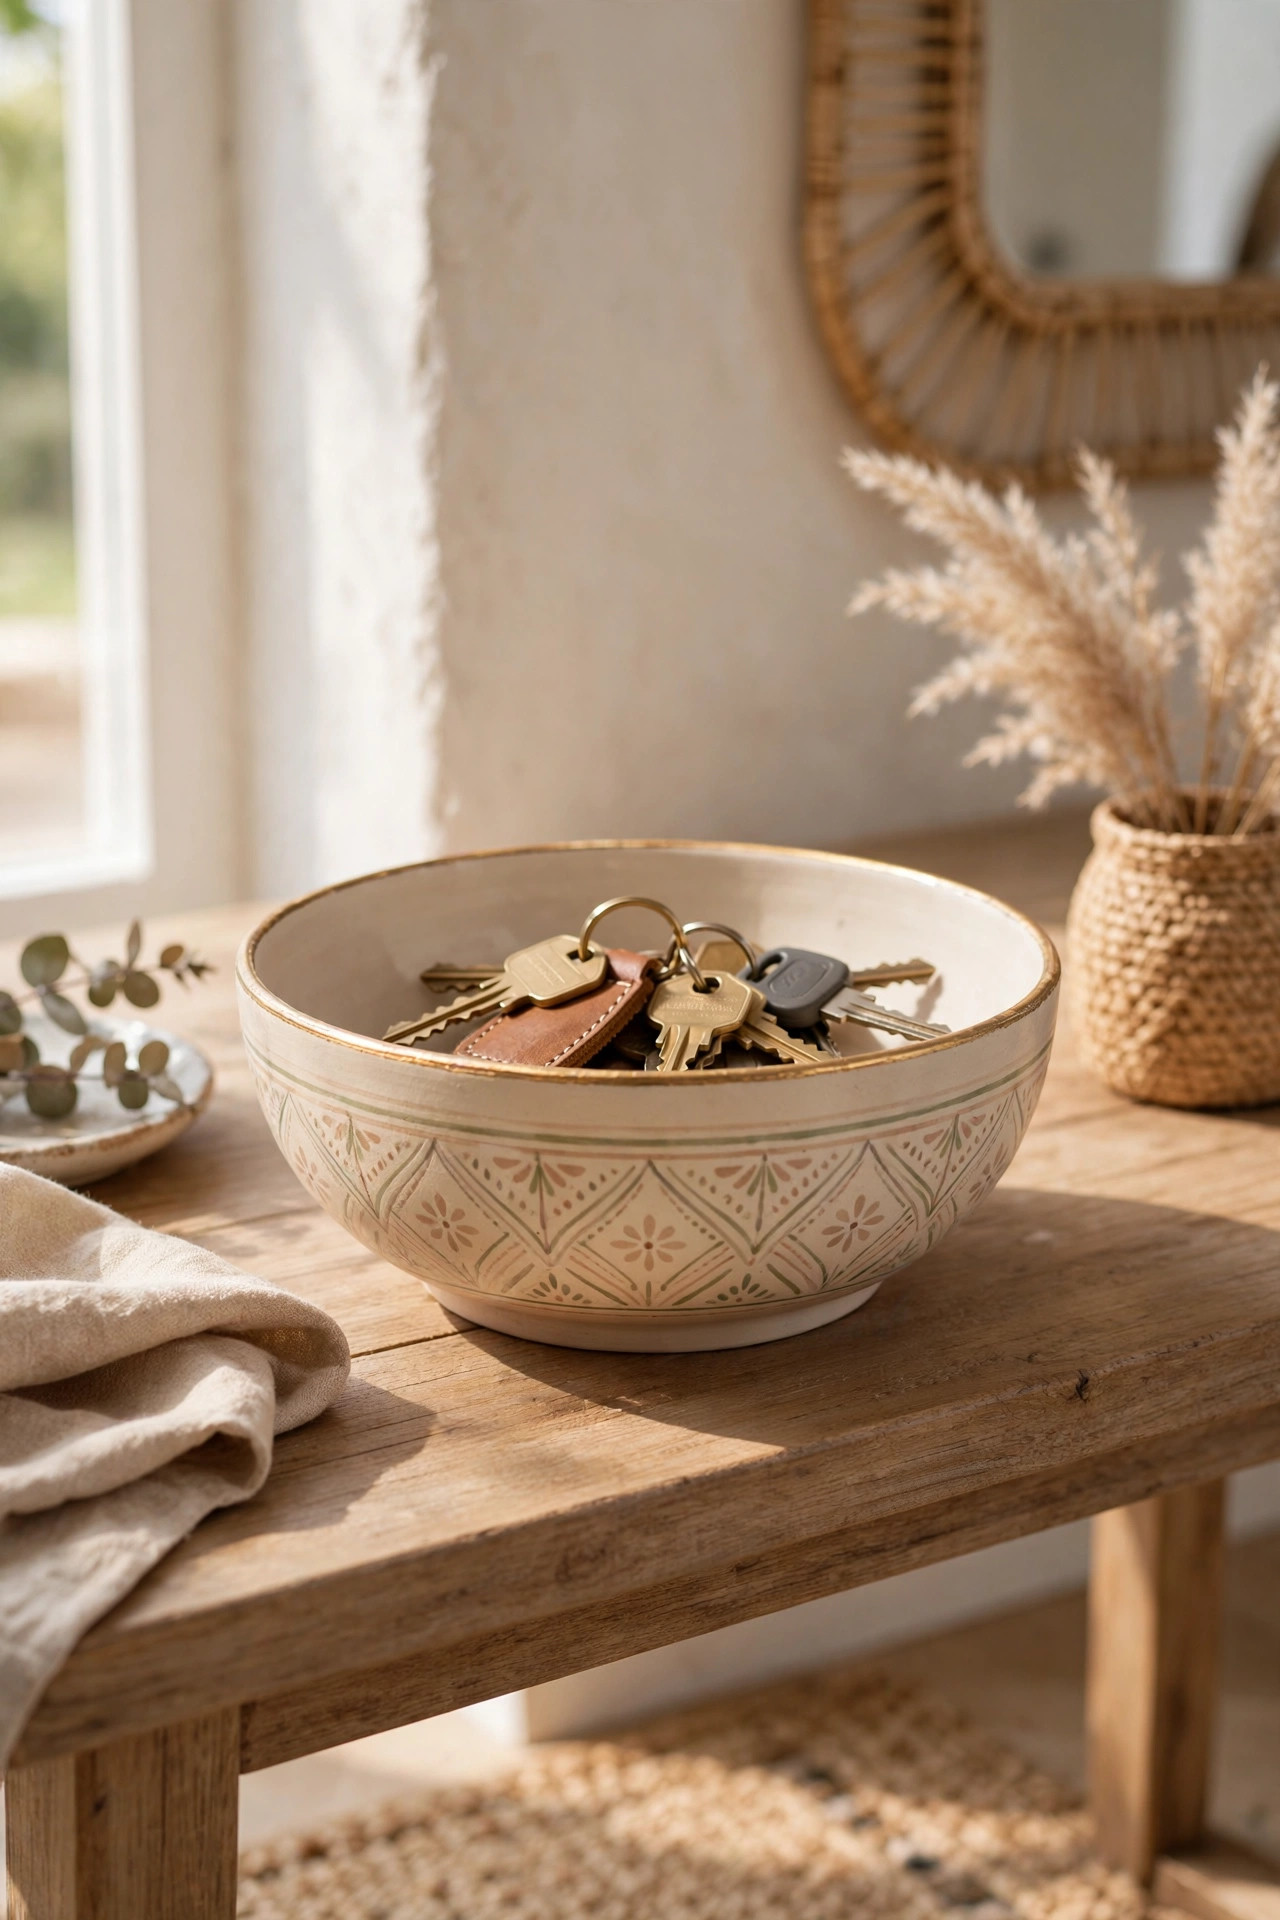
Decorative bowls are such a versatile styling piece, and painting them yourself makes them one of a kind. The dollar store has simple glass or ceramic bowls that are just begging for a makeover. I painted the outside of a plain white bowl with soft beige paint, then added a thin gold line around the rim using a small brush and metallic craft paint. It took some patience to get the line straight, and my first attempt was wobbly, but the second one looked great. Now it sits on my entryway table holding my keys, and it looks like a handmade artisan piece. Let me share some design ideas for your painted bowls. A simple color blocked bowl, where you paint just the bottom half and leave the top natural, looks very modern and chic. Painter’s tape helps you get a crisp clean line between the colors. Tiny painted dots in a metallic gold scattered across a cream bowl look festive and fun. An ombre effect, where you blend from dark to light, looks impressive but is easier than you think. Just blend the two colors where they meet while the paint is still wet. Keep your design simple, because simple patterns always look more expensive than complicated ones. When in doubt, leave more of the bowl plain, because restraint is what gives handmade pieces that elegant feel.
You can use painted bowls all over the house. A small one on the nightstand holds jewelry, a larger one on the coffee table can hold decorative balls or pinecones, and a pretty one in the kitchen holds fruit beautifully. Try different techniques like color blocking the bottom half, adding simple dots, or doing an ombre effect with two shades of the same color. The key is to keep the design simple, because simple always looks more expensive than busy. Seal your paint with a clear matte sealer so it lasts, especially if the bowl will be handled a lot. This project is so fun because no two bowls turn out exactly alike, and you end up with decor that is truly yours. Painted bowls make the sweetest handmade gifts, and I want to encourage you to try it. I painted a set of three small bowls in coordinating colors for my best friend’s birthday, filled them with little chocolates, and she thought I bought them at an artisan market. You can customize the colors to match anyone’s home, which makes the gift feel so thoughtful. Kids can get in on this project too, with washable paint and simple designs. My niece painted a bowl for her mom with little hearts, and it is proudly displayed on their coffee table. Handmade gifts carry so much love, and a painted bowl is a perfect place to start.
Conclusion
See? I told you the dollar store was hiding some serious treasures. Every one of these nineteen ideas costs just a few dollars, but styled the right way, they bring so much beauty into your home. The real secret was never about the price tag. It is about choosing simple pieces, giving them a little polish, and styling them with confidence. You do not need a big budget to have a beautiful home. You just need a good eye, a little creativity, and the willingness to try. Start with one or two projects that caught your eye, and see how it feels.
I would love to hear which idea you try first, so come back and tell me how it went. And remember, decorating is supposed to be fun, not stressful. If a project does not turn out perfectly, that is okay. Some of my favorite pieces came from happy accidents and second attempts. Your home should make you happy every time you walk through the door, and you absolutely deserve that feeling. Now grab your keys, head to the dollar store, and have the best time hunting for your next treasure. You have totally got this, friend.
FAQs
Do dollar store decor items really look cheap up close?
Some do, but many do not, and that is why shopping with a careful eye matters so much. Stick to simple shapes, matte finishes, and neutral colors, and inspect each piece before you buy it. Items with good bones, like plain glass vases and simple frames, take paint and styling beautifully. Once you add your own upgrades and style them thoughtfully, most guests will never guess where they came from.
What is the best paint to use on dollar store items?
Matte acrylic craft paint is my go to for most projects because it is cheap, easy to use, and dries quickly. For a bigger transformation, spray paint gives the smoothest finish, especially on frames and metal pieces. Adding a spoonful of baking soda to acrylic paint creates a chalky ceramic look that is perfect for vases. Always use thin coats and let each coat dry fully for the best results.
How do I make dollar store candles look expensive?
Group them together in different heights on a tray instead of scattering single candles around the room. Sticking to one color, like all white or cream, instantly looks more high end. Placing them on a mirrored tray or a wooden board pulls the whole display together. Battery operated tea lights inside frosted holders glow beautifully and are safe around kids and pets.
Can I mix dollar store decor with my nicer pieces?
Absolutely, and that is actually the best strategy. Mixing a few budget finds with pieces you already own makes everything look intentional. The key is keeping a consistent color palette so it all feels coordinated. Place your upgraded dollar store pieces next to your nicer items with confidence. Most people cannot tell which piece cost two dollars and which piece cost fifty.
What should I avoid buying at the dollar store for decor?
Avoid anything super shiny, in bright neon colors, or with loud busy patterns, because those are the hardest to make look expensive. Cheap looking plastic with visible seams is another red flag. Anything that feels flimsy or wobbly will probably not hold up. Instead, look for glass, ceramic style pieces, natural textures, and simple designs that you can paint or style up.
How often should I refresh my dollar store decor?
There is no rule here, so refresh whenever you feel like your space needs a little lift. Many of these projects, like painted vases and candle displays, last for years with basic care. I like to swap small seasonal touches, like greenery or candle colors, a few times a year. Because everything costs so little, you can experiment freely without any guilt.