A kitchen should feel like the one room where you are still in charge. For many older adults, that feeling slips a little when a drawer sticks, the light over the sink is too dim, or the pots live on a shelf that needs a stool.
The usual fix sounds expensive. A full remodel, new cabinets, a contractor on the schedule. Most families don’t have that budget, and a lot of older cooks don’t want the whole room torn up anyway.
The good news is that small changes do most of the work. Easier handles, better light, a rug that stays put. These accessible kitchen ideas for seniors on a budget are simple swaps, most of them done in an afternoon, and none of them make the room look like a care facility.
Start with the ones that fit your kitchen. Each idea below is safer, easier to use, and still nice to look at.
1. Use Easy Grip Cabinet Pulls
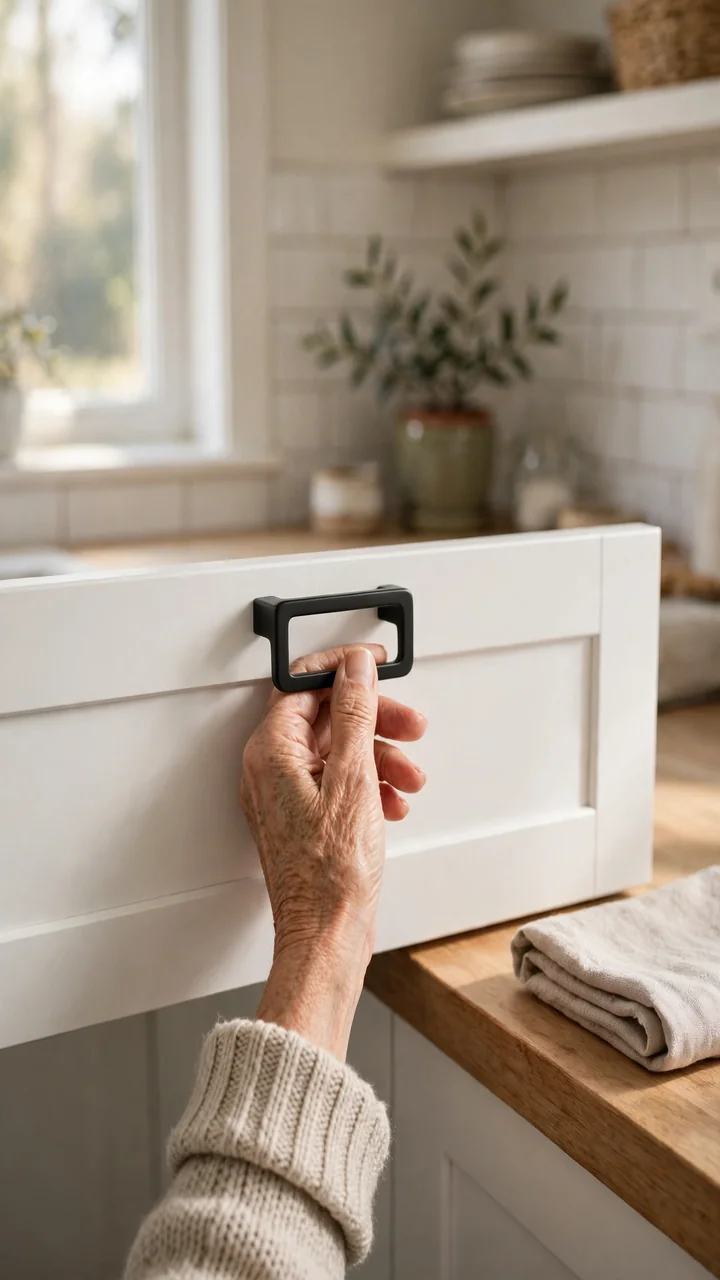
Small round knobs ask a lot from stiff fingers.
A D shaped pull lets you hook four fingers through, or just a loose hand, and the door opens. That matters most when your hands are wet, floury, or sore in the morning. It is one of the easiest senior friendly kitchen ideas to start with because all you need is a screwdriver.
Before you buy:
- If your doors already have two screw holes, measure the gap between them, center to center, and buy pulls that match. Single hole knobs need a little drilling.
- Pick a color that stands out from the cabinet, like matte black on white doors.
- Start with the three drawers and doors you open most.
2. Add Stick On Lights Under Cabinets
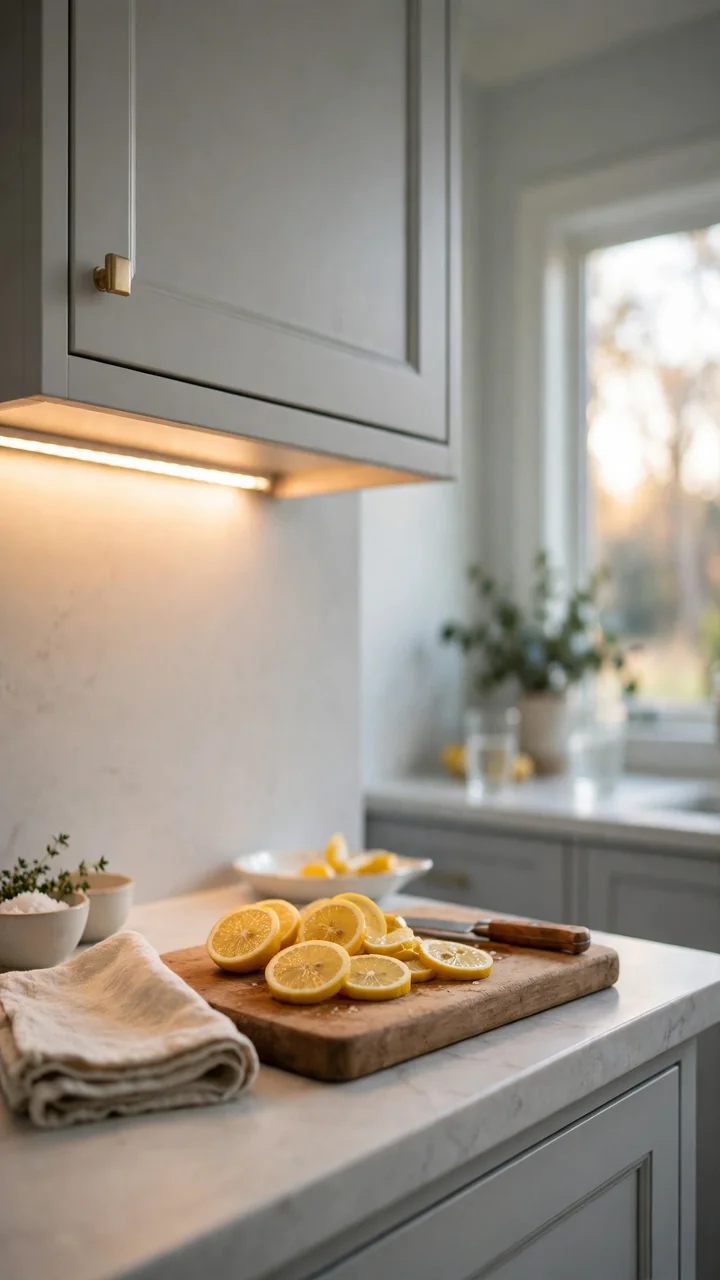
Good light is the cheapest safety fix in a kitchen.
Shadows hide spills, knife edges, and the spot where the counter ends. Battery LED strips and push lights stick under wall cabinets with no wiring, which makes them a smart pick among budget kitchen updates for seniors. Choose warm white so food still looks like food.
Put one light over:
- the main prep spot
- the sink
- the side of the stove you use most
💡 Quick Tip
Look for strips with a motion sensor or a remote. Hunting for a tiny switch under a cabinet defeats the point. Pick one day each month, like the first, to check the batteries.
3. Switch to a Lever Faucet
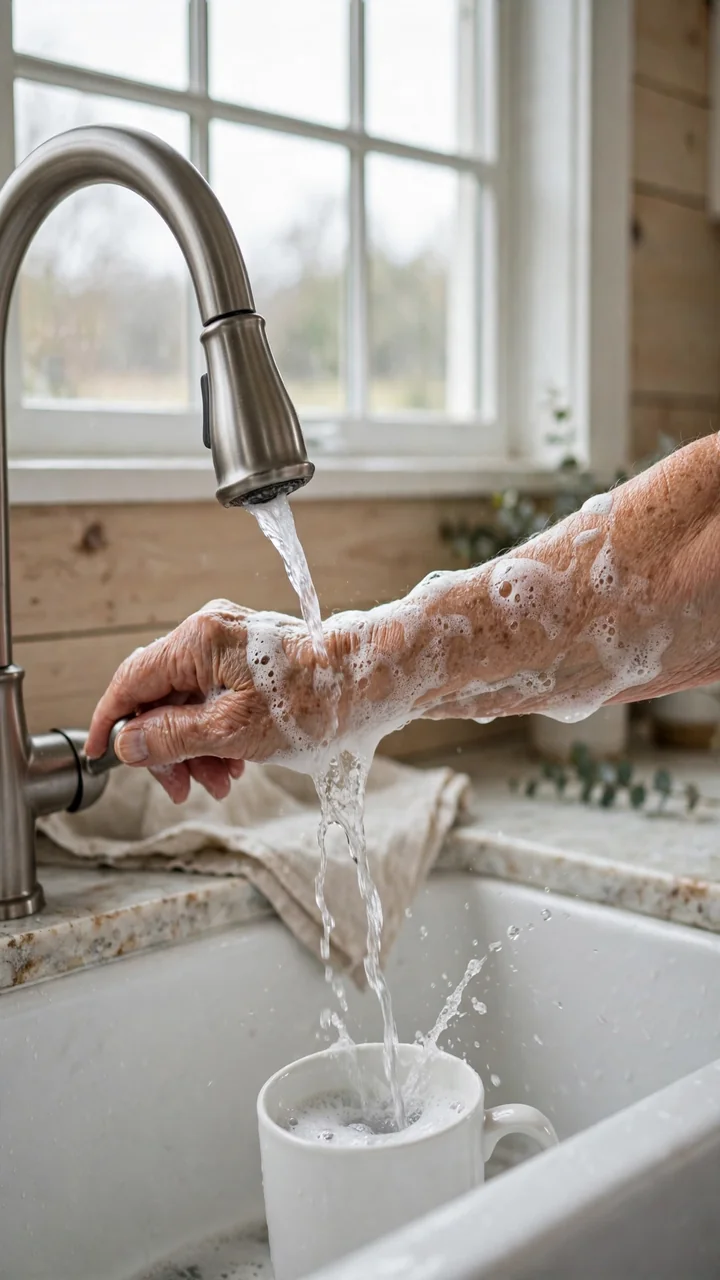
Swap the faucet handle, not the whole sink.
Twist knobs need a firm grip and a turning wrist. A single lever moves with a flat palm, a forearm, or even an elbow when your hands are full of dishes. That is a small change that helps build an easy to use kitchen for seniors, since the sink gets used all day.
Check these before you shop:
- How many holes your sink has
- Whether the maker sells lever handles for your current faucet
- A pull down spray head, which makes filling pots easier
In the store, test any lever with a closed fist. If a fist can move it, sore hands can too.
Two small knobs, wet hands, and a hard twist just to get warm water.
One lever. Push up for on, slide sideways for warm. Works with a wrist or an elbow.
4. Put Down Non Slip Runners
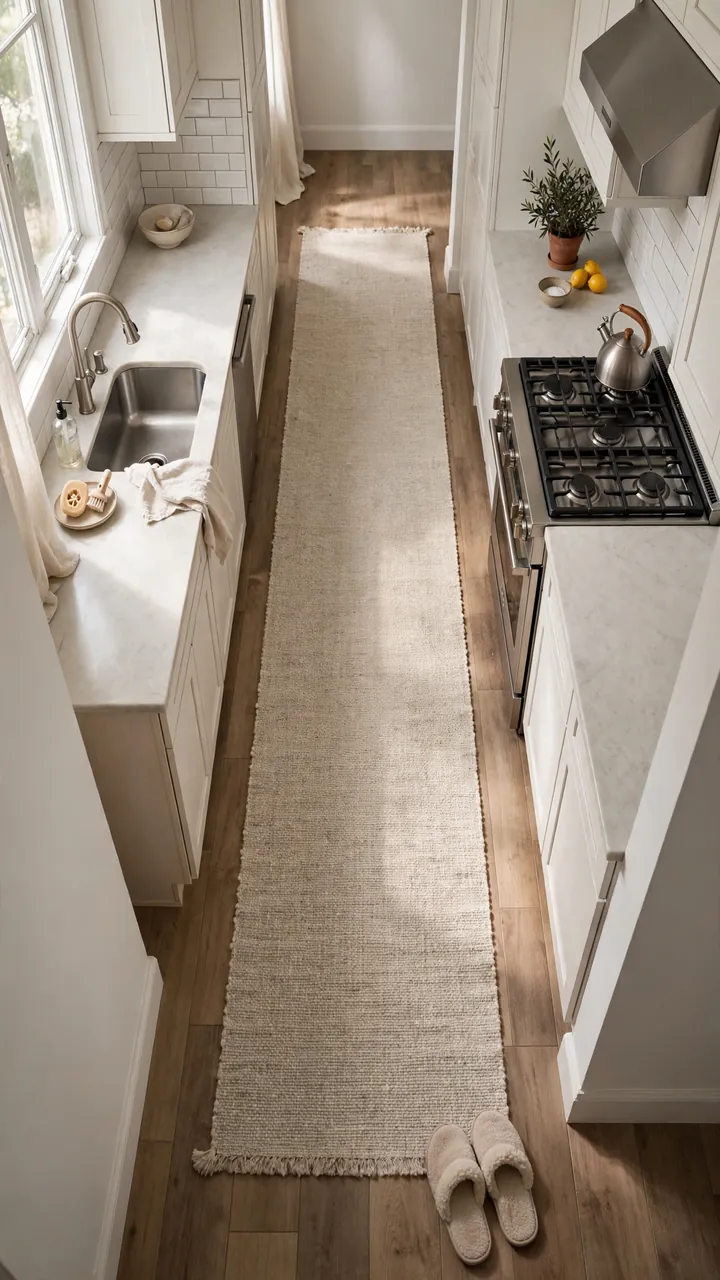
Most kitchen rugs slide, and a sliding rug is a trip waiting to happen.
Skip the thin throw rug and go for a washable runner with a rubber backing. Lay it where you stand longest, in front of the sink and the stove. Pick a solid color or a quiet pattern in grey or oatmeal so the edge is easy to see. A busy pattern can hide where the rug stops.
Two safe kitchen ideas for older adults to pair with it:
- Wipe up drips right away so the floor around the rug stays dry.
- Check the corners each week and press down any that curl. If you have vinyl floors, read the label first, since some rubber backings can stain vinyl.
| Rubber backed runner | Thin throw rug |
|---|---|
| Grip: stays put on the floor | Grip: tends to slide and bunch |
| Edges: low and flat | Edges: often curl up |
| Cleaning: many are machine washable | Cleaning: varies, check the tag |
5. Keep Daily Dishes at Waist Height
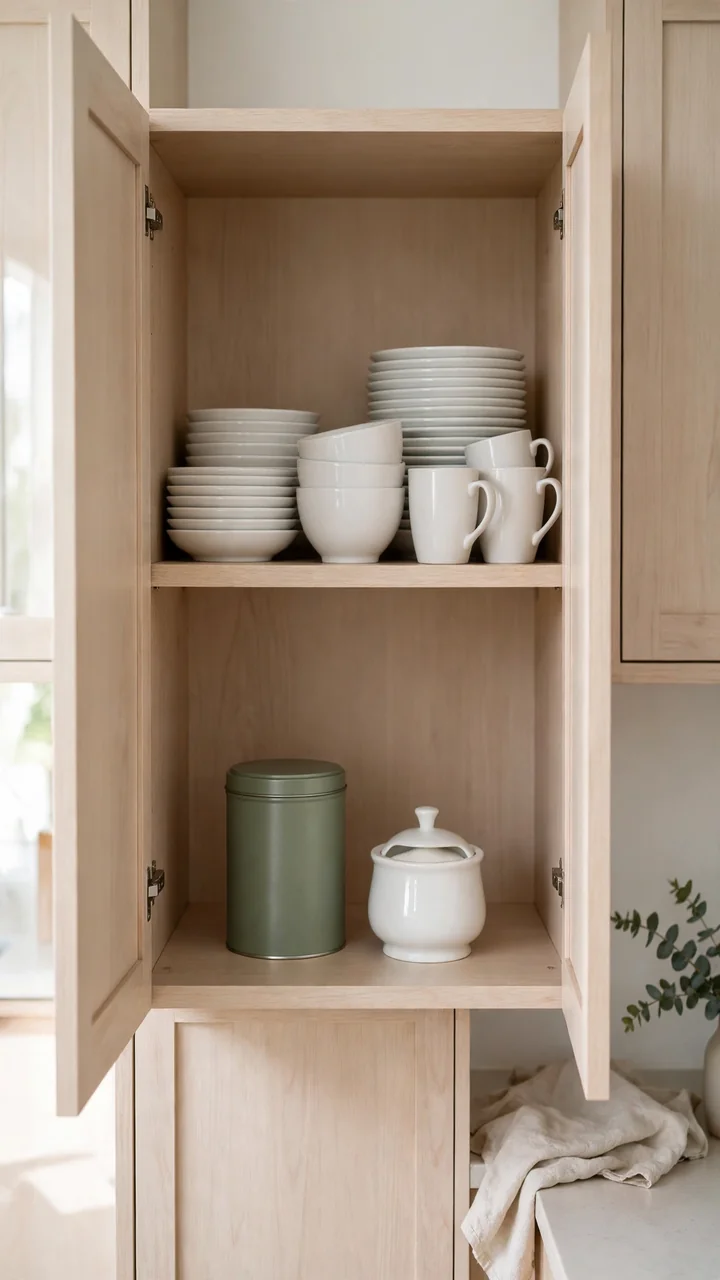
Tiny rule: anything you use every day lives between your hip and your shoulder.
Walk through the cabinets and move plates, bowls, mugs, and the coffee things into that zone. It takes about an hour and costs nothing, which makes it one of the best aging in place kitchen ideas to try first. Then send the party platters and the roasting pan to the high shelf, and keep bulky but light items, like paper towels, down low.
Move these first:
- Everyday plates and bowls
- Mugs and glasses
- Tea, coffee, and the sugar bowl
Anything heavy goes on the counter, not on a high shelf.
6. Add Pull Out Baskets to Low Cabinets
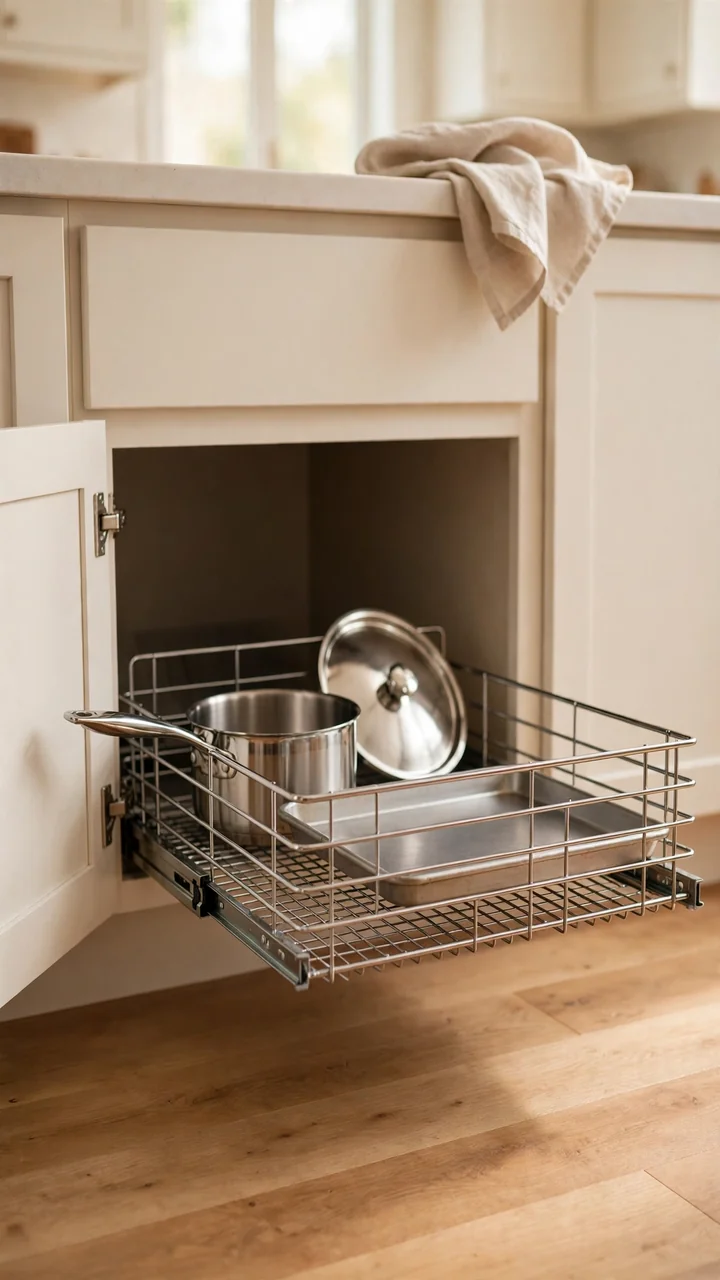
Kneeling to reach the back of a deep lower cabinet is hard on knees and hips. Most people just stop reaching, and the pots stay buried.
Pull out baskets bring the back of the cabinet to you. Wire sliding baskets are one of the more affordable accessible kitchen design ideas, and many sets go in with just a screwdriver. Use them for pots, pans, and lids, or for the canned goods and baking trays you forgot you owned. Measure the door opening before you buy, because the frame can make it narrower than the cabinet itself.
Measure the width of the door opening, the depth inside, and the height under the shelf above.
Pick a basket that fits with a little room to spare, and read the weight limit on the box.
Install it as directed, slide it in and out empty, then load the heaviest pot in the lowest basket.
7. Mark Edges and Stove Knobs
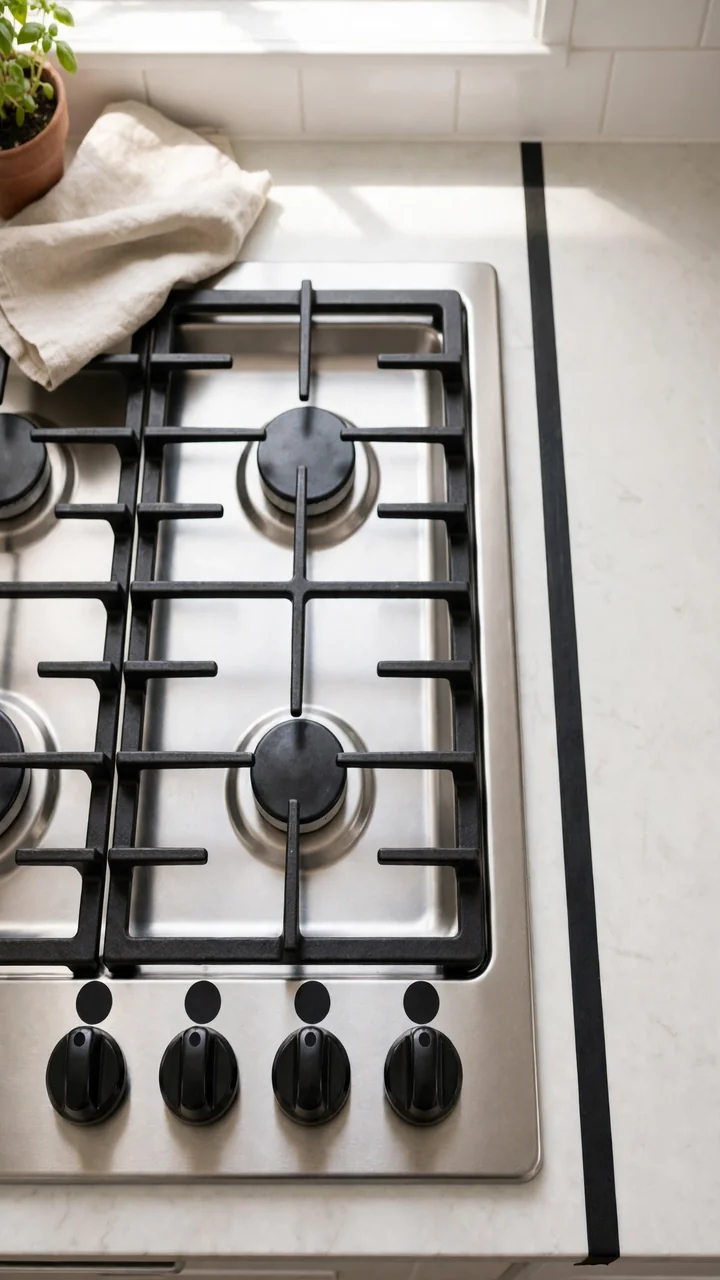
Most people only notice a counter edge after they bump it. Stove knobs are the same. The little printed marks wear off, and nobody spots the problem until a burner is on high by mistake.
A strip of high contrast tape helps with both. Use dark tape on a light counter, or bright tape on a dark one, right along the front edge. On a stove with faded dials, add a bold dot at the off position. Check the marks every few months and replace anything that peels.
Pick a color that clearly stands apart from the surface.
Mark the off position on every knob.
Add a strip to step edges and the drawer you open most.
Patterned tape that blends into the counter.
Stickers right beside a hot burner.
Tape on a greasy edge. Wipe it clean first.
8. Set Up a Stool at the Counter
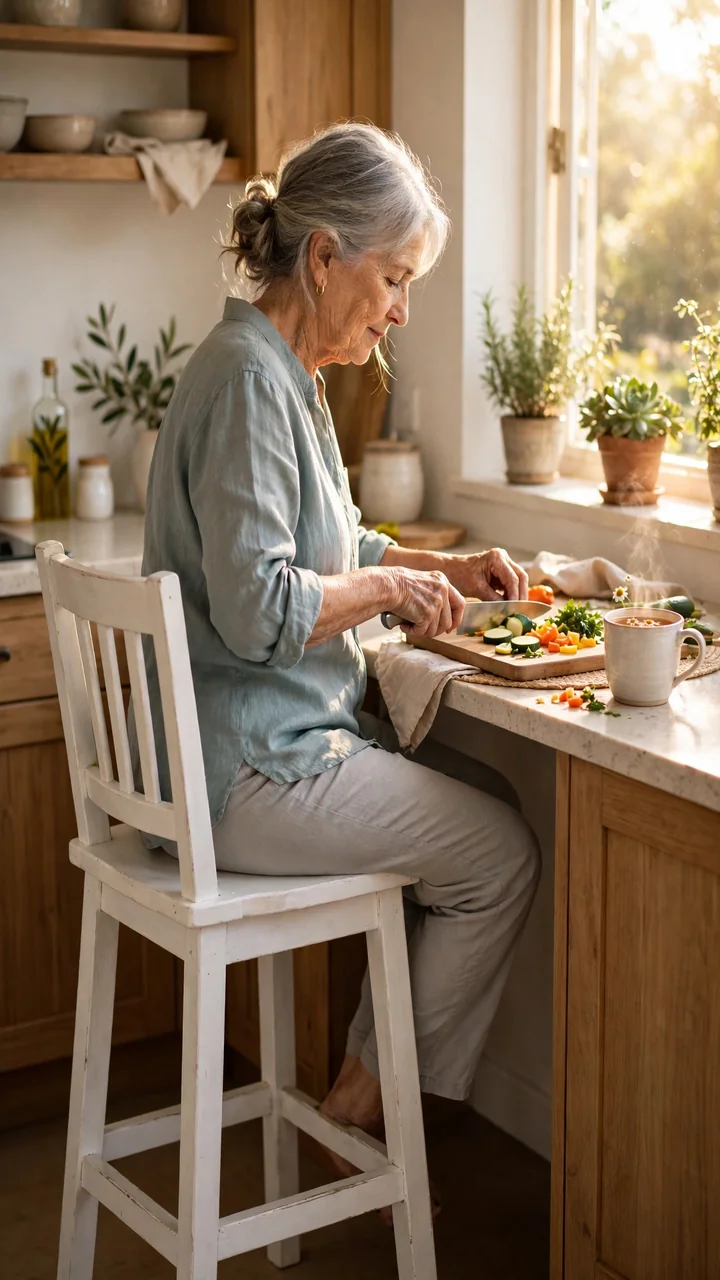
Sitting while you chop saves your legs for the parts of cooking that really need standing. A sturdy stool lets you prep, stir a bowl, or sort the mail with a cup of tea within reach.
Check thrift shops and garage sales first. A solid wooden or metal stool costs far less used, and a coat of matte paint in grey or warm white makes it look like it belongs. It is an easy win for any senior kitchen makeover on a budget. Skip anything with wheels, since a stool that rolls away as you stand up is a fall risk.
Test it before you buy
9. Choose Lighter Pots and Pans
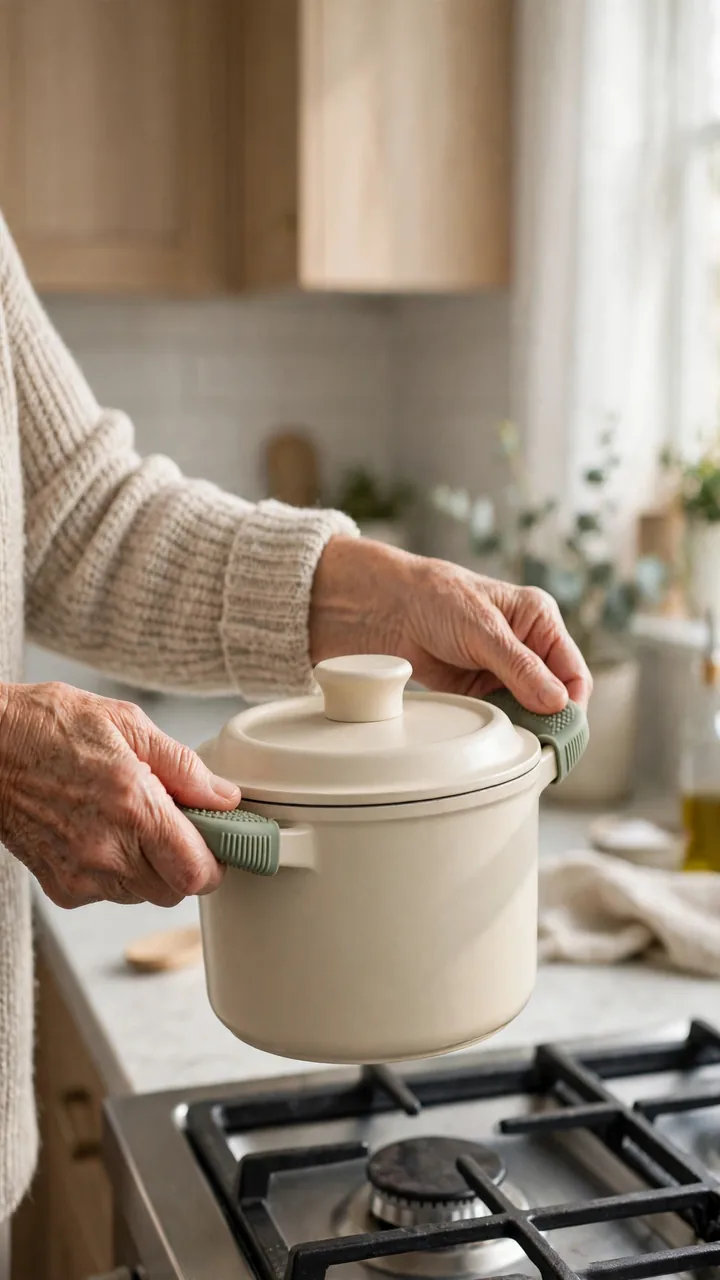
A cast iron skillet feels fine in the store and very different when it is full of stew. Weight adds up fast once food is inside, and most spills happen on the walk from the stove to the sink.
Swap one or two heavy pieces for lighter pans with two handles. Two handles let you carry with both hands and keep the pan level. Look for flat bottoms, lids that fit snugly, and handles with a silicone grip. A smaller pot holds less, so it weighs less when full.
Keep the old heavy pan if you love it. Just store it on the counter, not on a high shelf.
If a pot feels heavy when it is empty, it will feel much heavier when it is full. Choose the lighter one.
10. Use a Stove Timer
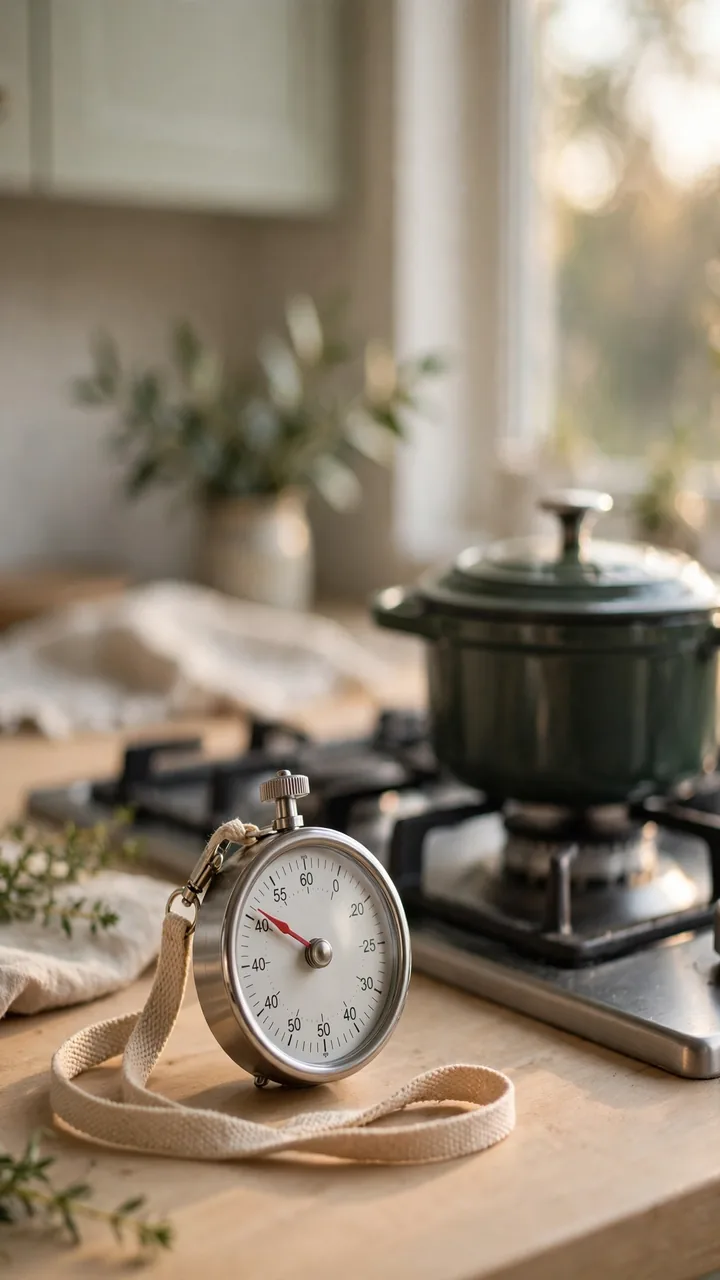
The kettle is on, the phone rings, and twenty minutes later something smells off. Most cooks have done it once. It matters more when memory slips or a long chat is easy to get lost in.
A loud kitchen timer on a lanyard is the simplest fix. Set it every time a burner goes on, and wear it so you can hear it from the next room. Some stove top heat alarms mount above the stove and beep when things get too warm. Ask the maker or an electrician what suits your gas or electric stove.
⚠️ Watch Out
A timer helps, but it does not replace watching the stove. Never leave a burner on when you go out. For a small pan fire, slide a lid over it and turn off the heat. Never pour water on a grease fire.
11. Try Open Shelves for Daily Items
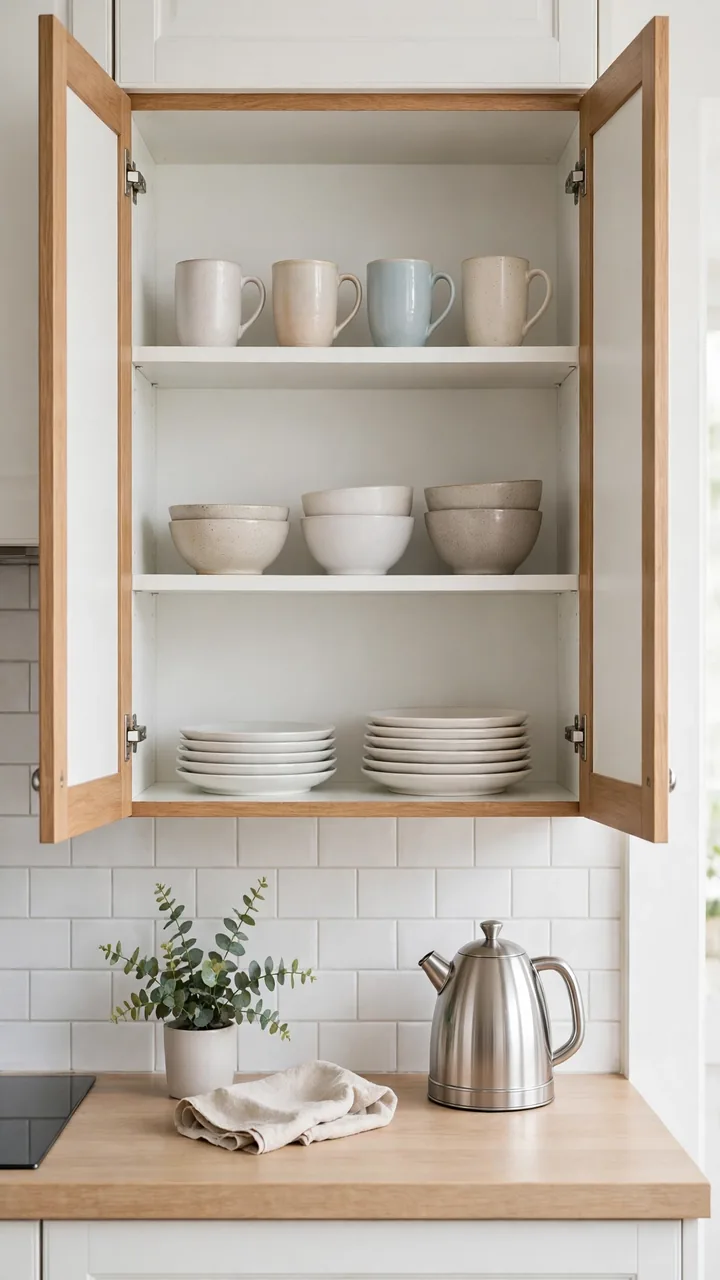
Open shelves get a bad name for collecting dust. For the things you use every single day, though, a missing door is a help, not a problem.
Take the doors off the one cabinet that holds your mugs, bowls, or plates. A screwdriver does it, and the hinges often stay on the frame. Paint the inside a soft white or light grey so the shelves look finished and the dishes stand out. Skip this for anything greasy, like cooking oils and pans, since they collect grime.
Before you start:
- Pick a cabinet that is near the sink or kettle.
- Keep the doors in a closet in case you change your mind.
A closed door, a dark shelf, and a hunt for the right mug while the kettle boils.
Doors off, mugs in plain view, and one reach gets you the one you want.
12. Move the Microwave Up
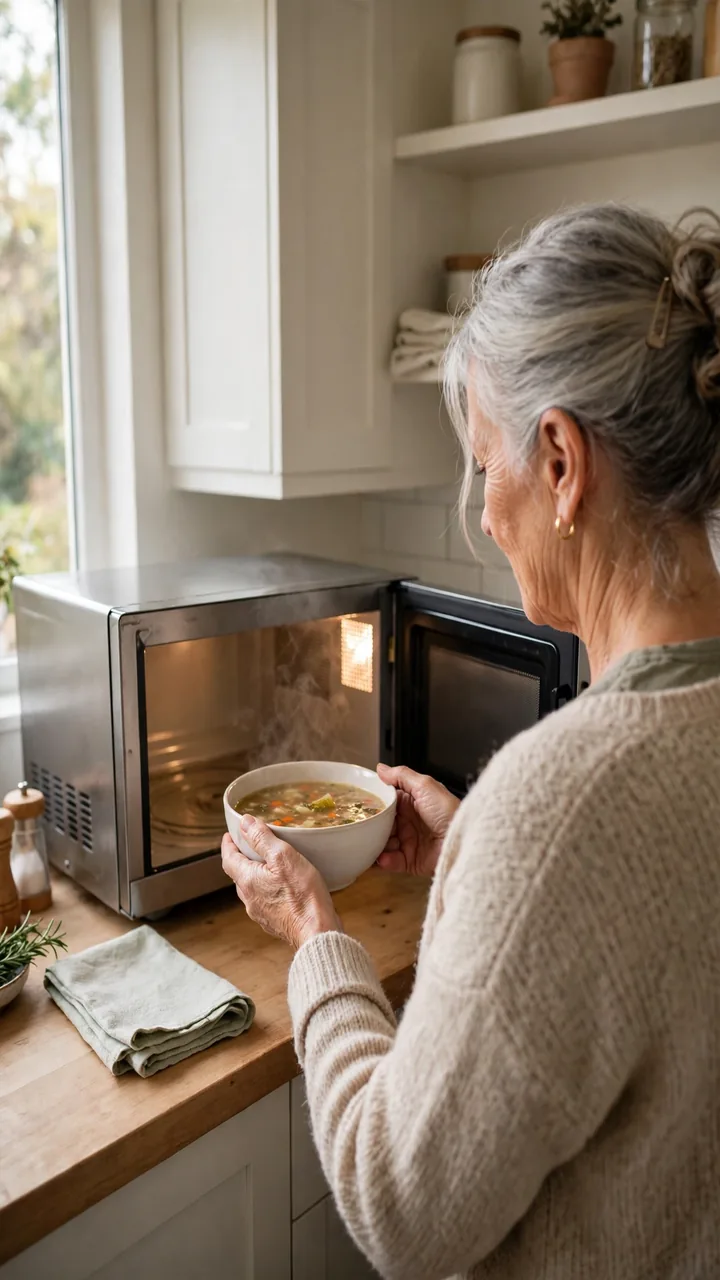
Lifting a hot bowl of soup out of a microwave that sits above shoulder height is a scene nobody should have to live through. The bowl tilts, the hands shake, and the soup lands on a forearm.
The fix is just moving the microwave. Set it on a sturdy counter or a cart where the door handle sits between waist and chest height. That way you slide hot food straight out, with both hands and a level bowl. Plug it straight into the wall, never into an extension cord, and leave a few inches of space around the vents.
| Counter or chest height | Over the stove or high shelf |
|---|---|
| Hot food: slides out level | Hot food: lifted up and over |
| Buttons: easy to see and press | Buttons: seen from below, harder to read |
| Cost: often free, just needs an outlet nearby | Cost: already in place, but harder on arms and shoulders |
13. Hang a Rail for Utensils
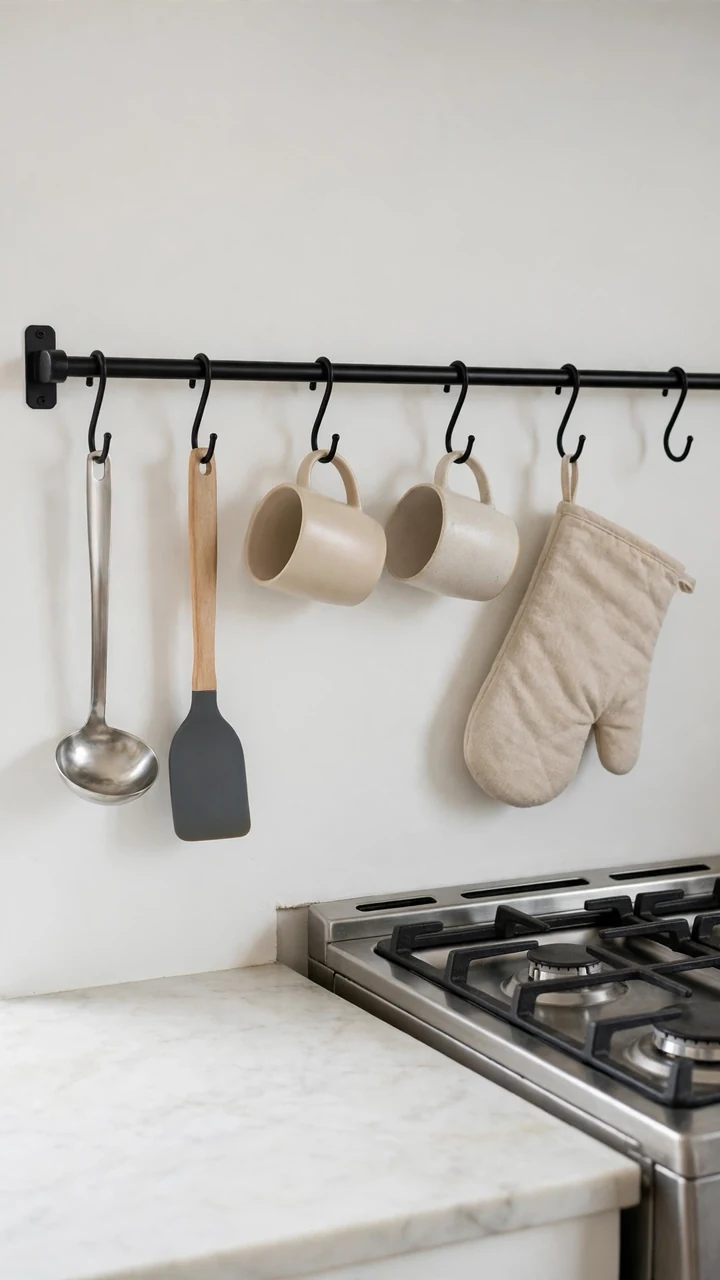
A plain metal rail along the wall, with a few S hooks, puts your most used tools right where your hand already goes. No drawer to pull, no crock to dig through.
Hang ladles and spatulas near the stove, mugs by the kettle, and oven mitts near the oven. Mount the rail around shoulder height and use wall anchors rated for more weight than you plan to hang. Keep it off to the side of the burners so nothing dangles over a flame.
A black or brushed steel rail looks tidy against white walls and costs little.
14. Add a Turntable to Corner Cabinets
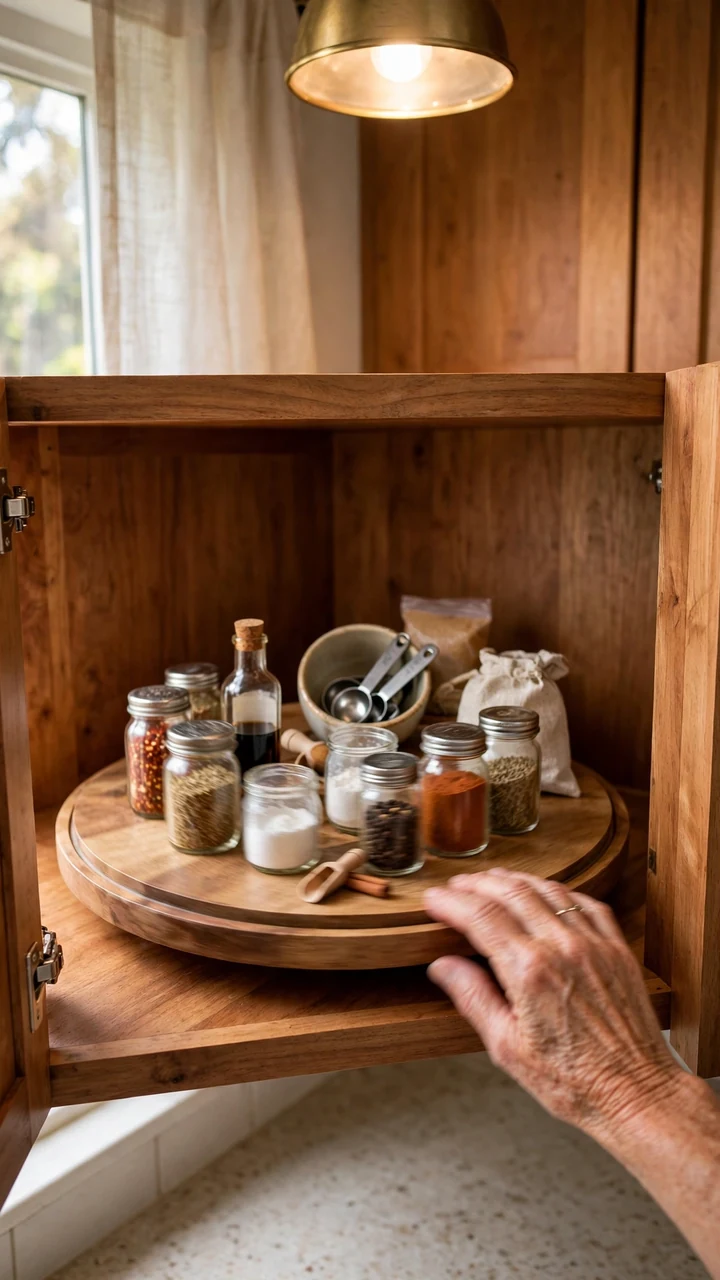
Most corner cabinets turn into a black hole. Things go in, and they never come back out until someone moves house.
A turntable, also called a lazy Susan, spins the back of the cabinet to the front. It is a small plastic or wood circle, and you only need to know how wide your door opening is. Use it for spices, sauces, and baking supplies, anything you grab often but can’t see.
Skip a tall stack of heavy jars. Keep the heaviest things low and the lightest on top.
Empty the corner cabinet and wipe the shelf clean.
Pick a turntable with a raised edge that fits inside the door opening. Measure first.
Load it with the things you use each week, then give it a spin to check nothing catches on the door.
15. Pick Easy Open Lids and a Light Kettle
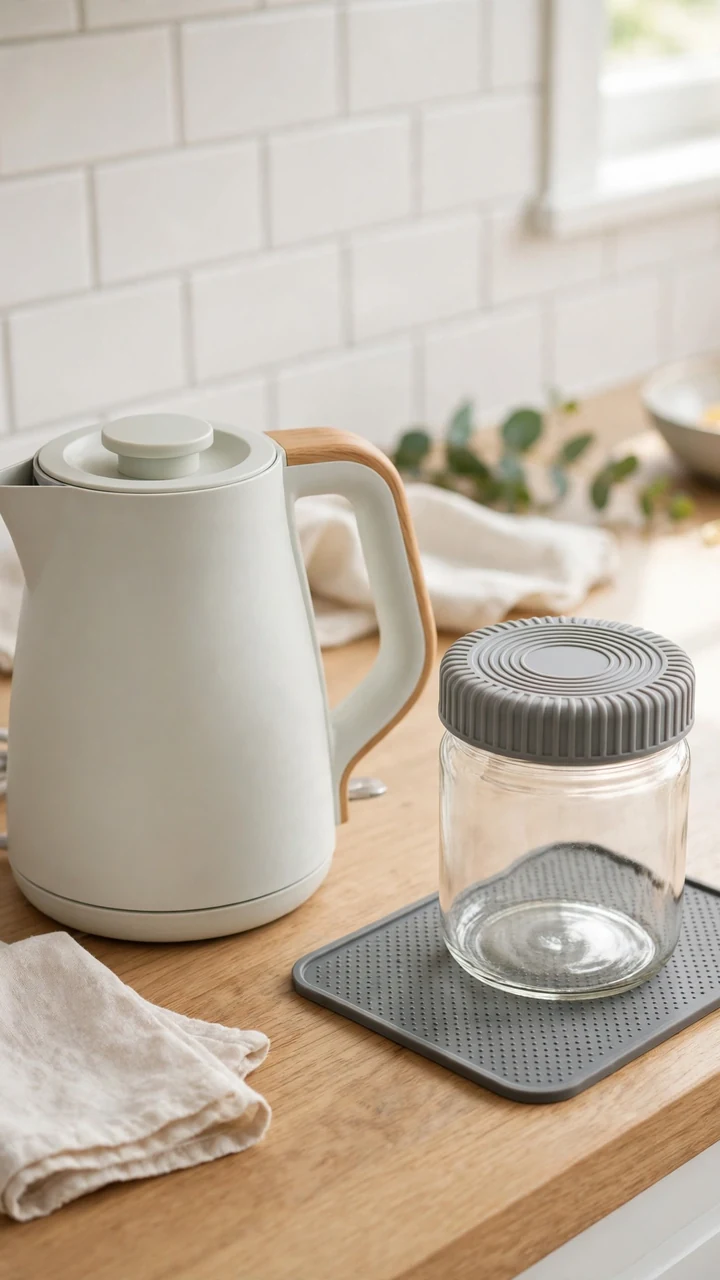
A screw top jar and a heavy kettle ask a lot from sore wrists. Both are easy to swap for something kinder.
Look for pull tab cans, flip top lids, and containers with a wide, ridged lid that a flat palm can turn. For the kettle, choose a lightweight one with a large handle and a lid that clicks shut. An electric kettle with an automatic shut off saves you from carrying a full pot of water across the room.
Small helpers worth keeping nearby:
- A rubber grip pad for stubborn lids
- A jar opener that mounts under a cabinet
16. Use Big Print Pantry Labels
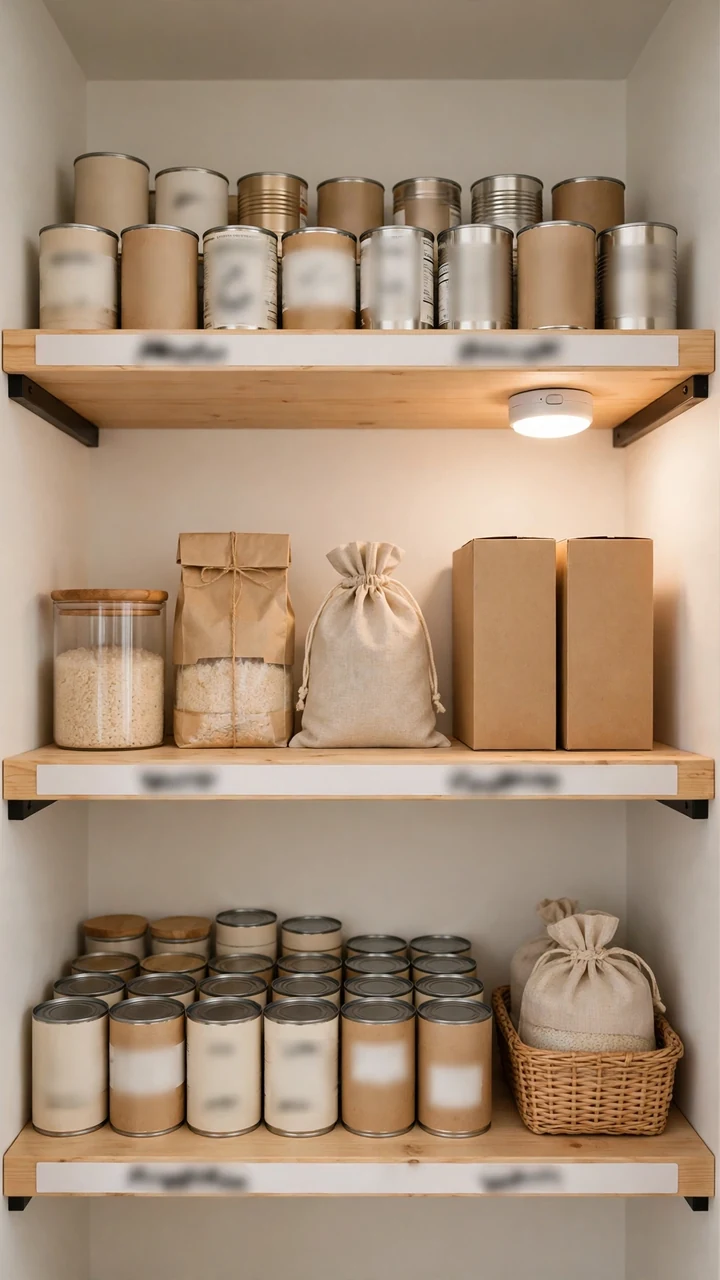
Reading a faded can in a dim pantry is a chore. Reading a bold label from arm’s length is not.
Use plain white labels and a thick black marker, or a label maker set to the largest font. Write one or two words, like “Soup” or “Rice.” Stick each label on the front edge of the shelf, where your eyes land first. Sort by meal, so breakfast things sit together and baking things sit together.
Keep the wording short. Long labels bring back the squinting.
Pantry label checklist
17. Cover the Backsplash With Peel and Stick Tile
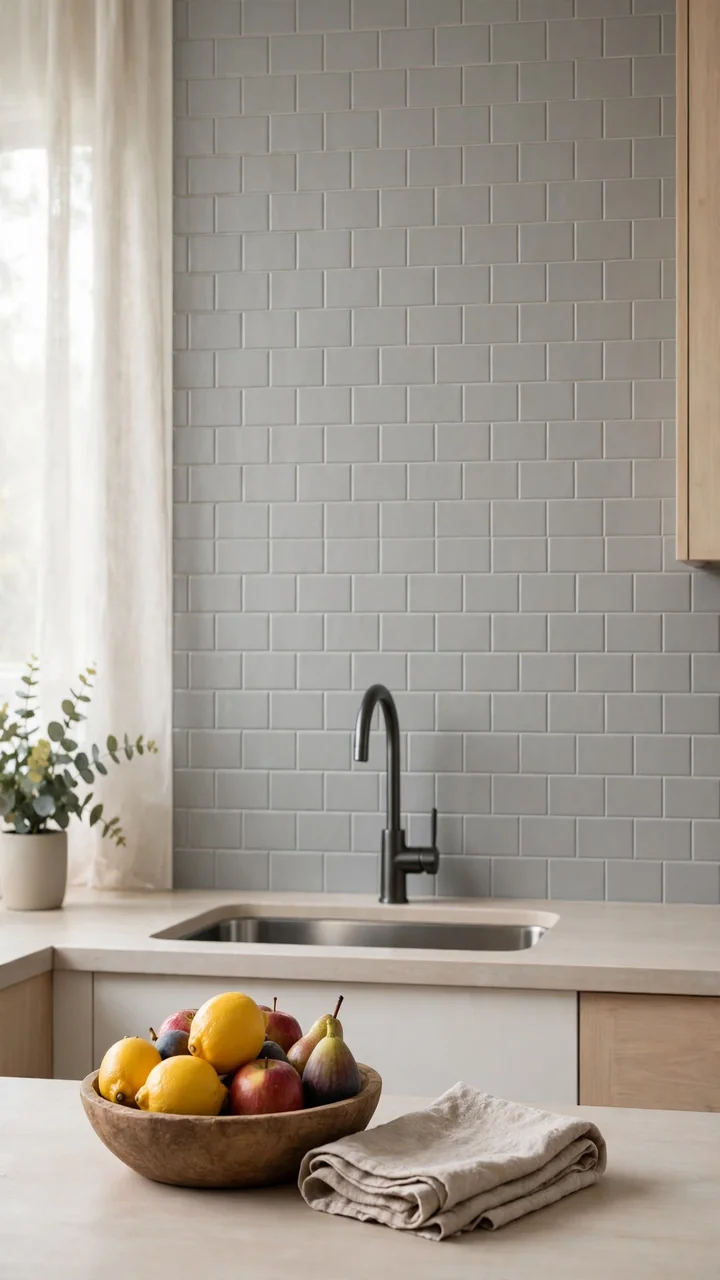
A bare wall behind the sink takes splashes, grease, and daily wiping. Fresh tile makes it easier to clean and nicer to look at, without hiring anyone.
Peel and stick tiles go up with no grout, no mess, and no tools beyond scissors and a ruler. Choose a matte finish in white, soft grey, or oatmeal. Glossy tiles bounce light into your eyes, and matte ones keep the counter edge easy to see. Clean and dry the wall first so the tiles hold.
Check the label before you put any near the stove, since some brands have a heat limit. Leave a gap behind the burners if the box says to.
Pick matte over glossy. A wall that does not glare is easier on tired eyes and easier to wipe clean.
18. Switch to Softer Bulbs
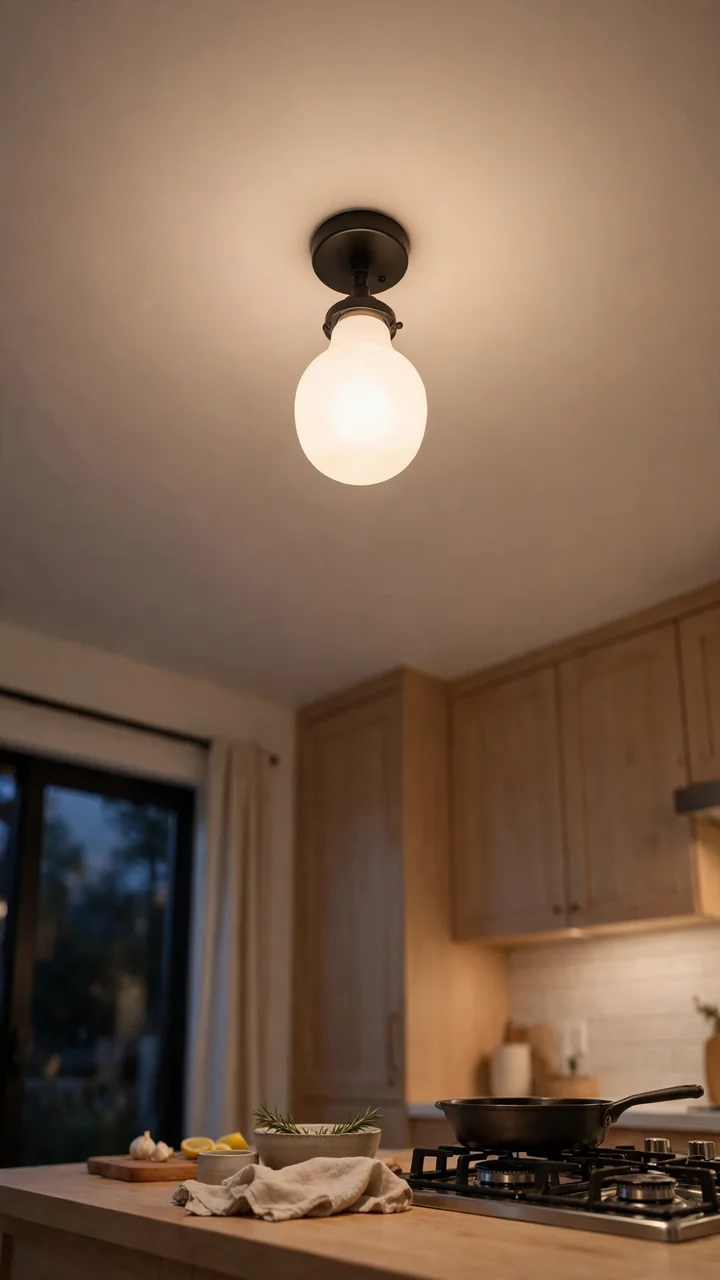
Walk into a kitchen with one bare bulb and you will see the problem right away. The glare bounces off the counter and the stove, and the corners stay dark.
Swap harsh bulbs for frosted ones in a warm white. Use the same color in every fixture so the room looks even. Brighter is not always better here. The goal is light without a hot spot, so the sink, stove, and floor all look the same shade.
Check the fixture for its maximum wattage before you buy. LED bulbs usually stay within the limit and run cooler.
📌 Good To Know
Lamp shades, frosted glass, and matte finishes all help soften glare. If you see a bright reflection on the counter, the bulb or the surface is the culprit. Try moving the light first, then the bulb.
19. Add Night Lights Along the Path
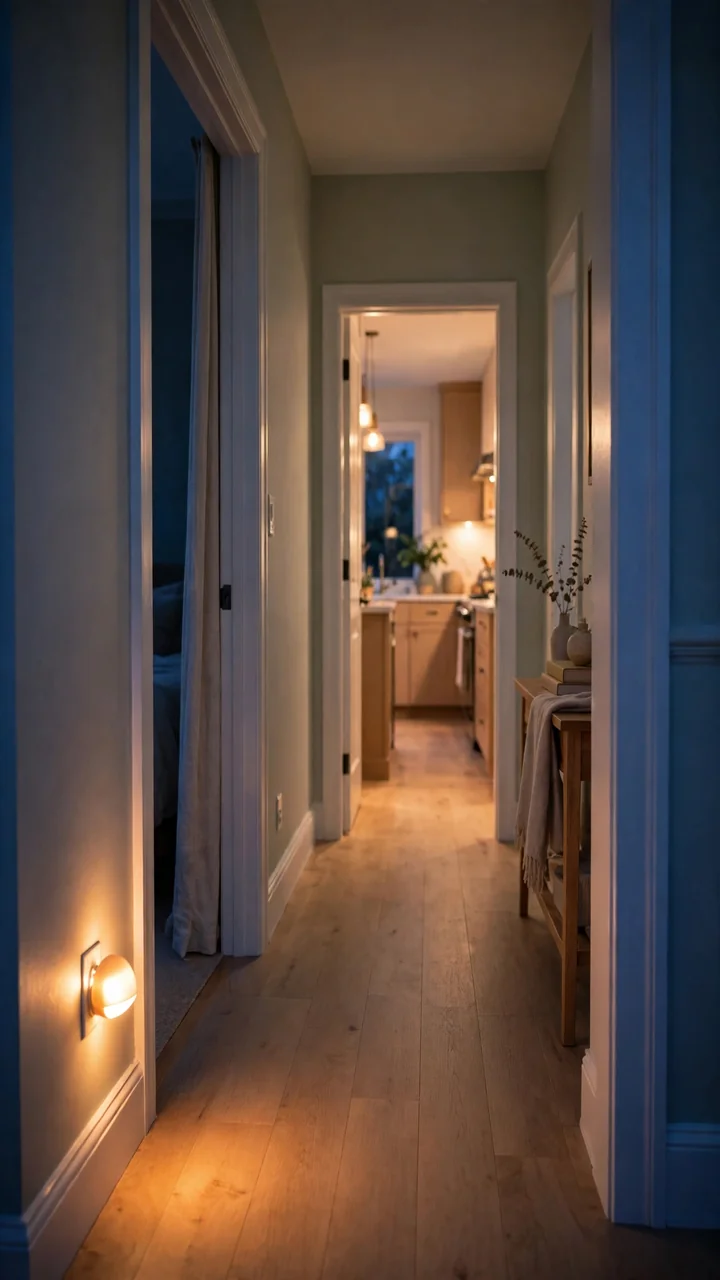
Midnight water, a late snack, a trip to take medicine. The walk to the kitchen is where many falls happen, not the kitchen itself.
Plug in motion sensor night lights from the bedroom to the kitchen, so each step lights up on its own. Battery ones work where there is no outlet nearby. Warm white is easier on sleepy eyes than a cold blue glow. Put one low on the wall, about knee to hip height, so the floor is lit and not just the ceiling.
Test the path once in the dark. Any spot you can’t see is a spot that needs a light.
20. Keep a Reacher and Emergency Card Handy
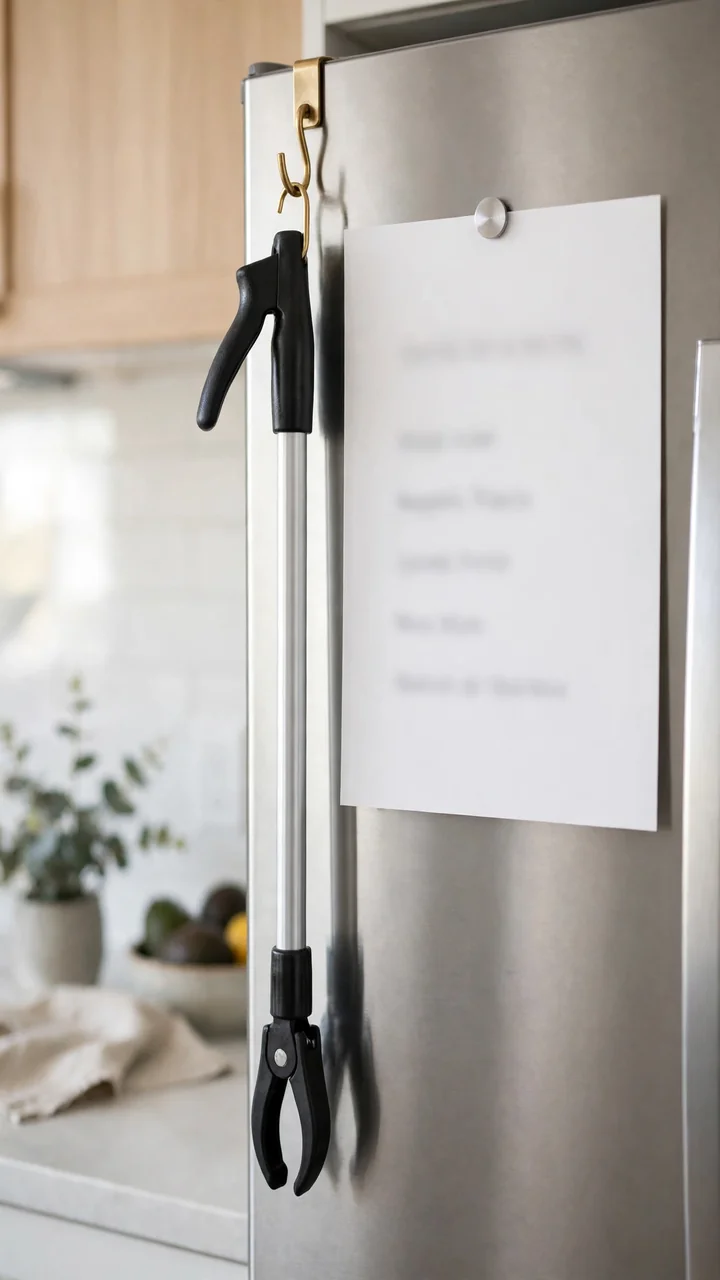
Some things still end up on the top shelf, and a chair is not the answer. A reacher, the long grabber with a trigger handle, picks up a box of tea or a dropped spoon without bending or climbing.
Hang it on a hook inside a cabinet door or on the side of the fridge. Use it for light items only, never for hot pans or anything heavy.
Next to it, stick a large print card to the fridge with a magnet. A fridge is where family and helpers look first, so it is the right place for it.
- ▸Emergency number for your area, written in big print.
- ▸Home address, in case a helper needs to give it over the phone.
- ▸Names and numbers of a family member and a neighbor.
- ▸Your doctor’s name and number.
- ▸A note on where the spare key is kept.
Conclusion
A kitchen that works for you does not need a big budget. It needs a few thoughtful changes in the right places. A better handle here, a brighter bulb there, a runner that stays put.
You do not have to do all twenty at once. Pick the two or three that fix your biggest daily frustration, and live with them for a week. Then add one more.
If you are helping a parent or a grandparent, ask what annoys them most before you buy anything. These accessible kitchen ideas for seniors on a budget work best when the person using the room has a say.
Save this list for the day you are ready to make the kitchen a little safer and a lot easier to use.
Planning a kitchen update for yourself or someone you love? Save this pin to your budget kitchen board so you can come back to it when you are ready to start.