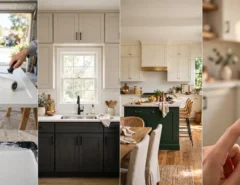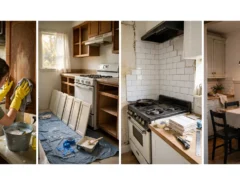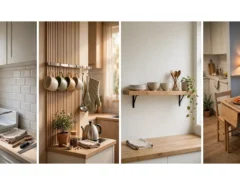
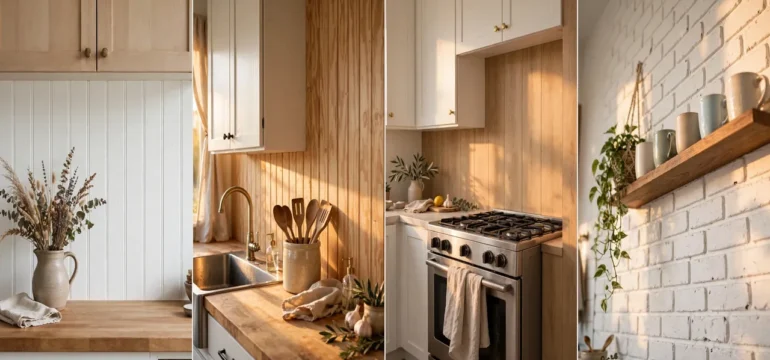
You want a kitchen wall that looks finished. Maybe you are staring at a bare patch of paint behind the sink, or a tile you never picked and still do not like. You do not want a weekend of demo, a contractor quote, or a pile of rubble. You want it done by Sunday dinner, for a price that will not sting.
Good news. A lot of the best cheap kitchen backsplash ideas need nothing more than a clean wall, a sharp blade, and a free afternoon. Peel and stick tile, paint, beadboard, and vinyl can all pass for the real thing when you pick the right one and install it with care.
This list gives you 25 options with plain notes on cost, how hard each one is to install, and where it is safe near the stove. Some work great in small kitchens. Some cover ugly tile without tearing it out. Save the ones that fit your wall, then pick one and start.
1. White Subway Tile Stickers
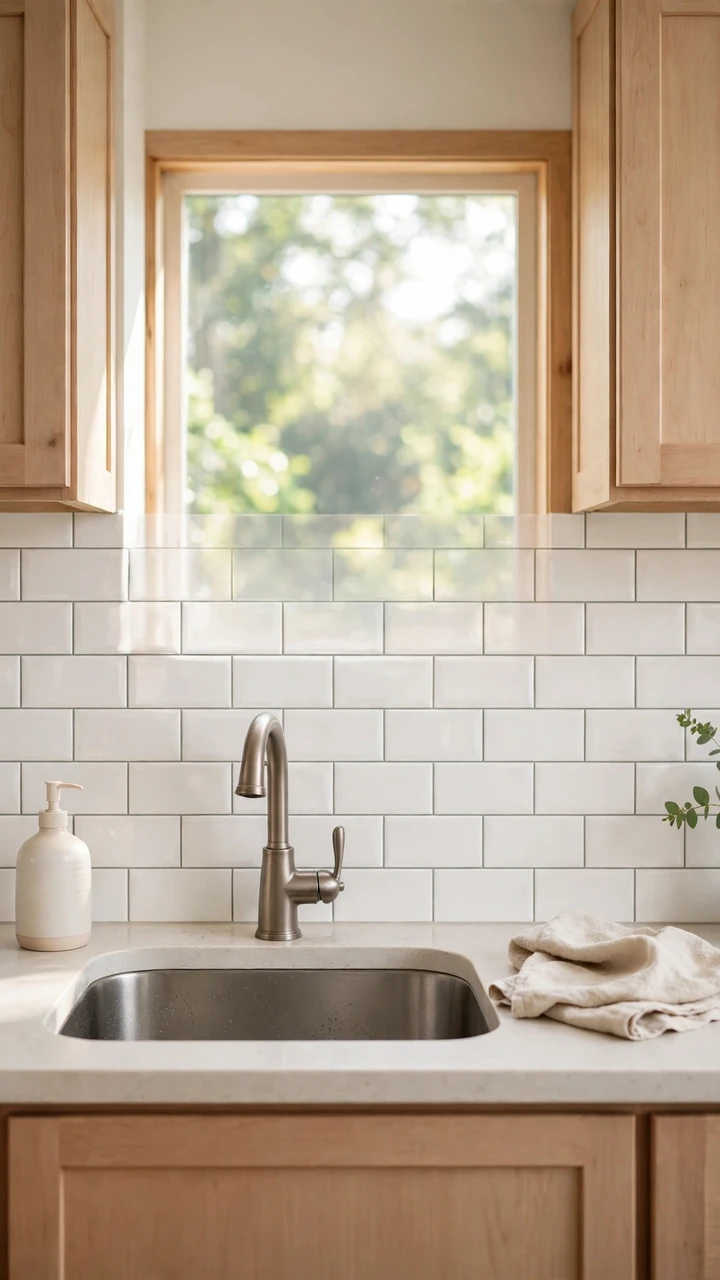
A white tile wall makes a kitchen look clean and a little more expensive, and the sticker version costs far less than real tile.
Here is how a first timer can get it done:
- Wipe the wall with a degreaser and let it dry fully
- Remove the outlet covers before you start
- Begin in the middle and work outward, so the cut tiles land at the edges
- Press each sheet flat with a dry cloth to push out air
- Cut around outlets with a sharp utility knife
Most peel and stick tile is not made for direct flame or high heat. Leave a gap beside the burners or finish that zone with metal, and read the heat rating on the box before you buy.
2. Bold Pattern Tile Stickers
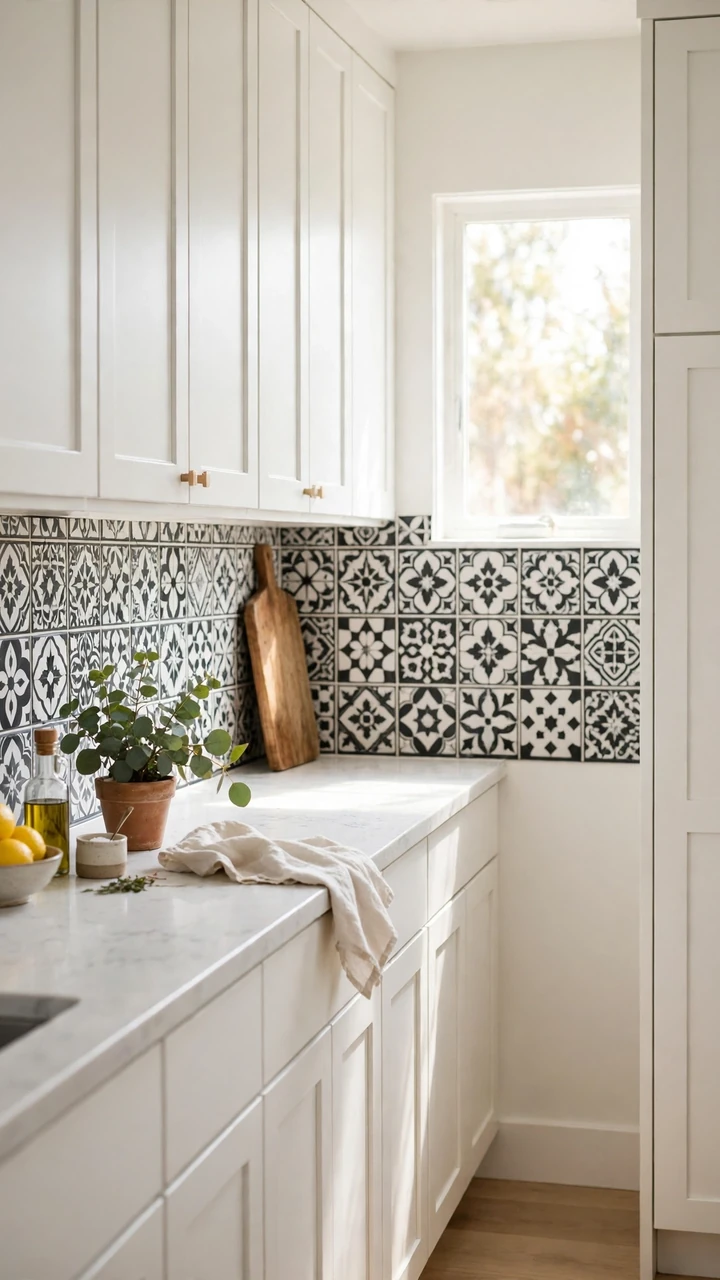
One pattern, one wall. That is the whole rule.
Cement style and Moroccan style stickers bring a lot of personality, so let them be the star. Put the pattern only on the strip between the counter and the cabinets. Pair it with plain cabinets and a simple countertop so nothing fights it. In a small kitchen, choose a pattern with two colors instead of five.
Line up the pattern at every seam before you peel the backing. A design that shifts half an inch looks like a mistake from across the room.
Treat heat the same way as plain stickers and stay back from the burners unless the label says otherwise.
💡 Quick Tip
Tape one loose sticker to the wall for a full day. Check it in morning light and under your evening bulbs before you commit. Order one extra sheet for bad cuts and mistakes.
3. Paint Over Old Tile
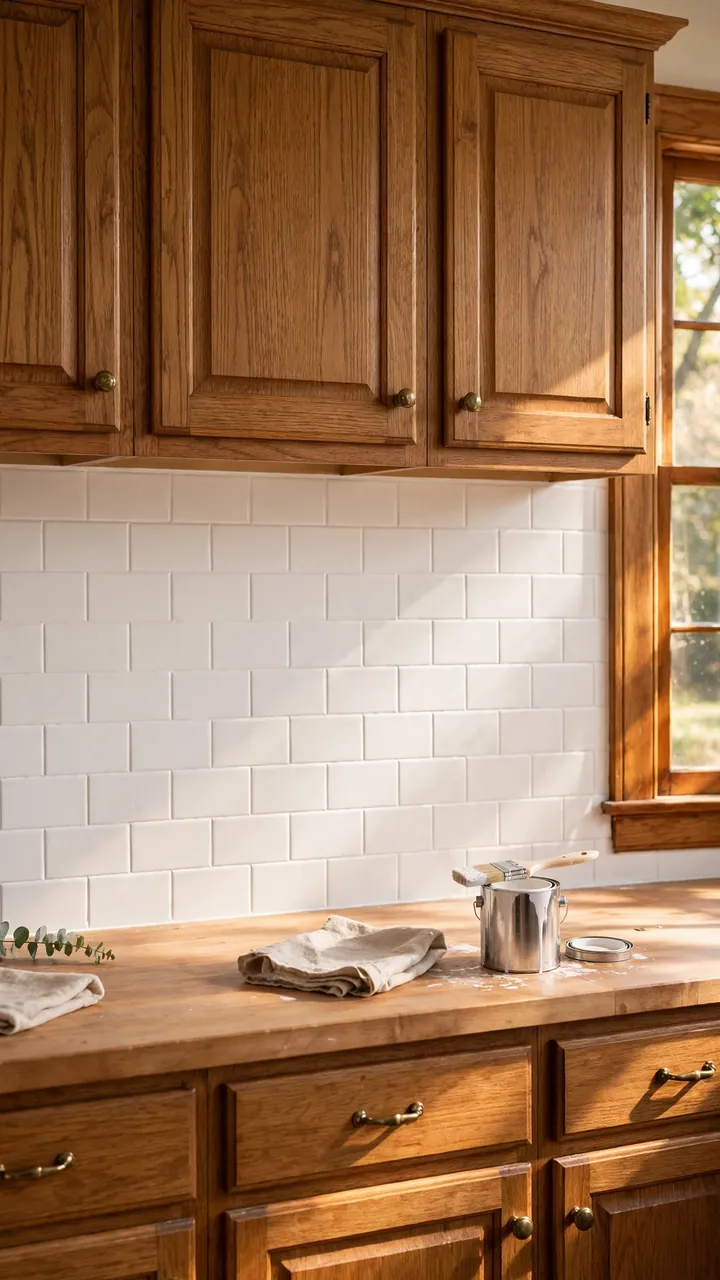
Ugly tile is annoying, but tearing it out is worse.
Tile paint can turn a dated color into a clean white or a deep charcoal without one tile coming off the wall. Two things decide how long it lasts: how clean the surface is and how patient you are. Scrub off grease first, scuff the shine with sandpaper, then add a bonding primer made for tile. Use two thin coats of tile or epoxy paint instead of one thick coat. Give it the full cure time on the can before you scrub it.
Paint the grout lines too, or they will show through. Painted tile near the stove handles splatter well, but follow the heat notes on your paint’s label.
Yellowed tile with a dated border and grout lines stained from years of cooking.
One clean, even color with tidy grout lines and nothing to demo. It wipes down with a damp cloth once it has cured.
4. Chalkboard Paint Wall
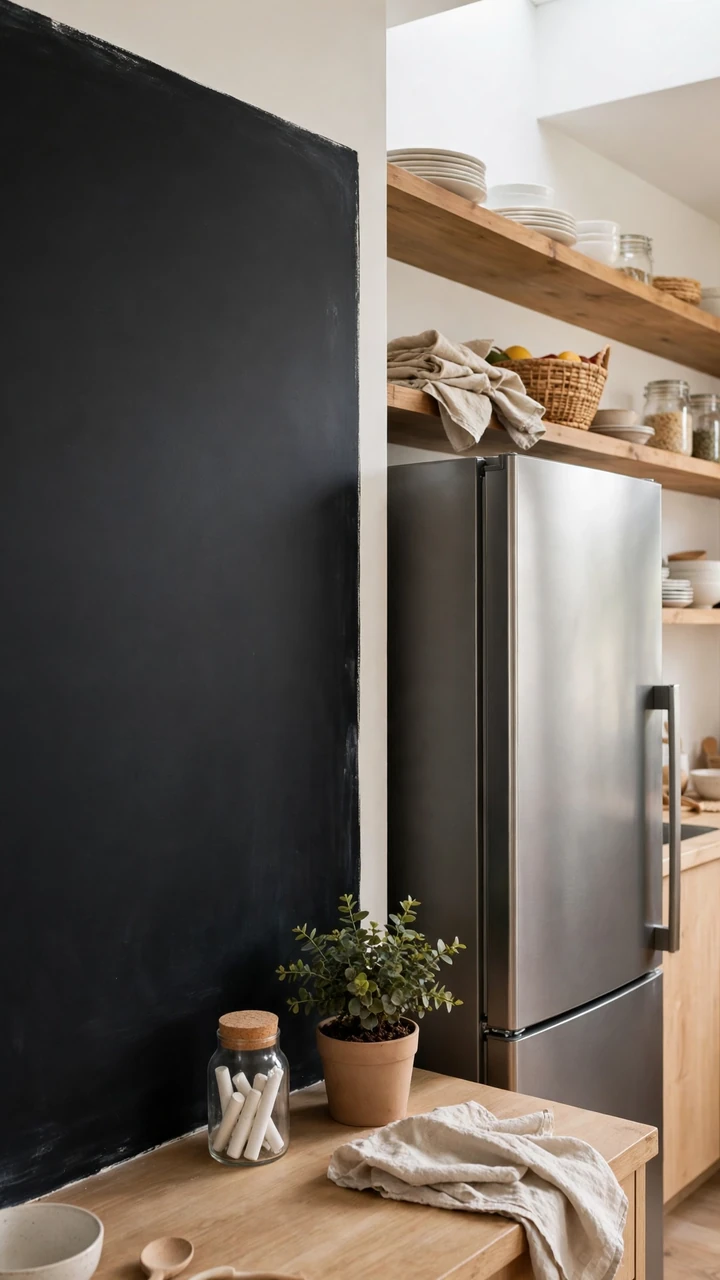
The grocery list is always on a sticky note that falls off the fridge. A chalkboard wall fixes that.
Paint the space behind the counter with chalkboard paint, and the list lives on the wall instead. Black looks sharp, but dark green or charcoal grey feels softer in a small kitchen. Tape off the edges for crisp lines and use a small foam roller for a smooth finish. Many brands ask you to rub chalk over the whole surface and wipe it off before first use, so check your can.
Chalk dust and cooking grease do not mix. This works better beside the fridge or the sink than behind the range.
What to grab first
5. Beadboard Panels
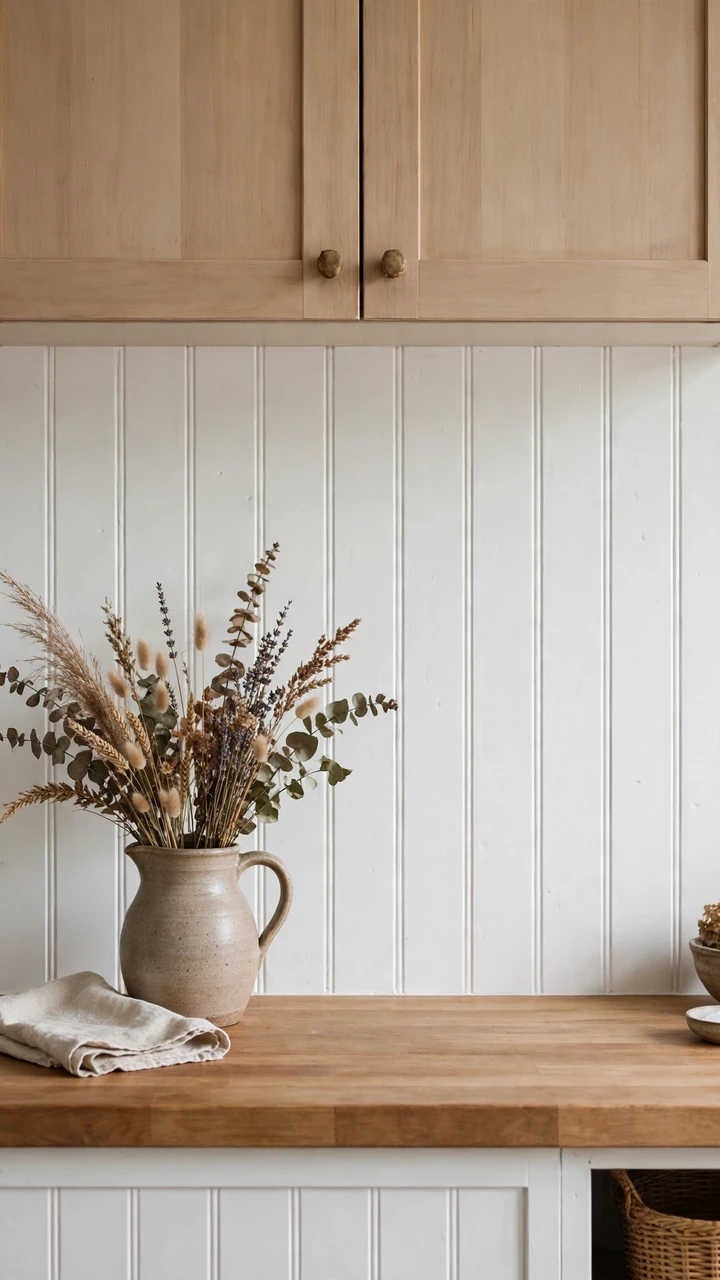
Vertical grooves draw the eye up, which makes a low kitchen wall feel taller.
Beadboard gives a plain wall a cottage look with straight lines and soft shadow. Pick the material by where it goes:
- PVC panels handle splashes best near the sink
- Thin MDF panels cost less but can swell if they stay wet
- Beadboard wallpaper is the easiest choice for renters
Glue panels on with construction adhesive and seal the seams with caulk. Turn off the breaker before you work around outlets. Plastic panels can warp near high heat, so keep the stove zone for metal or tile.
Finish with semi gloss white paint so the wall wipes clean.
6. Vinyl Sheet From a Roll
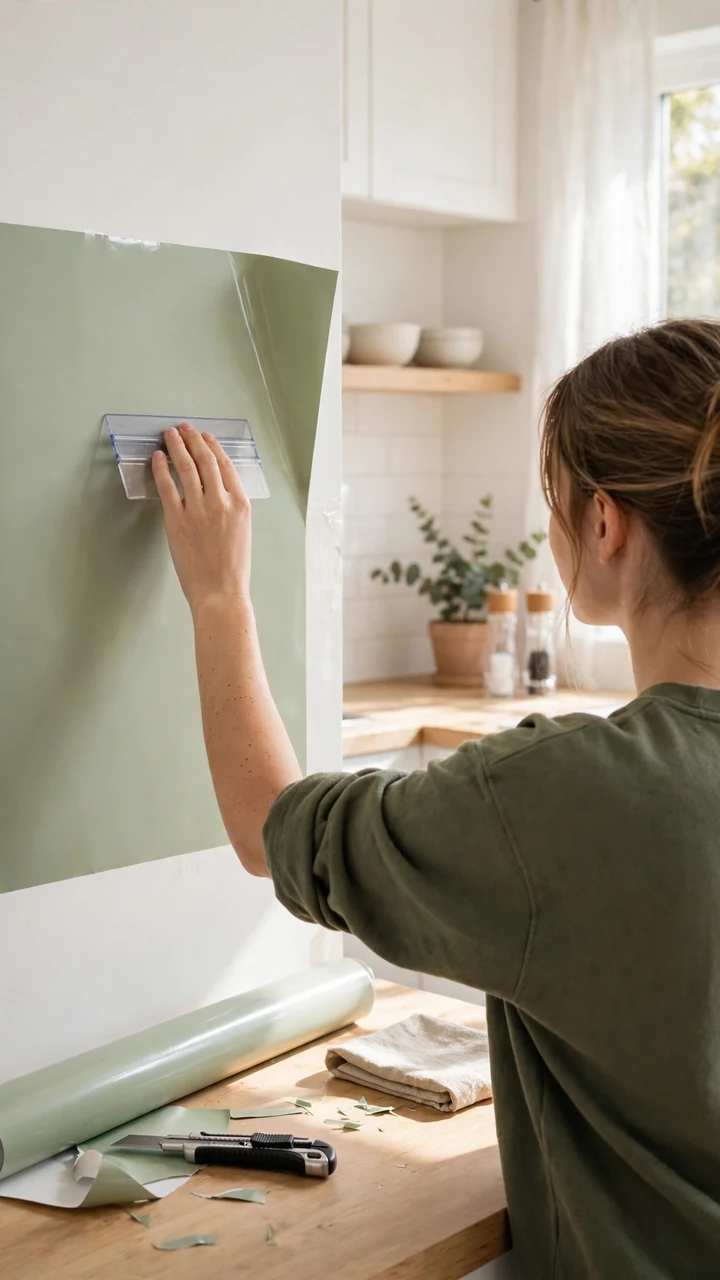
Rolls cost less than tiles and cover a wall in one piece. No grout, no tile math.
Self adhesive vinyl comes in subway, wood, and stone looks. Measure the wall, add an inch on every side, and cut with a sharp blade. Peel the top few inches of backing first, then smooth the sheet downward so air bubbles move out. A hair dryer on low warms the vinyl so it hugs corners and outlet edges. It works well in rentals and small kitchens, because it peels off later with some warm air and patience.
Keep it a few inches back from the burners. Vinyl softens under high heat.
Scrub the wall with a degreaser, rinse, and let it dry for a full hour.
Cut the vinyl one inch bigger than the wall space and peel back the top six inches of backing.
Press from the center out with a dry cloth, peeling more backing as you go down.
Trim the extra inch with a sharp blade and a metal ruler, then seal the top edge with a thin line of clear caulk.
7. Painted Faux Brick
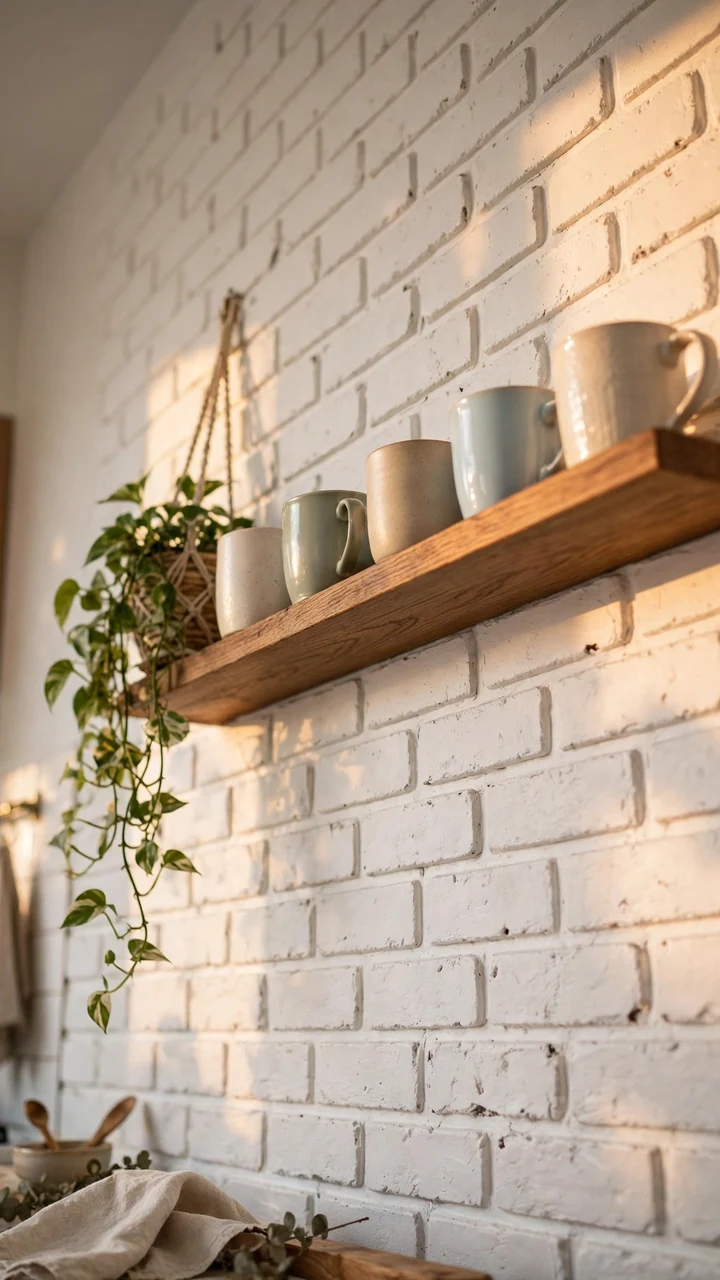
Foam brick panels look fake straight out of the package. The shine and the orange color give them away. Paint fixes both.
Lightweight faux brick costs less than real brick veneer and cuts with a utility knife. Prime the panels, then roll on white or soft grey paint. Dab a slightly lighter shade along the edges of each brick for a worn look. The rough surface holds splatters, so wipe it down often.
Plastic and foam panels are not made for stove heat. Use them on side walls and stop the brick before the burners.
Use matte or satin paint so the panels do not shine.
Caulk the seams before you paint.
End the panels away from the burners.
Glossy paint that shows every dent.
Gluing panels onto a greasy wall.
Covering the wall right behind the range.
8. Stainless Steel Sheet
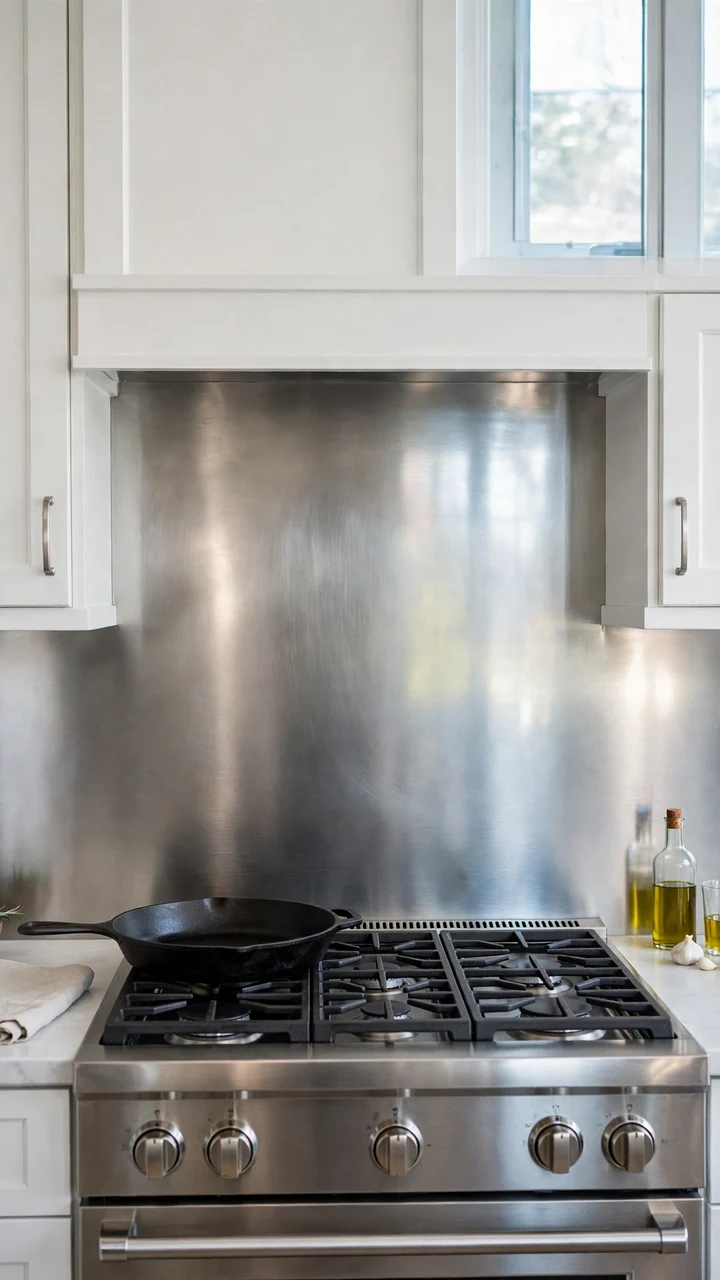
Stainless steel is not only for restaurant kitchens. A thin sheet behind the stove looks sharp and handles heat better than most cheap options.
Metal sheets come in different sizes, and many home stores will cut one to your measurements. Attach it with an adhesive rated for heat, or ask the store which fasteners suit your wall. Wipe it down with a soft cloth and a little dish soap. Fingerprints show, so a brushed finish hides more than a mirror finish.
The sheet is the one wall idea on this list that belongs right behind the burners.
| Metal sheet | Peel and stick vinyl |
|---|---|
| Handles heat behind the burners. | Keep it away from burner heat. |
| Costs more up front. | Costs less per square foot. |
| Wipes clean with soap and water. | Wipes clean, but edges can lift. |
| Needs tools to cut and fix. | Cuts with a utility knife. |
9. Penny Round Tile Stickers
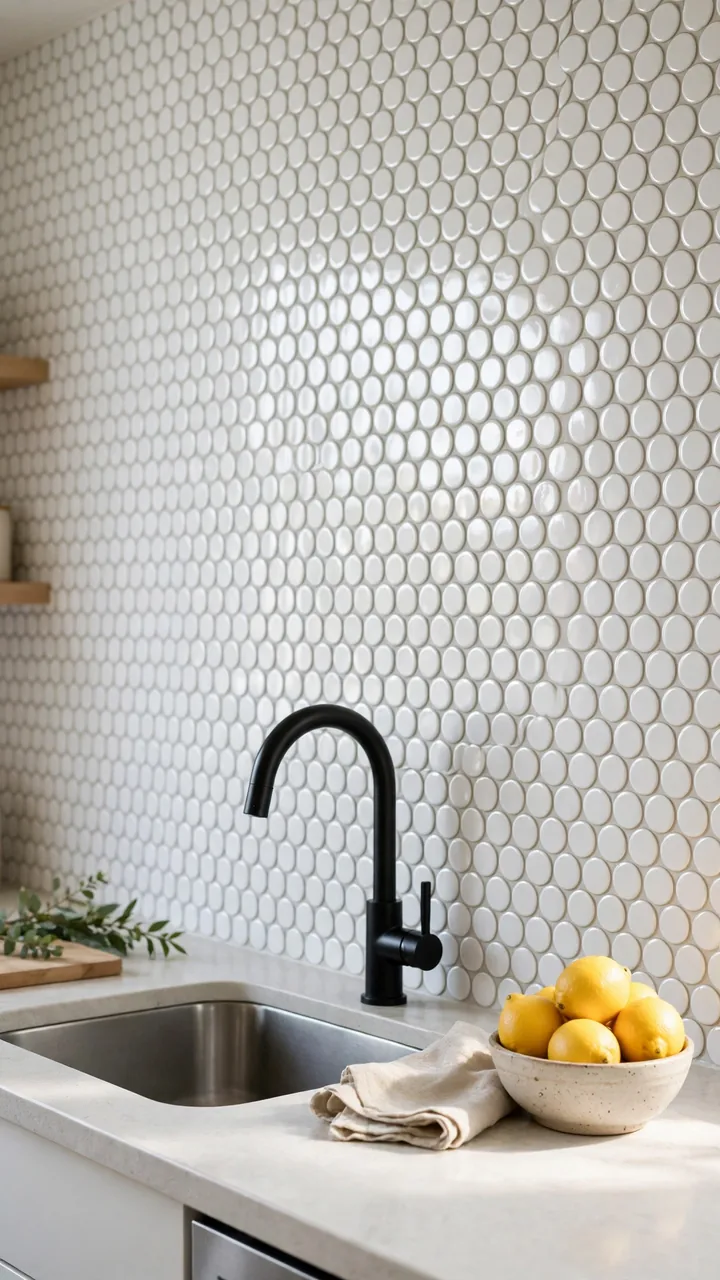
Tiny circles in tight rows catch the light and give a small kitchen a mosaic look without the mess of real mosaic.
Peel and stick penny rounds come on sheets, so you press a whole section at a time. White or soft grey keeps a small kitchen calm. Black rounds look bold against a light countertop. Fill any wall dents with spackle first, because small tiles show every bump underneath.
Cost sits a little above plain subway stickers. Skip the strip right behind the burners unless the box lists a heat rating.
Pick one color for the whole wall. In a small kitchen, a mix of colors looks busy fast.
10. Marble Look Contact Paper
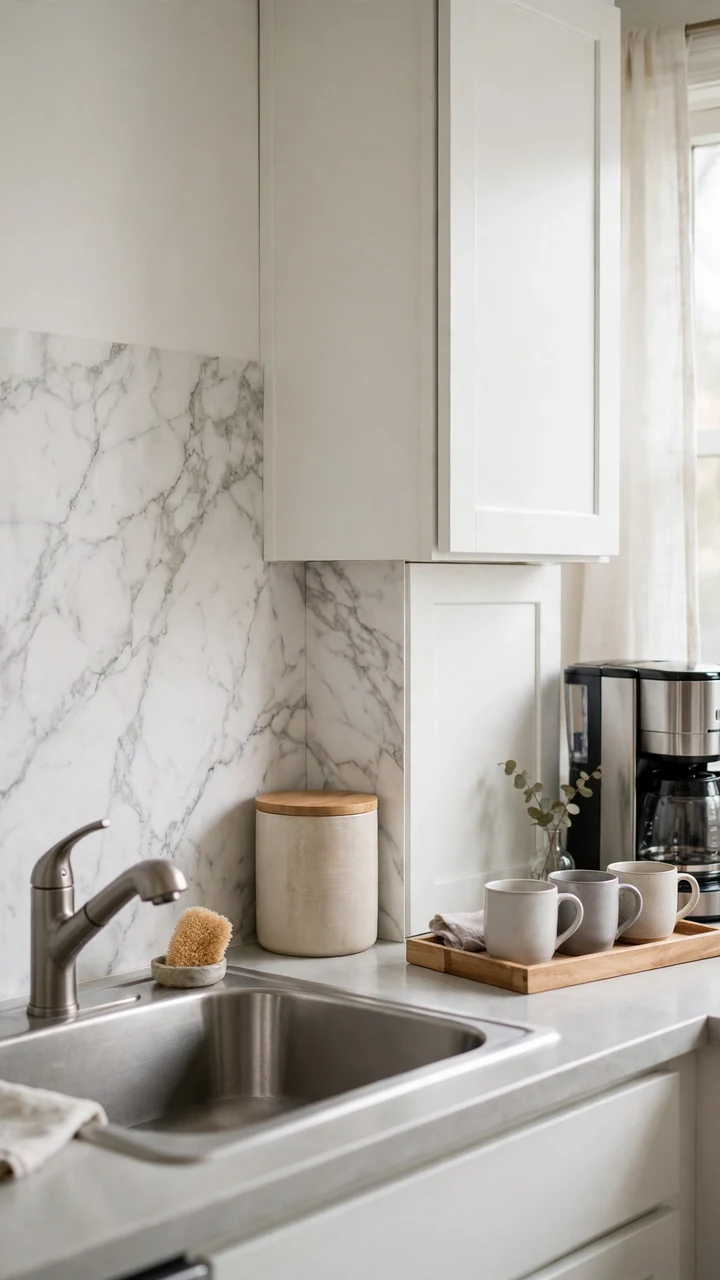
Most people stick contact paper on crooked, give up, and blame the paper. The real mistake is skipping the dry fit.
Hold the sheet against the wall before you peel anything and mark where the pattern lines up. Marble look paper is the cheapest way to get a stone look. It suits renters, a coffee station, or a short wall beside the sink. Hide the seam in a corner or behind a tall canister so no one finds it.
Steam and grease can lift the edges over time, so smooth them down and check them every few months.
⚠️ Watch Out
Keep contact paper at least a few inches from every burner. Heat can melt the adhesive or curl the paper. Use it on the sink and prep wall, not behind the range.
11. Stenciled Paint Pattern
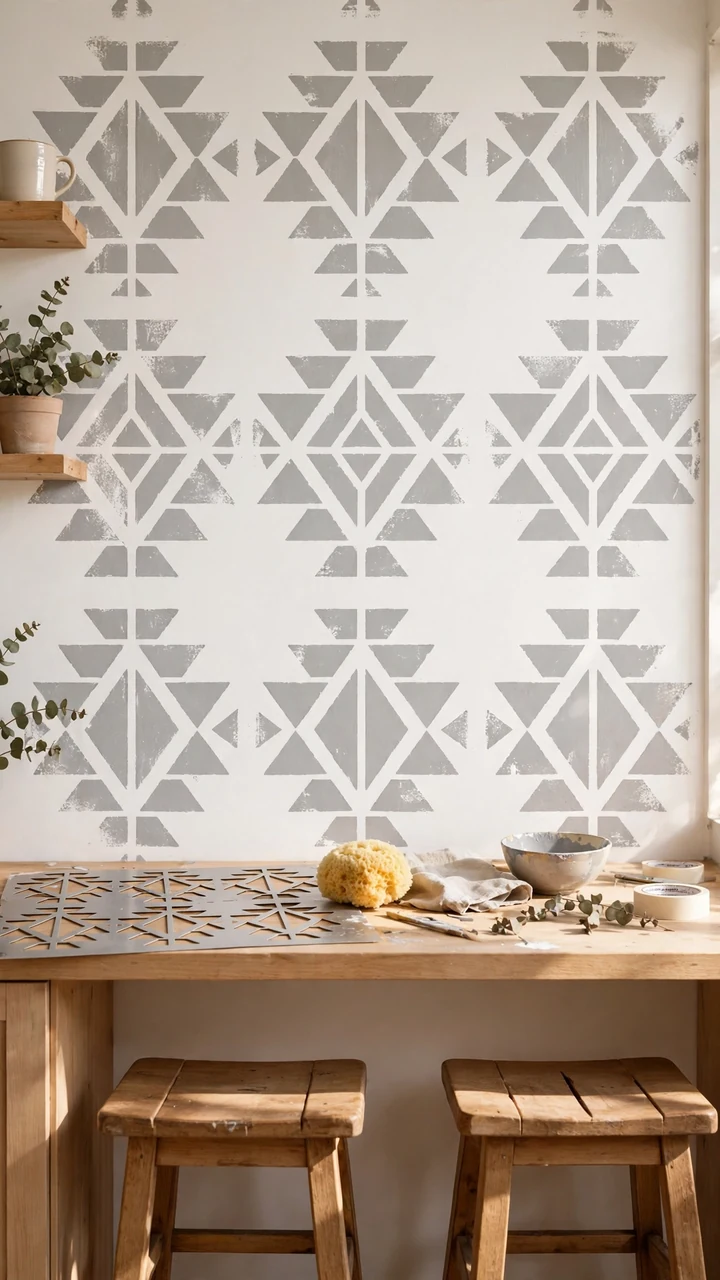
A stencil gives you the look of patterned tile for the price of a can of paint.
Start with a base coat in white or soft grey and let it dry overnight. Tape the stencil in place and dab paint on with a nearly dry sponge. Too much paint seeps under the edges and blurs the lines. Work in one small section at a time, and lift the stencil straight up.
Finish with a clear, wipeable topcoat so splashes do not stain the design. Painted walls handle stove heat well, which makes this one of the easier options behind the range.
12. Sealed Plywood Planks
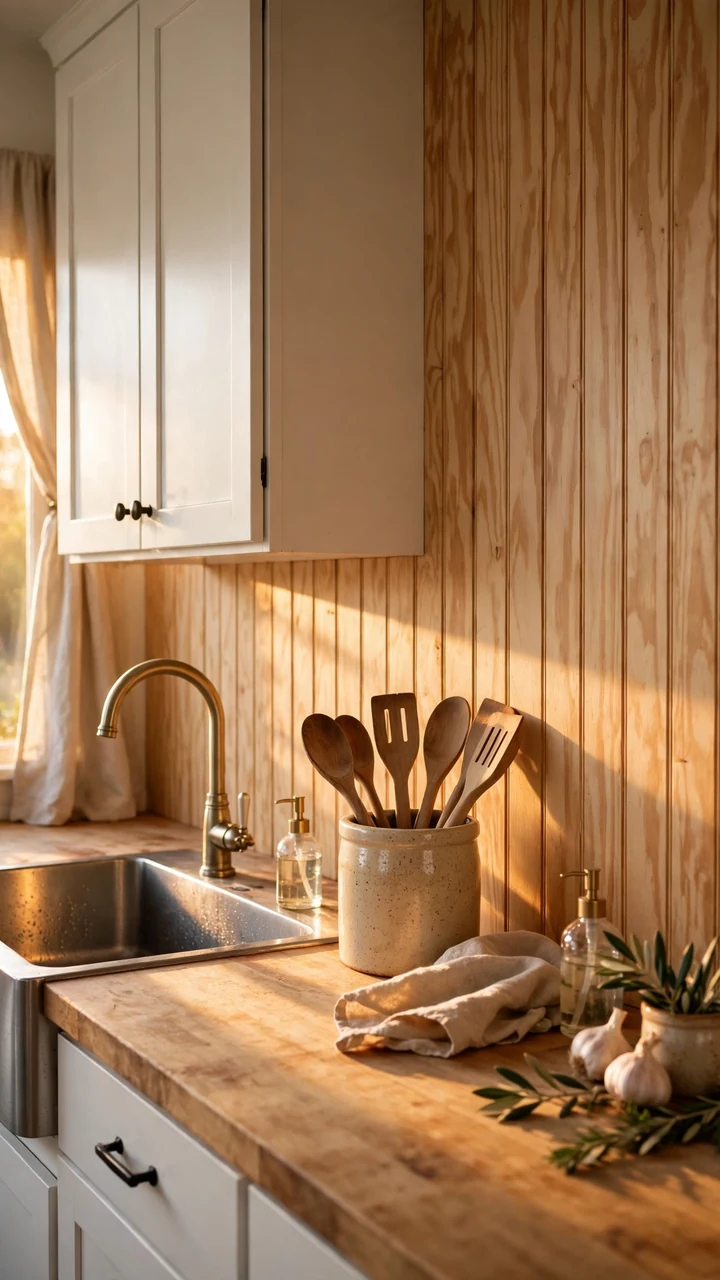
Thin plywood strips look like shiplap, and a single sheet cuts into dozens of planks.
Many home stores will rip a sheet into narrow strips for a small fee, which saves you from owning a table saw. Sand the edges, stain or paint the planks, and glue them to the wall with construction adhesive. Leave a tiny gap between each one so they look like real boards.
Raw wood soaks up grease and water, so seal every surface with a few coats of clear polyurethane. Keep wood well away from open flames. Use this idea on the wall beside the sink or on a side wall instead.
Ask the store to cut a plywood sheet into strips about five inches wide.
Sand the edges, then stain or paint each plank on all sides before it goes up.
Glue the planks with construction adhesive and use a coin as a spacer between boards.
Brush on three coats of clear polyurethane and let each coat dry before the next.
13. Tin Look Plastic Panels
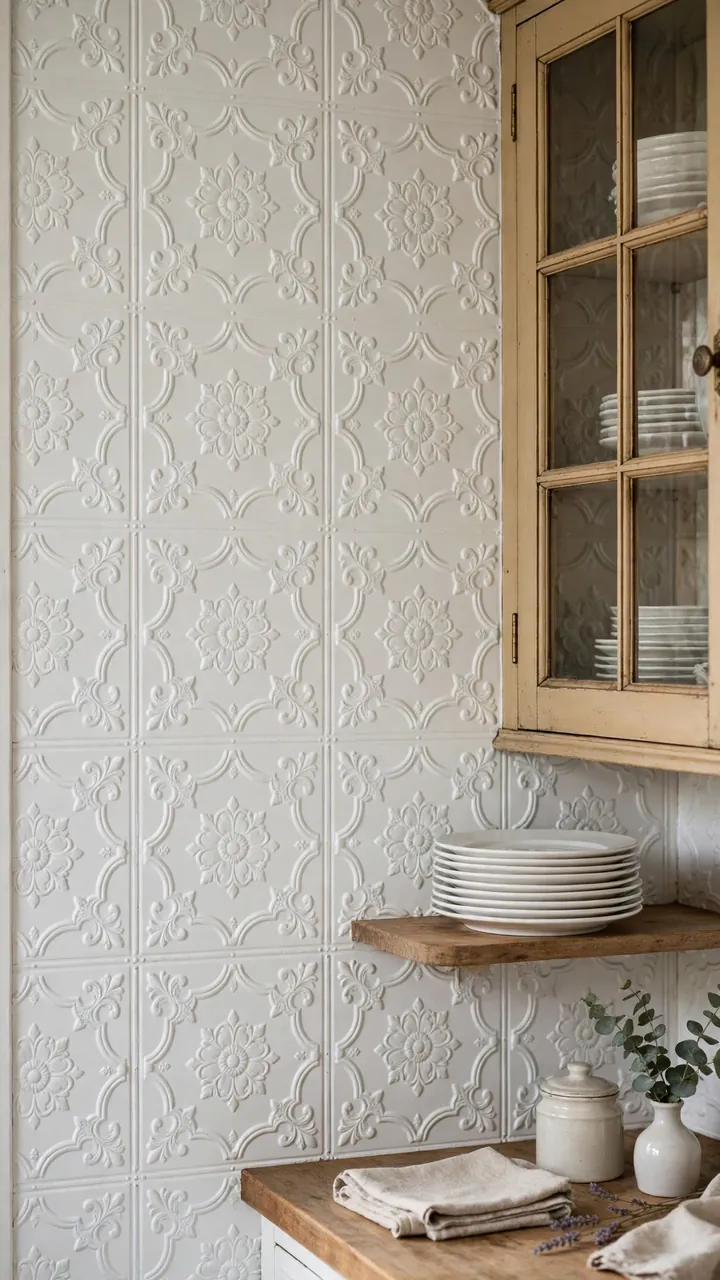
A tin ceiling backsplash looks old and expensive, but real tin costs a lot and cuts your fingers.
Plastic and lightweight panels copy the same stamped pattern for much less. Pick white, silver, or a soft black. They snap into place with adhesive or a few small fasteners, and the larger sheets mean fewer seams.
Be honest about heat. Plastic panels can warp near a hot burner, so end them a safe distance from the stove and use a metal sheet or paint on that stretch. Wipe them with a damp cloth to keep the grooves clean.
A flat painted wall with grease marks and a few old nail holes.
A stamped pattern wall in soft silver that catches the light and wipes clean.
14. Glossy Gel Tiles
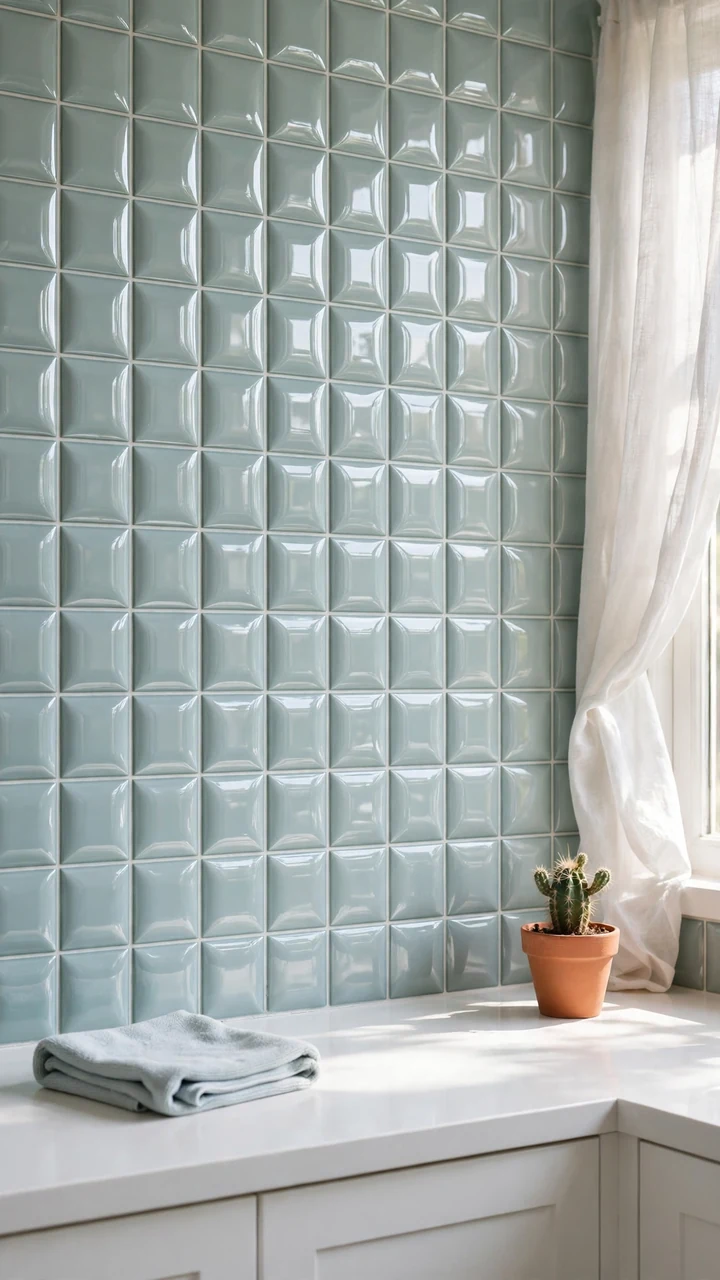
Gel tiles feel like a thick sticker, with a raised, shiny surface that looks like glass.
They are a good fit when you want a polished wall without grout or a messy install. Press each tile on firmly and line up the edges before the adhesive grabs. The thick surface hides small dents and old tile lines better than thin vinyl does.
Dust and fingerprints show on a glossy finish, so a quick wipe with a microfiber cloth keeps it sharp.
Check the label for heat limits. Most gel tiles are meant for the sink and prep area, not the wall behind the burners.
Before you stick them on
15. Fresh Grout Paint
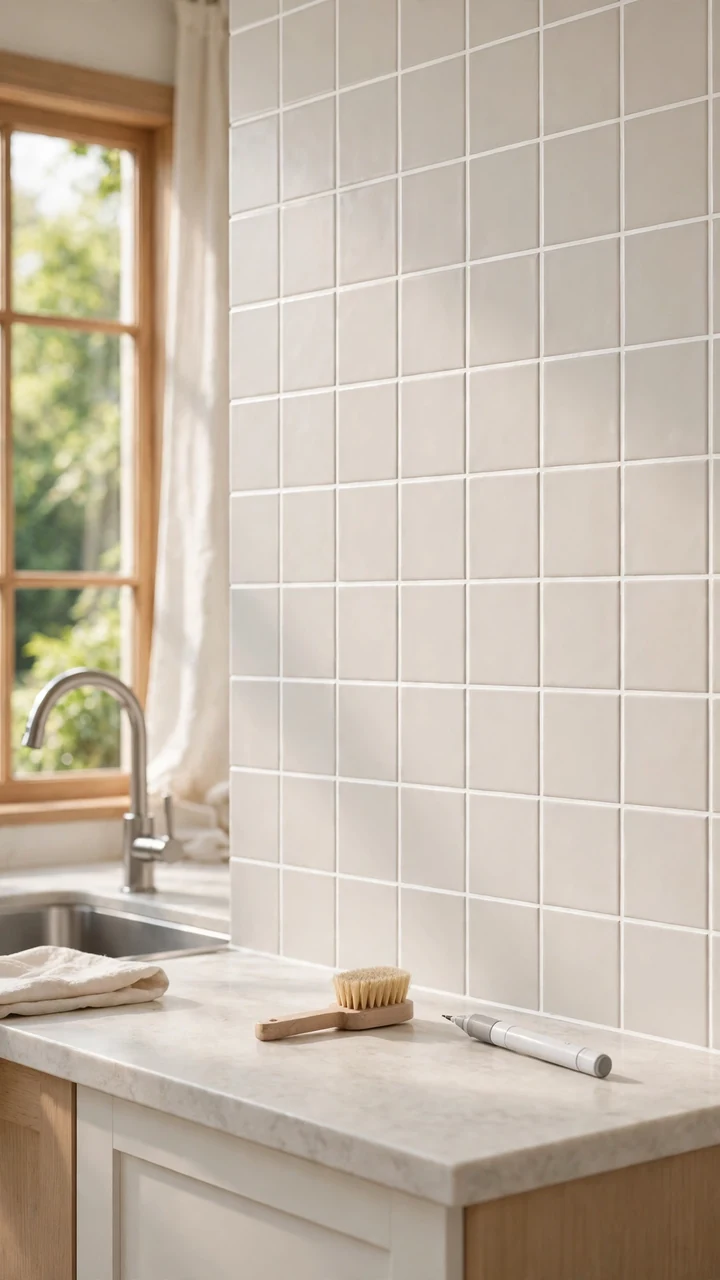
Stained grout is often what makes a good tile wall look dirty.
Grout paint, sometimes sold as a grout pen, covers dark or yellowed lines with a clean white or light grey in a single afternoon. Scrub the lines first so the paint bonds, then trace each one with a small brush or pen. Wipe stray paint off the tile face right away, before it dries.
Your tile stays, so this holds up near the stove better than any sticker. It also costs very little, which makes it a smart first step before you decide to cover the tile.
16. Tile Decals Over Old Tile
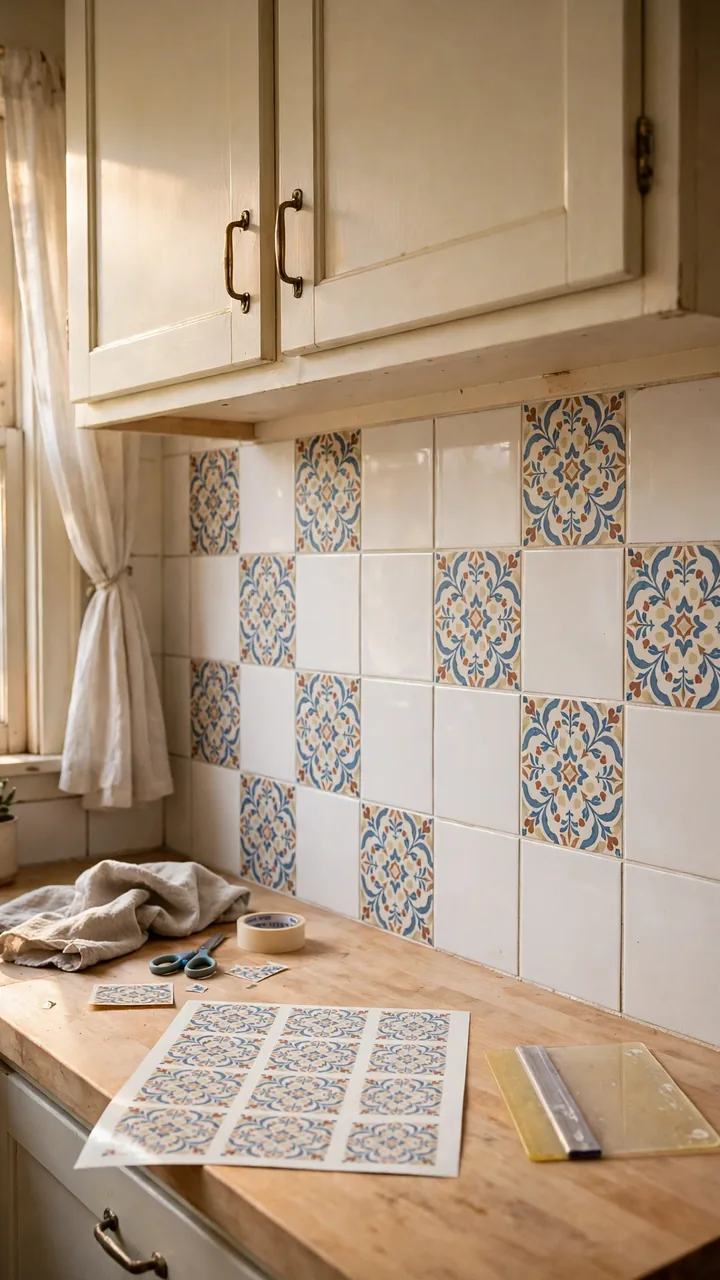
Decals are the lightest fix on this list. They are thin stickers cut in a pattern, and each one sits on top of a single tile.
You stick one decal on each tile, so the old color and the grout lines stay visible around the edges. That works in your favor if the pattern has a border or you pick a design that looks like painted tile. Press from the center out and use a small plastic card to smooth each one.
Clean the tile well, since soap film keeps decals from holding. Near the stove, check the heat rating. Many decals are fine for splashes but not for direct heat.
| Decals | Tile paint | Tile overlay |
|---|---|---|
| Cost: low | Cost: low | Cost: medium |
| Install: one tile at a time | Install: prep, prime, paint | Install: sheets pressed on |
| Hides grout: no | Hides grout: if you paint it | Hides grout: yes |
| Near the stove: check the label | Near the stove: usually fine | Near the stove: check the label |
17. Herringbone Tile Stickers
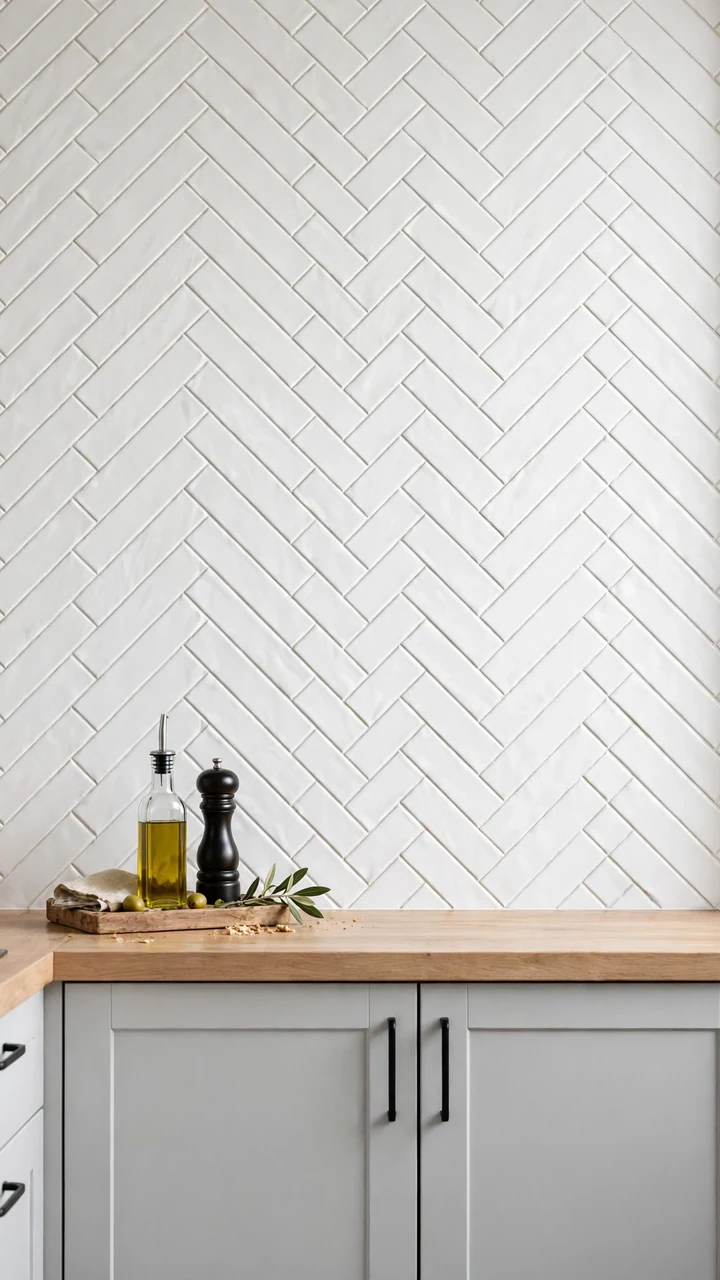
Same tile, different layout. A zigzag pattern makes plain white subway stickers look like a custom job.
Herringbone takes more planning than straight rows, so draw a light pencil line down the center of the wall first. Build the pattern outward from that line. Cut the end pieces last, since the edges need small triangles.
It looks best in a small kitchen with plain cabinets and a simple countertop. Skip it on a very busy wall, because the pattern already does a lot of work.
Keep stickers a safe distance from the burners unless the box says otherwise.
Mark a center line before the first tile.
Lay the first few rows on the floor to test the angle.
Cut edge pieces last, one at a time.
Starting at a corner and hoping it stays straight.
Pairing it with a loud countertop.
Running it right behind the burners.
18. A Floating Ledge With Art
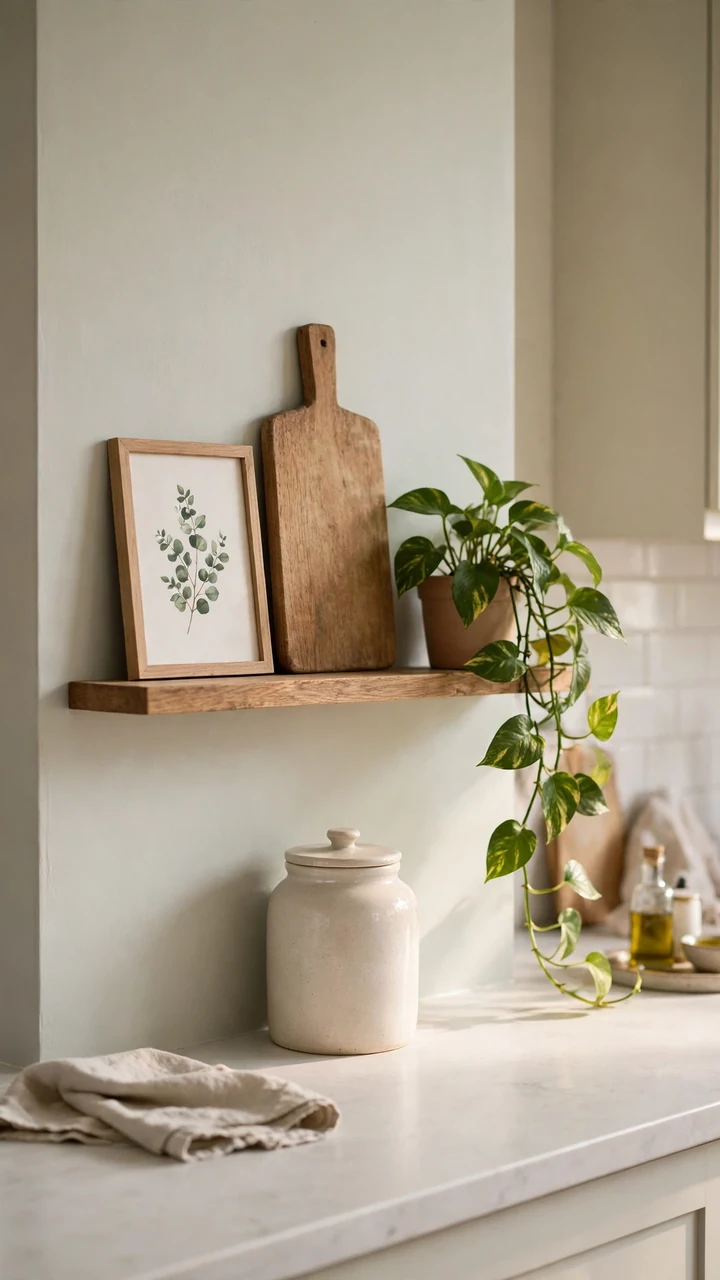
A bare wall does not always need covering. Sometimes it needs something to look at.
Fix the wall with a coat of washable paint, then add a narrow wood ledge at eye level. Lean a small framed print or a favorite cutting board against the wall and add a plant or two. This is the easiest of the kitchen wall decor ideas, and you can swap the display whenever you want.
Mount the ledge into studs or use heavy duty anchors, because plates and jars get heavy. Skip it directly above the burners, where grease and heat will ruin the art.
📌 Good To Know
Pick a ledge that is a little longer than the sink. It lines up with the window and makes the whole wall look planned, even when it only holds three small things.
19. Two Tone Paint Band
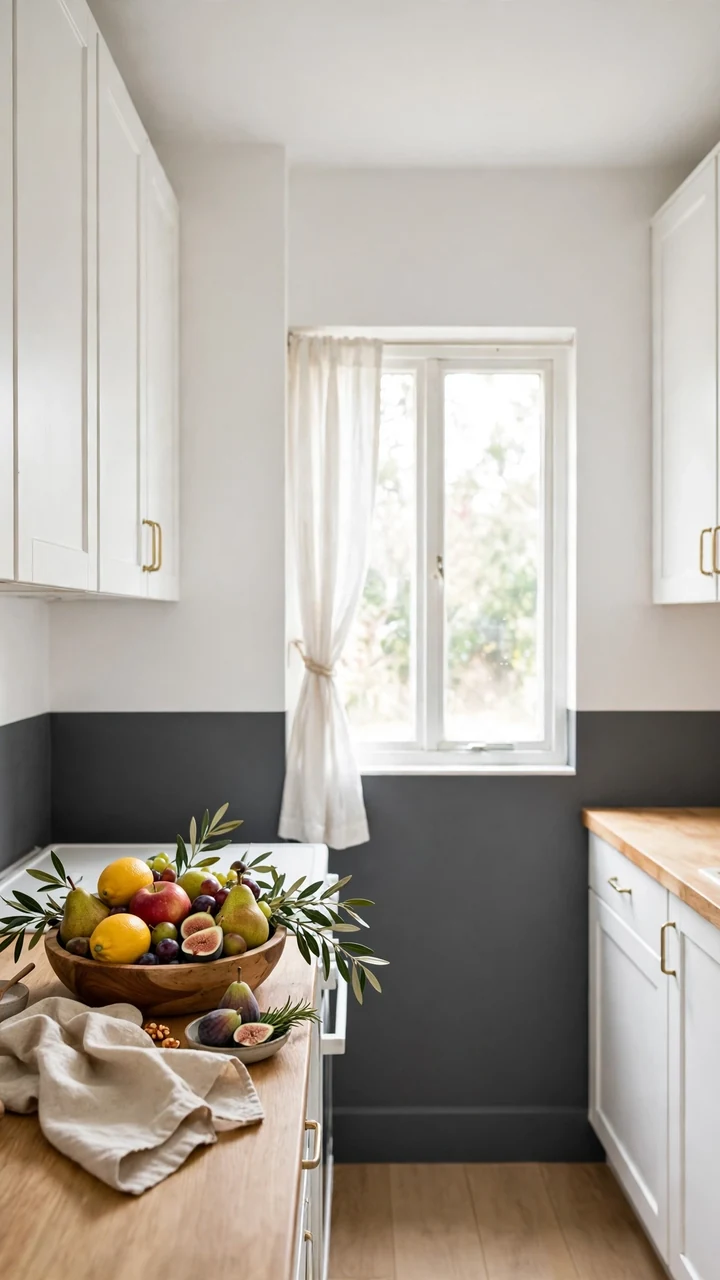
Two coats of the same white wall can feel flat. A band of color across the middle fixes that in an afternoon.
Choose a deep shade like charcoal or soft grey and paint it from the counter up to about the height of the lower cabinet edge. Keep the upper wall in your original color. Tape the top line with a level so it stays crisp, and press the tape edge down with a card before you paint.
Use a satin or semi gloss finish so grease wipes right off. Painted walls are fine behind the stove, and cost is the lowest of any idea here.
Use a level for the top line of tape. A band that tilts even a little will look like a mistake every time you cook.
20. Wood Look Vinyl Planks
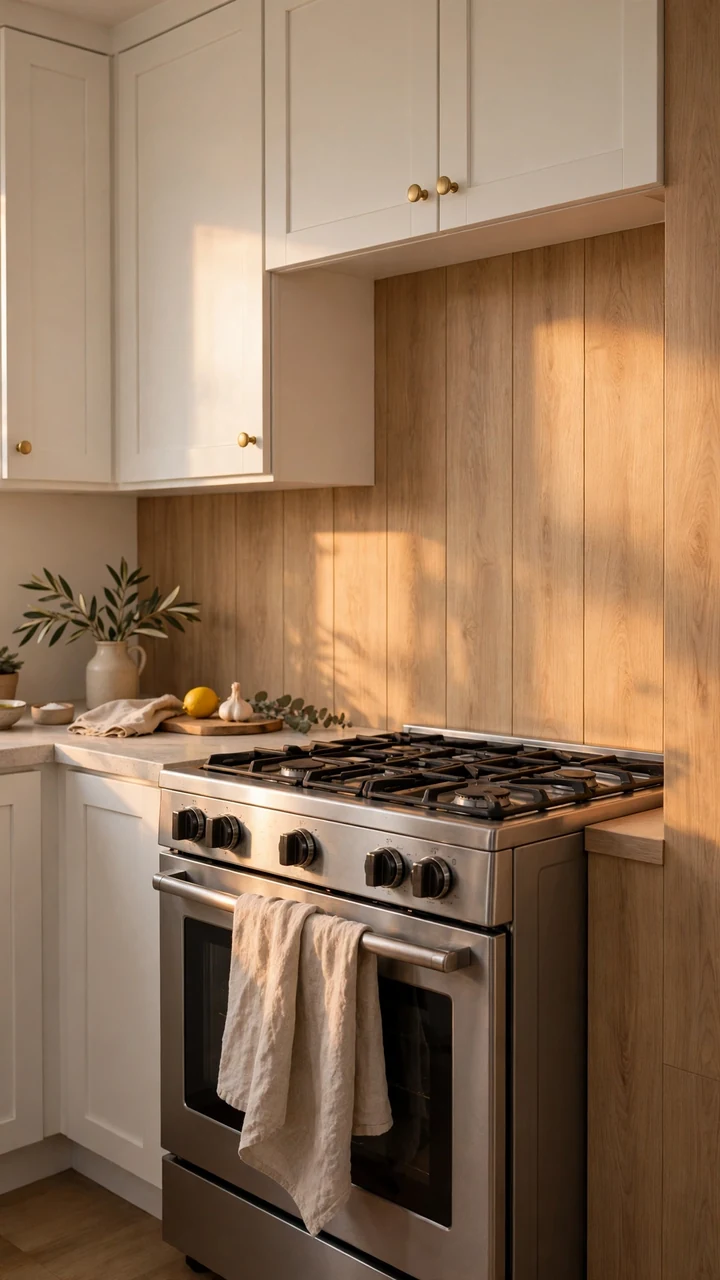
Warm wood tones soften a hard white kitchen, and vinyl planks give you that look without the upkeep of real boards.
Peel and stick planks cut with a utility knife and press straight onto a clean wall. Use them on a short stretch, like the wall beside the stove or the area behind a coffee station. Lay them in a staggered pattern so the seams do not line up.
Vinyl is not made for high heat, so stop the planks a few inches from the burners and finish that part with paint or metal.
- ▸Pick a light oak tone for small kitchens, since dark wood closes in the wall.
- ▸Stagger the seams by at least six inches.
- ▸Cut around outlets before you peel the backing.
- ▸Seal the top edge with a thin bead of clear caulk.
21. Clear Acrylic Sheet
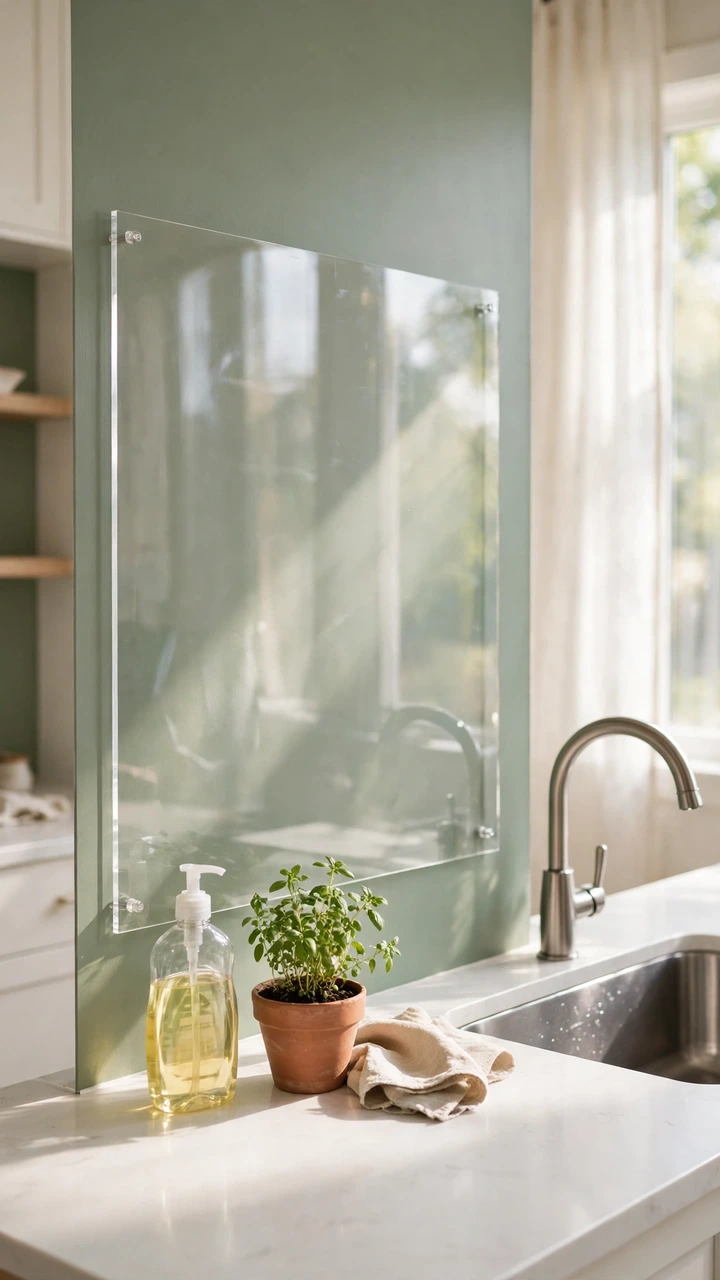
Paint and wallpaper do not like grease. A clear sheet on top solves that, and the wall underneath stays the star.
Paint the wall a bold color, or stick up a patterned wallpaper, then mount a clear acrylic panel over it. Splashes wipe off the smooth surface, and the wall stays dry and clean underneath. Many home stores cut acrylic to size, and small holes at the corners hold the screws.
Plain acrylic can warp or melt near high heat. Use it beside the sink and on side walls, and keep it well back from the burners.
22. Tile Just the Sink and Stove
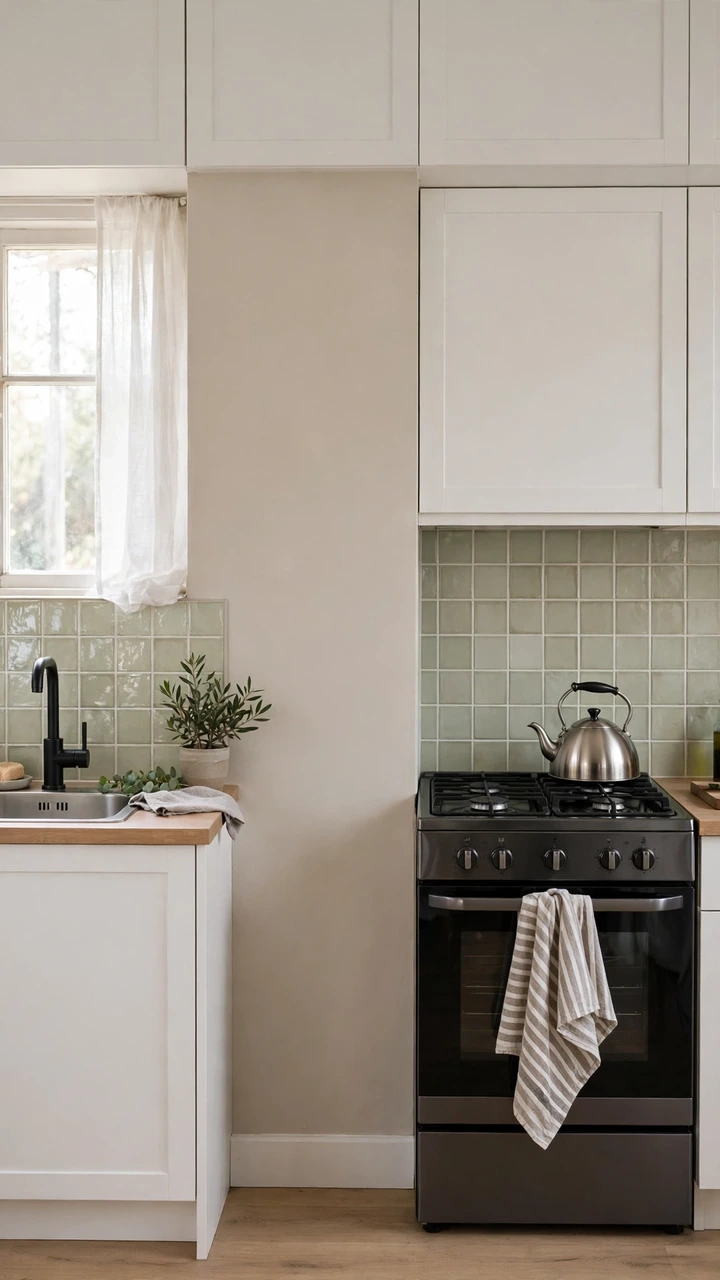
Small kitchens do not need a full wall of anything. Two short stretches do most of the work.
Splashes happen at the sink and the stove, so cover only those two spots and paint the rest of the wall to match. That cuts the cost in half and keeps the tile from feeling heavy in a tight room. Use the same tile in both places so they read as one design.
Choose a heat safe option for the stove side, such as real tile, painted tile, or a metal sheet. Peel and stick works well at the sink.
Measure the wall behind the sink and the wall behind the stove as two separate zones.
Paint the rest of the wall in a color that matches the tile, so the edges blend in.
Stick the tile on the sink zone, then finish the top edge with a thin line of caulk.
Cover the stove zone with a heat safe option, then step back and check that both stretches look like one design.
23. Full Height Tile Stickers Behind the Stove
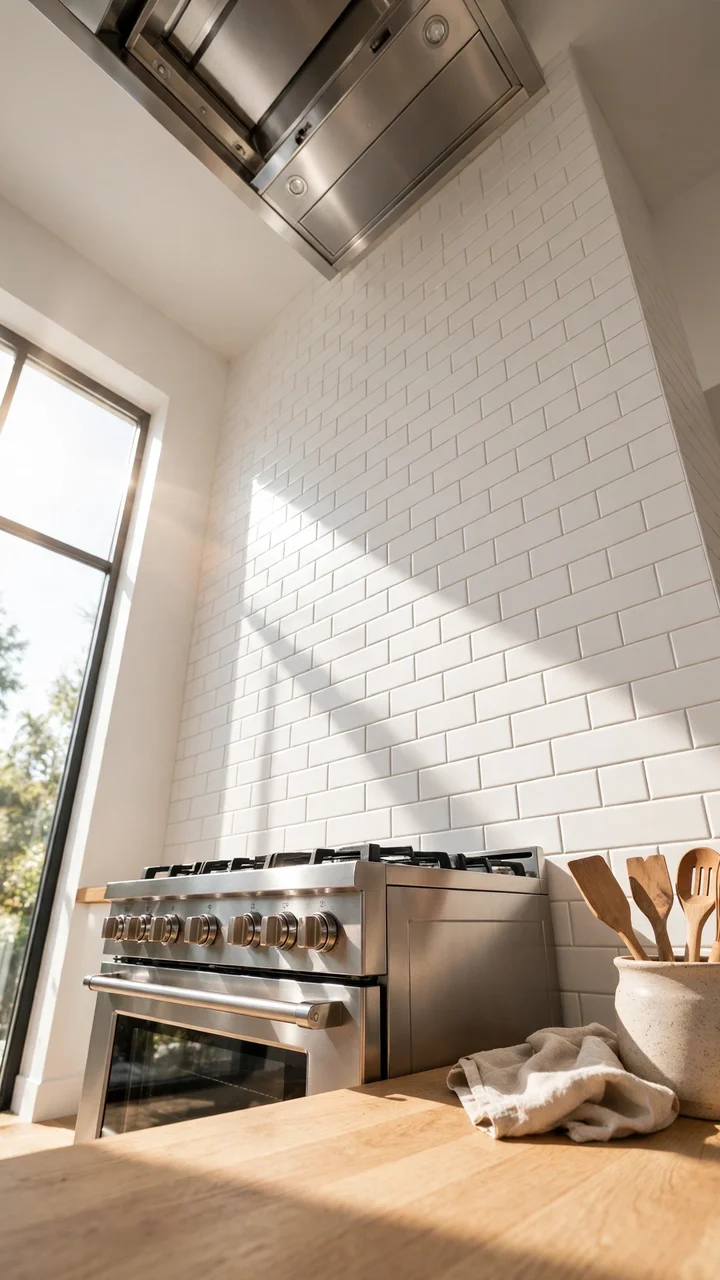
A backsplash that stops at the cabinets can look chopped off. Running it to the ceiling behind the range makes the stove feel built in.
The extra height adds cost, but it also hides the stripe of bare wall between the tile and the hood. Run the tile in a straight line from the counter to the underside of the hood or the ceiling.
This is the wall that needs the most care. Check your stove manual for the clearance it asks for, and use a heat rated product in that zone. A metal sheet or real tile beats a sticker right behind the burners.
Short tile that stops at the cabinet line, with a stripe of bare paint above it.
One tall tile wall that runs up to the hood and frames the stove like a feature.
24. Fish Scale Tile Stickers
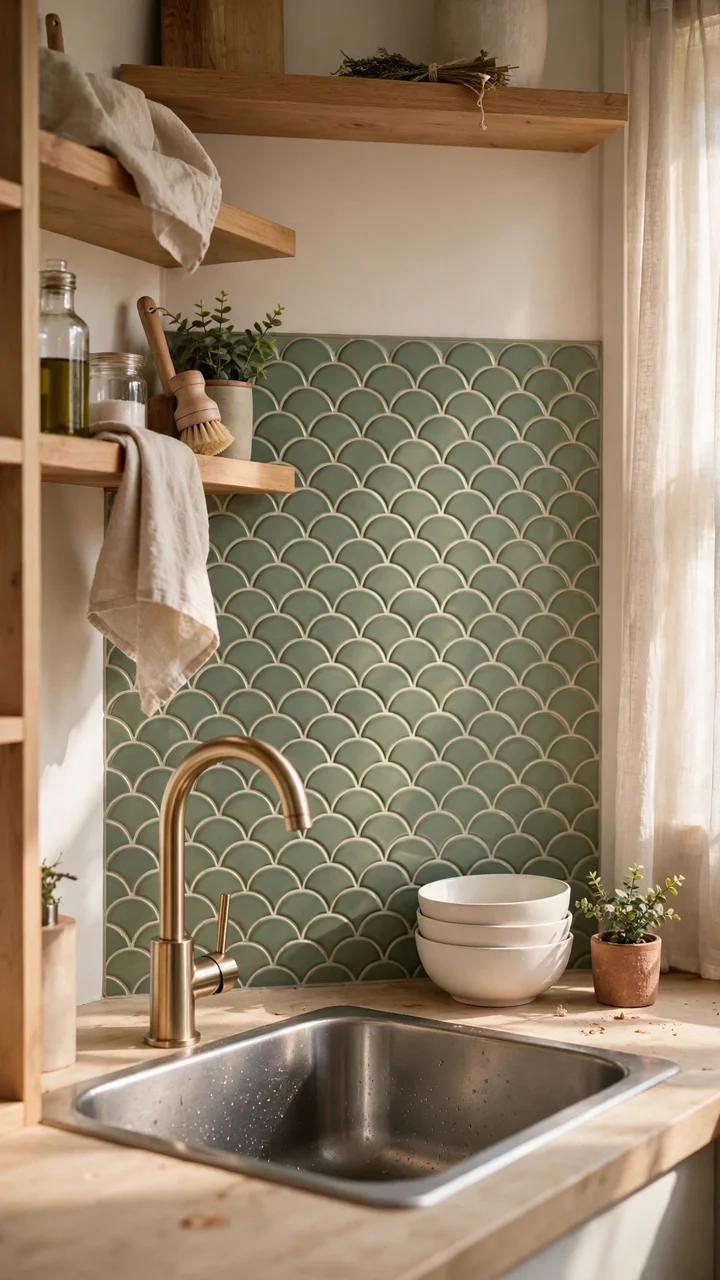
Rounded scale shapes give a plain wall some curves, and they work well in small kitchens with a lot of straight lines.
A soft sage or warm white keeps the shape friendly. A dark color makes the pattern bold. Line up the rows with a level, since the curves can make a crooked row hard to spot until the end.
Use it on a short wall, like the one above the sink, and let the rest of the room stay simple. For heat, follow the label and keep stickers back from the burners.
Pick up these first
25. Faux Marble Slab Sheets
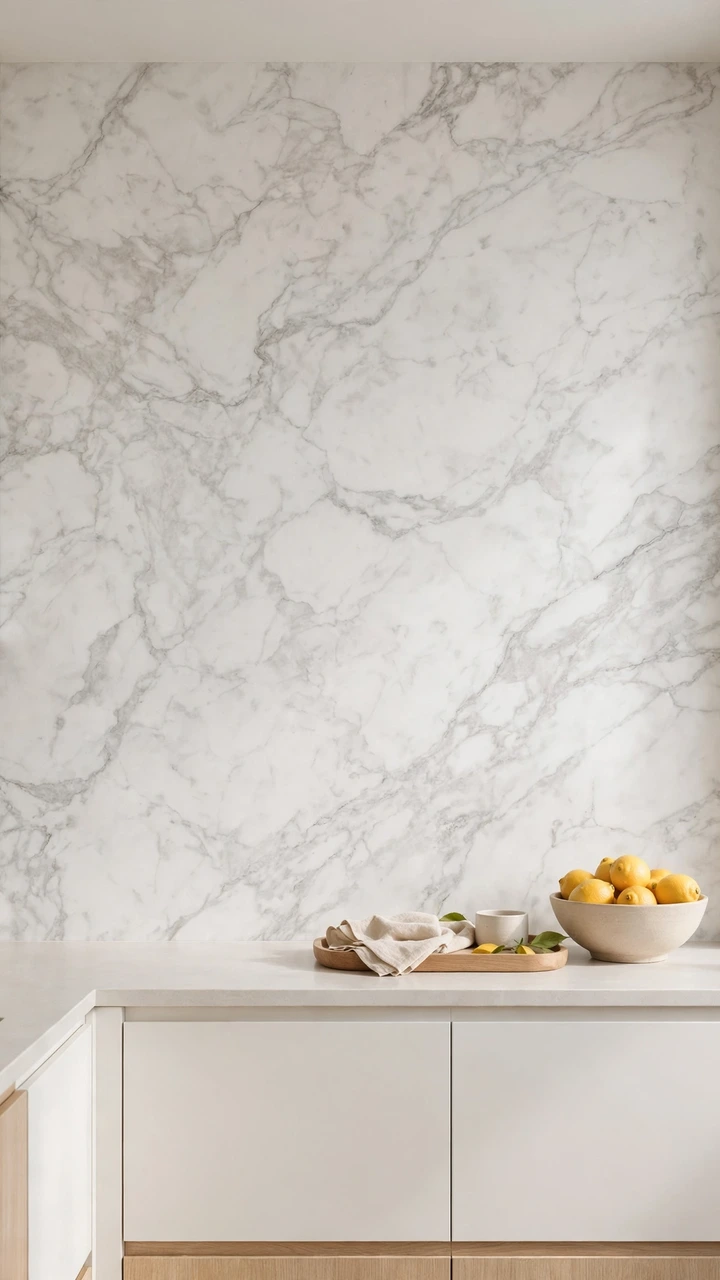
Big sheets mean almost no seams, and a veined marble look makes a plain kitchen feel finished.
Slab sheets come in large panels that cover a wall with just a few pieces. Pick a white and grey vein with a calm pattern. A wild vein calls too much attention in a small room. Match the sheet to your countertop color so the two feel connected.
Cut with a sharp blade, press from the center out, and seal the edges with clear caulk. Keep this one away from the burners unless the product lists a heat rating.
Pick One Wall and Start
A bare wall or tired tile does not have to wait for a big budget. Paint, stickers, beadboard, vinyl, and a metal sheet can all give your kitchen a finished look in a weekend. Start with the wall that bugs you most, usually the one behind the sink, and save the heat safe material for the stove zone.
These cheap kitchen backsplash ideas work because small, careful steps beat a rushed remodel. Measure twice, read the heat label, and give the adhesive time to set.
Save this list to your Kitchen Makeover Ideas board on Pinterest, so you can find it the next time that wall starts to bother you.
Before you start any of these