
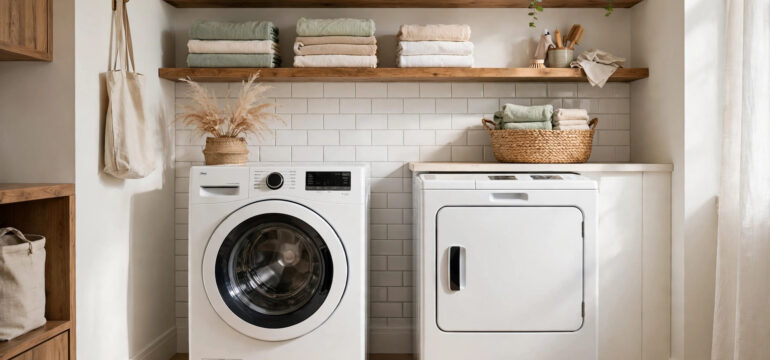
The smallest room in the house does the hardest working job. Your laundry room handles dirty clothes, wet towels, cleaning supplies, and the occasional lost sock, all in a space barely bigger than a closet. The good news is that small laundry rooms respond beautifully to smart organization. A few well chosen upgrades can turn a cramped corner into a space that feels calm, bright, and even a little bit beautiful. The ideas below come from real laundry rooms that had to work hard with very little square footage. Each one focuses on saving space without giving up style, because a room you use every single day deserves to look good. Read through them, pick the ones that fit your room, and watch your laundry routine get easier.
1. Tall Open Shelving
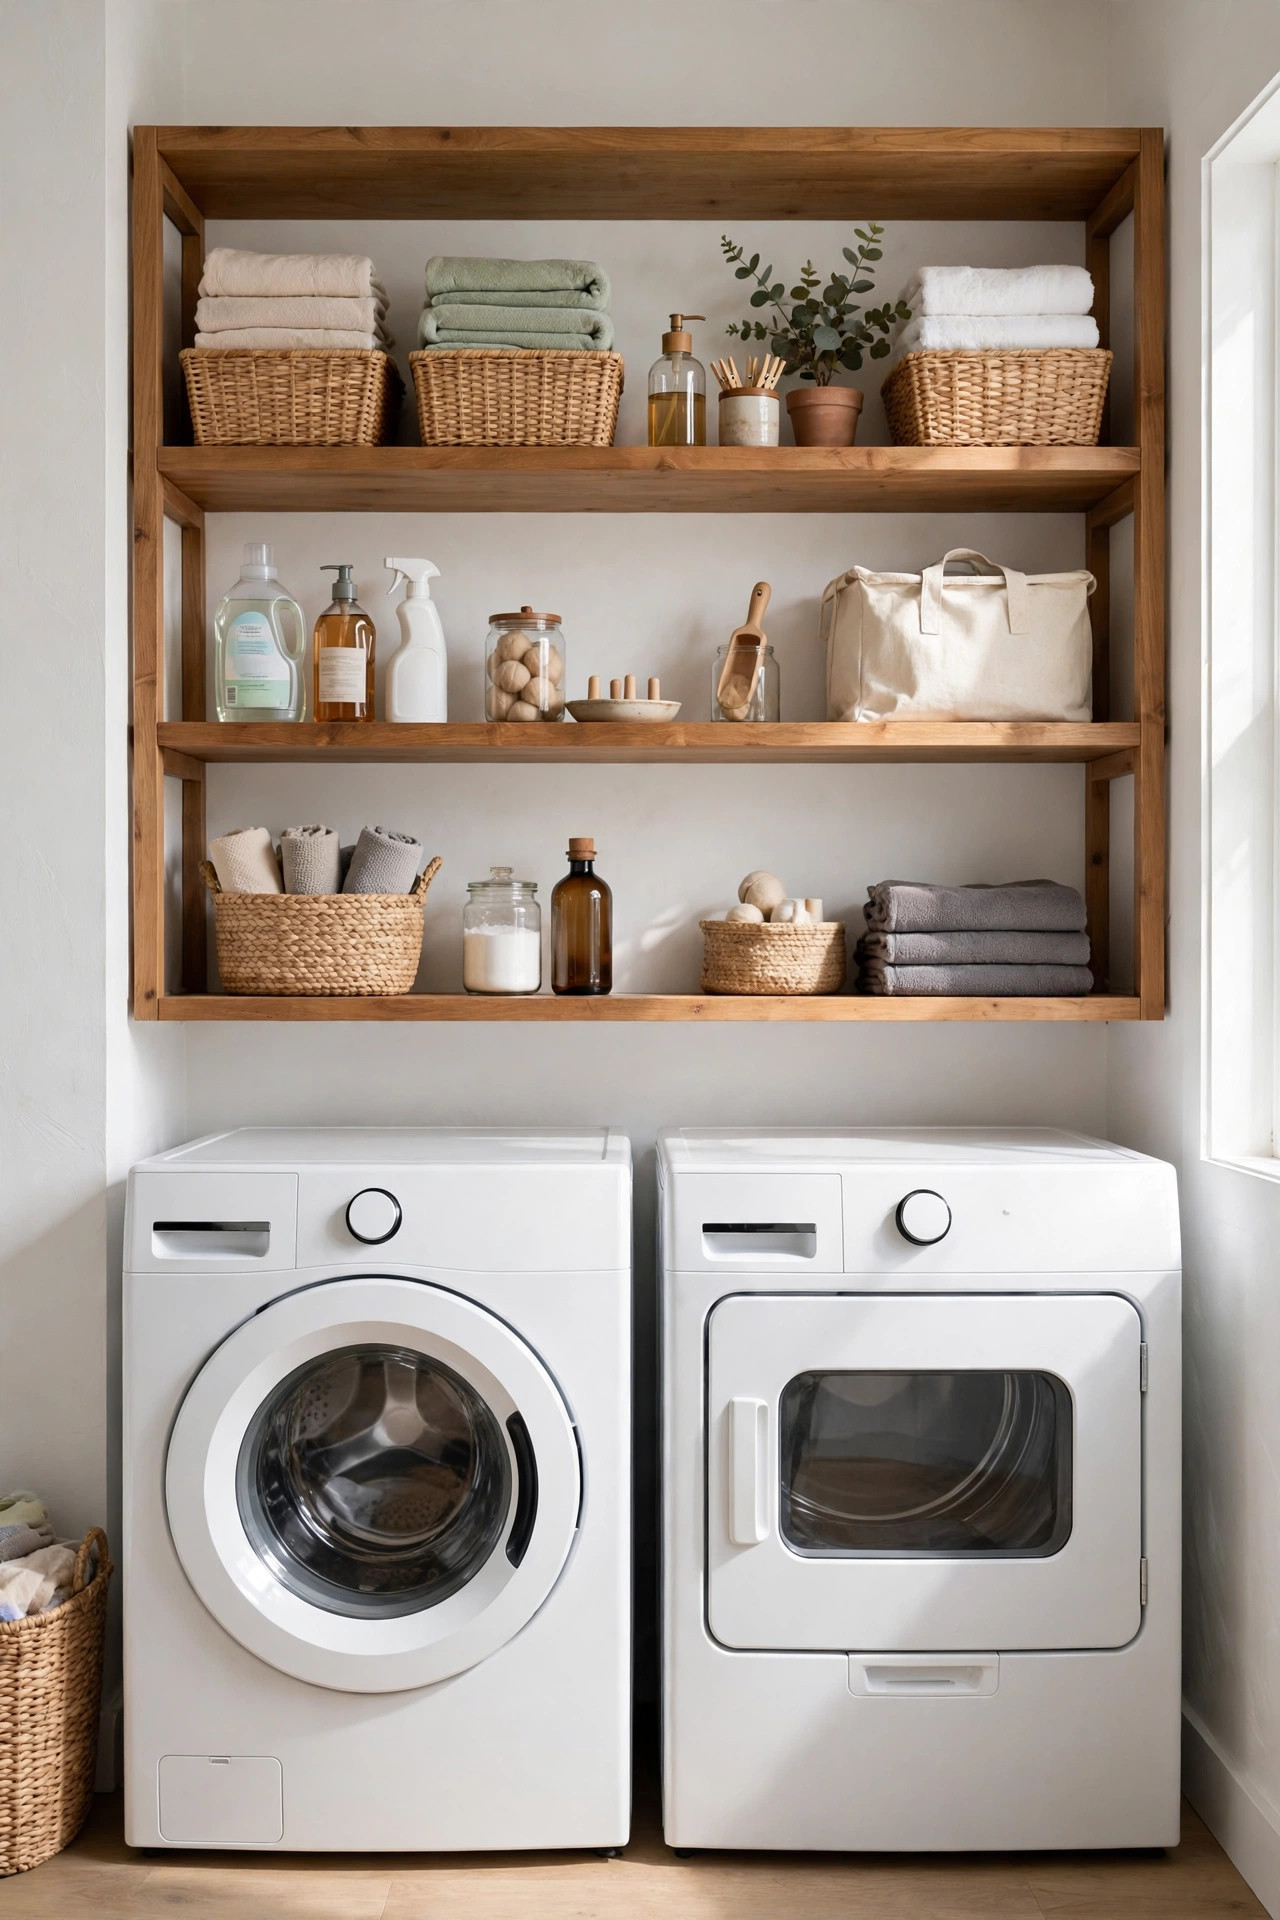
Look at the wall above your washer and dryer. That empty space is the most wasted real estate in the entire laundry room, and tall open shelving is how you claim it back. Run shelves all the way from just above the machines to near the ceiling, and suddenly you have room for detergent, stain remover, dryer sheets, and every cleaning bottle you own. Open shelves work better than closed cabinets here because you can see everything at a glance. No more opening three doors to find the fabric softener. Paint the shelves the same color as the wall so they blend in, or choose warm wood for a touch of contrast that makes the room feel styled instead of purely functional.
Installation is a simple weekend project that needs only a drill, a level, and sturdy brackets. Mount the lowest shelf about a foot above the machines so you have clearance to open lids and reach controls. Space the rest evenly up the wall, keeping everyday items at arm height and lighter, rarely used things up top. Add matching baskets or clear jars on the shelves so small items stay grouped instead of scattered. This one change gives a tiny laundry room the storage of a room twice its size, and it costs less than a single cabinet.
2. Slim Rolling Cart
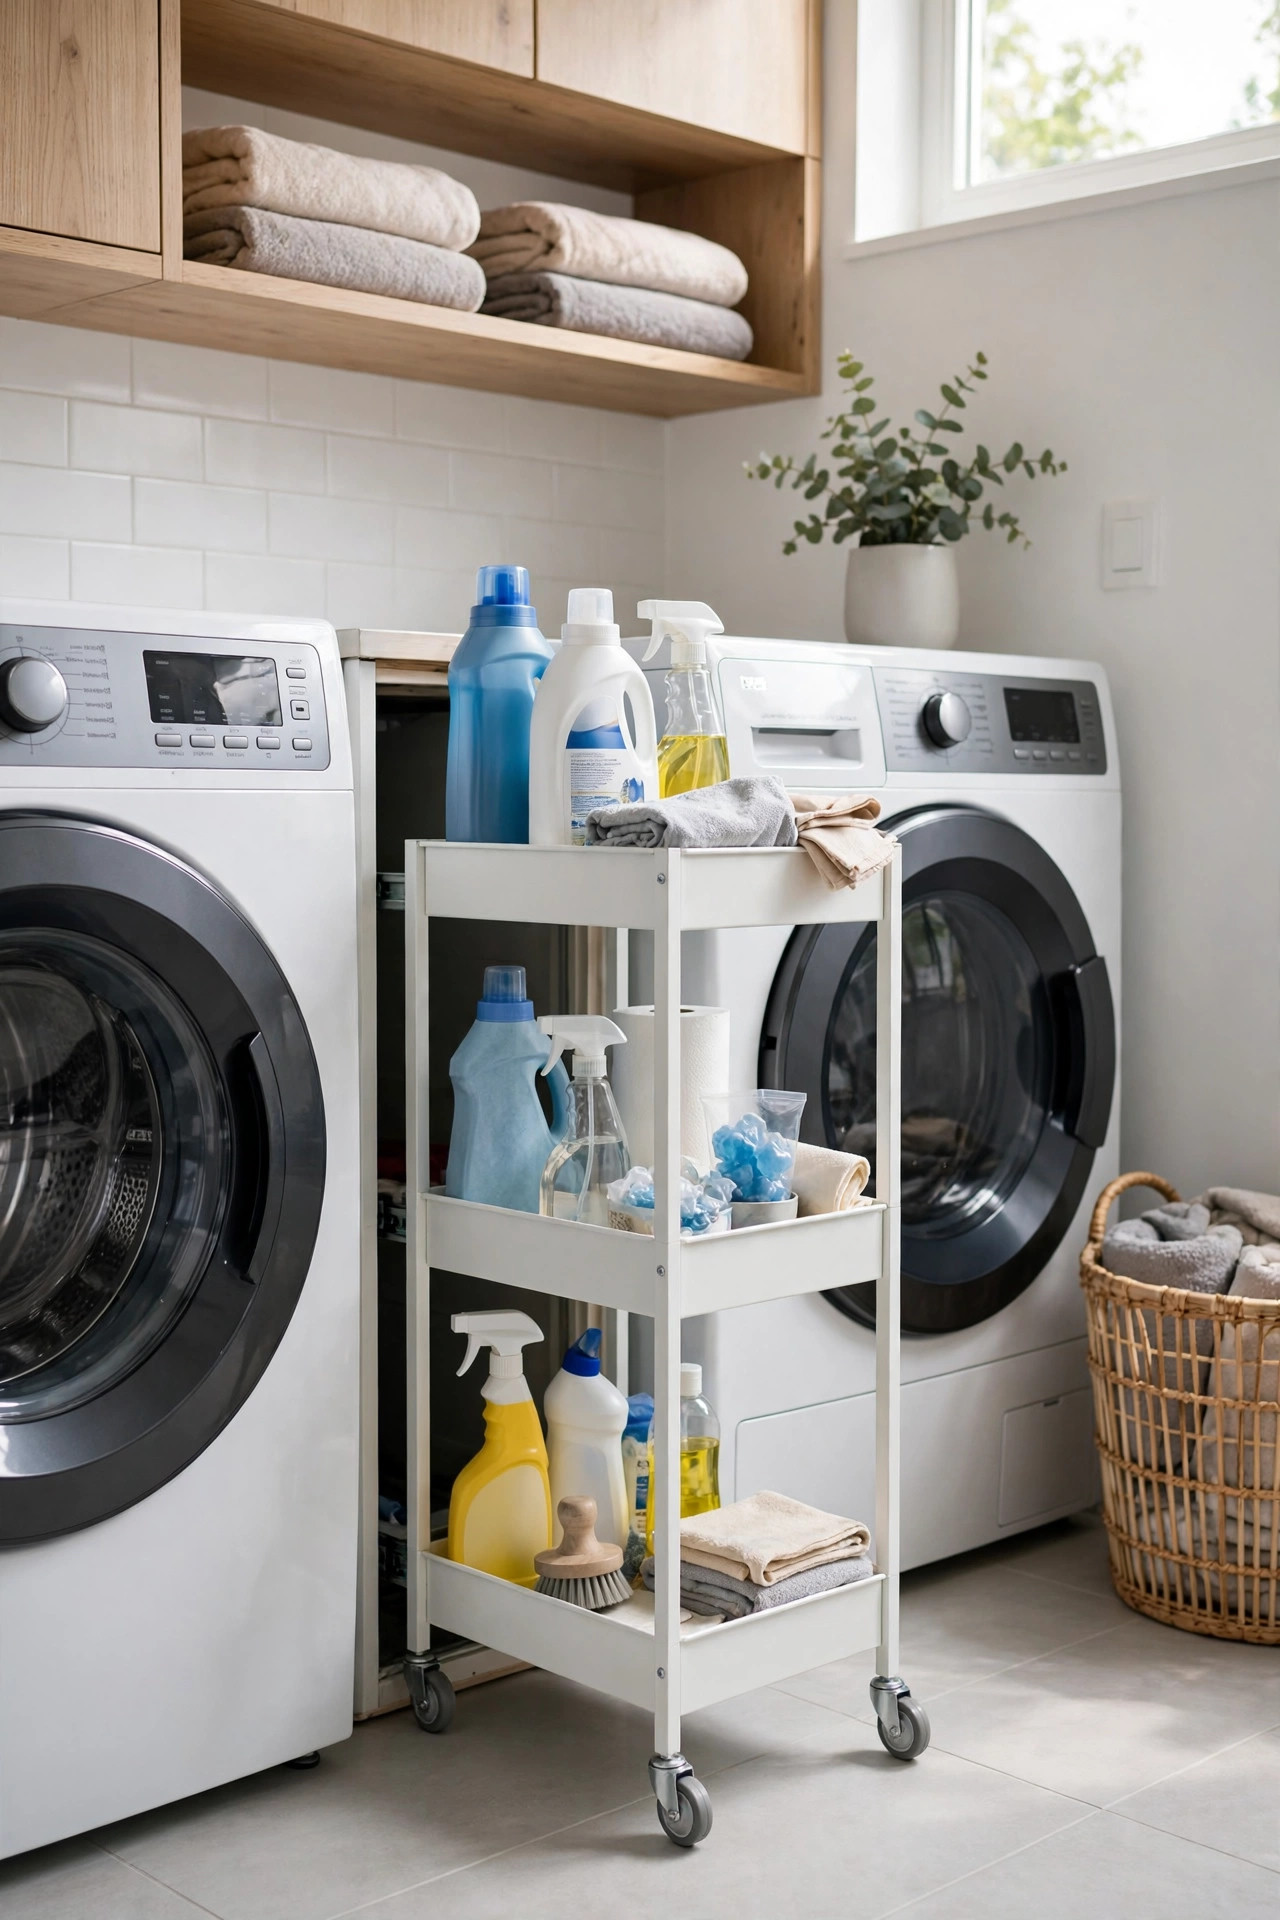
The narrow gap between your washer and dryer, or between a machine and the wall, looks like dead space. A slim rolling cart turns it into some of the most useful storage in the room. These carts are only a few inches wide but tall enough to hold several tiers of supplies. Slide one into that gap and you have a pull out tower for detergent bottles, dryer balls, stain sticks, and all the small things that usually pile up on top of the machines. When you need something, you roll it out. When you are done, it disappears back into the gap.
Measure your gap before you shop, since these carts come in several widths and you want a snug but easy fit. Look for one with raised edges on each shelf so bottles do not tip over when you roll it. The top tier is perfect for the items you grab every load, while lower tiers can hold backup supplies and cleaning products. Some carts even have hooks on the side for a lint brush or small dustpan. It is a ten minute upgrade with no tools required, and it frees up the top of your machines for folding instead of storage.
3. Counter Over Machines
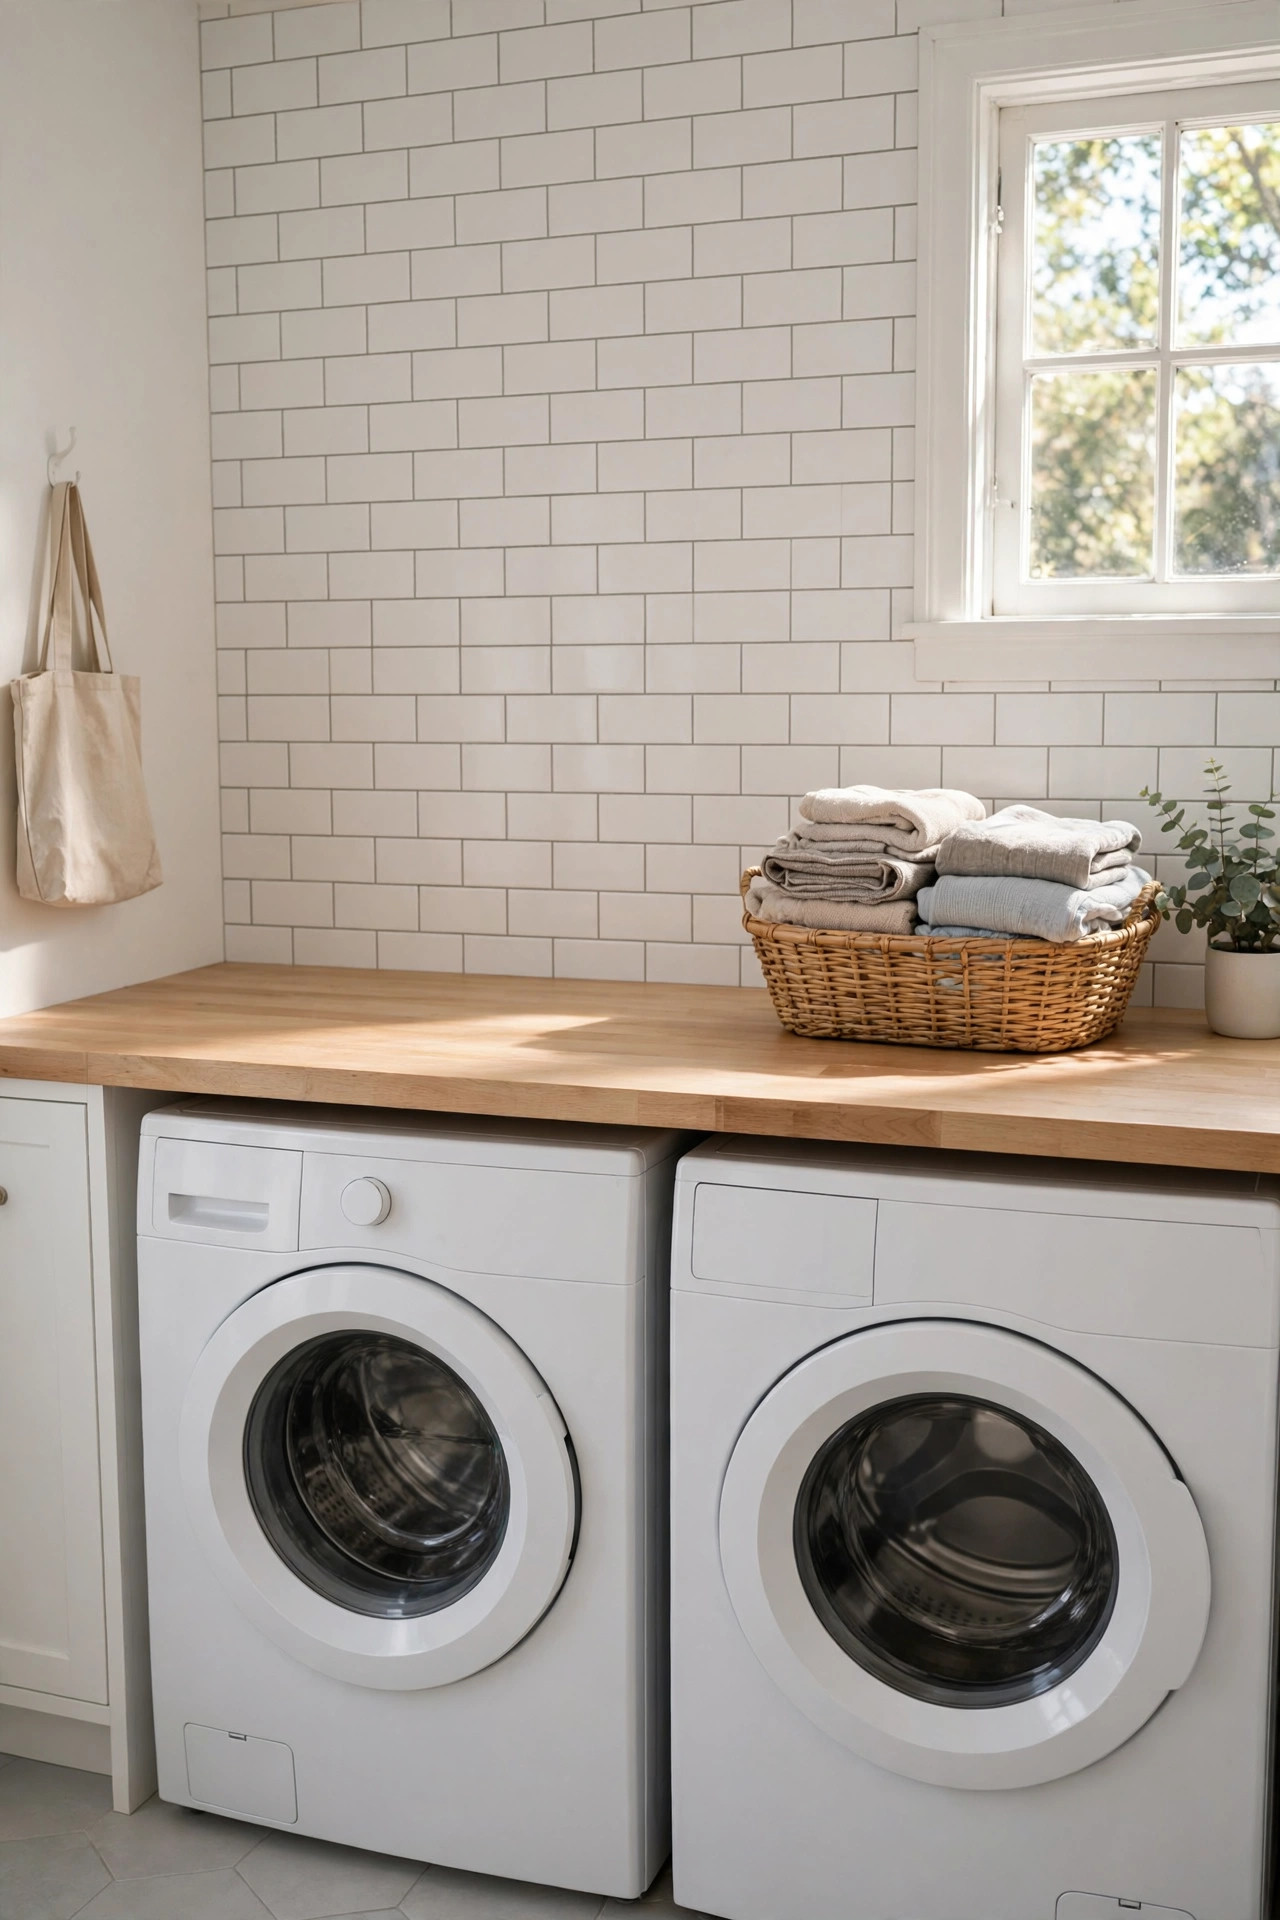
A flat countertop laid across the top of front load machines is one of the most loved upgrades in small laundry rooms. It gives you a full width folding surface without taking a single extra inch of floor space. Clothes come out of the dryer and land right on the counter for sorting and folding, instead of balancing on top of a warm machine or getting carried to another room. The counter also hides the gap between the machines and creates one clean, continuous line that makes the whole room look custom built.
You can buy a ready made laundry countertop or build one from a sheet of plywood topped with laminate. Measure the full width across both machines and leave a small gap at the back for hoses. If you want a softer look, butcher block adds warmth that pairs beautifully with white machines. Make sure the counter sits level and does not wobble, since you will be leaning on it. Keep only a small basket and a jar of clothespins on it so the surface stays clear for work. This upgrade turns the busiest zone of the room into the most useful one. If your machines are different heights, use shims under the counter supports to keep the surface perfectly level and rattle free.
4. Stacked Washer Dryer
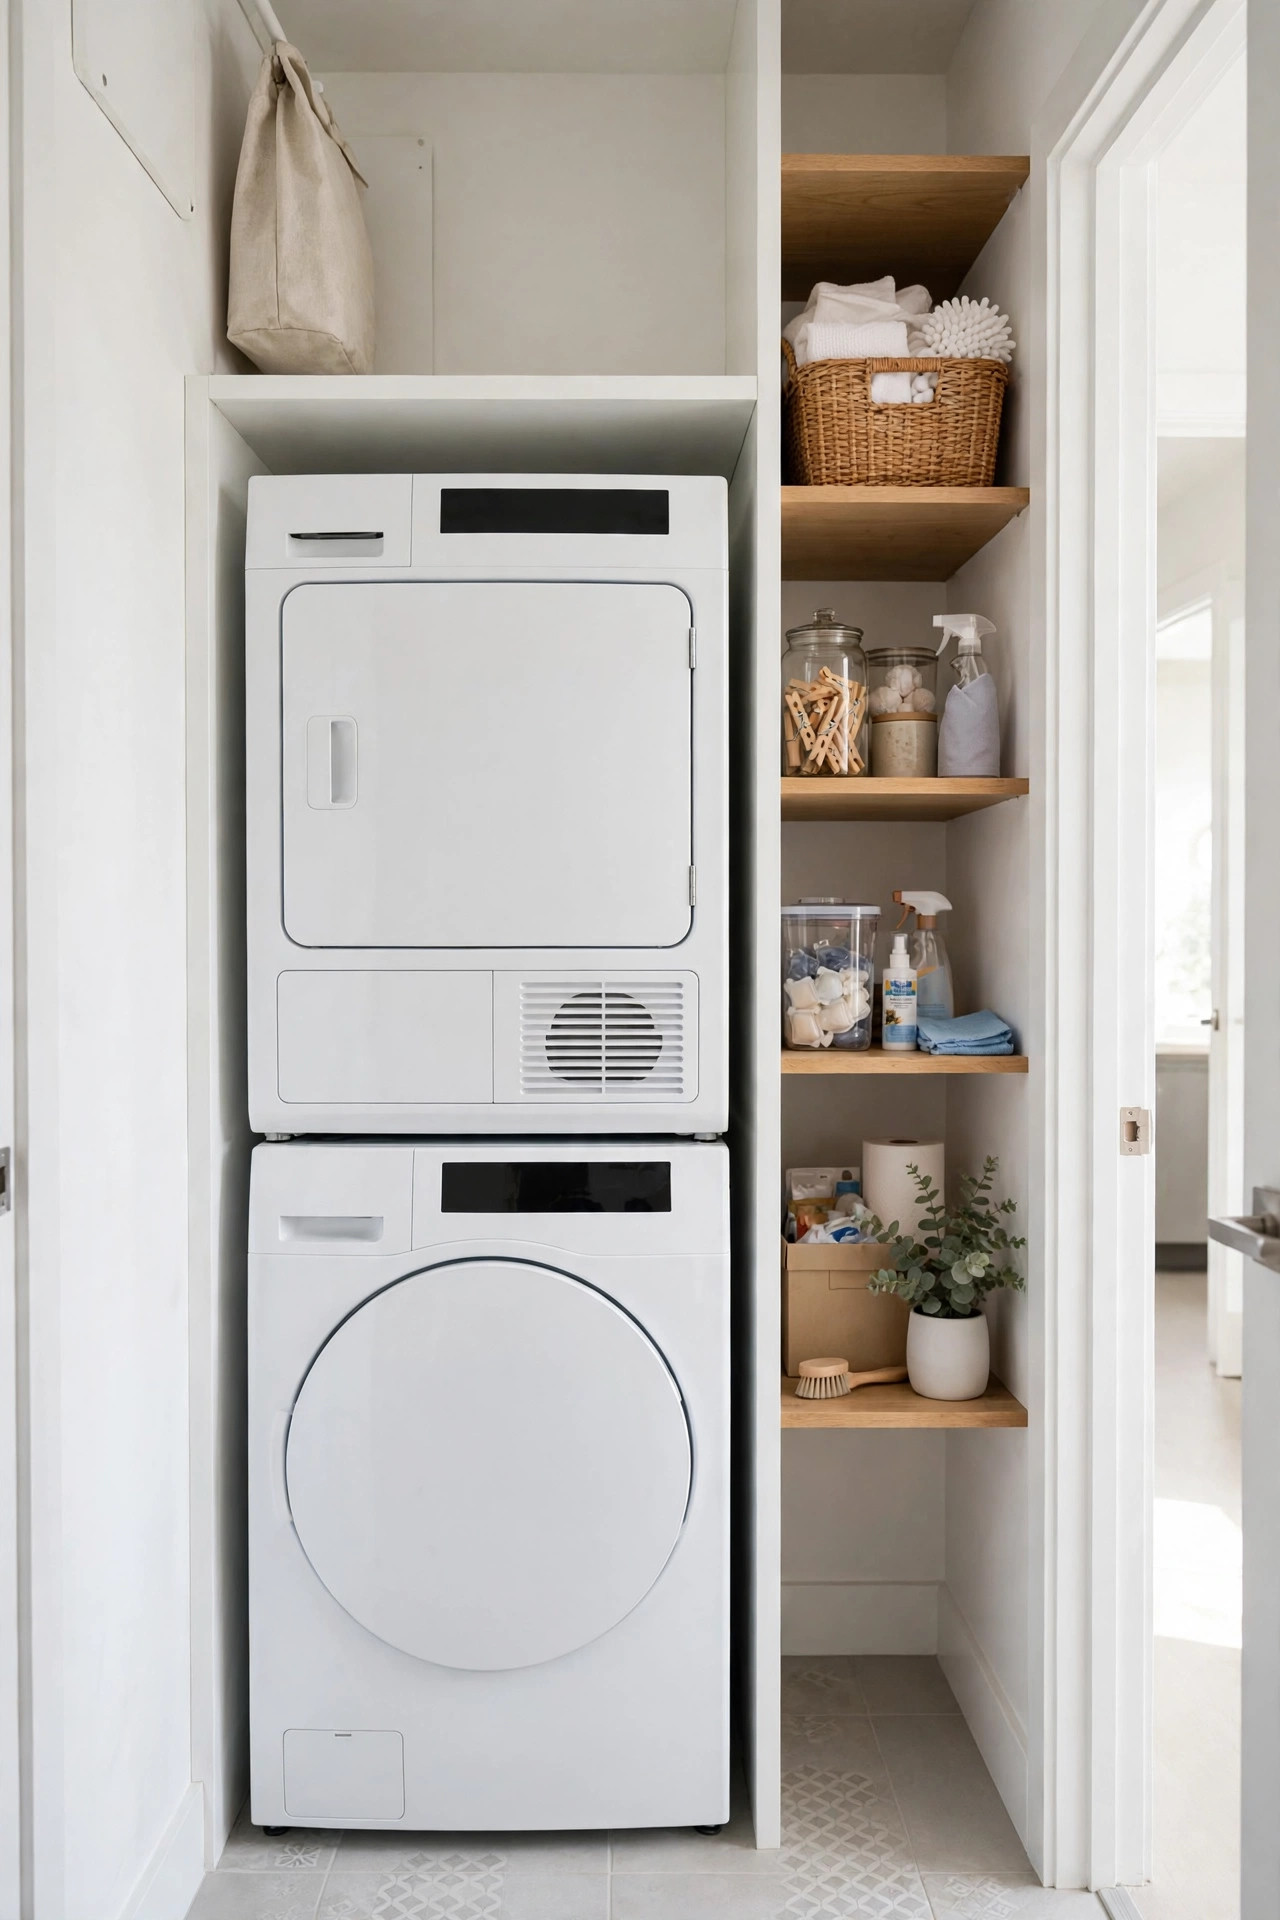
When floor space is the thing you have least of, stacking the dryer on top of the washer is the move that changes everything. A stacked pair takes up the footprint of a single machine, which can free up half the room for storage, a folding station, or simply walking space. Modern stackable sets are designed for this, with a sturdy stacking kit that locks the dryer safely on top. The result looks neat and intentional, like a single tall appliance column, and it instantly makes a cramped room feel twice as big.
This works best with front load machines, so if you have top loaders you would need to replace them to stack. Check your ceiling height before committing, since you need enough room to reach the dryer controls comfortably. Place a small step stool nearby if the top controls sit high. Once stacked, use the freed floor space for a narrow cabinet or a rolling cart. Many people add a shelf or cabinet beside the stack for supplies at easy height. It is a bigger investment than the other ideas here, but for truly tiny laundry rooms it is the single most powerful space saver. Before you buy, confirm the doorways and hallways are wide enough to move the machines into place on delivery day.
5. Pedestal Storage Drawers
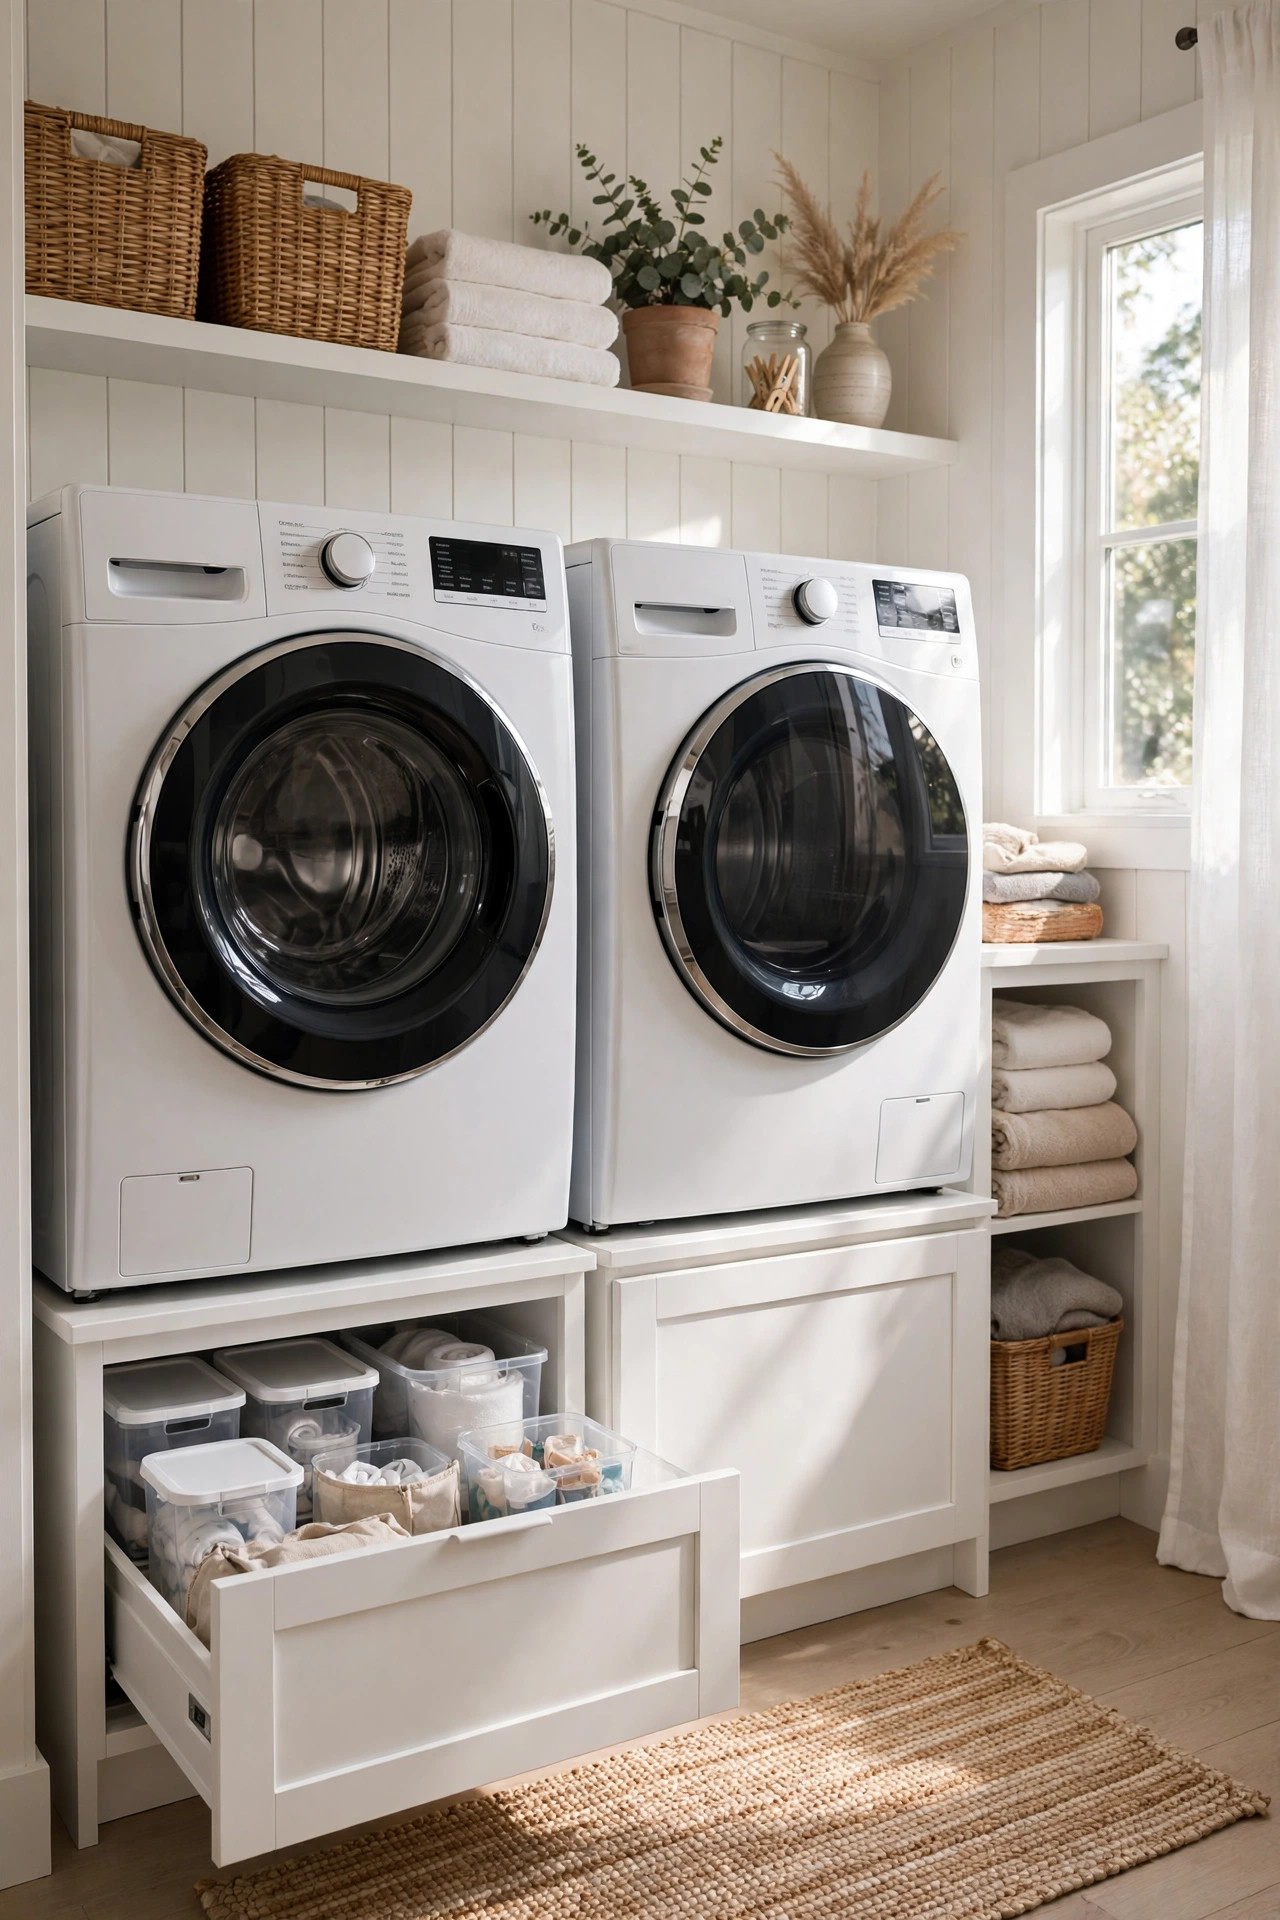
Washer and dryer pedestals raise your front load machines to a comfortable height and hide generous storage drawers underneath. No more bending down to pull heavy wet clothes from a low drum. Each pedestal holds a deep drawer that is perfect for detergent, dryer sheets, and laundry bags, keeping everyday supplies exactly where you use them. The room looks more finished too, since the machines sit on matching bases instead of directly on the floor, and the whole setup reads as one designed unit.
Pedestals are made to match specific machine models, so check your brand and model number before buying. Installation takes about half an hour per pedestal with basic tools, and you will want a second person to help lift the machines. Keep the drawers organized with small bins so items do not slide into a jumble every time you open them. One drawer can hold wash supplies and the other can hold dryer supplies, which keeps your routine smooth. This upgrade adds comfort and storage in one step, and your back will thank you every single laundry day. If you rent, keep the original leveling feet in a bag so you can restore the machines when you move out.
6. Fold Down Table
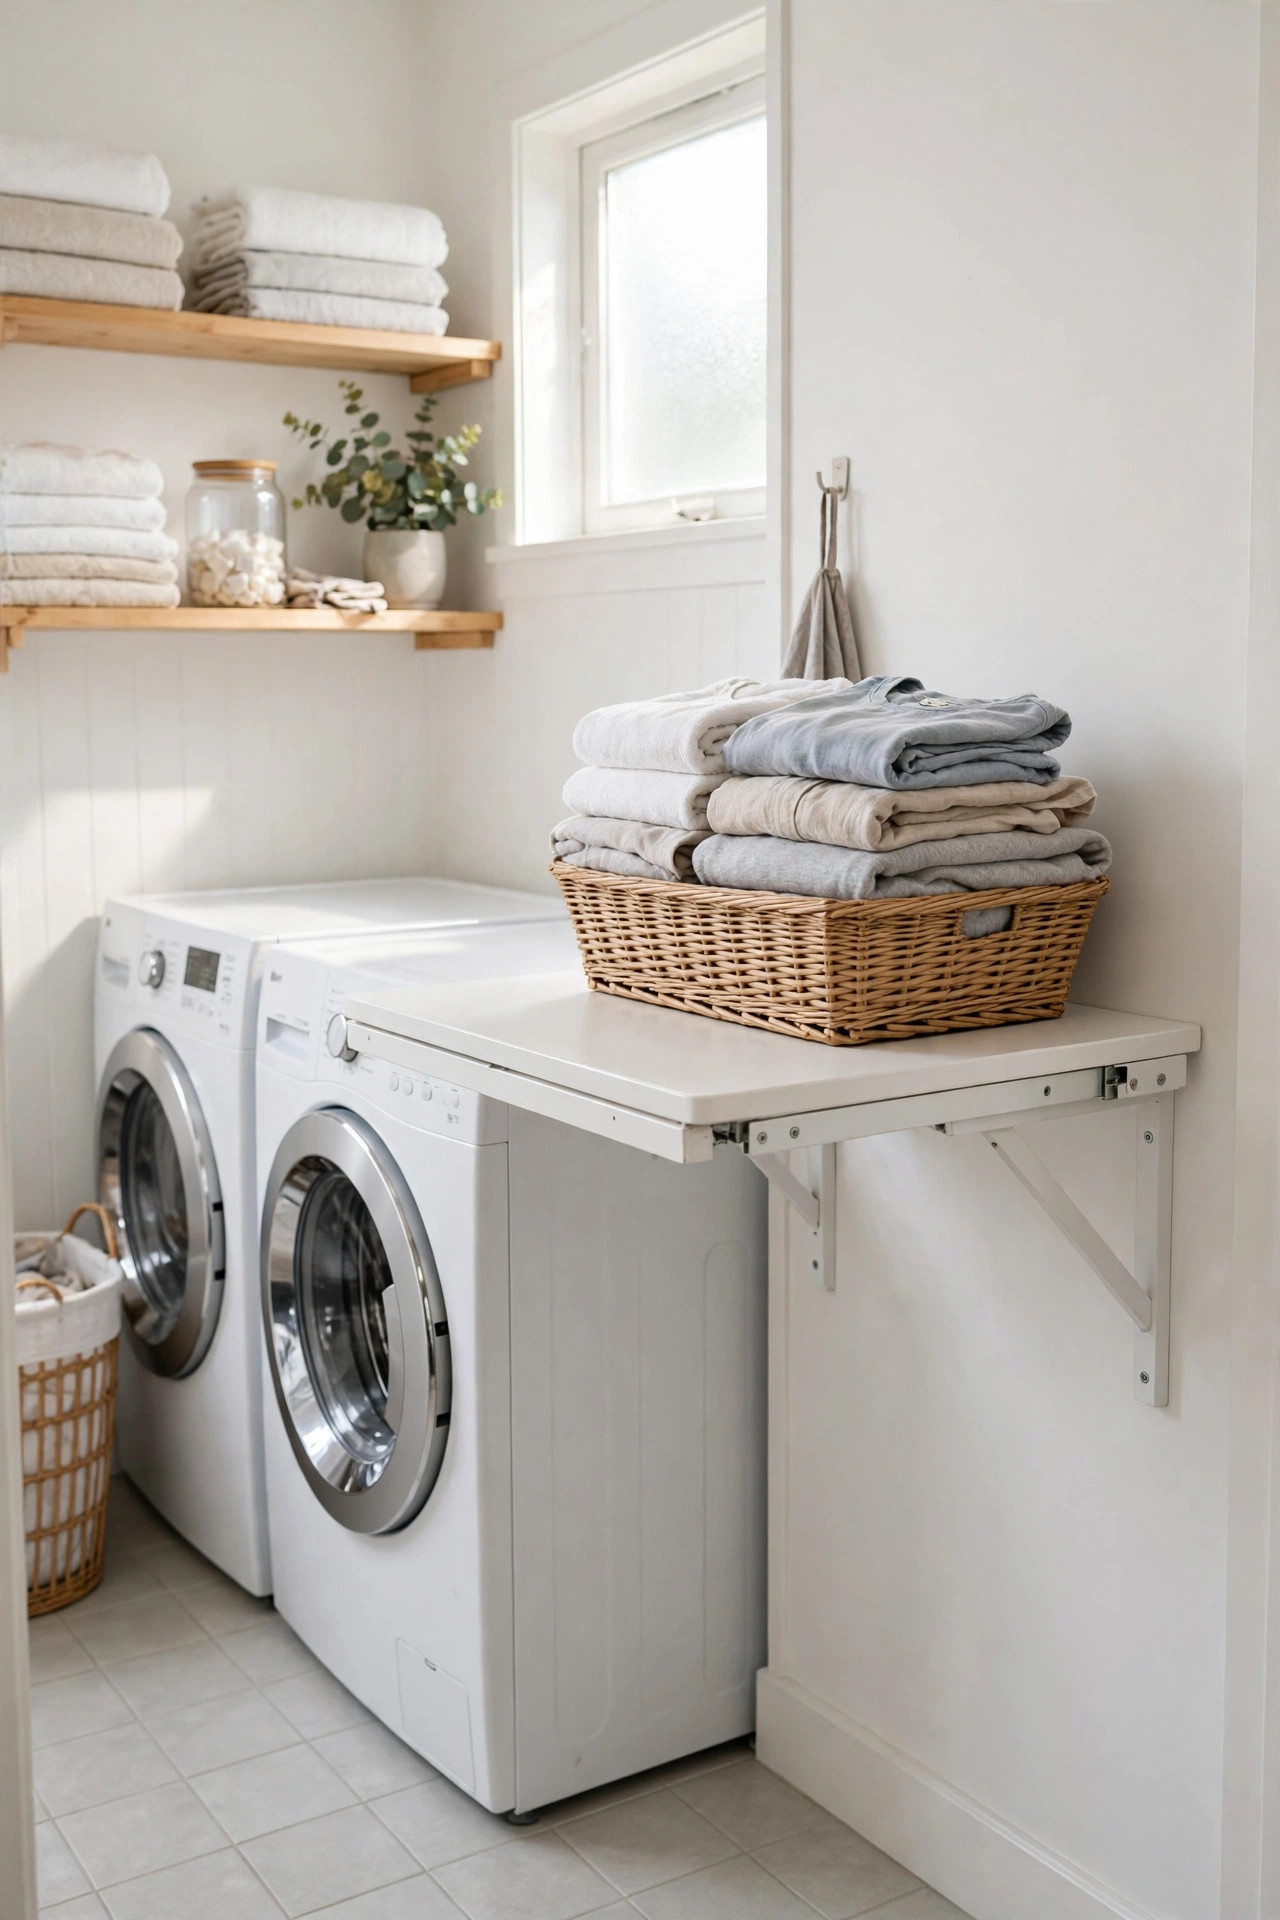
A wall mounted table that folds down when you need it and flat against the wall when you do not is pure genius for a small laundry room. You get a full folding and sorting surface for the ten minutes you need it, and zero wasted space for the rest of the day. Mount it on the wall opposite the machines or beside them, at a comfortable working height. When folded down, it holds a basket of warm clothes ready for folding. When folded up, the room feels open and clear again.
Choose a sturdy model with strong hinges and a support leg or chain, since it needs to hold the weight of wet laundry. A table about two feet deep gives plenty of folding room without jutting too far into the space. You can buy one ready made or build a simple version from plywood and heavy duty brackets. Sand and paint it to match your shelves for a coordinated look. Some people add a small lip at the edge so folded piles do not slide off. This is the folding station for rooms that cannot spare a permanent table. Test the height with a laundry basket before you mount it, so folding feels comfortable and not like a stretch.
7. Wall Pegboard System
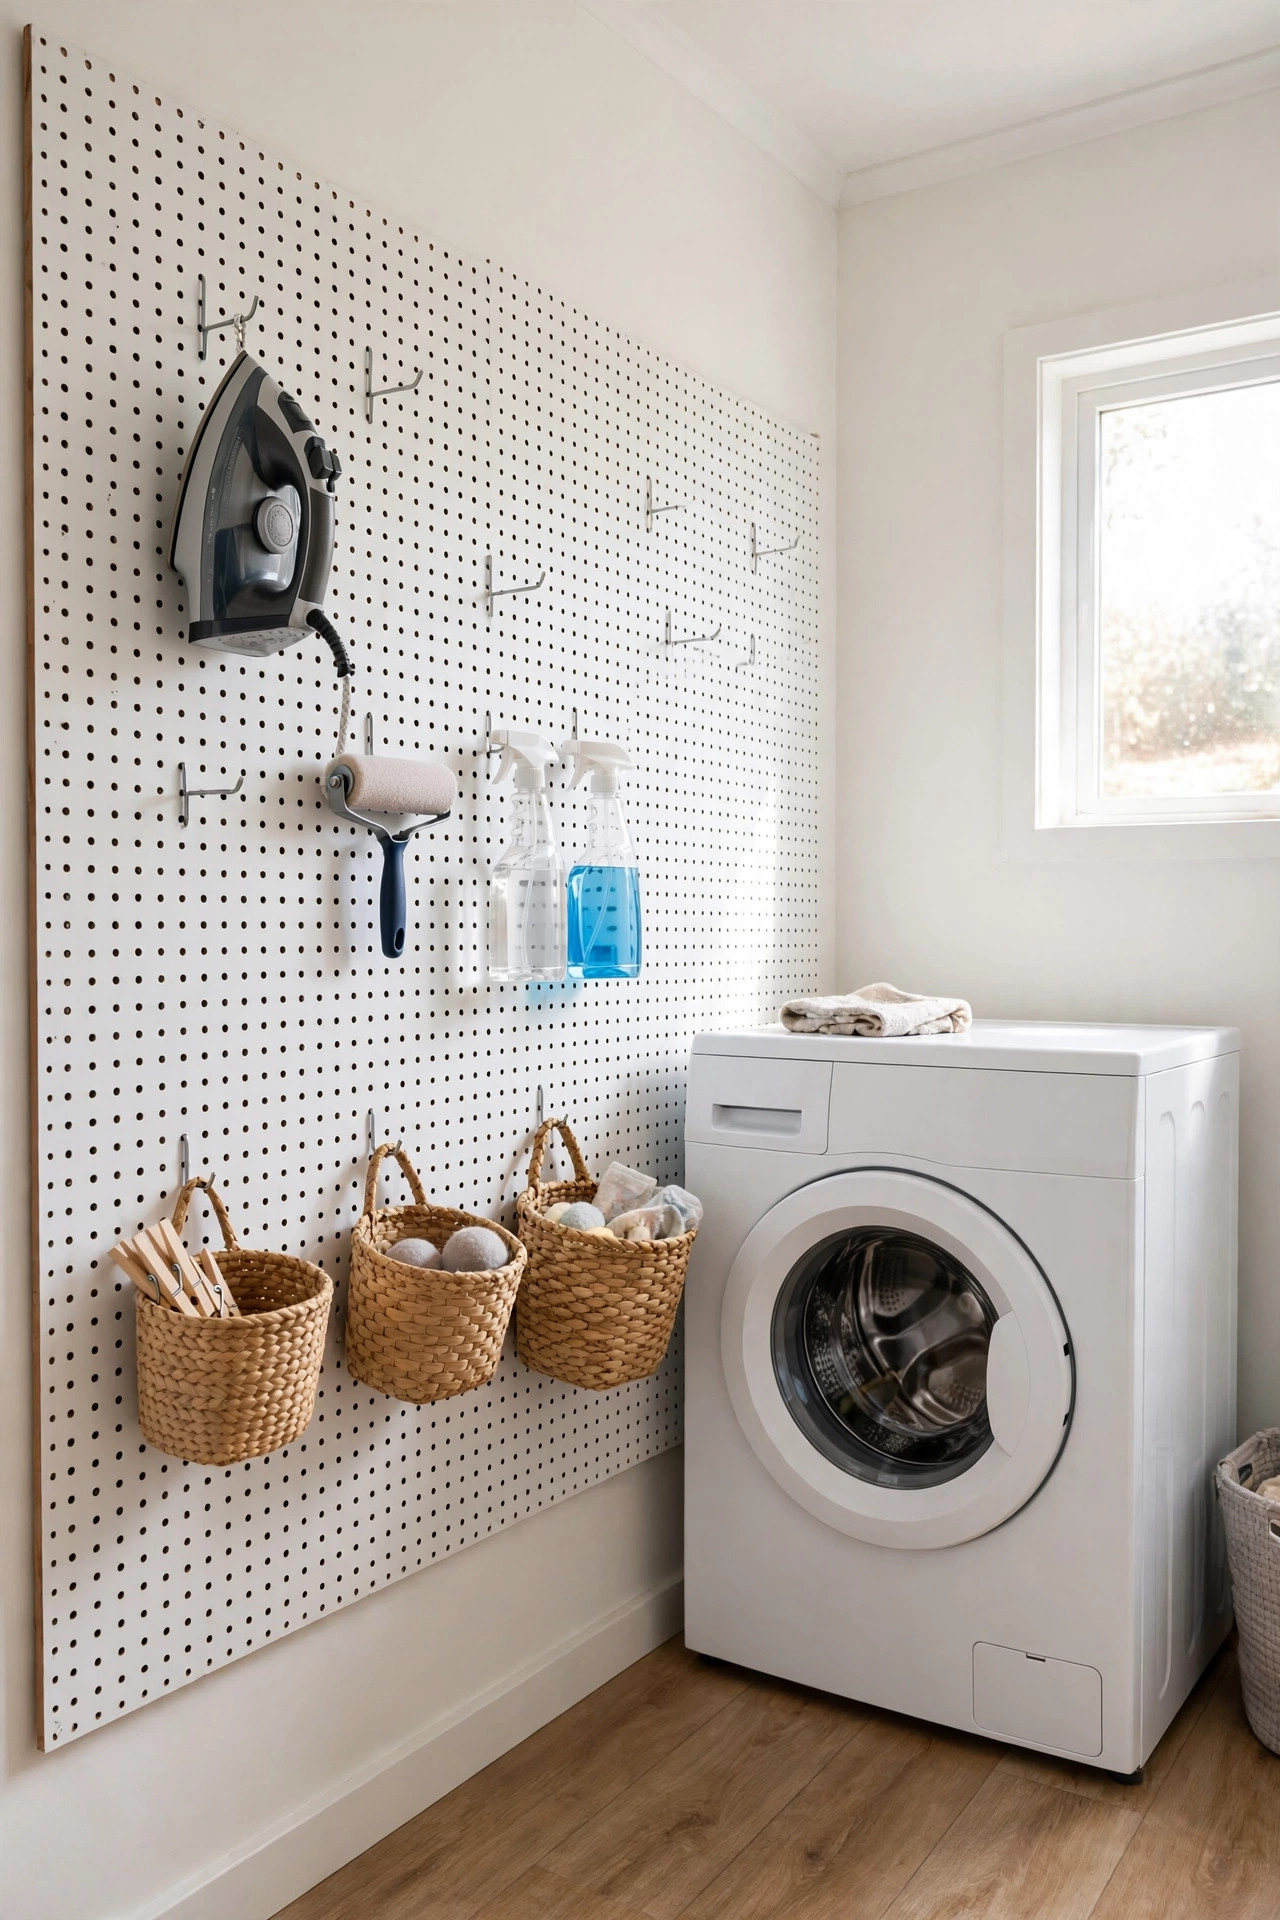
A pegboard turns a blank wall into endlessly flexible storage. Hooks, small shelves, and baskets all hang from the same board, and you can rearrange them any time your needs change. In a small laundry room, a pegboard above the counter or beside the machines holds the iron, lint roller, spray bottles, scissors, and measuring cups, all visible and within reach. Everything has a spot, which means nothing ends up piled on the counter. Paint the pegboard a soft color to match the room, or leave it white for a clean, classic look.
Mount the board with spacers behind it so the hooks have room to grip. A frame around the edge makes it look finished instead of utilitarian. Start with a mix of single hooks for hanging tools and small wire baskets for bottles. Keep heavier items low and lighter things up high. The beauty of the system is that it grows with you. When you buy a new gadget, you just add a hook instead of finding new shelf space. One afternoon of work gives you a storage wall that adapts to every change in your routine. For a softer look, you can even hang a small framed print or a tiny plant from one of the hooks.
8. Labeled Storage Baskets
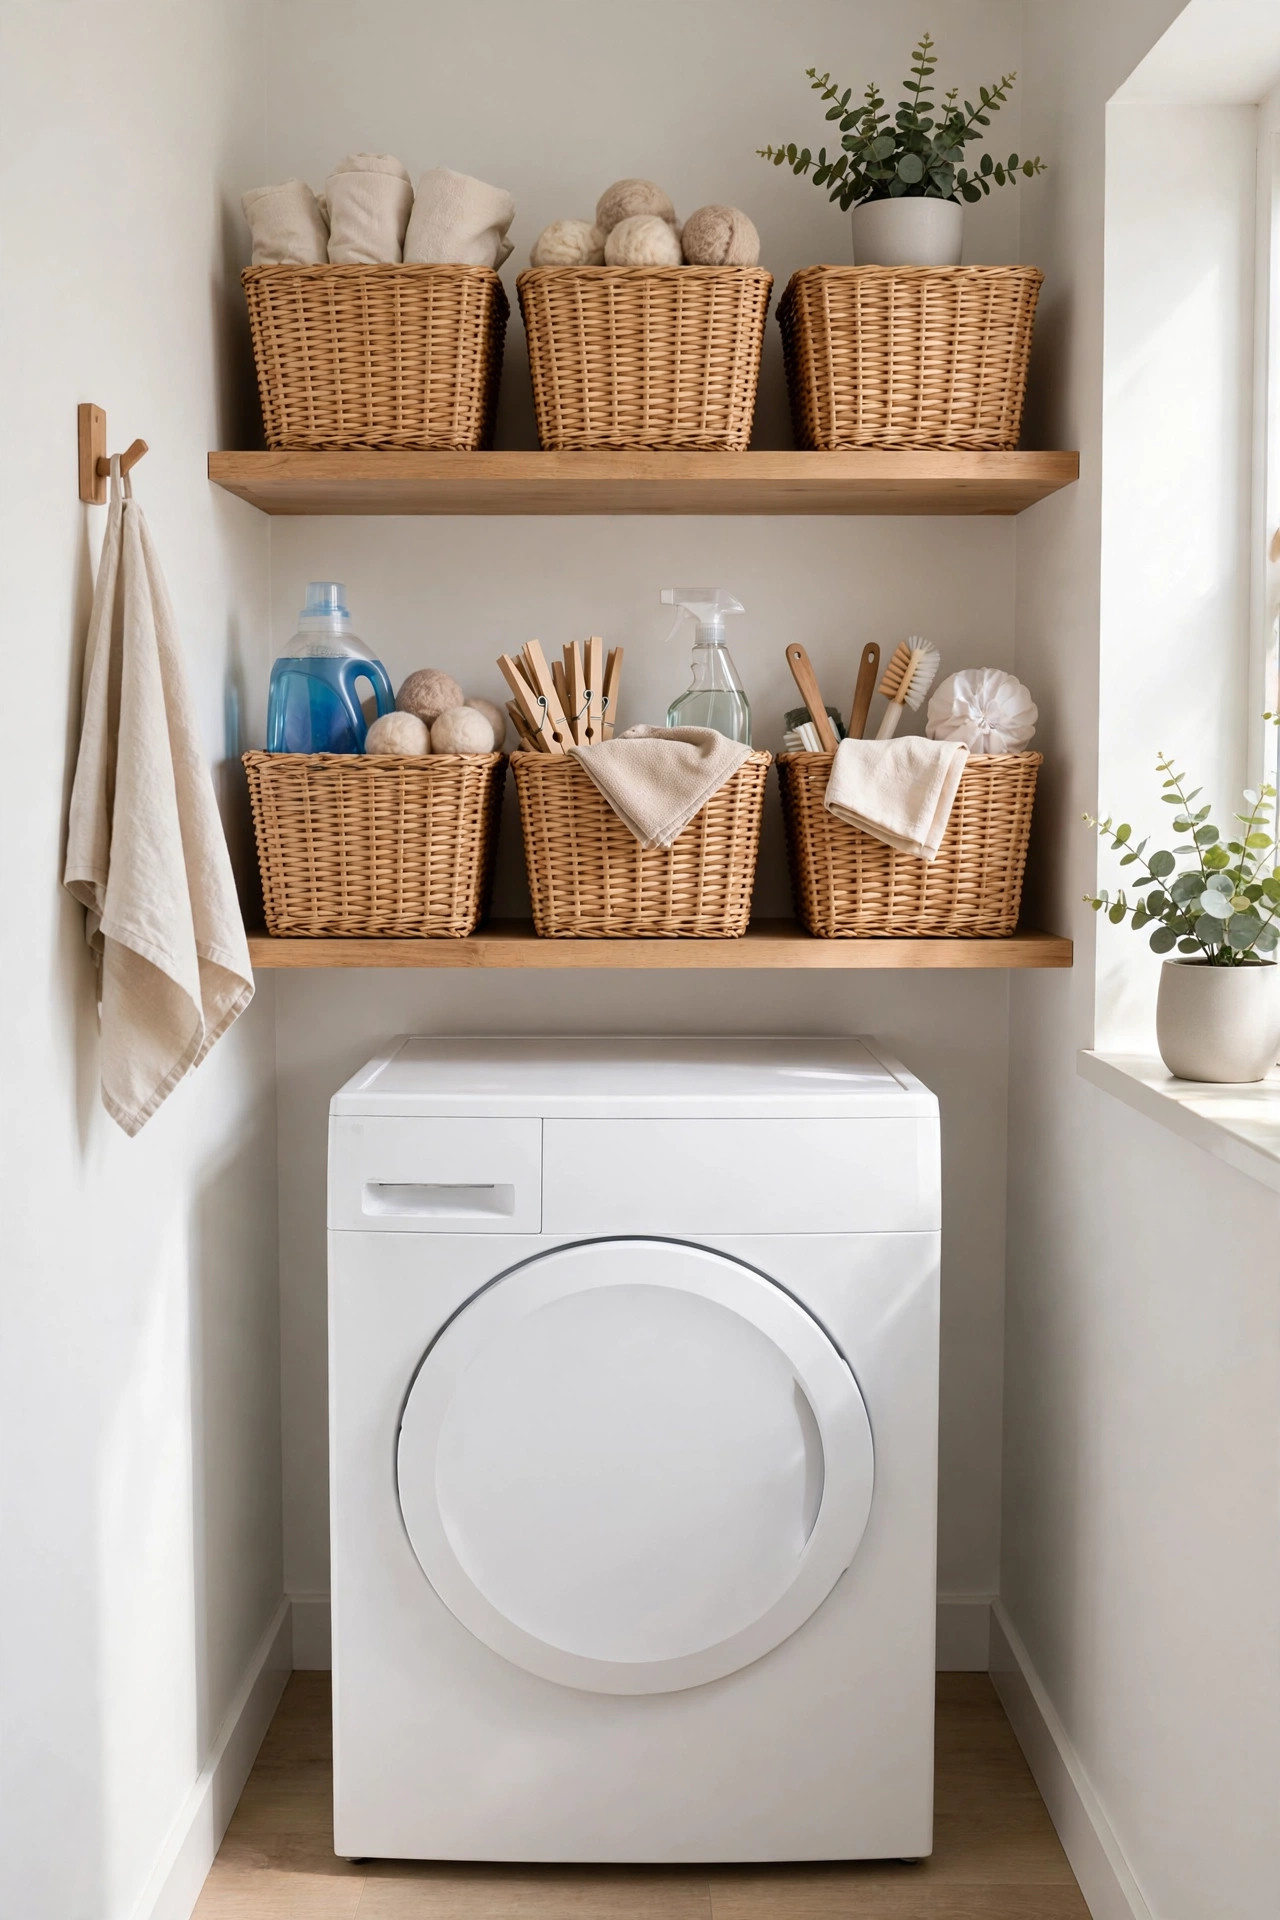
Open shelves only stay tidy if the things on them are contained, and labeled baskets are the answer. Group your supplies into simple categories, one basket for detergent and softener, one for stain treatments, one for dryer accessories, one for cleaning rags. When everything has a labeled home, anyone in the family can find what they need and put it back in the right place. The labels also stop you from buying duplicates, since you can see at a glance what you already have.
Choose baskets that fit your shelves neatly and match each other for a calm, uniform look. Woven baskets add warmth, while white plastic bins feel crisp and wipe clean easily. Use a label maker or simple chalk tags so you can change labels when the contents change. Keep the most used baskets at eye level and lesser used ones higher or lower. This small system costs very little but it is the difference between shelves that look styled and shelves that look cluttered. Once every basket has a label, maintaining the order takes almost no effort. If your shelves are deep, place a lazy turntable behind the front baskets so nothing gets lost in the back.
9. Retractable Clothesline
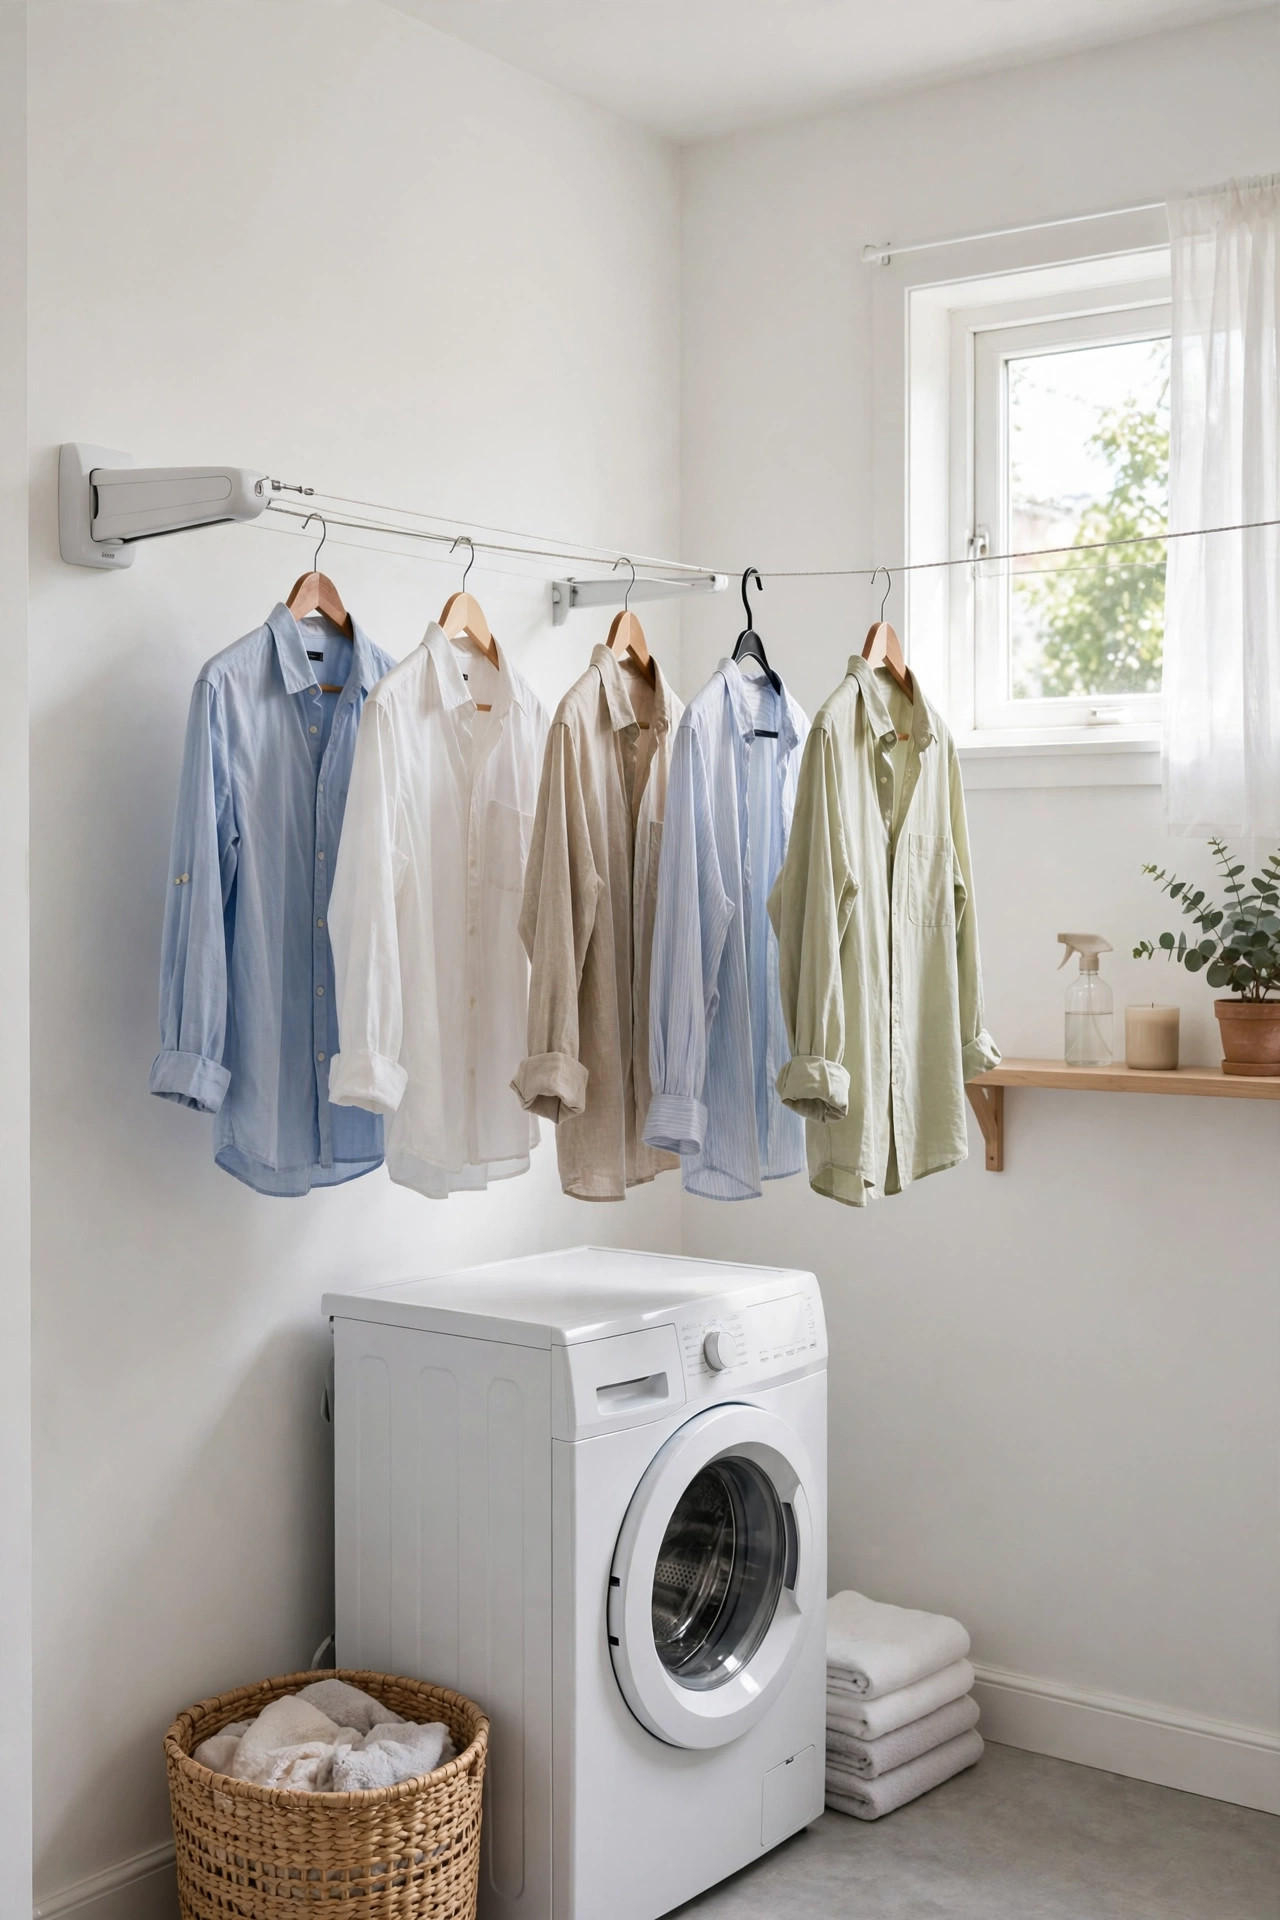
Delicate items and air dry only clothes need a place to dry, but a freestanding rack eats precious floor space. A retractable clothesline solves this by stretching across the room when you need it and disappearing into a small wall mounted case when you do not. Mount one end on each side of the room, or across a corner, and pull the line out only on drying days. Multiple lines give you room for several garments at once, and the whole thing vanishes when the clothes come down.
Install the mounts into wall studs so they hold the weight of wet clothes without pulling loose. Choose a model with several parallel lines rather than a single cord for more drying capacity. Hang shirts on hangers from the lines to avoid creases. This is especially useful in rooms with no outdoor drying space or in apartments where balcony drying is not allowed. The line costs little, installs in under an hour, and gives you a full drying rack that takes up zero space when you are done. Wipe the lines dry after use so they stay clean and ready for the next load.
10. Pocket Door Swap
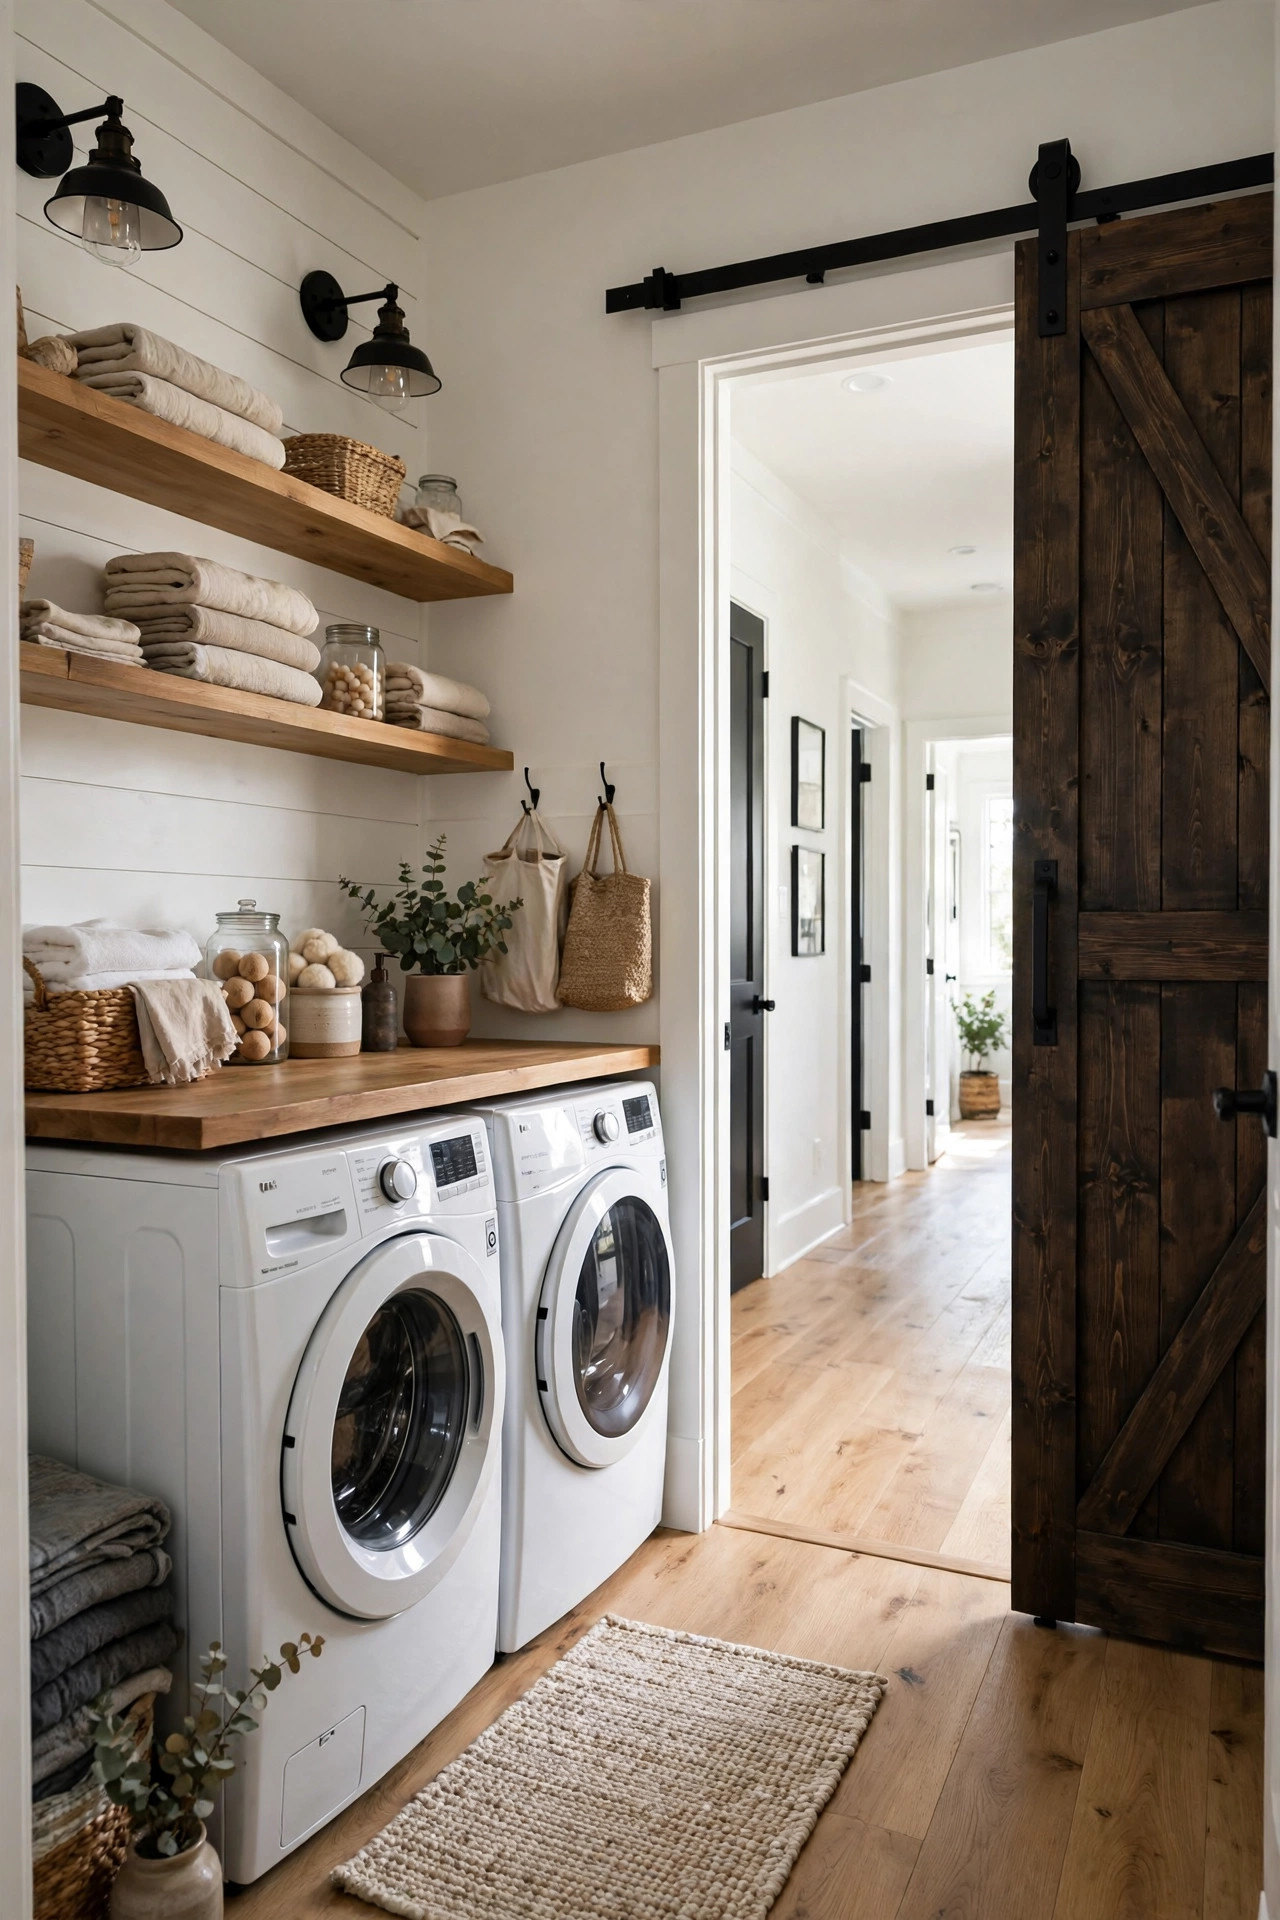
A swinging door needs a clear arc of floor space to open, and in a tiny laundry room that arc is space you cannot afford to lose. Swapping it for a pocket door or a sliding barn style door gives that floor space back. The door slides into the wall or along it instead of swinging into the room, which means you can place a hamper, a cart, or shelving right where the door used to swing. The room instantly feels bigger because nothing blocks your movement anymore.
A true pocket door needs wall space without plumbing or wiring, so check what is inside your walls before you commit. If that is too complex, a surface mounted sliding door on a track gives you most of the benefit with a much simpler install. Choose a door style that suits your home, from classic paneled to modern flat. Make sure the track is level so the door glides smoothly. This is a bigger project than most ideas here, but for rooms where every inch matters, reclaiming the door swing can be the change that makes everything else fit. Add a soft close mechanism so the door never slams against the frame.
11. Sorting Hamper Station
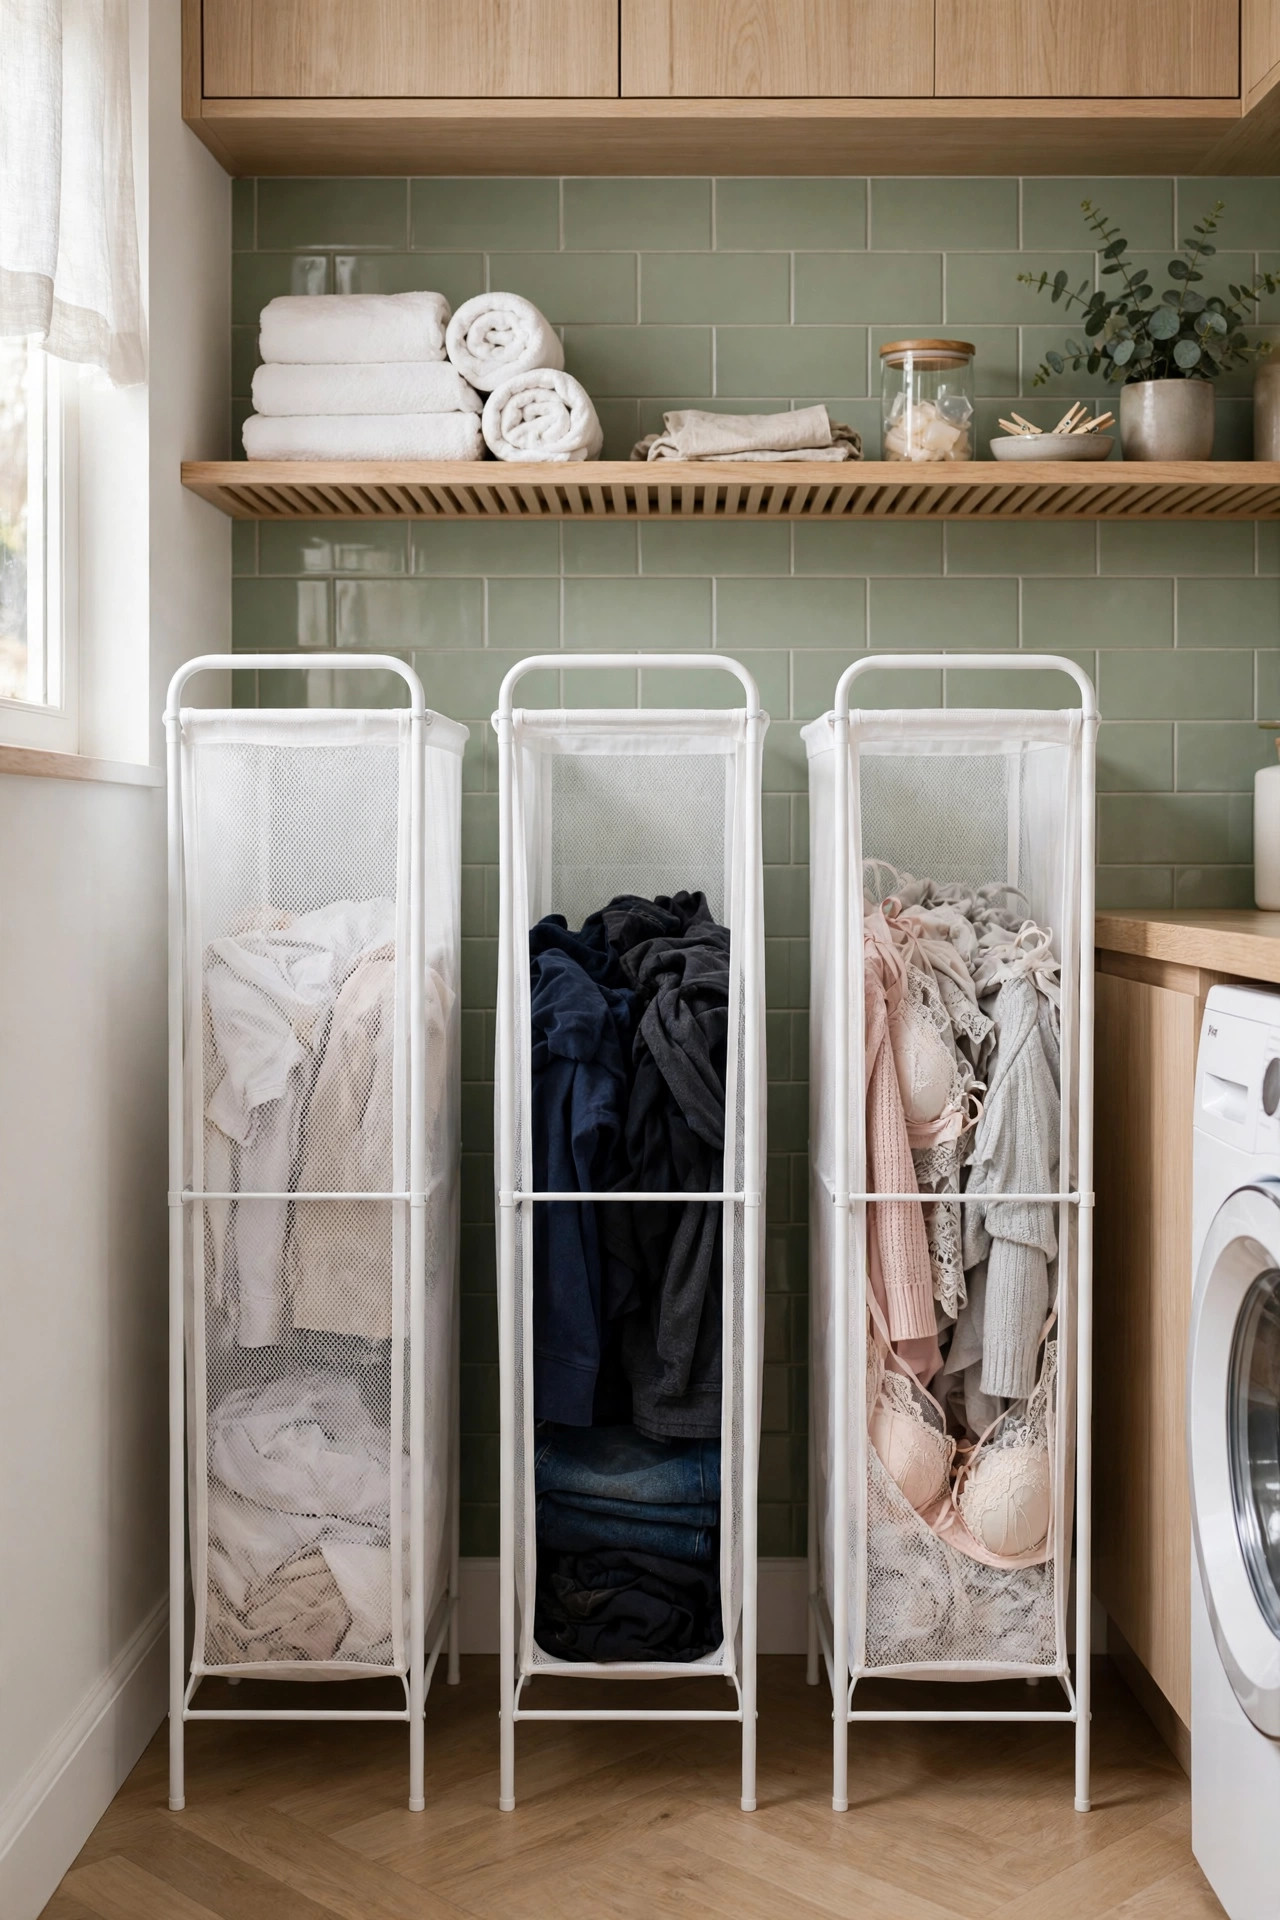
Sorting clothes on wash day goes twice as fast when every category already has its own hamper. Set up three slim hampers side by side, one for lights, one for darks, and one for delicates, and dirty clothes get sorted the moment they come off instead of piling into one mountain. Tilt out hampers built into a cabinet look the most polished, but three matching slim hampers on a low shelf work just as well. The key is keeping them narrow so the station fits against one wall without blocking the room.
Label each hamper clearly so the whole family sorts correctly. A simple frame or shelf unit keeps the hampers aligned and off the floor, which makes cleaning underneath easy. Choose breathable hampers with mesh sides so damp clothes do not get musty. If floor space is extremely tight, look for stackable sorting towers that hold three sections vertically. This system removes the worst part of laundry day, the giant unsorted pile, and replaces it with a tidy station that practically runs itself. Empty the hampers on a set schedule, like every Sunday, so no section ever overflows.
12. Over Door Organizer
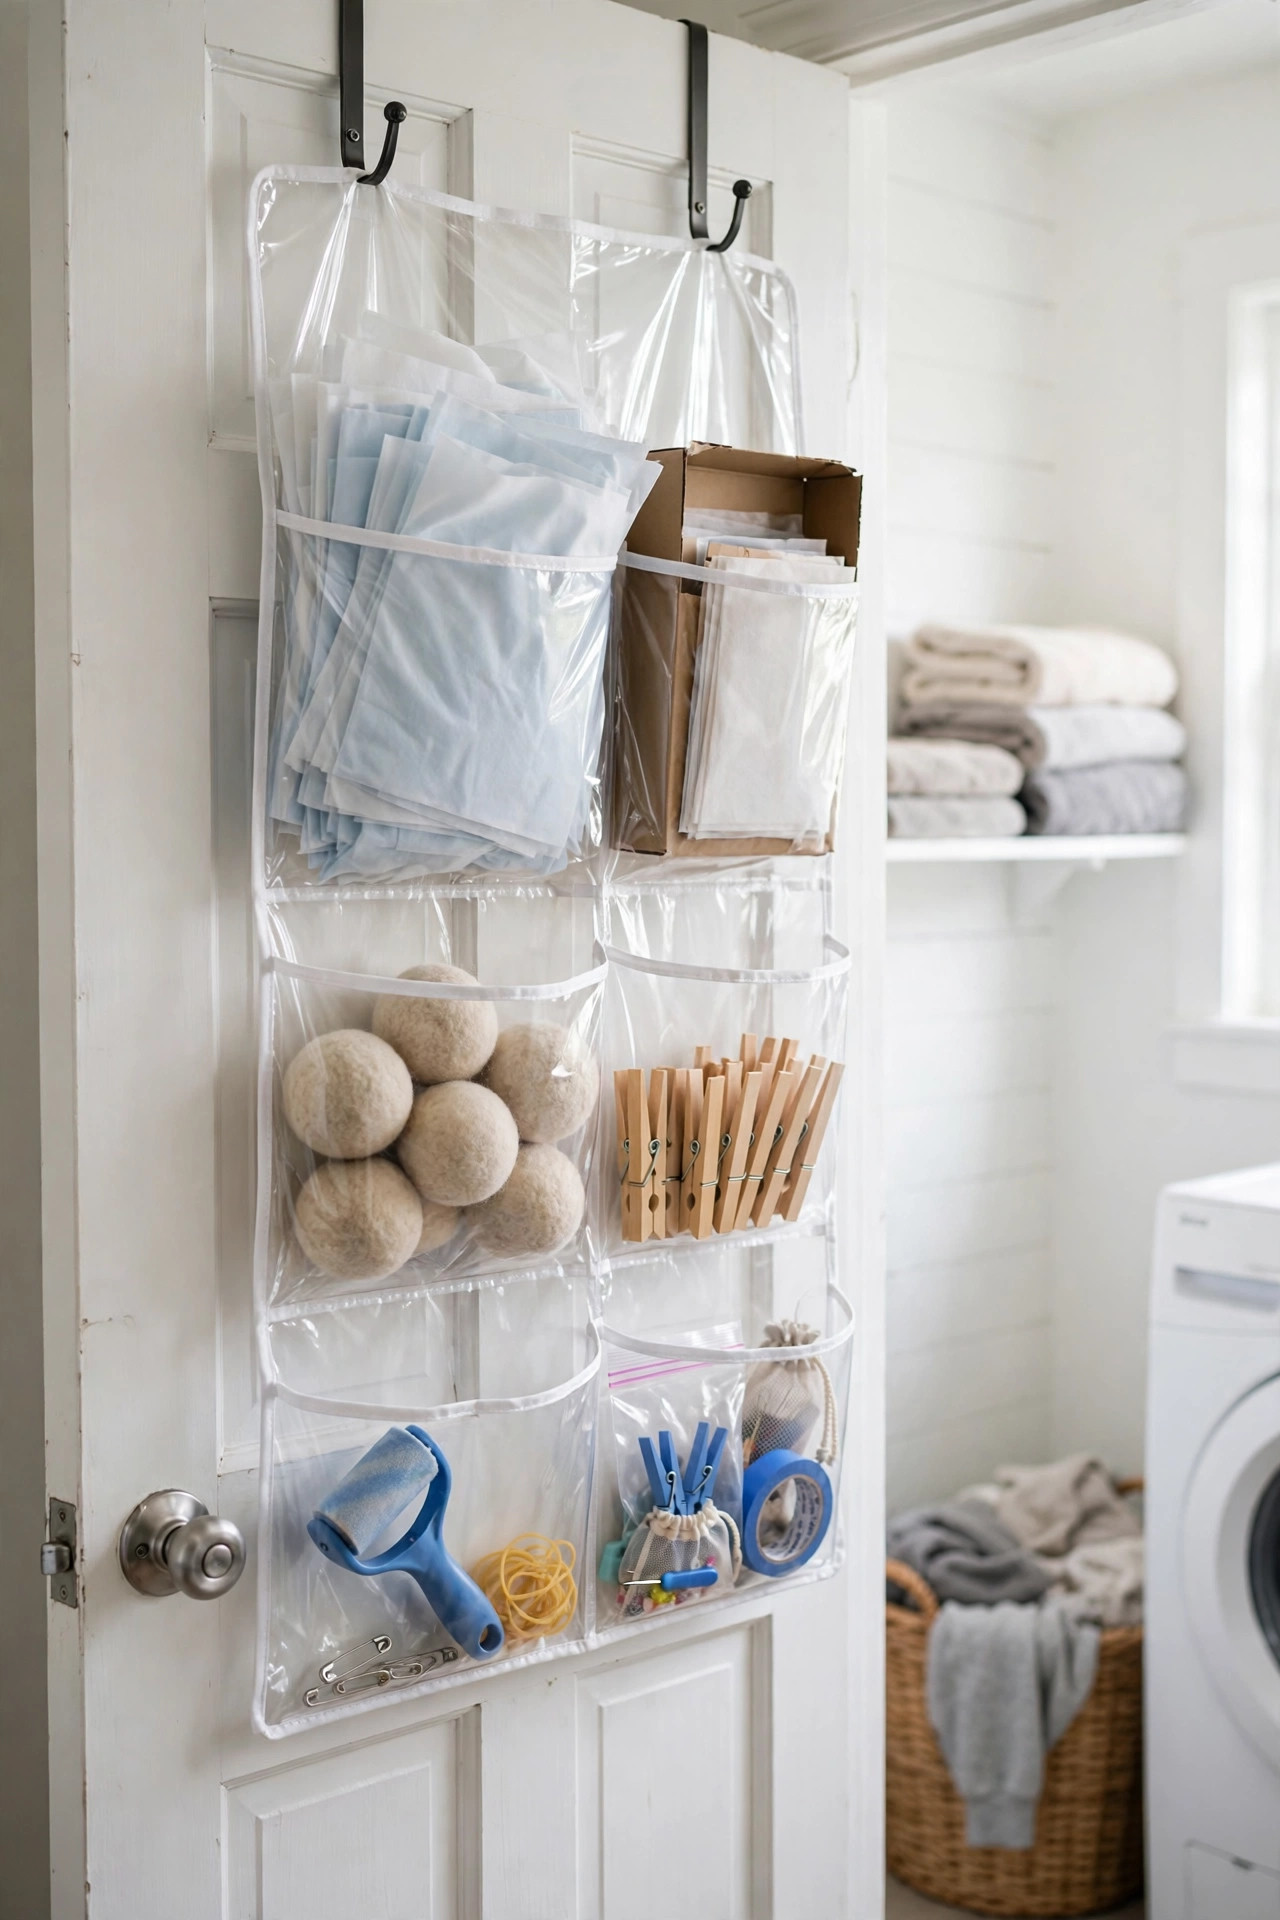
The back of the laundry room door is free storage space hiding in plain sight. An over door organizer with clear pockets or wire baskets holds all the small items that clutter counters, dryer sheets, stain pens, sewing kits, spare buttons, and lint rollers. Because it hangs on the door, it uses zero shelf or floor space, and everything stays visible so you actually use what you have. Clear pockets are especially good because you can see the contents without opening anything.
Choose an organizer that fits your door thickness and does not rattle when the door moves. Foam backing or felt pads on the hooks protect the door finish. Keep heavier items in the lower pockets so the organizer hangs evenly. This is a five minute upgrade that costs almost nothing, yet it can clear an entire shelf of small clutter. If your laundry room has no door, the same organizer works on the side of a tall cabinet. It is one of the simplest ideas here and one of the most satisfying. Check the pockets once a month and toss dried out pens or empty packets so it never turns into clutter. If the door gets heavy use, tighten the hooks every few months so the organizer always hangs straight.
13. Magnetic Wall Strips
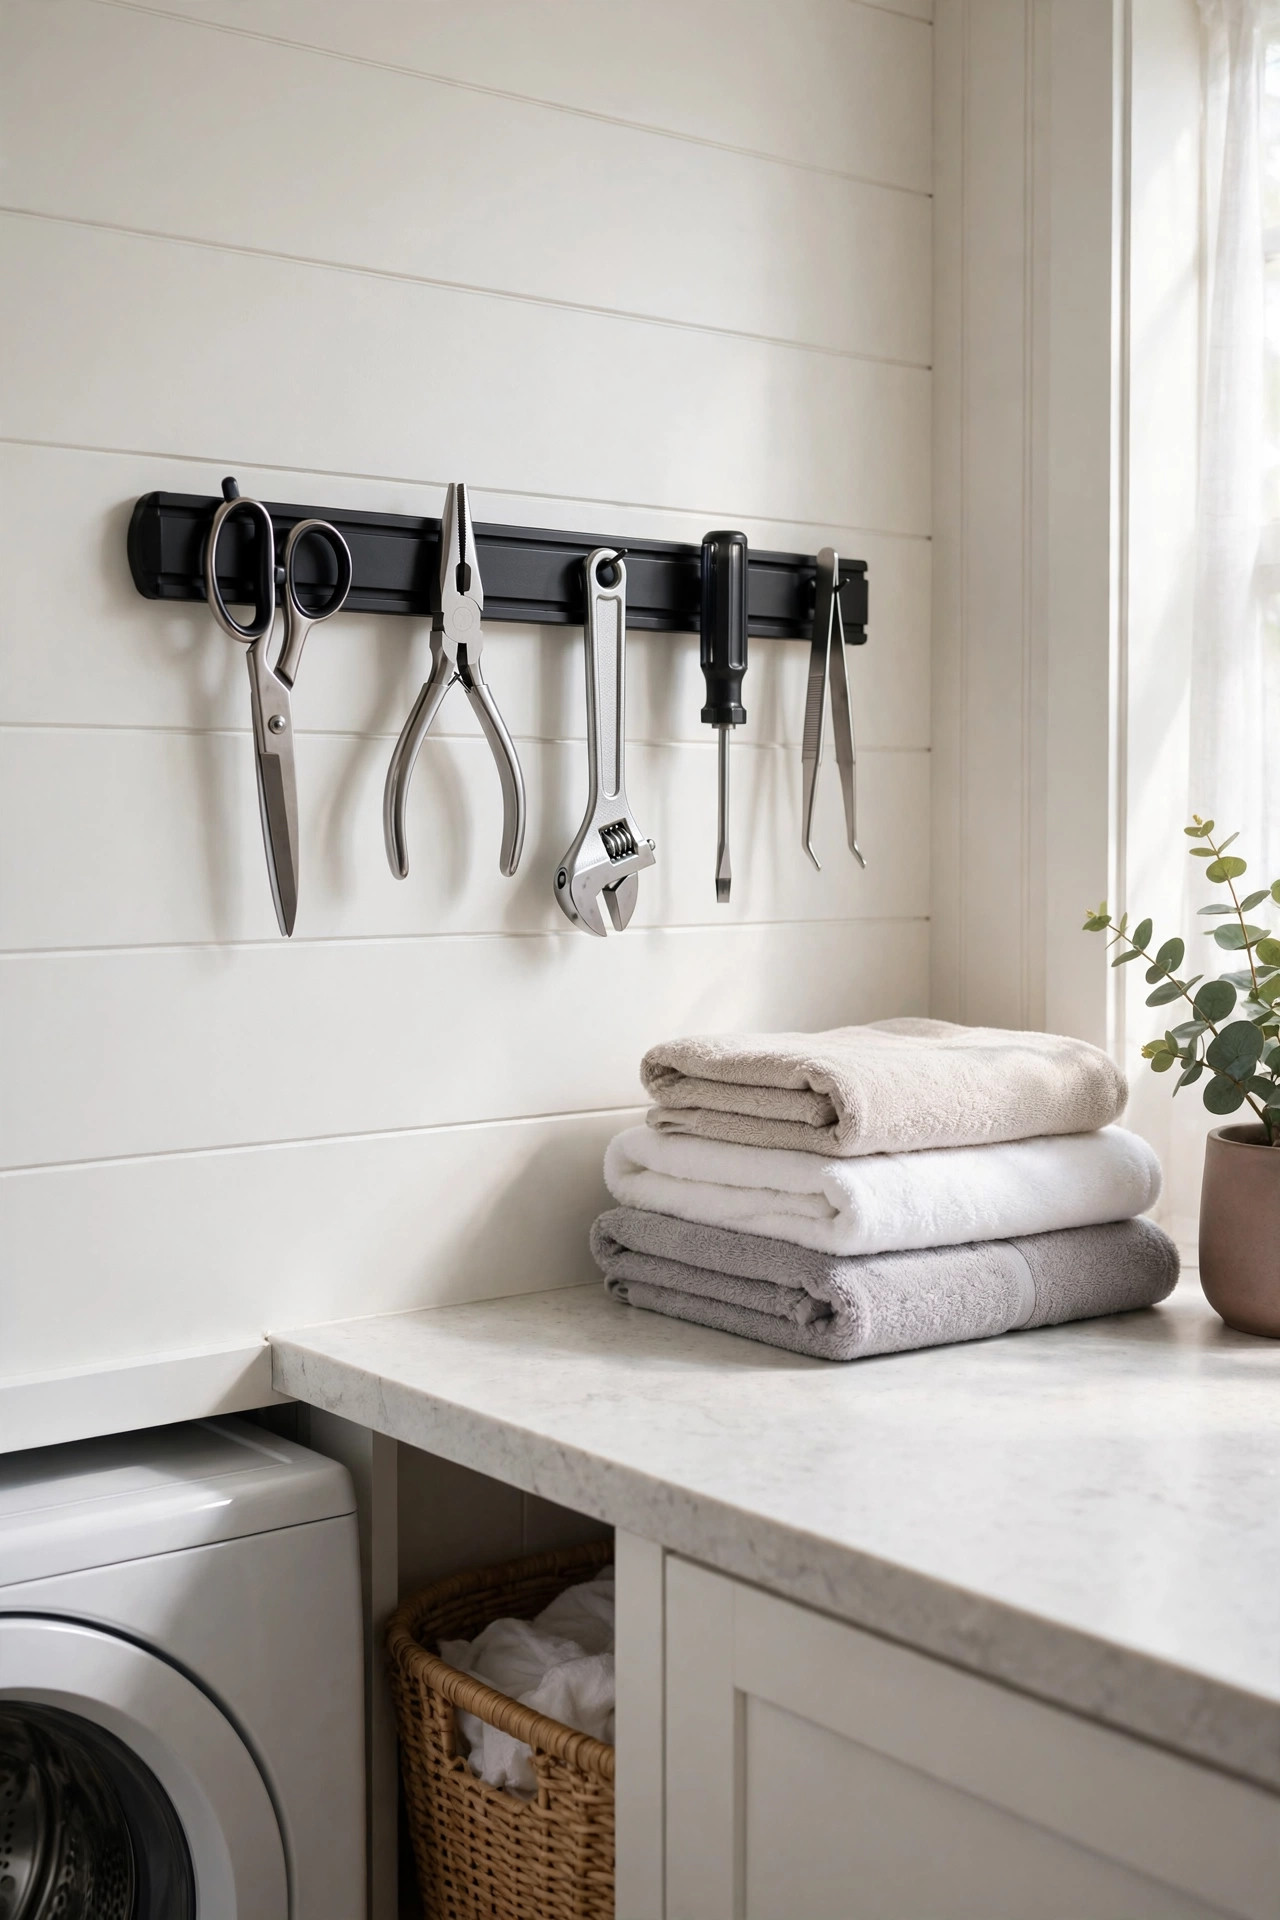
Small metal tools have a habit of disappearing into drawers, but a magnetic wall strip keeps them visible and exactly where you need them. Mount a strong magnetic strip on the wall near your work area and use it to hold scissors, tweezers, safety pins, and the small metal odds and ends that come with mending and stain treatment. Everything sticks within reach, nothing rattles around in a drawer, and the strip itself takes up no usable space at all.
Use a strip rated for kitchen knives, since those magnets are strong enough to hold tools securely. Mount it with screws into a stud or solid anchor, not just adhesive, because gravity and vibration will test it over time. Keep it at a height where you can grab things easily but where small children cannot reach sharp items. You can also use small magnetic hooks on the side of your washer or dryer for a lint brush or a bag of clothespins. This tiny addition brings order to the smallest items in the room, the ones that cause the most frustration when they go missing. A second short strip near the sorting station can hold bag clips and extra buttons too.
14. Under Sink Bins
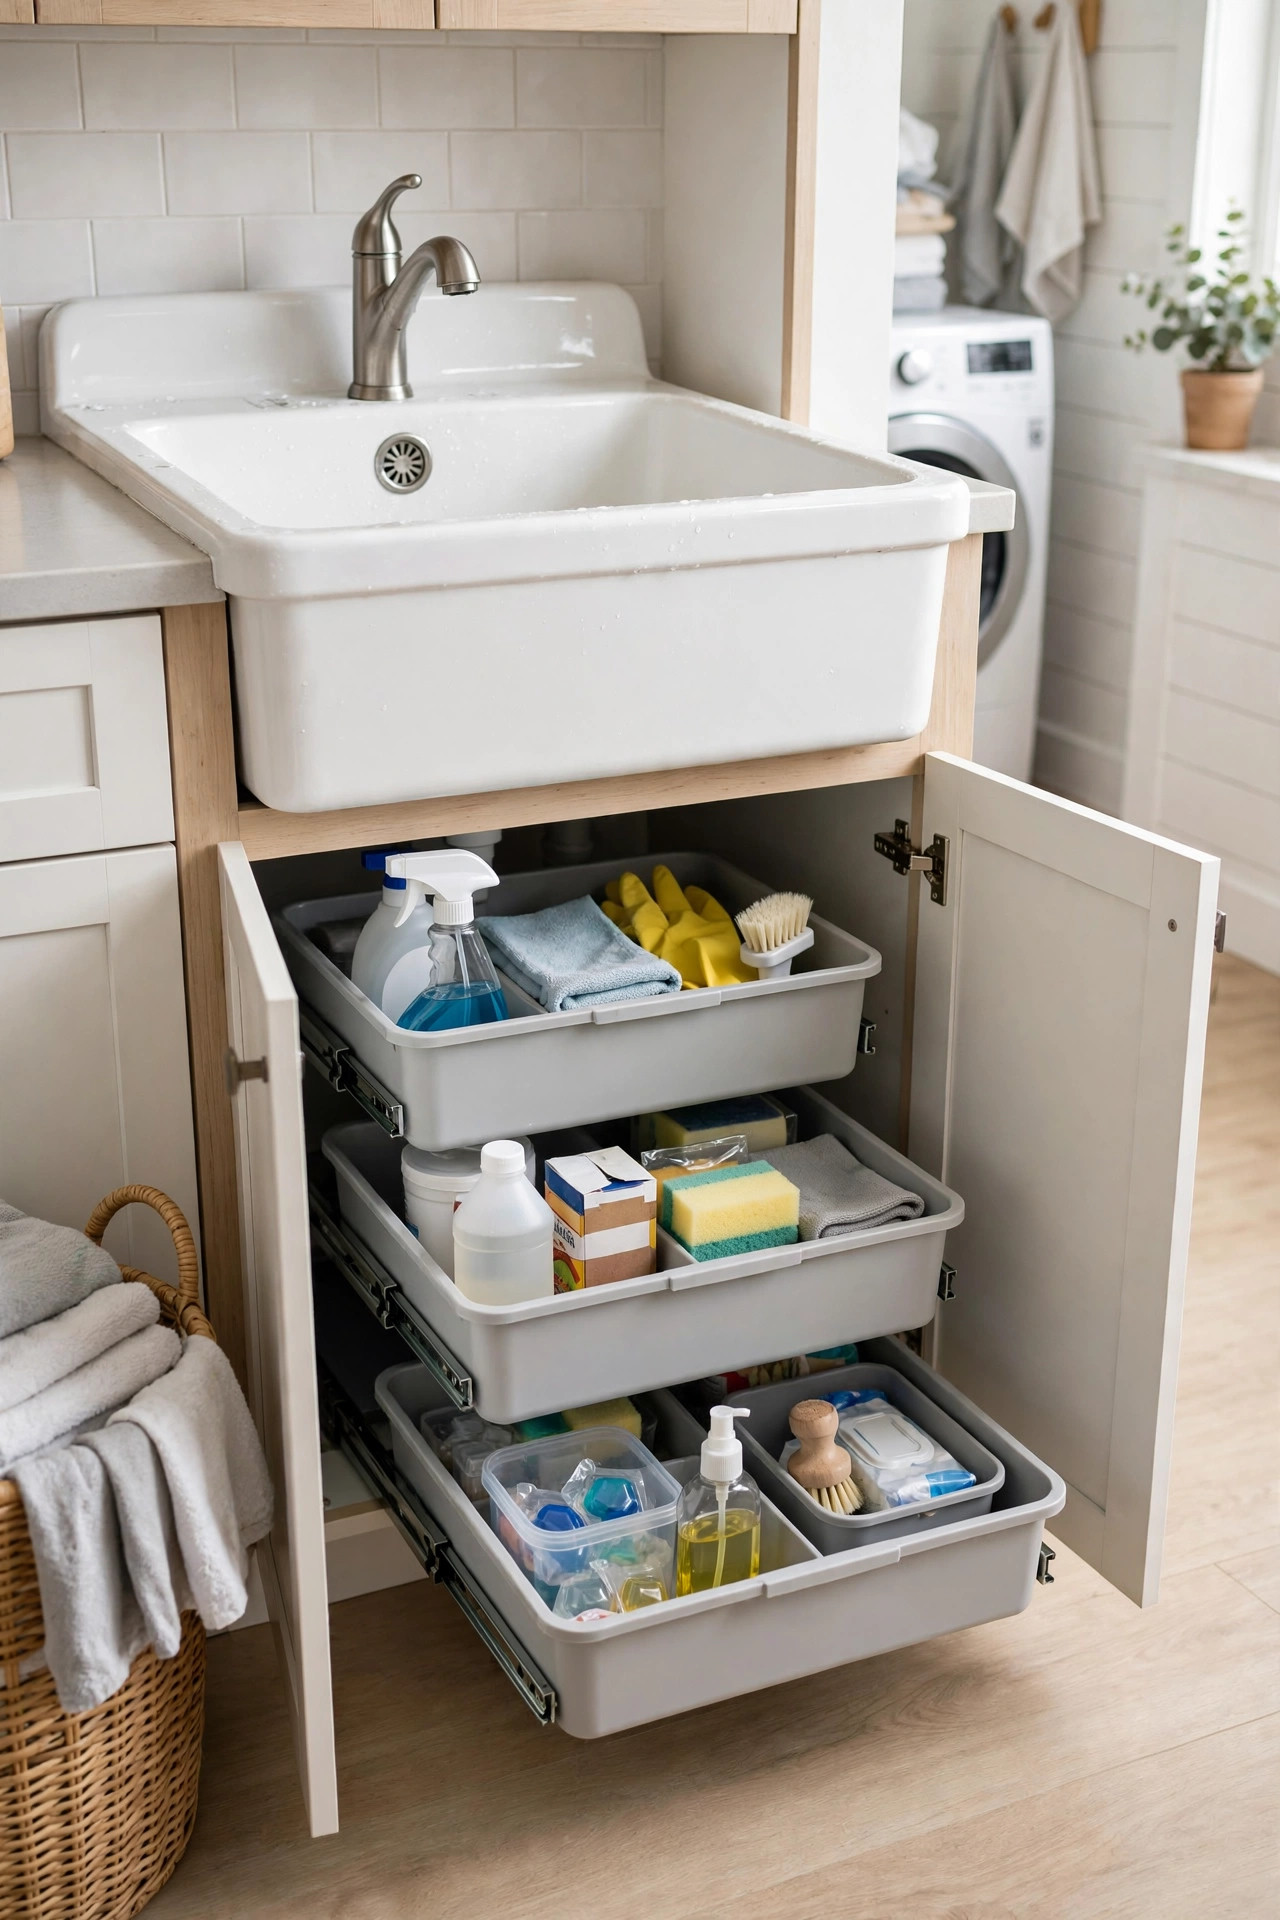
If your laundry room has a utility sink, the cabinet beneath it is prime storage that often goes to waste. A couple of stackable bins under the sink hold extra detergent, bleach, and cleaning supplies in the exact spot where you use them. Pull out bins work even better than fixed shelves here, since you can slide them out to reach items at the back without crouching into the cabinet. The space stays neat because everything sits inside a bin instead of scattered across the cabinet floor.
Measure the cabinet opening before buying bins, and watch out for pipes that eat into the space. U shaped organizers designed to fit around plumbing make the most of the awkward area. Keep a small caddy with your most used stain treatments on top for grab and go convenience. Wipe up any drips promptly, since moisture under a sink can damage supplies and the cabinet itself. This hidden storage keeps bulky backup bottles out of sight while keeping them close at hand, which is exactly what a small room needs. Label the bins too, so you can grab the right one without pulling each out to look. A battery powered motion light inside the cabinet makes those bins easy to see in a dark corner.
15. Ceiling Drying Rack
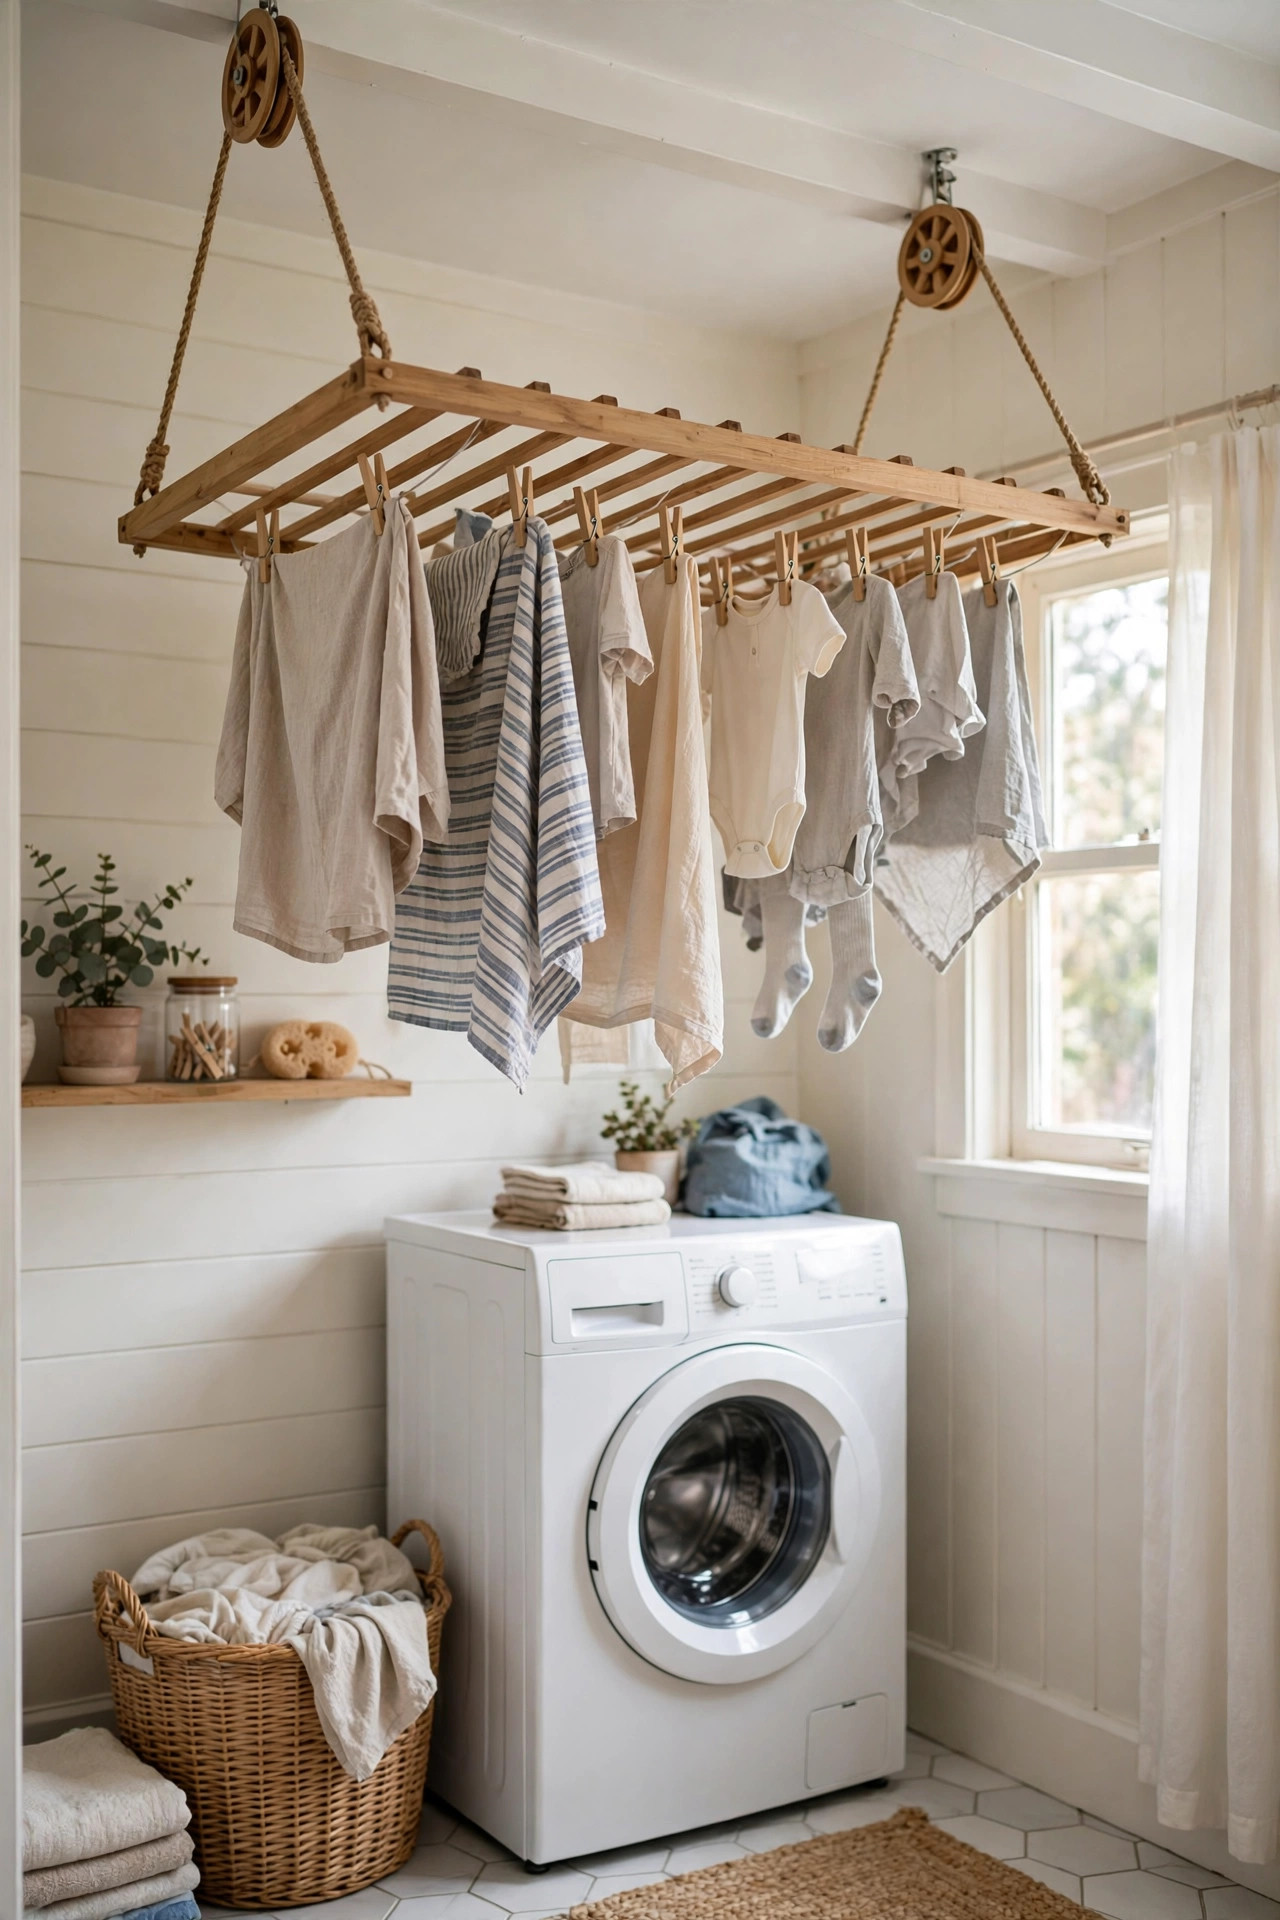
When the walls and floor are full, look up. A pulley mounted drying rack hangs from the ceiling and raises wet clothes up into the warm air near the top of the room, completely out of your way. You load it at a comfortable height, then pull the cord to lift it overhead where it dries while you go about your day. Lower it again when the clothes are dry. It is an old fashioned idea that works brilliantly in small modern laundry rooms, and it adds a touch of charm that guests always notice.
Mount the pulleys securely into ceiling joists, since wet laundry is heavy. Choose a rack with wooden slats, which are gentle on clothes and look beautiful. Position it where it will not block lights or vents, and make sure you have headroom to walk under it when it is raised. This works best in rooms with decent ceiling height and good air circulation. For delicates and items that should not go in the dryer, it is the most space efficient drying solution there is, because the space it uses is air you were not using anyway. Dust the slats now and then so clean clothes never pick up dust from the rack.
Conclusion
A small laundry room does not need to feel cramped or chaotic. Pick two or three of these ideas that fit your space and your budget, start with the easiest one this weekend, and let the room get calmer one upgrade at a time. Before long, laundry day will feel less like a chore and more like a well run little system.
FAQs
What is the best way to organize a very small laundry room?
Start with vertical storage. Shelves above the machines, a pegboard on the wall, and tall narrow storage use the space you already have without taking floor area. Add a slim rolling cart for the gap between machines and keep counters clear for folding. These few changes alone can double the usable storage of a tiny room.
How do I add storage if I cannot drill into the walls?
Use freestanding options that need no drilling. A slim rolling cart slides between machines, an over door organizer hangs on the door, and stackable bins fit under the sink or on top of the machines. Tension rods between walls can hold hanging items, and adhesive hooks work for lightweight tools on smooth surfaces.
Should I stack my washer and dryer to save space?
If you have front load machines and enough ceiling height, stacking is the single biggest space saver for a small laundry room. It frees the footprint of one full machine for storage or a folding station. Just confirm your models are stackable with the right kit, and keep a step stool nearby if the dryer controls sit high.
How can I make my laundry room look nice, not just functional?
Match your storage pieces so they look intentional. Use baskets in one material, paint shelves and pegboards the same color, and add one warm touch like a wood counter or a small plant. Keep counters mostly clear and hide supplies in labeled bins. A room where everything matches and has a place automatically looks styled.
What is the cheapest way to organize a laundry room?
An over door organizer and a set of labeled baskets cost very little and make an immediate difference. A retractable clothesline and a tension rod for hanging are also budget friendly. The most impactful free change is decluttering, throw out empty bottles and expired products so you only store what you actually use.
How do I keep the laundry room organized long term?
Give everything a labeled home and put things back after each use. A sorting hamper station keeps dirty clothes organized from the start, and labeled baskets keep supplies in place. Do a quick five minute reset after each laundry day, wipe the counter, return items to their bins, and toss any trash. Small habits keep the system working.