
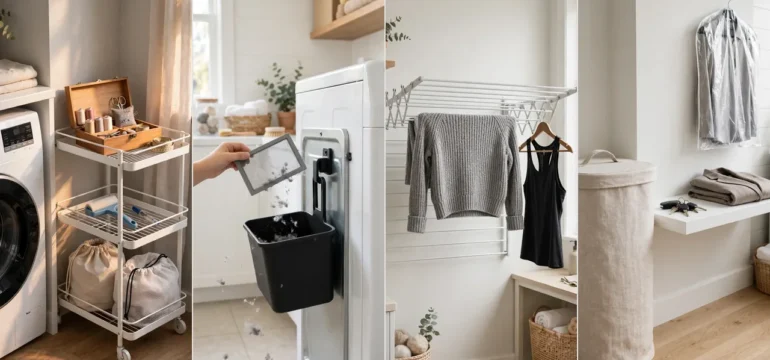
You want laundry day to feel like a quick reset, not a second job waiting at the end of a long workday.
Most busy people already know what that looks like. Clothes go in sorted. The washer starts without a hunt for detergent. Fresh shirts come out of the dryer and go straight onto hangers. Nothing sits in a heap on the bed for three days.
The gap between that routine and your real one is usually not time. It is setup. When every item has a home within arm’s reach, the work shrinks on its own.
That is what good laundry room organization for working professionals is really about. It means fewer decisions, fewer steps, and fewer trips back and forth with a basket on your hip.
The 20 ideas below use cheap bins, shelves, rods, and a few smart habits. Most take an afternoon or less. Pick two or three that fit your space, start there, and let the rest wait for next weekend.
1. Sort Laundry With Three Bins
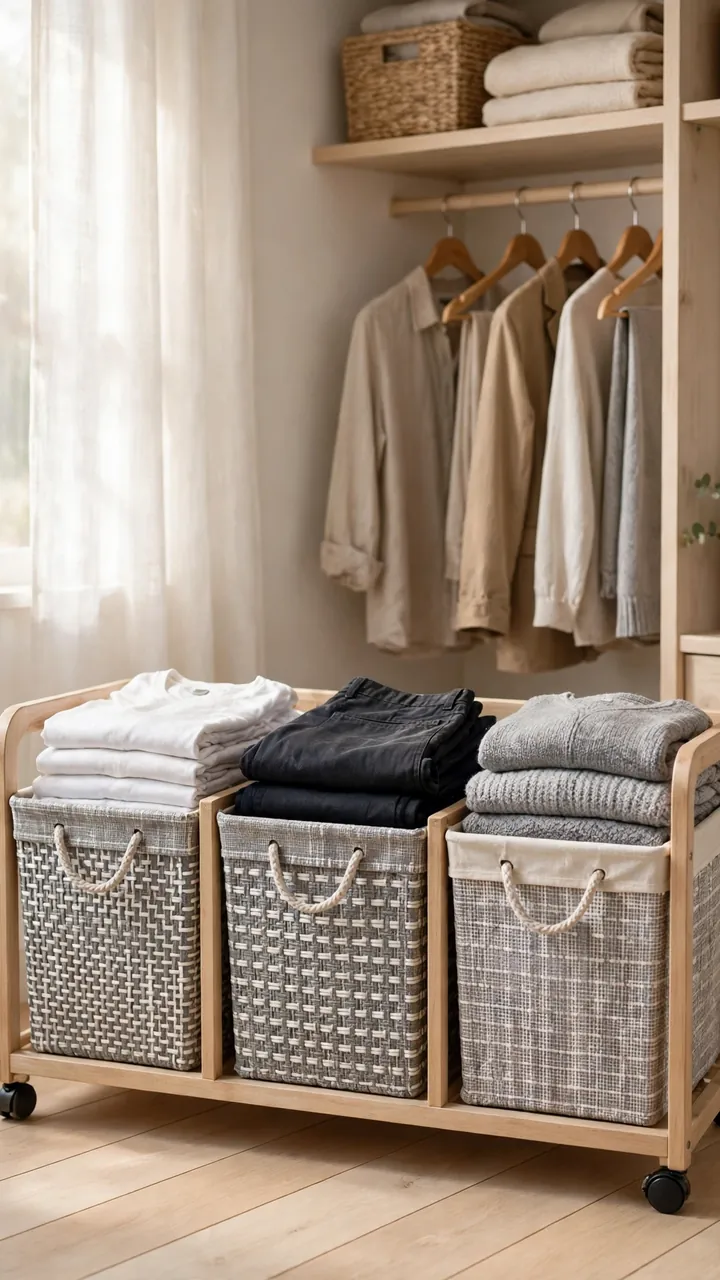
The best sorting happens before you reach the laundry room.
Line up three bins, or one three section rolling hamper, in the bedroom closet or hallway. Clothes get sorted the moment you take them off, so wash day starts with loads that are already done. This is the easiest laundry organization for busy people because it adds zero extra steps.
- Pick bins with handles so one can go straight to the machine.
- Stick with white, grey, or black bins so the corner looks calm.
- Tape a plain label on the front of each one.
2. Hang a Mesh Bag for Socks and Delicates
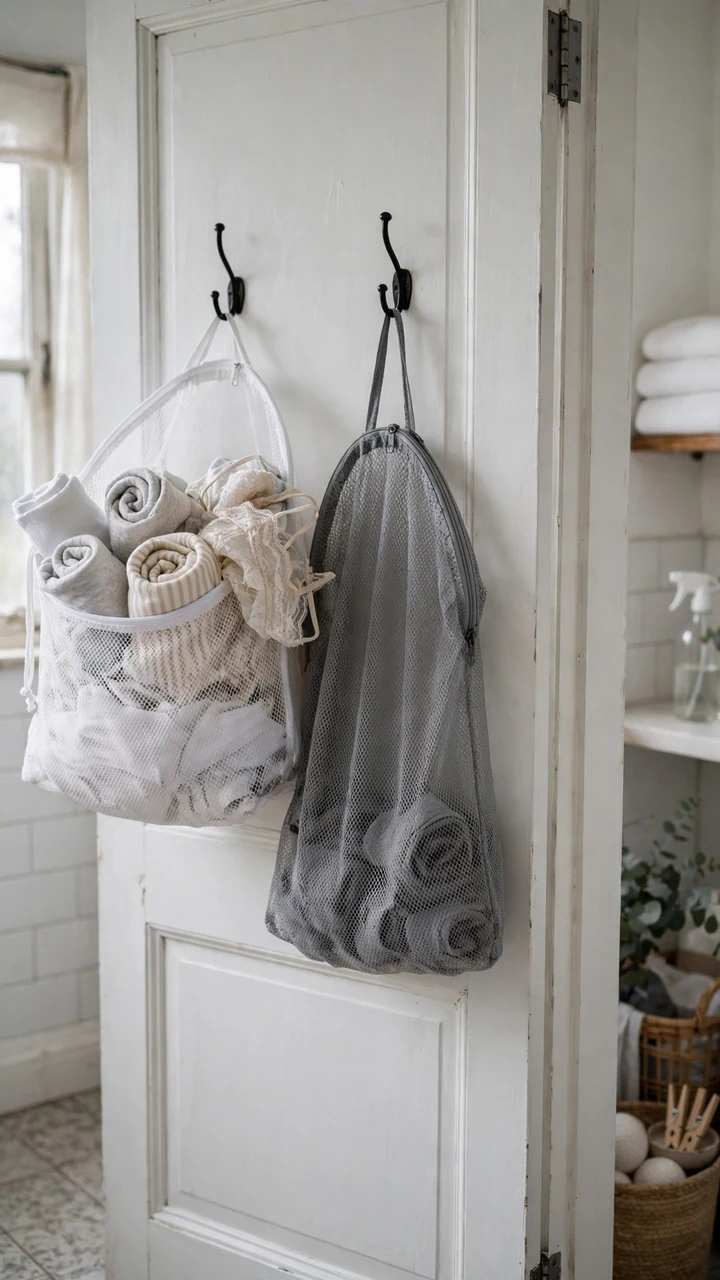
Loose socks are the reason odd pairs pile up.
Hook a zip mesh laundry bag on the back of your bedroom or laundry room door. Drop socks, bras, and small items inside as you undress. When the bag is full, zip it and toss the whole thing into the washer. Nothing hides in a pant leg or gets lost in the door seal.
Choose a zipper over a drawstring so it stays shut through the whole cycle.
💡 Quick Tip
Buy two bags in different colors. Use one for socks and one for delicates so the two never get mixed up at the bottom of the basket.
3. Add a Shelf Above the Washer
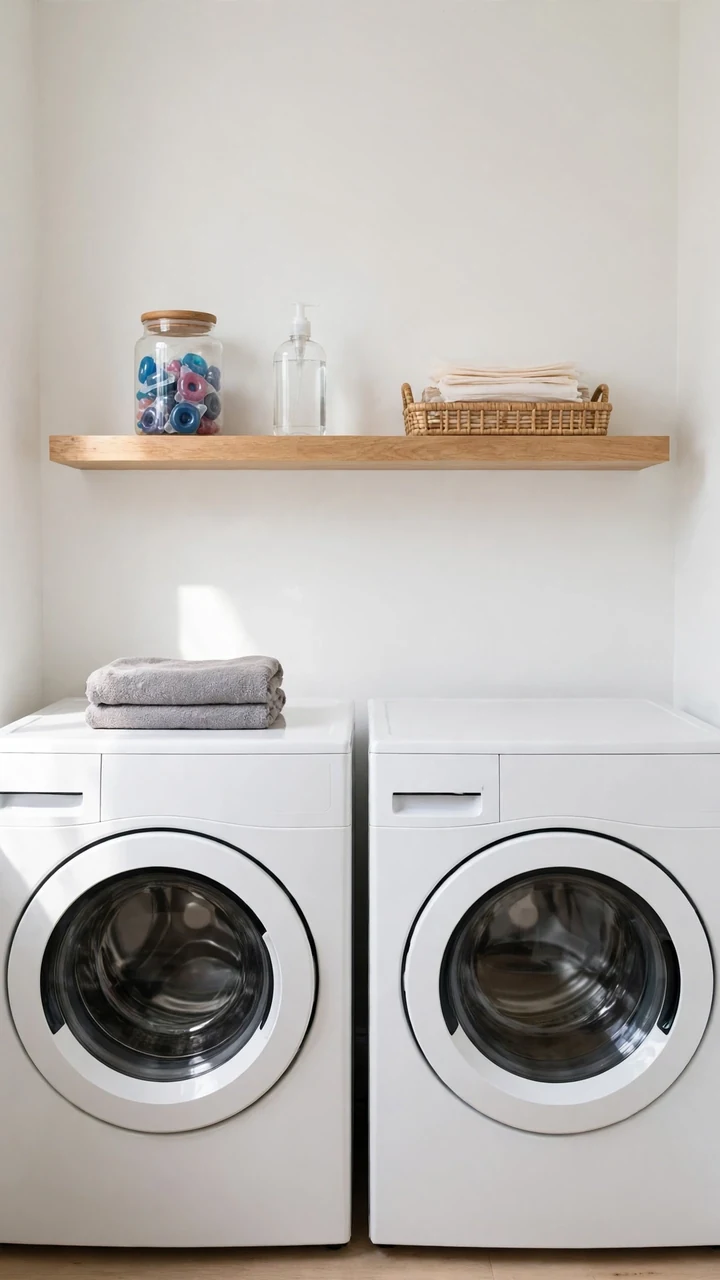
A single white or light wood shelf over the machines already solves half of your supply clutter. Mount it high enough that the washer lid opens all the way. Then give it three jobs: one glass jar for detergent pods, one pump bottle of liquid detergent, and one small tray for dryer sheets.
This is laundry room storage for professionals who want everything visible and nothing buried under the sink.
Keep the shelf clear of anything you do not use weekly.
4. Keep a Stain Kit Close
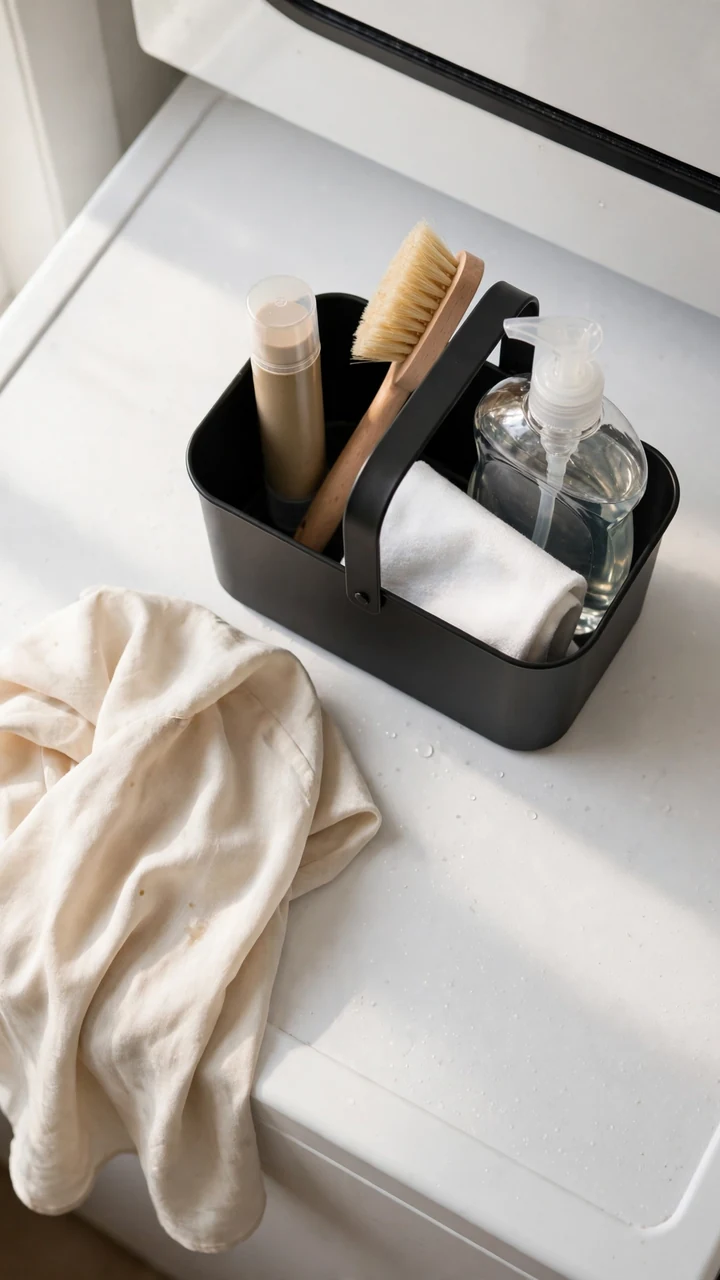
The coffee drip on a work blouse should not sit in the hamper all week.
Fill a small caddy with a few basics and park it next to the washer. When a stain shows up, you treat it in under a minute and move on.
A caddy with a handle works best because you can carry it to the sink or the closet.
What goes in the caddy
5. Use Matching Bins on Your Shelf
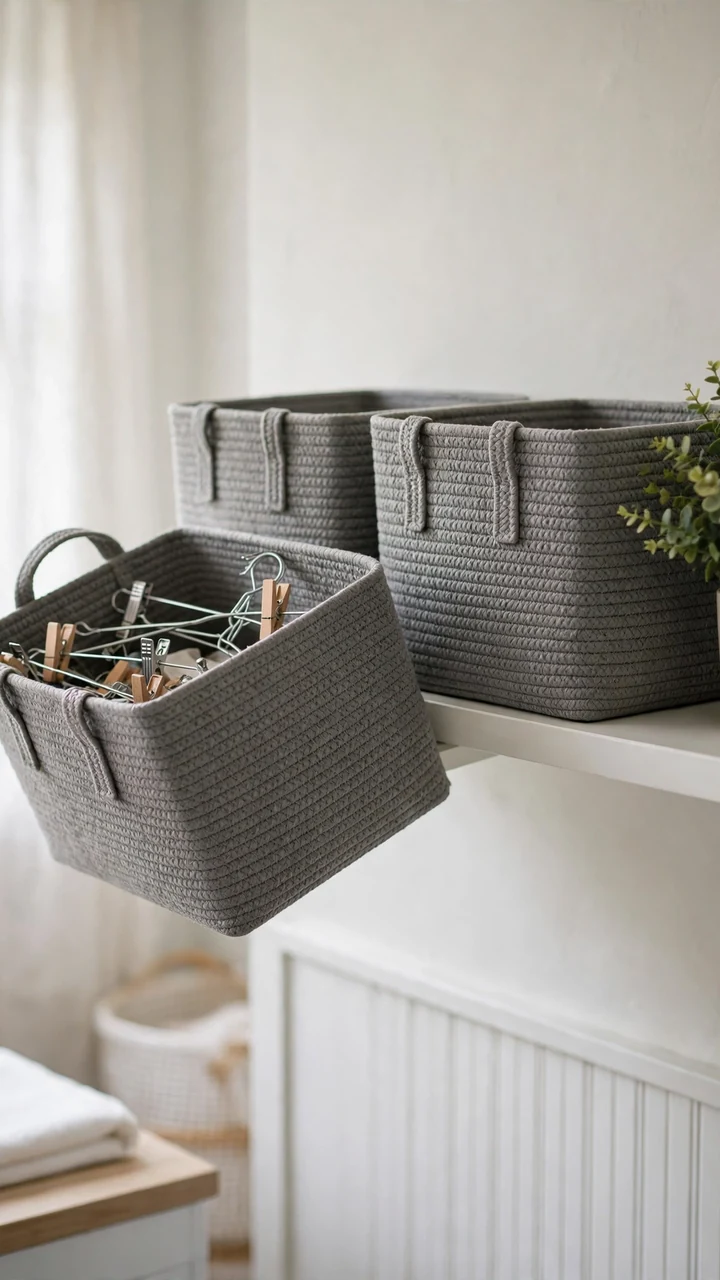
Mismatched boxes from three different stores look busy, and a busy shelf makes you slow down to think. Matching bins look calm and take less decision making.
Use one bin for cleaning supplies, one for spare hangers and clips, and one for the lost and found pile of buttons, coins, and tissues from pockets. Woven grey fabric or white plastic with a handle both work well.
Label the front so anyone in the house can put things back.
Three different box shapes, no labels, and a hunt for the clip you needed every single time.
Three matching bins with front labels. You grab what you need in one move and put it back just as fast.
6. Slide in a Rolling Cart
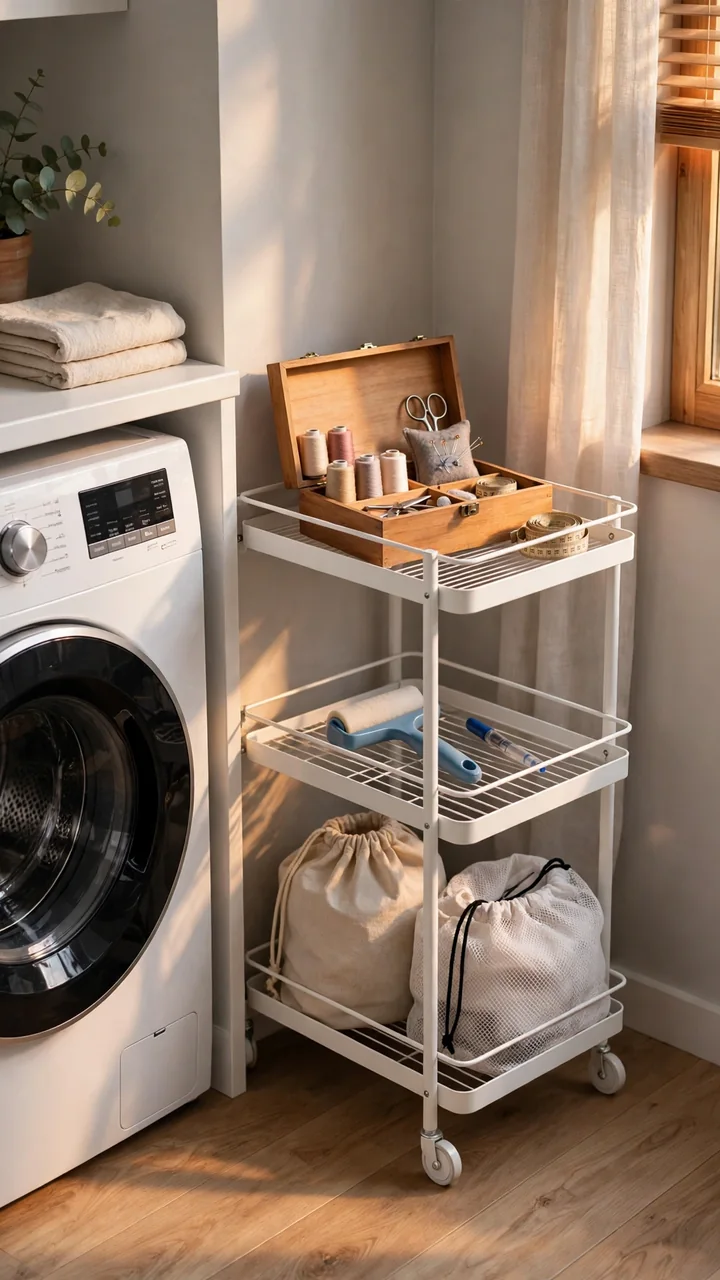
Measure the gap between your washer and the wall before you shop.
Most laundry rooms hide a narrow strip of dead space beside the machines. A slim three tier rolling cart fits there and holds the things you reach for midweek, like spare laundry bags, a lint roller, a travel sewing kit, and a stain pen. When you need the top shelf, roll the whole cart out. When you do not, it disappears.
Look for locking wheels so the cart stays put when you pull a drawer or basket.
Measure the width and depth of the gap, then subtract an inch so the cart rolls without scraping.
Pick a white, black, or grey cart with locking wheels so it matches the rest of the room.
Put heavy bottles on the bottom tier and light items on top so the cart never tips.
7. Give Lost Socks Their Own Basket

The dryer is not stealing your socks.
Most odd socks get separated long before the machine, when pairs are tossed into the hamper in different spots. Keep one small open basket on a shelf and label it “singles.” Every time a sock comes out without a partner, it goes in the basket instead of back in a drawer.
Once a month, dump the basket on the counter and match what you can.
Keep one labeled basket for singles.
Pair socks right at the counter while the load is warm.
Match the basket once a month.
Stuffing lone socks into a dresser drawer.
Throwing a single sock away after one week.
Pairing socks later in the bedroom.
8. Post a Weekly Wash Schedule
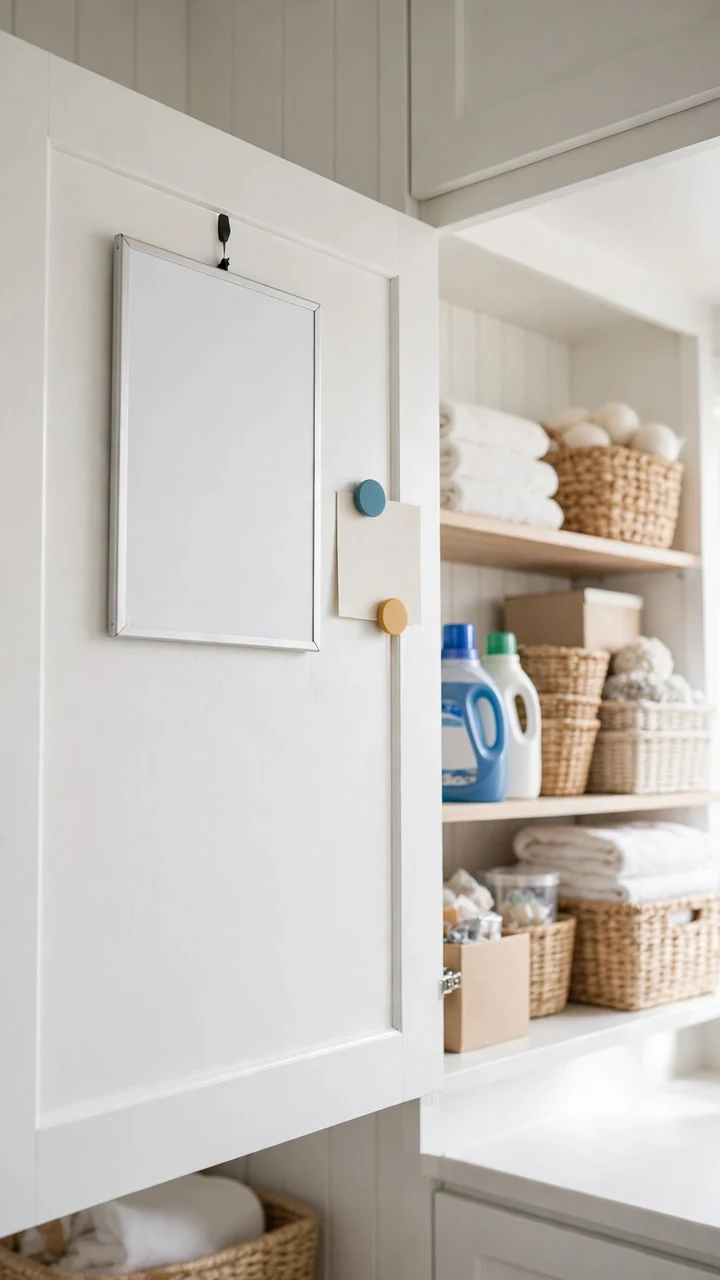
One rule makes busy weeks easier: small loads beat one giant load.
Tape a simple card to the inside of a cabinet door, or hang a small dry erase board near the machines. Write the days and what runs on each one. Work clothes and gym wear get a weeknight slot, and towels and sheets get a weekend slot. You stop asking yourself what to wash and just follow the card.
A schedule also works well if you share the room with a partner or roommate.
| Weeknight Load | Weekend Load |
|---|---|
| Work clothes and gym wear | Towels and bed sheets |
| Start before dinner, fold after | Start first thing and run errands |
| Short and light | Bulky and slow |
9. Store Dryer Balls in a Jar
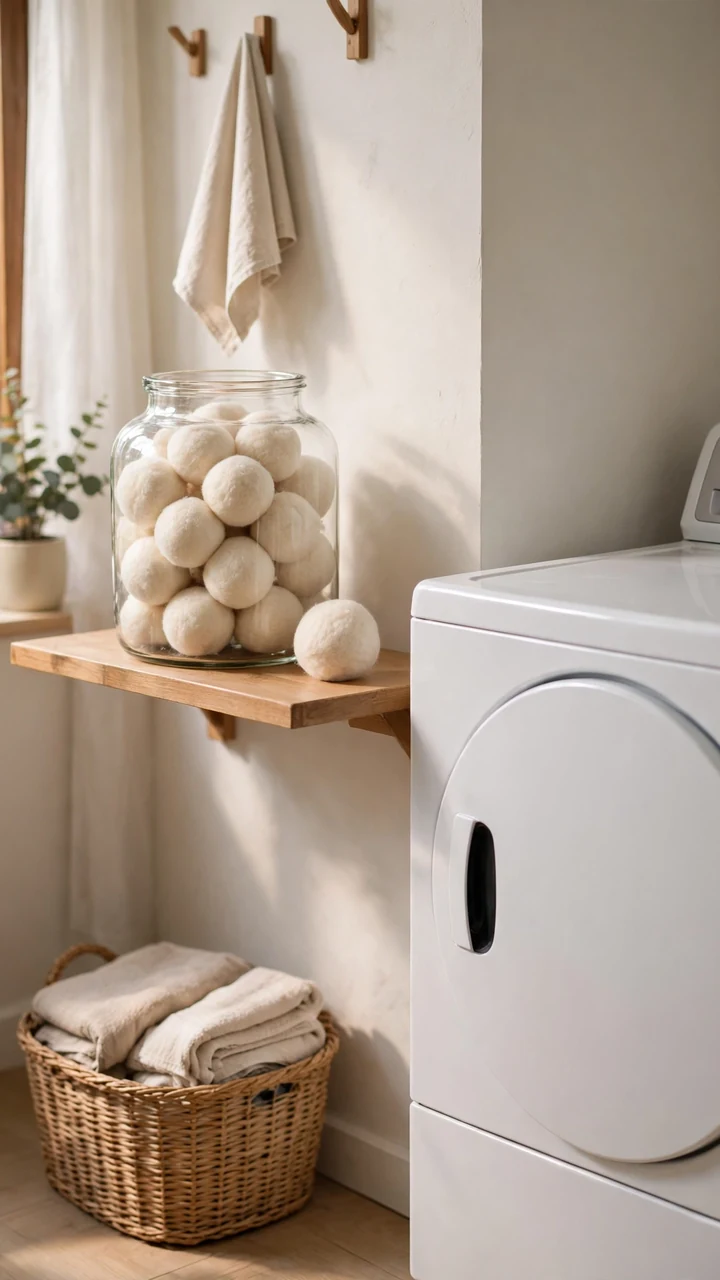
Fewer products on the shelf means a faster load.
Fill a glass jar or a small lidded basket with wool dryer balls and set it right beside the dryer. Toss a few in with every load and you never have to dig for a box of dryer sheets. The jar also looks tidy, which matters in a room you walk through every day.
Pick a jar with a wide mouth so you can grab balls with one hand.
Keep every dryer item within one arm swing of the dryer door. If you have to walk for it, you will skip it.
10. Clip a Lint Bin to the Dryer

Lint on the floor is how a tidy laundry room starts looking messy.
Stick a small bin or a reusable bag to the side of the dryer with a magnetic hook or an adhesive strip. When you pull the lint from the trap, it goes straight in. No walking to the kitchen trash with a grey puff in your hand.
Empty the bin when you empty the trap, so it never overflows.
⚠️ Watch Out
Lint buildup in the trap and the vent is a known fire risk. Clear the trap after every load, and check your dryer manual for how often to clean the vent.
11. Build a Folding Counter
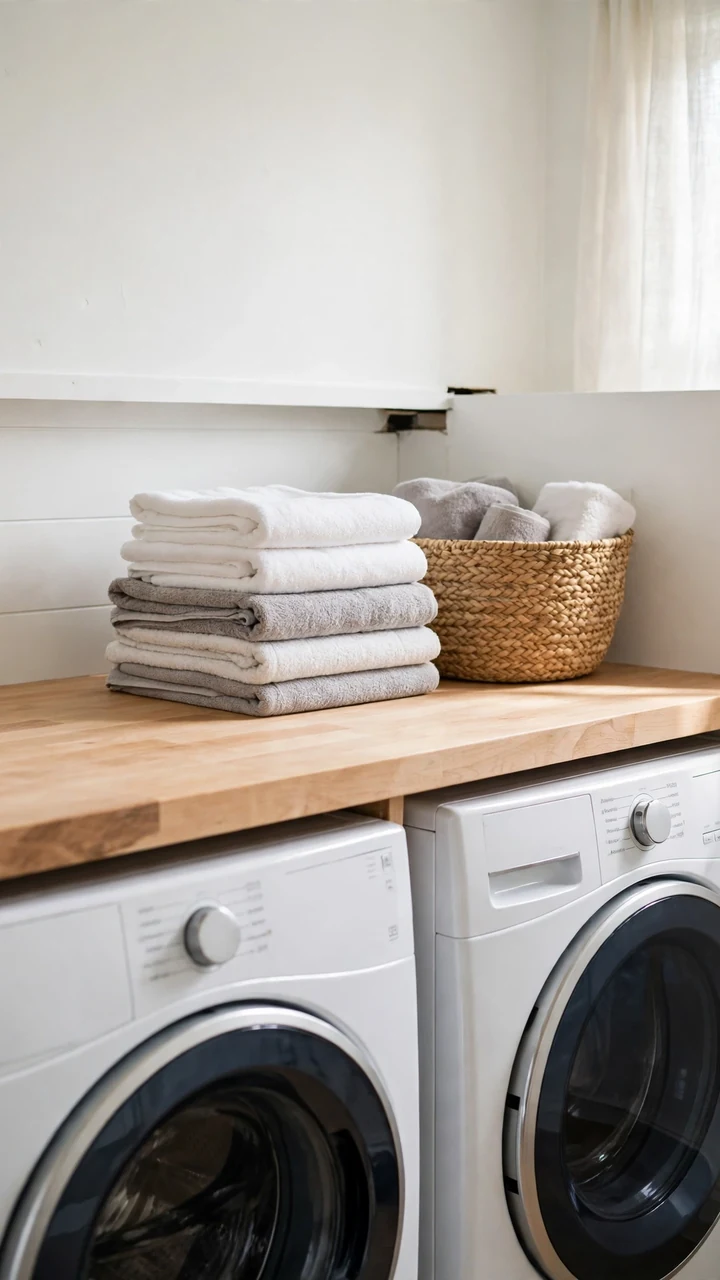
Fold where the clothes come out.
Lay a countertop slab over your front loading washer and dryer and you get a folding surface with no extra floor space. Measure the width across both machines, cut the slab to size, and rest it on wall cleats or sturdy brackets. Leave a small gap at the back so vents and hoses stay clear, and make sure you can still slide each machine out for repairs.
This is the quickest swap for anyone building a fast laundry routine, since the basket never has to leave the room.
12. Fold Into One Basket Per Person
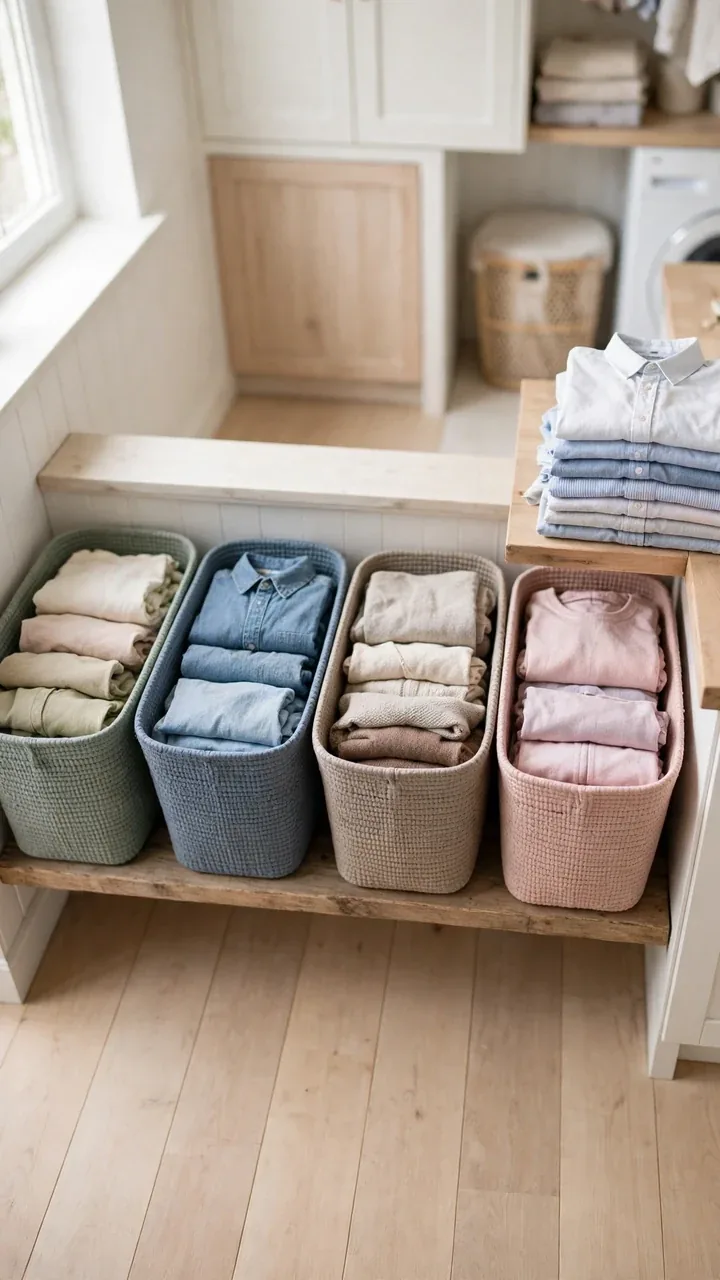
It is Sunday night, and the couch is buried under clothes that belong to three different people.
Skip the sorting pile. Give each person in the house one basket, tote, or bin, and fold straight into it. When the basket is full, whoever owns it carries it to their own room and puts everything away. It works well for couples, roommates, and families with kids who can finally help.
Pick a basket color for each person so nobody has to read a label.
Set up in four small moves
13. Add a Fold Down Wall Table
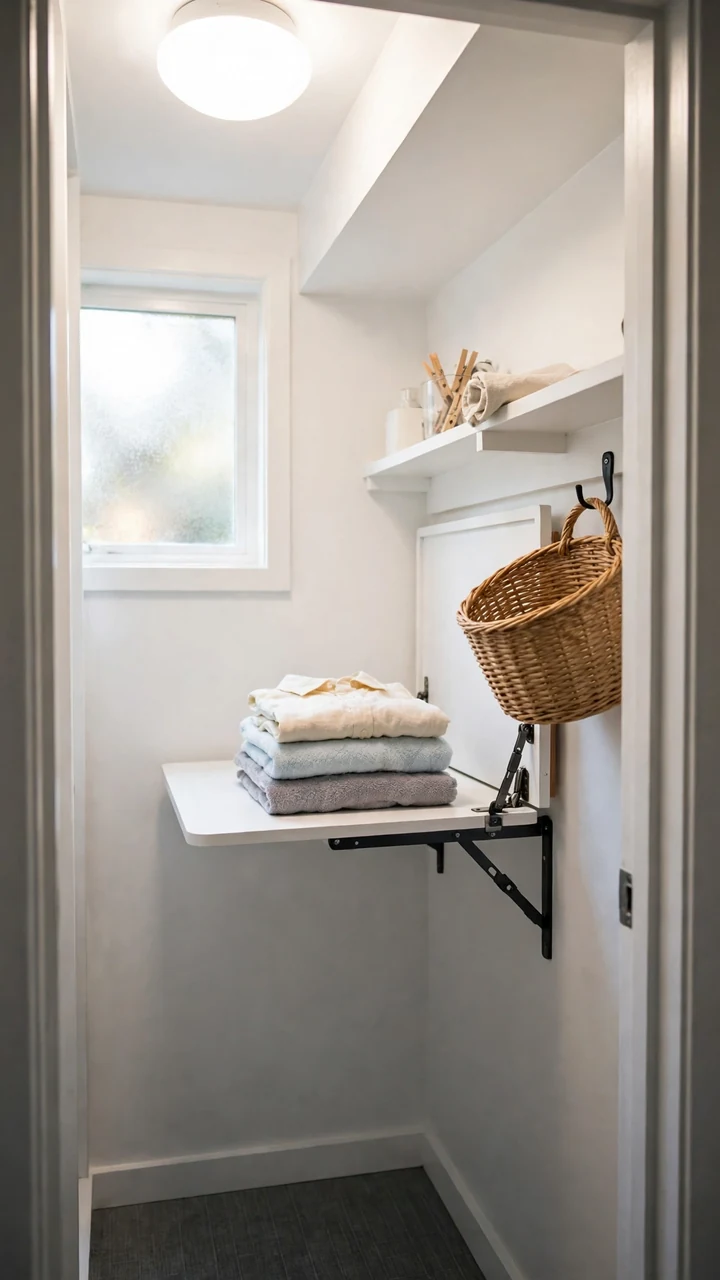
You do not need a big counter to fold well.
A narrow laundry closet can still hold a folding surface. Mount a drop leaf table or a hinged shelf on the wall with a support bracket underneath. It sits flat against the wall most of the week and swings out for about ten minutes on laundry night.
Screw it into wall studs, not just drywall. A table that holds a full basket needs a strong anchor.
A tight closet with no flat surface. Folded shirts end up balanced on the washer lid or carried to the bed.
A hinged table folds down in one move. Fold, stack, and lift it back up when you finish.
14. Hang Work Shirts Right Out of the Dryer

Shirts that go on a hanger while they are still warm usually need far less ironing.
Mount a hook rail or a short hanging rod on the wall near the dryer. Keep a small stack of hangers beside it. When the dryer buzzes, pull your work shirts first, give each one a quick shake, and hang it straight away. You skip the wrinkle pile and the ironing board on most mornings.
Button the top button so the collar keeps its shape as it cools.
Pull shirts out while they are still slightly warm and shake each one once.
Smooth the collar and the button placket flat with your hand.
Hang each shirt on the rail, button the top button, and leave a little space between hangers.
15. Mount a Pull Out Drying Rack
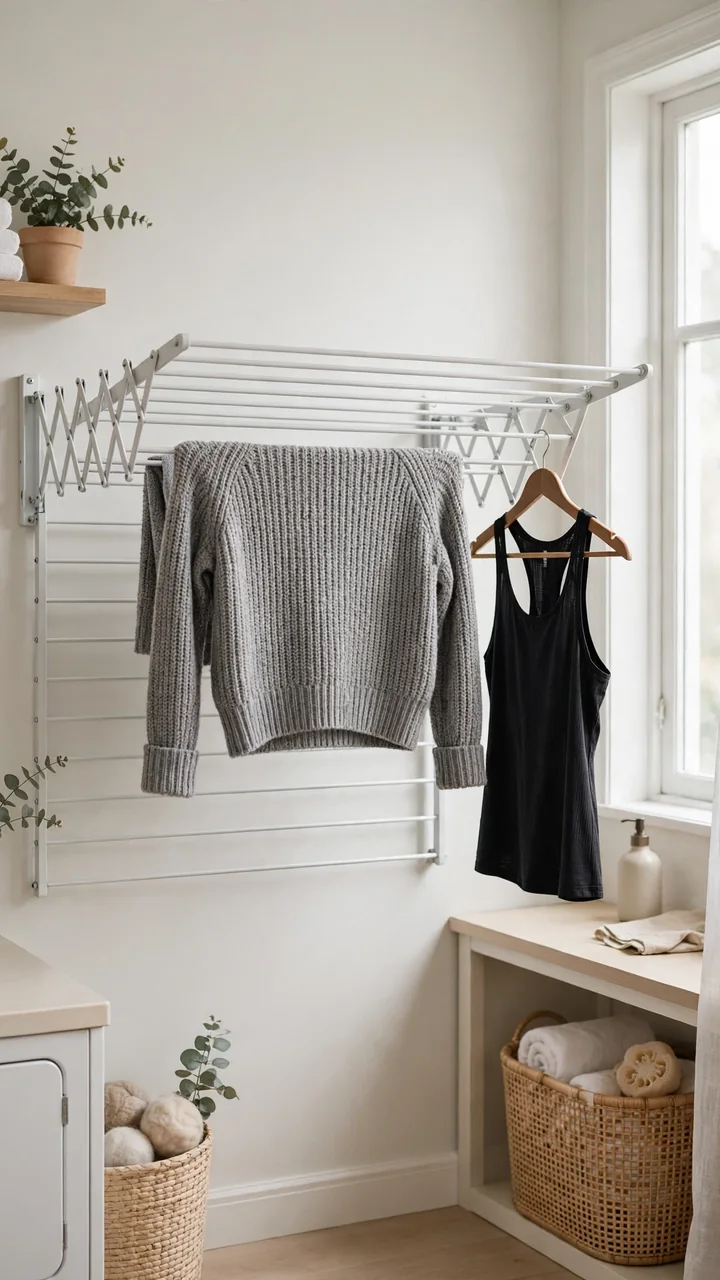
A freestanding drying rack eats floor space, and a wall mounted one takes none.
Pick an accordion style rack that folds flat against the wall and extends when you need it. Sweaters, gym tops, and bras can air dry there while you leave for work. Lay knits flat across the bars so they keep their shape, and slide the rack back in when the pieces are dry.
Anchor the brackets into studs if you plan to hang anything wet and heavy.
Lay sweaters flat across the bars.
Space pieces apart so air can move.
Fold the rack back after every use.
Hanging heavy knits by the shoulders.
Piling wet items on top of each other.
Mounting it into drywall alone.
16. Use a Tension Rod Over the Sink

A tension rod and a freestanding rack both dry clothes, but only one takes zero floor space.
Spring a rod between two walls above your utility sink, or across a shower stall if the laundry room has one. Hang blouses, scarves, and light knit tops straight from the washer so the drips land in the basin and the floor stays dry. A busy professional laundry routine works best when wet items have somewhere to go right away.
Check the weight rating on the rod before you load it.
| Tension Rod | Freestanding Rack |
|---|---|
| Uses no floor space | Needs a clear patch of floor |
| Best for light items on hangers | Handles flat items and bulky pieces |
| Drips fall into the sink | Drips fall on the floor or a towel |
17. Make a Hand Wash Station
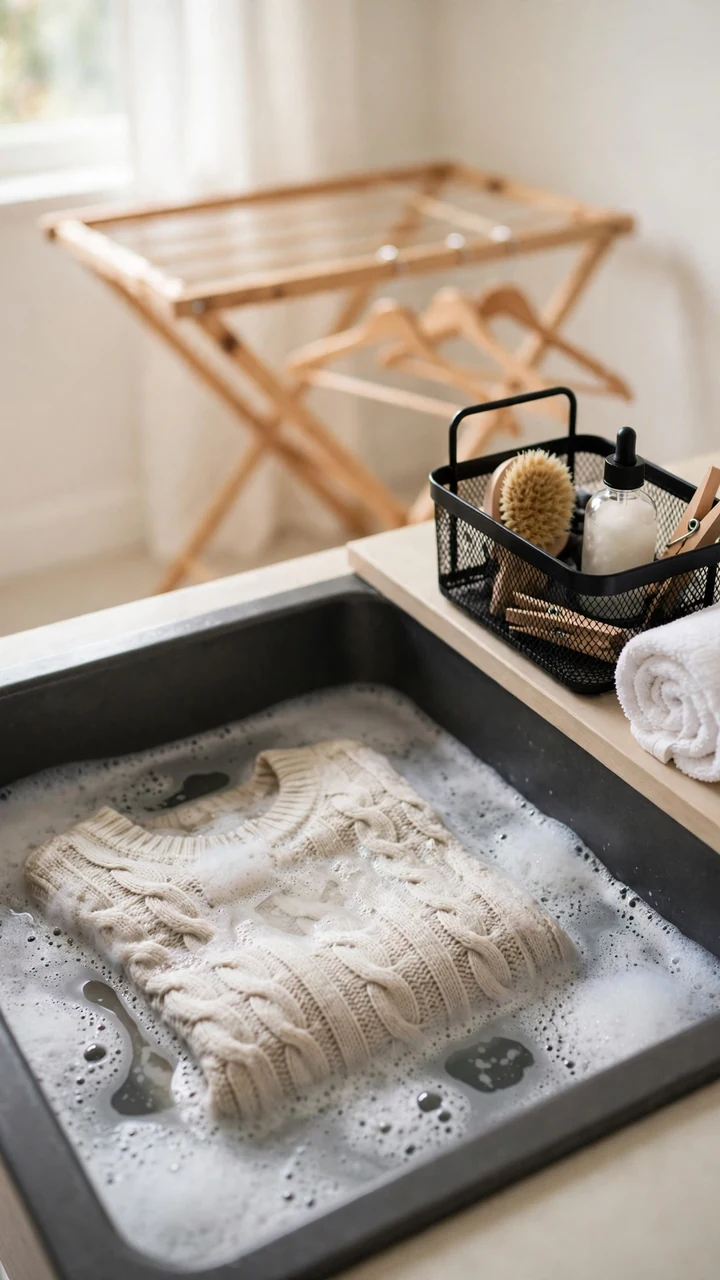
Some work pieces never go near a machine.
Set up one corner of the utility sink as your hand wash spot, and keep the supplies in a small caddy so you are never hunting for them. Fill the basin, add a splash of gentle detergent, soak the piece, rinse, and press out the water with a towel instead of wringing it. Then it goes on the rack or the tension rod.
Keep a dedicated towel just for pressing so it always stays within reach.
18. Add a Hanger Bar at Eye Level

Hang the bar where you can see it, not above your head.
Mount a simple metal rod on the wall above your folding counter, about eye level for the tallest person in the house. It gives blazers, dresses, and creased trousers a place to air out or finish drying before they go back to the closet. You also avoid the pile on the bed that forms when there is nowhere to hang things.
Use the same style of hanger throughout so the bar looks neat.
- ▸Blazers that need to breathe after a long day
- ▸Dresses fresh from the washer, drying on a hanger
- ▸Pressed trousers waiting to go back in the closet
- ▸Tomorrow’s outfit, so the morning needs no thinking
19. Keep an Ironing Board Ready
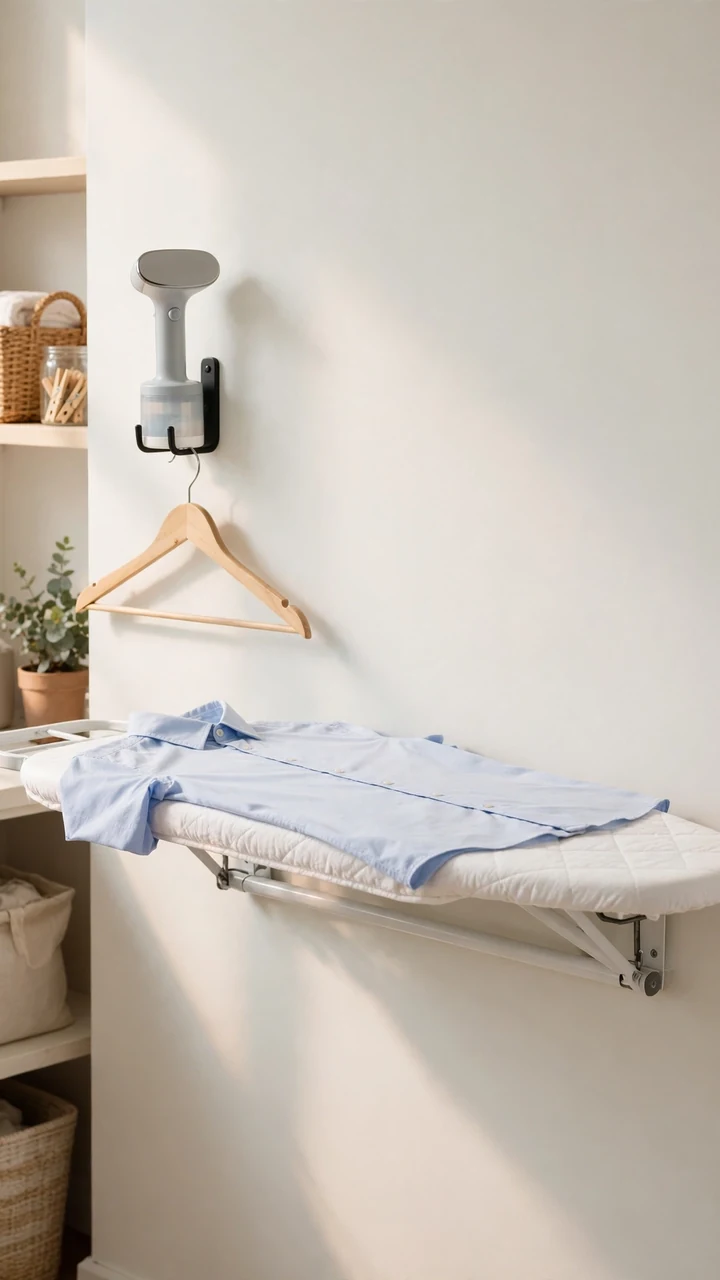
Set up the iron the night before and morning wrinkles stop being a problem.
A wall mounted board or a board hung on an over the door hook can stay in the laundry room without taking over the floor. Pair it with a small handheld steamer on a wall hook next to it. A steamer heats up quickly and works on most fabrics without the full ironing routine. Unplug it after every use, then hang it back up.
Hang one spare hanger on the same hook so pressed clothes can go straight on.
A tool you can grab in five seconds gets used. One buried in a closet becomes a chore you skip.
20. Set Up a Dry Cleaning Bin
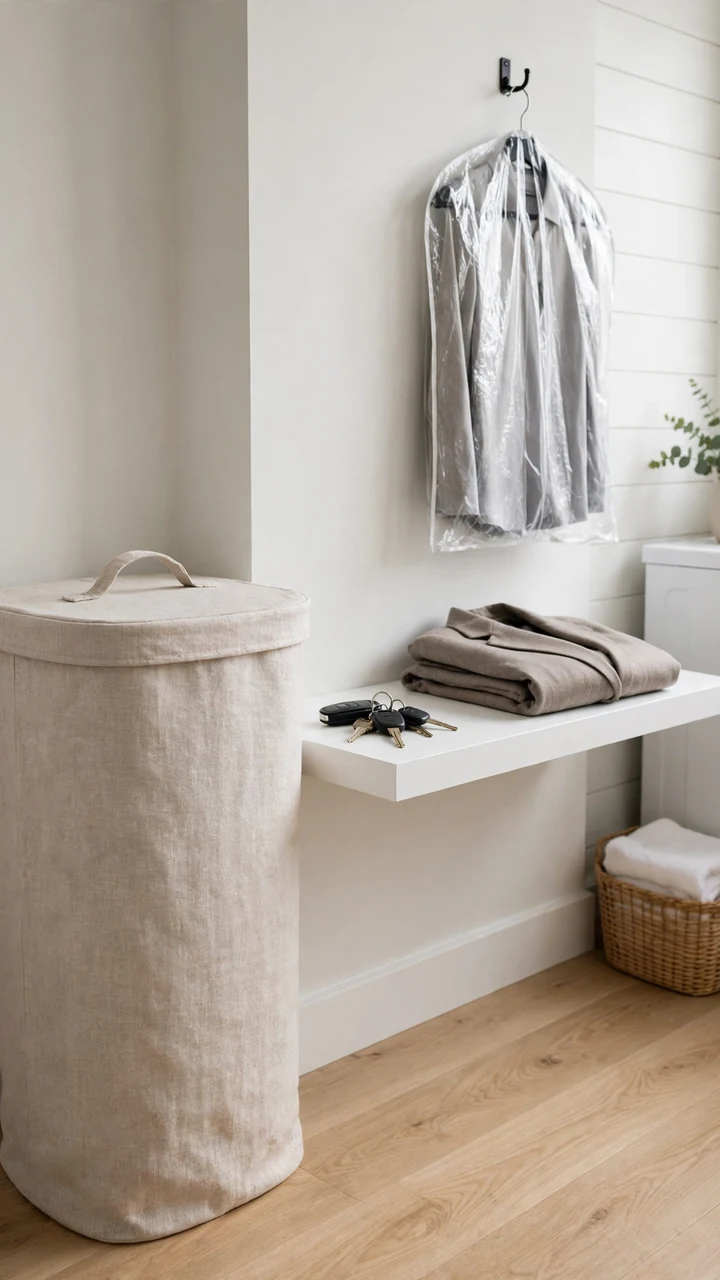
Dry cleaning has a way of sitting in the trunk for two weeks.
Put one lidded bin or tall basket in the laundry room for items that need professional cleaning. Drop pieces in as you notice them, then grab the whole bin on your way out. Add a small hook for returned items so they hang in the laundry room until you can put them away.
Choose a drop off day that matches your commute, like Monday on the way to work.
Your dry cleaning corner
Conclusion
Laundry day gets easier when the room does some of the thinking for you. Sorted bins, a stocked shelf, a counter ready for folding, and a spot to hang what cannot go in the dryer all cut the steps between a full hamper and a clean closet.
You do not need all 20 ideas. Pick the two that fix your biggest daily annoyance, set them up this weekend, and add more when you have the energy. Good laundry room organization for working professionals grows one small change at a time.
Save this list to your Pinterest board so it is waiting the next time laundry day feels like too much.