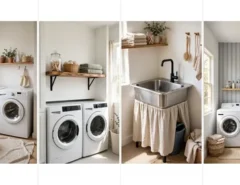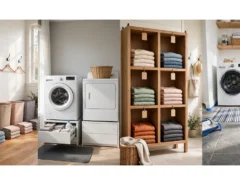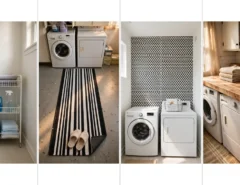
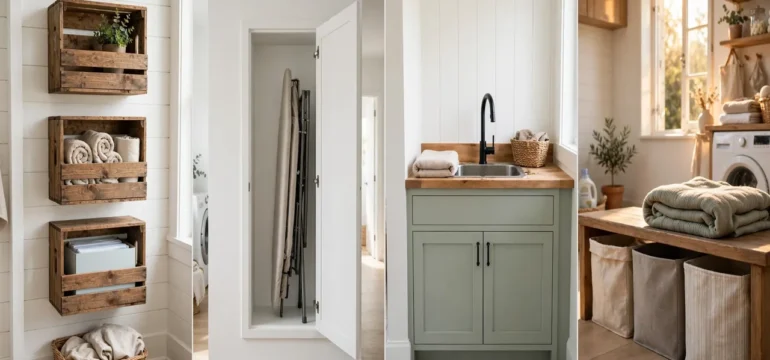
You want a laundry room that looks like someone planned it. Shelves cut to fit the wall, a cabinet that hides the detergent, and a counter where the towels get folded. Then you see the custom price tags and close the tab.
Here is the good news. Most of that look comes from simple boards, a few screws, and a free afternoon. DIY laundry room shelves and cabinets on a budget are easier than they seem, because laundry rooms are small and the walls are usually plain. A little wood goes a long way.
These 20 projects each come in under $150, with clear steps and a short list of tools. Some are floating shelves you can finish in a few hours. Others are wall cabinets, folding counters, and hidden storage that take a weekend. Pick the one that fixes your biggest annoyance first, then build another. Custom storage does not have to come with a custom bill.
1. Floating Shelf Over the Washer
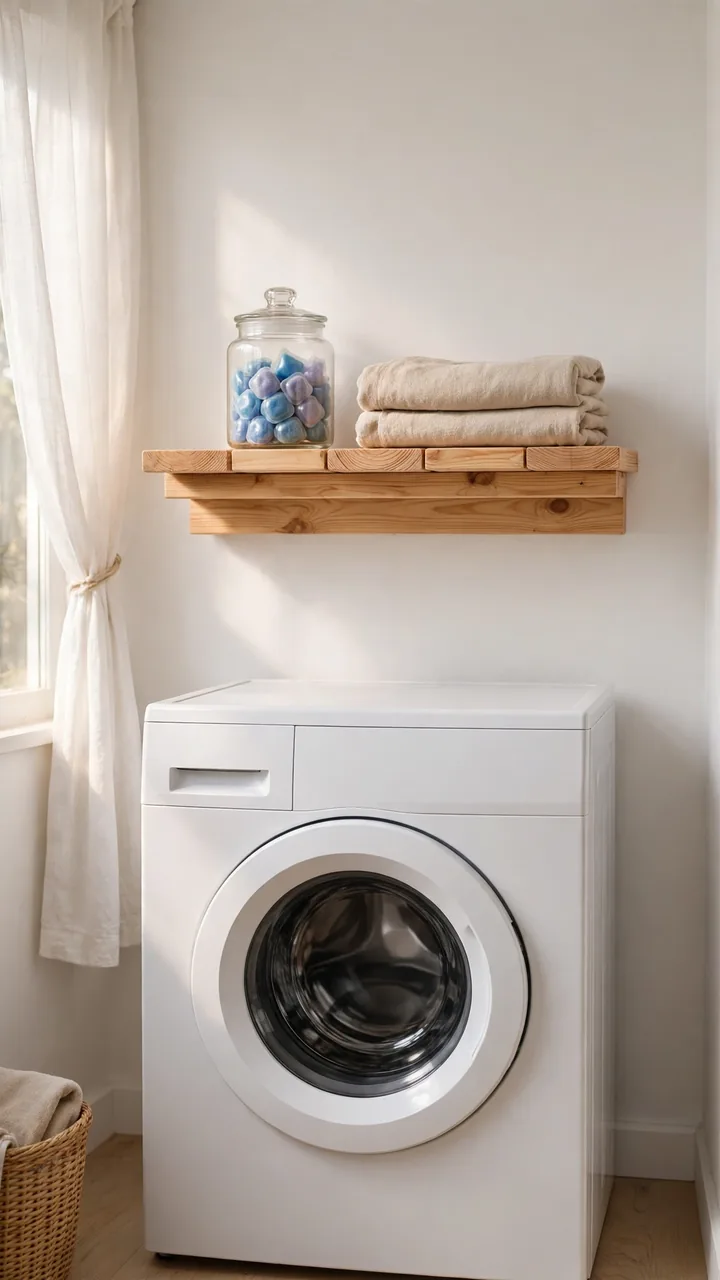
The empty wall above the washer is the easiest spot to fill, and this shelf is the easiest way to fill it.
Cut a top, a bottom, and a front from 1×8 pine. Glue and nail them into a hollow box. A hidden cleat, which is just a strip of wood screwed into the wall studs, lets the box slide on and hides every screw.
- Level a 1×2 cleat and screw it into the studs.
- Slide the box over the cleat and nail down through the top.
- Fill the nail holes, then paint or stain.
A 1×8 gives you room for detergent bottles. Leave enough space above a top-loader so the lid still opens fully.
2. Simple Open Pine Shelves
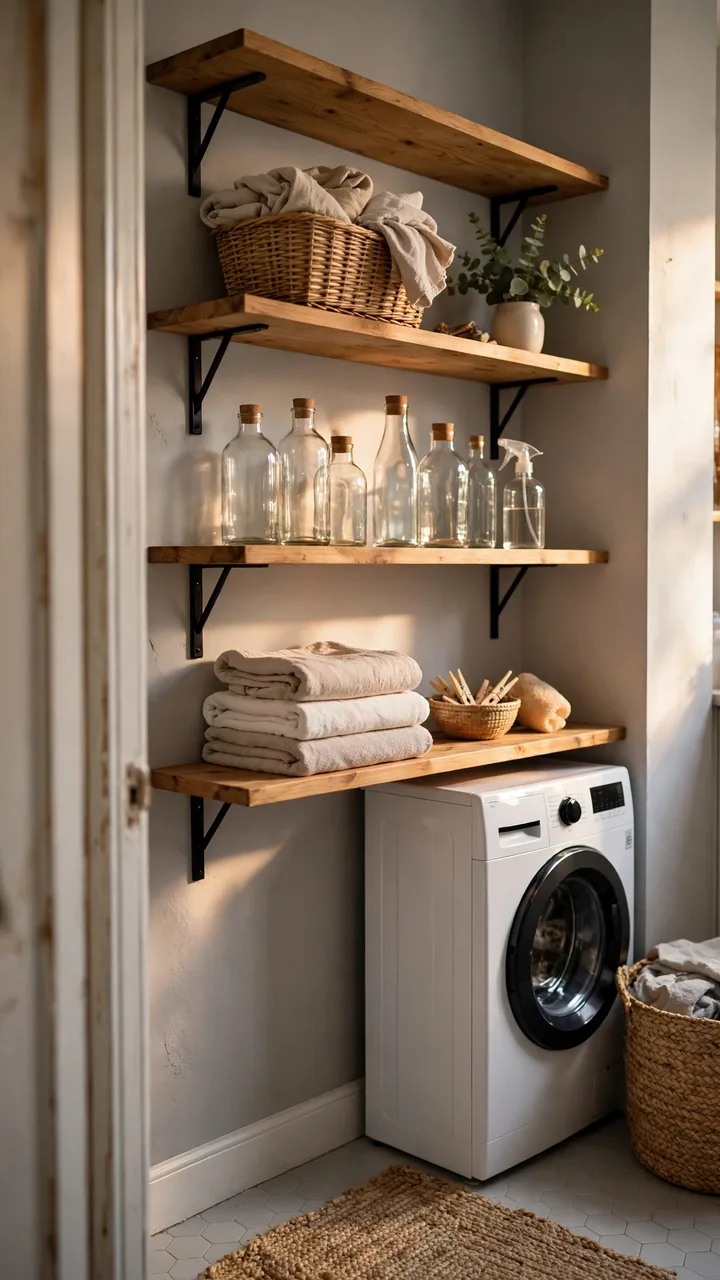
Bottles left on the dryer always slide off and land behind it.
Open pine shelves fix that with a few boards and a handful of brackets. They are the most basic way to build laundry room storage, and they suit a wall of any size. Paint the boards white to hide the knots, or keep the wood bare for a warmer look. Buy brackets rated for more weight than you plan to store.
Find the studs, then draw a level line for each shelf at the height you want.
Pre-drill, then screw the brackets into the studs along each line.
Sand and seal the boards, set them on the brackets, and screw up through each bracket into the wood.
3. Wall Cabinet From One Sheet of Plywood
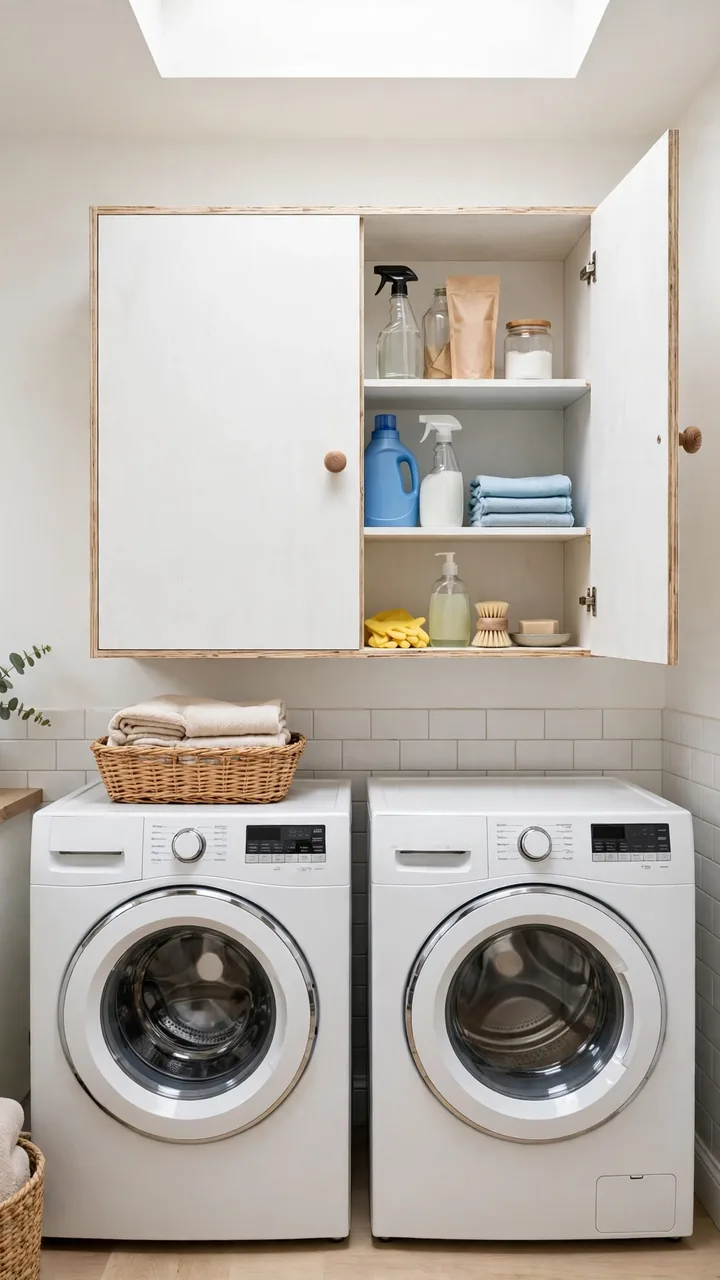
The cleaning supplies live under the sink, the dryer sheets sit on the dryer, and nothing has a door.
A basic wall cabinet is a box with a back, two shelves, and a door. One sheet of plywood covers almost all of it. Build the box on the floor, hang it on a cleat, then add the door last so it is easy to line up.
Ask the store to make the long cuts. It saves your back and keeps the edges straight.
4. Wooden Crate Wall Shelf
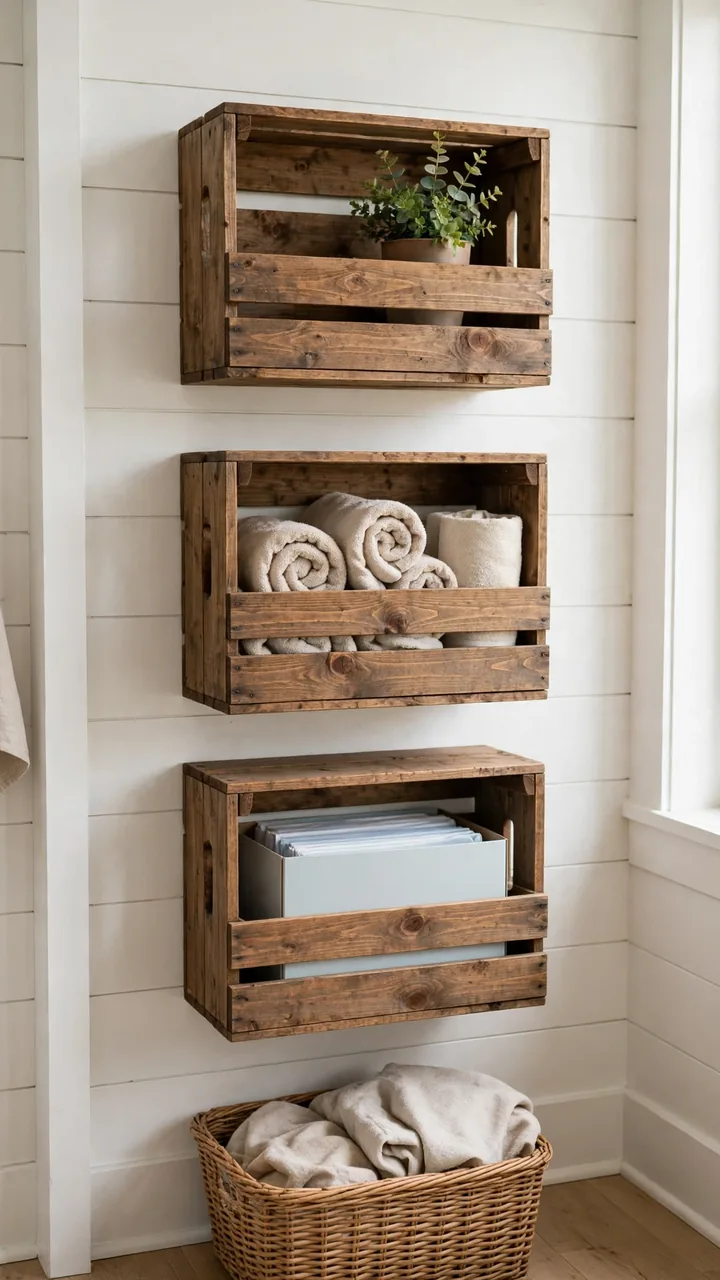
Crates are cheap, sturdy, and already shaped like cubbies.
Screw two or three together side by side, then fasten the stack to the wall. The common mistake is hanging them on drywall anchors alone, which lets the whole stack sag once it fills up with bottles. Screw through the back of each crate into a stud instead.
Sand away splinters and seal the wood so it does not snag towels. Stain the crates for a rustic look, or paint them white for something cleaner.
What to grab first
5. Shaker-Style Cabinet Doors
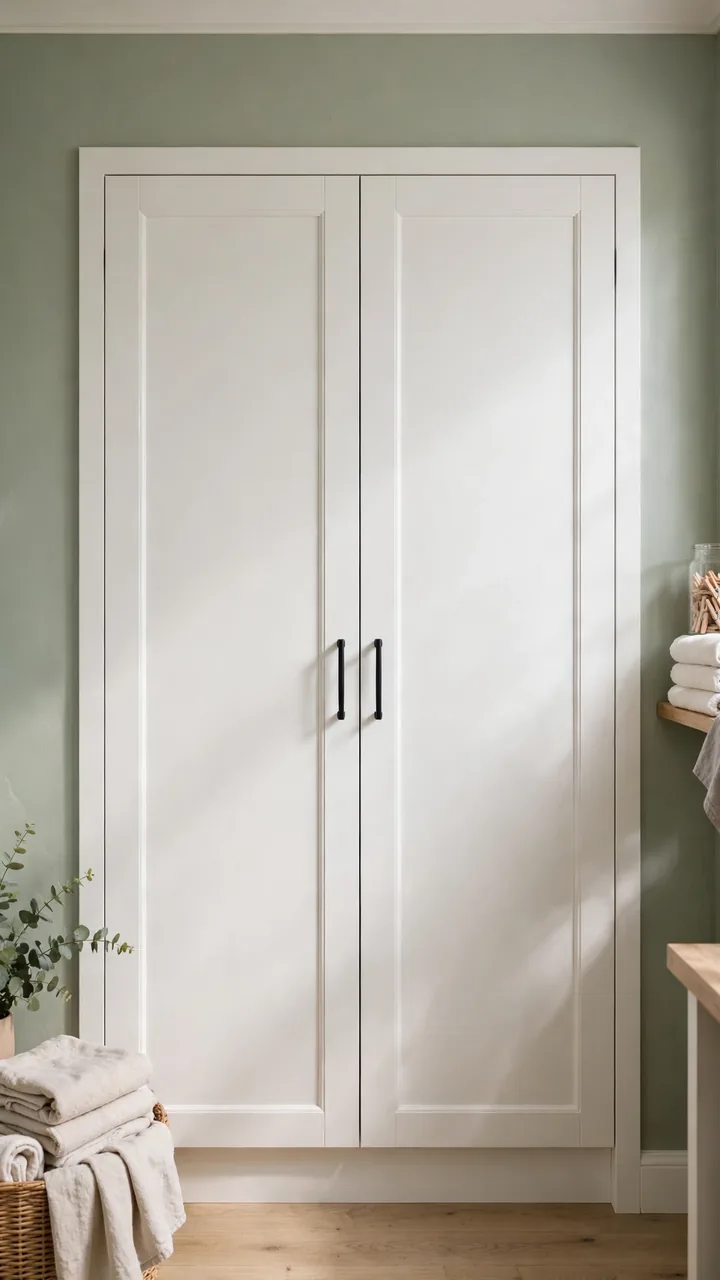
Shaker doors look like a shop job, but they are just a flat panel inside a frame.
Cut four pieces of 1×2 for the frame and one piece of thin plywood for the center. Glue and nail the frame together, then glue the panel into the back. Prime, paint, and hang the doors on basic hinges.
- Frame: four 1×2 boards, mitered or butted at the corners
- Center: thin plywood, cut to fit snugly
- Finish: two thin coats of paint beat one thick coat
These doors also work on an open cabinet you already own, which makes them a fast cabinet makeover.
A flat, scuffed door with no detail, or an open shelf that shows every bottle and box.
A framed door with a clean inset panel that hides the clutter and looks custom built.
6. Shelf With a Hanging Rod
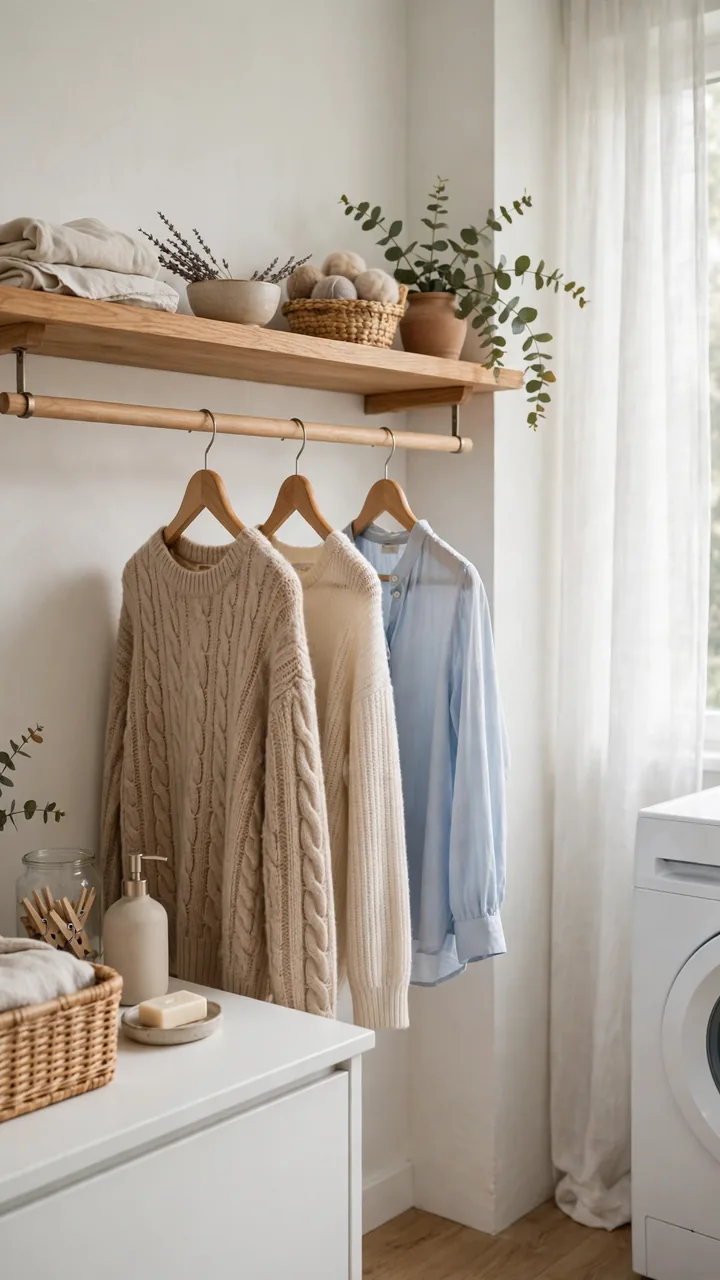
Damp sweaters deserve better than the back of a chair.
This shelf gives them a rod to hang from, with a ledge for supplies above. Screw a 1×10 board onto two brackets. Then mount a pair of rod holders on the wall just below it and set a wooden dowel or closet rod between them.
- Leave enough room under the rod for hangers to swing freely.
- Screw the rod holders into studs, since wet clothes get heavy.
- Cut the rod to fit between the holders with a little give, so it drops in.
Hang it where air can move, so clothes dry instead of smelling musty.
| Wood dowel | Metal closet rod |
|---|---|
| Cuts easily with a hand saw. | Needs a hacksaw or tube cutter. |
| Warm look, and you can paint or stain it. | Slim and ready to use with no finishing. |
| Can sag over a long span, so keep it short. | Holds more weight over a longer span. |
7. Painted Laundry Cabinets
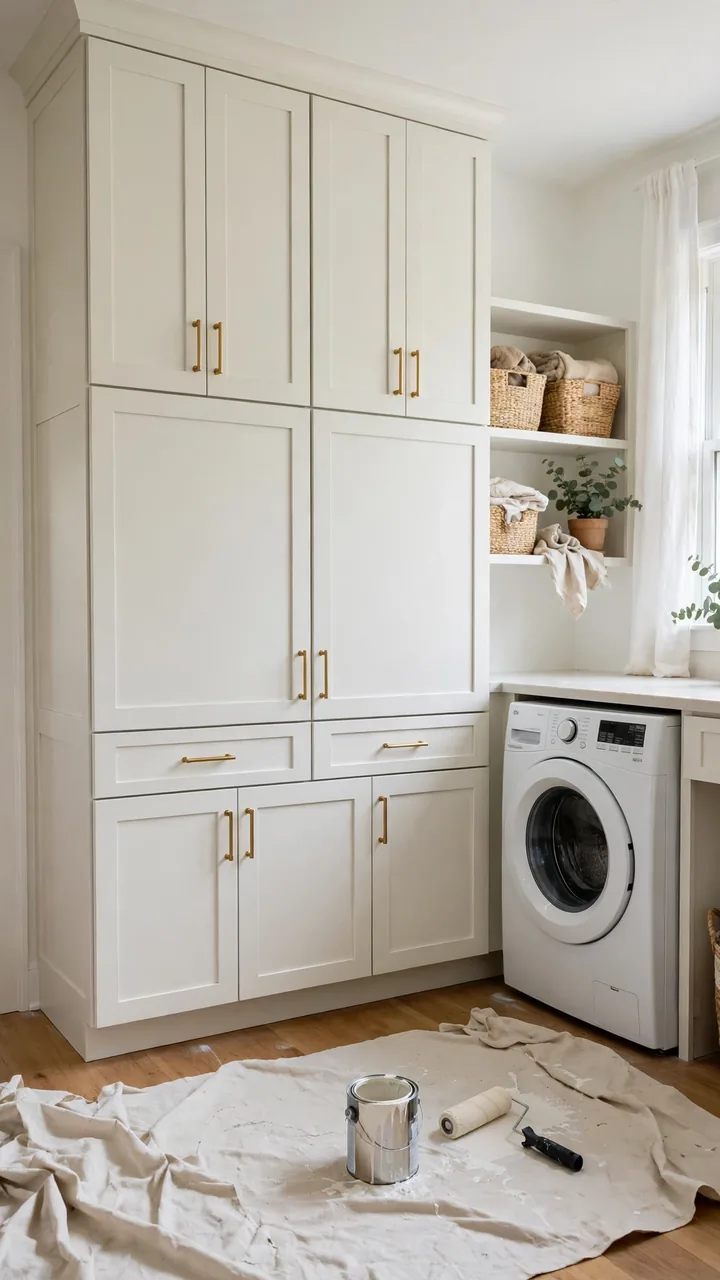
A new cabinet is not the only way to get a new cabinet.
Paint does more than most people expect, as long as the prep is right. Wipe the doors with a degreaser first. Detergent dust and fabric softener leave a film that paint will not grip. Sand lightly, prime, then roll on two thin coats of cabinet paint.
Swap the old pulls for fresh ones while the doors are off. Hardware is a cheap way to make a cabinet makeover look finished.
It is one of the simplest DIY laundry room cabinets projects, and most of the time goes to drying.
Degrease and sand before you paint.
Prime every surface first.
Let each coat dry fully.
Painting over dust and fabric softener residue.
Using flat wall paint on doors.
Closing doors while the paint is still tacky.
8. Folding Counter Over the Machines
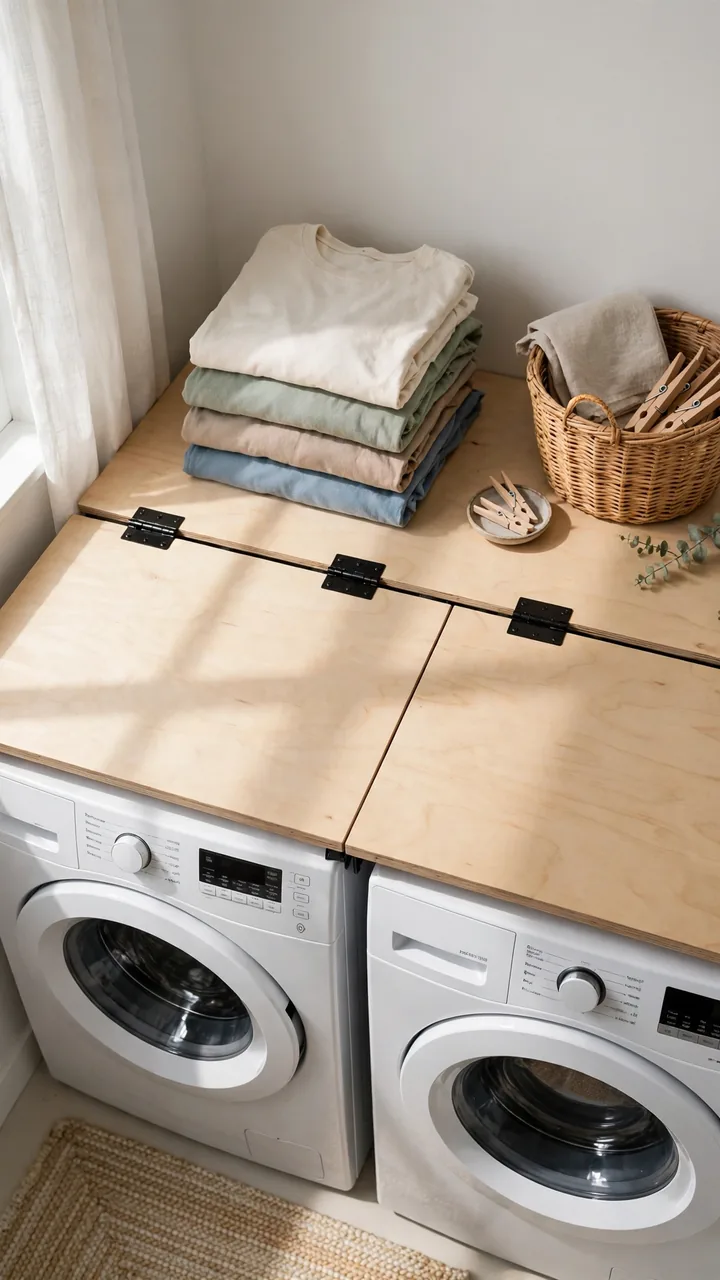
A folding counter changes how the whole room works.
Screw a ledger board into the wall studs along the back and any side walls. Set a plywood top on the ledgers and screw it down. Sand the edges smooth so they do not snag towels, then seal the top with a clear water-based finish so spills wipe right off.
That is the whole build. Add laundry room shelves on a budget above it, and one wall gives you a folding zone and storage together.
💡 Quick Tip
Leave a small gap between the counter and the machine so vibration never rattles the top. Keep room at the back for the dryer vent and hoses.
9. Fold-Down Wall Table
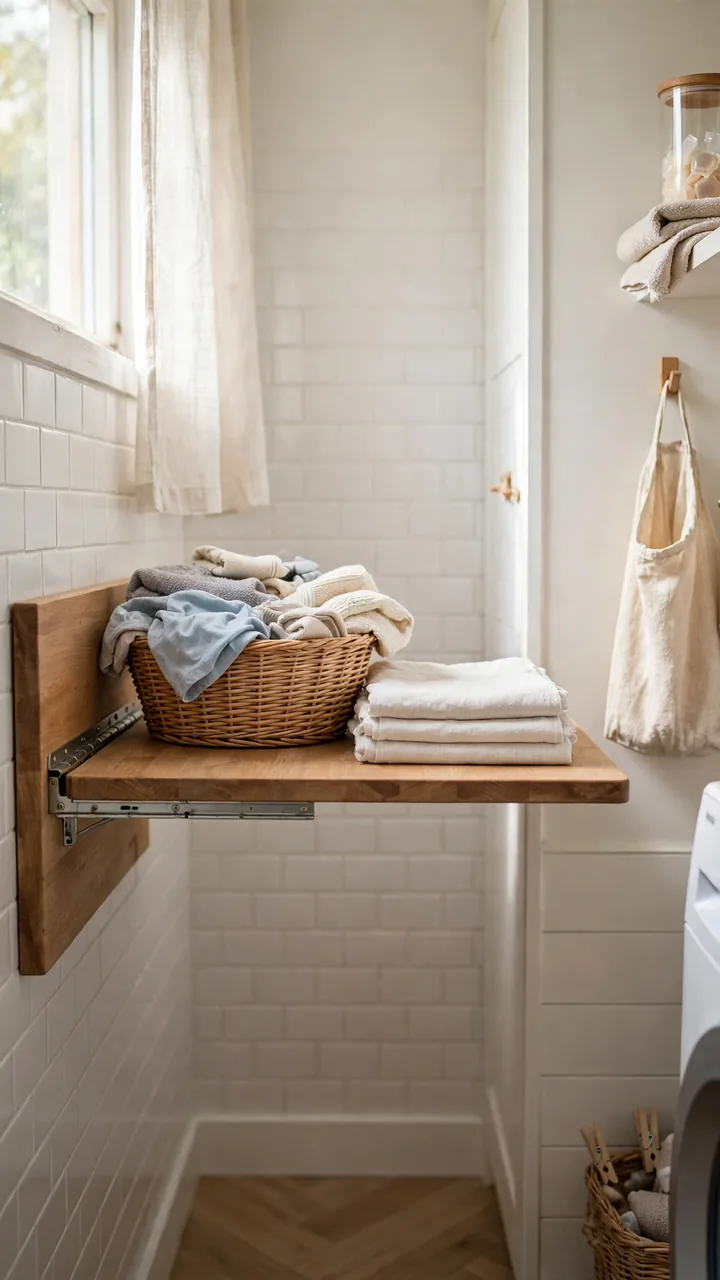
In a narrow laundry room, a table has to disappear once the folding is done.
Mount a board to the wall studs, then hinge the tabletop to it with a piano hinge. Add a folding support bracket or a hinged leg under the front edge so it holds level. Fold it up and the floor is clear again.
Keep the top shallow enough that you can still walk past it when it is down.
Screw the hinge board into studs, not just drywall. That one step decides whether the table holds a full basket of towels.
10. Drop-Down Drying Rack
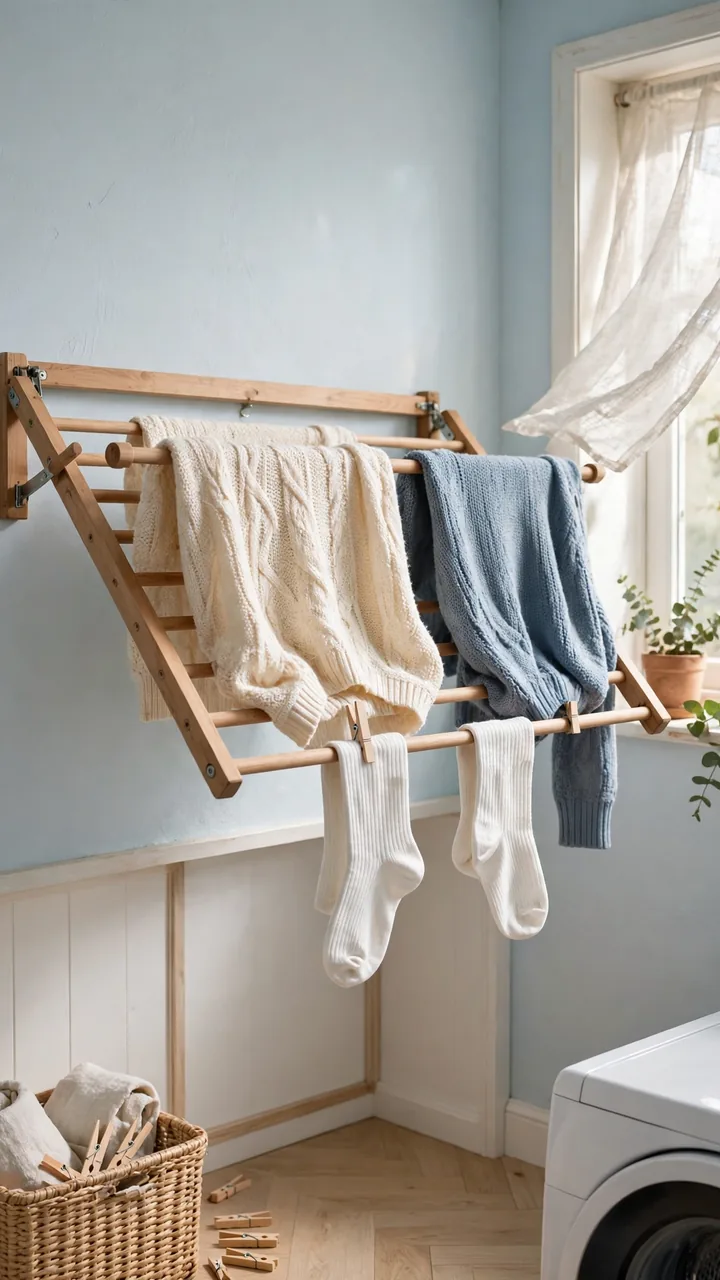
Most drying racks fail because the dowels sit too close together.
Space them far enough apart that a hanger and a sweater can drape without touching. Run the dowels between two side arms, then hinge the arms to a wall board so the whole rack swings down and folds flat when you are done.
A small hook or latch holds it up. Light, cheap, and put away in seconds.
- ▸Sand the dowels smooth so they never snag knits.
- ▸Hinge the side arms into studs.
- ▸Keep the rack clear of the dryer vent.
- ▸Add a hook or latch so it stays up when folded.
11. Slim Rolling Cart
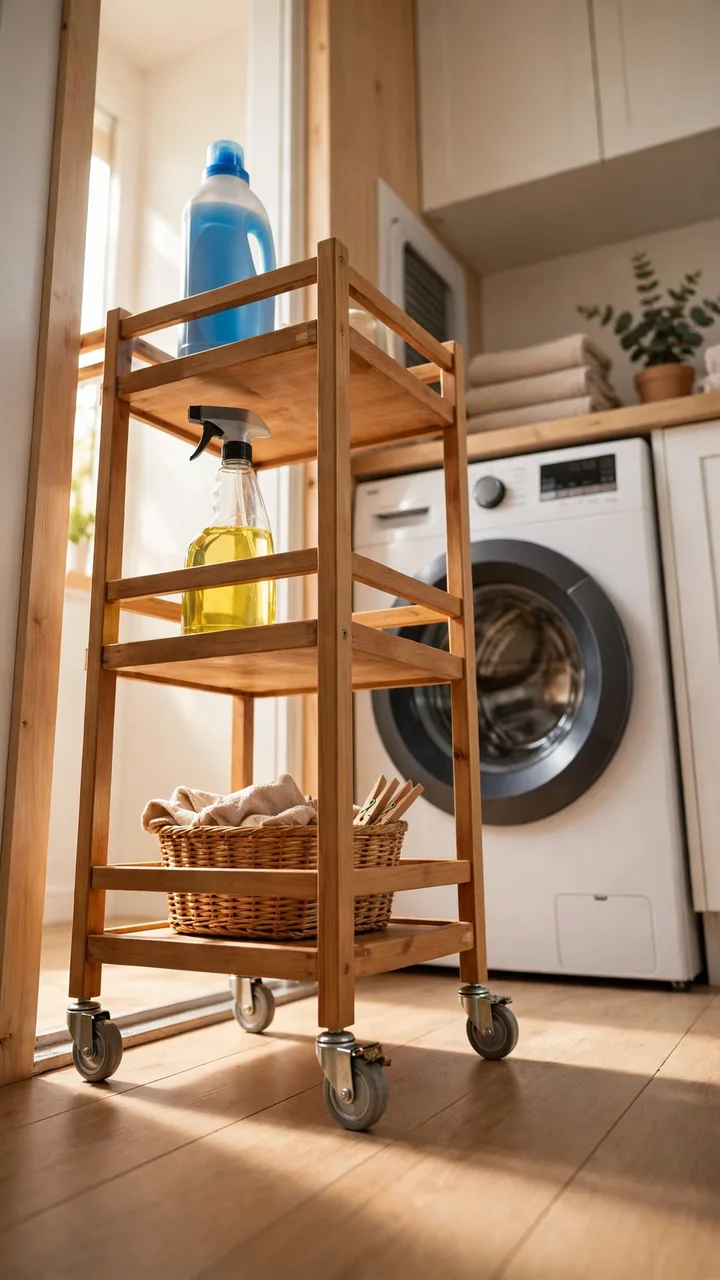
That gap between the washer and the wall is too narrow for anything, and too wide to ignore.
A slim rolling cart fills it. Measure the gap first, then subtract a little so the cart glides in and out. Build two side panels from 1×4 boards, screw in three plywood shelves, and bolt locking casters to the bottom. Add a thin front strip to each shelf so bottles do not slide off.
Roll it out to grab the detergent, roll it back to hide it. Check that the wheels clear any hose or cord on the floor.
12. Hidden Ironing Board Cabinet
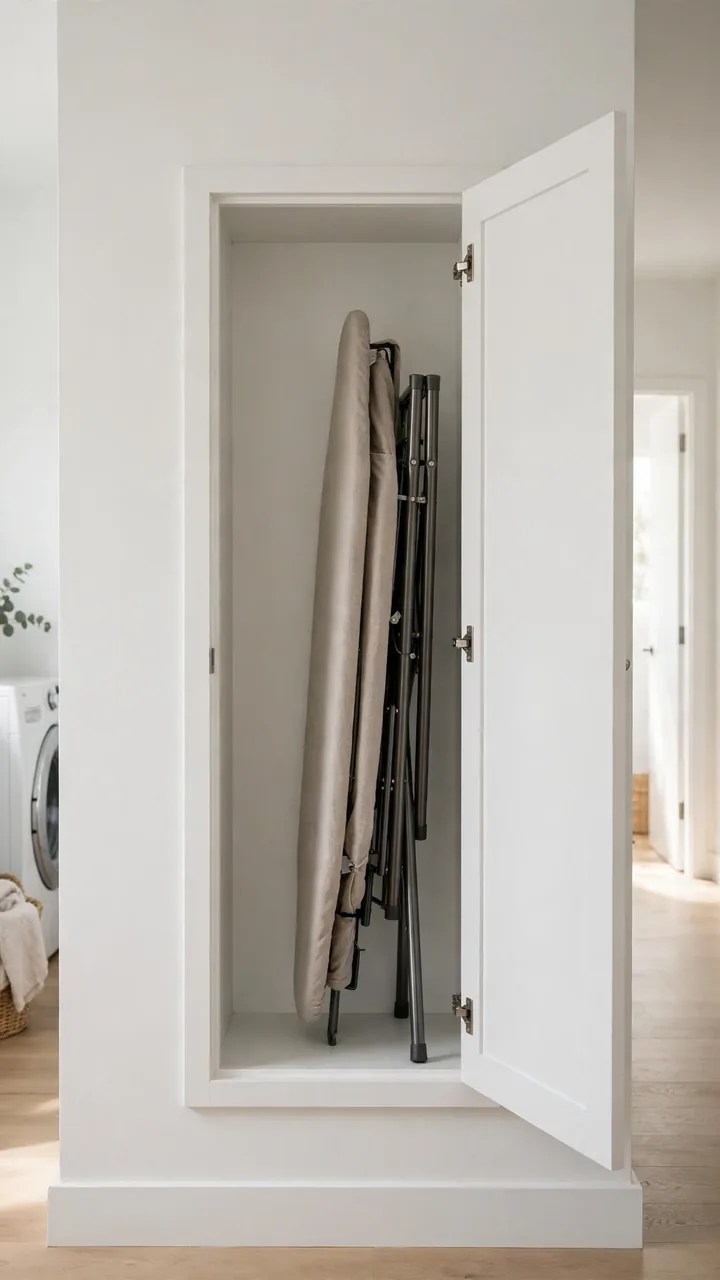
Nobody wants to look at an ironing board all week.
Build a shallow cabinet that sits between two wall studs and holds the board flat against the wall. Add a door in front, and the board disappears. Before you cut into drywall, check what runs behind it. Wires and pipes can hide there, so use a stud finder and look before you cut.
If the wall is not hollow, build a surface-mounted version instead. It sticks out a bit more, but it needs no cutting.
Mark the space between two studs and check for wires and pipes before cutting.
Build a shallow plywood box that fits the opening, then screw it into the studs.
Mount the ironing board bracket inside, then test the swing before you hang the door.
Add the door and a magnetic latch, then paint to match the wall.
13. Basket Cubby Shelf
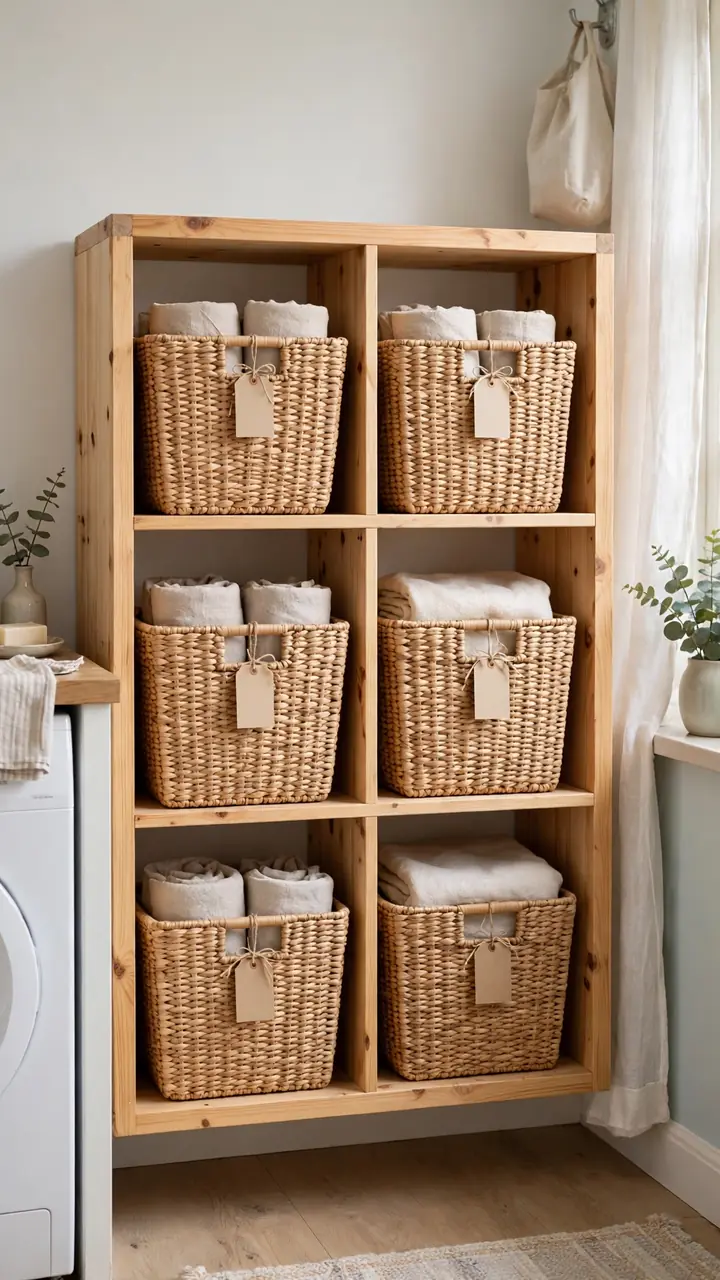
Measure the baskets first, then build the shelf. That one rule is the whole trick.
Most shelves fail because the baskets were bought after the wood was cut, and nothing fits. Pick your baskets, measure their width, depth, and height, and add a little room around each. Then cut the dividers and shelves to match.
Screw a simple frame together from 1×10 boards, set the baskets in, and label each one. This kind of custom laundry room storage DIY costs a fraction of a built-in, and it fits your exact baskets.
14. Corner Shelves
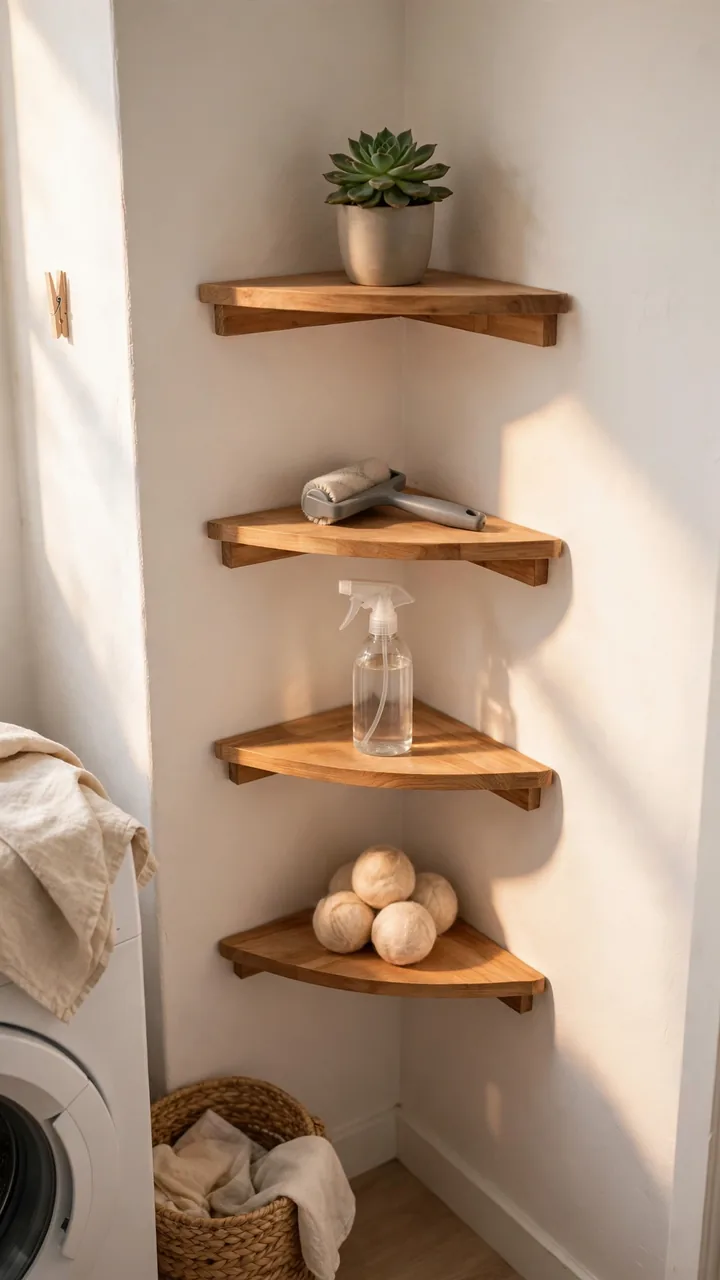
A laundry room corner is usually the emptiest spot in the room.
Cut a triangle shelf from a single board, with two equal sides that meet in a square corner. Support each shelf with a small cleat along both walls. Stack three or four with space between them, and you have a tall, narrow shelf for small things like lint brushes, spray bottles, and dryer balls.
Straight shelves need more wall. Corner shelves use the dead zone, which makes them one of the better laundry shelving ideas for tight rooms.
| Corner shelf | Straight shelf |
|---|---|
| Uses unused corner space. | Needs a clear stretch of wall. |
| Holds small items. | Holds bigger bottles and baskets. |
| Needs two wall cleats. | Needs brackets or one cleat. |
15. Utility Sink Cabinet
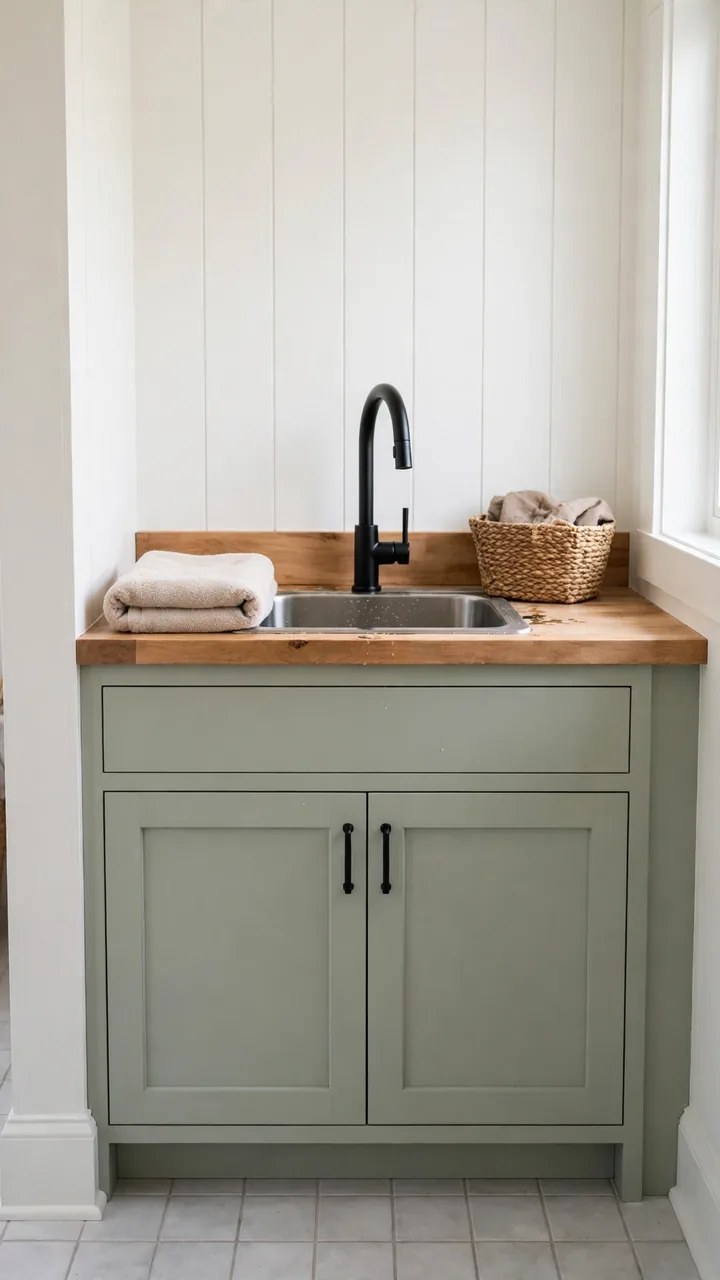
Exposed pipes and a lonely bucket do not make a laundry room look finished.
A simple base cabinet around the utility sink hides the mess and adds storage right where you need it. Build a frame from 2×2 boards and cover it with plywood, leaving the back open for plumbing. Add a front panel or a pair of doors, and you have a cleaner, more useful sink area.
Leave easy access to the shutoff valves. If a pipe ever leaks, you want to reach the valve fast, not take the cabinet apart.
Open pipes, a bucket on the floor, and cleaning supplies piled on the sink edge.
A painted cabinet hides the pipes, holds the supplies, and leaves the valves easy to reach.
16. Slim Ledge Shelf
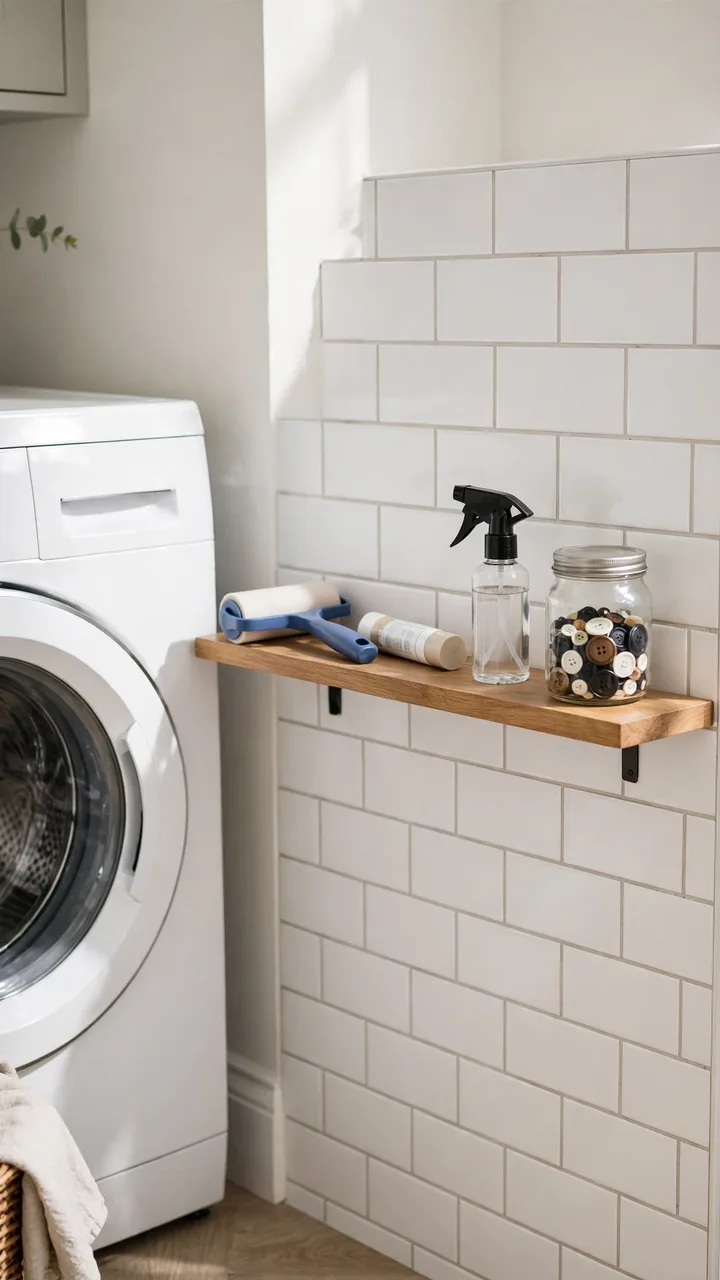
Some things only need two inches of shelf.
A ledge shelf is a narrow board with a small lip on the front. Cut a 1×3 for the back, a 1×2 for the lip, and glue and nail them into an L shape. Screw it to the wall at arm height. It holds stain sticks, a lint roller, a small spray bottle, and the box of dryer sheets.
Put it where your hand goes while you sort. The best spot is usually beside the machines, not above them.
What fits on a ledge
17. Pegboard Supply Wall
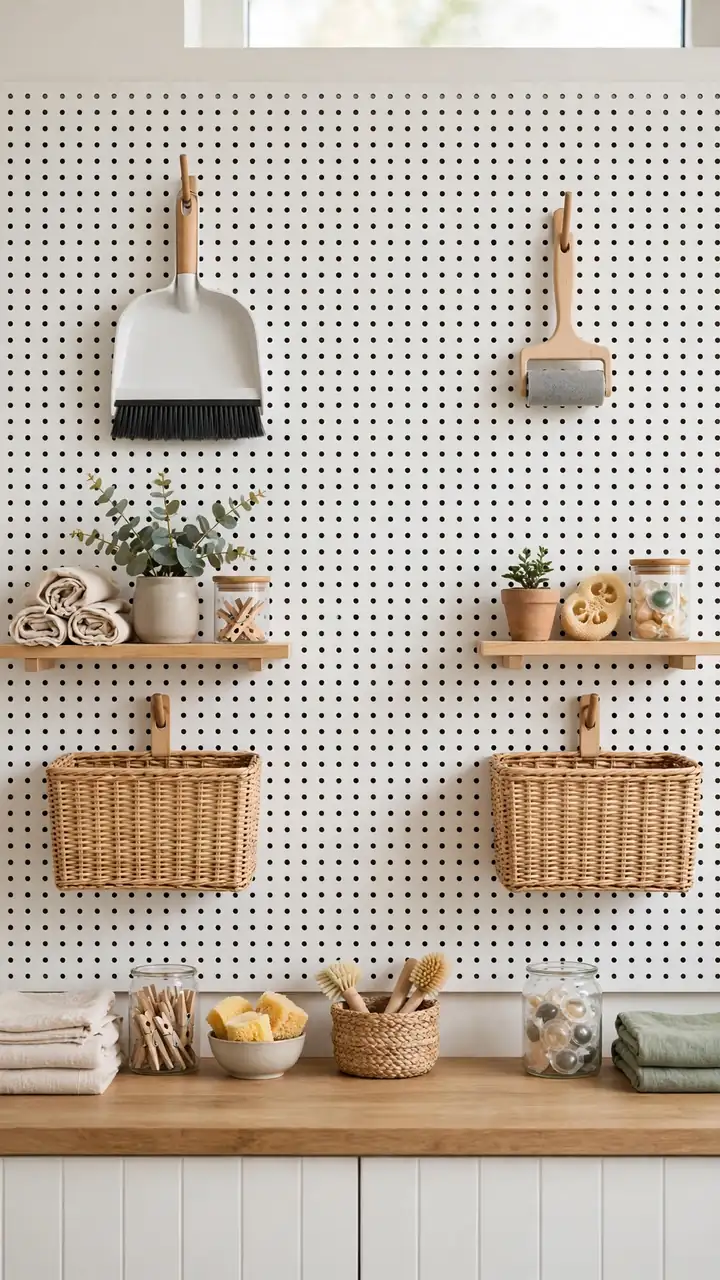
A flat wall can store more than a shelf can, and pegboard proves it.
Cut a pegboard panel to size and screw it to wood strips on the wall so it sits a little off the surface. That gap is what lets the hooks slide in. Hang hooks for the dustpan and lint brush, add small shelves for bottles, and use bins for loose items.
Leave a few empty holes. You will want to move things as the room changes.
Mount it on wood strips so hooks can slide in.
Screw into studs, not just drywall.
Hang the heaviest items lowest.
Flat-mounting it against the wall.
Overloading one hook with a full bottle.
Filling every hole on day one.
18. Cabinet Door Pocket Rack
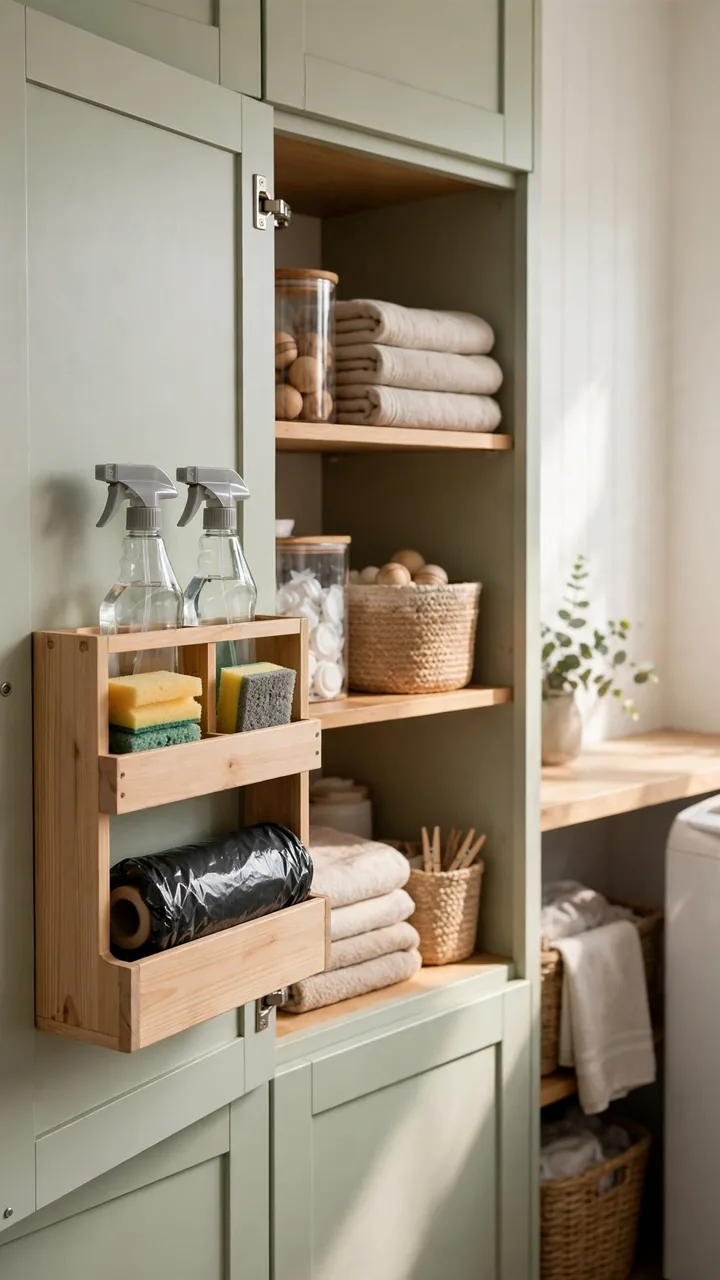
The inside of a cabinet door is wasted space in most laundry rooms.
Build a shallow rack from a few thin boards and screw it to the inside of the door. It holds spray bottles, sponges, gloves, and rolls of trash bags. Keep the pocket shallow, since the door needs to close without hitting the shelves.
- Cut a back, a bottom, and a front lip.
- Add a small side piece so bottles do not tip out.
- Mount it with short screws that do not poke through the door front.
⚠️ Watch Out
Measure the shelf depth inside the cabinet before you build. If the rack is too deep, the door will not shut. Also check screw length so the points never come through the front of the door.
19. Laundry Bench With Bins
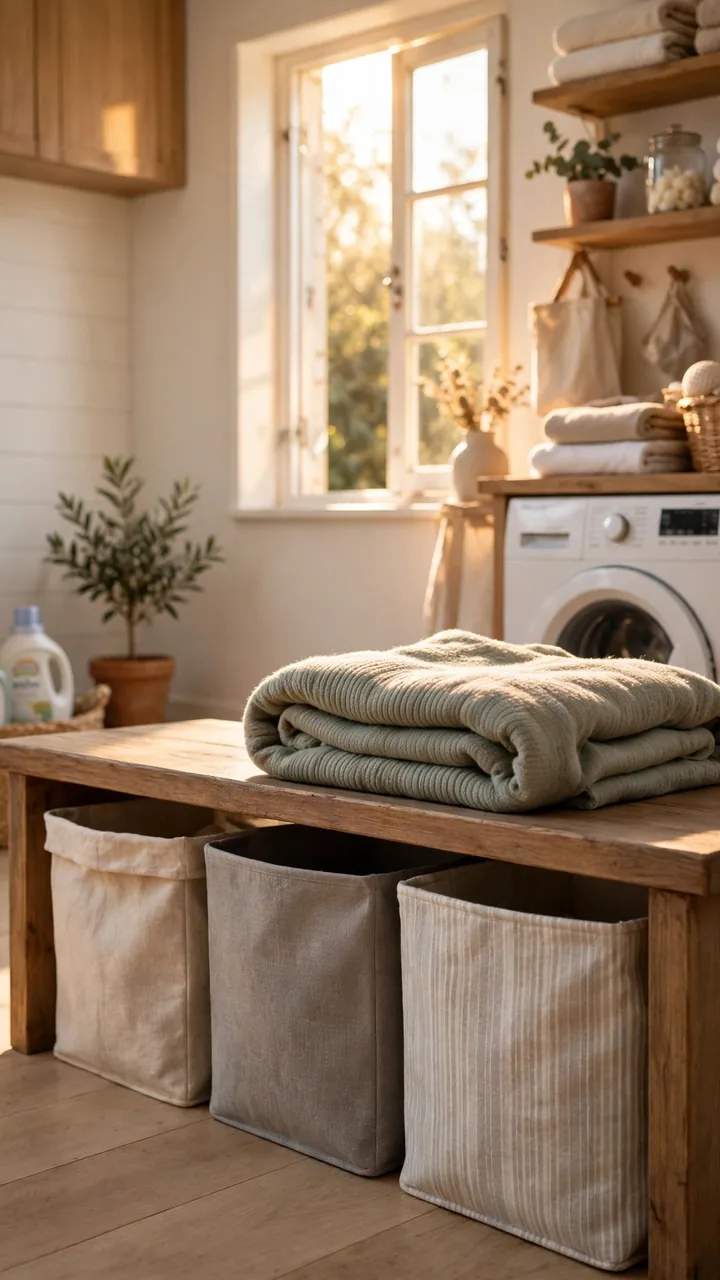
Sorting is easier when the bins are right where you stand.
Build a low bench from a 2×4 frame and a plywood top, sized to fit your bins underneath. Space the frame so each bin slides in and out without catching. Use one bin for whites, one for darks, and one for delicates. Add a seat cushion if you want the bench to double as a place to sit and fold.
The bench also gives you a spot to drop a basket while you load the machine.
Buy the bins first and build the bench around them. That way every bin slides in with room to spare.
20. Magnetic Latches and Pulls
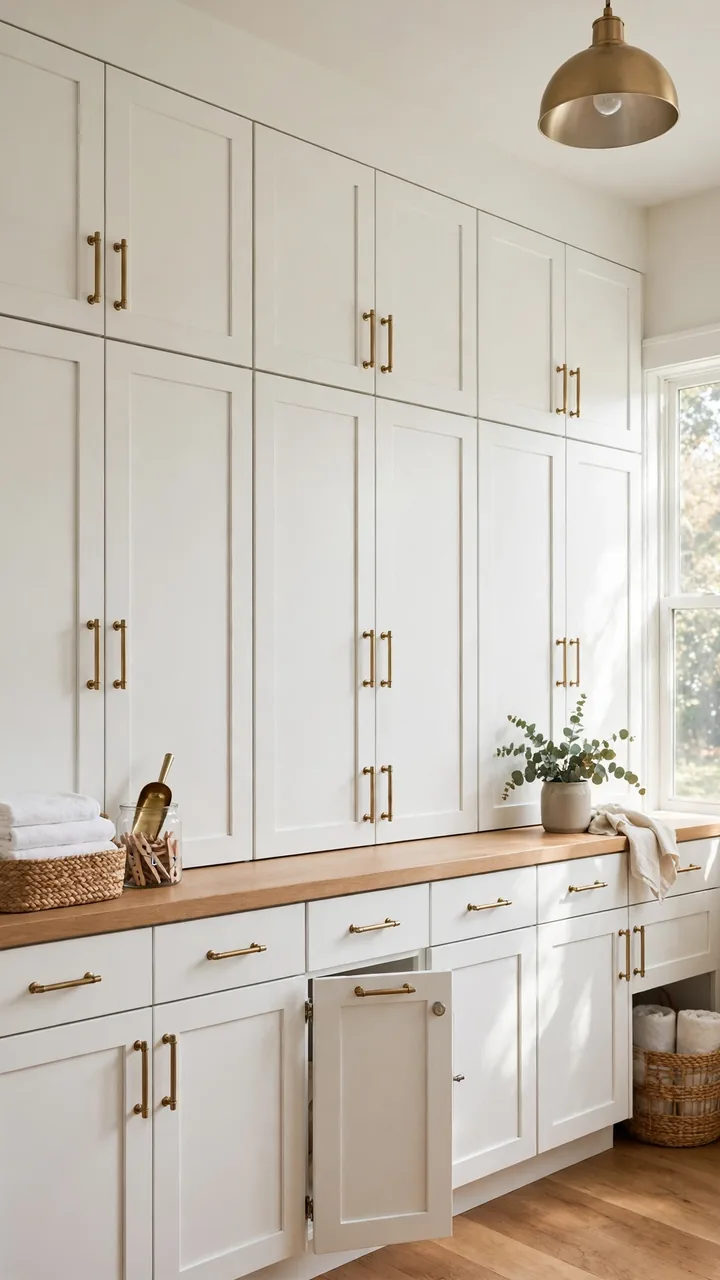
Hardware is what makes a plain box look like a custom cabinet.
Once the doors are hung, add a magnetic latch inside each one so it clicks shut without rattling. Then pick pulls that suit the room. Matte black, brushed brass, or plain wood knobs all work. Use the same style on every door so the whole wall feels planned. It is the last small step that makes laundry room cabinets under $150 look far more expensive.
Mark the pull spot on one door, then measure so every door matches.
Drill the holes and attach the pulls.
Screw the magnet to the cabinet frame, then fix the metal plate to the door where they meet.
Start With One Shelf
You do not need to build all 20. Pick the one that bugs you most, maybe the pile on the dryer or the bottles with no home, and give it an afternoon. A single floating shelf or one painted cabinet door can change how the whole room feels.
The best part of DIY laundry room shelves and cabinets on a budget is that each project teaches you something for the next one. Your cuts get cleaner, your measuring gets sharper, and the room starts to feel like yours.
Save this list to your laundry makeover board, so it is ready the next time you pick up a drill.