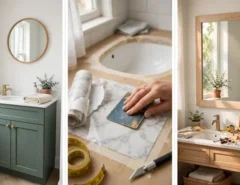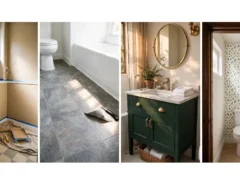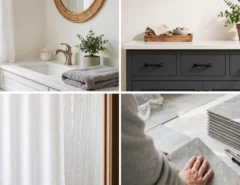
You want to walk into the bathroom and see a floor that looks chosen on purpose. Not a floor with curling edges, a stained grout line, and a patch near the toilet that never comes clean.
The thing in the way is usually money. Ripping out a floor and hiring a tile crew sounds like a whole renovation budget, so the worn floor stays and gets covered with a rug.
Here is the good news. A lot of cheap bathroom flooring ideas are things one person can finish in a weekend, with a few tools and a trip to the hardware store. Vinyl, paint, laminate, and bargain tile can all look sharp when you pick the right one for your room.
Below you will find 20 options, each with notes on cost, waterproofing, and how hard the install really is. Some cover a worn floor. Some replace it. Pick the one that fits your room, your budget, and your patience.
1. Black and White Checkerboard Peel and Stick Tiles
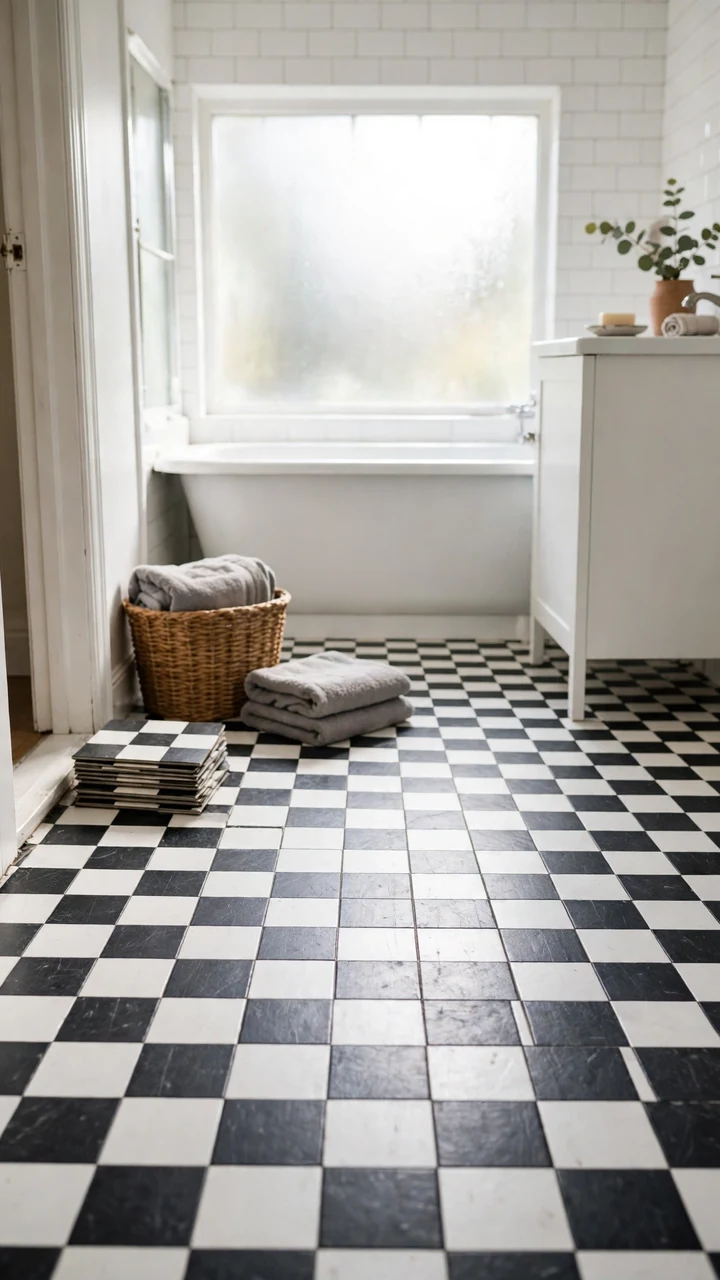
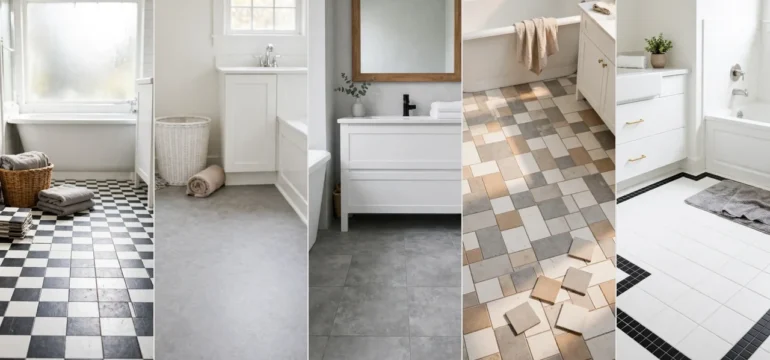
Black and white checks make a bathroom look planned, even when the walls are plain.
Peel and stick bathroom flooring in a checkerboard pattern is one of the easiest ways to cover a worn floor. Each tile is a square, so the only tricky cutting happens at the edges and around the toilet.
Start with these moves:
- Clean the old floor until it is dry and free of soap film
- Snap a chalk line down the middle of the room
- Lay the first tile at the center and work outward
Keep the first row dead straight and the rest follows. A crooked start shows up fast by the wall.
2. Wood Look Peel and Stick Planks
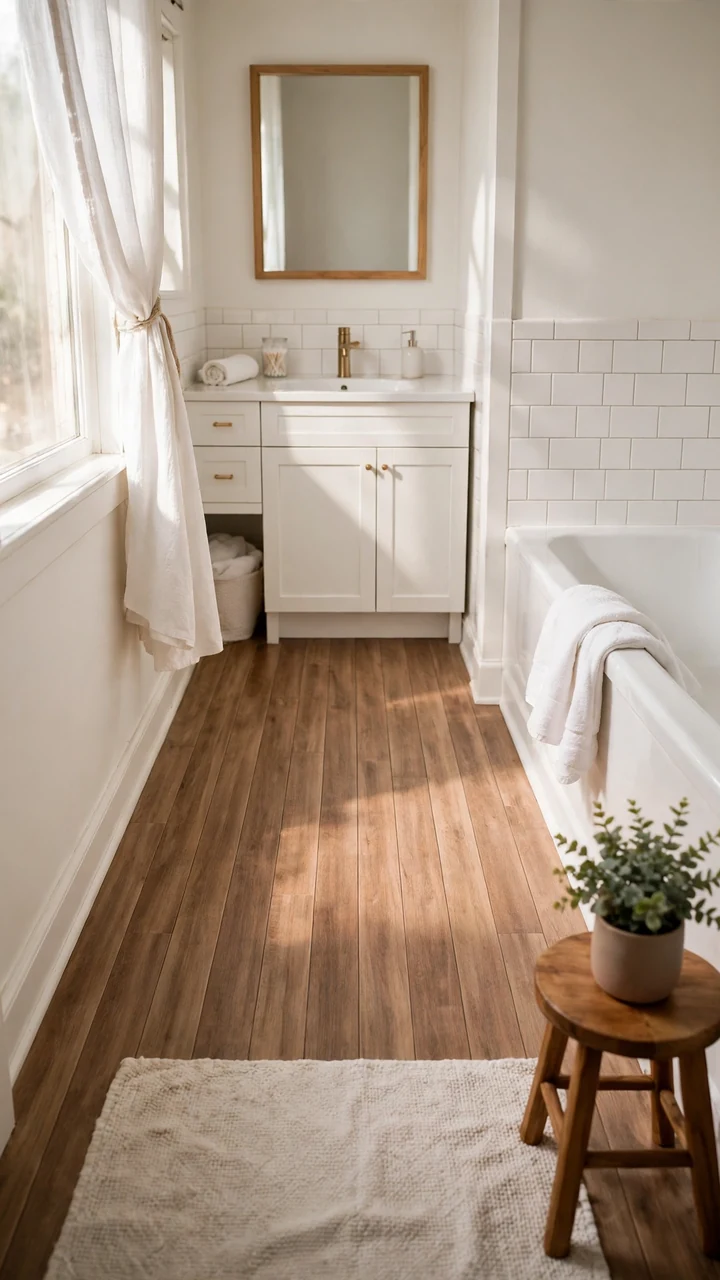
A wood look floor warms up a cold bathroom without the swelling risk of real boards.
Vinyl planks are made to handle damp air and the odd splash, which is why vinyl bathroom flooring ideas work better here than real wood. The printed grain also hides scuffs and stray hairs better than a plain color.
Before you buy:
- Pick planks labeled waterproof, not just water resistant
- Choose a mid tone, since very light and very dark floors show every speck
- Grab a few extra planks for mistakes and future repairs
Run the planks along the longest wall and a narrow room will feel longer.
💡 Quick Tip
Stagger the plank ends so no seam lines up with the one beside it. Press each plank down with a rolling pin, working from the center to the edges, so the corners do not lift later.
3. Painted Concrete Floor
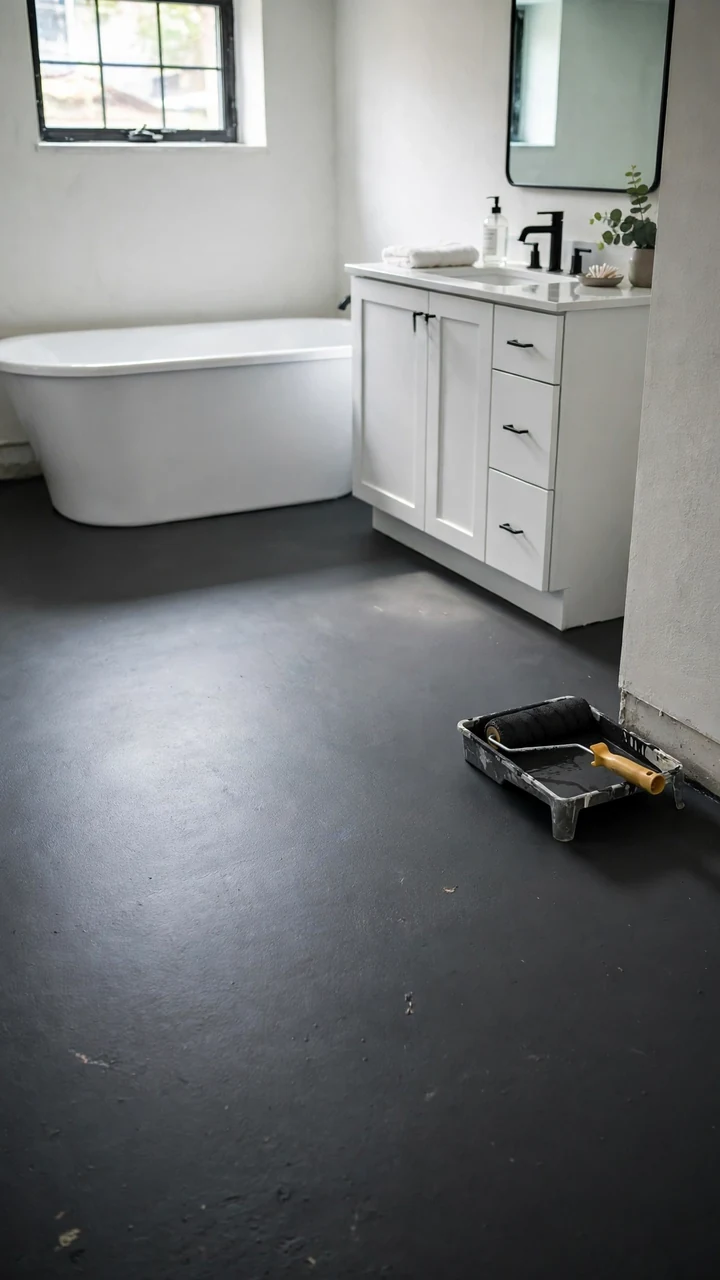
Bare concrete in a bathroom looks cold and stained, but it is also one of the best surfaces to paint.
Use a paint made for floors, such as a porch and floor paint or a concrete floor paint. Wall paint is not made for wet feet and foot traffic, and it tends to peel.
What you need:
- A strong cleaner and a stiff brush
- Concrete primer
- Two coats of floor paint
- A clear water based sealer for wet areas
Cost stays low because a small bathroom takes very little paint. The real price is waiting, since each coat needs to dry fully and the floor should cure before it gets wet.
Gray concrete with old stains, small chips, and a dull patch near the tub where water always sits.
A sealed matte floor in soft charcoal or warm gray that wipes clean and works with a washable rug.
4. Stenciled Plywood Floor
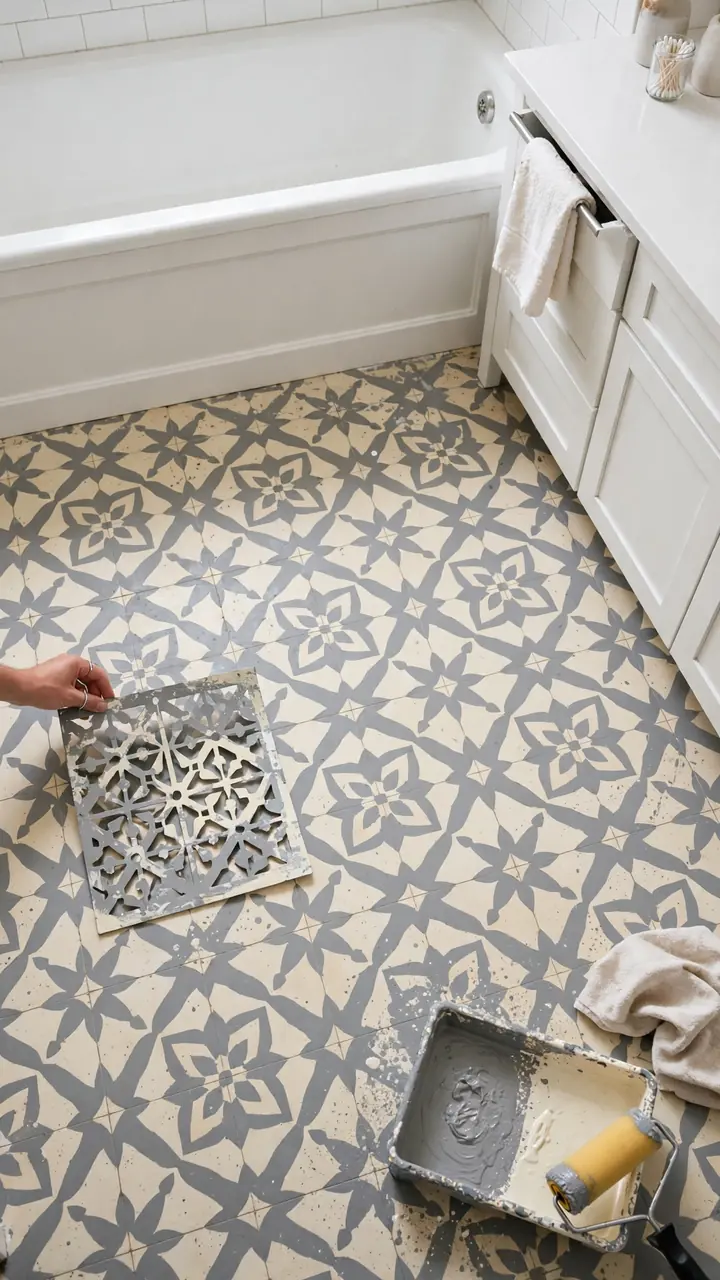
Stencils give you the look of patterned cement tile for the cost of paint and one stencil.
This works on a wood or plywood floor that is flat and solid. Paint a base color first, then add the pattern with a stencil and a small foam roller. Use less paint than you think, because heavy coats bleed under the edges.
Bathroom floors get wet, so finish with two coats of clear sealer. If this is your first time, keep to two colors. A busy pattern is much harder to line up.
Skip this on any floor that feels spongy. Fix or replace that area first.
Sand lightly, wipe away the dust, and prime. Paint the base color and let it dry overnight.
Tape the stencil flat. Roll on the pattern color with a nearly dry foam roller, then lift the stencil straight up.
Wipe the back of the stencil every few uses. Let the pattern cure, then seal with two coats of clear water based sealer.
5. One Piece Sheet Vinyl
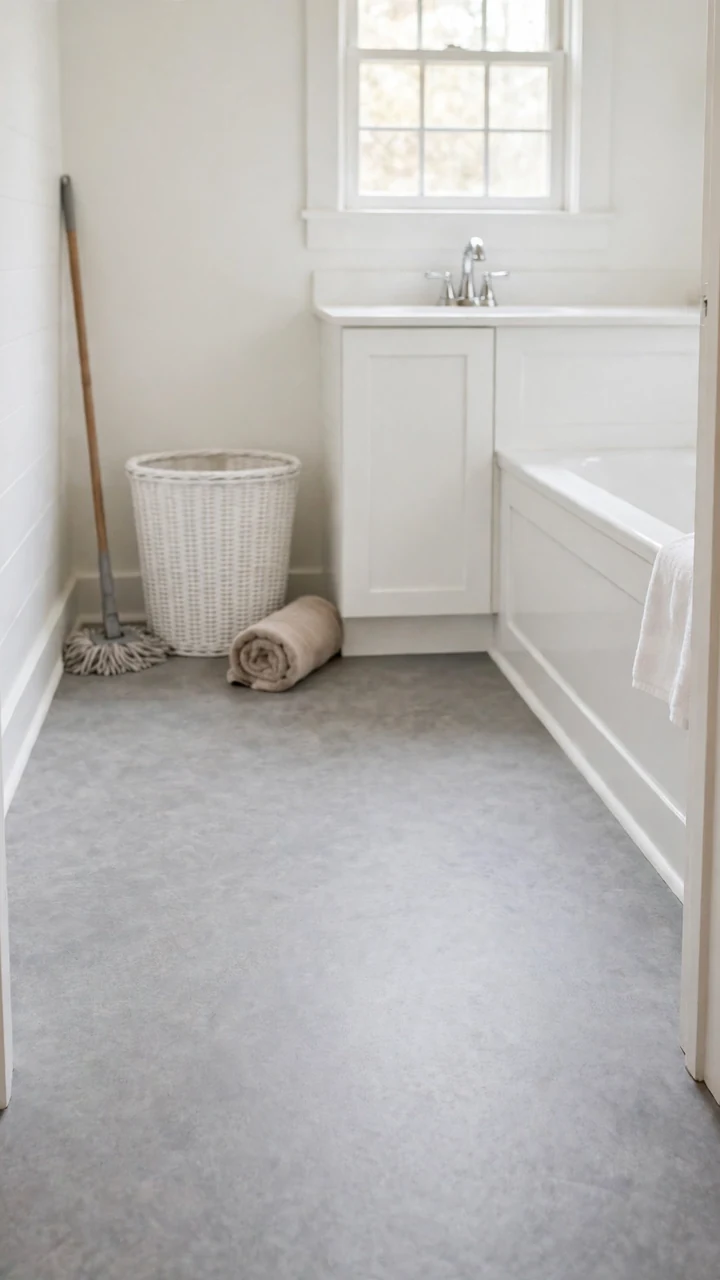
Seams are where water sneaks in. Sheet vinyl has few or none, which is why it is still a go to for bathroom flooring on a budget.
Among bathroom flooring ideas for small bathrooms, it may be the one with the fewest joints to seal. In a tiny room, one roll often covers the whole floor in a single piece.
The tricky part is the cutting. Make a paper template of the room first, trace it onto the vinyl, cut it slightly large, then trim to fit. Hold the edges down with flooring adhesive or double sided tape.
One wrong cut is hard to undo, so measure twice.
6. Click Lock Vinyl Planks
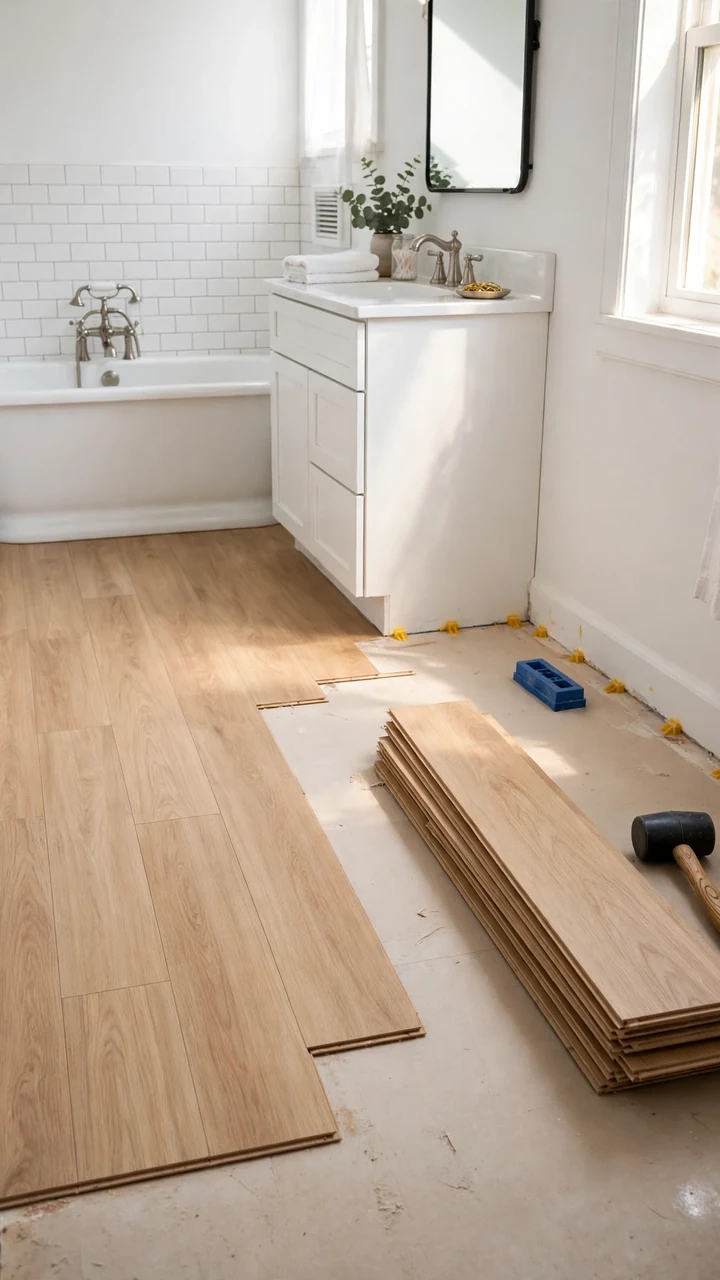
Skip the glue and the sticky backing. Click lock planks snap together and float over the old floor, so there is no adhesive to fight with.
This is one of the best DIY bathroom floor ideas for a flat, sound floor, since you can often lay it right over old vinyl or tile. Check that the surface is smooth, because bumps and deep grout lines can telegraph through the planks.
Leave a small gap along the walls so the floor can expand with the room’s heat and humidity. Hide the gap with baseboard or quarter round.
Pick planks with a waterproof core. Water resistant on the box is a weaker promise.
What to grab first
7. Hexagon Peel and Stick Tiles
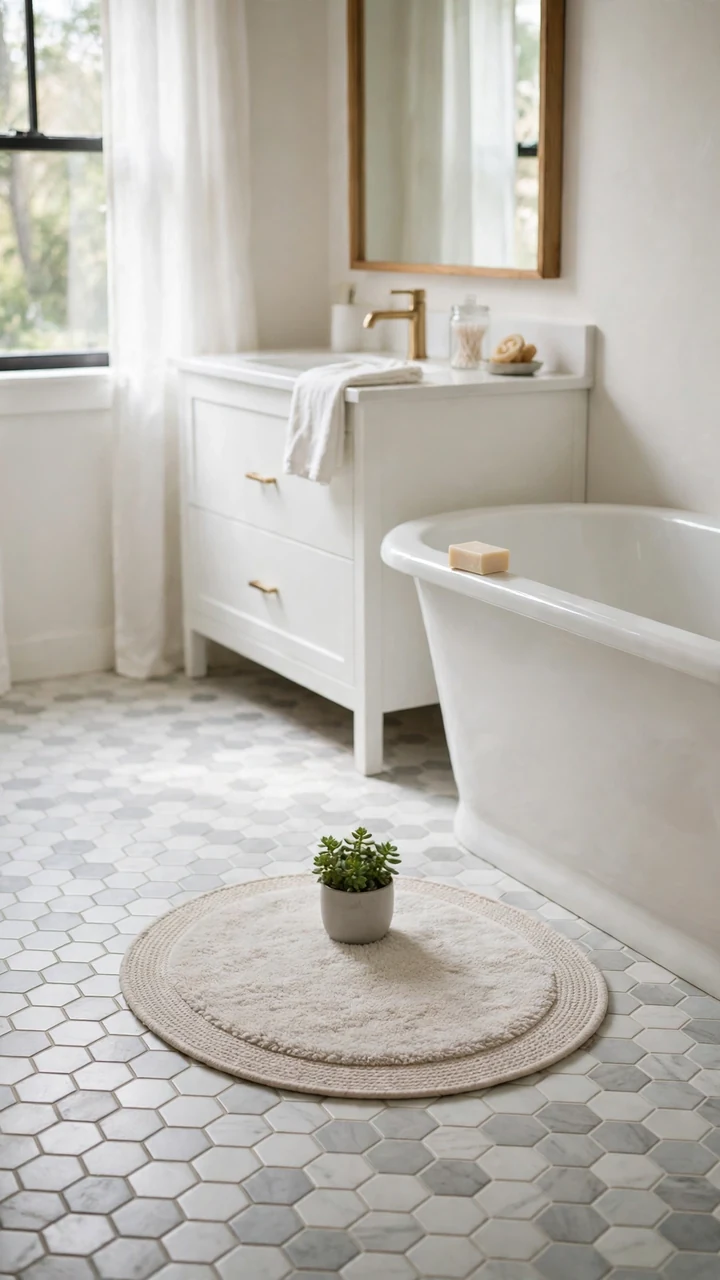
Small bathroom, big pattern. Hexagons make a tight floor feel finished without adding clutter.
Look for hex tiles in white, soft gray, or a faded black. These pair well with a plain white tub and vanity, and the shape adds interest all by itself. Bold colors can crowd a small floor, so keep the palette calm.
Cutting is the hard part. Hexagons leave odd gaps at the walls and around the toilet, so make a paper template for each cut before you touch a tile.
Order about ten percent extra. Awkward cuts eat tiles.
Dry fit a few rows before peeling any backing.
Start at the center of the room and work out.
Warm cold tiles with a hair dryer so they bend and stick.
Starting at one wall and hoping the pattern lines up.
Laying tiles over a damp or dusty floor.
Forcing a tile into a gap it does not fit.
8. Groutable Peel and Stick Tiles
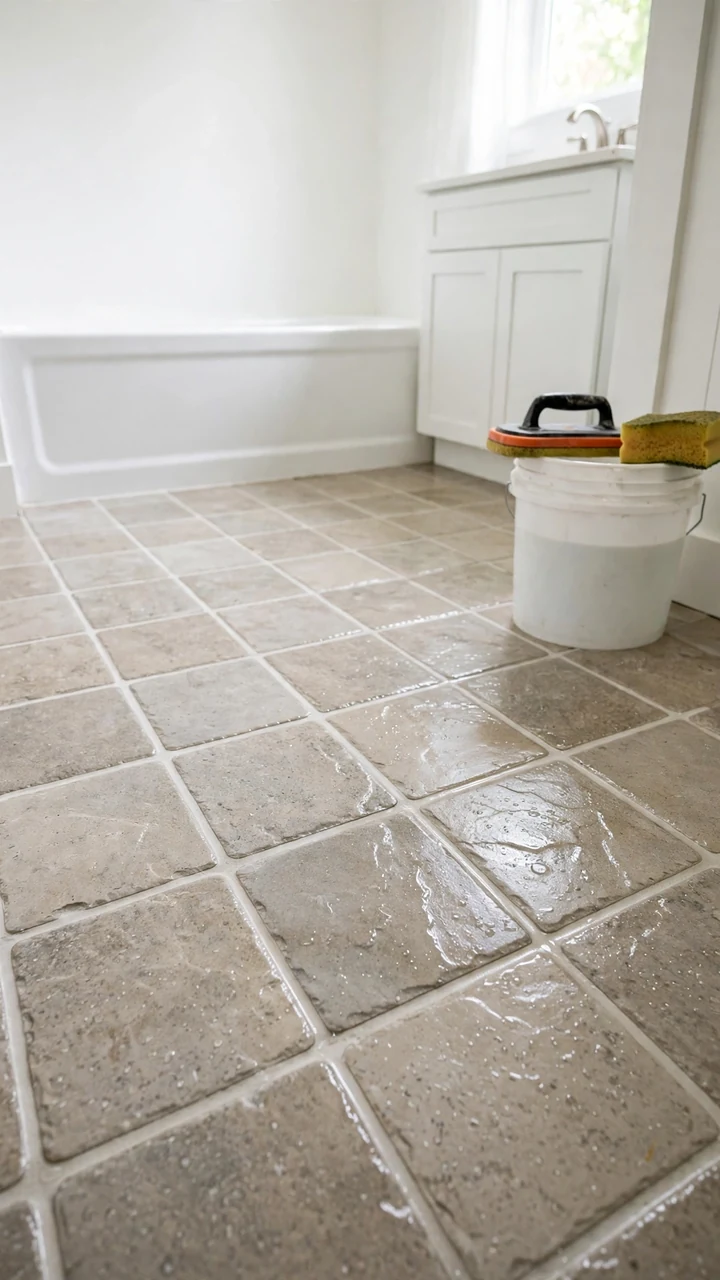
Plain peel and stick tiles can look like stickers. Groutable ones fix that by letting you fill the gaps with real grout.
You press down thicker tiles with small spaces between them, then smear premixed grout over the top. The result looks much closer to a tiled floor, and it also helps seal the seams against splashes.
That second step makes this a bit slower than a basic peel and stick bathroom flooring job. It is still a weekend project, though, and no special tools are needed beyond a grout float and a damp sponge.
Wipe the haze off quickly. Grout left to dry on the surface is hard to remove.
| Basic peel and stick | Groutable peel and stick |
|---|---|
| Tiles sit tight edge to edge | Small gaps get filled with grout |
| Finished in one step | Adds a grouting and wiping step |
| Seams can lift over time | Grout helps hold and seal the seams |
| Looks like vinyl | Looks closer to real tile |
9. Cement Look Vinyl Tiles
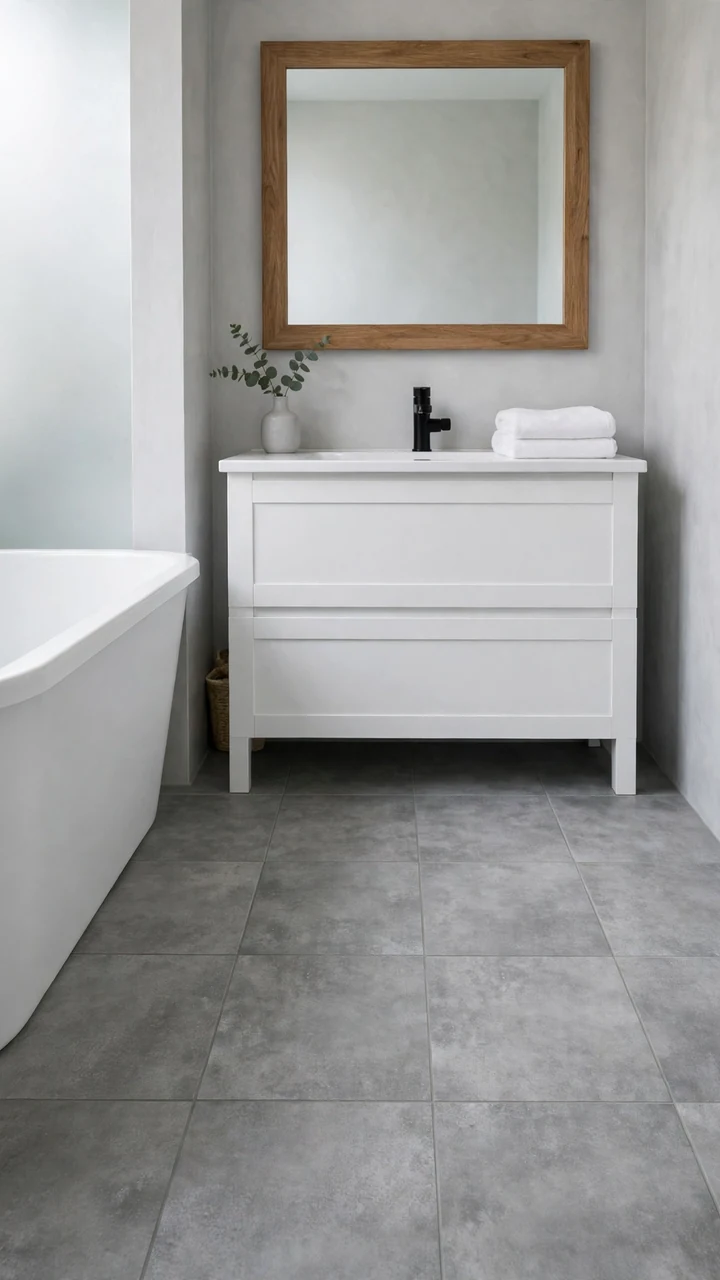
Gray concrete tiles give a bathroom a quiet, modern edge. Most of the look comes from the finish, so you get the stone feel without pouring or polishing anything.
Vinyl versions are made to copy the cloudy, uneven look of real cement. They are lighter and warmer underfoot than the real thing, and they come as peel and stick or click lock, so you can pick the install that suits you.
Match them with white walls, a black faucet, and a wood mirror frame. The floor does the heavy lifting.
Choose a texture over a flat print if you can. A little grain hides footprints and water spots.
Pick a cement look tile with some texture and tone variation. A flat gray print looks like a sticker, while a cloudy one looks like stone.
10. Painted Ceramic Tile
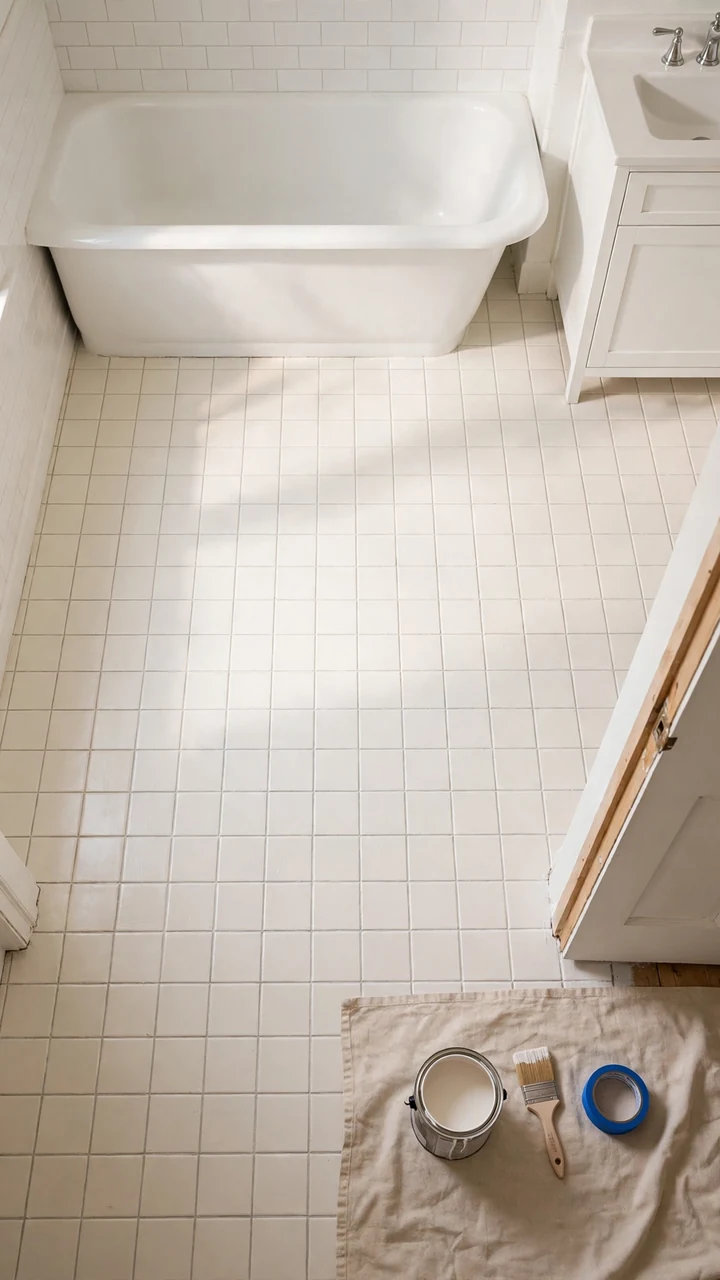
A dated tile floor does not need to go to the landfill. A fresh coat of the right paint can turn a pink or beige floor into something you want to show off.
This is a true cheap bathroom floor makeover, but the prep is the whole job. Scrub the grout, degrease the tile, sand the glaze lightly, and use a bonding primer made for slick surfaces. Then add tile or floor paint and a clear sealer on top.
The finish will not last as long as new tile or vinyl. Expect to touch it up near the tub and the door.
Give it several days to cure before the floor gets wet.
⚠️ Watch Out
Painted tile is best in a half bath or a guest bath. If the floor gets daily shower splashes, expect wear sooner and plan to recoat. Sealing the grout lines helps most.
11. Clearance Porcelain Tile
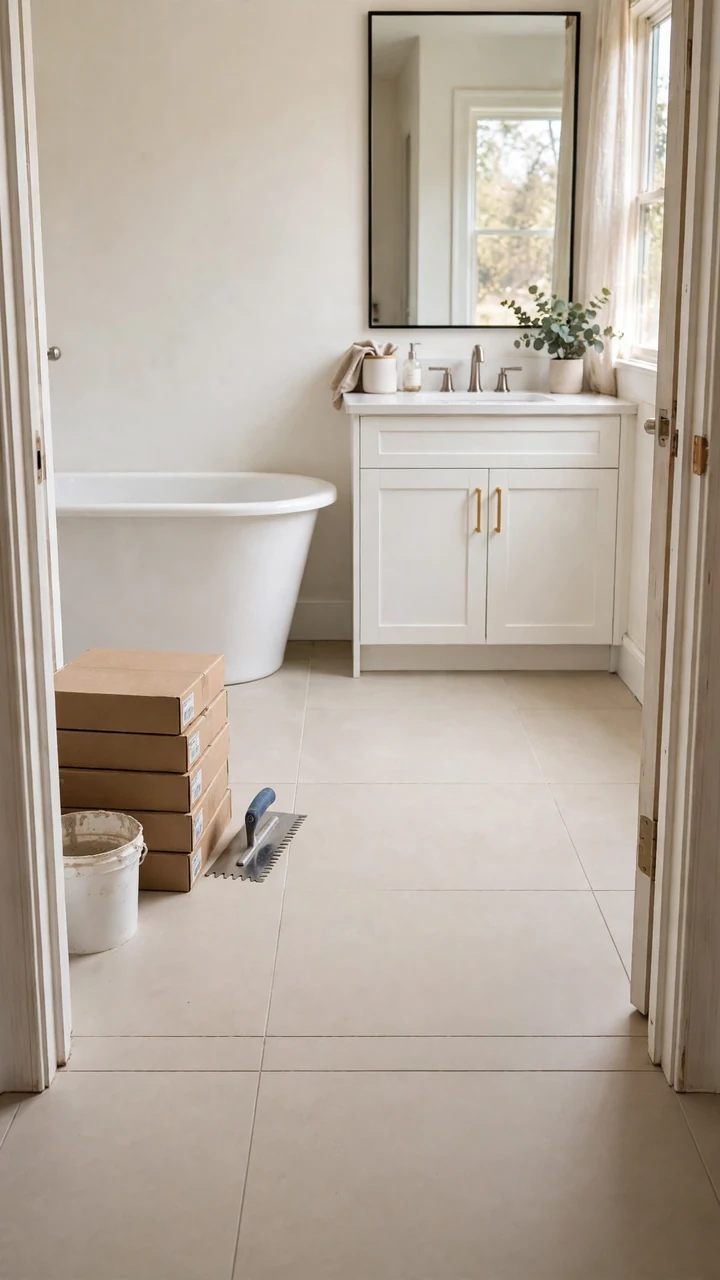
Check the clearance aisle before you check the full price one.
Home centers and tile shops mark down discontinued lines, and a small bathroom only needs a few boxes. Porcelain is dense and handles water very well, so it is one of the most reliable waterproof bathroom flooring ideas when you want a floor that lasts.
Keep these in mind:
- Buy every box you need at once, since colors vary between batches
- Pick a matte or textured finish for grip on wet feet
- Large tiles mean fewer grout lines to scrub
Fair warning, this one is harder than vinyl. You need thin-set, a tile cutter, and grout, so it suits a confident DIYer or a weekend with a friend.
12. Penny Round Mosaic Sheets
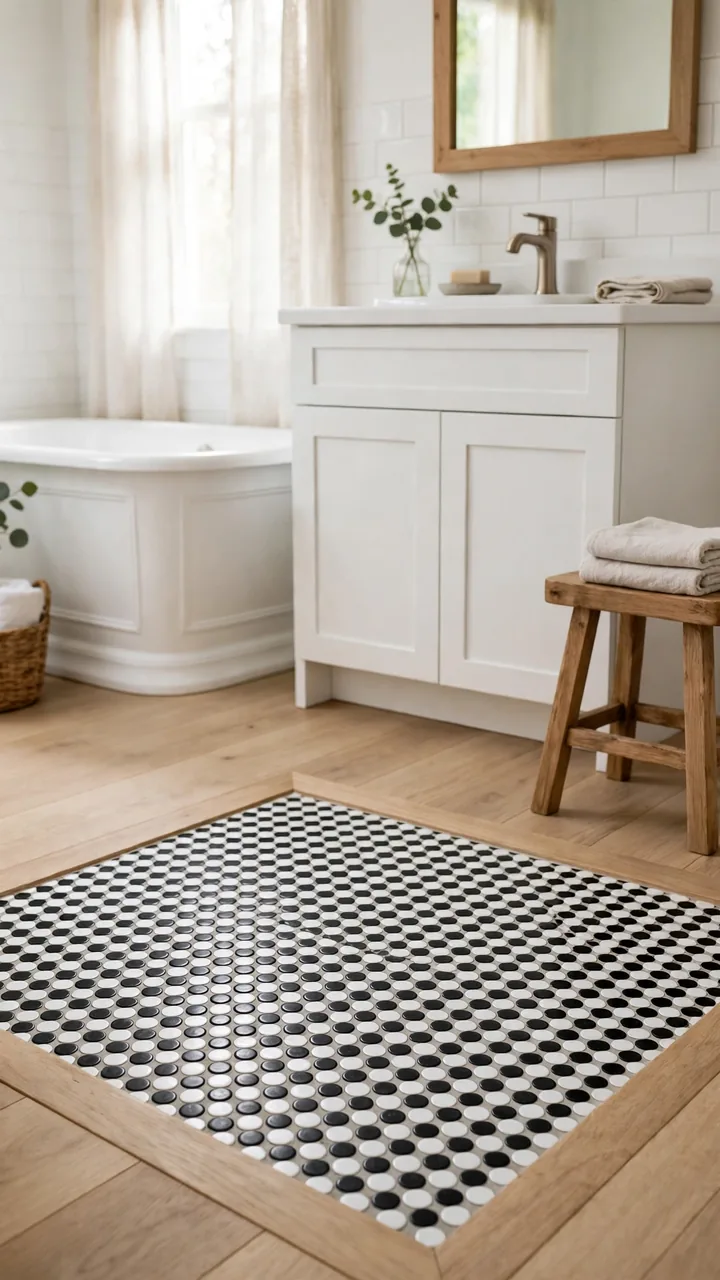
You do not have to tile the whole room. A small patch in front of the vanity or inside the shower can carry a whole look.
Penny rounds come on mesh sheets, so you set a whole square at a time instead of placing each little circle. That makes this a good way to try real tile without committing to a full floor. All those grout lines also give wet feet more grip.
The grout is the catch. It needs sealing, and white grout in a busy bathroom will show dirt. A light gray hides more.
Use a sheet cutter or nippers for edges and go slowly around the drain.
- ▸Make a tile “rug” in front of the vanity, framed by plain floor.
- ▸Cover the floor of a walk in shower, where the grip matters most.
- ▸Pair black circles with white grout for contrast, or go all one shade for a calmer look.
- ▸Seal the grout once it cures, then reseal now and then.
13. Tile Remnant Patchwork Floor
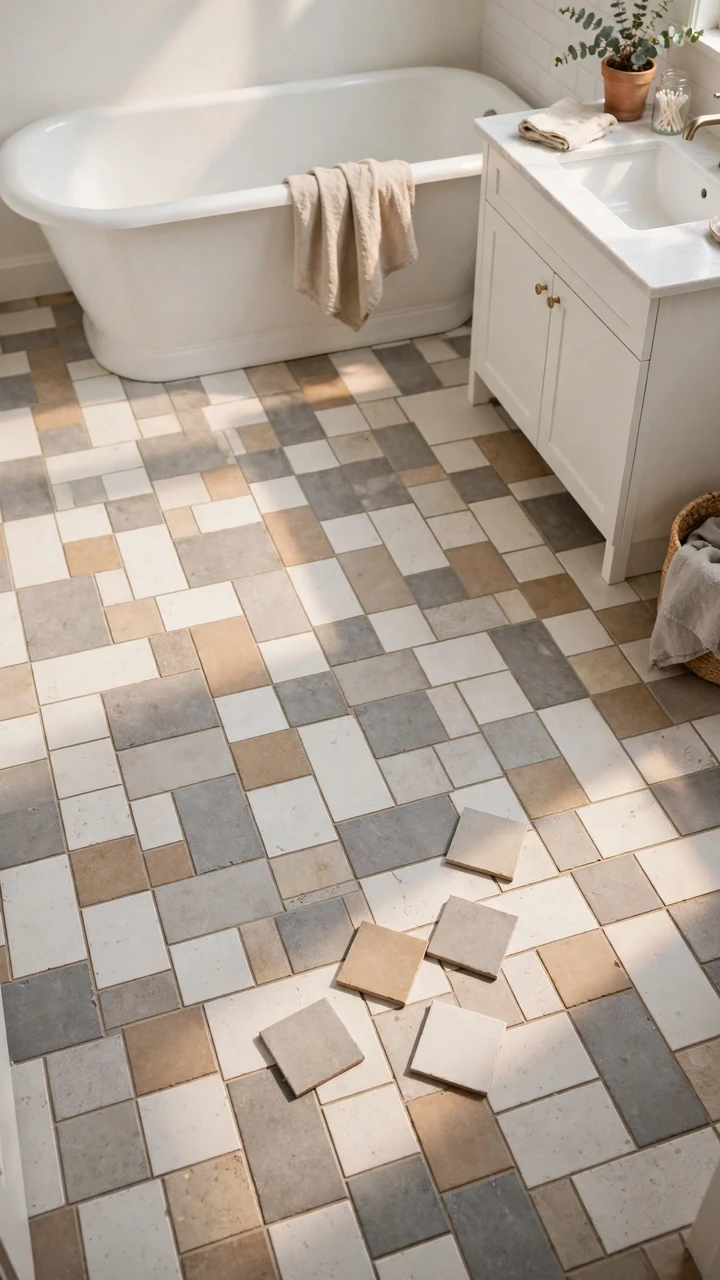
Tile shops keep a bin of leftovers, and it is a gold mine for a small bathroom floor.
Those odd boxes and single cartons sell for far less than a full run. Mix a few from the same color family, such as warm whites, soft grays, or a few earthy tones, and you get a patchwork floor that looks collected on purpose.
Thickness matters most. If your tiles are different heights, the floor will feel lumpy and the grout will crack. Ask the shop to confirm before you buy.
Lay it all out dry on the floor first. Moving tiles around is free, and moving them after thin-set is not.
14. Epoxy Floor Coating
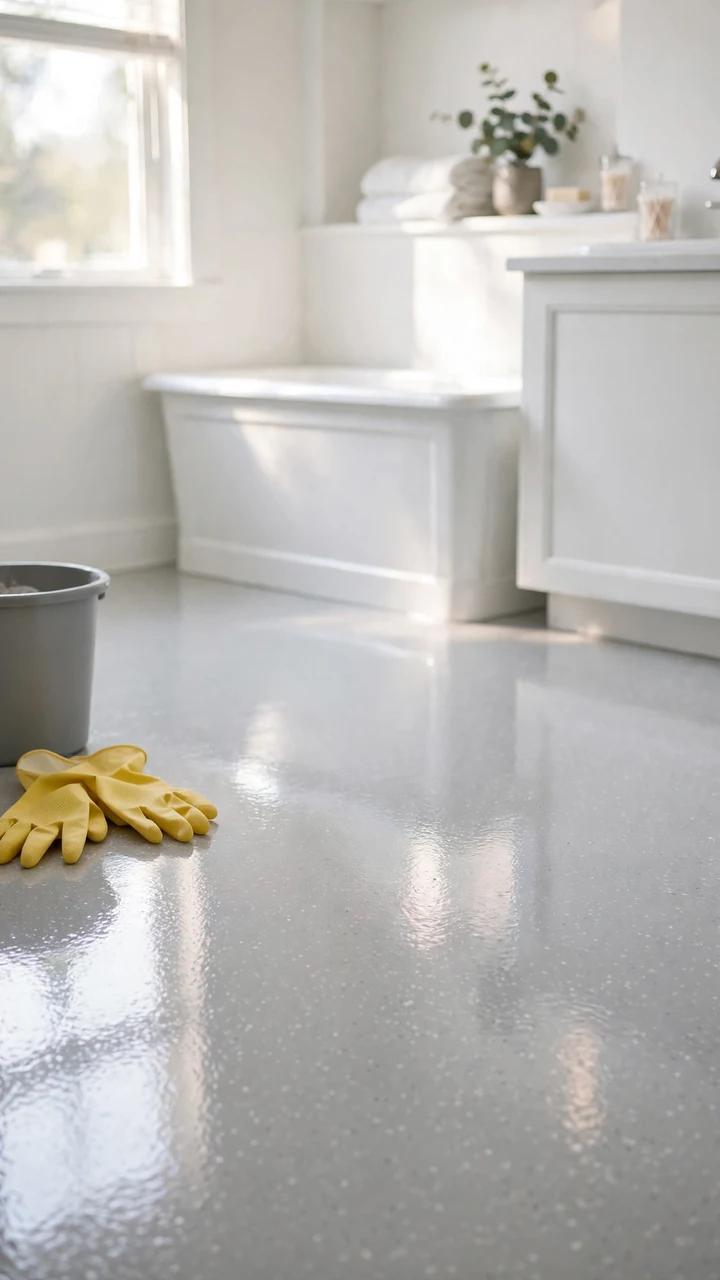
An old concrete floor with cracks and stains can end up glossy, seamless, and easy to wipe, for the price of a kit.
Epoxy forms one sealed layer with no grout lines at all, which makes it a strong pick for waterproof bathroom flooring ideas on a tight budget. It does take some care. The mix has a short working time, the fumes are strong, and the floor needs days to cure.
Open a window, wear a respirator, and have everything ready before you mix. Add anti slip grit to the top coat, because glossy epoxy gets slick when wet.
Follow your kit’s directions closely, since every brand is a little different.
Clean and degrease the floor, patch cracks, and prep the surface the way your kit says to.
Mix only what you can roll out in the working time. Cut in the edges first, then roll the field.
Scatter grit into the top coat, then keep the room closed off until the full cure time passes.
15. Water Resistant Laminate
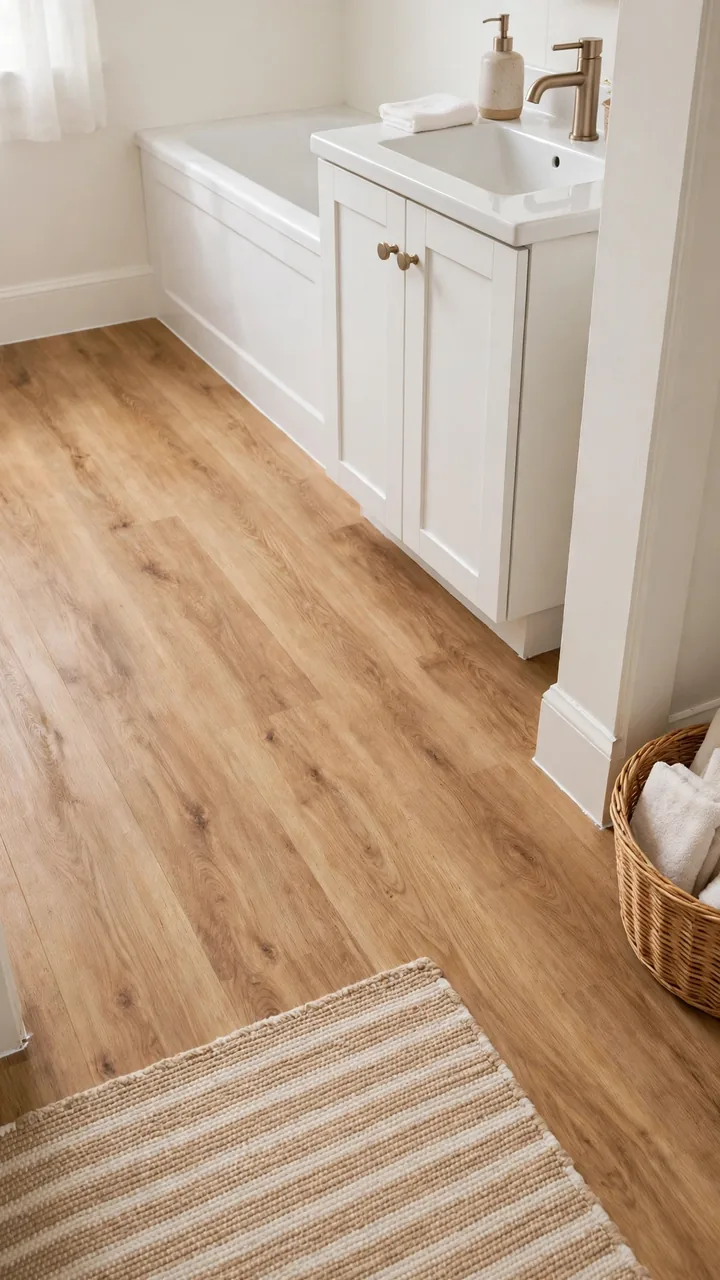
Laminate has a bad reputation in bathrooms, and for plain laminate it is deserved. The core swells when water gets in.
Newer water resistant laminate is a step up, with sealed edges and tighter locking joints. It handles splashes and quick wipe ups. It does not handle a flooded floor or a leaky toilet seal. That makes it a better fit for a half bath than a busy family bathroom.
If your bathroom sees daily shower spray on the floor, vinyl is the safer buy. Laminate shines when you want a wood look on a budget in a drier room.
Seal the gap at the walls with a bead of silicone, and keep the tub edge caulked.
Use it in a half bath or a low splash room.
Wipe up spills right away.
Caulk the edges where the floor meets the tub.
Laying it right beside a shower with no curb or door.
Leaving wet towels on the floor.
Buying plain laminate with no water rating.
16. Painted Diagonal Stripes
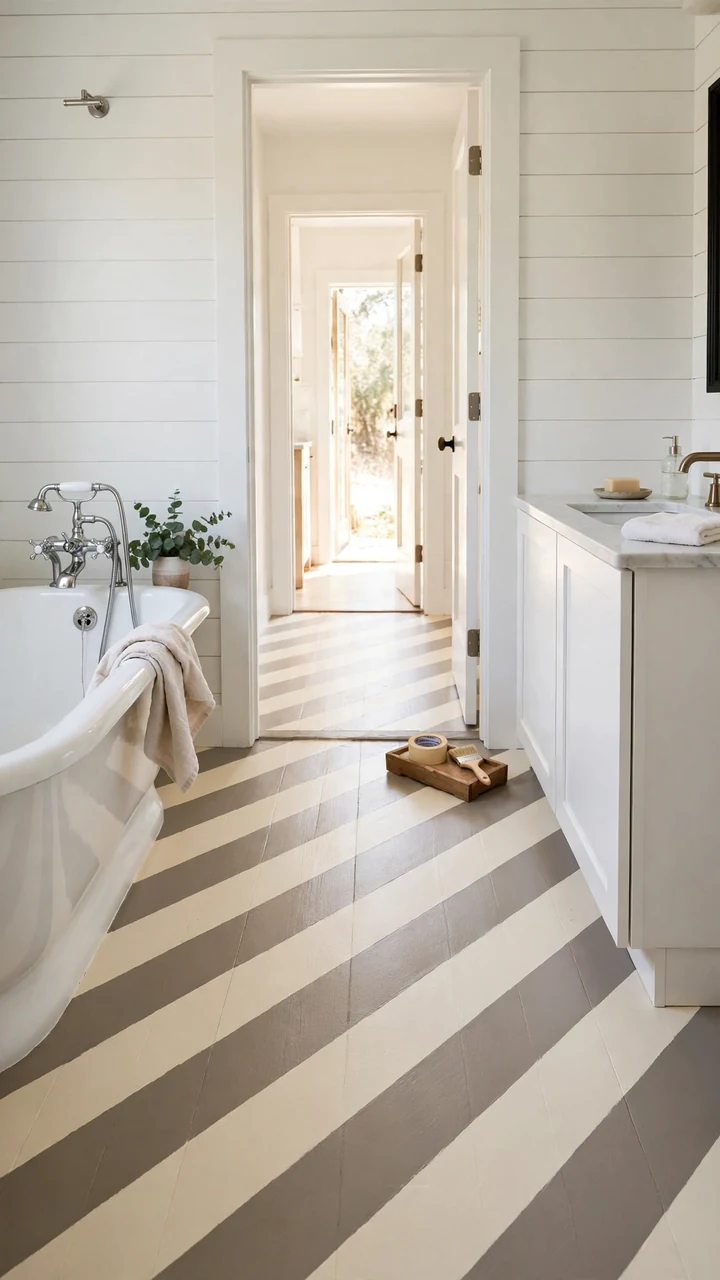
Plain old floors can take a pattern with nothing but paint and a roll of painter’s tape.
Diagonal stripes make a narrow bathroom feel wider, since the eye travels across the room instead of down it. A checker pattern works the same way on a floor with some room to spare. Pick two shades that sit close together, like cream and warm gray, if you want something soft. Go black and white for a bold look.
Start by painting the lighter color across the whole floor. Tape off the stripes once it is dry, then paint the second color over the top. Pull the tape while the paint is still a little wet so the edges stay clean.
Finish with two coats of clear floor sealer, because stripes show wear fast.
Before you tape
17. Contrasting Tile Border
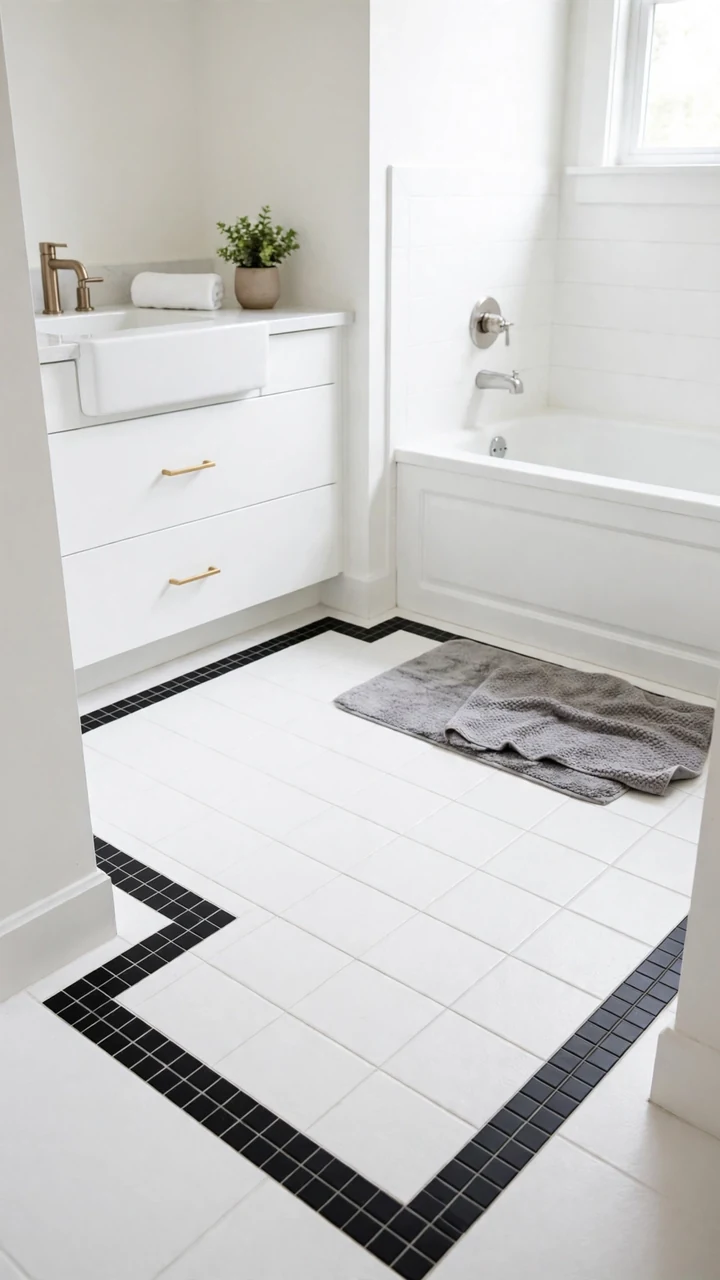
A border makes a plain floor look custom, and it only needs a thin row of tile around the edge.
The easiest version is peel and stick. Lay a solid field of one color, then frame the room with a row of a darker or patterned tile along the walls. Black against white is crisp. Gray against soft white is quieter.
Measure the room first so the border ends do not land in an odd spot. A full tile at each corner looks far better than a sliver.
Work from the border inward. Set the frame, then fill the middle, and the cuts end up hidden in the least noticeable spot.
One flat color wall to wall, with a floor that fades into the baseboards.
A single contrasting row around the edge that frames the floor and draws the eye to the middle.
18. Vinyl Floor Decals Over Cracked Tile
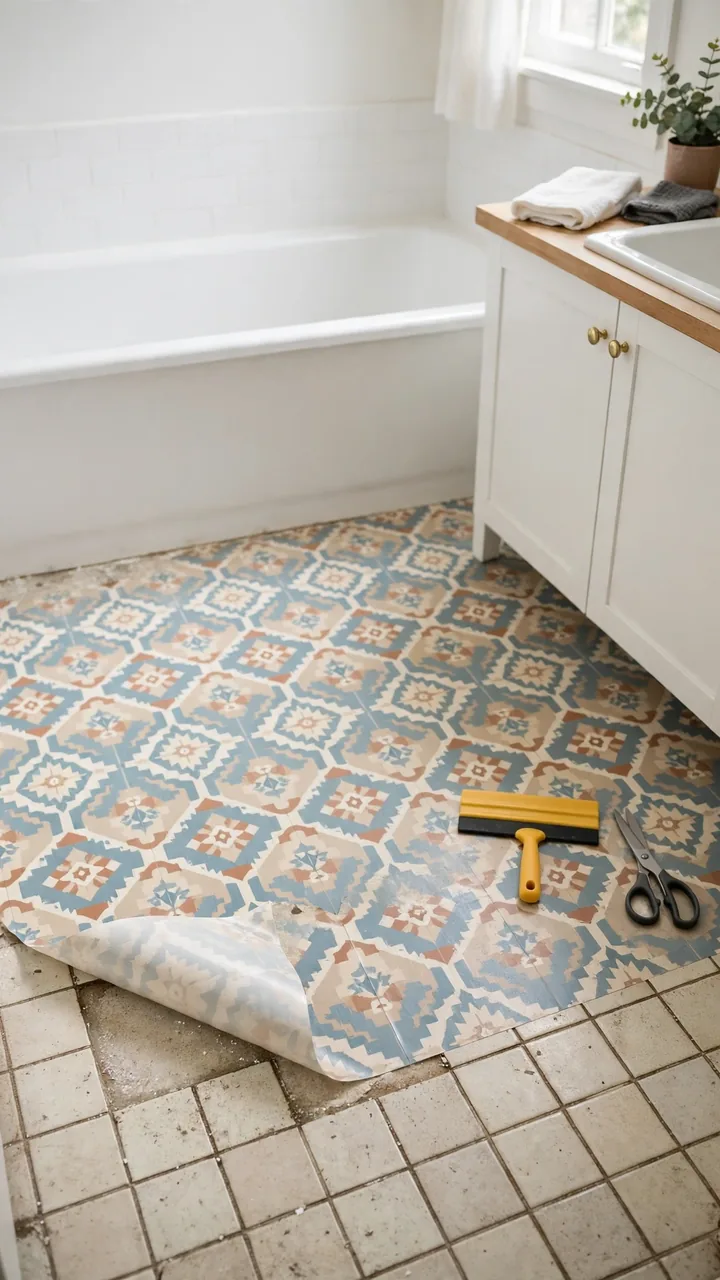
Floor decals are the lightest option on this list, and they suit renters or anyone covering a floor for a short time.
These are thin vinyl stickers with a printed pattern, made to go over old tile. They hide stains and dull color well. They do not fix cracks, loose tiles, or raised edges, so any damage needs a patch first.
Grout lines can show through the decal, so press hard along the joints and expect a faint texture. A pattern with lots of detail hides this better than a plain color.
Check the seams after a few weeks. Any lifting corner needs a quick press or a dab of adhesive.
| Floor decals | Peel and stick tile |
|---|---|
| Very thin, covers surface only | Thicker, hides small flaws better |
| Grout lines may show through | Grout lines mostly disappear |
| Best for short term or rental use | Better for a longer lasting update |
| Lowest cost on this list | Low to medium cost |
19. Rubber Interlocking Tiles
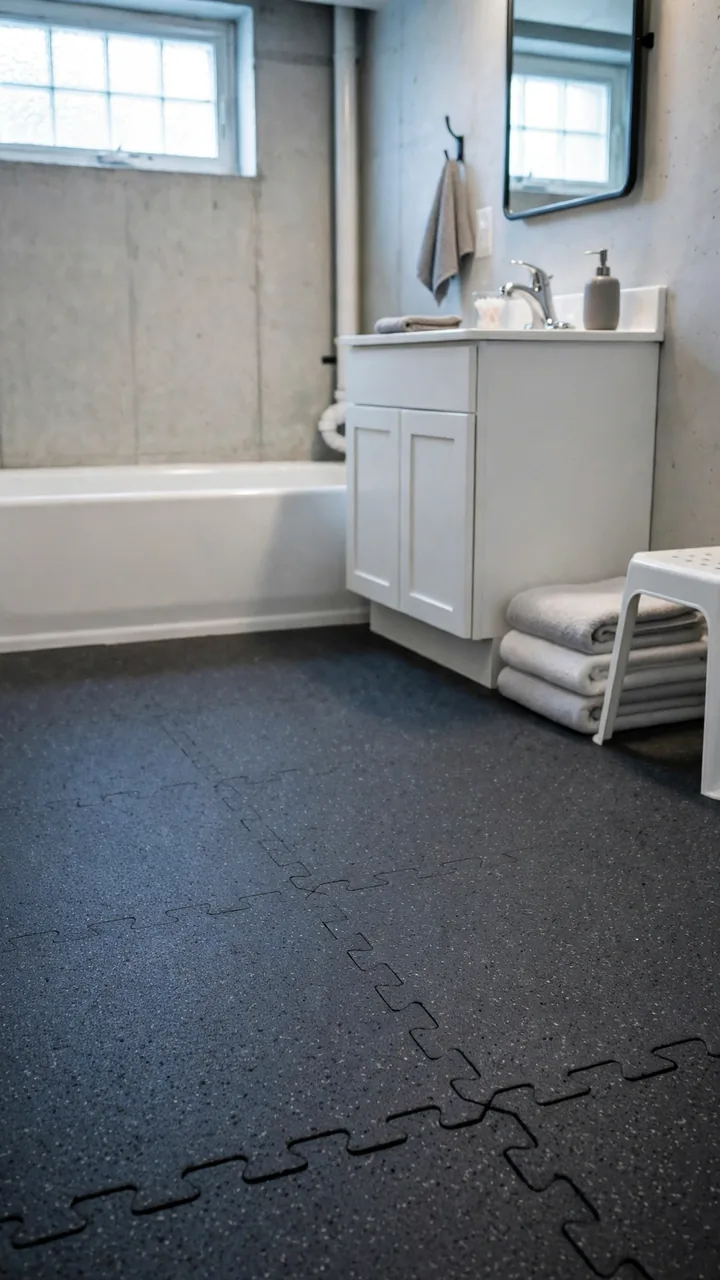
Not every bathroom is a showpiece. A basement bath, laundry bath, or garage half bath needs a floor that is tough and a little forgiving underfoot.
Rubber interlocking tiles snap together like puzzle pieces with no glue and no tools beyond a utility knife. They are soft, they grip when wet, and they let you pull up a section if one gets damaged.
They do look more practical than pretty. Pick a solid dark gray or a speckled finish rather than a bright color, and the floor reads as a choice.
Water can slip through the seams, so use them on a floor that already drains or stays mostly dry.
Rubber tiles are about comfort and grip, not looks. Use them where the floor works hard and water exposure stays light.
20. Fix the Subfloor and Seal the Edges
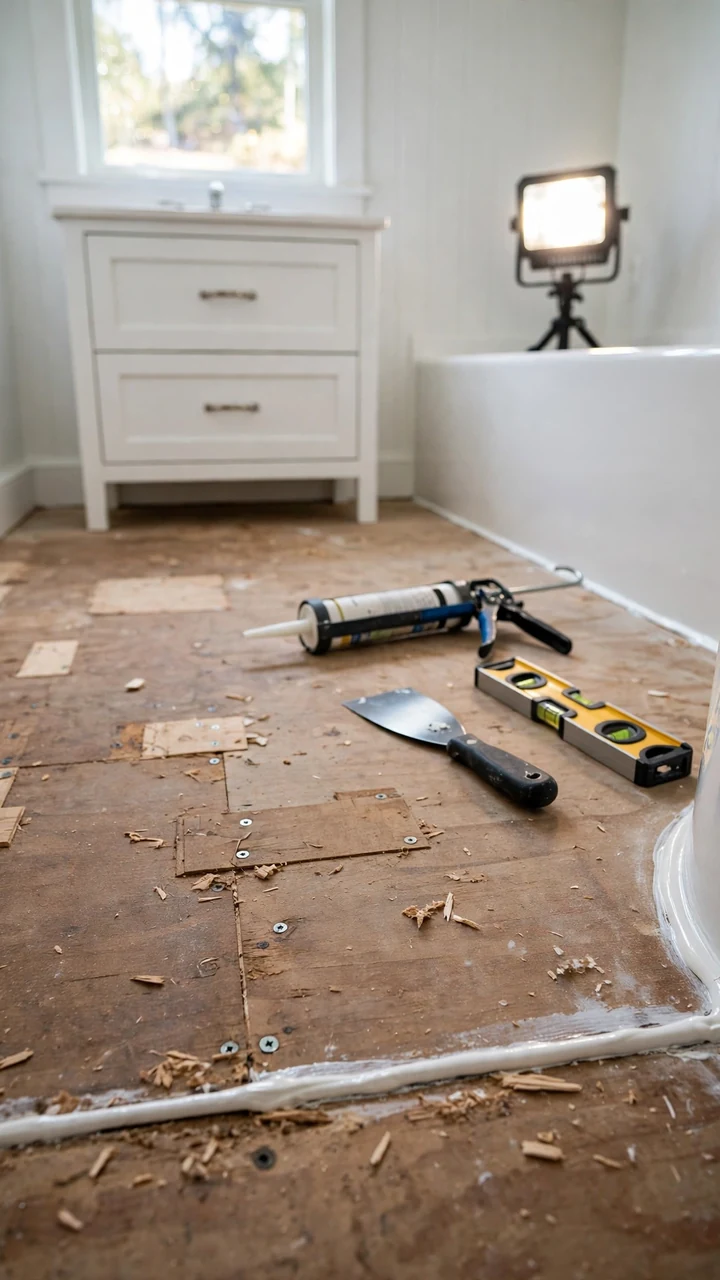
Here is the step that decides whether any floor on this list lasts.
Every cheap bathroom floor makeover goes better when the surface under it is sound. A soft spot near the toilet or a dark stain at the tub means water has been getting in. Cover that and the problem keeps growing under your new floor.
Press on the floor with your palm and your heel. If it flexes, bounces, or feels spongy, repair it before you lay anything. Then fill cracks, sand rough spots, and caulk every joint where the floor meets the tub, the walls, and the toilet base.
A new floor on a damaged base is a short term fix, so spend an hour on this first.
Do this before any new floor
Conclusion
A worn bathroom floor does not have to mean a big bill or a gutted room. Paint, vinyl, laminate, and bargain tile can each give you a clean, finished look, and most of them fit into a weekend.
Start with the base. Fix any soft spots, seal the edges, and pick a floor that matches how wet your bathroom really gets. After that, it is just a matter of taste. Black and white checks, soft wood grain, or quiet gray cement all work.
With these cheap bathroom flooring ideas in hand, pick one, measure the room, and start small. Save this list to your bathroom makeover board so it is ready when you are.
Fix the base first, match the floor to how wet the room gets, then choose the look you like best.
Save this post to your bathroom makeover board so you can come back to it when it is time to pick a floor.