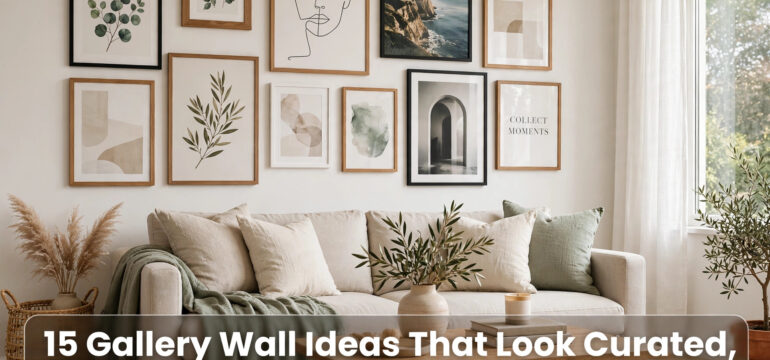
Imagine walking into a friend’s home on a bright Saturday morning. Sunlight pours through the windows, the smell of coffee drifts from the kitchen, and the first thing that catches your eye is the wall in the hallway. It is covered in frames of all shapes and sizes, and somehow it all works together. It feels personal and warm, like a story told in pictures. You stop and look closer. There are family photos next to art prints, a small mirror tucked between two paintings, and every frame seems to sit exactly where it belongs. Nothing looks crowded. Nothing looks random. That is what a curated gallery wall feels like. It draws you in instead of shouting at you.
Now imagine that wall in your own home. Maybe you have been saving frames and prints for months, or maybe you have one bare wall that has been blank since you moved in. Either way, the process feels the same for everyone. You stand in front of the wall, hold up a frame, put it back down, and wonder where to even begin. Take this article as your guided tour. We will walk through the whole process together, step by step. We start with planning and layouts, then move on to choosing frames and art, then hanging everything up, and finally the small styling details that make it all feel finished. By the end, you will know exactly what to do with your own blank wall.
1. Lay It Out With Paper Templates First
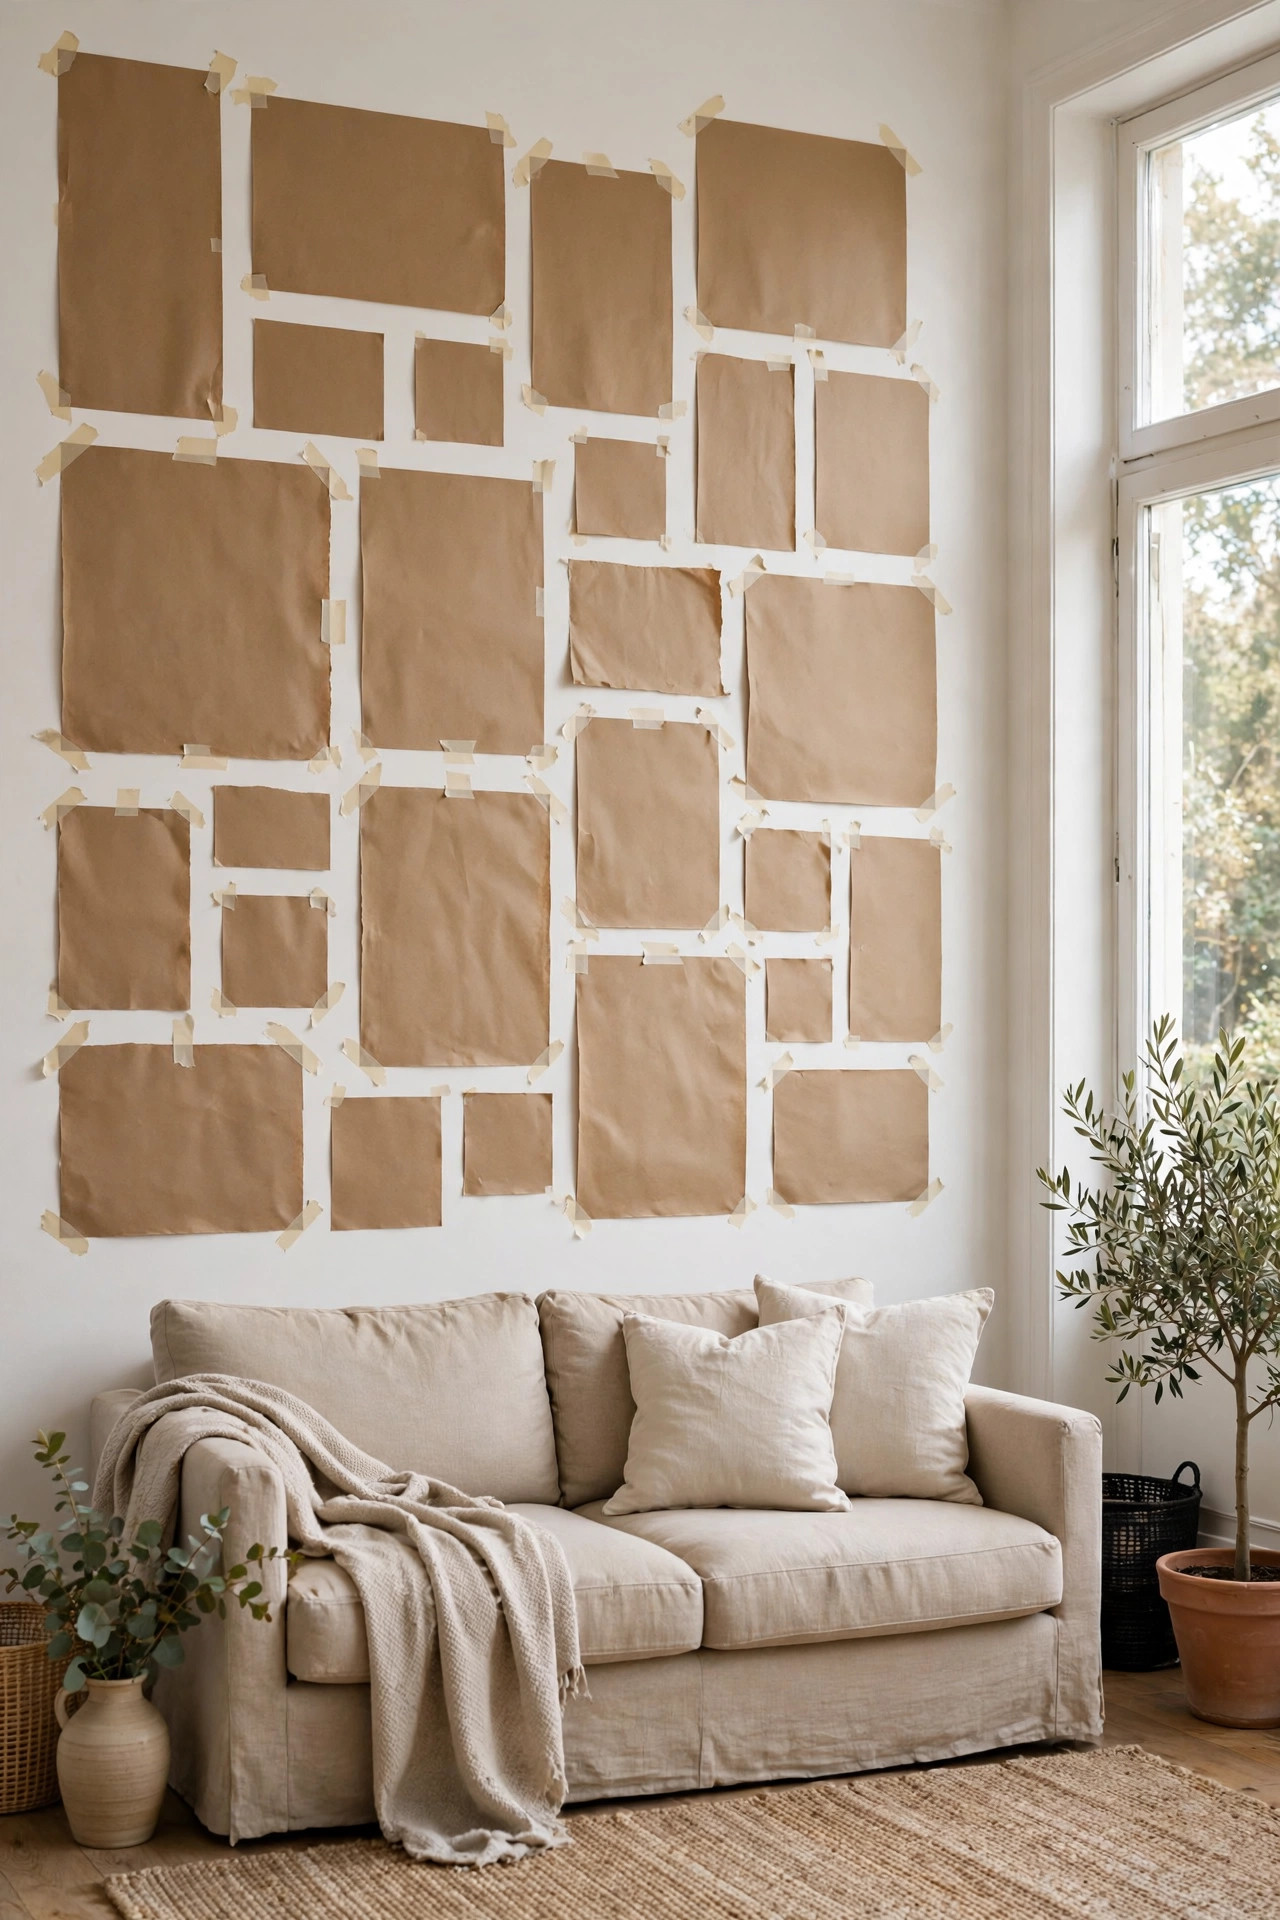
Before a single nail goes into the wall, grab some old newspaper or kraft paper and a pair of scissors. Trace around each frame and cut out a paper shape for every piece you want to hang. Tape the shapes to the wall with painter’s tape and step back. This trick costs nothing and saves you from a wall full of extra holes.
The best part is that you can live with the layout for a day or two. Walk past it in the morning light and again in the evening. You will notice right away if two pieces feel too close or if one corner looks heavy. Move the paper around until the whole shape feels balanced. When you finally pick up the hammer, you will know exactly where each frame goes.
2. Keep It Tidy With a Classic Grid
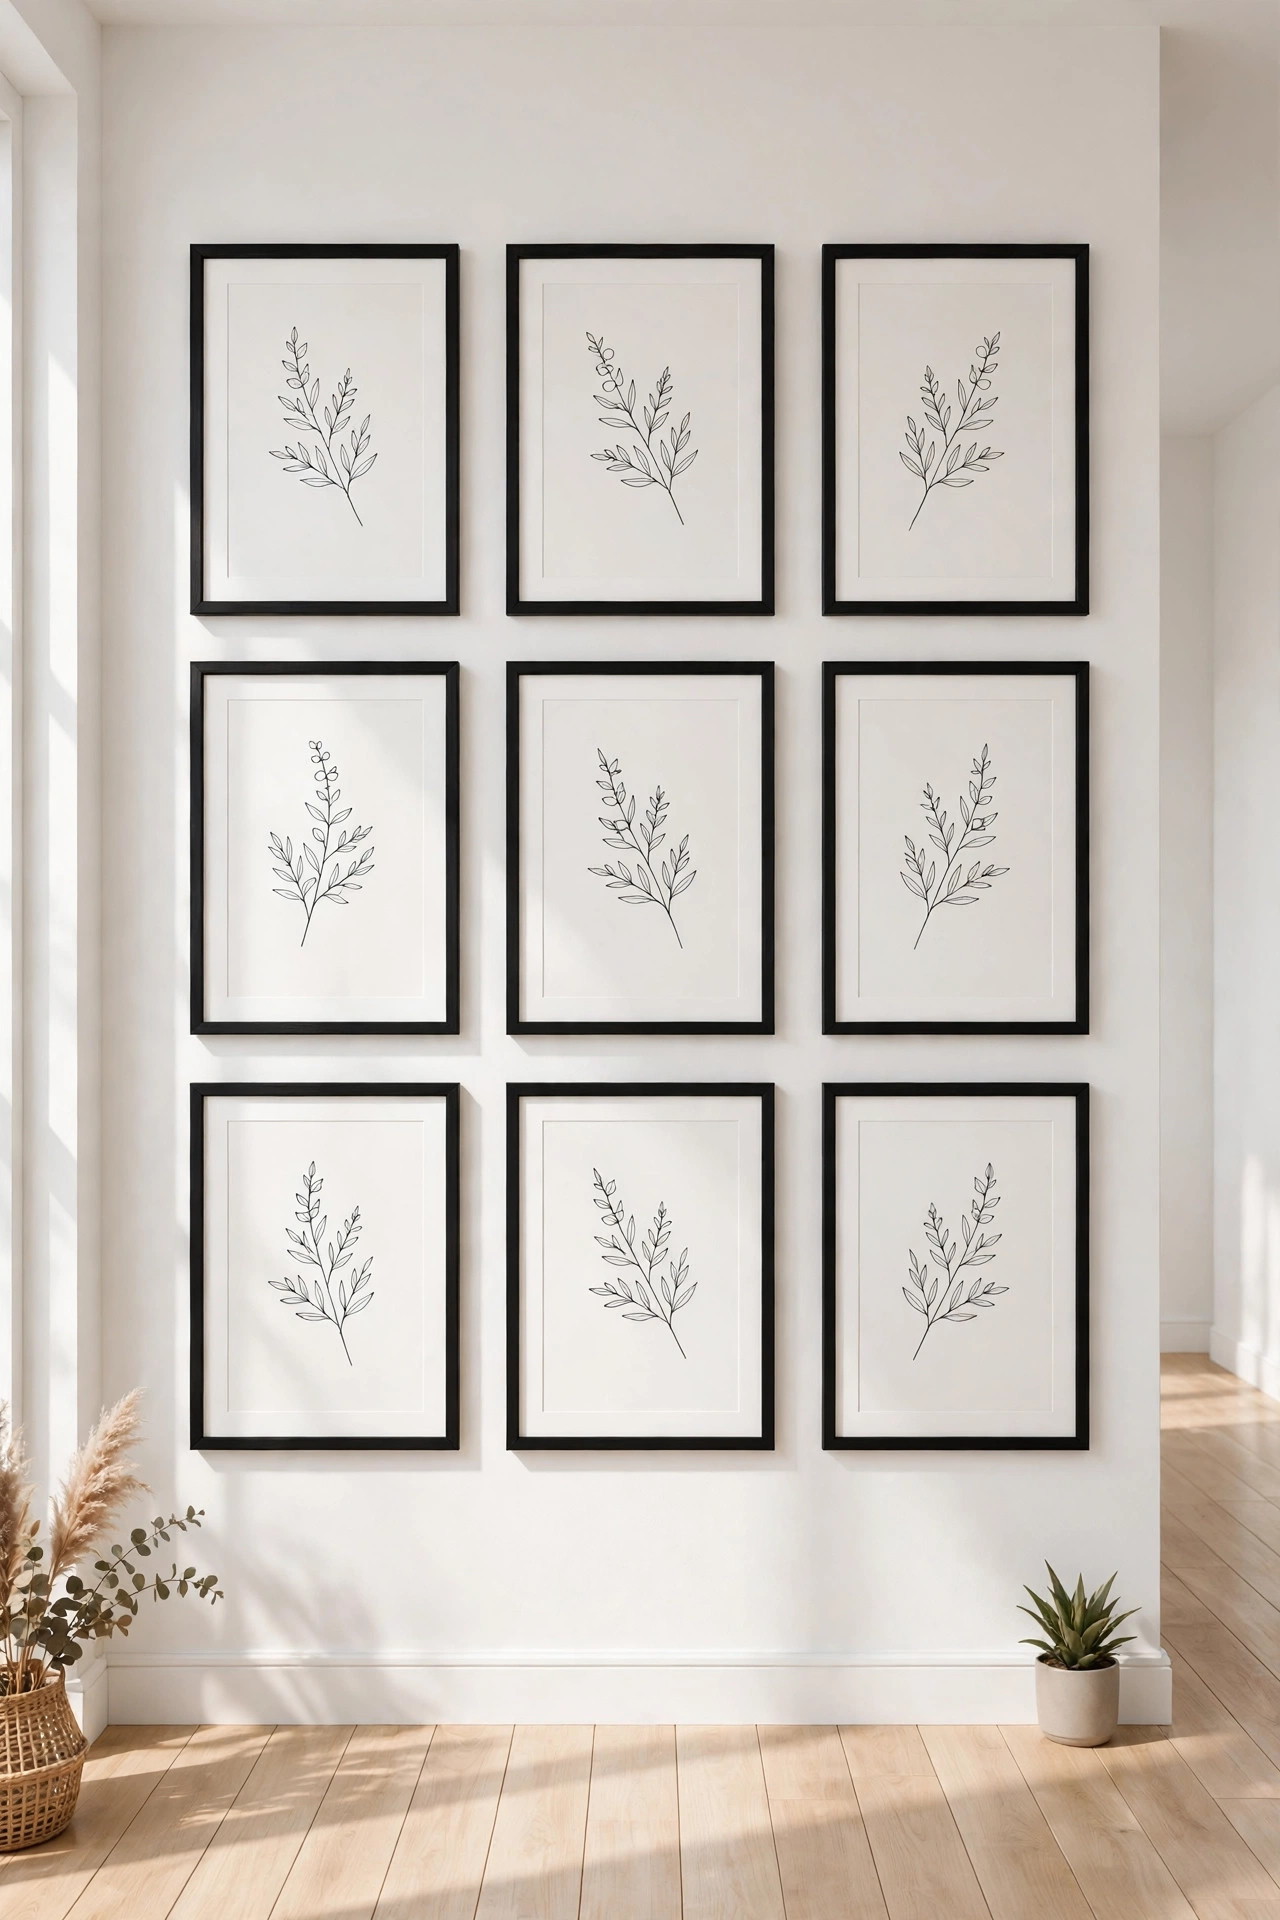
If you love a clean and calm look, a grid layout is your best friend. Use frames that are all the same size and hang them in neat rows and columns with even spacing. Nine frames in three rows of three is a classic choice, but six or twelve work too. The result looks orderly and collected, almost like pages from a beautiful book.
Grids shine in hallways, staircases, and above long sofas where a wide wall can feel hard to fill. They also forgive small mistakes because the even rhythm hides tiny differences in height. Use this layout when you want the wall to feel peaceful rather than playful. It is the easiest layout to plan and the hardest to get wrong.
3. Go Bold With a Salon Style Mix
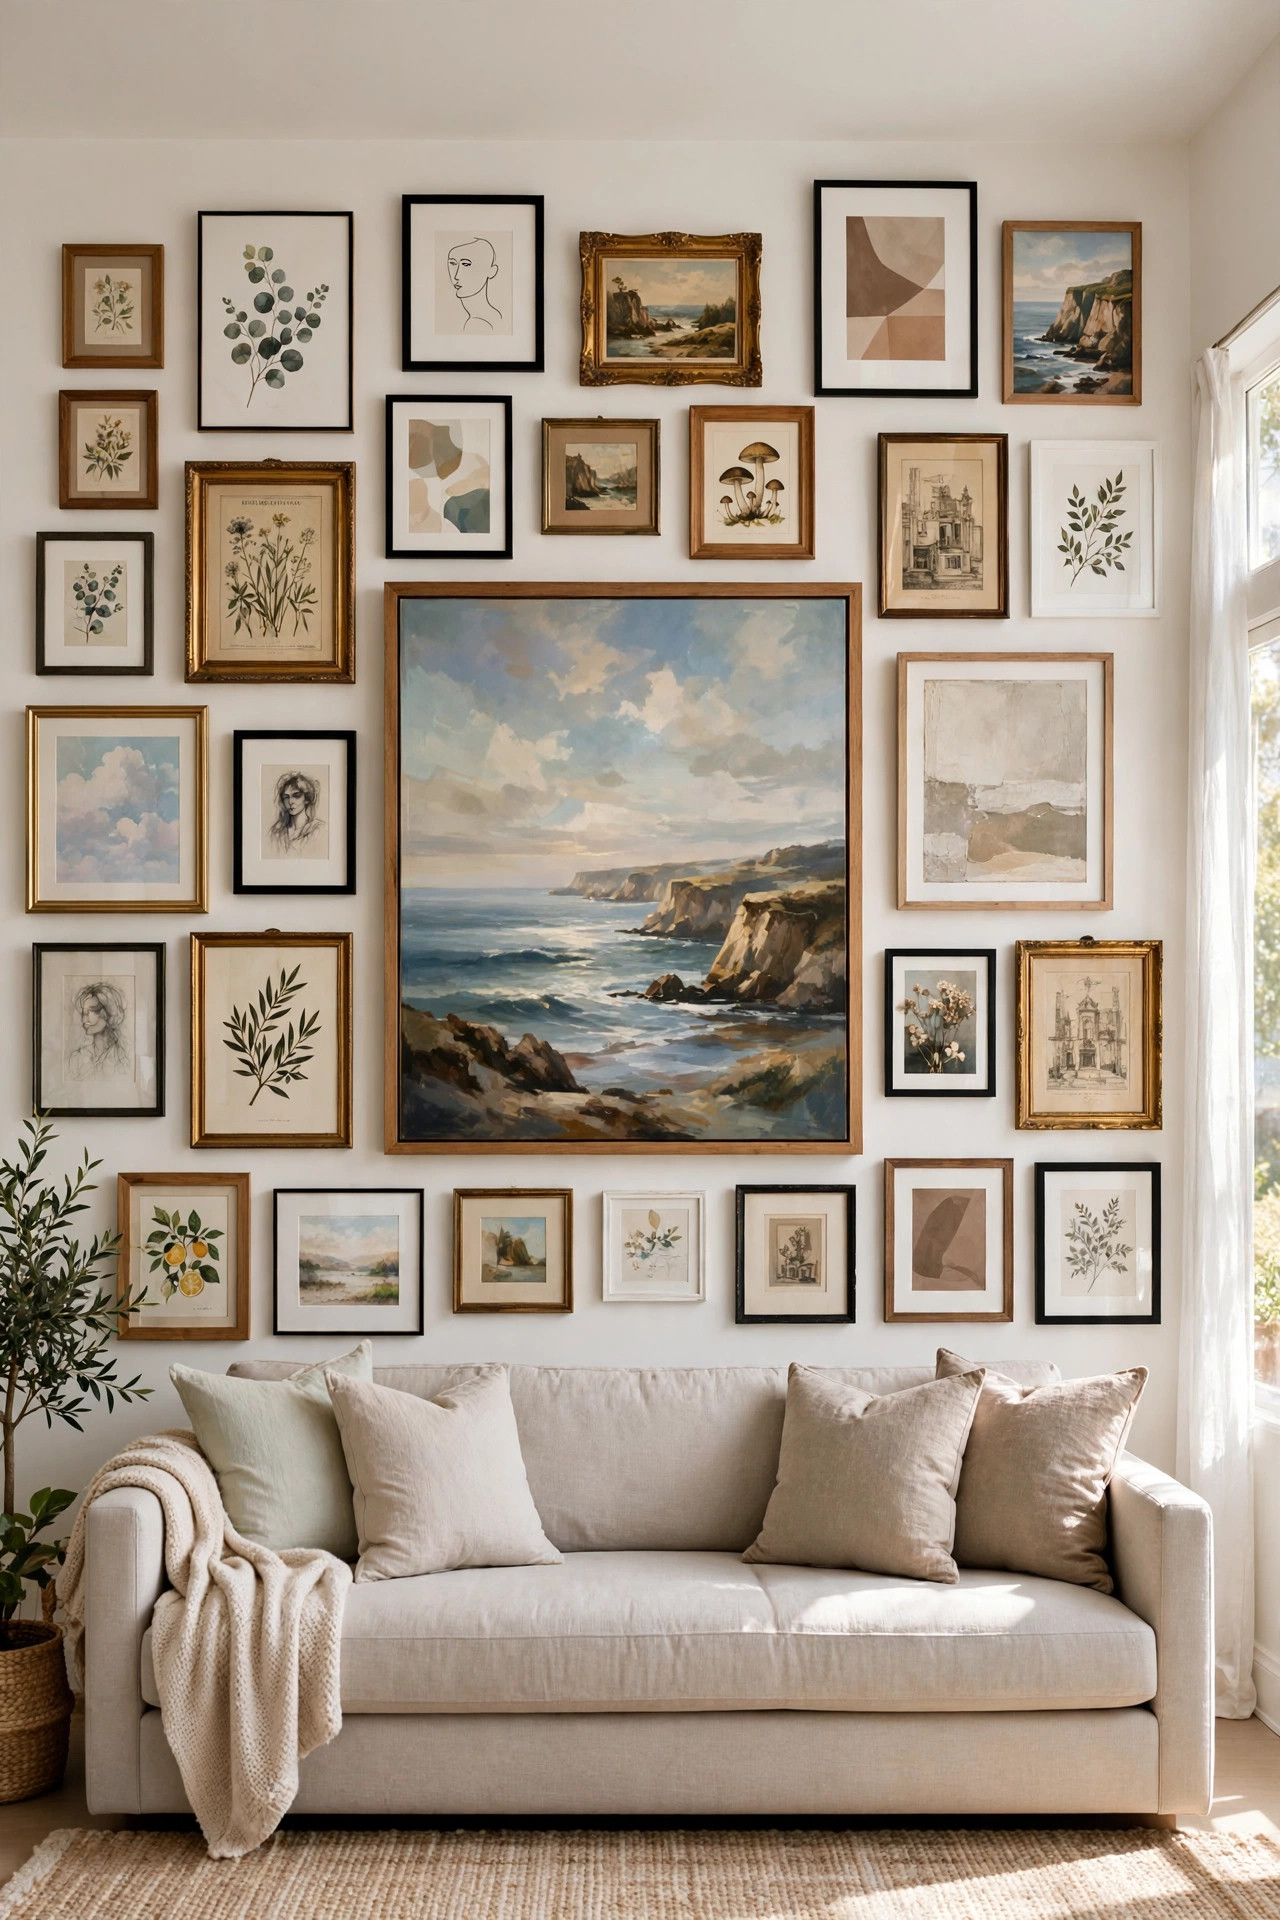
On the other end of the spectrum sits the salon style wall, where frames of every size climb the wall from floor to ceiling. Start with your largest piece near the middle and build outward, filling gaps with smaller frames as you go. Keep the outer edge roughly even so the whole thing reads as one big shape instead of a random scatter.
This style feels joyful and a little bit daring, and it works best on a big open wall in a living room or entryway. The secret to keeping it curated instead of cluttered is steady spacing. If every frame sits two or three inches from its neighbors, even a wild mix will look intentional. Stand back often as you hang, because your eye will catch a crooked line long before your level does.
4. Anchor Everything Around One Hero Piece
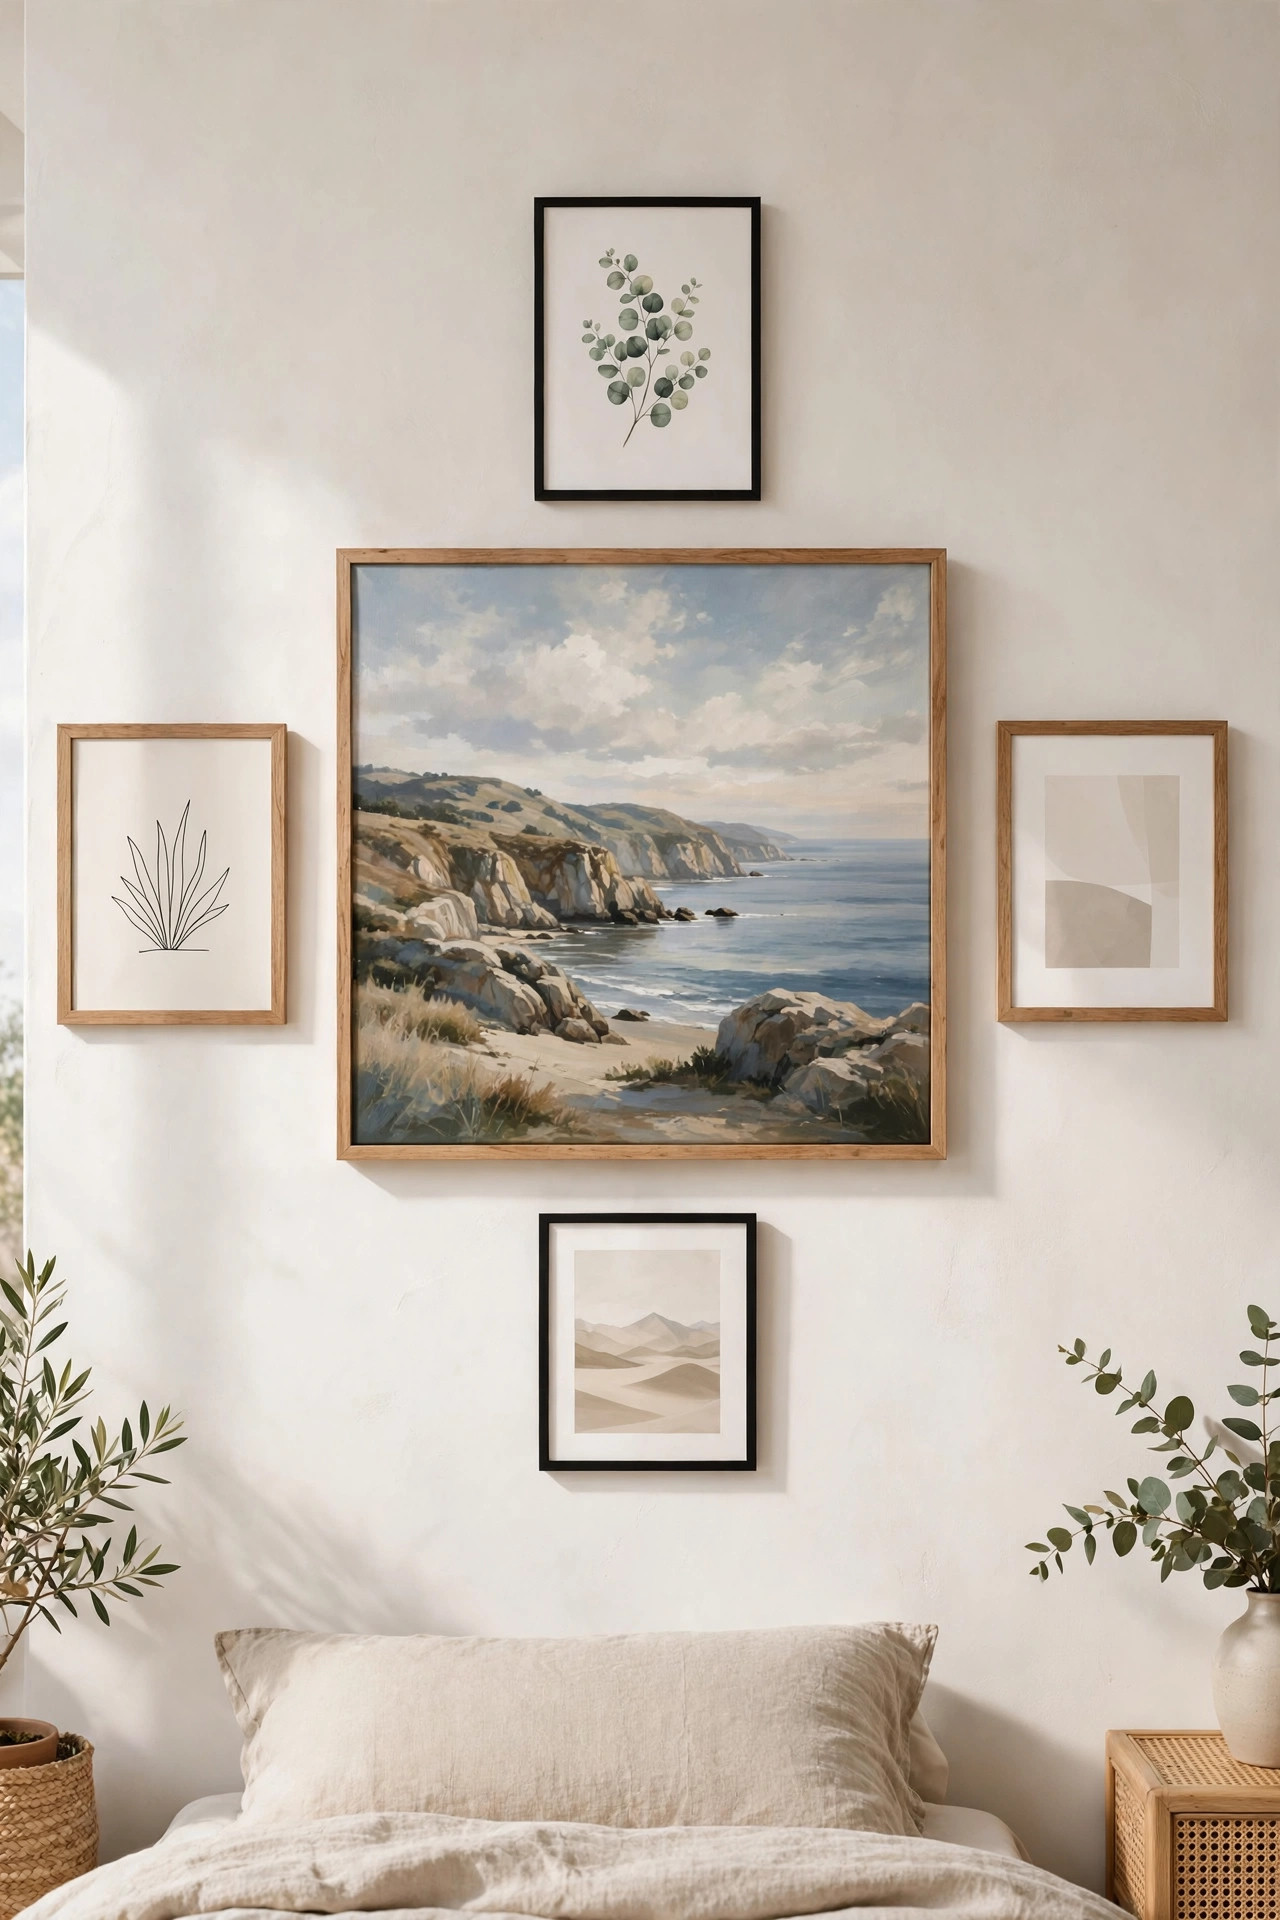
Every great gallery wall needs a star, and that star is one larger piece that anchors the whole arrangement. It might be a big landscape painting, an oversized family portrait, or a bold abstract print. Hang it first, right in the center of your planned area, and let it set the tone for everything else.
Once the hero piece is up, arrange the smaller frames around it like guests gathered around a table. Keep the smaller pieces from competing by choosing simpler art or quieter colors near the center. The eye lands on the big piece first and then wanders out to the smaller ones, which is exactly the slow, happy looking you want people to do on your wall.
5. Give Every Frame Breathing Room
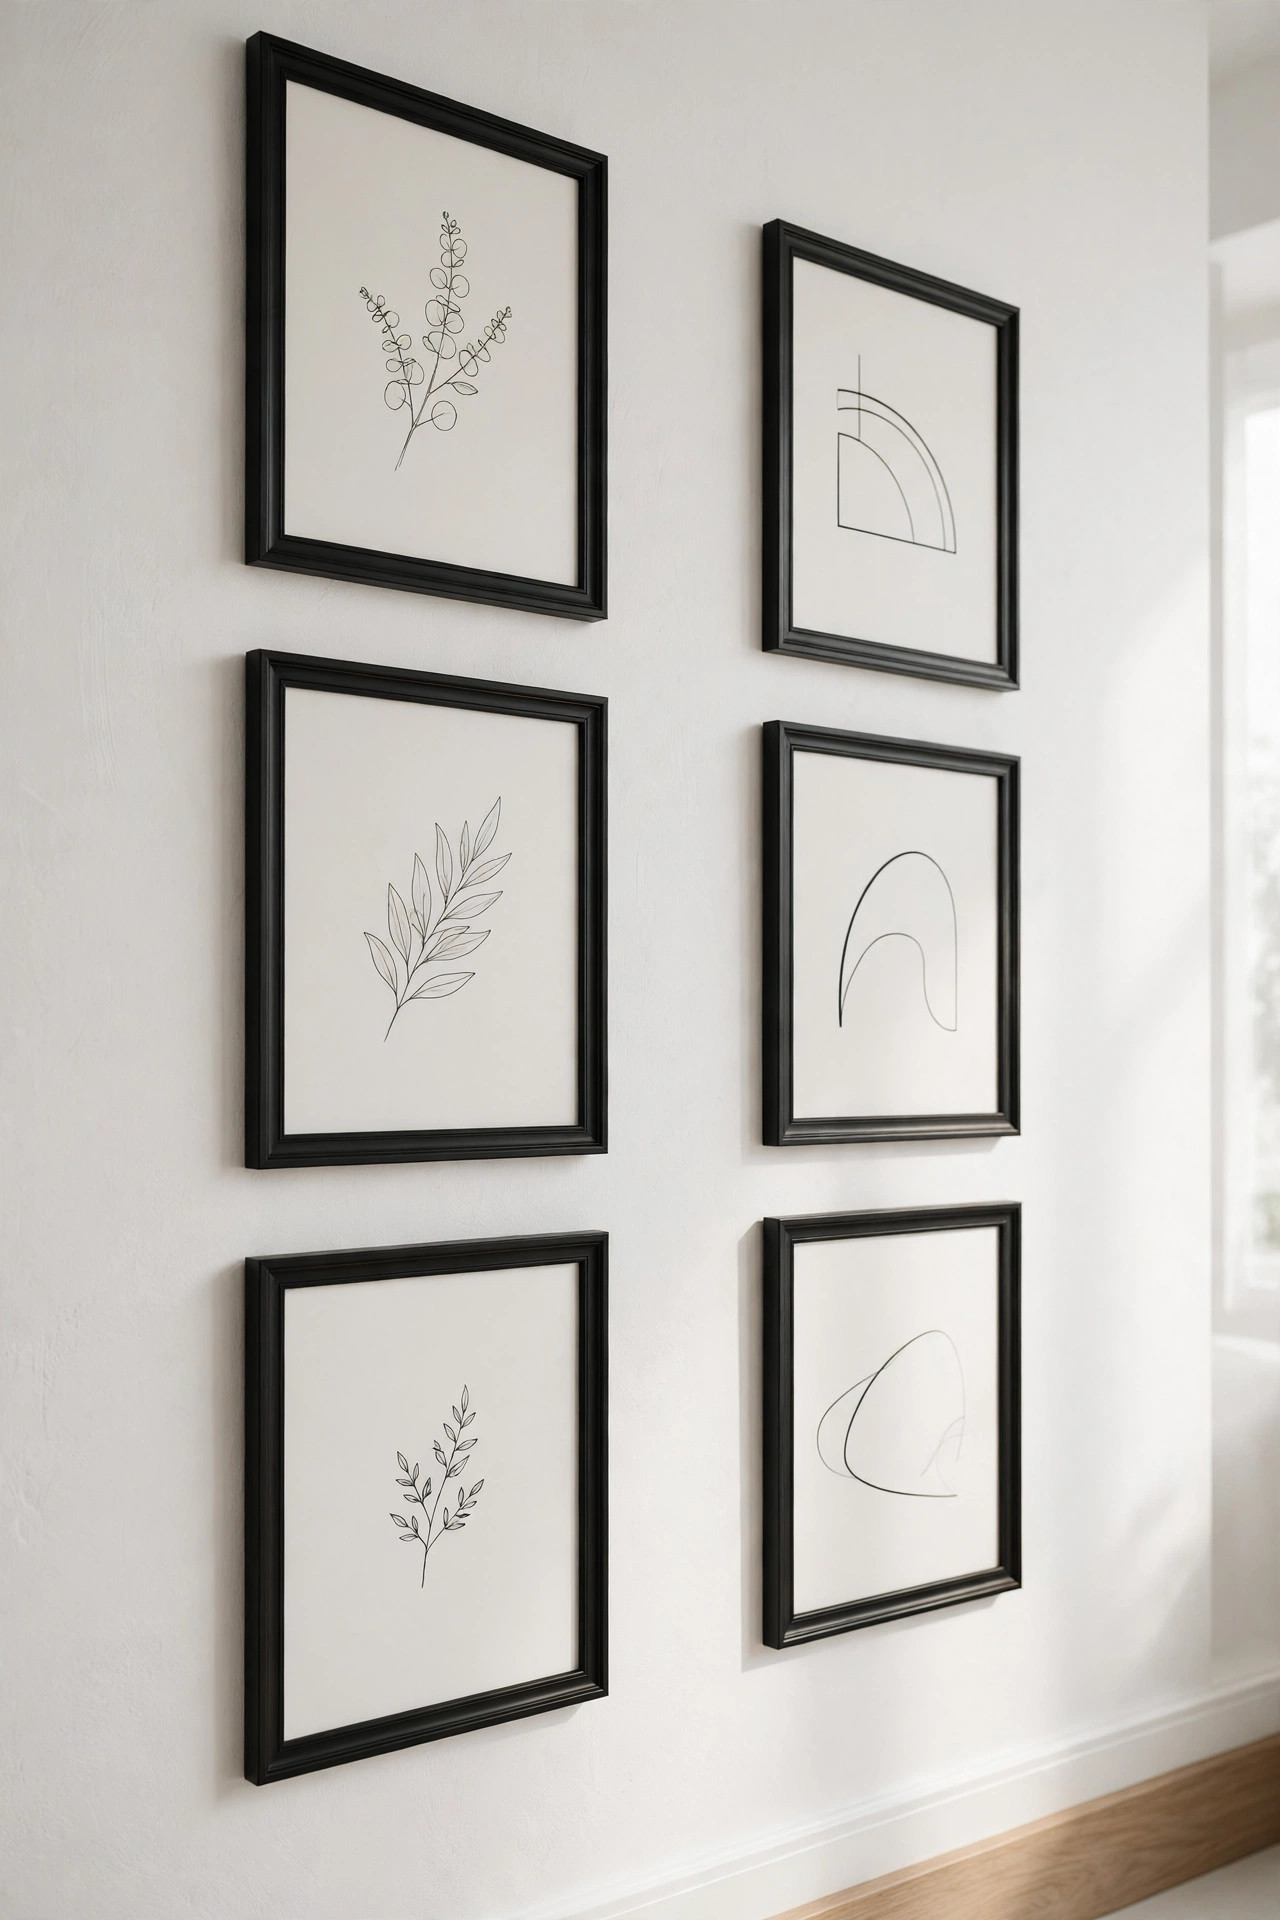
The fastest way to make a gallery wall look cluttered is to hang frames too close together. When edges nearly touch, the whole wall feels crowded and tense. Give each frame about two to three inches of empty wall on every side. That little pocket of space lets each piece be seen on its own while still belonging to the group.
Just as important as the amount of space is keeping it consistent. Pick one spacing, say two and a half inches, and use it everywhere between frames. Your eye reads that steady rhythm as calm and planned. A ruler and a pencil are your best tools here. Mark light dots on the wall before you hang, and the whole wall will look like a professional did it.
6. Unify the Look With One Frame Color
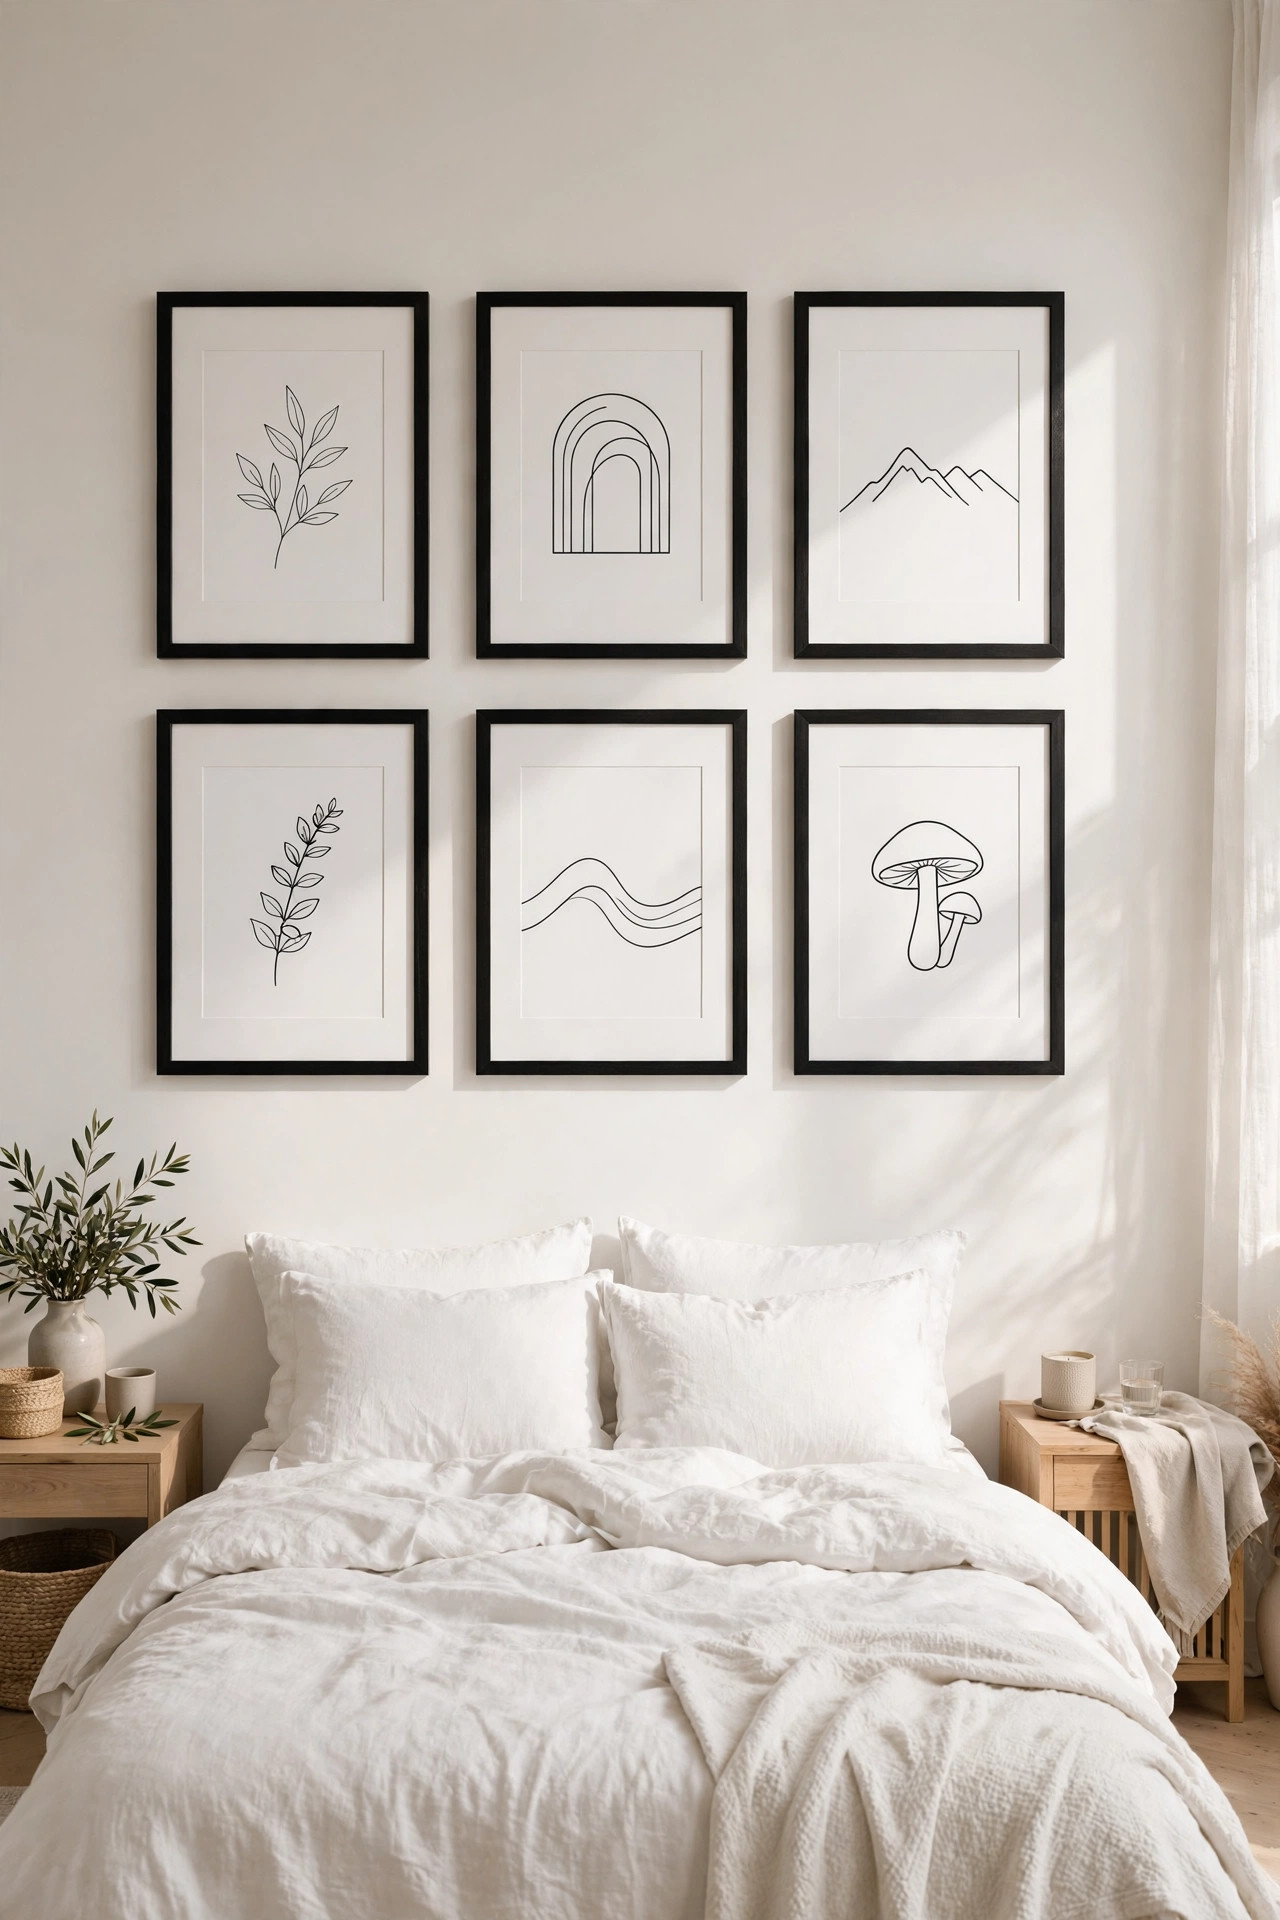
When the frames all share one color, everything else gets easier. Black frames with white mats are the classic choice, and they make even the most mixed up collection of art look like it belongs together. White frames feel fresh and airy, while natural wood brings warmth to the room.
This trick is perfect when your art is all over the place in style. A funny cartoon print, a soft watercolor, and a black and white photo can hang side by side without clashing when the frames match. Think of the frame color as the quiet background music that lets all the different songs play together. Pick the color that suits your room and commit to it.
7. Mix Frame Sizes in a Shared Finish
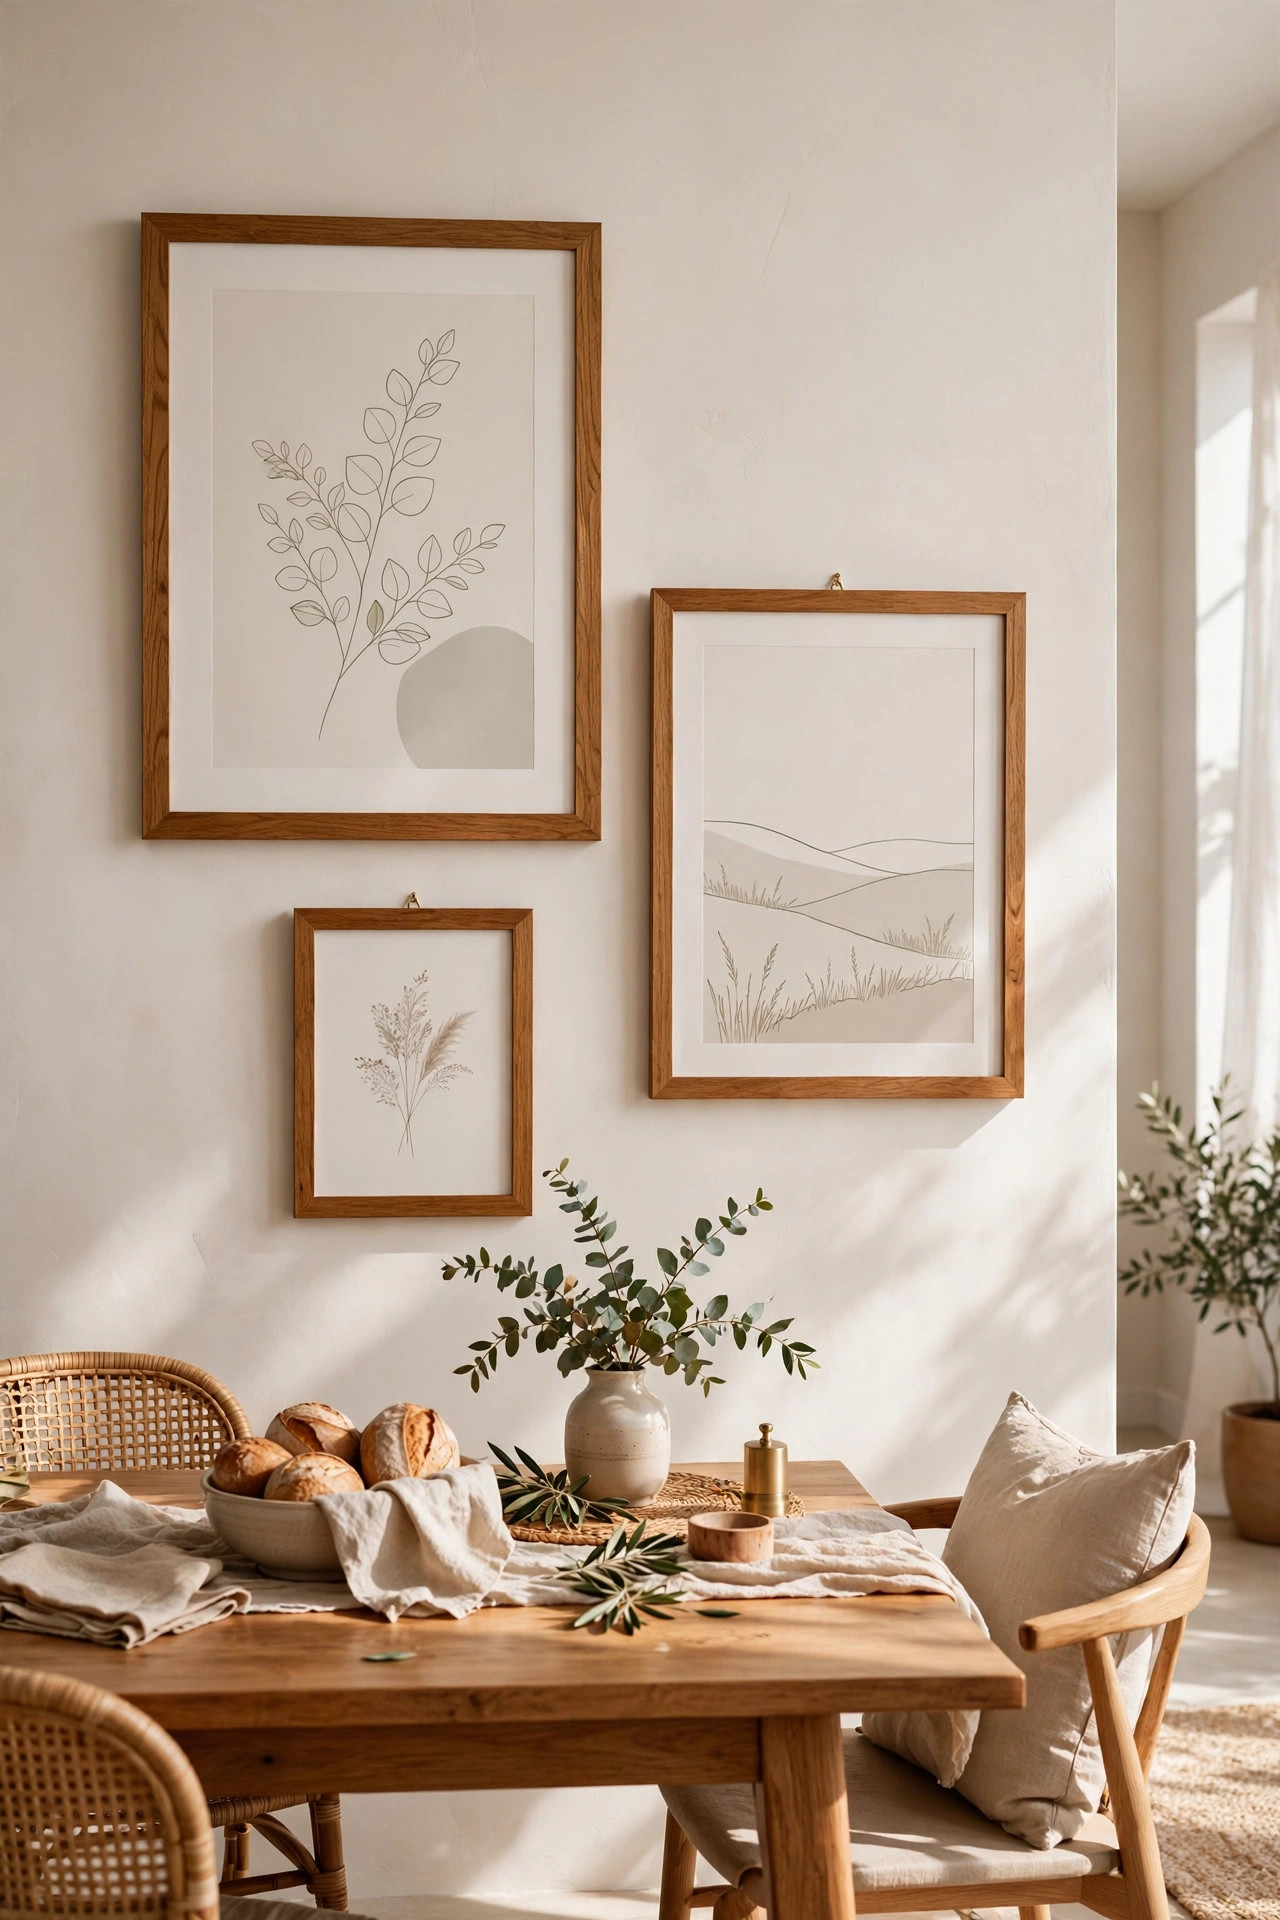
If matching frames feel too plain for you, try mixing sizes instead while keeping one shared finish. Big, medium, and small frames in the same warm oak or the same soft white will feel varied but still related. The different sizes add energy and movement, which keeps the wall from looking stiff or boring.
A good rule is to repeat each size at least twice so no single frame feels like an accident. Two large pieces balance each other across the wall, and a few small ones fill the gaps nicely. This is a sweet middle ground between a strict grid and a wild salon mix, and it works in almost any room.
8. Pair Art That Shares a Mood
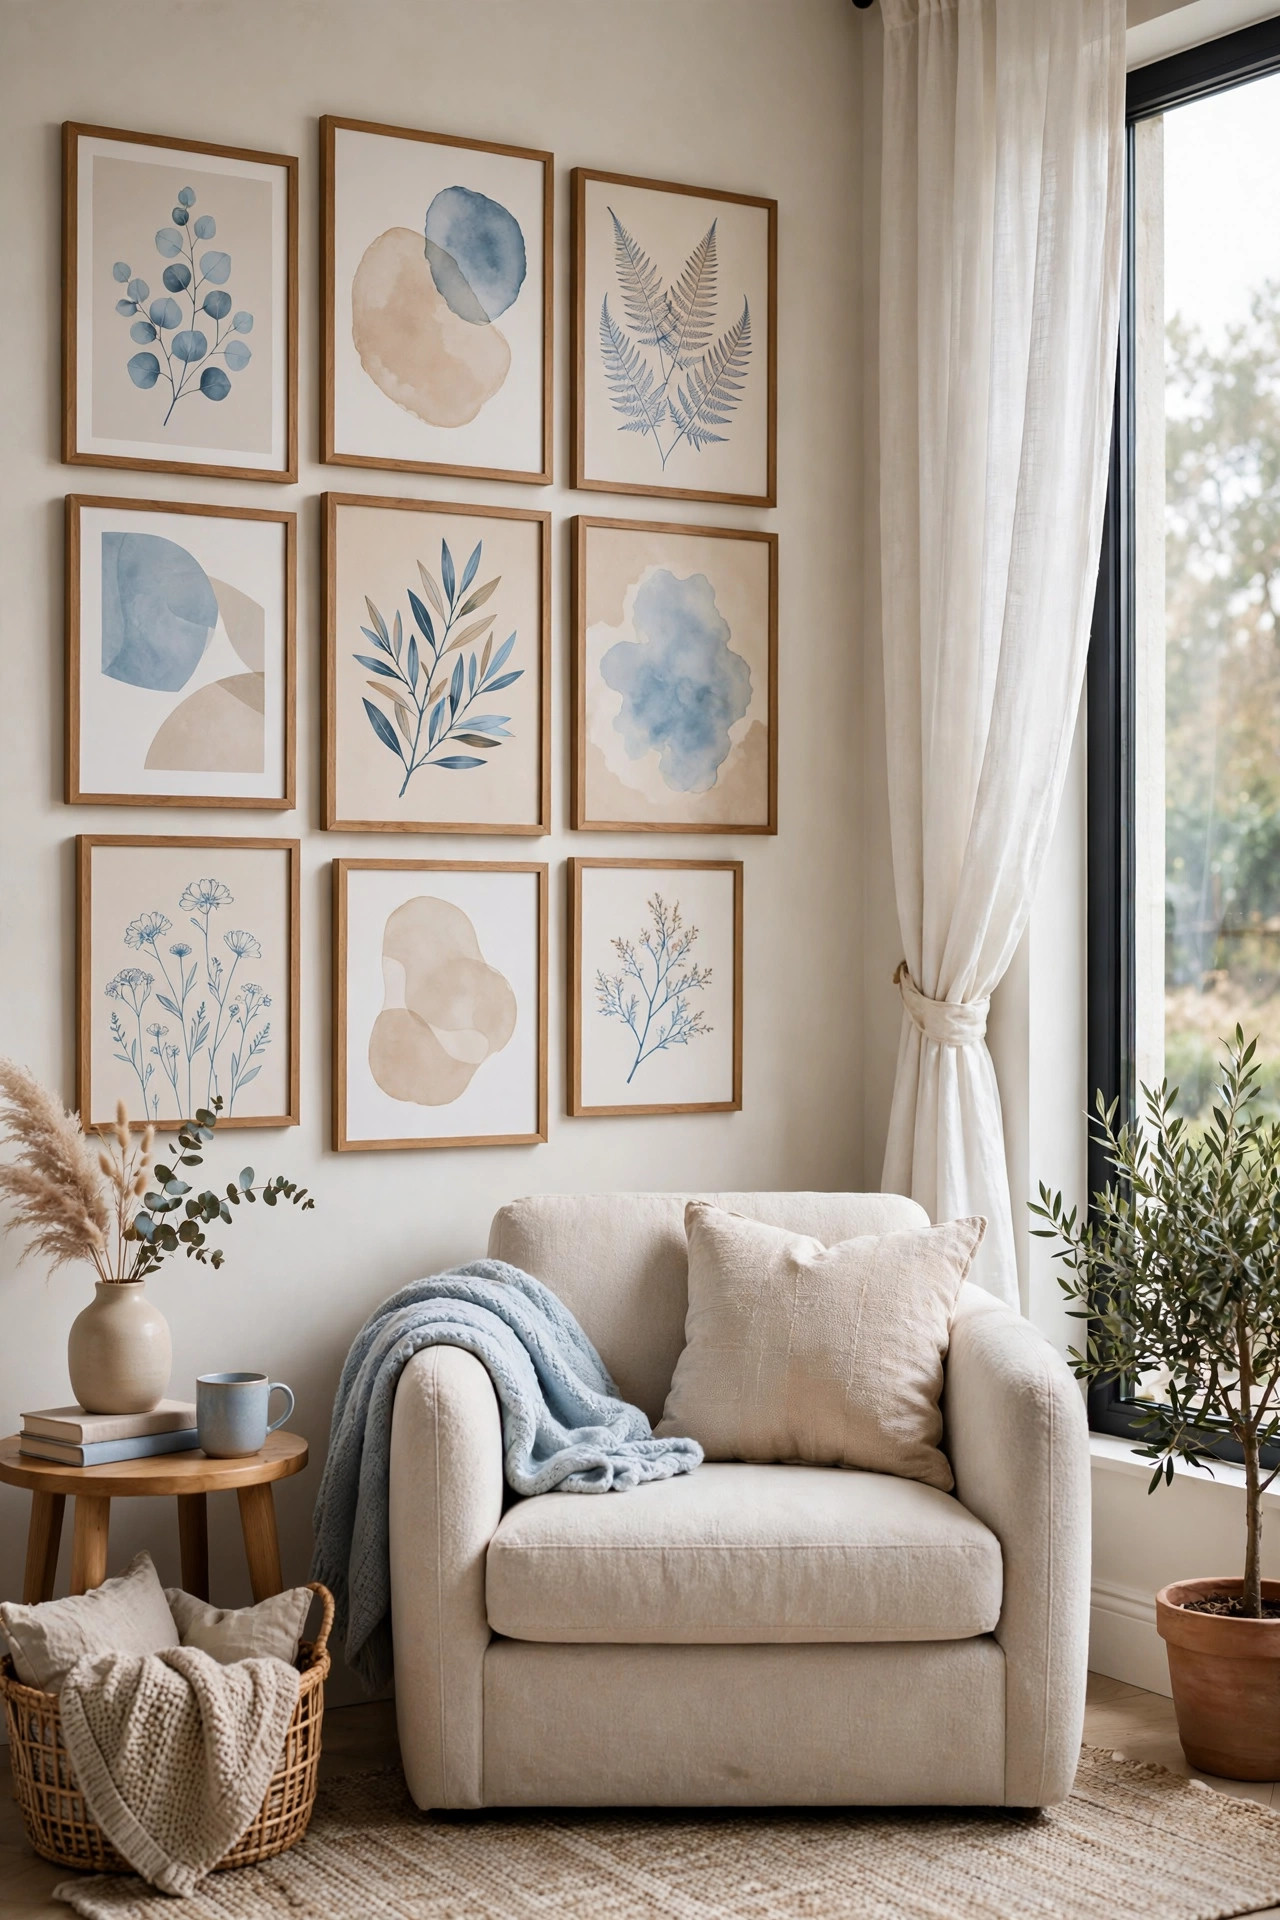
Your art does not need to match, but it should feel like it belongs in the same room. Look for pieces that share a mood rather than a subject. Soft blues and sandy beiges, for example, can tie together a beach photo, a leafy botanical print, and an abstract shape study. The colors and the calm feeling do the unifying work.
When you shop for new pieces, hold them up next to what you already own before you buy. Ask yourself if they feel like neighbors or strangers. A loud neon poster and a quiet pencil sketch can both be beautiful, but they will fight each other on the same wall. Choosing art with a shared mood is what turns a random collection into a curated one.
9. Weave In Your Own Photos
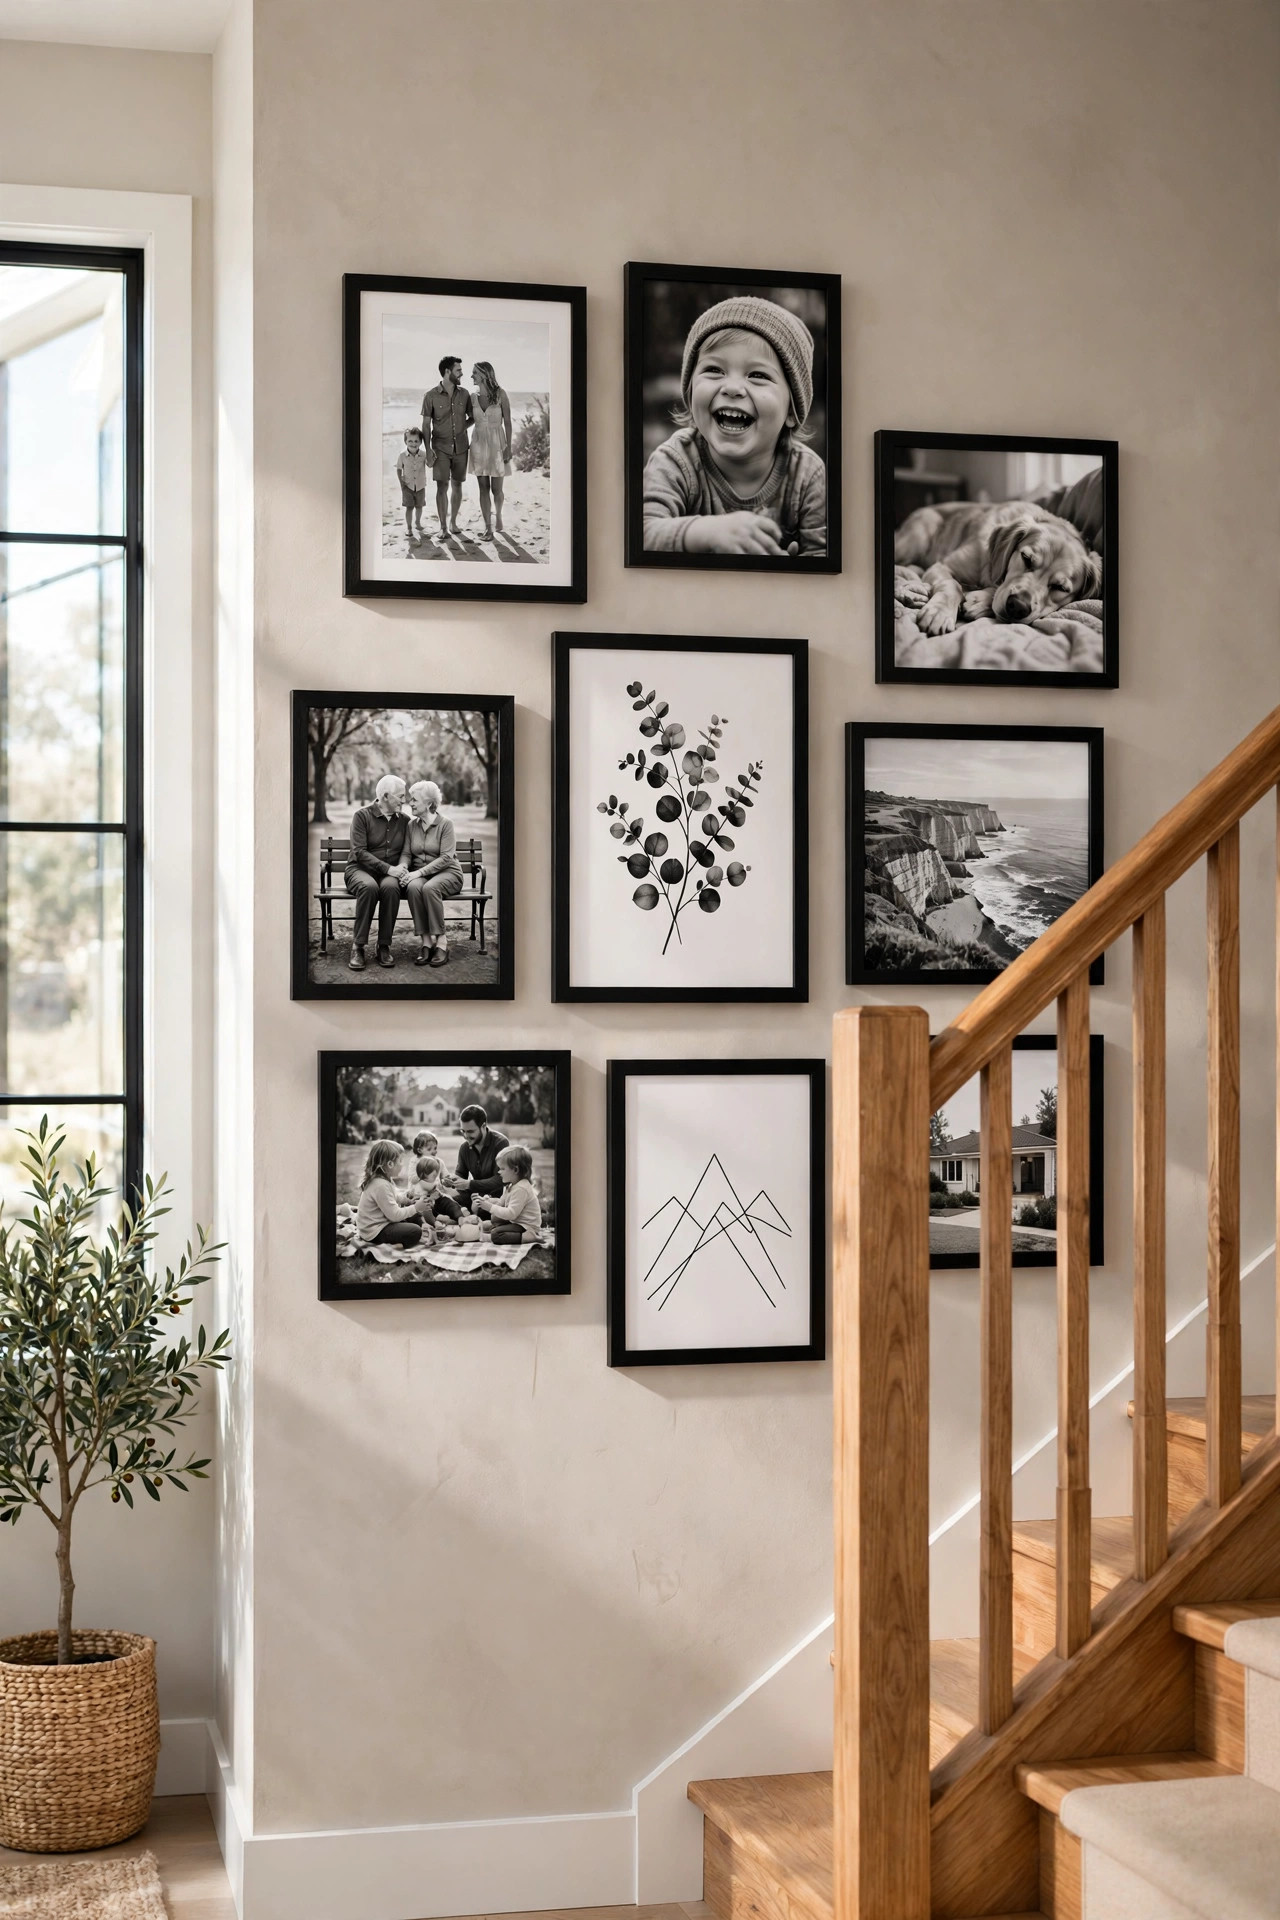
A gallery wall feels most like home when it holds your own memories. Print a few favorite family photos and weave them in among the art prints. A photo of your kids at the beach or your grandparents on their wedding day adds a layer of meaning that no store bought print can give.
To keep personal photos looking polished, print them in black and white or give them all the same warm filter. That simple choice makes phone snapshots sit happily next to professional art. Mix candid moments with one or two posed portraits for a natural feel. Your wall becomes a story only your family could tell, and guests will love spotting the familiar faces.
10. Hang the Center at Eye Level
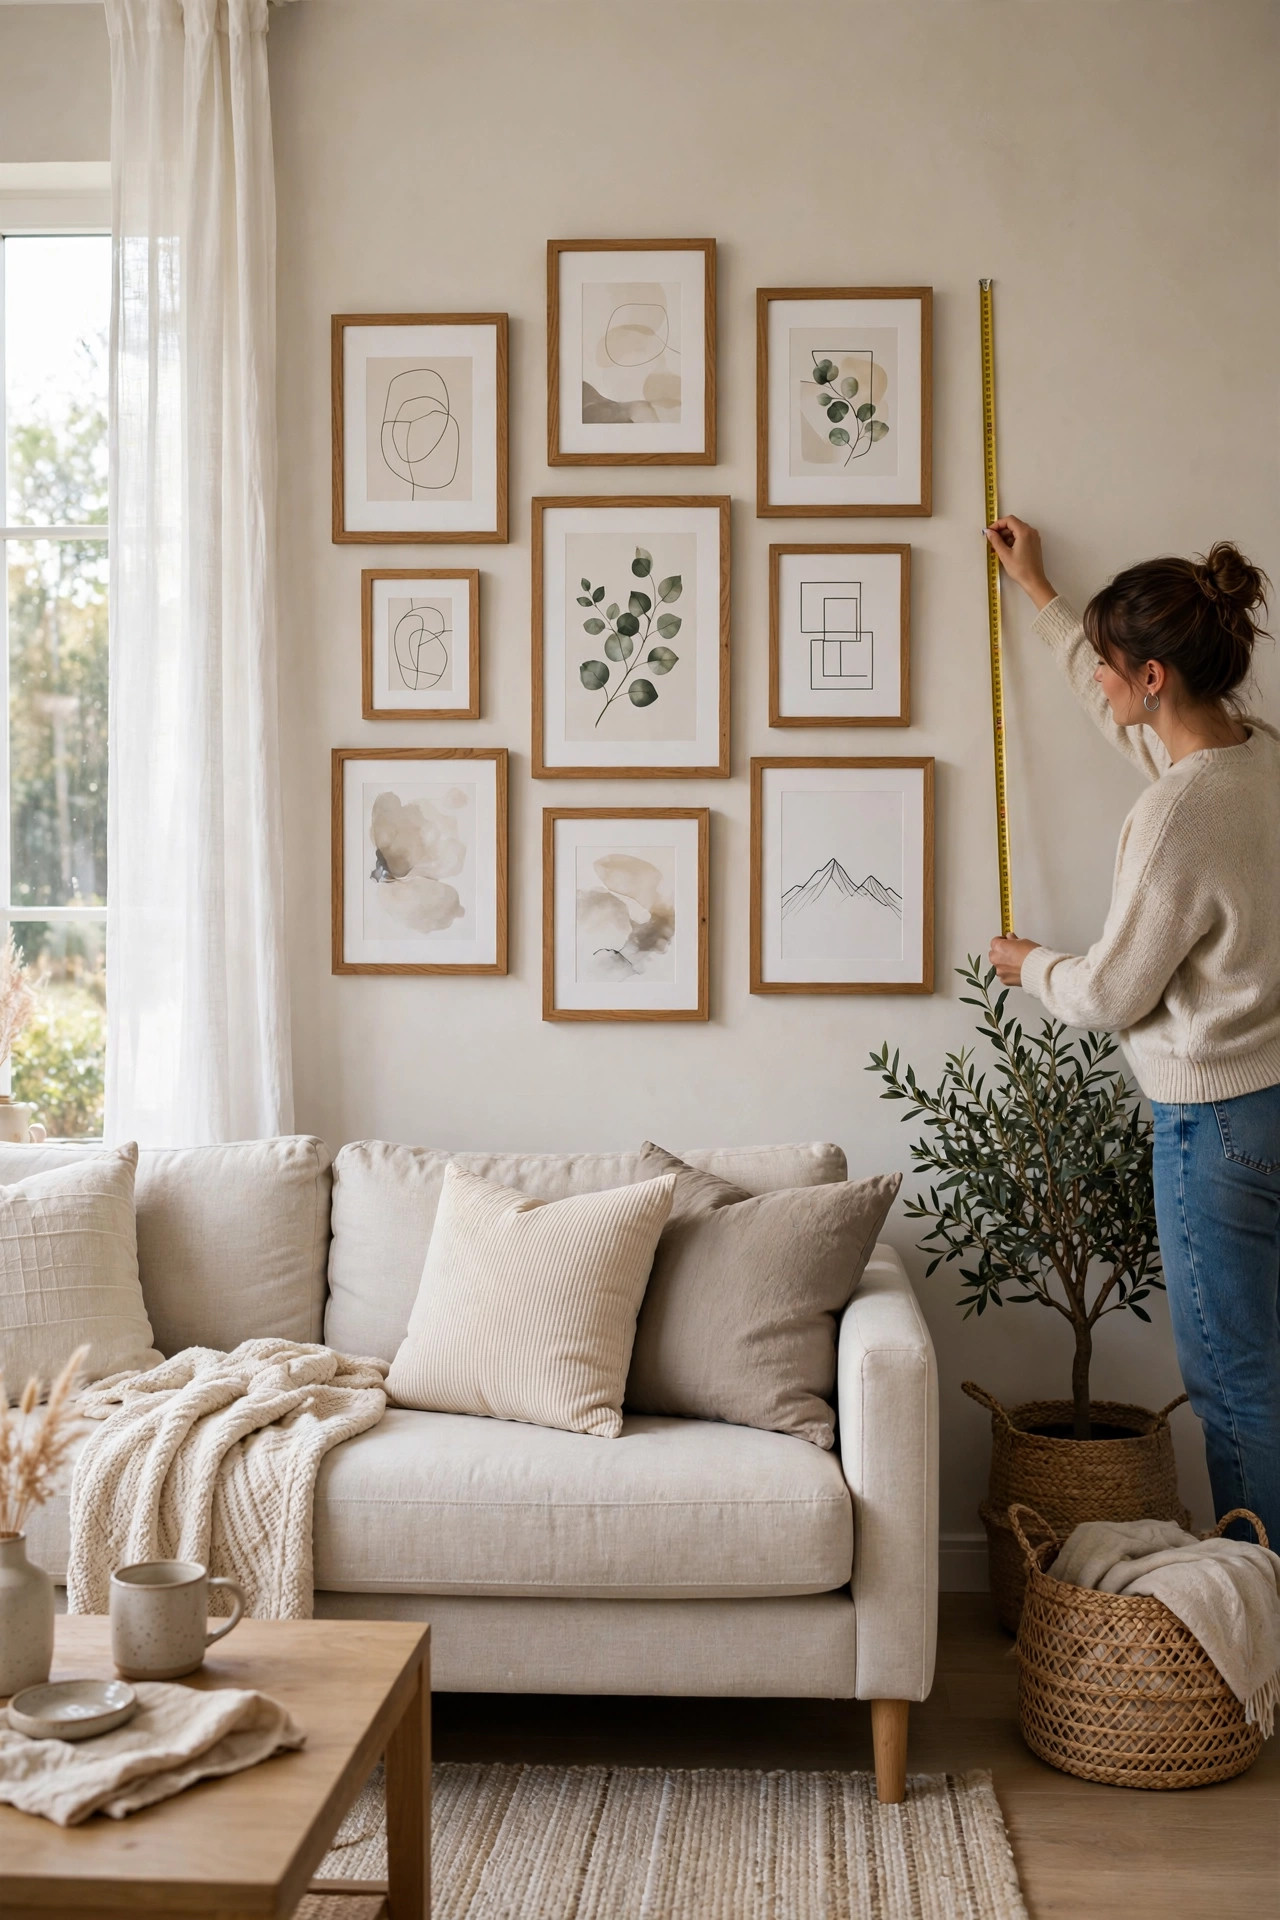
One of the most common mistakes is hanging a gallery wall too high. The center of your arrangement should sit at about eye level for a standing adult, which is roughly fifty seven inches from the floor to the middle of the whole group. This puts the art right where people naturally look, so nobody has to crane their neck.
When the wall sits above furniture, adjust a little. Leave about six to eight inches between the top of a sofa or console and the bottom of the lowest frame. That gap connects the art to the furniture instead of letting it float alone. Measure twice and mark with a pencil before you hang, because moving a whole gallery down two inches is nobody’s idea of fun.
11. Go Damage Free With Renter Friendly Strips
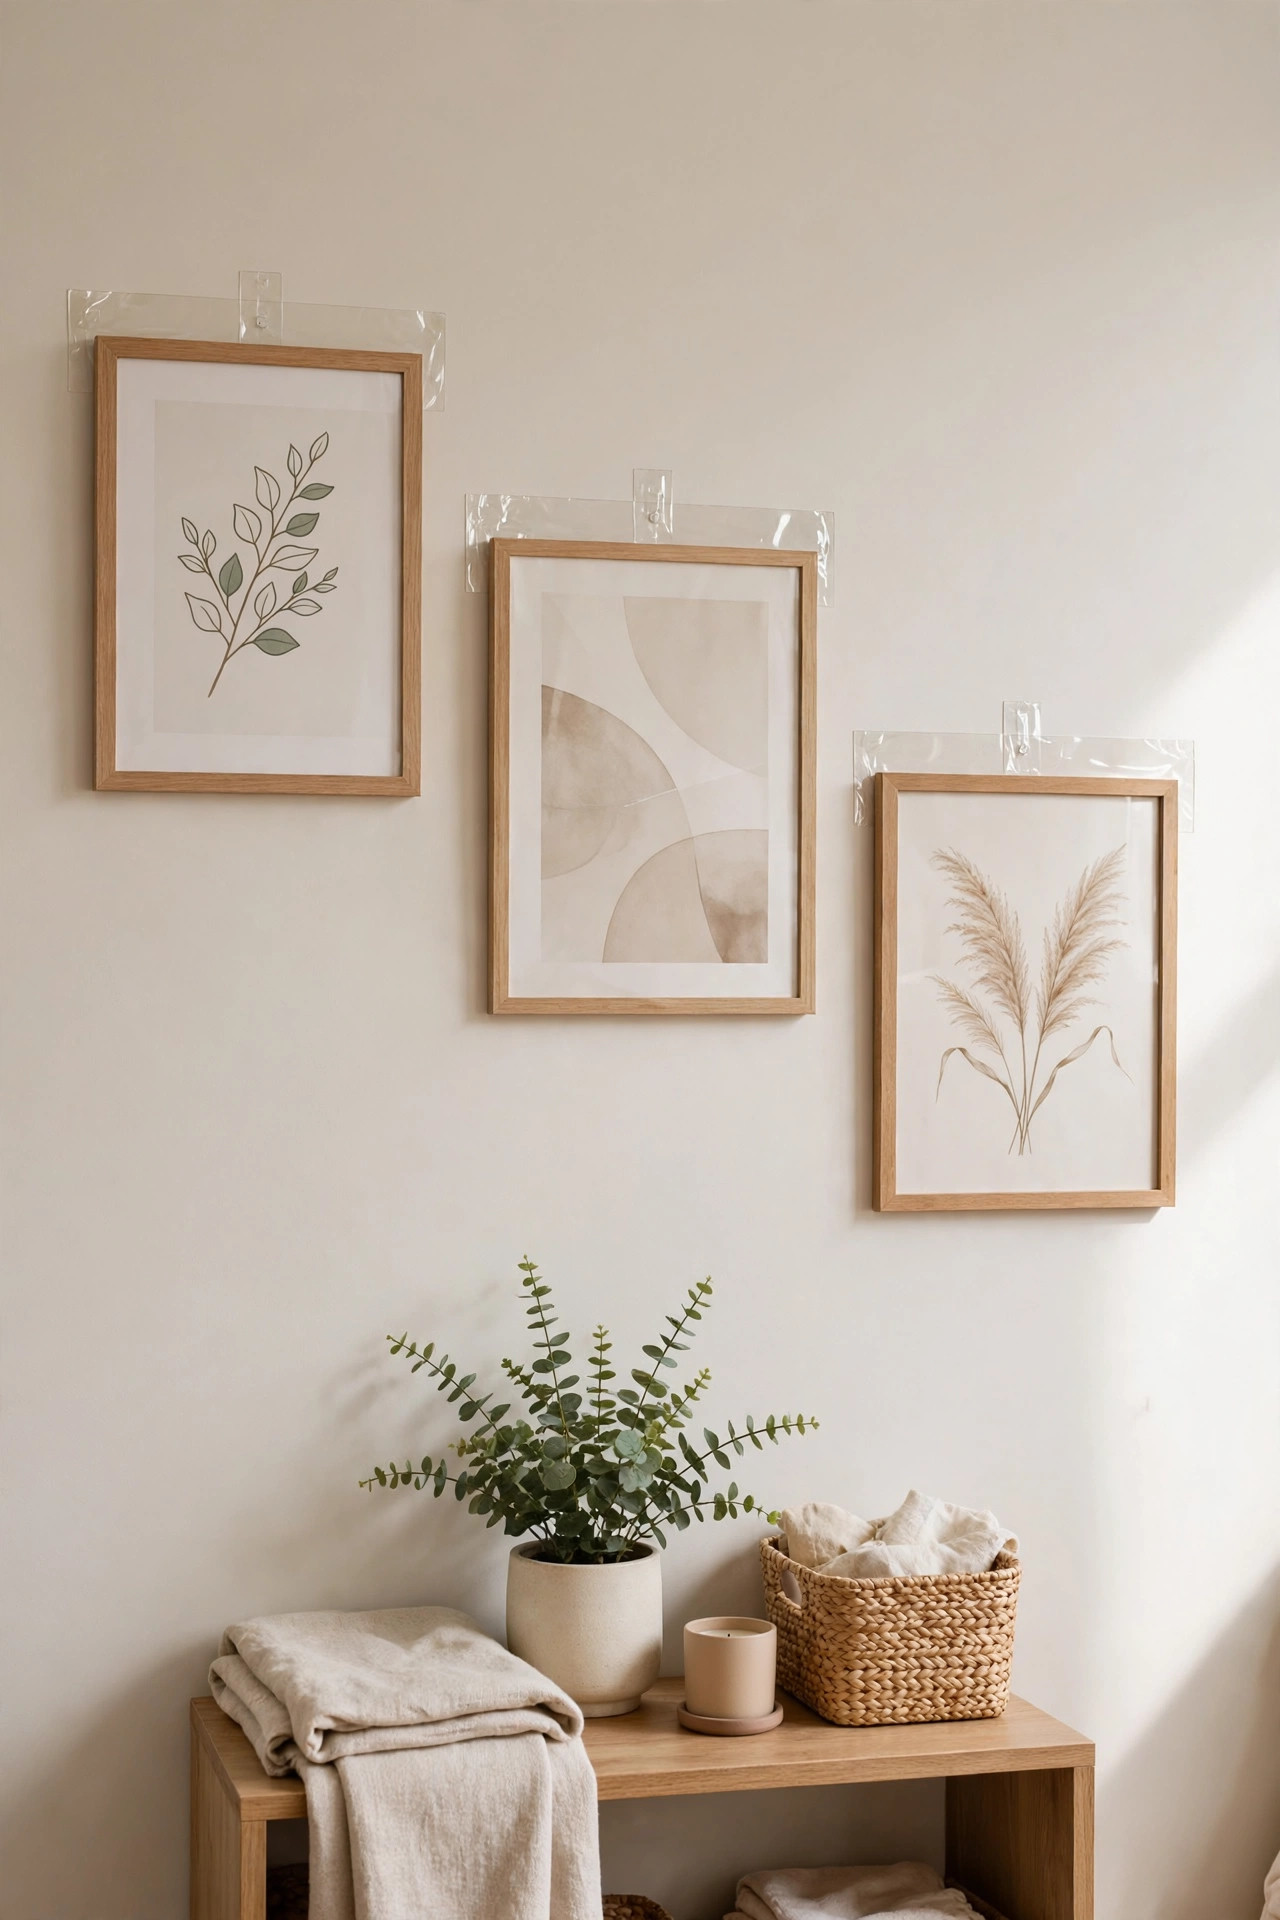
If you rent your home, you can still have a gorgeous gallery wall without losing your security deposit. Adhesive hanging strips made for picture frames hold surprising weight and come off the wall cleanly when you move. They work best on smooth painted walls, and each strip lists the weight it can hold, so check the package before you hang anything heavy.
Plan your layout with paper templates first, just like everyone else, then press the strips on firmly and wait the full time the package suggests before hanging. For a truly hole free option, lean frames on a picture ledge or the top of a dresser instead. Your landlord will never know the wall was decorated, and you get to take every frame with you when you go.
12. Build It Slowly Over Time
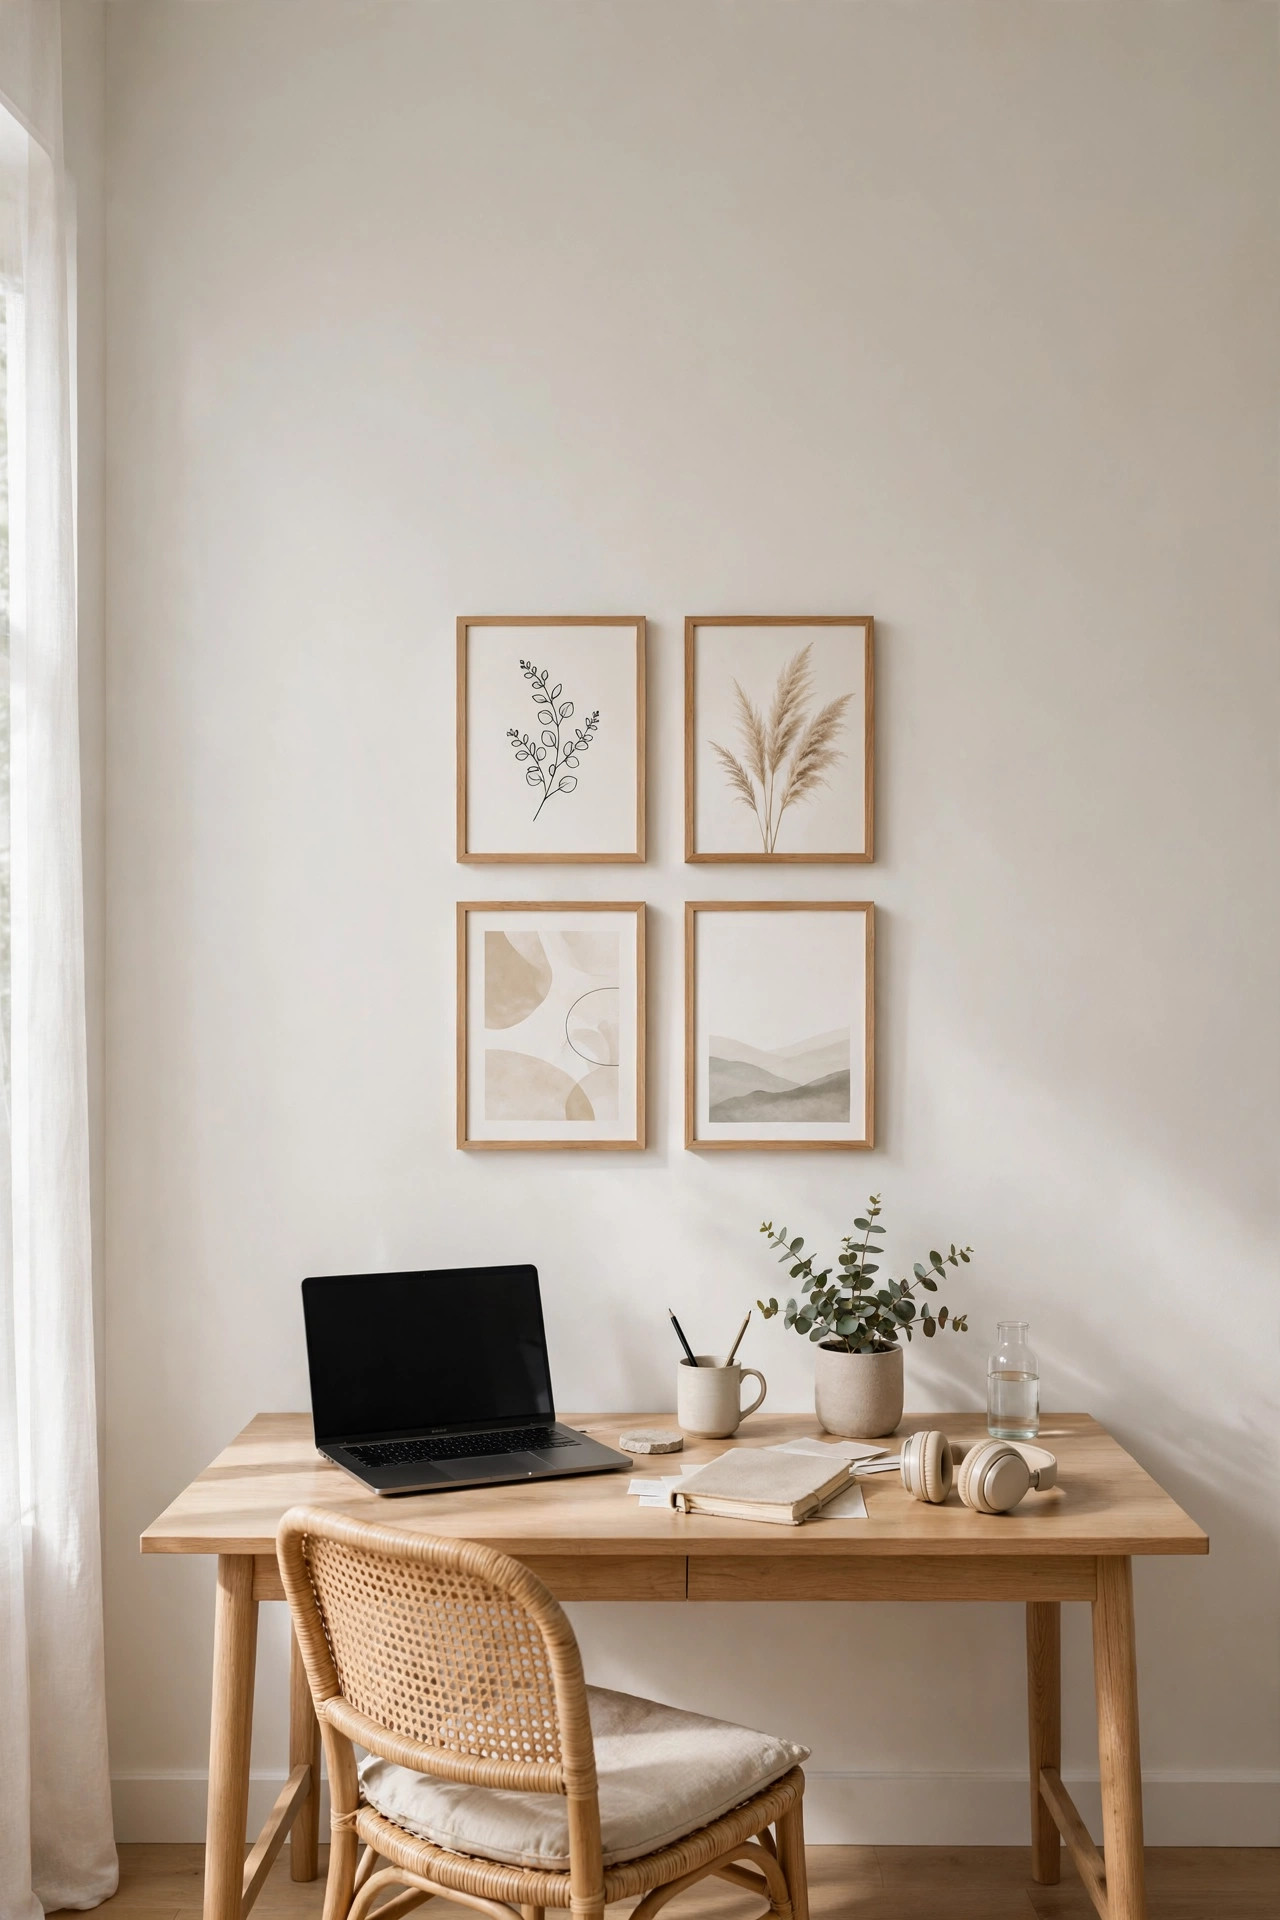
You do not need to finish your gallery wall in one weekend. In fact, some of the most beautiful walls grow slowly, one piece at a time. Start with three or four frames you truly love and hang them with space left around them for future finds. A wall that grows over time never looks forced or matchy.
Keep your eyes open when you travel, visit flea markets, or browse small art shops online. When a piece speaks to you, bring it home and see where it fits. This slow way of collecting means every frame has a story, and the wall becomes a record of your life and taste. Give yourself permission to leave empty space. It will fill in when the right pieces come along.
13. Layer Frames on a Picture Ledge
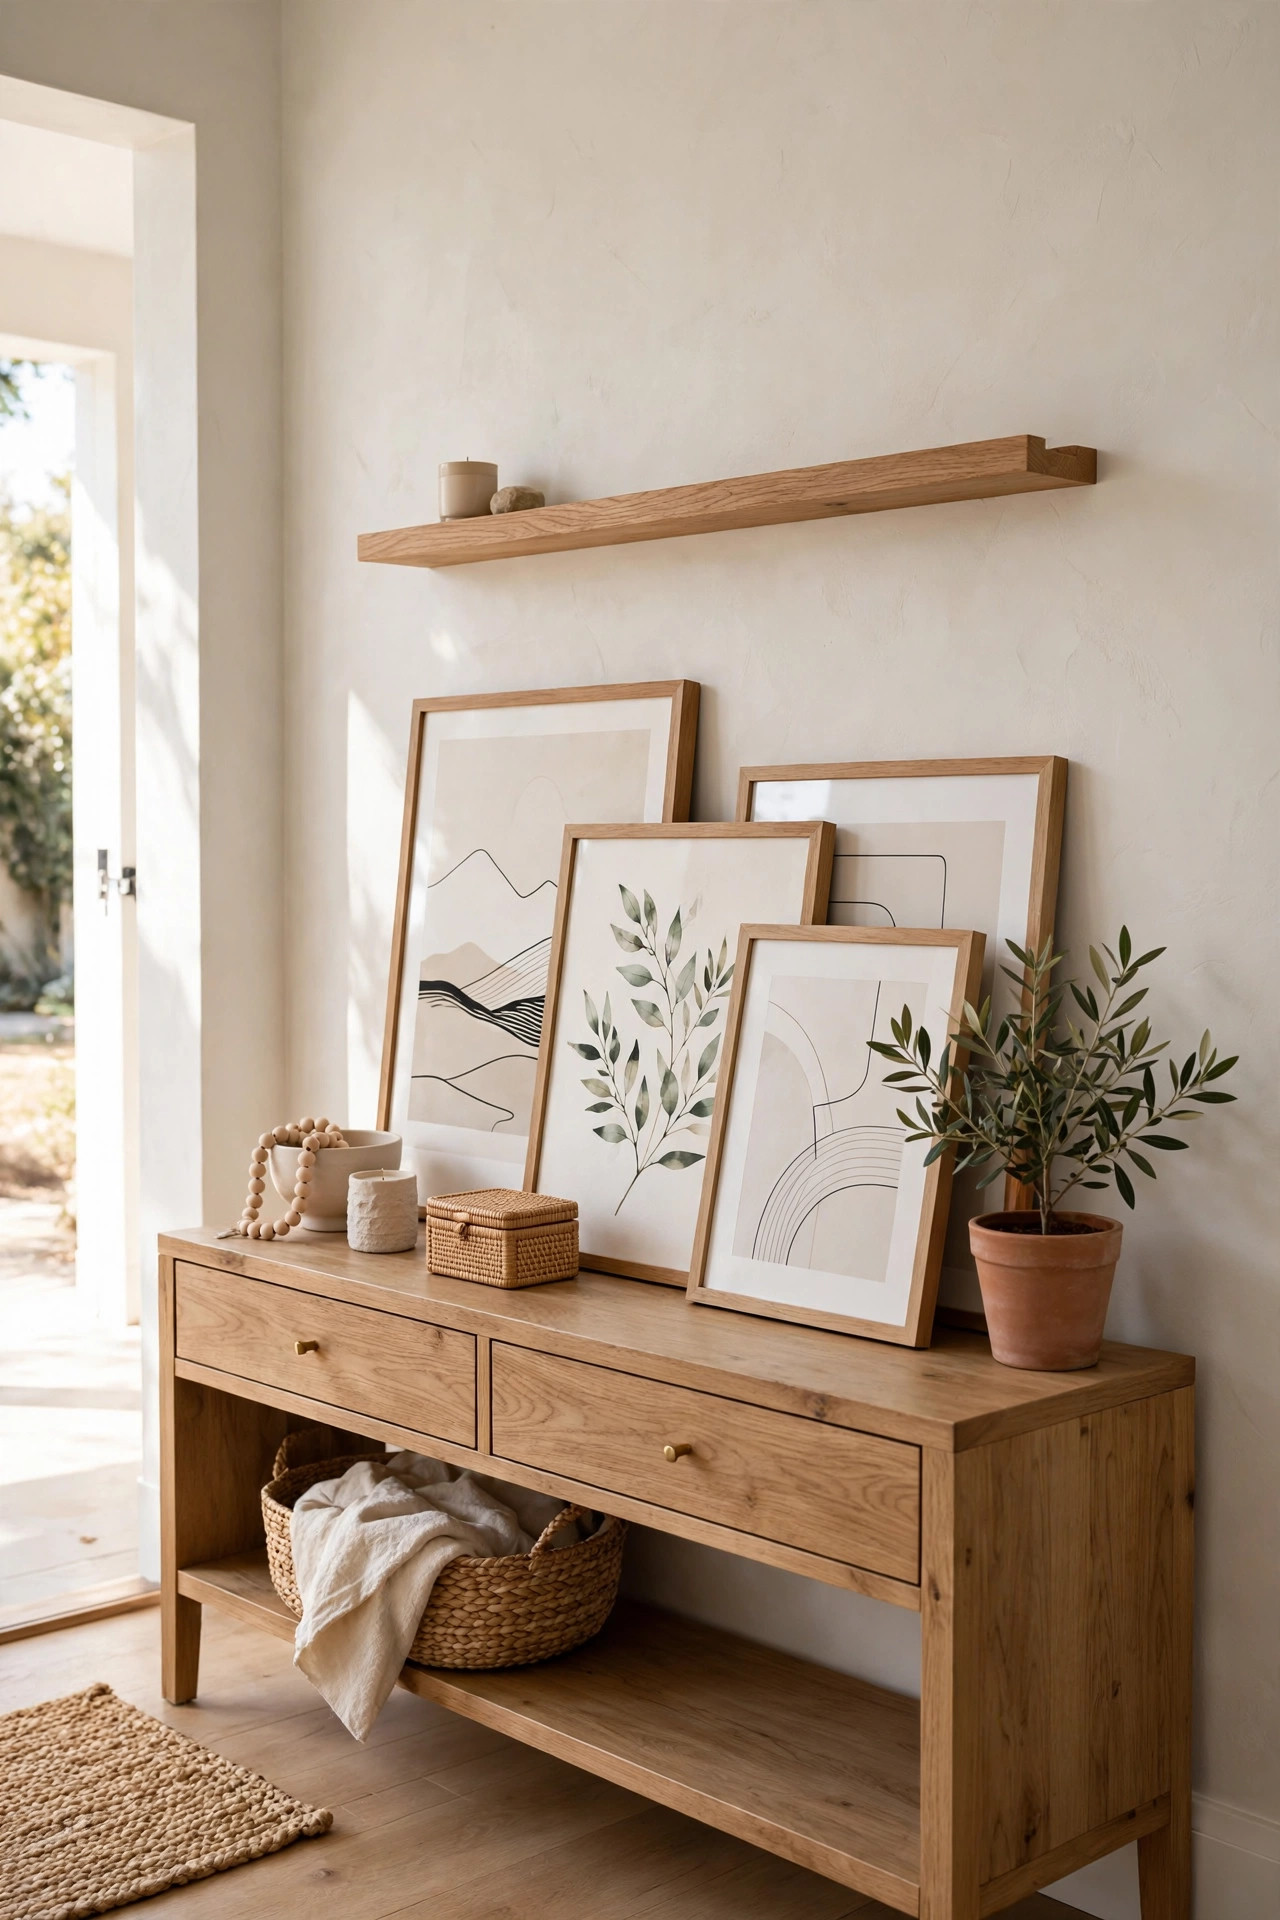
A picture ledge is a narrow shelf that lets you lean frames against the wall instead of nailing each one up. Hang one or two ledges and simply set your frames on them, overlapping the smaller ones in front of the larger ones. The layered look feels relaxed and artistic, like a shelf in a creative studio.
The real magic of a ledge is how easy it makes changes. Swap a print for the season, add a new photo from your last trip, or restyle the whole shelf in ten minutes without touching a hammer. Ledges are also kind to renters since you only need a few screws for the shelf itself. Style the top ledge with taller pieces and keep smaller frames low so every layer shows.
14. Tuck In Mirrors and Small Objects
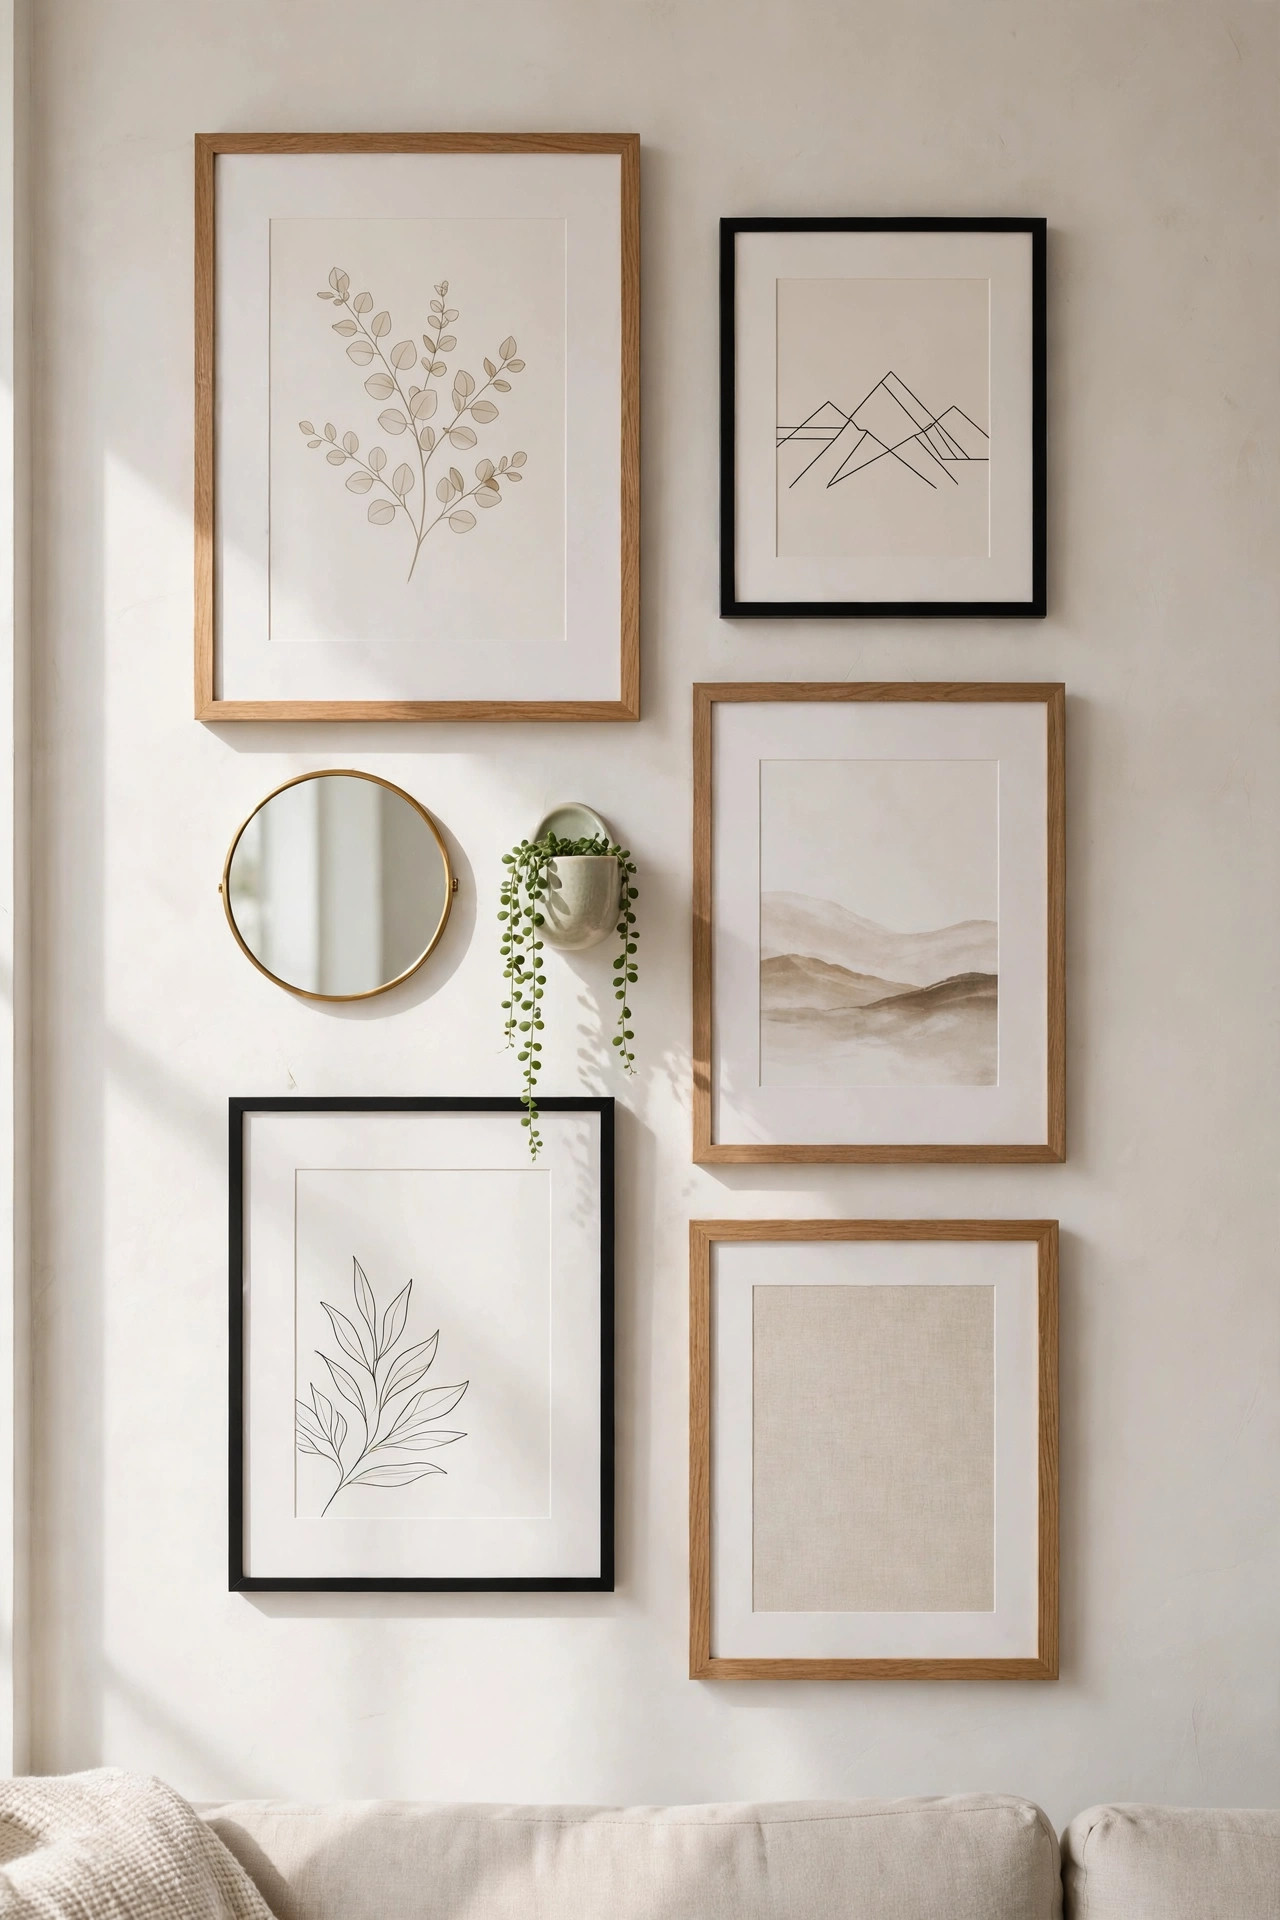
A gallery wall does not have to be only rectangles. Tuck in a small round mirror, a woven wall basket, or a tiny wall mounted planter between the frames. These little three dimensional pieces break up all the straight edges and give the eye something unexpected to find. A mirror has the bonus of bouncing light around the room.
Keep these extras small and few, maybe one or two in a whole arrangement. They are the jewelry of the wall, not the outfit. Make sure each object still respects the steady spacing you set for the frames. Done right, these small surprises are what make guests say your wall looks collected rather than decorated.
15. Edit Until It Feels Just Right
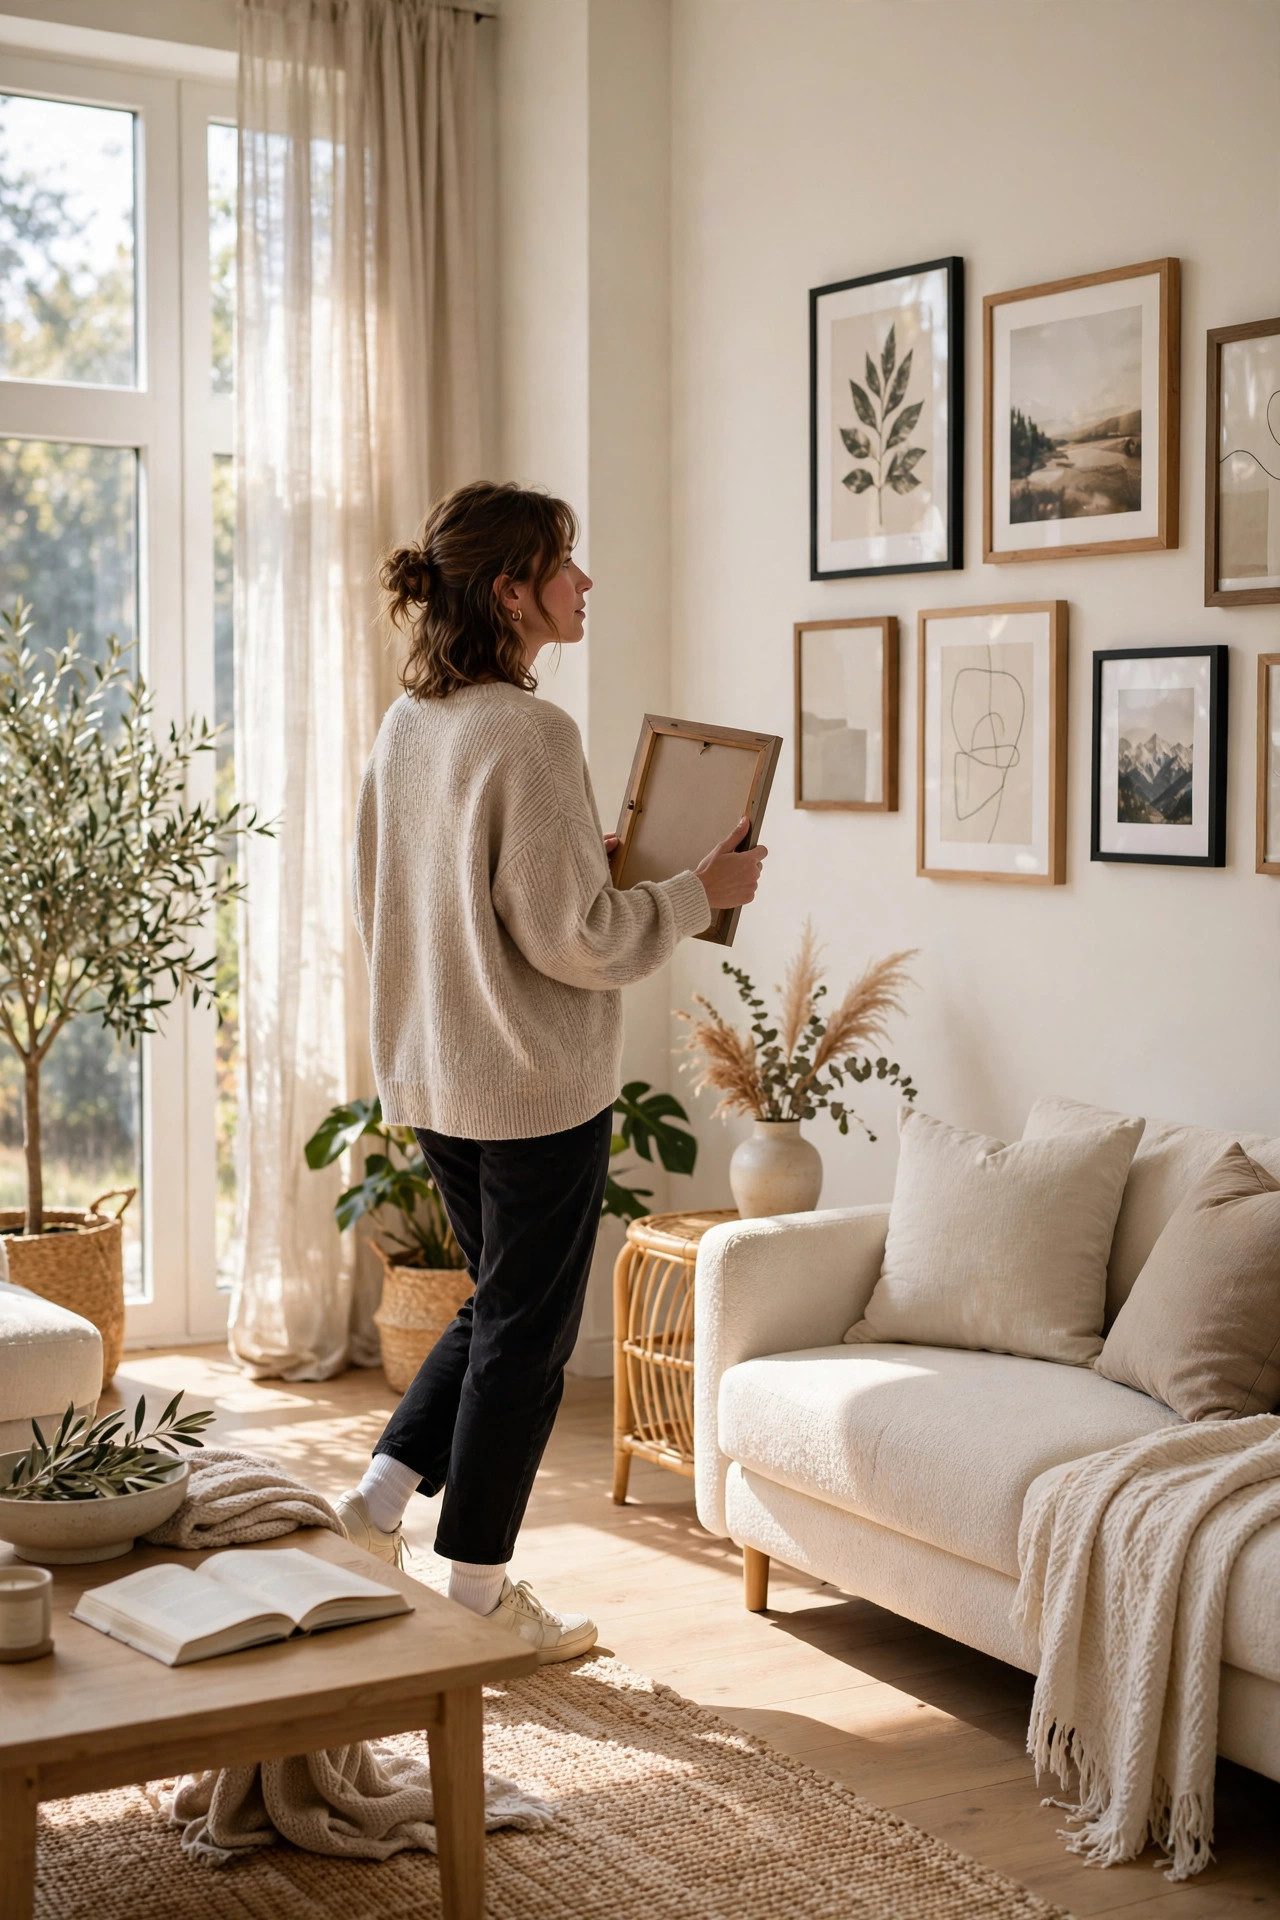
The final step is also the simplest. Step back across the room and look at your wall with fresh eyes. Better yet, take a photo with your phone. The camera has a funny way of showing you what is really there, and you might spot a crooked frame or a crowded corner you missed in person.
Now try the trick of taking one piece away. Remove the frame you feel least sure about and live with the wall for a day. If you do not miss it, it did not belong. Curated means chosen with care, and sometimes care means leaving something out. When every remaining piece earns its spot, your gallery wall is done.
Now step back to the doorway and take in the whole wall one more time. See how the frames you planned on paper, the colors you chose with care, and the pieces you collected over time have come together into something that feels like you. The wall is not just decorated. It holds your memories, your taste, and the rooms you have loved. Tomorrow morning, when sunlight hits those frames, you will catch yourself smiling at it all over again. That is the quiet reward of a gallery wall done well. It turns a plain wall into the warmest corner of your home.
FAQs
How much space should I leave between frames on a gallery wall?
Leave about two to three inches of empty wall between each frame, and keep that spacing the same across the whole arrangement. This breathing room keeps the wall from feeling crowded, and the consistent gaps make even a mixed collection look planned and calm. Mark your spacing lightly with a pencil before you hang so every gap matches.
How high should I hang a gallery wall?
Aim for the center of the whole arrangement to sit at about eye level, which is roughly fifty seven inches from the floor. If the gallery hangs above a sofa, console, or dresser, leave six to eight inches between the top of the furniture and the bottom of the lowest frame. This connects the art to the room instead of letting it float too high on the wall.
Can I mix different frame sizes and colors?
Yes, mixing sizes works beautifully as long as something ties the frames together. Keep one frame color or finish across all sizes, or keep the spacing perfectly even so the arrangement feels orderly. What you want to avoid is mixing everything at once, with different sizes, colors, and wide gaps, because that is when a wall starts to feel cluttered.
How can renters hang a gallery wall without damaging the walls?
Adhesive picture hanging strips are the renter’s best friend, since they hold real weight and pull off cleanly when you move. Check the weight rating on the package and press them on firmly. You can also lean frames on a picture ledge or the top of a bookshelf, which needs no holes in the main wall at all. Plan the layout with paper templates first so you only stick things up once.
Does all the art on a gallery wall need to match?
No, and it is better when it does not match exactly. What matters is that the pieces share a mood, a color palette, or a feeling. A black and white photo, a soft watercolor, and a simple line drawing can hang together happily if their tones and energy agree. When everything matches too closely, the wall can feel like a store display instead of a personal collection.
How do I start a gallery wall if I only own a few pieces?
Start small and give yourself room to grow. Hang three or four pieces you love with generous space around them, and plan the layout so future frames have a place to join. Add new art slowly as you find pieces that speak to you at markets, on trips, or in small shops. A wall that grows over time always looks more natural than one bought all at once.