
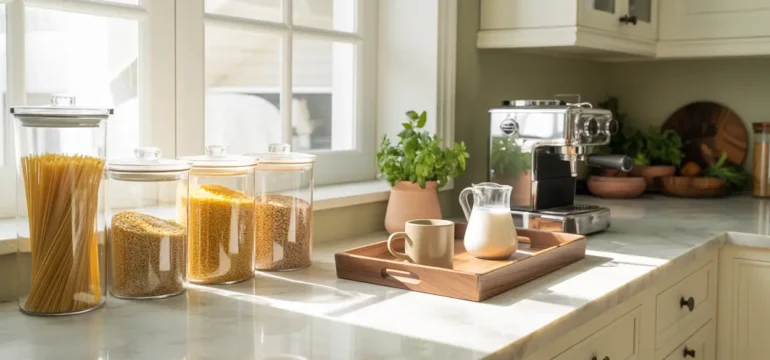
My kitchen counters used to be a dumping ground. Mail, keys, half-empty cereal boxes, that one appliance I used twice a year, it all just piled up until there was barely room to chop an onion. If your counters look the same way, you are not alone, and the fix is not as hard as it looks. Most counter clutter is really just a storage problem in disguise. Once you give every single thing a home, it stops landing on the counter in the first place. Below are 17 ideas that helped me get my counters back, and they will work in almost any kitchen, big or small, rented or owned. None of these need a renovation. Most can be done in an afternoon with things you already own or a quick trip to the store. Grab a coffee and let’s get your counters clear again.
1. Clear Glass Canisters
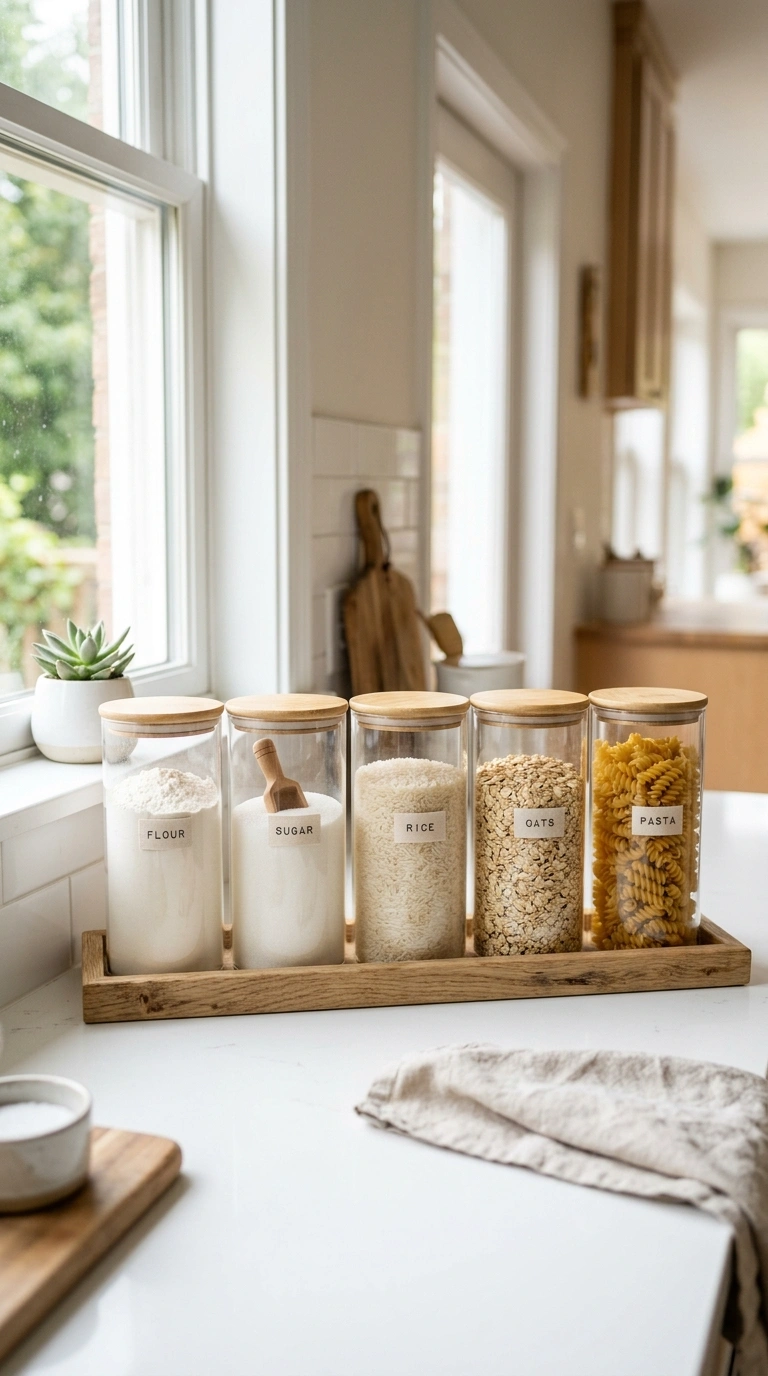
Swap your bags of flour, sugar, rice, and pasta for a matching set of clear glass canisters lined up on the counter or in a cabinet. Not only do they look neat sitting in a row, they also let you see at a glance when something is running low, so you stop buying duplicates. Choose canisters with tight rubber-seal lids to keep pantry pests out and food fresh longer. Group them by size, tallest in the back, so every label is visible from the front.
Set them on a wooden tray near your stove or baking area so the ingredients you use most are within arm’s reach. Label each jar with a simple sticker or a chalk marker if the glass is designed for it. This is one of those changes you can knock out in under an hour, and the visual difference is huge. It turns a shelf of mismatched bags into something that looks intentional and calm, and it genuinely makes cooking faster because you are not digging through boxes anymore.
Also read: White Oak Kitchen Ideas Full of Warmth and Character
2. Lazy Susan Corners
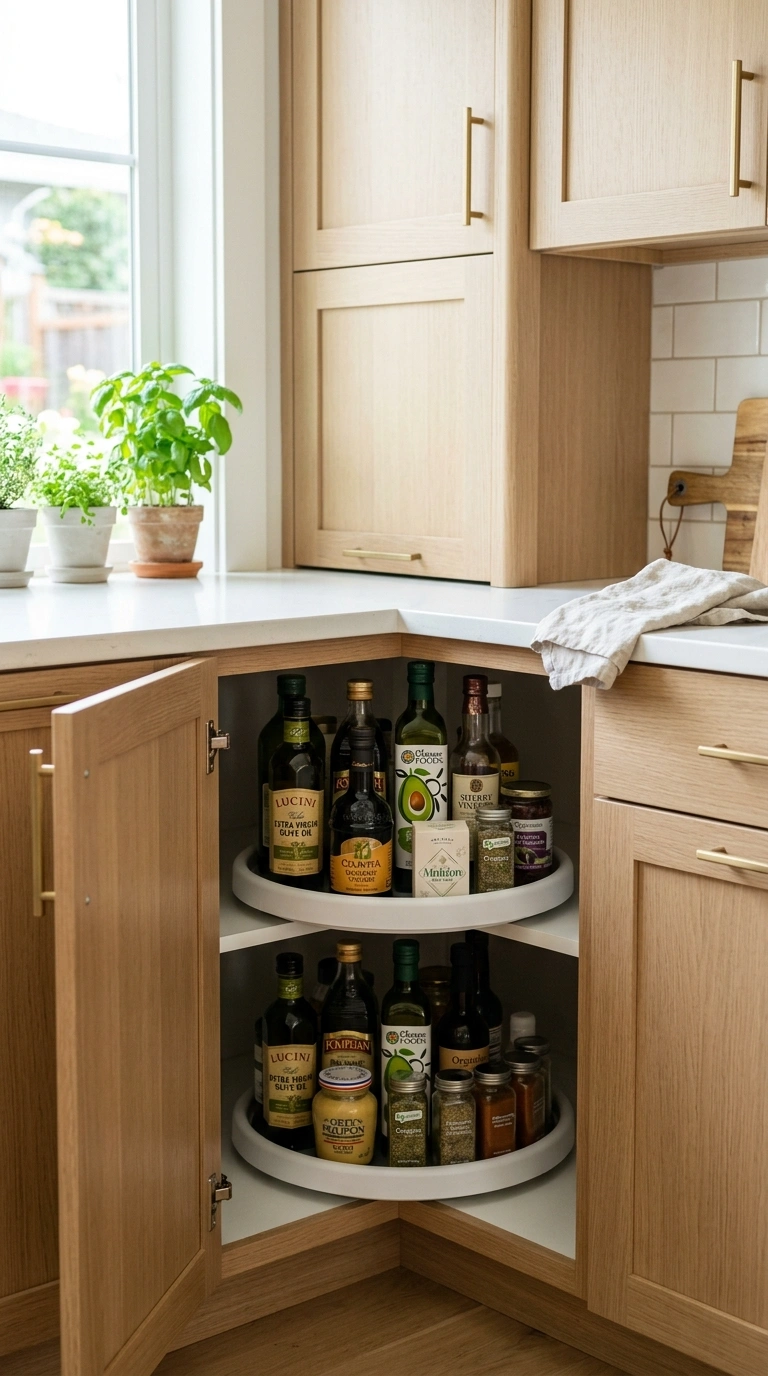
Corner cabinets are notorious for swallowing things whole. A lazy susan turntable fixes that instantly by letting you spin everything into view instead of reaching blindly into a dark corner. They work great for oils, vinegars, condiments, and canned goods, and a two-tier version doubles your usable space without taking up any extra room. Pick one in a durable plastic or bamboo finish depending on your kitchen style.
Group similar items together on each tier, baking oils on one level and canned vegetables on another, so you are not spinning past unrelated items to find what you need. This is a same-day fix since most turntables just sit inside the cabinet with no installation required. It is especially useful in small kitchens where every inch of cabinet space matters, and it makes that awkward corner cabinet feel like one of the most functional spots in the whole kitchen instead of the one everyone avoids.
3. Vertical Tray Storage
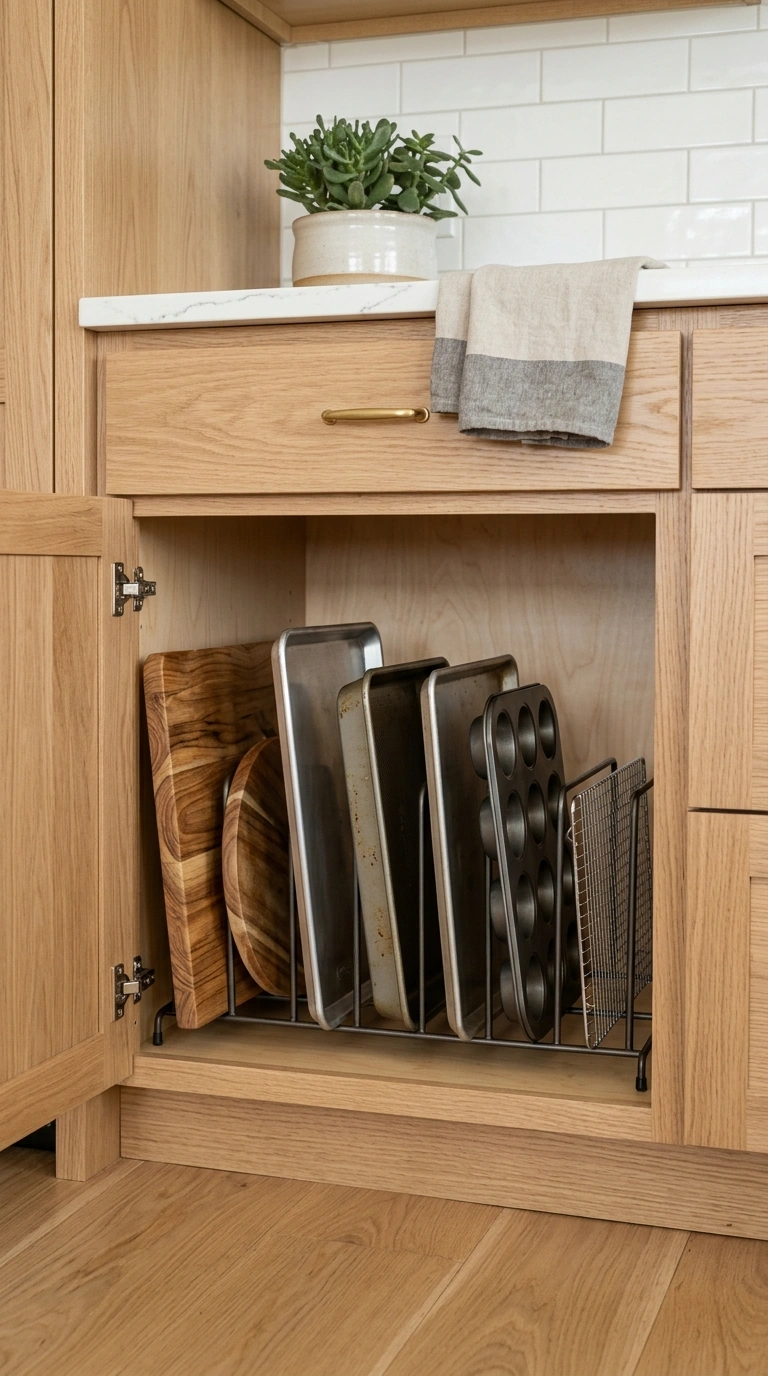
Baking sheets, cutting boards, and muffin tins are some of the hardest things to store flat because they take up so much horizontal space. A vertical tray organizer, either a metal file-style rack or a simple wooden divider insert, turns that awkward stack into slim, upright slots. This works well inside a lower cabinet next to the oven or in a narrow gap between the fridge and the wall.
Slide each flat item into its own slot so nothing has to be stacked and re-stacked every time you need the one on the bottom. If you are working with a narrow cabinet, measure the width first so the rack fits without wobbling. This idea takes about fifteen minutes to set up and instantly stops the frustrating slide-and-crash noise that happens every time you pull out a baking sheet from a messy stack. It also protects your bakeware from scratches since nothing is rubbing against anything else.
4. Under-Sink Bins
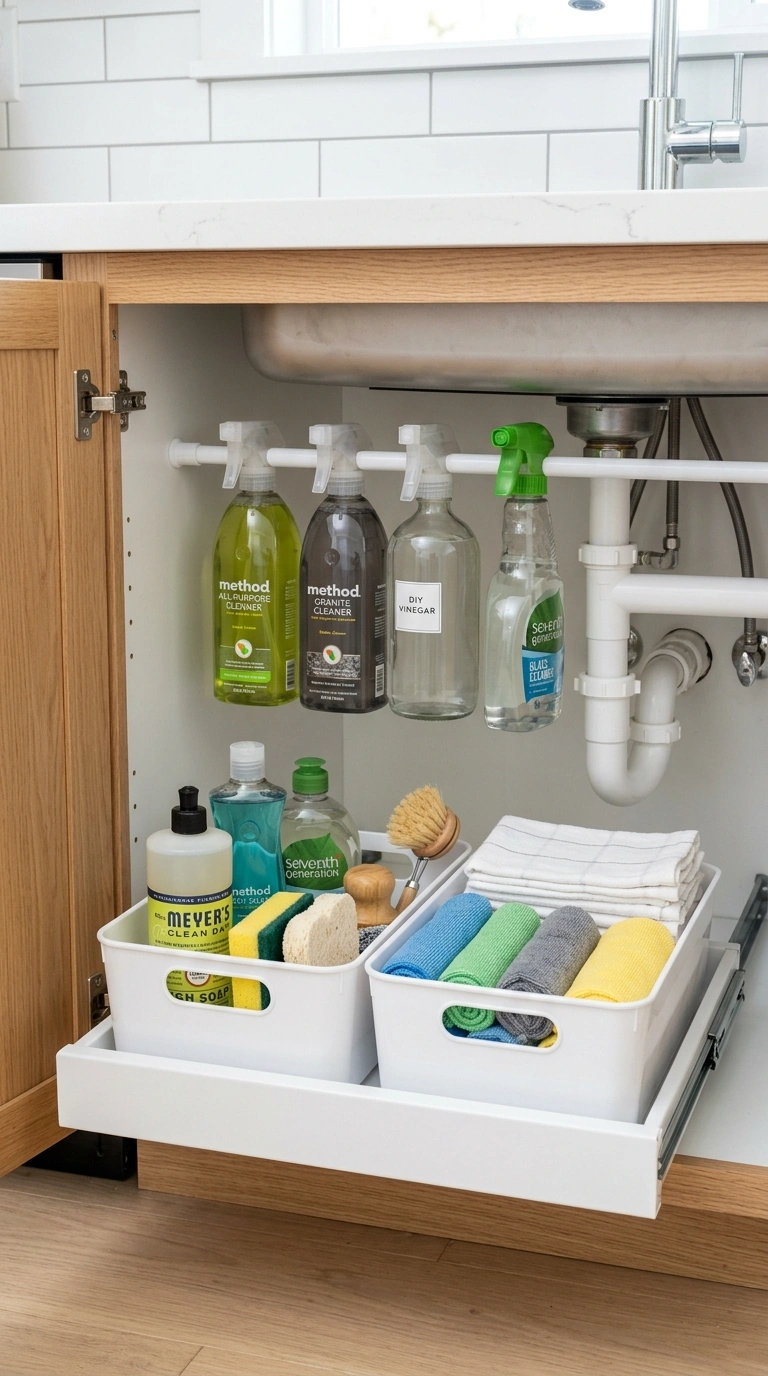
The area under the kitchen sink is often just a jumble of cleaning sprays, sponges, and trash bags shoved around a pipe. Pull-out bins or simple plastic caddies with handles bring instant order to this space. Choose bins that are slightly shorter than the cabinet height so they slide in and out easily around the plumbing without catching.
Group items by purpose, one bin for dish soap and sponges, another for sprays and cloths, so you can lift the whole bin out when you need to clean instead of digging around one bottle at a time. Add a small tension rod above the bins to hang spray bottles by their trigger handles for extra vertical space. This is a Saturday-morning project at most, and it makes a space that is normally out of sight and out of mind actually pleasant to open, which matters more than people expect since you reach in here almost every day.
5. Drawer Divider Trays
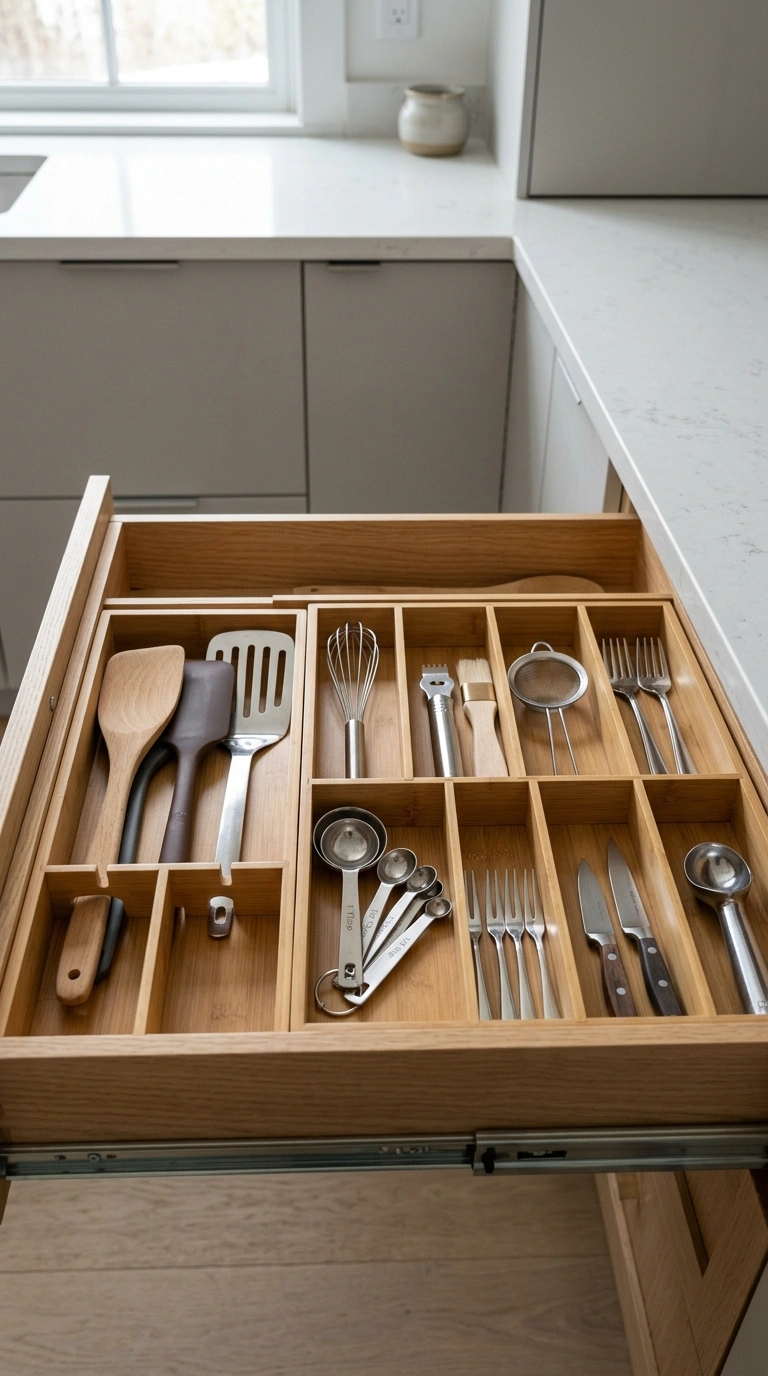
Junk drawers happen to the best of us, but a set of adjustable drawer dividers can turn even the messiest drawer into something organized in under thirty minutes. Bamboo or acrylic dividers work in kitchen drawers holding utensils, gadgets, and small tools, letting you create custom compartments sized to what you actually own instead of a generic slot layout.
Start by emptying the drawer completely and sorting items into small piles, spatulas together, measuring spoons together, and so on. Arrange the dividers to match those piles before putting anything back. Keep the items you use daily, like a can opener or your favorite spatula, near the front of the drawer for easy access. This idea costs very little and works in any drawer size since most dividers are adjustable. The payoff is that you can finally open a drawer and find what you need in seconds instead of shuffling through a tangle of tools.
6. Hanging Pot Rack
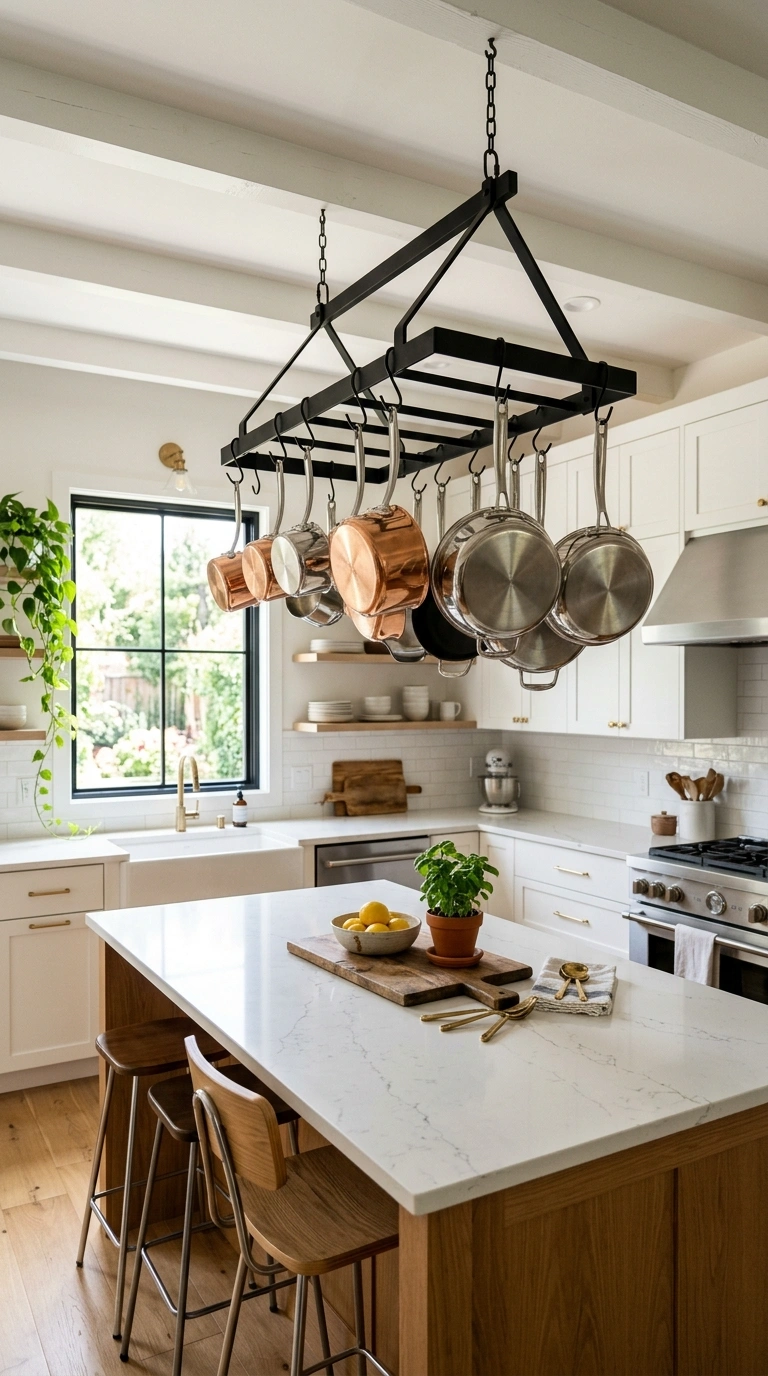
If your cabinets are stuffed with pots and pans stacked inside each other, a hanging pot rack frees up that space while also becoming a real design feature. A ceiling-mounted rack works well over a kitchen island, while a wall-mounted bar with S-hooks is a better fit for smaller kitchens near the stove. Choose a black iron or brushed metal finish depending on your kitchen’s hardware.
Hang your most-used pots and pans at a height where you can grab the handle without ducking, and arrange them by size for a tidier look. Lids can go in a separate slim rack nearby so they are not left rattling in a cabinet. This project takes an hour or two since it usually involves finding studs and mounting hardware, but it is worth the effort. It clears out a huge chunk of cabinet space and gives your kitchen a warm, lived-in, café-style look.
7. Open Shelf Baskets
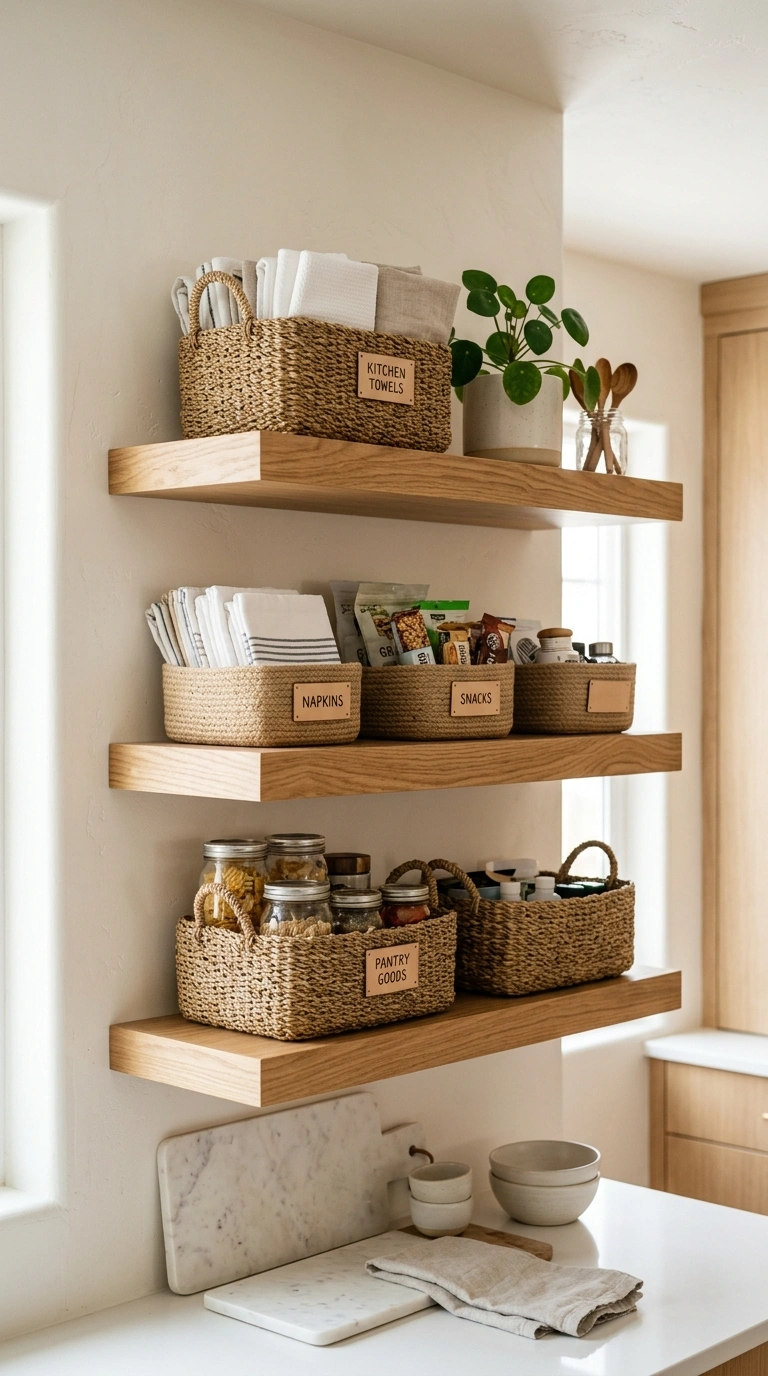
Open shelving looks beautiful in photos, but it can turn messy fast if everything just sits there loose. Woven baskets or matching bins placed on open shelves solve that by grouping small items into neat, contained sections instead of a scattered mix of jars, mugs, and boxes. This works well in kitchens where a cabinet was removed or where floating shelves were added intentionally for style.
Use a basket for snack packets, another for napkins and placemats, and a third for extra dish towels, so everything has a designated spot even though it is on display. Choose baskets in a similar material and color family so the shelf reads as one cohesive look rather than a jumble. Label the front of each basket with a small tag for quick recognition. This idea takes under an hour and instantly makes open shelving feel curated instead of cluttered, which is the difference between a Pinterest-worthy shelf and an overwhelming one.
Also read: 19 Cottagecore Kitchen Ideas Full of Cozy Vintage Charm
8. Labeled Spice Drawer
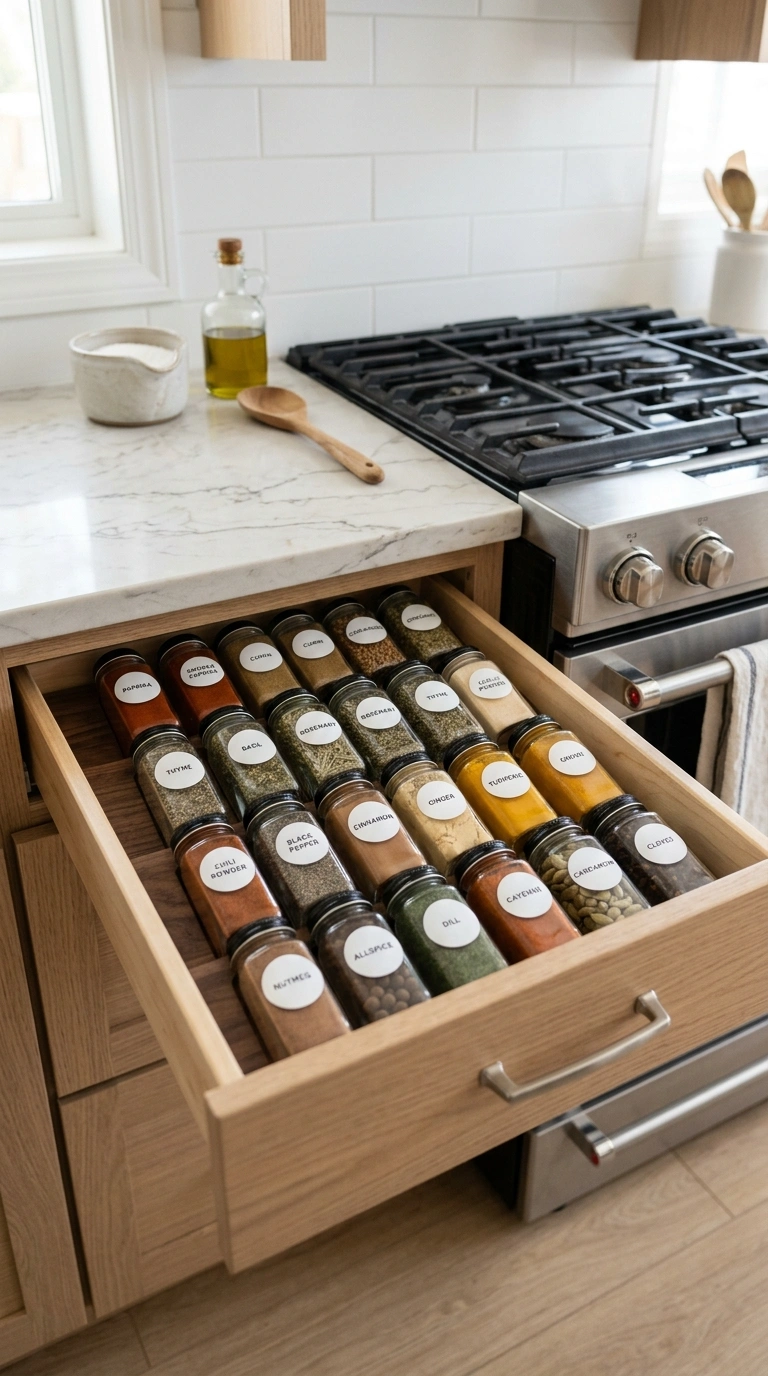
A drawer near the stove is often the best home for spices, especially if cabinet space is tight. A shallow spice drawer insert holds jars flat so you can read every label from above instead of squinting at the front of a crowded shelf. This works in almost any kitchen since spice drawer organizers come in adjustable sizes to fit different drawer widths.
Decant your spices into matching small jars with clear lids, then arrange them alphabetically or by how often you use them, with everyday staples like salt, pepper, and garlic powder near the front. Add a printed or handwritten label to the lid of each jar so nothing gets mixed up. This project takes about an hour if you are transferring spices into new containers, but even placing your existing jars flat in a drawer insert makes a noticeable difference. Cooking becomes faster since you can see every spice in one glance.
9. Stackable Can Shelves
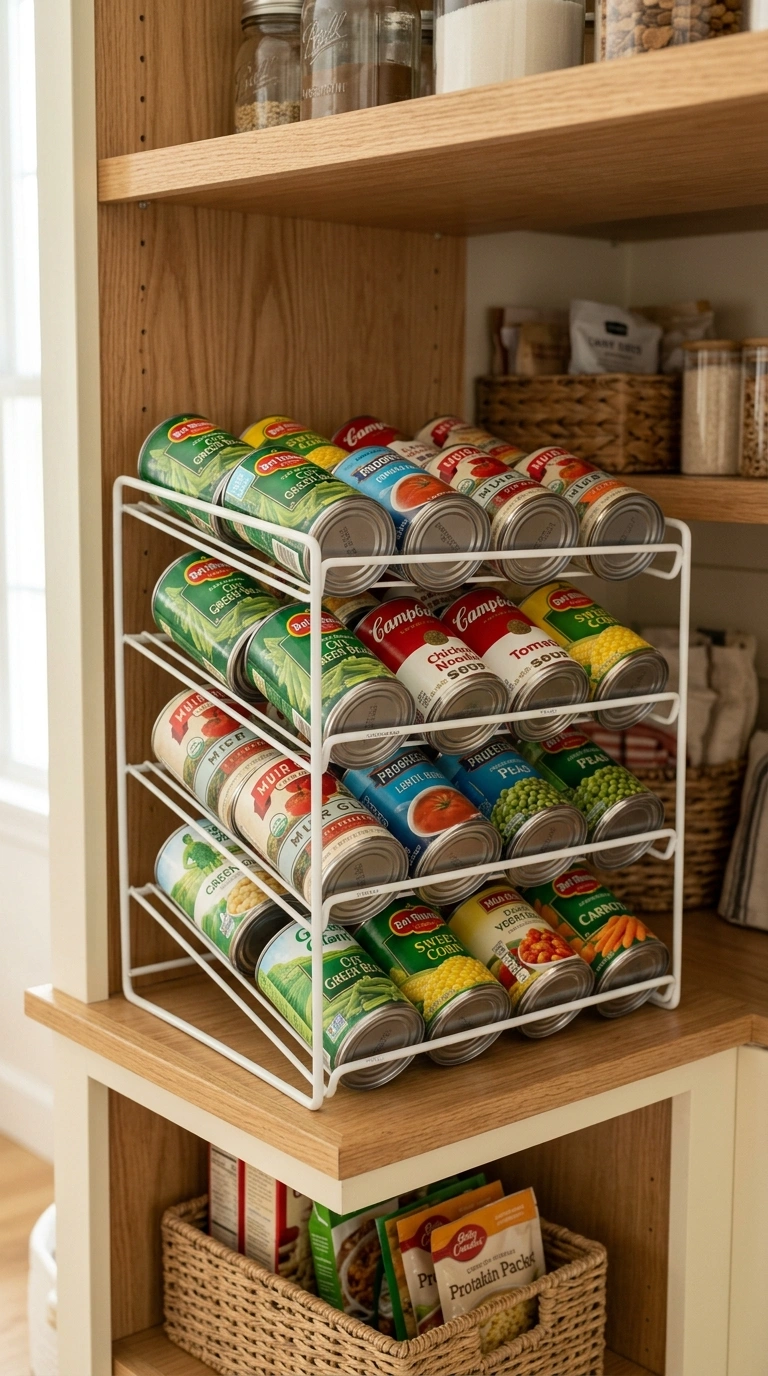
Canned goods are notoriously awkward to store because they roll, hide behind each other, and get forgotten until they expire. A stackable can shelf, sometimes called a can riser, tilts your cans forward and lets the front row roll down as you use them, so the oldest cans always come out first. This fits neatly on a pantry shelf or the bottom of a kitchen cabinet.
Group cans by type, vegetables on one tier and soups on another, so you are not searching through a mixed pile when you need one specific thing. Choose a riser in a neutral metal or white finish so it blends into your cabinet rather than standing out. Setup takes only a few minutes since these are simply placed on the shelf with no tools needed. It is a small change, but it stops the frustrating cycle of cans rolling out every time you open the cabinet door.
10. Cutting Board Slots
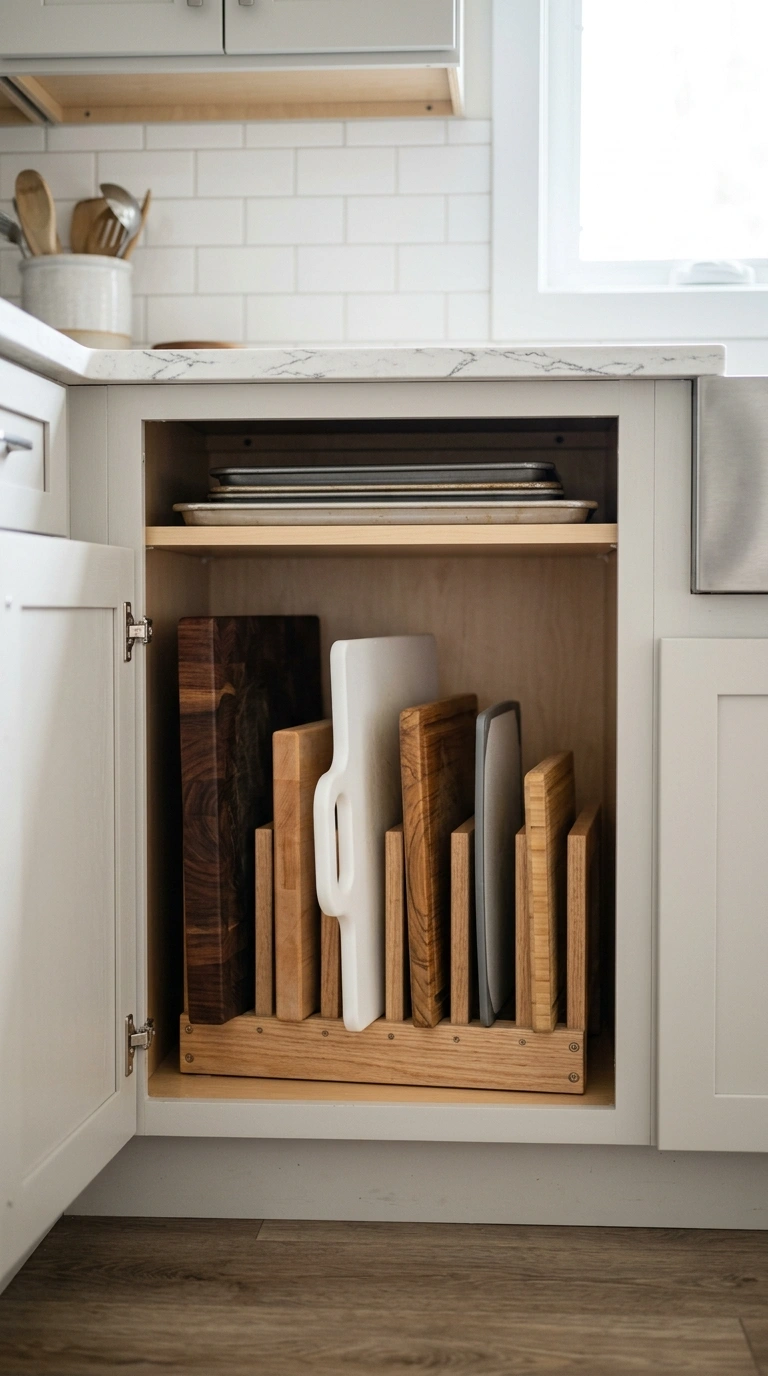
Cutting boards are bulky, awkward to stack, and they scratch each other when piled together in a cabinet. A slotted organizer, either built into a cabinet or a freestanding wooden or wire rack, gives each board its own upright slot so you can slide one out without disturbing the rest. This works well in a lower cabinet near your prep area or tucked beside the stove.
Arrange your boards by size, largest in the back or on the widest slot, so smaller ones do not get lost. If you have both wood and plastic boards, keeping them in separate slots helps you find the right one quickly depending on what you are cutting. This idea is simple enough to finish in fifteen minutes once you have the rack, and it protects your boards from the nicks and scratches that come from years of stacking them flat on top of each other.
11. Appliance Garage Nook
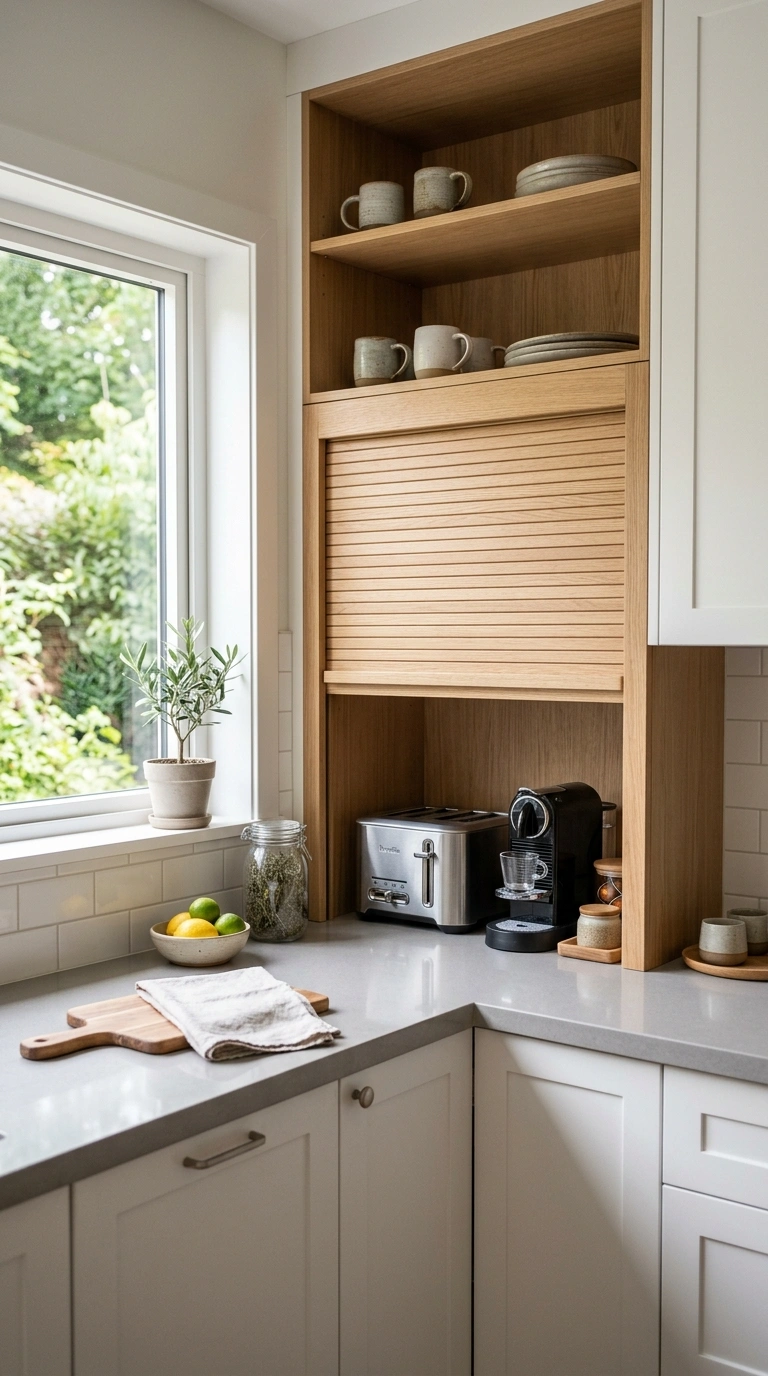
If your counters are covered in a toaster, coffee maker, and stand mixer, an appliance garage might be the answer. This is simply a designated cabinet or corner nook, sometimes with a roll-up or flip-up door, where small appliances live when they are not in use. It works especially well in a corner of the counter near an outlet so appliances can even be plugged in and ready to slide out.
Measure your appliances before choosing a nook so everything fits with a little breathing room. Add a pull-out shelf or a simple wooden tray inside so you can slide appliances out to use them without lifting them over a ledge. This project can take a weekend if you are adding a door, or just an afternoon if you are repurposing an existing cabinet. The result is a noticeably calmer counter with only the items you use daily left out in the open.
12. Magnetic Knife Strip
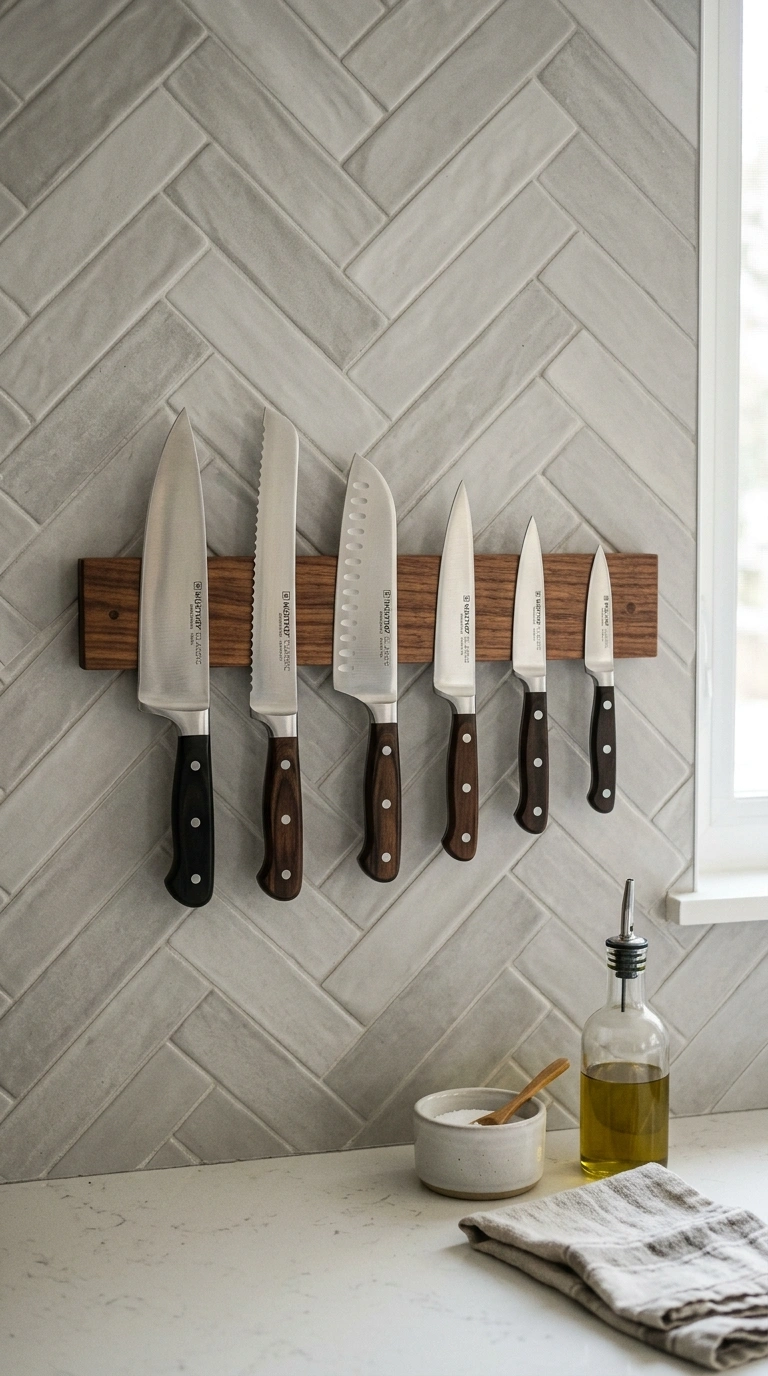
A magnetic knife strip mounted on the wall or backsplash near your prep area frees up drawer space and keeps your best knives sharp longer, since blades resting against each other in a drawer dull faster. Choose a strip with a wooden or matte black finish so it looks intentional rather than purely functional, and mount it at a height where blades are out of reach of small children.
Arrange your knives by size, largest to smallest, for a clean visual line, and leave a little space between each one so grabbing one does not knock the others loose. This is a quick same-day project using basic wall anchors, and it works in kitchens of any size since it uses vertical wall space instead of counter or drawer room. Beyond the storage benefit, a row of knives on display gives the kitchen a professional, put-together look that a drawer never could.
13. Tiered Counter Stand
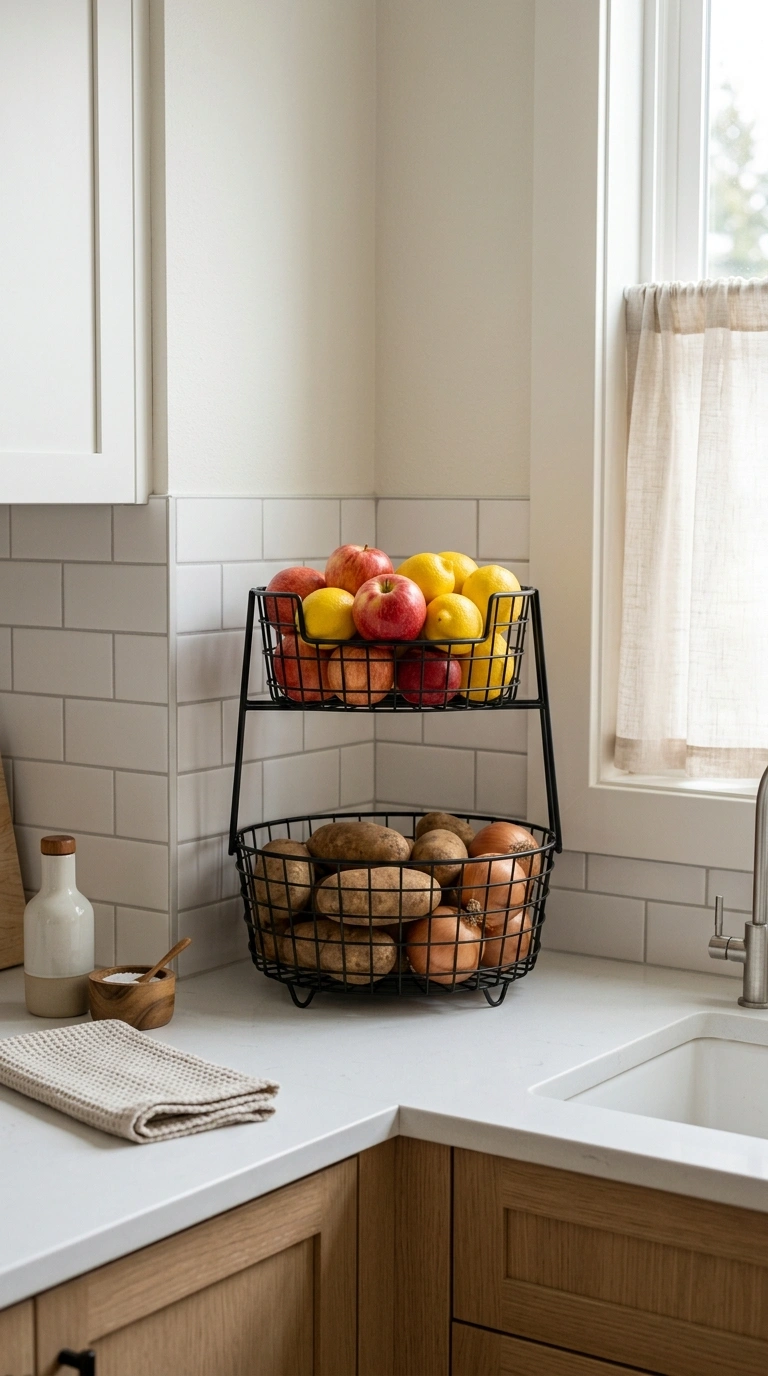
A tiered stand, whether it is a two- or three-level metal basket rack, is one of the easiest ways to get things off a flat counter and into vertical space instead. These work beautifully for fruit, onions, garlic, and potatoes that need airflow and should not be stored in a closed cabinet. Place the stand in a corner of the counter near the sink or stove where you naturally reach for produce.
Keep the heaviest items, like a bag of potatoes, on the bottom tier for stability, and lighter fruit like apples or lemons on top where they catch the light nicely. Choose a black wire or brass-toned stand depending on your kitchen’s existing hardware finishes. This idea takes minutes to set up since it usually just needs unfolding, and it instantly reduces the flat surface clutter of loose produce rolling around your counter while still keeping everything visible and easy to grab.
14. Coffee Station Tray
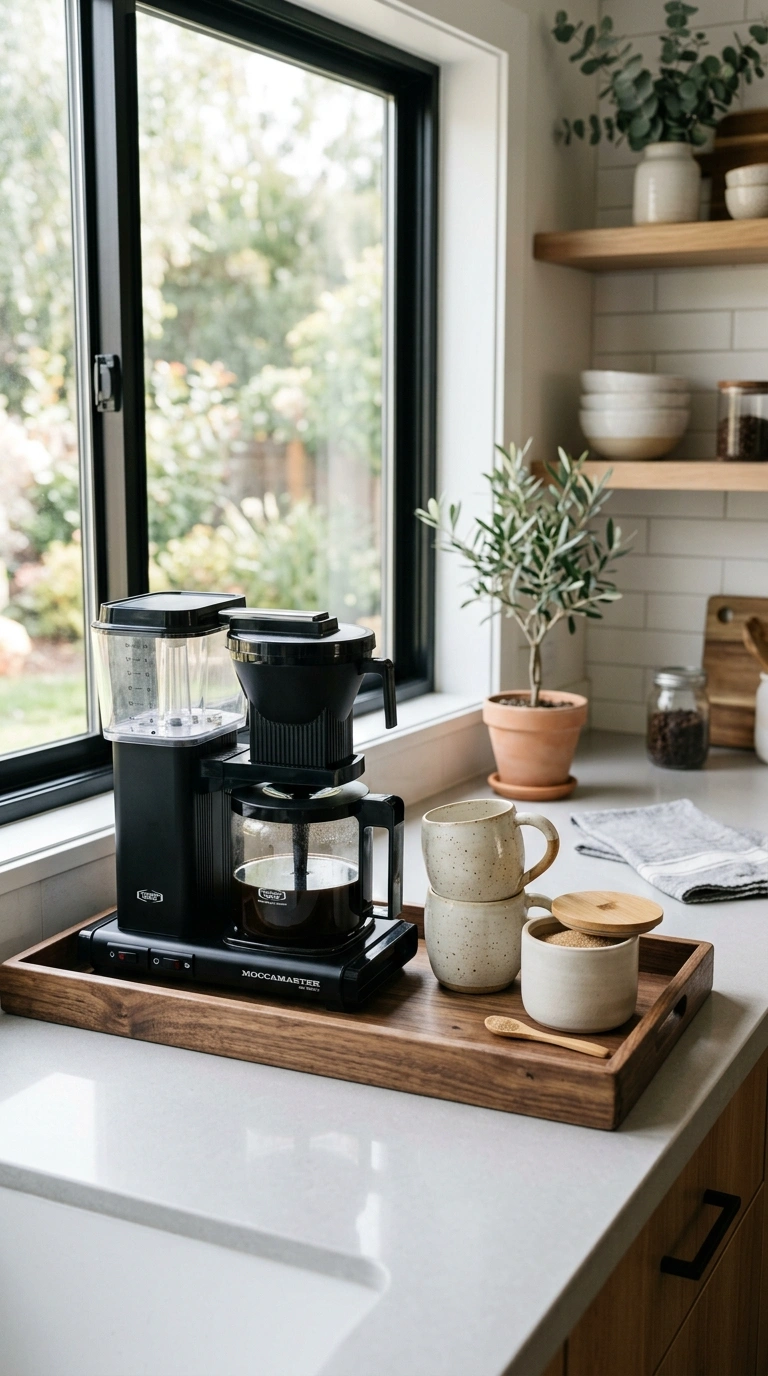
If your coffee maker, mugs, and sugar canister currently sit in a scattered mess by the counter, corralling them onto one tray solves it instantly. A wooden or marble tray placed near an outlet becomes a defined coffee station, containing crumbs, spills, and stray sugar packets to one contained zone instead of letting them spread across the whole counter.
Add a small canister for sugar, a short stack of mugs, and a little dish for spoons, keeping the tray edited to only what you use every morning. Wipe the tray down daily since it collects the most spills in the kitchen, and swap in a fresh tea towel underneath for a softer look. This idea takes less than thirty minutes and works in kitchens of any size, even tiny apartment kitchens, since the tray defines a clear boundary and instantly makes the surrounding counter look more intentional and less cluttered.
15. Cabinet Door Racks
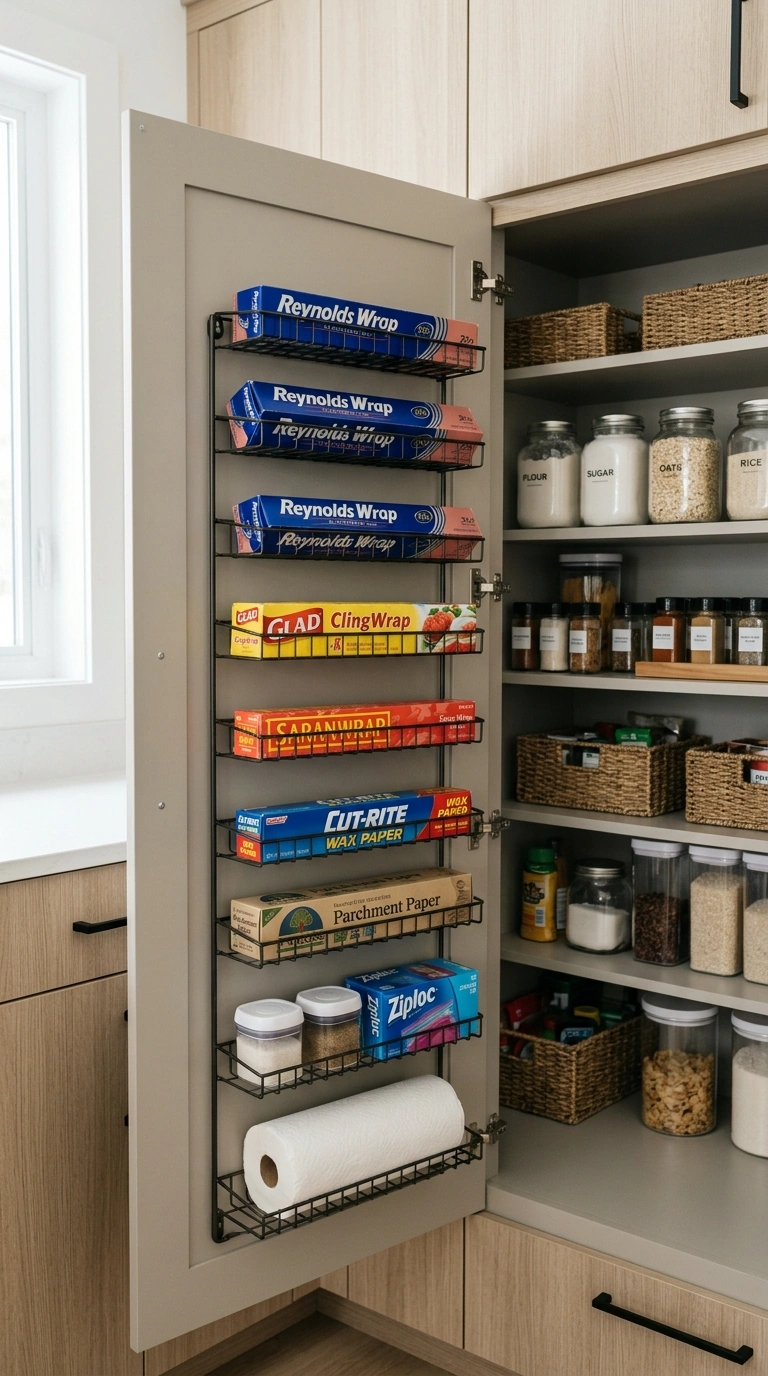
The inside of a cabinet door is often wasted space, yet it is perfect for slim over-the-door racks that hold lids, foil boxes, cutting boards, or cleaning supplies. These mount with adhesive strips or small screws and add storage without taking up a single inch of shelf or counter space, which makes them ideal for small kitchens where every surface matters.
Choose a rack sized for the specific door you are using, a shallow wire rack for pot lids under the sink, or a taller one for foil and plastic wrap boxes inside a pantry door. Test the door still closes fully before finalizing the mount, since a rack that is too deep can prevent the cabinet from shutting. This project takes about twenty minutes per door, and it is one of the best ways to add real storage without any construction or major cabinet changes.
16. Rolling Utility Cart
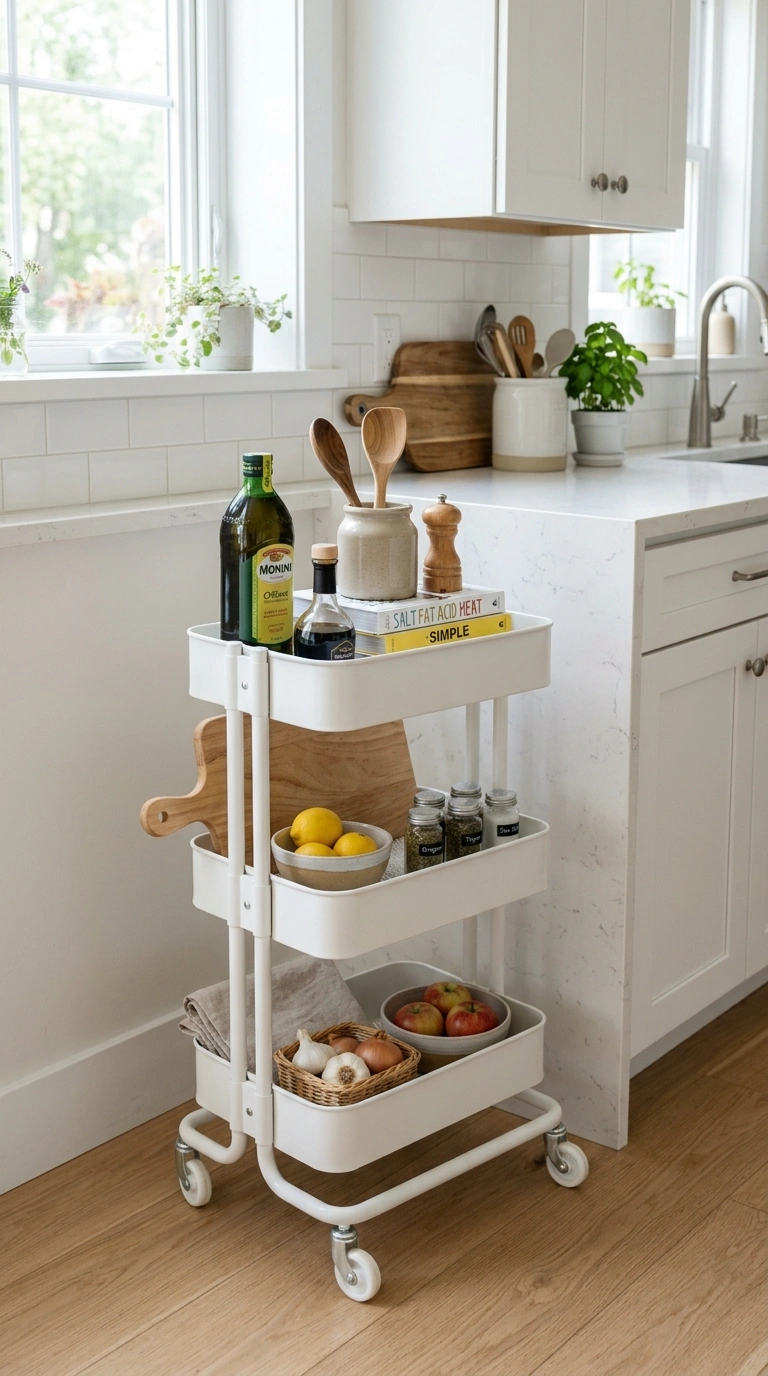
A rolling cart with two or three tiers is one of the most flexible organization tools in a kitchen since it can move wherever it is needed. Use it as extra counter space when cooking, then roll it against a wall when you are done. This works especially well in small kitchens that lack enough built-in counter or storage space to begin with.
Stock the top tier with items you reach for constantly, like oils and cutting boards, and use the bottom tier for bulkier things like small appliances or baking supplies. Choose a cart with locking wheels so it stays put once positioned. This idea takes no time at all to set up since it usually arrives ready to roll, and it gives you the flexibility of extra storage and counter space without committing to a permanent fixture, which is especially handy in rented kitchens.
17. Countertop Utensil Crock
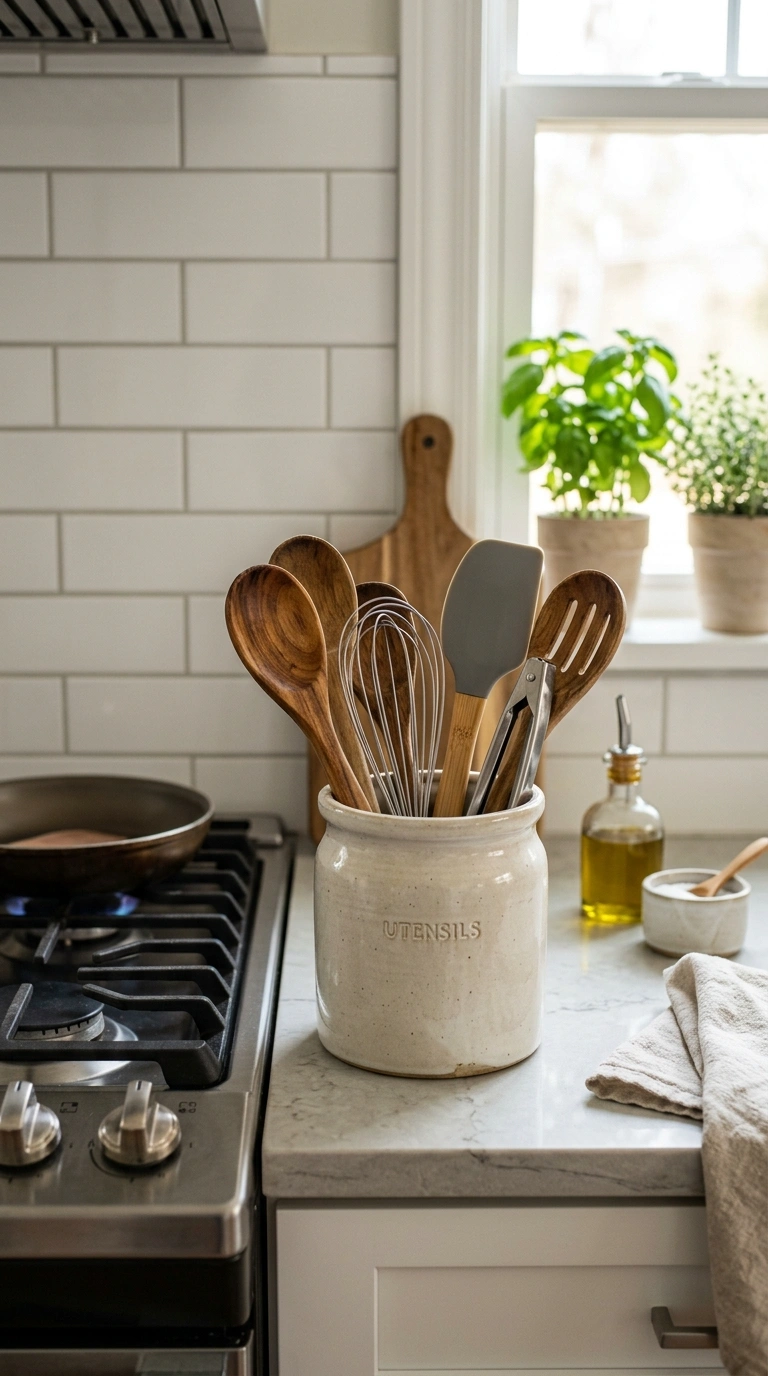
A single crock or ceramic jar holding your most-used spatulas, spoons, and whisks keeps them within reach while looking far tidier than a drawer full of tangled tools. Place it right next to the stove so you are never reaching across the kitchen mid-recipe. Choose a crock in a material that matches your other countertop pieces, like a matching set of canisters or a cutting board, for a cohesive look.
Limit the crock to only the tools you use several times a week, sending anything less common back into a drawer, since an overstuffed crock looks just as cluttered as a messy counter. Rotate the contents seasonally if your cooking habits change, swapping in a ladle during soup season, for example. This idea takes only a few minutes to set up and is one of the simplest ways to make a functional counter item look like a deliberate styling choice instead of clutter.
Getting your counters clear is not about a big renovation or an expensive haul of matching bins. It is about giving every item in your kitchen an actual home so it stops ending up on the counter by default. Pick two or three ideas from this list to start with this weekend, and let the rest wait until you are ready. Your kitchen will feel calmer almost immediately.
Also read: 18 Moody Blue Kitchen Ideas for a Bold, Dramatic Refresh
FAQs
How do I start organizing a kitchen that feels completely overwhelming?
Pick one zone, like a single drawer or the counter by the stove, and finish it before moving on. Small wins add up fast and keep you from feeling stuck.
Do I need to buy matching containers for everything?
No, but grouping items in similar colors or materials does make a kitchen feel calmer. Start with a few key spots, like canisters or bins, and build from there.
What is the cheapest way to organize a kitchen?
Repurposing containers you already own, like jars or shoeboxes, costs nothing and works just as well as store-bought organizers until you are ready to upgrade.
How often should I redo my kitchen organization?
A quick check every few months helps, especially in drawers and under the sink, since habits and needs change with the seasons.