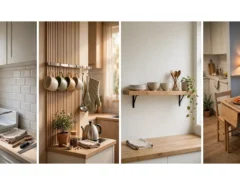
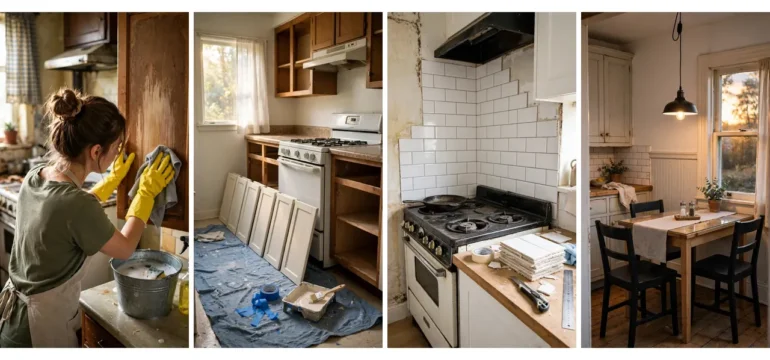
You want to walk into your kitchen and feel glad it’s yours. Right now you probably flinch a little. The cabinets are the color of old honey, the light fixture looks like it came with the house in 1994, and the counter has a burn mark nobody will explain.
Here is the good news. A dated kitchen makeover on a budget does not need a contractor, a loan, or six weeks of mess. Most of what makes an old kitchen look tired sits on the surface. Paint, hardware, lighting, and a few smart swaps change how the whole room feels for a fraction of what a remodel costs.
These budget kitchen ideas for new homeowners start with the biggest wins and end with the small finishing details. Each one is a cheap kitchen update you can do yourself, usually in a weekend or less. Pick two or three to start, and let the kitchen get better a little at a time while your savings catch up.
1. Paint Your Cabinets
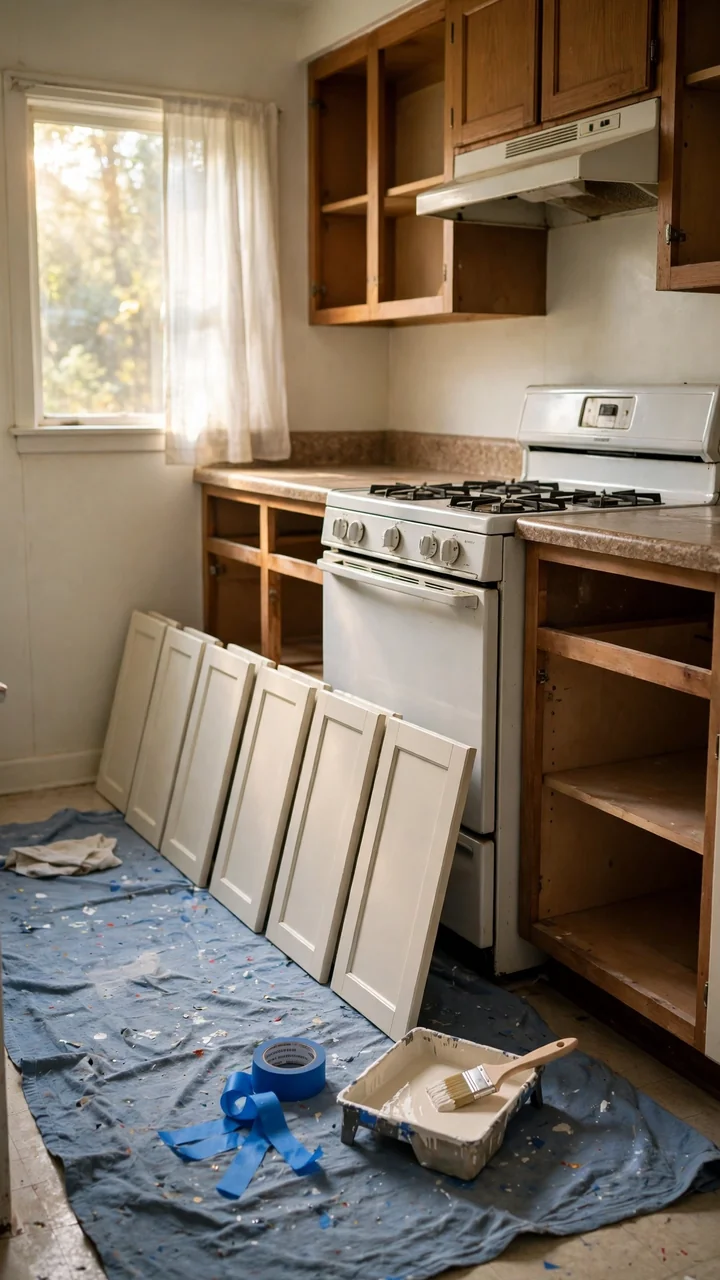
Paint is the cheapest way to make old cabinets look new.
Honey oak and orange stain are what make a kitchen feel dated, and a fresh color fixes that fast. Degrease every door first, because kitchen grime stops paint from sticking. Then sand lightly, add a bonding primer, and brush on two thin coats of cabinet paint. Thin coats beat one thick coat every time.
Good colors for a small, dark kitchen:
- Warm white to bounce light around
- Soft greige that hides fingerprints
- Muted sage for a calmer look
Number the doors with painter’s tape before you unscrew them. It saves a lot of guessing later.
2. Swap the Cabinet Pulls
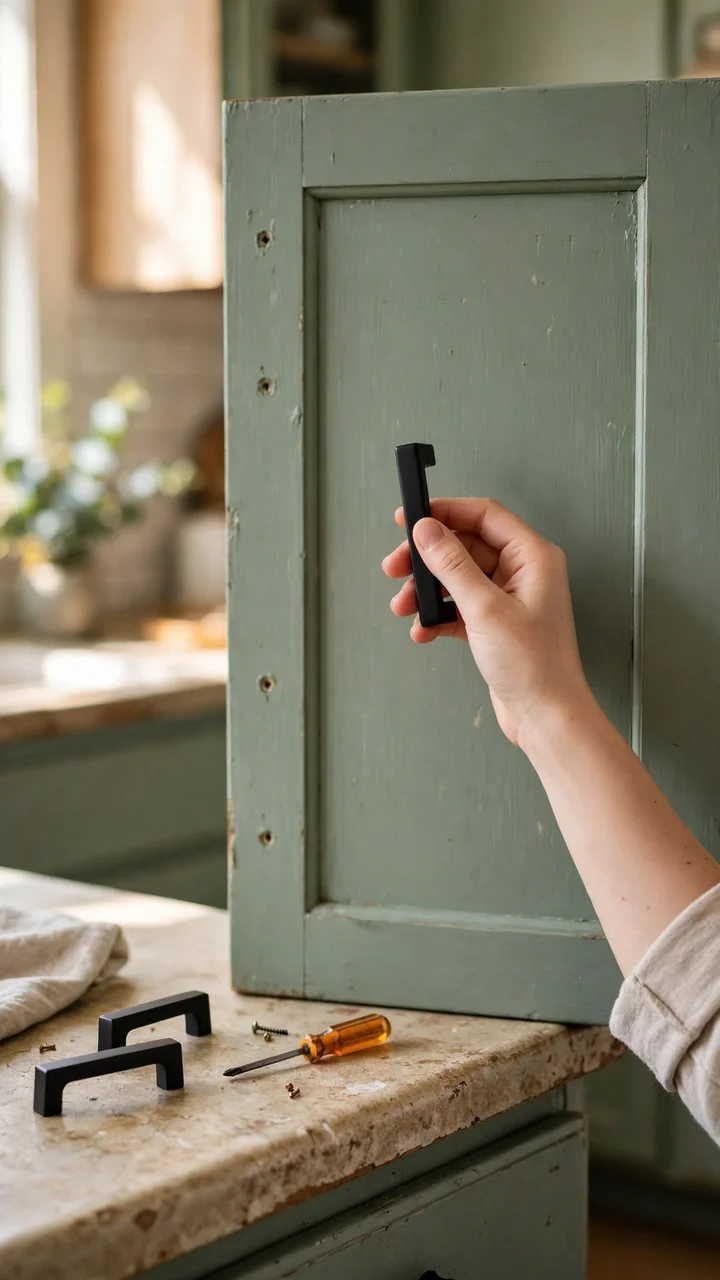
Measure before you shop.
Every old pull has two screw holes. The distance between them, center to center, is the number you need. Buy new pulls with the same spacing and you skip drilling completely, and the old holes disappear behind the new hardware.
Pick one finish and repeat it. Matte black, brushed nickel, and soft brass all look cleaner than a mix of three. Use knobs on doors and longer pulls on drawers. That small split makes the whole kitchen look planned.
💡 Quick Tip
Buy one pull first and hold it against a painted door before you order the full set. Online photos often make hardware look smaller than it really is.
3. Fix Sagging Cabinet Doors
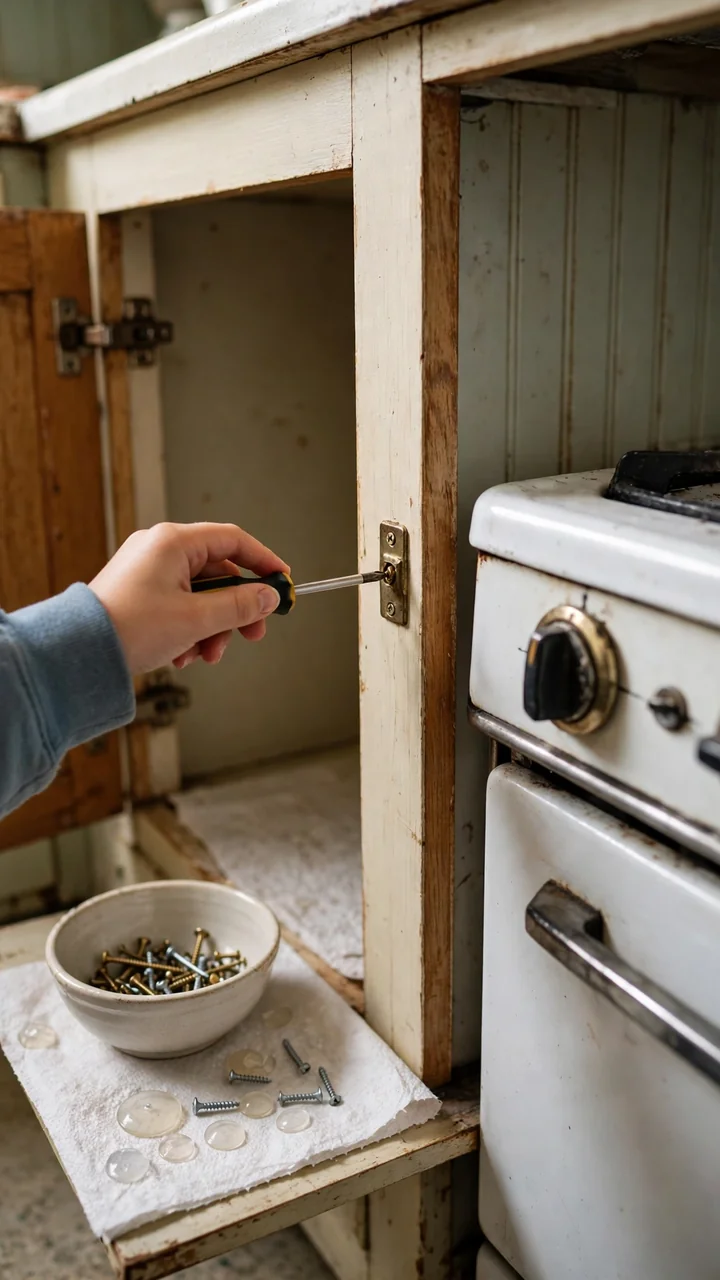
A door that hangs crooked makes the whole kitchen look worse than it is.
Most of the time the cause is a loose hinge screw, not a broken door. Tighten first, then adjust, and only replace the hinge if it is bent or rusty. Add clear bumpers at the end and the doors stop slamming too. This fix takes minutes per door and works best on kitchens with cabinets that are solid but just worn out.
Tighten every hinge screw by hand with a screwdriver, not a drill.
If a screw spins loose, dip a toothpick in wood glue, push it into the hole, and let it dry before you trim it flush.
Turn the adjustment screws on the hinge until the gaps between doors look even.
Stick a clear bumper on each inside corner so doors close softly.
4. Remove a Few Upper Doors
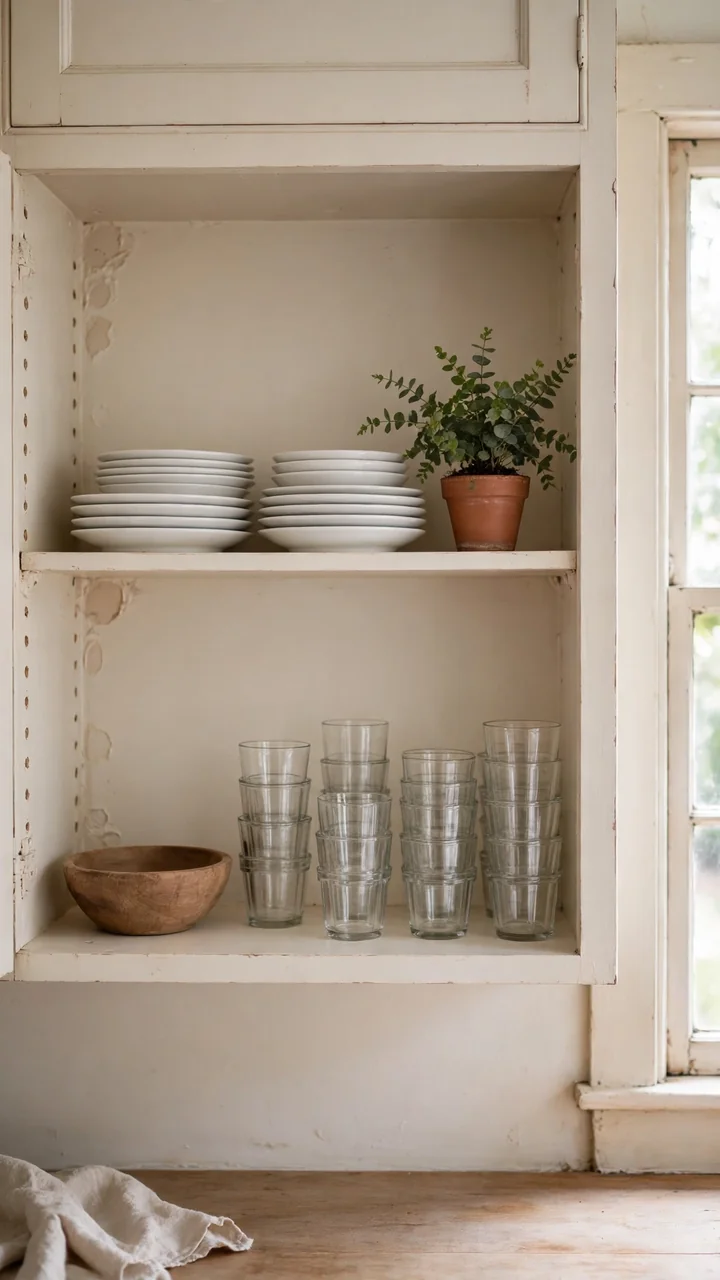
Two or three open shelves stacked with white plates and plain glasses look lighter than a full row of closed doors.
Pick the cabinets next to the window or the stove. Unscrew the doors and hinges, fill the hinge holes with wood filler, and sand them smooth. Then paint the inside of each cabinet a warm white or a soft color, so it reads as built in shelving.
Keep the doors in a closet. If you ever sell, you can put them back in an afternoon.
A wall of heavy, dated doors. The dark cabinet fronts make the whole kitchen feel tight.
Open shelves with a painted back, a few plates, and a lighter wall behind them.
5. Cover Old Countertops
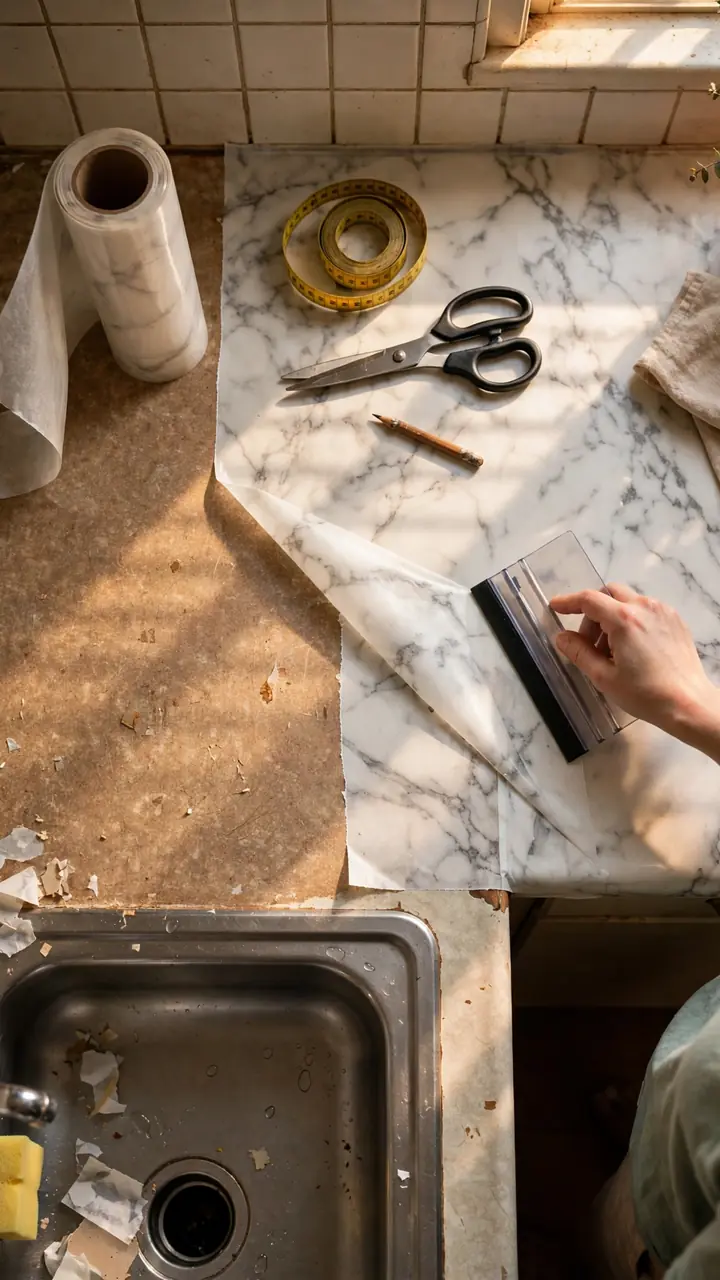
Contact paper and a countertop paint kit both hide a dated counter, but they work in different ways.
Either one works best on laminate that is flat and in decent shape. Skip both if the surface is cracked or the edges are peeling.
| Contact paper | Countertop paint kit |
|---|---|
| Sold in rolls with marble or wood patterns. | Gives a speckled stone look. |
| Done in a few hours. | Takes a weekend with dry time. |
| Seams and edges can lift over time. | Tougher once sealed, but it still needs care. |
| Best for a quick, low effort fix. | Best if you plan to keep the counter for a while. |
Whichever you pick, use a trivet. Hot pans are the fastest way to ruin either finish.
6. Add a Peel and Stick Backsplash
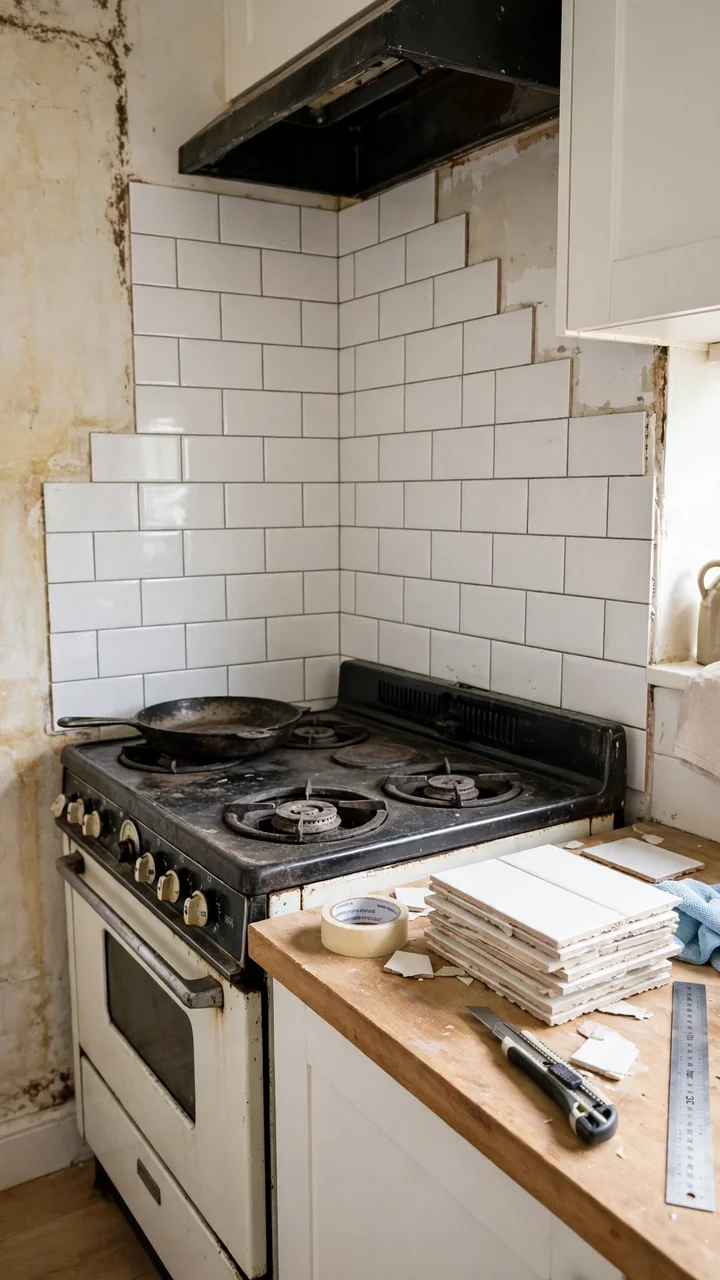
Most people stick tile onto a dirty wall, then wonder why the corners lift.
Kitchen walls hold a thin layer of grease you can’t see. Wipe the area with a degreaser, let it dry fully, and measure twice before you peel anything. Start in the middle of the wall so the pattern stays centered, and work outward. Cut around outlets with a sharp utility knife.
Press each tile flat with a clean cloth, not your fingers, so the glue sets evenly. This is one of the cheapest kitchen refresh ideas for homeowners, and it hides an old, stained wall without any grout.
7. Redo the Caulk Around the Sink
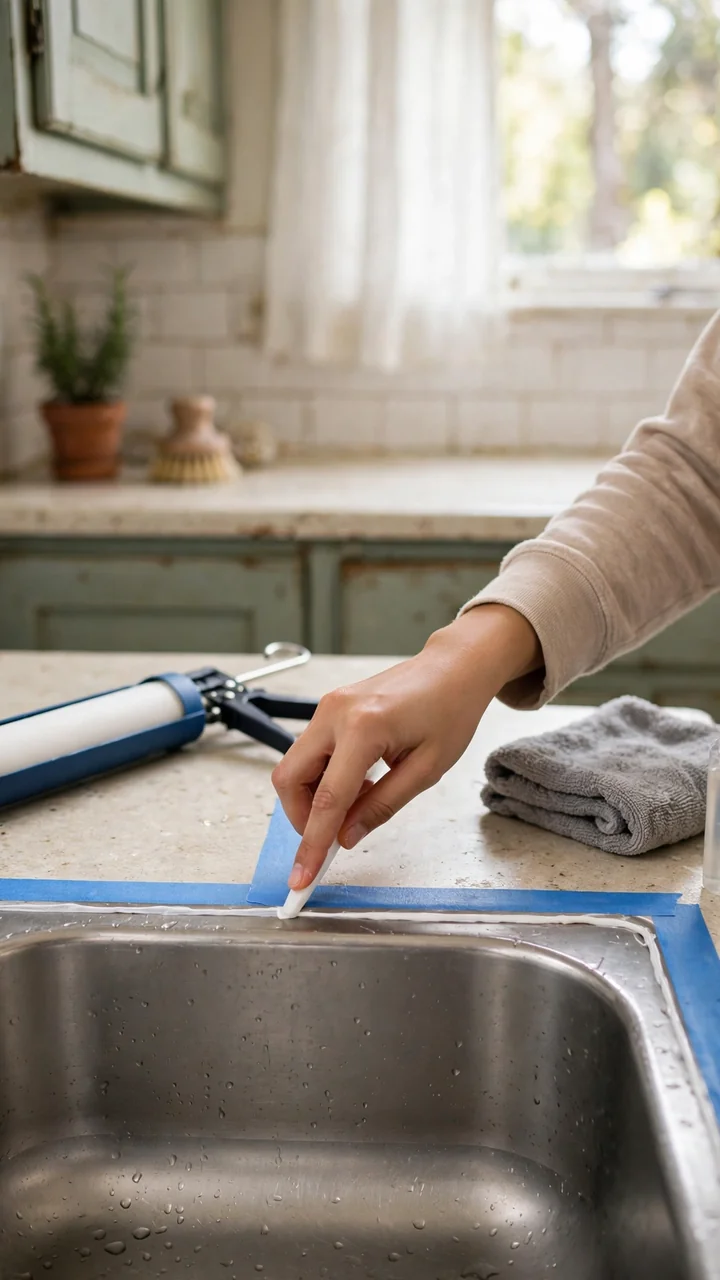
Old caulk turns gray and spotty long before anything else in the kitchen looks bad.
Cut out the old bead with a utility knife or a caulk removal tool. Wipe the gap with rubbing alcohol, then let it dry. Tape both sides of the seam, run a thin line of new silicone, and smooth it with a wet fingertip. Pull the tape while the caulk is still soft.
A crisp white line along the sink and backsplash makes the whole counter look cleaner. Check the label for cure time before you run water.
What to grab first
8. Change the Faucet
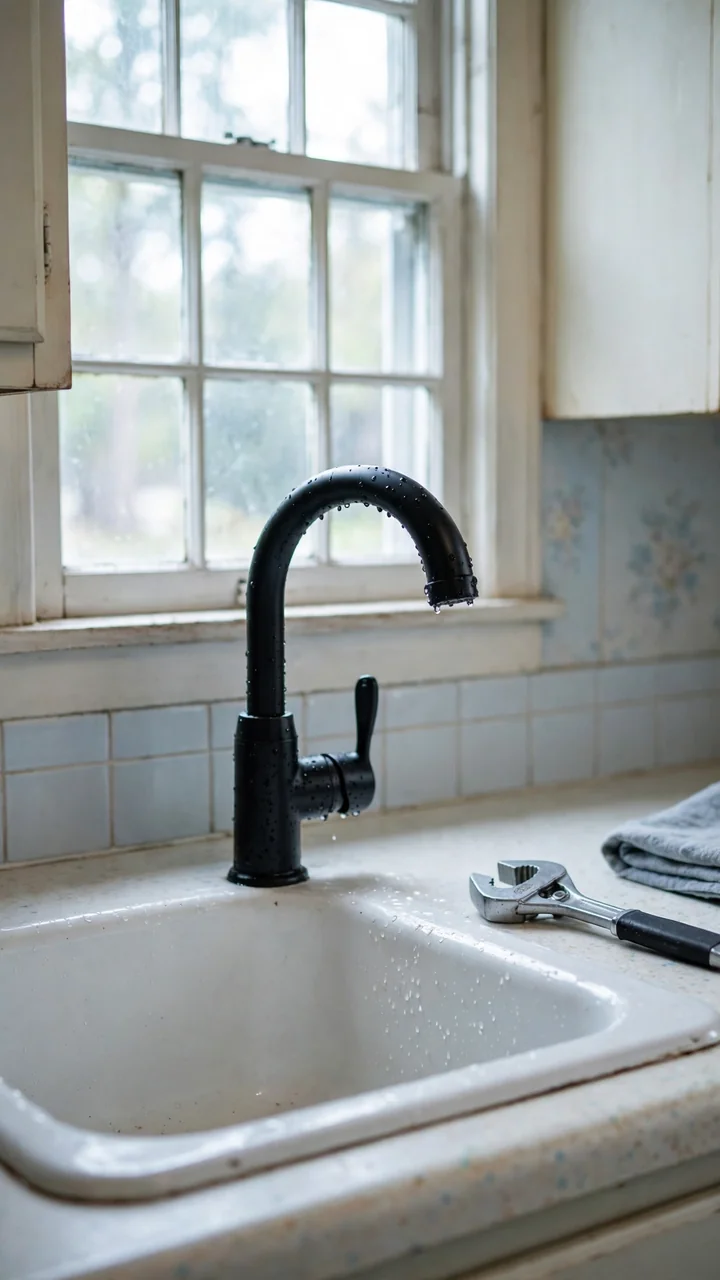
Check how many holes your sink has before you buy anything.
A sink with one hole takes a single handle faucet. A sink with three holes takes a wider set, or a faucet with a cover plate that hides the extras. Take a photo of the old faucet and the underside of the sink before you head to the store.
Shut off the water valves under the sink first, then open the tap to release the pressure. A basin wrench makes the nuts under the sink much easier to reach. New flexible supply lines are cheap, so replace the old ones at the same time.
9. Style the Sink Area
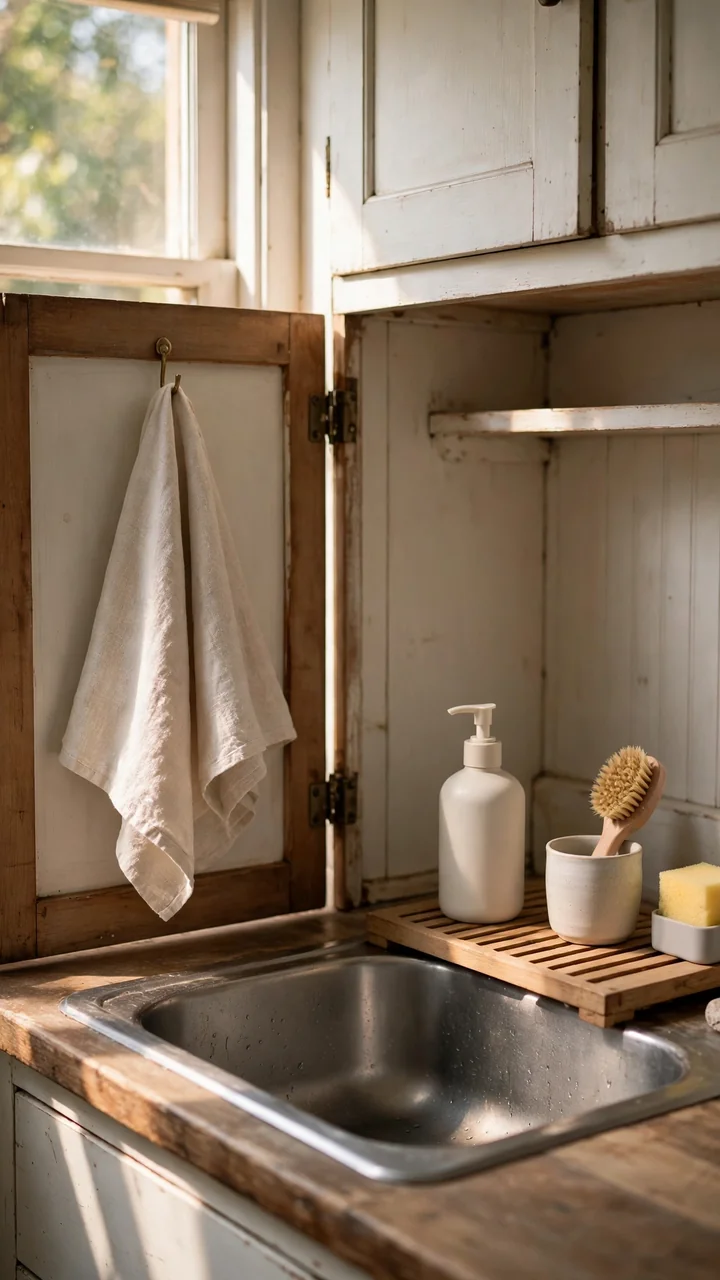
The sink area gets messy first. A sponge sits in a puddle, a dish soap bottle leans against the wall, and a wet towel hangs off a cabinet door.
Three small moves fix most of it:
- Pour dish soap into a pump bottle with a plain label
- Corral the bottle and brush on a small tray
- Hang one towel on a hook inside the cabinet door
Plain, matching items make a dated sink area look calm. This is one of the easiest small kitchen updates on a budget because you only buy a few things.
⚠️ Watch Out
Skip trays and caddies with solid bottoms that trap water. They stay damp and get grimy fast. Pick open or slatted ones and empty them every few days.
10. Repaint the Old Light Fixture
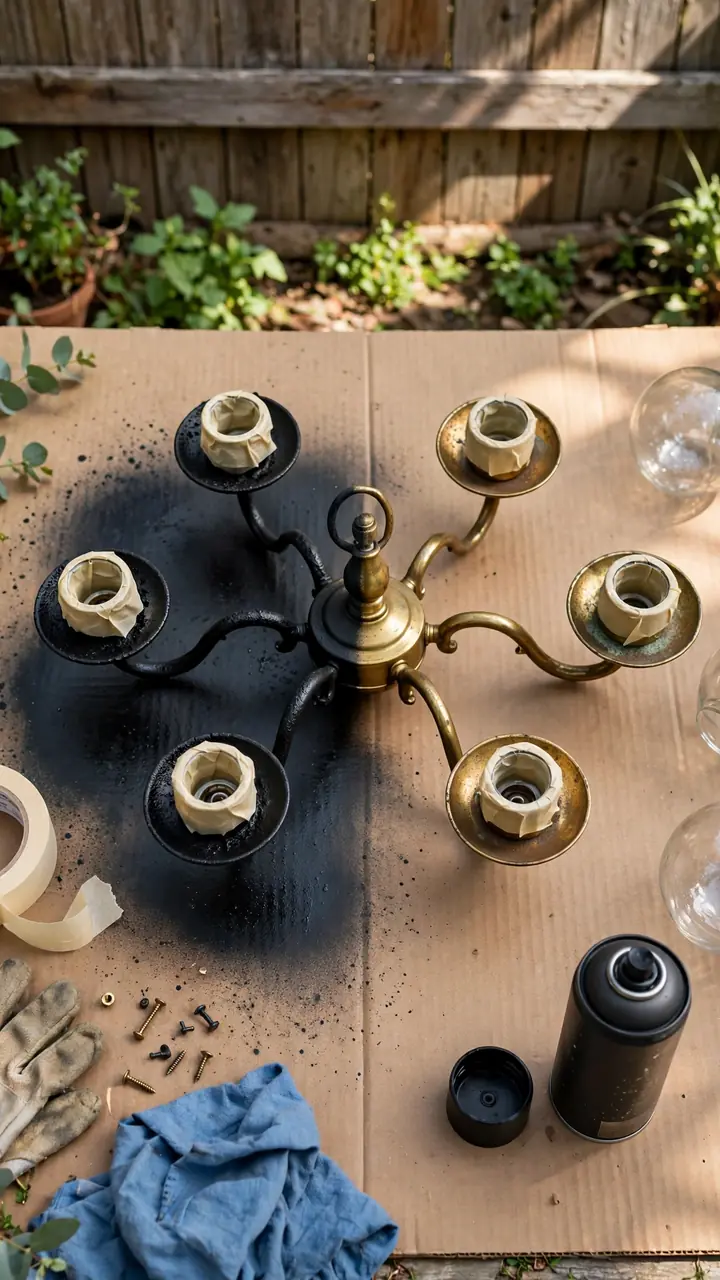
You don’t have to replace a dated light fixture to change how it looks.
Turn off the power at the breaker, then take the fixture down. Remove the glass shades and bulbs, and wipe the metal clean. If the finish is shiny brass, sand it lightly and add a spray primer first. Then spray on two light coats of matte black or warm white paint.
Do this outside, on cardboard, with the wind low. Let it dry fully before you hang it back up. Black pairs well with the cabinet pulls from idea 2.
Switch off the breaker before you touch the wires.
Paint the fixture outside, laid flat.
Use two thin coats, not one heavy one.
Spraying paint while the fixture is still on the ceiling.
Painting the bulb sockets or the wire ends.
Rehanging before the paint is fully dry.
11. Add Under Cabinet Lights
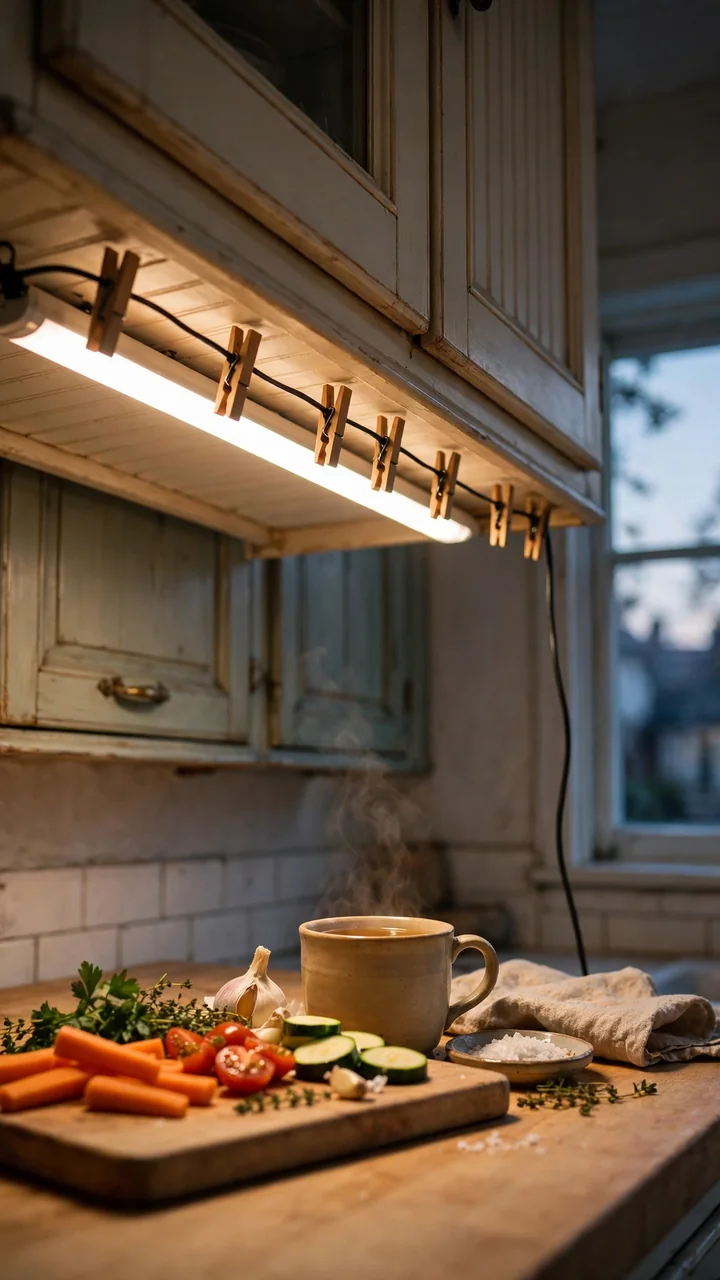
A dark counter makes every kitchen job slower.
Most older kitchens have one ceiling light, so your own shadow lands right on the cutting board. A light bar stuck under the upper cabinets fixes that fast. Run the cord along the back edge and hold it with small adhesive clips. Pick warm white bulbs, because cool white can make an old kitchen feel like a garage.
Aim the strip toward the front edge of the cabinet so the light hits the counter, not the backsplash.
- ▸Plug in LED bars: steady light with no batteries, but you need an outlet nearby.
- ▸Battery puck lights: the fastest to install, and good for a corner with no outlet.
- ▸Motion sensor strips: switch on when you walk up, handy for a dark pantry or coffee spot.
12. Replace Yellowed Switch Plates
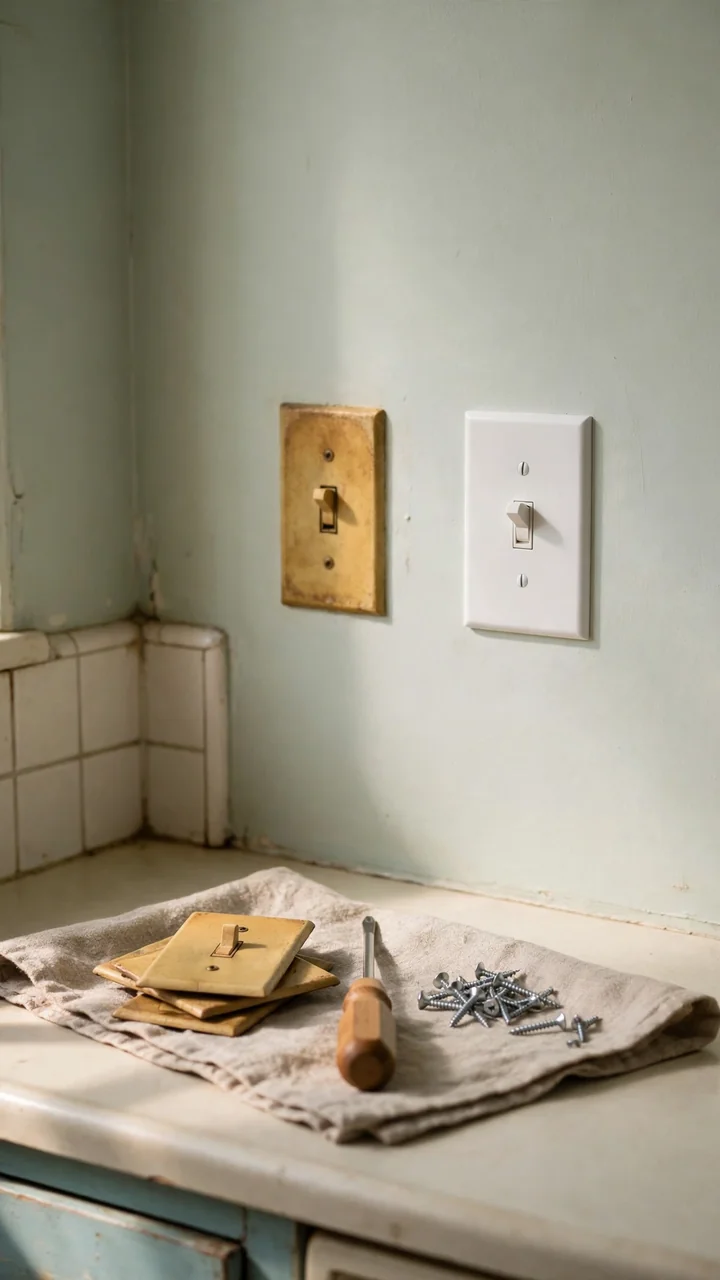
Yellow plastic gives an old kitchen away.
Light switch covers and outlet plates fade with age, and they sit right at eye level. Turn off the breaker to be safe, then unscrew only the plate, not the switch itself. Swap in a new plate in white or matte black.
Match the shape of the old one. A single toggle, a double toggle, and a wide rocker all need different covers.
This costs very little and takes a few minutes per room.
Yellowed plates, a cracked corner, and screw heads with old paint on them.
Clean matching plates and fresh screws that disappear into the wall.
13. Repaint the Walls
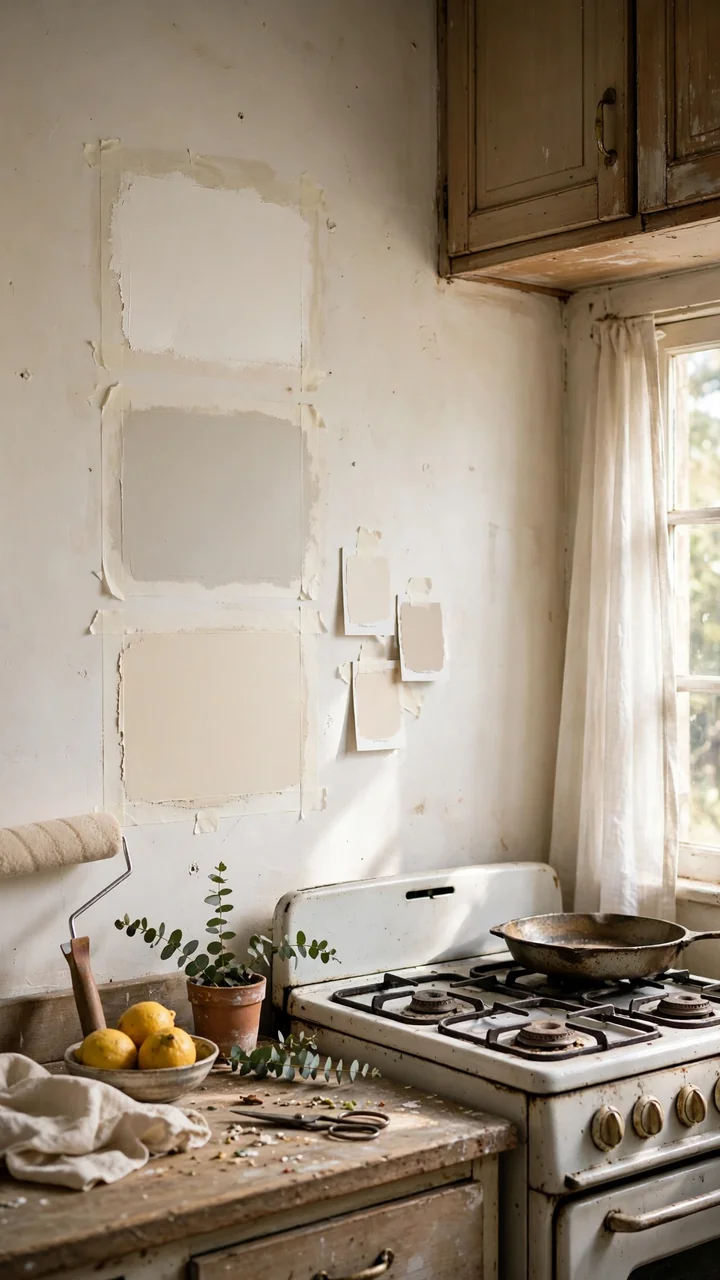
Pure white is not the only safe color for a small kitchen.
Warm whites, soft greiges, and pale creams all make a room feel clean without looking cold. Wash the walls with a degreaser first, because grease blocks paint. Then use a washable paint in satin or eggshell, which wipes clean after a splash of sauce.
Test a sample patch near the window and one near the stove. Look at both in daylight and again at night before you commit.
14. Clean Up the Range Hood
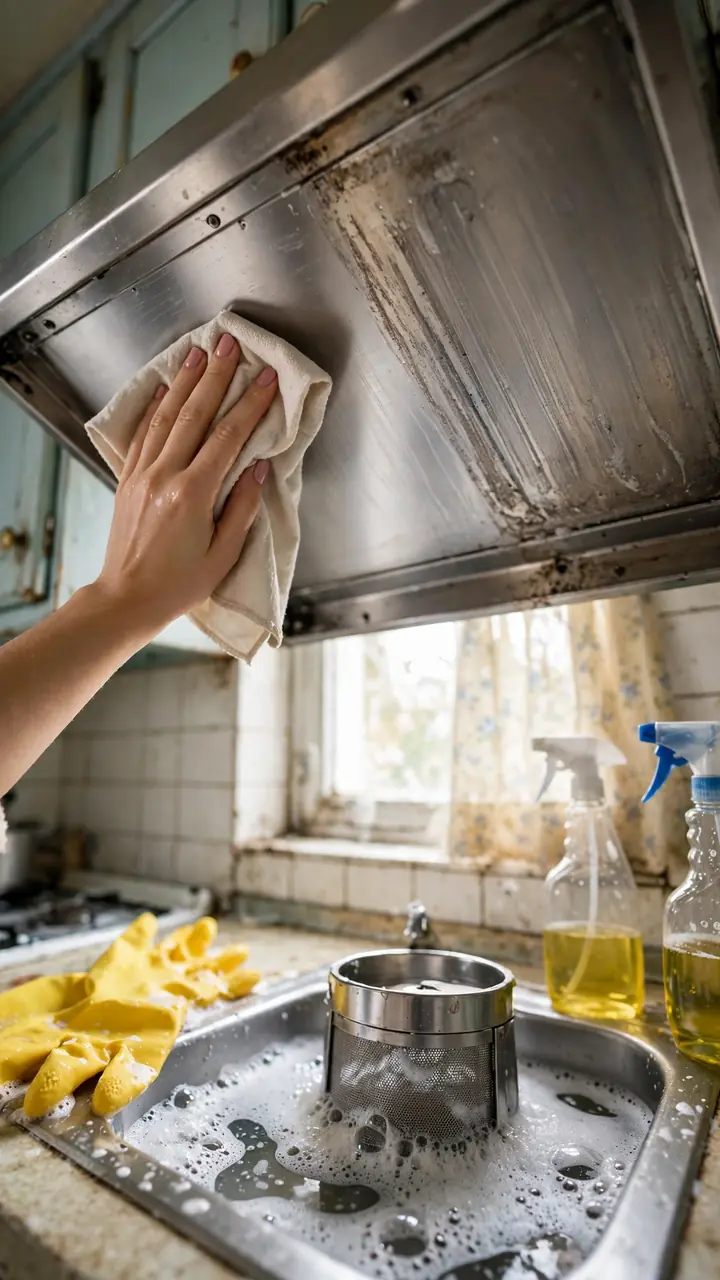
Grease builds up on a range hood faster than you notice.
Most of what looks old on a hood is just years of sticky film. A deep clean often brings back the original finish. If the metal is still dull after that, a spray paint made for high heat gives it a fresh matte look.
Check the paint can for the heat rating before you buy it.
Switch the hood off and let any bulbs cool down.
Pop out the metal filters and soak them in hot water with a degreasing dish soap.
Wipe the hood with a degreaser and a soft cloth, moving with the grain of the metal.
Dry everything fully, then slide the filters back in.
15. Cover the Wall Behind the Stove
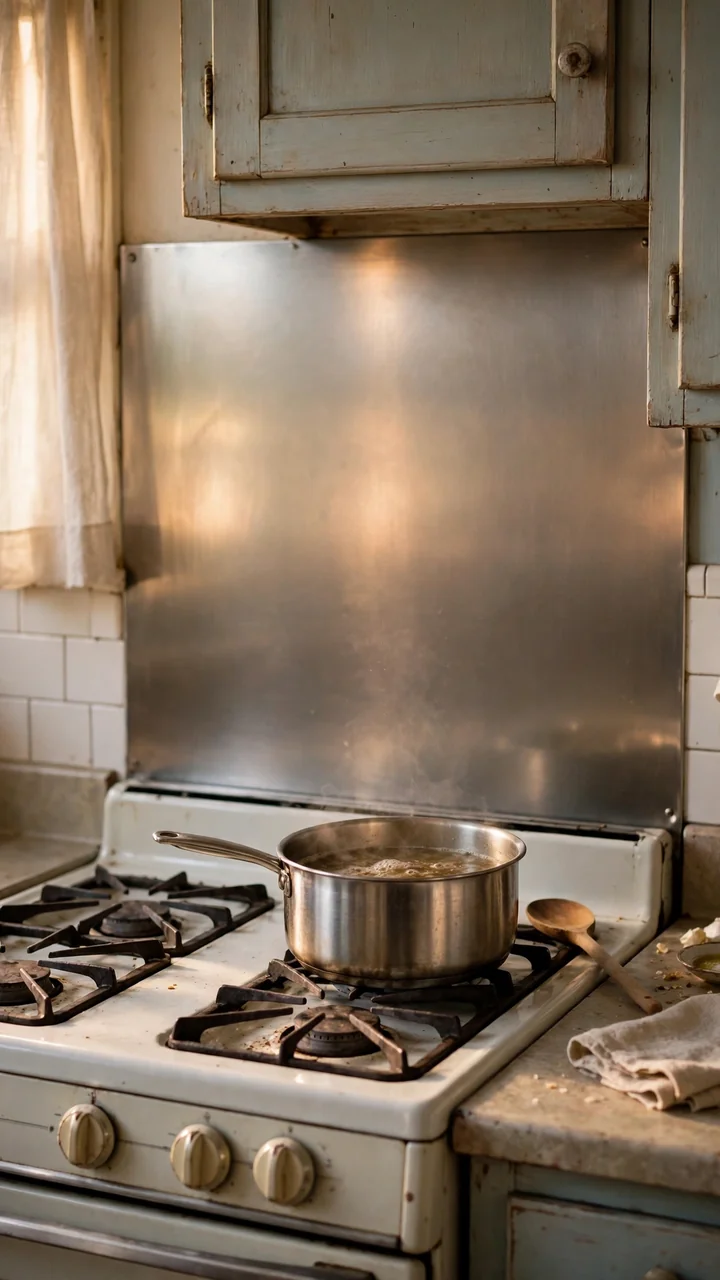
The wall behind the stove takes the most splatter, and it shows.
A thin sheet of stainless steel or aluminum cut to size wipes clean with one pass of a cloth. You can find sheets sold as backsplash panels at most hardware stores. Cover the stained wall from the stove top up to the bottom of the hood.
Read the instructions for heat limits and clearance from the burners. Gas ranges and electric ranges can have different rules.
Check the heat rating on every product that goes near your stove, including paint, panels, and glue.
16. Hang a Rail and Hooks
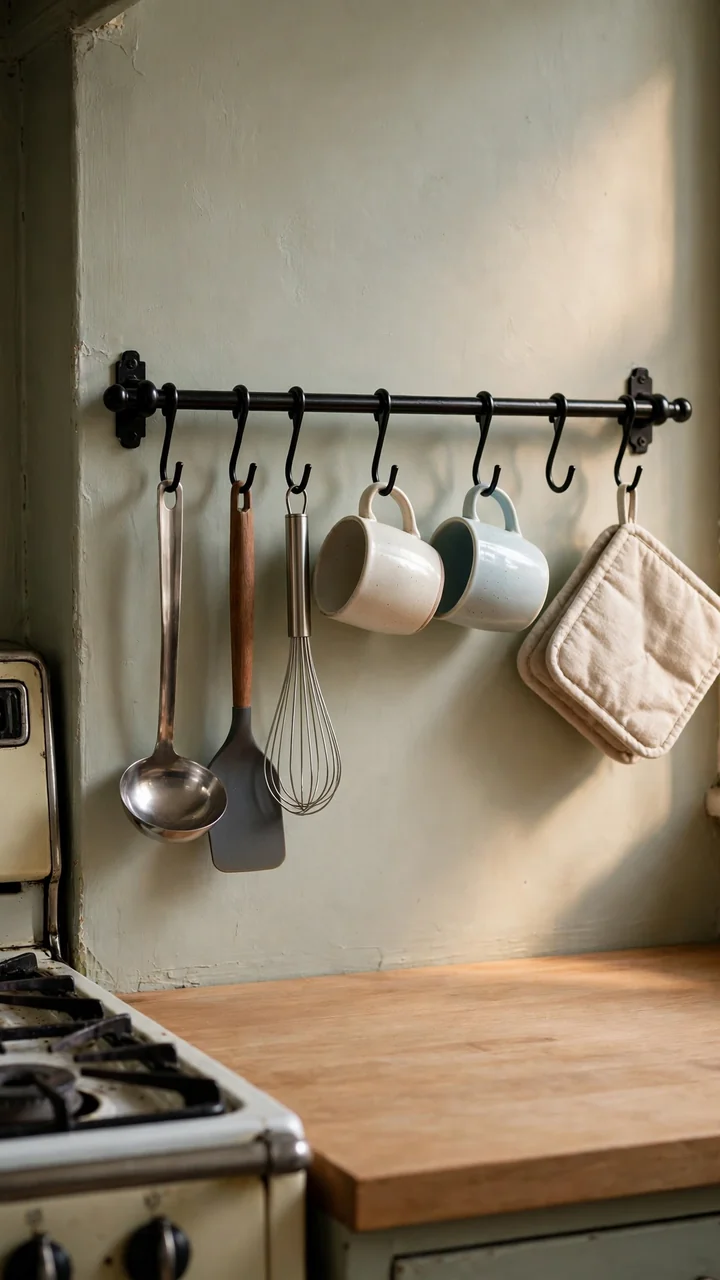
Anything you grab every day should not live in a drawer.
A metal rail under an upper cabinet, or on the wall beside the stove, holds ladles, spatulas, mugs, and pot holders. Screw it into a stud or use wall anchors rated for the weight. Then add adhesive hooks inside a cabinet door for measuring cups and spoons.
In a small kitchen, this move frees up a whole drawer. It also makes the wall look styled, because tools in a row look intentional.
Keep towels and oven mitts away from the burners.
What to hang first
17. Line the Drawers and Shelves
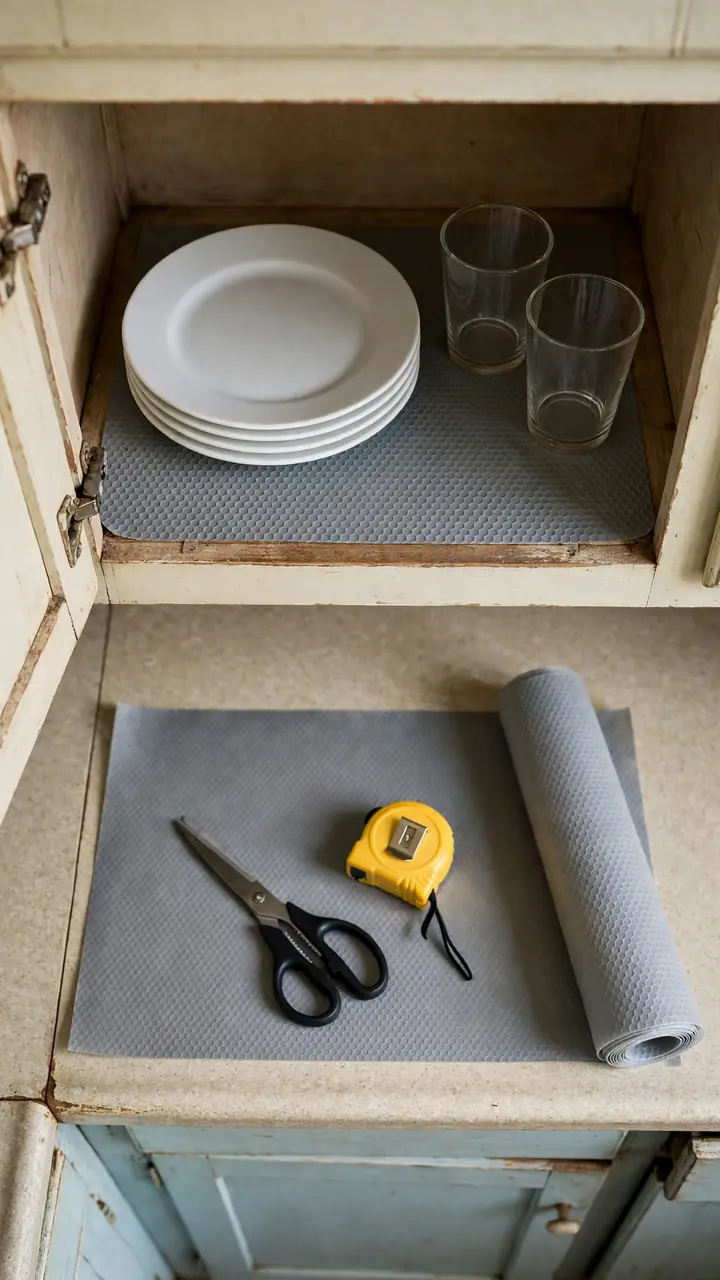
Open an old cabinet and the first thing you see is sticky, stained shelf paper.
Peel it out, wipe the wood with a degreaser, and let it dry fully. New liner covers scratches and stains, and it gives dishes a cleaner place to sit. Measure each shelf and cut the liner a hair smaller, so it lies flat and doesn’t curl at the edges.
The two common types behave very differently once they are down.
| Non slip grip liner | Peel and stick vinyl |
|---|---|
| Lay it flat and trim. | Stick it down, and fix mistakes carefully. |
| Lifts out easily when you want a change. | Can leave residue when you remove it. |
| Best for dishes and glasses that slide. | Best for rough or damaged shelves that need hiding. |
18. Add a Rolling Cart
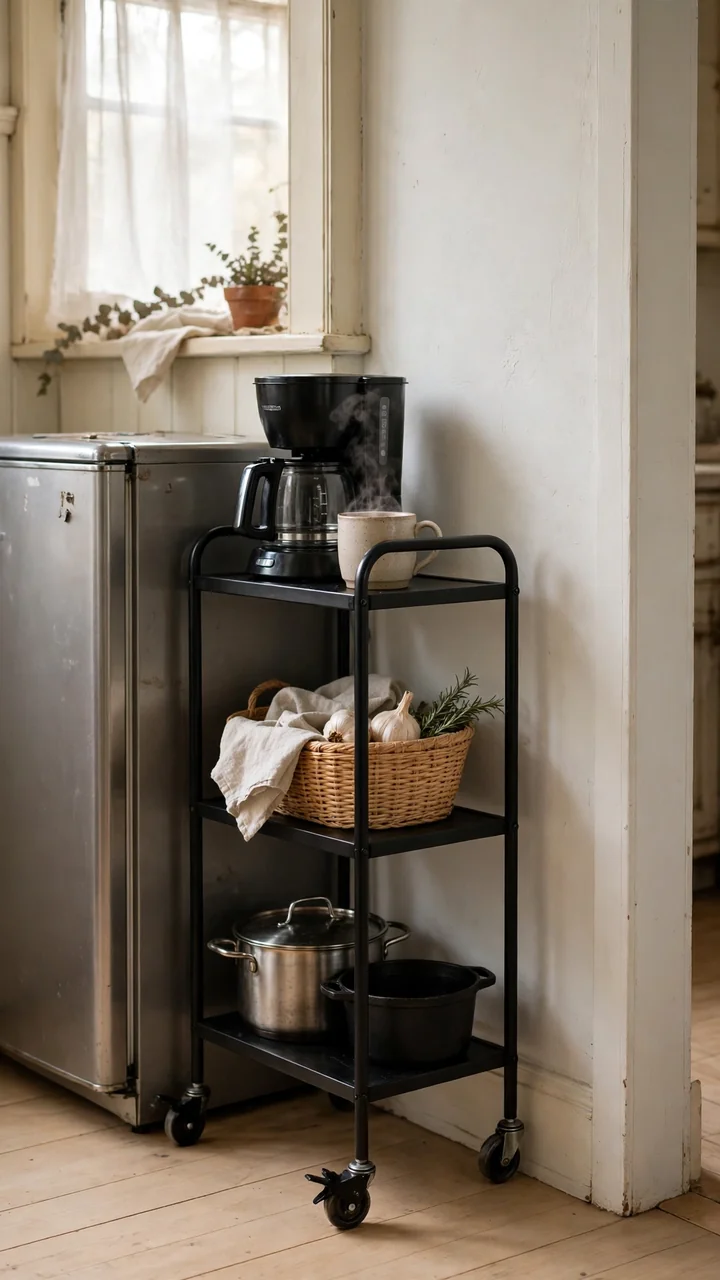
Small, old kitchens run out of counter before they run out of things to put on it.
A narrow cart on wheels gives you a prep surface and a few shelves for pots, oils, or snacks. Slide it into a gap between the fridge and the wall, or park it at the end of the counter. Measure the space before you buy, and check that the cart rolls past drawers and doors.
Lock the wheels when you chop. Use the top shelf for a coffee setup or a fruit bowl.
19. Use a Tension Rod Under the Sink
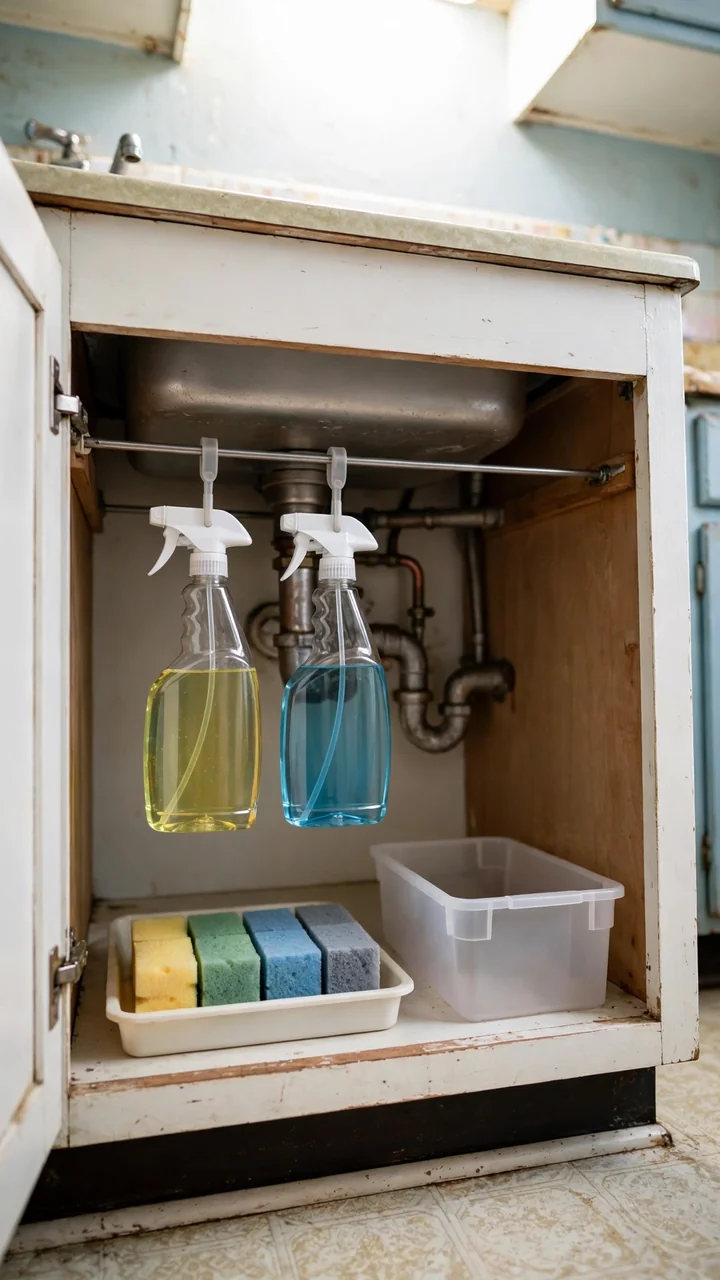
Fit a tension rod across the cabinet under the sink and hang spray bottles by their triggers.
The space under a sink is awkward because pipes run through the middle. A rod set above or beside the pipes lets you hang cleaners off the floor and free up the shelf for a bin of sponges and brushes. Press the rod in until it holds firmly, then tug it to test.
Keep heavy items on the cabinet floor.
📌 Good To Know
Slide a shallow plastic tray onto the cabinet floor. If a pipe starts to drip, you will see it before the wood swells.
20. Cover a Worn Floor With a Runner
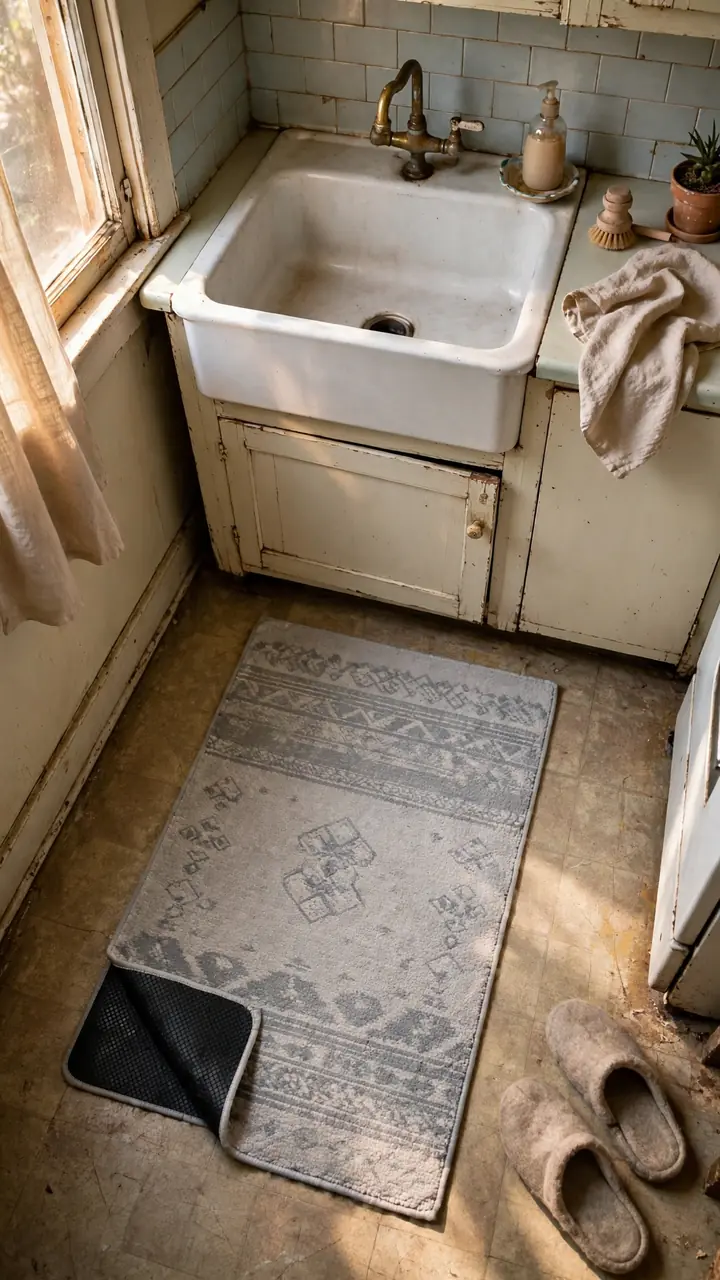
A rug in the kitchen does not have to be a trip hazard.
Choose a flat, low pile runner that you can wash, and put a non slip pad underneath. Place it where the floor takes the most wear, usually in front of the sink or the stove. Pick a color you already see in the room, like the cabinet pulls or the wall paint, so it looks planned.
Roll it up once a month and mop the floor underneath.
Pick a low pile, washable runner.
Add a non slip pad underneath.
Leave room so drawers and the dishwasher open freely.
A thick shag rug that traps crumbs and spills.
Edges that curl up at the corners.
A rug without a pad on a smooth floor.
21. Replace Only the Worst Doors
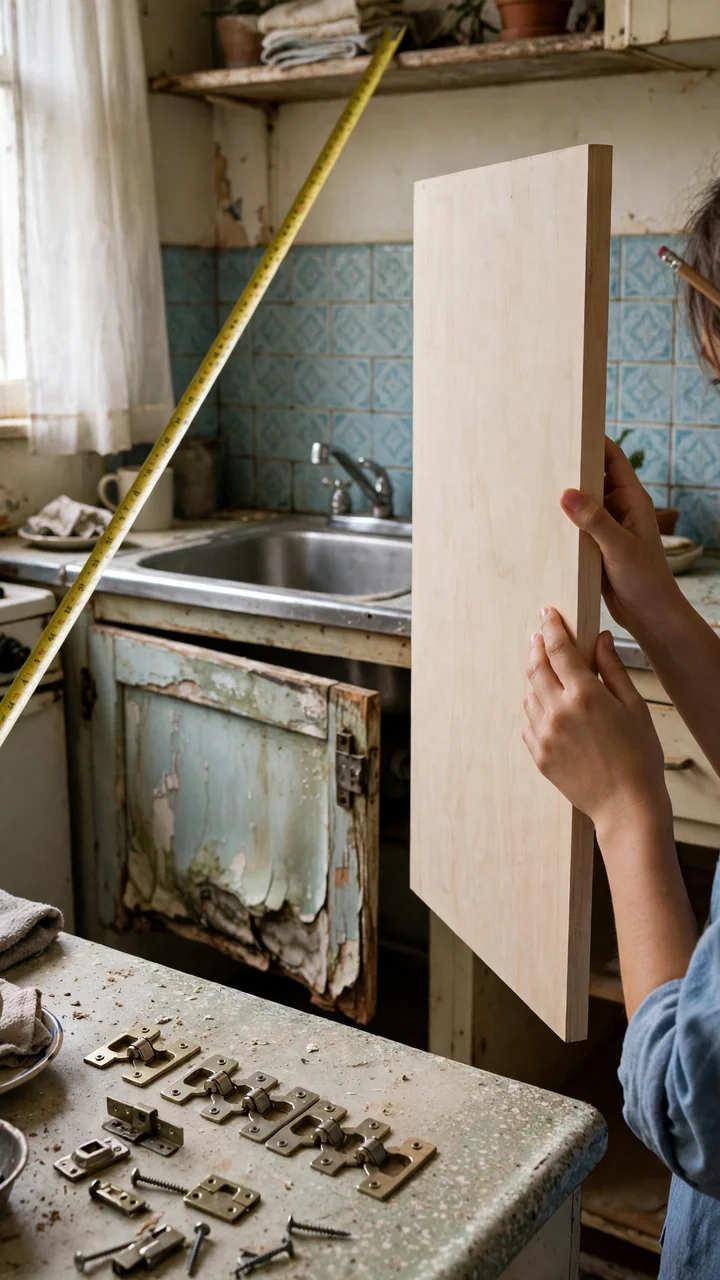
Swapping every cabinet door is the costly mistake.
Most kitchens have a few doors that look much worse than the rest. Check the ones under the sink and beside the dishwasher first, because water and steam warp them. Replace only the cracked, swollen, or peeling fronts. Measure the height, width, and thickness, and note the hinge style before you order.
Buy unfinished or ready to paint doors, then paint them to match the rest. A coat of the same color on every door hides the small differences.
- ▸Measure twice: the old door and the opening can be different sizes.
- ▸Check the hinges: inset and overlay doors need different hardware.
- ▸Order extra: a spare door costs less than a second shipping fee.
- ▸Paint everything together: new and old fronts get the same coat.
22. Style the Counter Simply
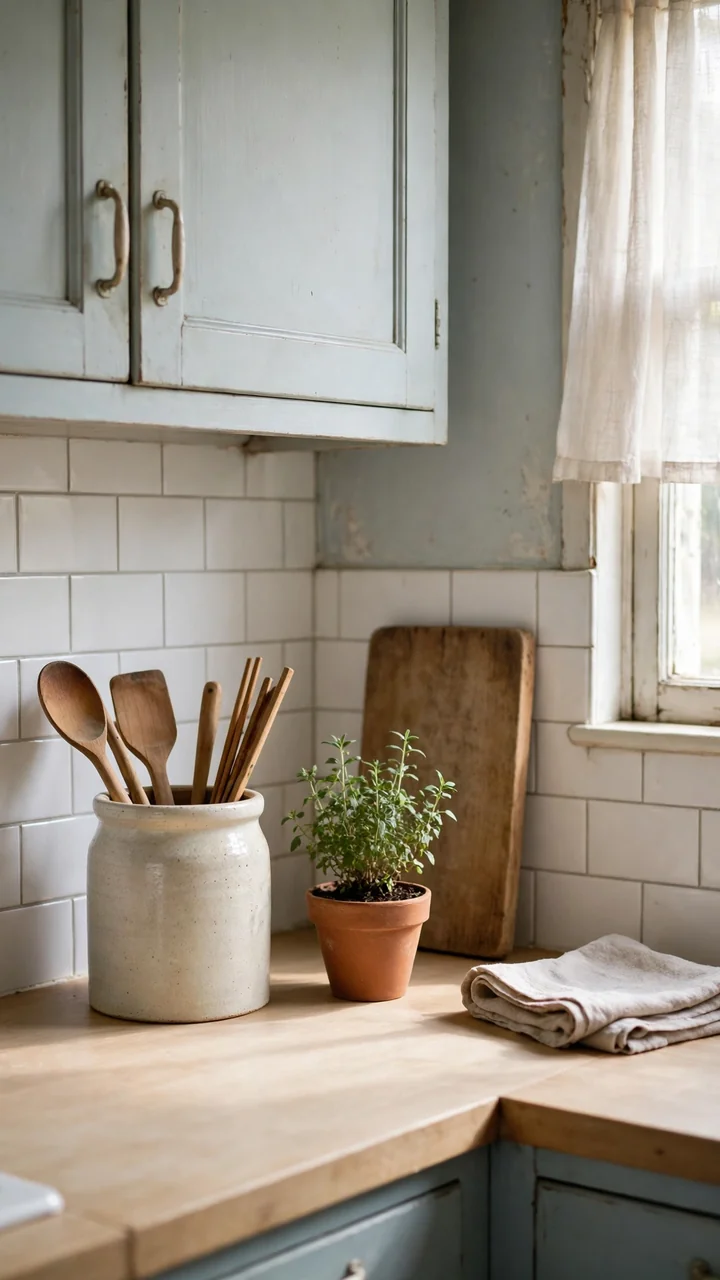
Thirty objects on a counter look like clutter. Three look like a choice.
Clear everything off first, then put back only what you use every day. Add one tall item, one soft item, and one useful item. This is one of the cheapest ways to make a dated kitchen feel calmer without buying much.
Group them on a tray or a cutting board so the setup looks like one piece. Keep the rest in a cabinet or a basket.
23. Refresh the Dining Corner
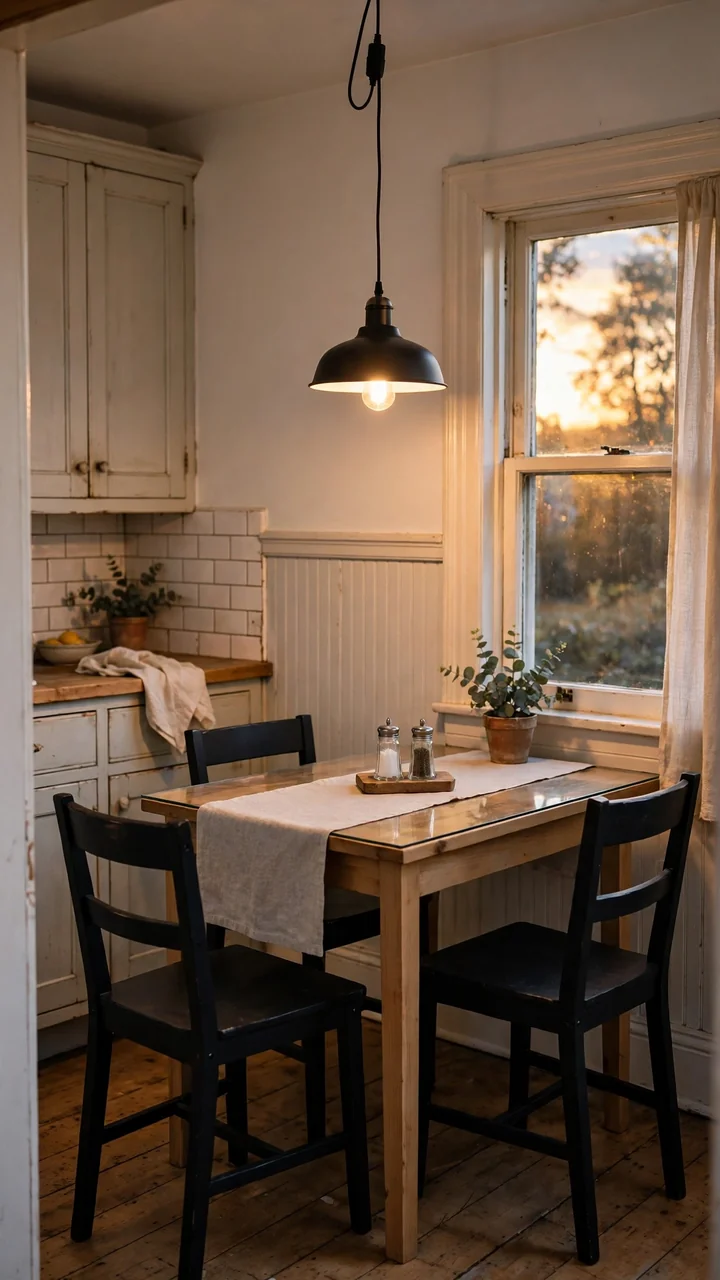
Look at the table first. Is it a hand me down with chairs that never matched?
You do not need a new set. Paint mismatched chairs one color, like black, white, or soft grey, and they start to read as a group. Add a plug in pendant light on a ceiling hook above the table, and the corner finally has its own spot.
Use a simple table runner or a single tray to hold salt, pepper, and napkins. Skip the centerpiece.
Mismatched chairs, a dim corner, and mail piled on one end of the table.
Chairs painted one color, a pendant light overhead, and a clear table.
24. Hang One Big Piece of Art
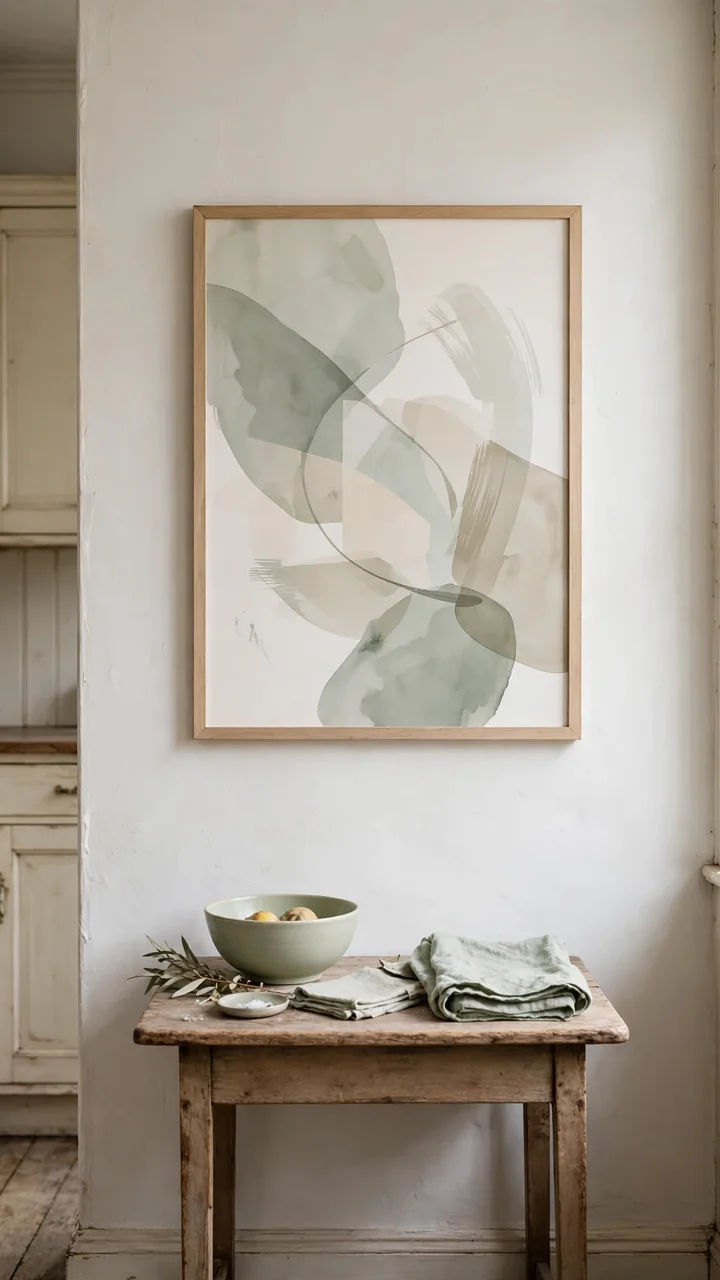
A bare kitchen wall can make the room feel unfinished.
One large frame does more than a cluster of small ones, and it hides the empty patch above the table or beside the fridge. Choose art with a plain frame and a glass or acrylic front, which wipes clean. Hang it at eye level, and keep it away from the stove.
Pull one color from the art into a towel or a bowl nearby, and the wall starts to look planned.
Check before you hang
25. Start With a Deep Clean
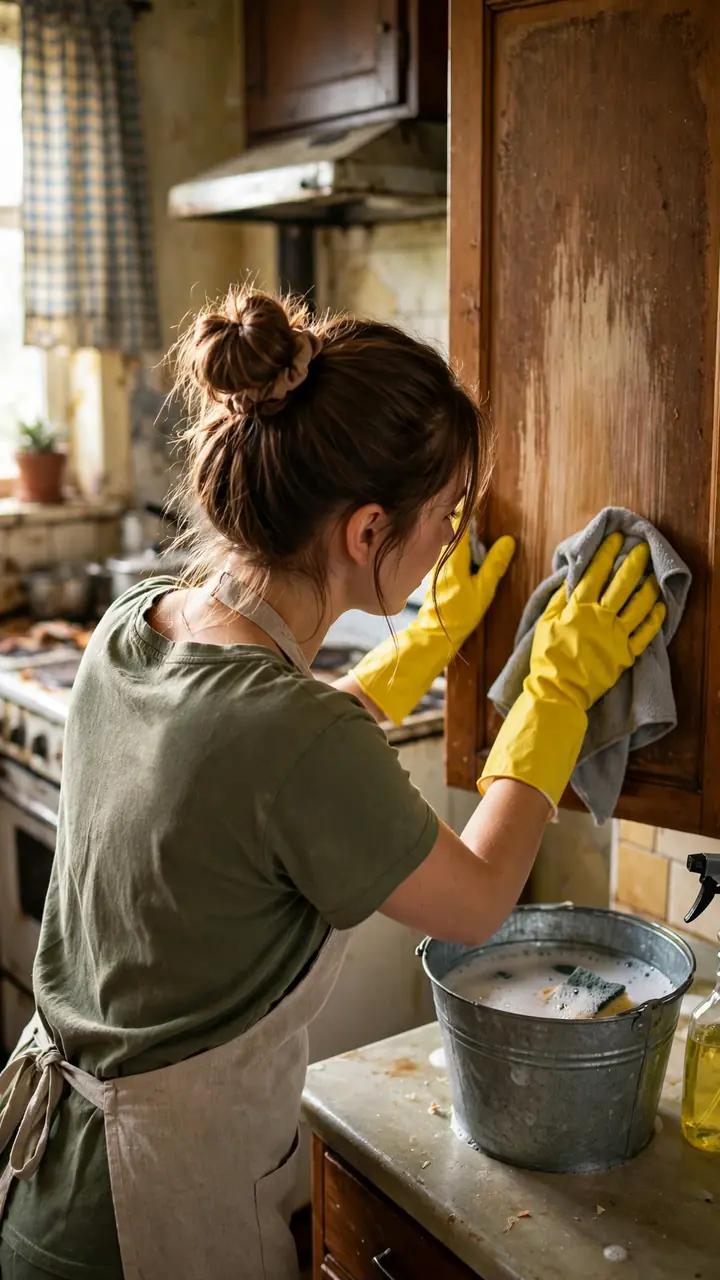
Judge your kitchen after you scrub it, not before.
Years of grease, dust, and sticky film make everything look older than it is. Wipe cabinet fronts with a degreaser, scrub the grout lines, clean the inside of the oven, and wash the light covers. Pull the fridge forward and sweep behind it.
You will often find the cabinets are in better shape than you thought. A deep clean also shows you which fixes in this list matter most.
Clean first, then decide what to fix. A clean kitchen shows you what really needs work and what only looked bad.
Conclusion
You do not need a big budget to stop hating your kitchen. You need a plan and a free weekend. Start with the changes that show the most, like cabinet paint, new pulls, and better light. Then add the small details that make the room feel like yours.
These budget kitchen ideas for new homeowners work because each one is small, cheap, and easy to finish. Do one this week. Do another next month. Before long, the kitchen you inherited starts to feel like one you chose.
Save this list to your Pinterest board for the next time your kitchen gets you down, and come back when you are ready for your next fix.
If you only do three things this month