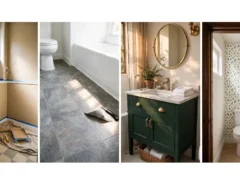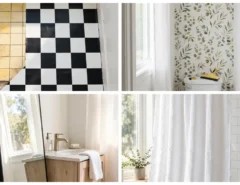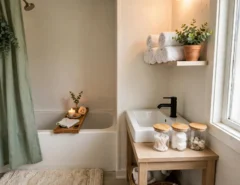
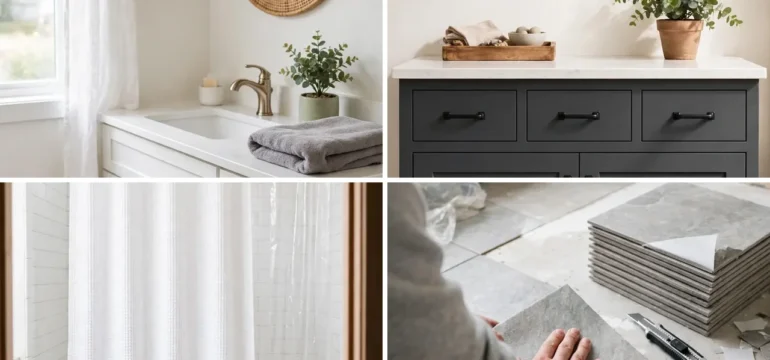
You want a bathroom that feels like yours the first time you flip on the light. Not like the previous owner’s 1996 taste, with the yellow walls, the gold knobs, and the light bar that makes everyone look tired.
Then the real life part hits. You just bought a house, the savings account is thin, and a full remodel is nowhere near the plan. A fresh bathroom still matters, since you use it every single day.
Good news: a dated bathroom does not need a gut job to look fresh. These budget bathroom ideas for new homeowners focus on small, cheap bathroom updates that change how the room looks and feels. Paint, hardware, lighting, a mirror, and a few smart storage swaps do most of the work, and many of them fit into one afternoon.
Pick three that suit your room and start there. You can do the rest one paycheck at a time. Each idea below comes with a quick visual so you can skim, save, and shop fast.
1. Paint the Walls Warm White
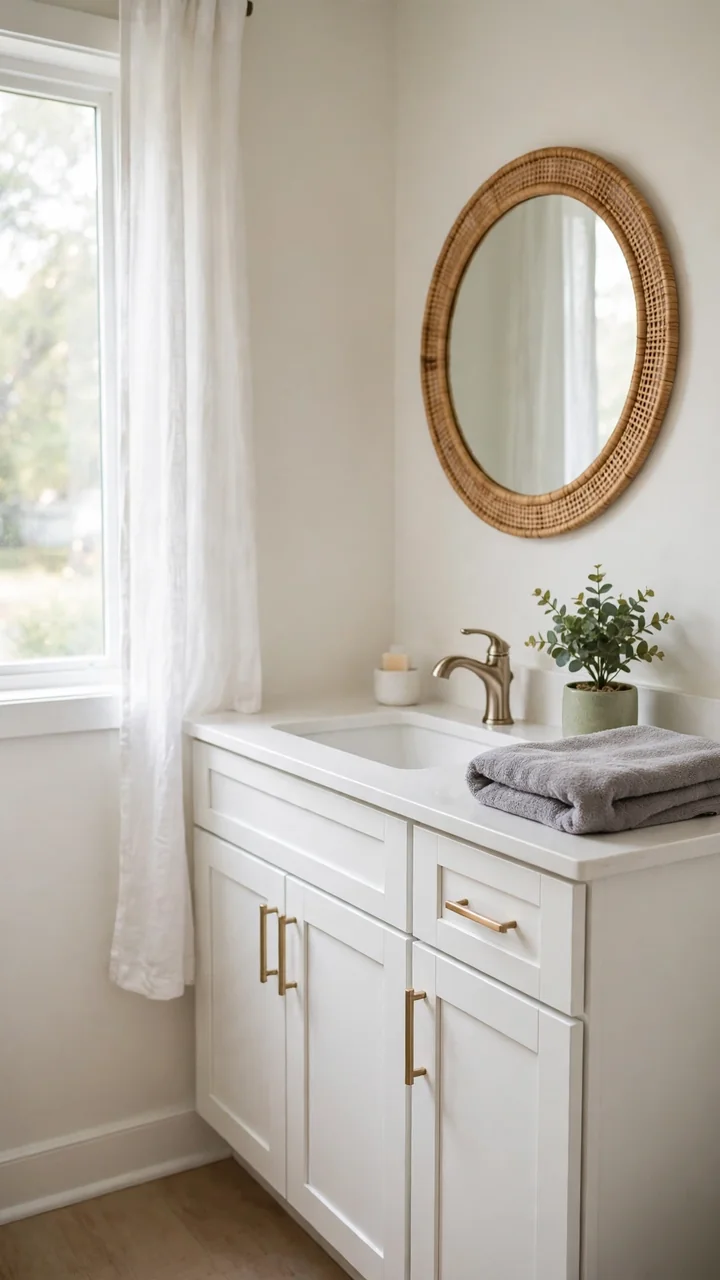
Paint is the cheapest way to erase someone else’s color choices.
Mint, peach, and heavy beige all make a small bathroom feel closed in. A warm white with a soft cream undertone bounces light around, hides the tired look, and sits well next to almost any tile color you inherited. Choose satin or semigloss, since both handle steam better than flat paint.
Before you open the can:
- Scrub the walls with a degreaser so the paint sticks.
- Fill nail holes and sand them smooth.
- Tape the trim, tub edge, and light switches.
Slow, steady edges around the trim make the whole job look professional.
2. Swap the Cabinet Knobs
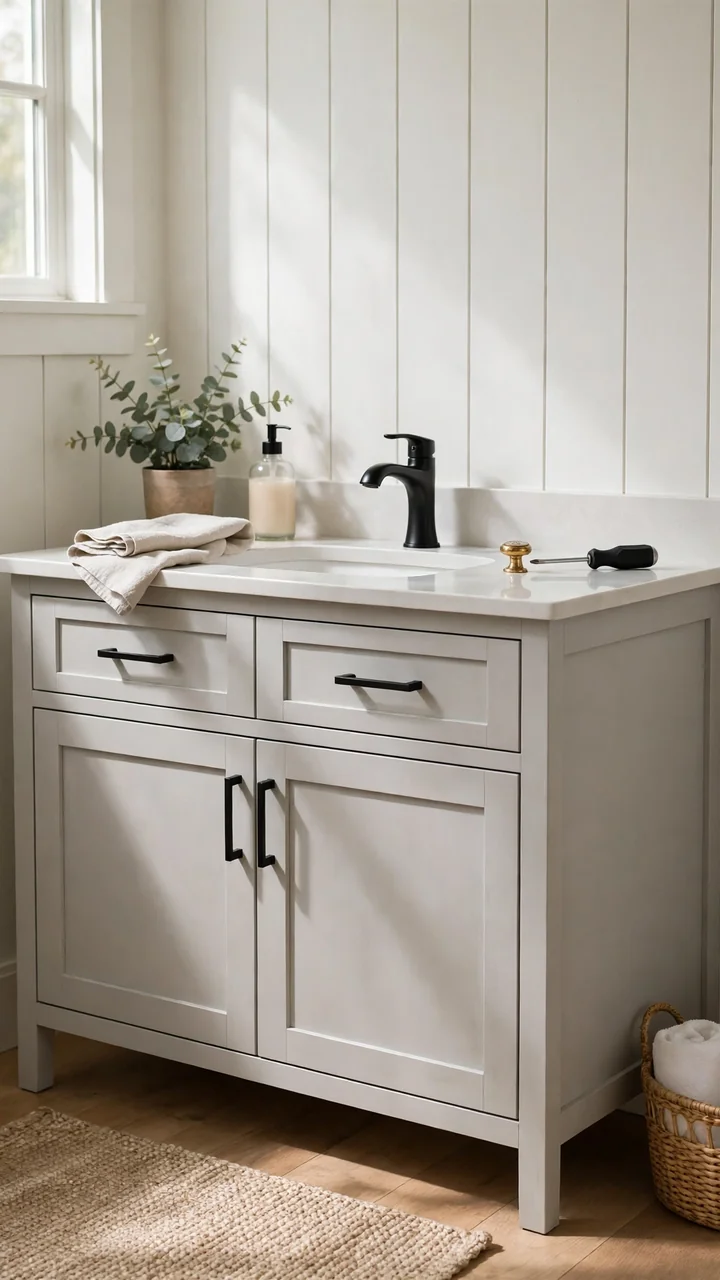
Gold knobs give away a dated bathroom in one glance.
Hardware is the easiest of the budget bathroom updates to finish in an evening. Matte black pulls look crisp on white or light gray cabinets, and they hide fingerprints better than shiny finishes. Before you shop, measure the distance between the two screw holes on a door, from center to center. That number decides which pull size fits without any new drilling.
- One hole: swap in a round knob.
- Two holes: match the pull to your center to center measurement.
- Mixed set: knobs on doors, bars on drawers.
Check how the black looks next to your faucet before you order the full set.
💡 Quick Tip
Order one pull first and hold it against a door before you buy the full set. Product photos can make a finish look darker or lighter than it really is.
3. Replace the Old Light Fixture
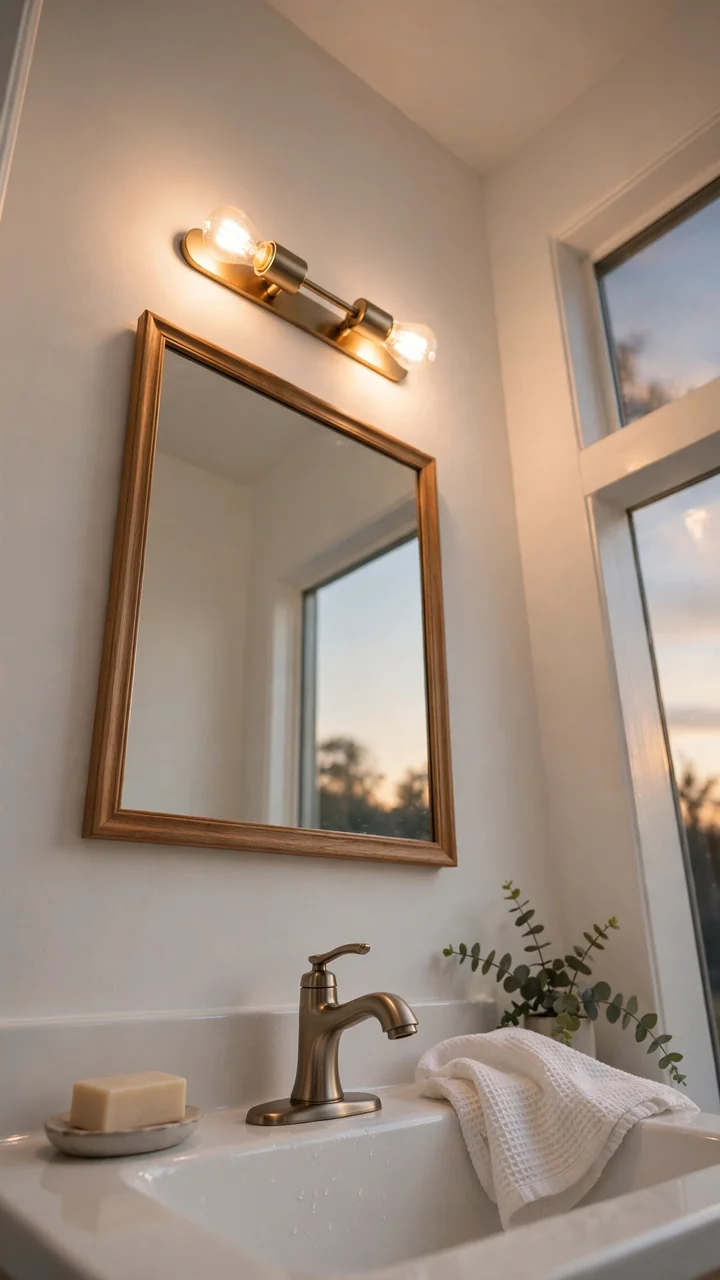
Look up at the fixture over your mirror. Five round bulbs, three shades of yellow, and a plastic cover with a few bugs trapped inside?
A simple two bulb fixture or a slim bar light fixes both the look and the glare. Choose warm white bulbs, which flatter skin and keep a white vanity looking clean instead of cold. The job is basic if you follow the order: turn off the breaker, confirm the power is off with a voltage tester, match the wires one to one, and screw the new mounting plate into the box.
If the wiring looks cracked, crumbly, or confusing, stop and call an electrician. That small bill beats a bigger one later.
A five bulb strip with mismatched yellow glow and harsh shadows under your eyes.
Two warm bulbs on a slim bar, with soft, even light across your face.
4. Hang the Shower Curtain Higher
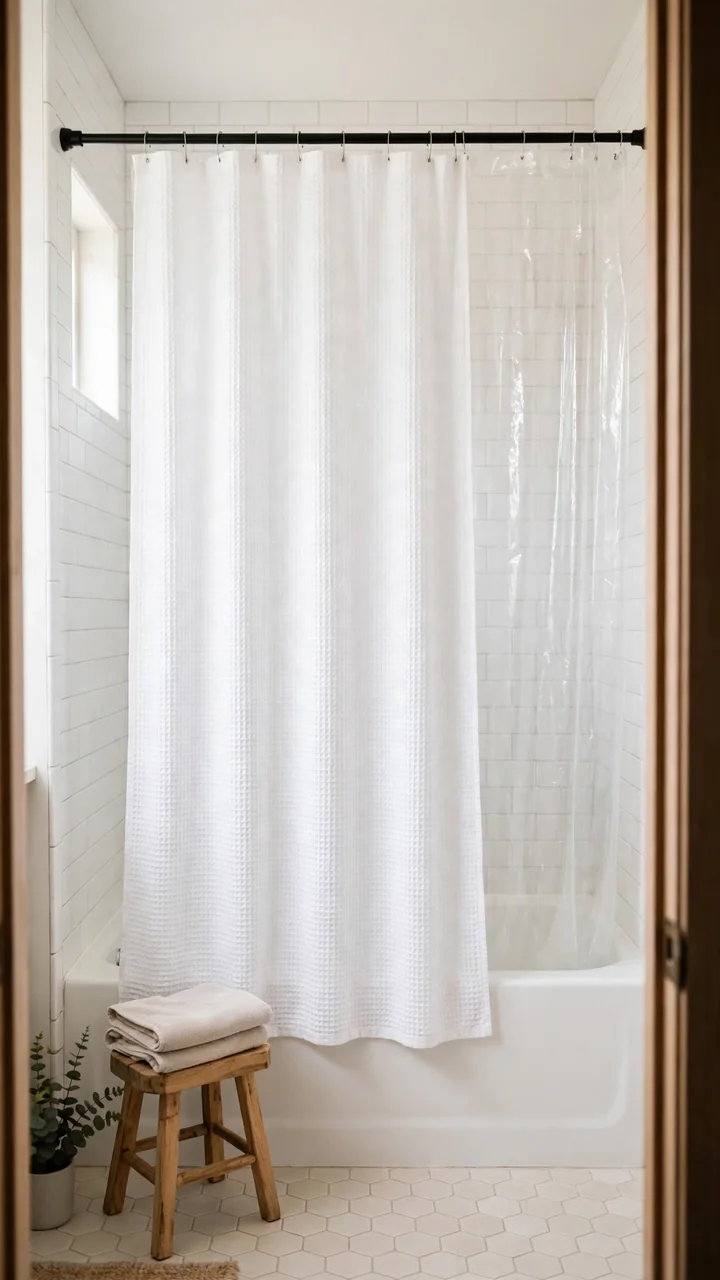
Raise the curtain rod and the whole room looks taller.
It is one of those small bathroom updates on a budget that costs little and shows right away. Many builders hang the rod right at the shower opening, which cuts the wall in half. Mount it a hand’s width under the ceiling instead, and use an extra long curtain so it still reaches the tub. A white or soft gray waffle weave adds texture without a busy pattern. Keep a clear liner inside, because fabric alone soaks up water fast.
Tension rods work on flat, smooth walls. Tile or textured surfaces need a screw mount rod.
Measure up from the tub rim and mark a spot about a hand’s width below the ceiling on both walls.
Check both marks with a level so the rod does not tilt.
Set the rod, hang the liner and curtain, and let the hem sit just inside the tub.
5. Add a Wood Frame to the Mirror
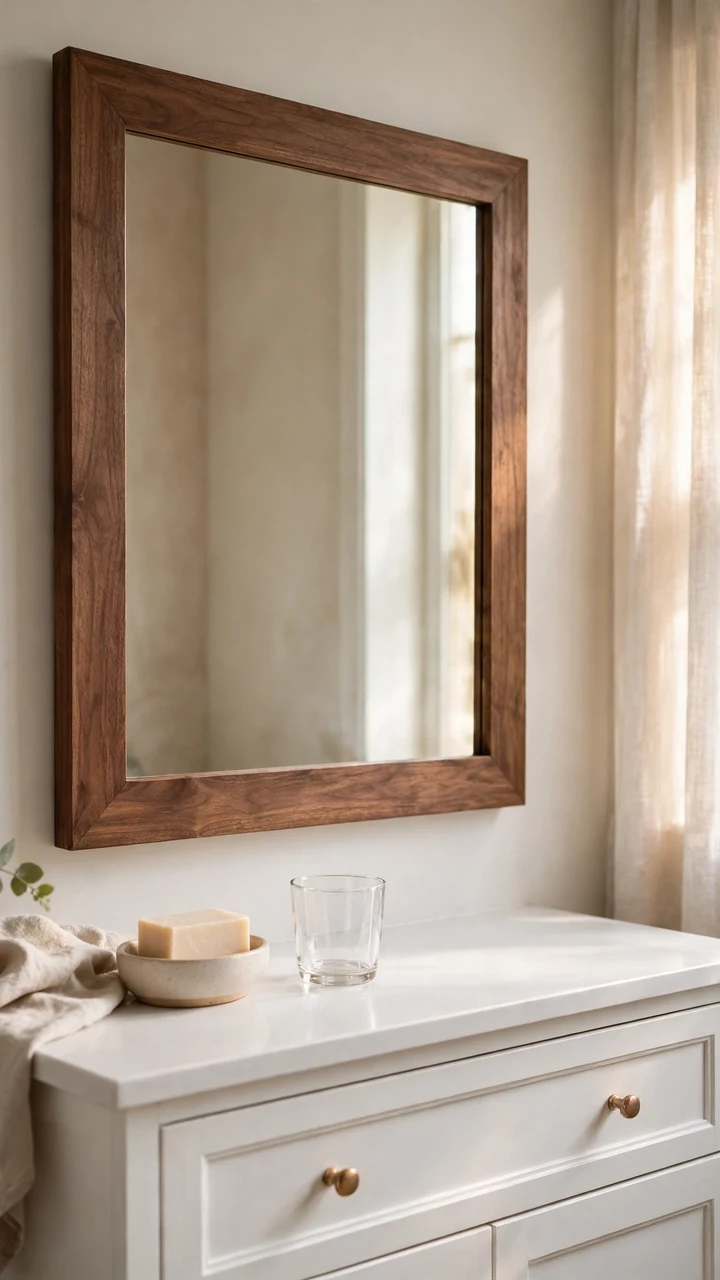
A frameless mirror held by two clips looks like a hole in the wall.
A wood frame turns it into a feature. Buy flat wood trim at the hardware store and ask them to cut it at 45 degree angles, or cut it yourself with a cheap miter box. Paint it to match the vanity or stain it a warm walnut. Glue the pieces to the wall around the mirror edge with mirror safe adhesive and hold them with painter’s tape overnight.
Use lightweight trim, because the wall adhesive holds the full weight.
6. Put a Shelf Above the Toilet
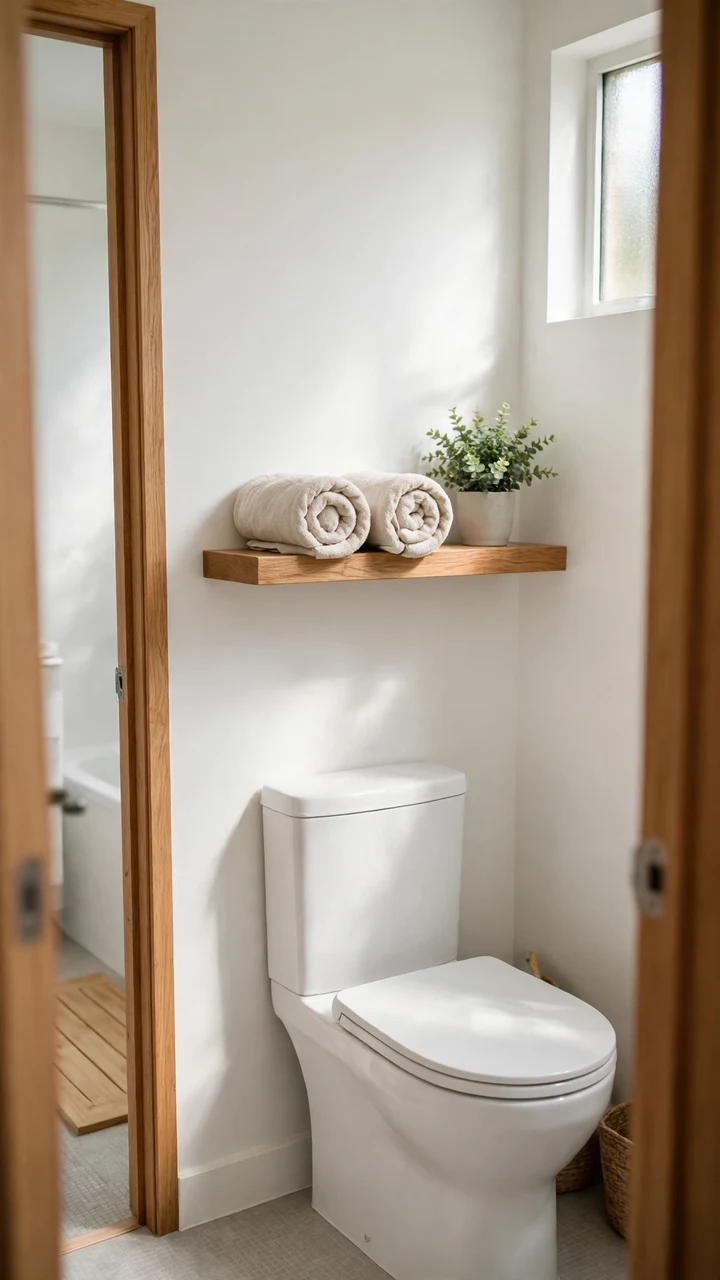
That blank wall above the tank wastes your best storage spot.
A floating shelf holds spare rolls, a small plant, and a candle without taking up one inch of floor. Pick a shelf about as wide as the tank, or a little wider, and place it high enough that you do not bump your head when you stand up. Wood in a warm oak tone softens a cold white bathroom. Black metal brackets suit a more modern room.
Find a wall stud or use heavy duty anchors, since bathroom walls often hide thin drywall.
What to grab first
7. Redo the Caulk
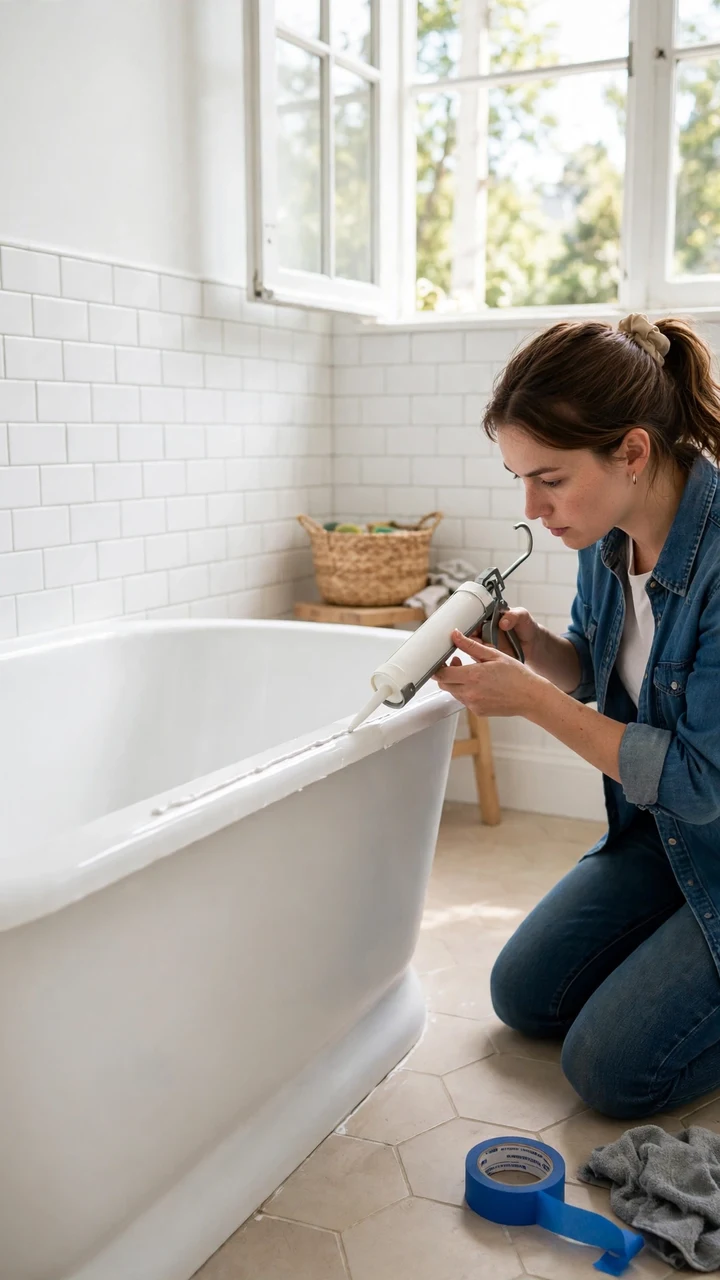
Old caulk turns gray, then yellow, then dark around the tub and sink. It makes even a clean bathroom look neglected.
Scrape it all out with a caulk removal tool or a plastic scraper, wipe the gap with rubbing alcohol, and let it dry fully before you start. A fresh bead of white silicone caulk labeled for kitchen and bath gives the room a clean line again. It is one of the cheapest affordable bathroom renovation ideas, and the payoff shows up in every photo of the room.
If black spots keep coming back under new caulk, moisture may be hiding behind the wall. Have it checked.
Remove every bit of the old bead first.
Let the gap dry completely.
Smooth the bead with a damp fingertip.
Caulking over the old layer.
Running the shower right after you finish.
Using painter’s caulk where water splashes.
8. Install a Handheld Showerhead
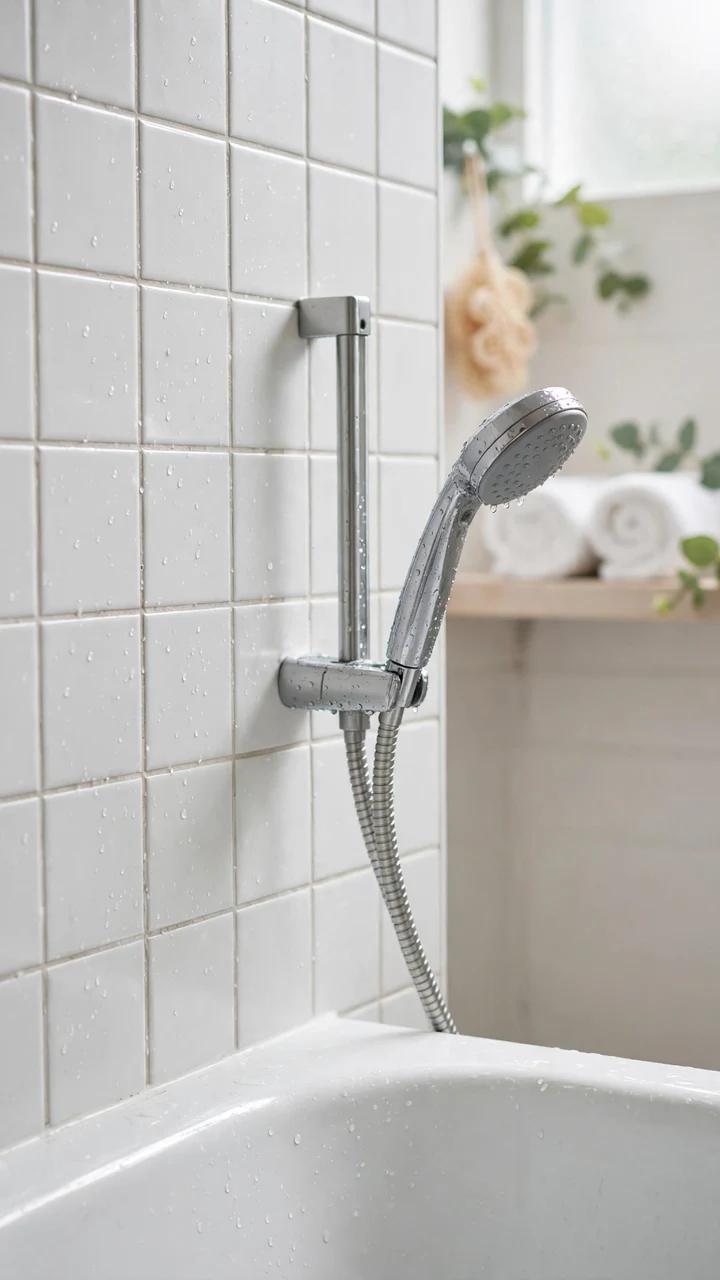
Rinsing the tub with a fixed head means a lot of bending and splashing.
A handheld showerhead screws onto the same arm as your current one, so there is no plumbing work. It makes cleaning the walls and tub easier, helps with kids and pets, and gives the shower a more current look. Pick one with a hose long enough to reach the far end of the tub, and a matte or brushed finish that matches your faucet. Wrap the pipe threads with plumber’s tape before you attach the new fitting.
Keep the old head. If you rent out the house one day, it goes back on in two minutes.
| Fixed head | Handheld |
|---|---|
| One spray direction | Aim it anywhere you need |
| Tub cleaning means a bucket | Rinse walls and tub with the hose |
| Fixed at one height | Slides on a bar for any height |
9. Paint the Vanity Charcoal
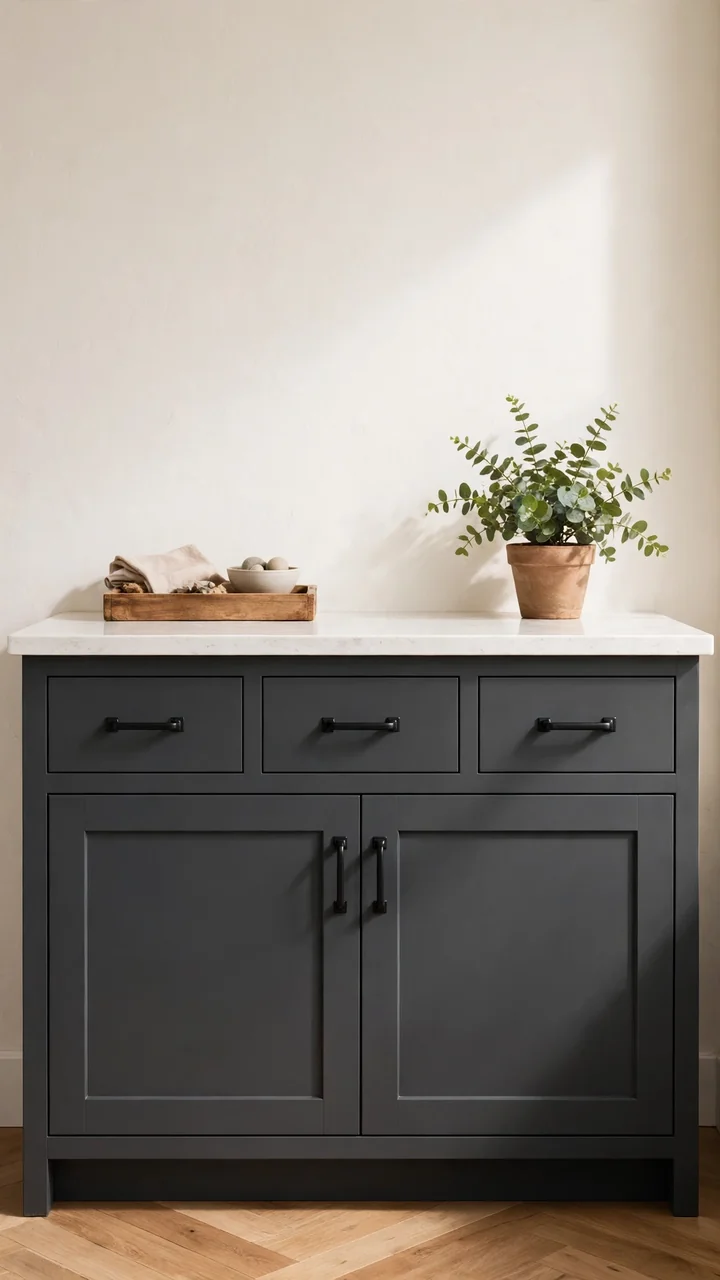
Scuffed honey oak vanity cabinets are one of the first things people notice in an old bathroom.
Charcoal paint makes them look like a deliberate choice instead of leftover builder wood. It pairs well with warm white walls and matte black pulls. Prep decides how long the finish lasts: clean off the oils with a degreaser, scuff the surface with fine sandpaper, then roll on a bonding primer. Two thin coats of cabinet paint look better than one thick coat. Wait for each coat to dry fully, and leave the doors off their hinges while you work.
Give the cabinet a few days to cure before you load it with bottles.
Prep decides everything. Degrease, sand lightly, prime, then paint in two thin coats.
10. Cover the Floor With Peel and Stick Tiles
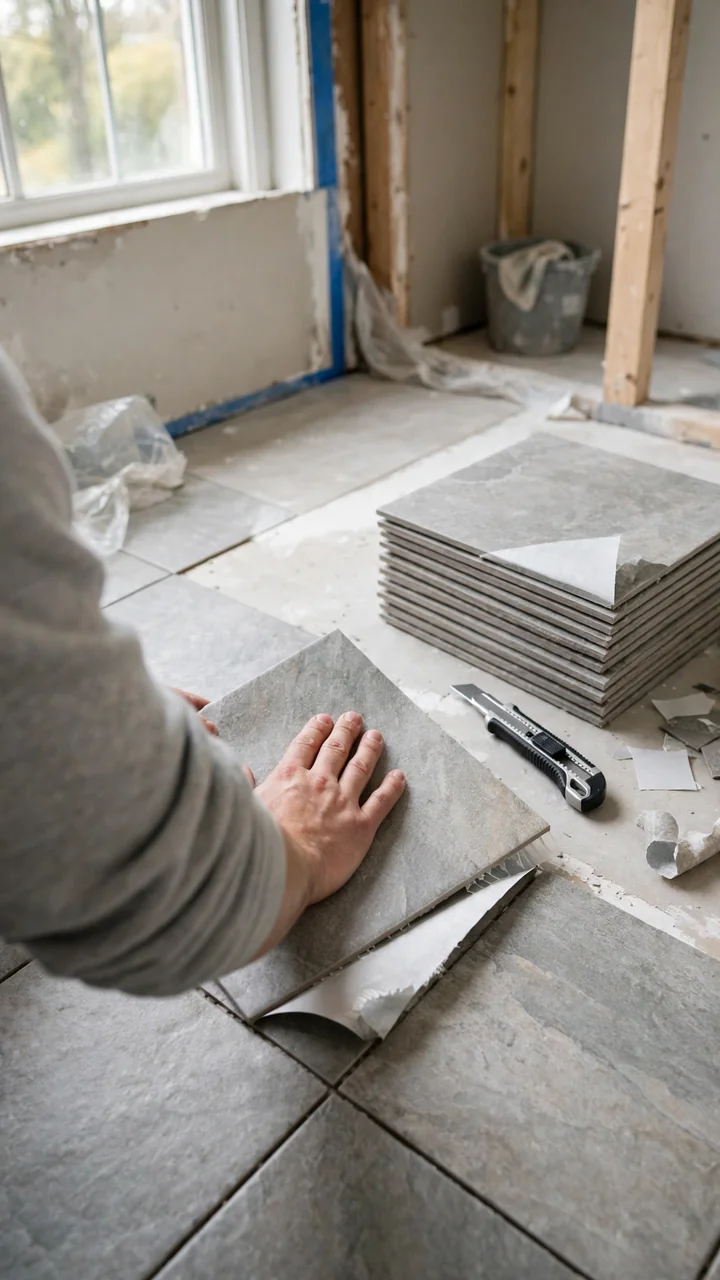
Cracked or yellowed vinyl is hard to ignore, and ripping it up costs money you do not have yet.
Peel and stick tiles go right over smooth, clean vinyl. A matte gray stone look or a simple black and white pattern hides old stains and seams. Sweep and mop first, because dirt under a tile causes bumps. Start in the center of the room so the cut tiles at the walls come out even on both sides. The tiles near the tub should be pressed down firmly and sealed with a thin line of caulk.
Texture or deep grooves in the old floor will telegraph through, so test one tile first.
Clean the floor, let it dry, and remove the toilet seat if it gets in the way.
Lay the first tile in the center and press it flat from the middle outward.
Work out toward the walls and keep the seams tight with no gaps.
Trim the edge tiles with a utility knife and a straight edge, then caulk the border near the tub.
11. Get a Slow Close Toilet Seat
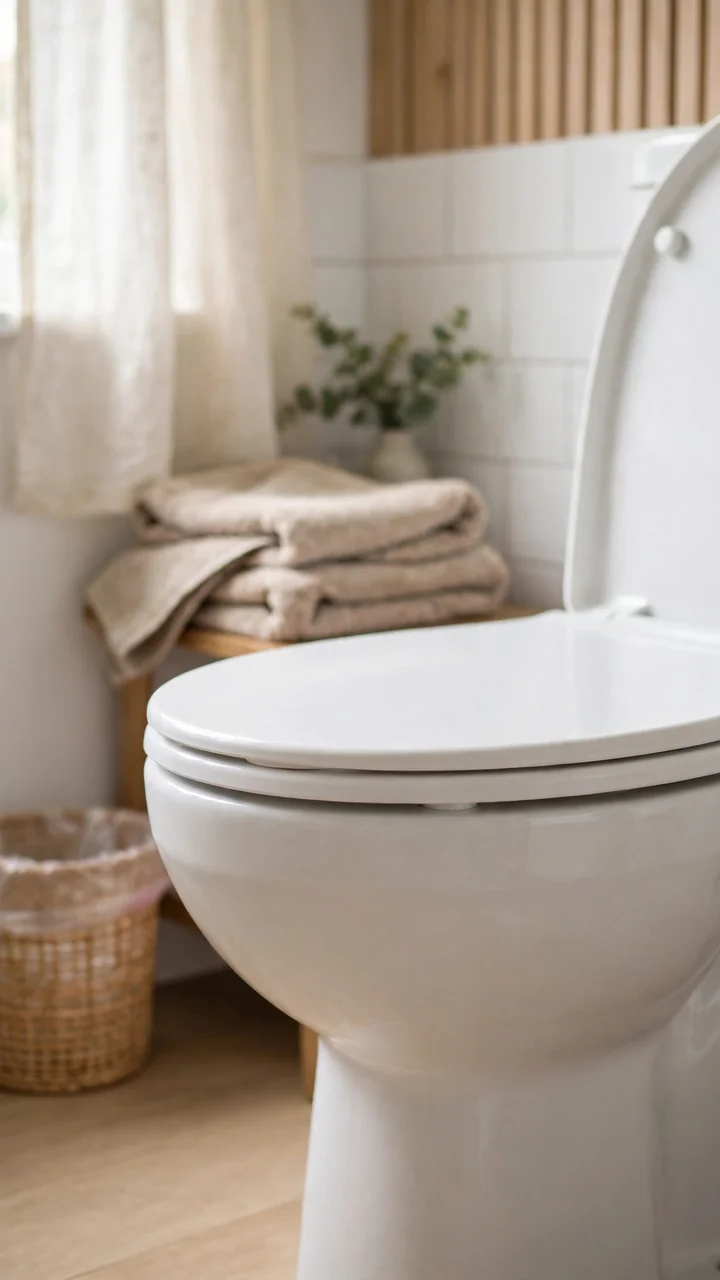
A cracked, stained, or wobbly seat makes a clean bathroom feel worn out. You notice it every single time you walk in.
A new seat costs little and swaps out in minutes. Look for a slow close model, which lowers quietly and never slams at night. White or bone should match your bowl, so hold a color swatch or take a photo to the store. Check whether your bowl is round or elongated before you buy, since the two shapes are not interchangeable.
Most seats release with a quick twist, so the old one comes off without tools.
12. Add a Shower Corner Shelf
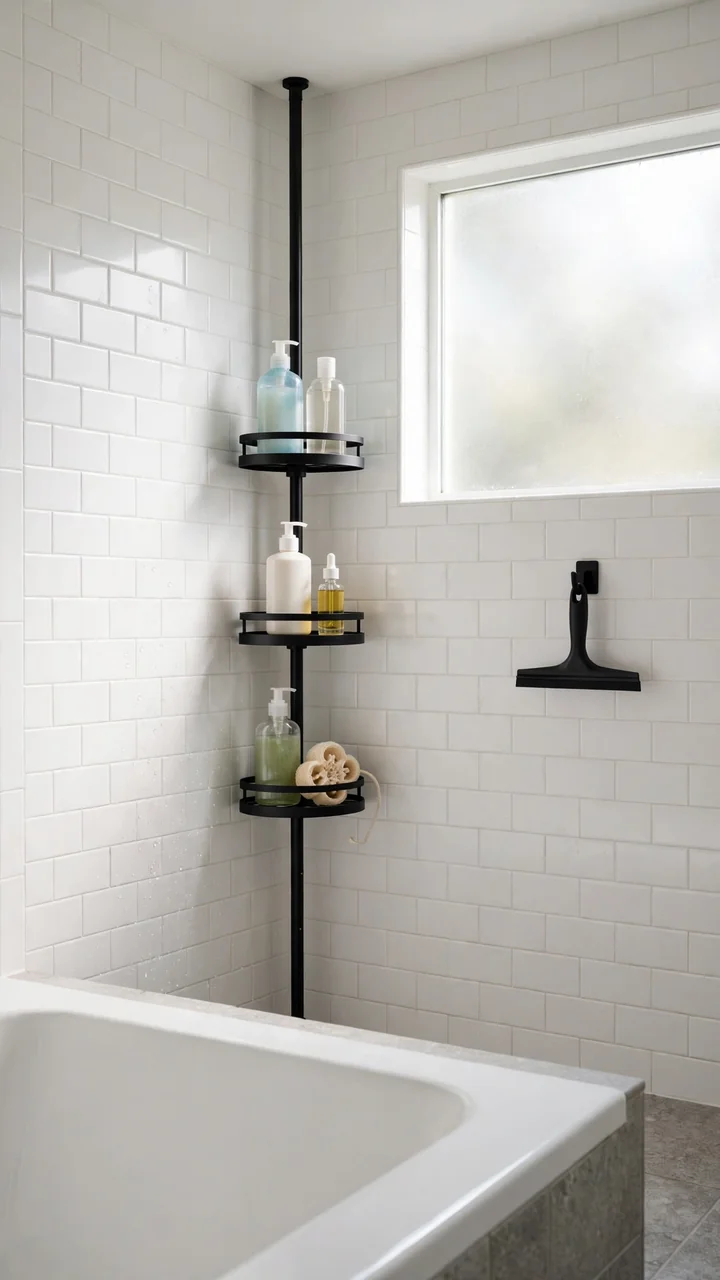
Shampoo bottles lined up on the tub edge fall over, grow mold underneath, and make a small bathroom look cluttered.
A tension pole shelf rises from the tub floor to the ceiling and needs no drilling. Choose a model with three tiers in matte black or white, depending on your hardware. Group your daily bottles on the middle shelf, keep a razor and soap on top, and leave the lowest shelf for a loofah that needs air.
This is one of the easiest small bathroom updates on a budget because it removes clutter you were tripping over anyway.
Before you buy a tension shelf
13. Clean Up the Grout
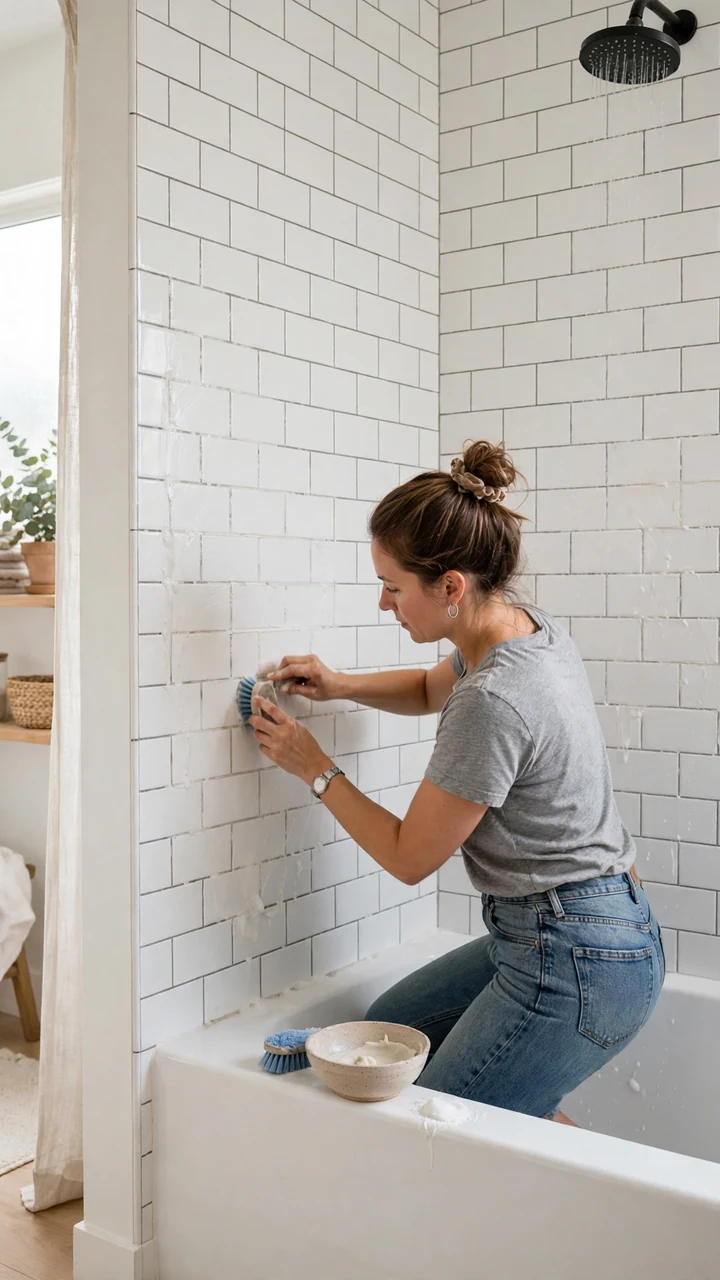
Grout turns gray and dull long before the tile itself looks bad.
Try a stiff brush and a paste of baking soda and water first. It lifts surface dirt from many old lines with no special products. For lines that are cracked or crumbling, scrape out the loose grout with a grout saw, then press in new grout with a rubber float. Pick a light gray over white, because it hides future stains better.
Seal the new grout after it cures, and wipe the shower walls with a squeegee to keep it clean longer.
Dark, patchy lines that make clean tile look dirty from across the room.
Even, light lines that frame each tile and make the whole wall look newer.
14. Paint Over the Old Tile
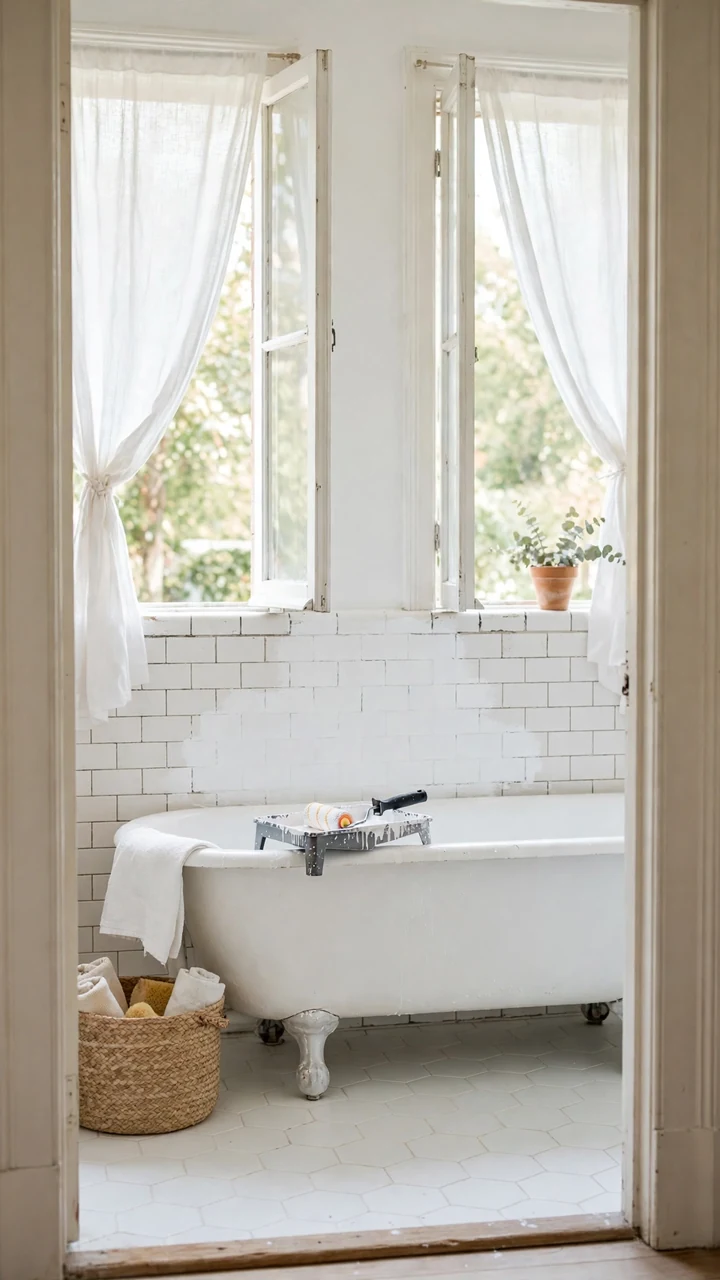
Dated pink, avocado, or mustard tile is the hardest thing to live with, and replacing it costs real money.
A tile paint kit made for tubs and tiles is a smarter first step. Wash the tile with a strong cleaner, scuff it so the paint grips, and roll on a bonding coat before the color. White or soft gray coverage turns the whole wall into a clean backdrop. Run a fan and keep the door open during the job, because the fumes are strong.
This is a good dated bathroom makeover on a budget when the tile is solid but ugly. It will not fix cracked or loose tile.
| Tile paint | Replacing tile |
|---|---|
| Low cost, weekend job | Higher cost, several days |
| Works on sound tile | Fixes cracked or loose tile |
| Needs touch ups over time | Lasts for many years |
15. Replace the Faucet
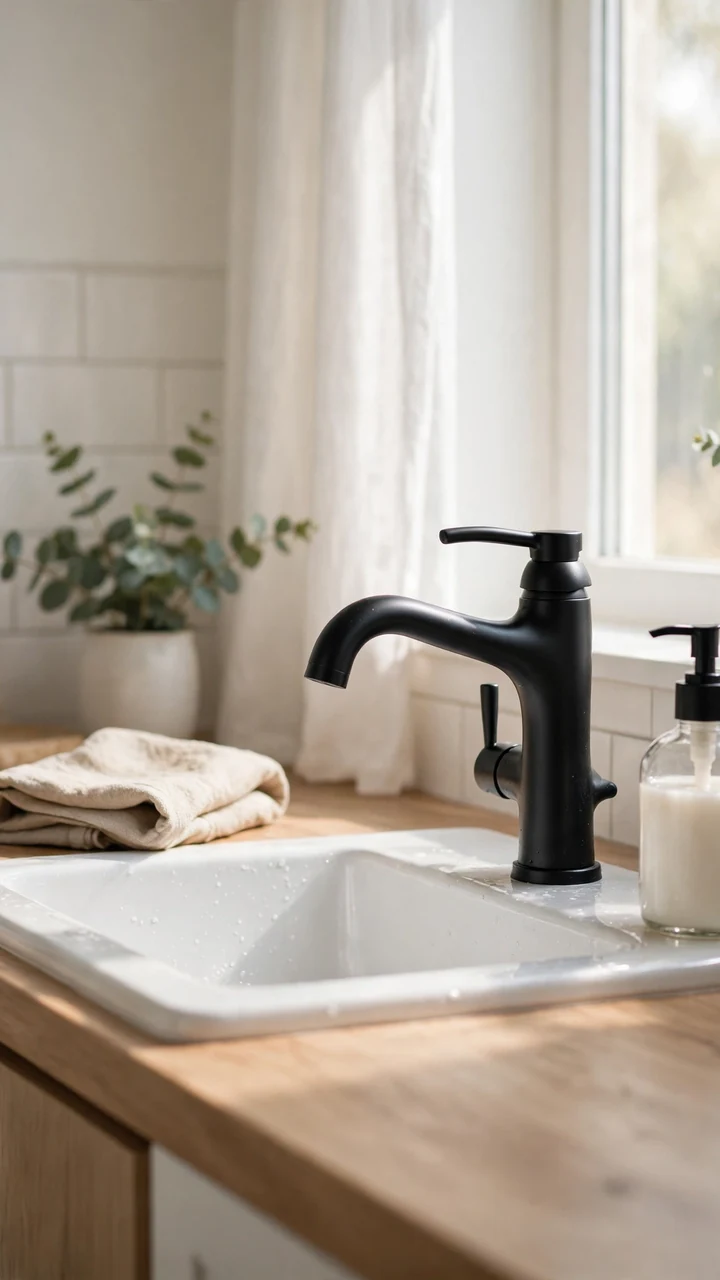
A pitted faucet with two cloudy handles drips money and looks worn, even after a deep clean.
A single handle faucet gives you cleaner lines and one lever for both hot and cold. Look at the sink first. Count the holes, then measure from the center of the far left hole to the center of the far right hole. Buy a faucet that fits that spacing, or one that comes with a cover plate. Match the finish to your cabinet pulls so the vanity reads as one set.
Keep a bucket under the sink and a basin wrench nearby, since the nuts sit in a tight spot.
16. Use Towel Hooks
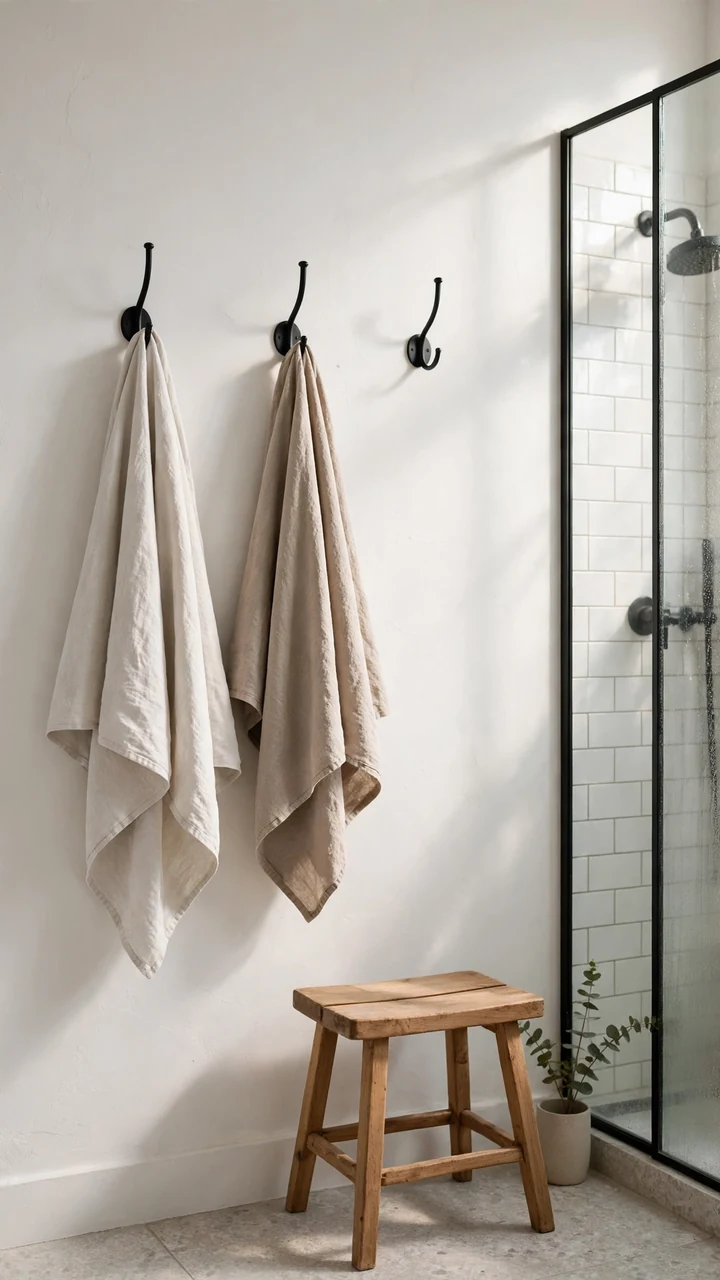
Towel bars hold one towel flat, and it stays damp for hours.
Hooks let towels hang loose so they dry faster, and they fit more towels in the same space. Mount them on the back of the door or on a wall near the shower. Choose a row of two or three in matte black, brushed nickel, or a warm wood. Space them about as far apart as your hand is long, so towels do not overlap.
Use wall anchors if the hook is not on a stud. A wet towel is heavier than it looks.
💡 Quick Tip
Hang one hook lower for kids or guests. Everyone gets a spot, and the towels never end up on the floor.
17. Hide Spare Toilet Paper in a Basket
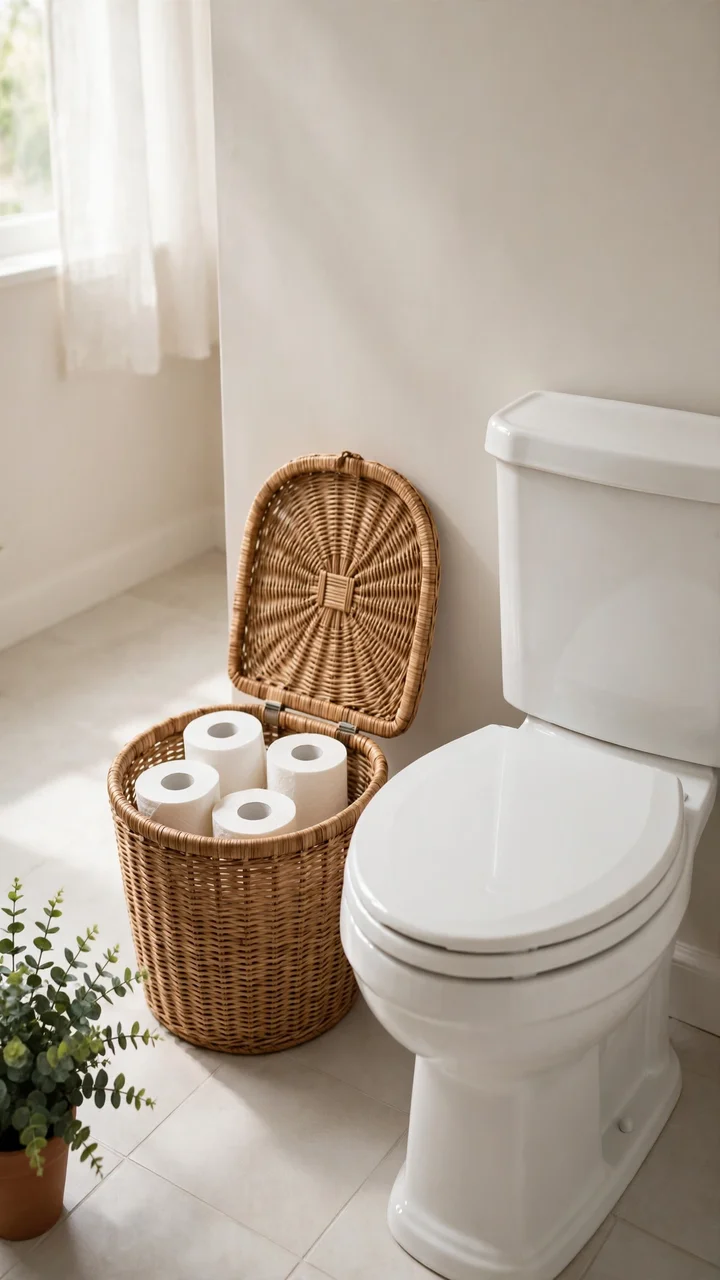
A stack of toilet paper on the tank looks like storage that never got finished.
A lidded basket beside the toilet fixes that in a minute. Woven seagrass or a wire basket with a cloth liner adds warmth to a cold, tiled room. Choose a size that holds a few rolls with space left over, and keep the rest of the pack in a closet. The lid also keeps stray splashes and dust off the paper.
Place the basket where you can reach it while seated. That small detail makes it useful, not just pretty.
Covered storage makes a small bathroom look calm. Keep the basket within arm’s reach of the toilet.
18. Swap the Yellow Switch Plates
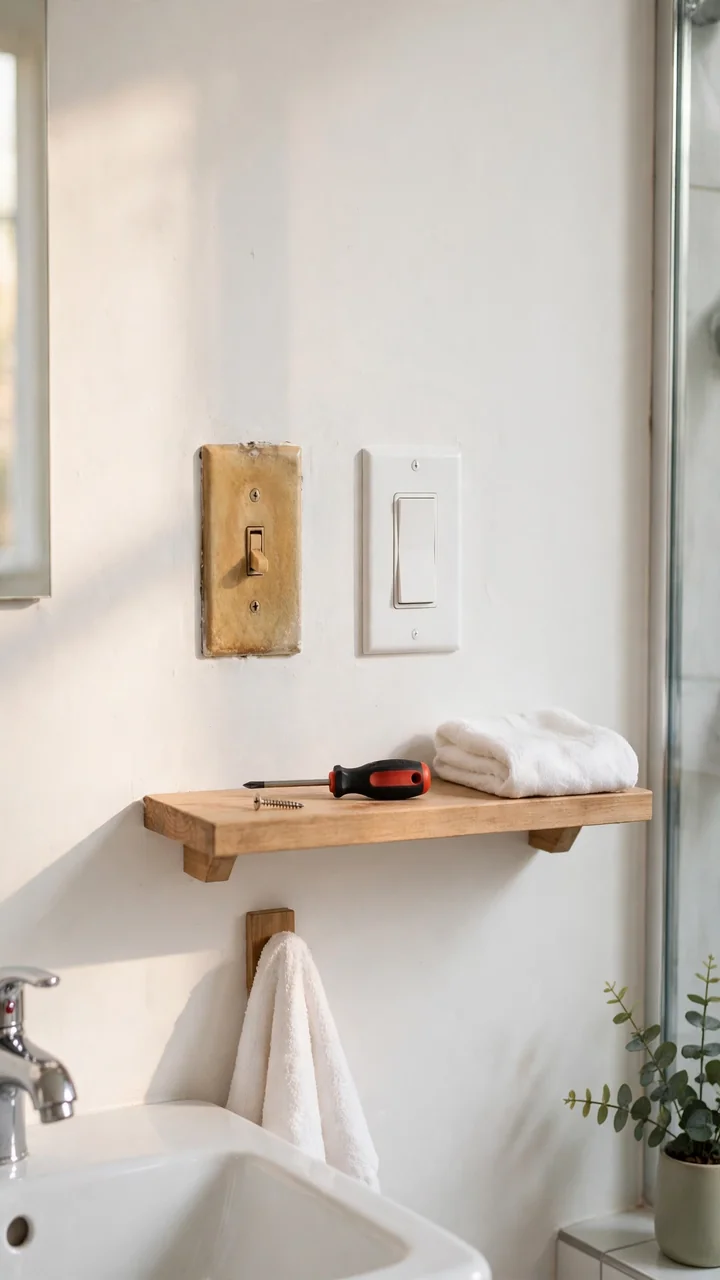
Cream plastic yellows over the years, and it shows most against fresh white paint.
New switch plates and outlet covers cost very little and take minutes to install. White gives you a clean look, and matte black matches your new hardware. Turn off the power at the breaker first, then unscrew the old plate, hold the new one against the wall, and tighten the screws gently so the plastic does not crack.
Replace the plate behind the toilet and the one by the door too. Missing even one makes the whole set look uneven.
Count these before you shop
19. Add Plug In Lights by the Mirror
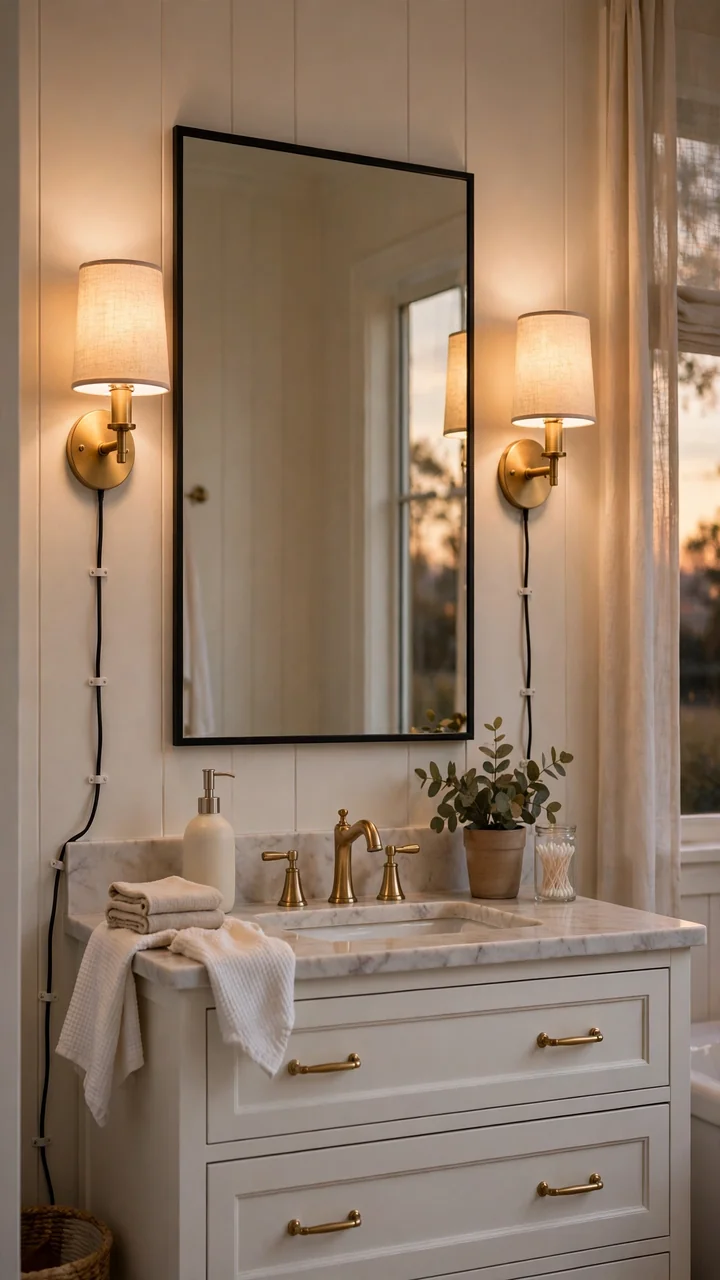
Overhead light alone casts shadows under your eyes and chin.
Plug in sconces on both sides of the mirror fix that without any new wiring. Look for ones with a long cord that you can tuck behind the wall with cord clips, and a switch within easy reach. Choose warm white bulbs and a simple shade in matte black or white linen. Mount each sconce at about eye level so the light falls on your face, not the ceiling.
Check that the outlet near your sink is a GFCI type and that every light is rated for damp rooms.
20. Cover the Window With Frosted Film
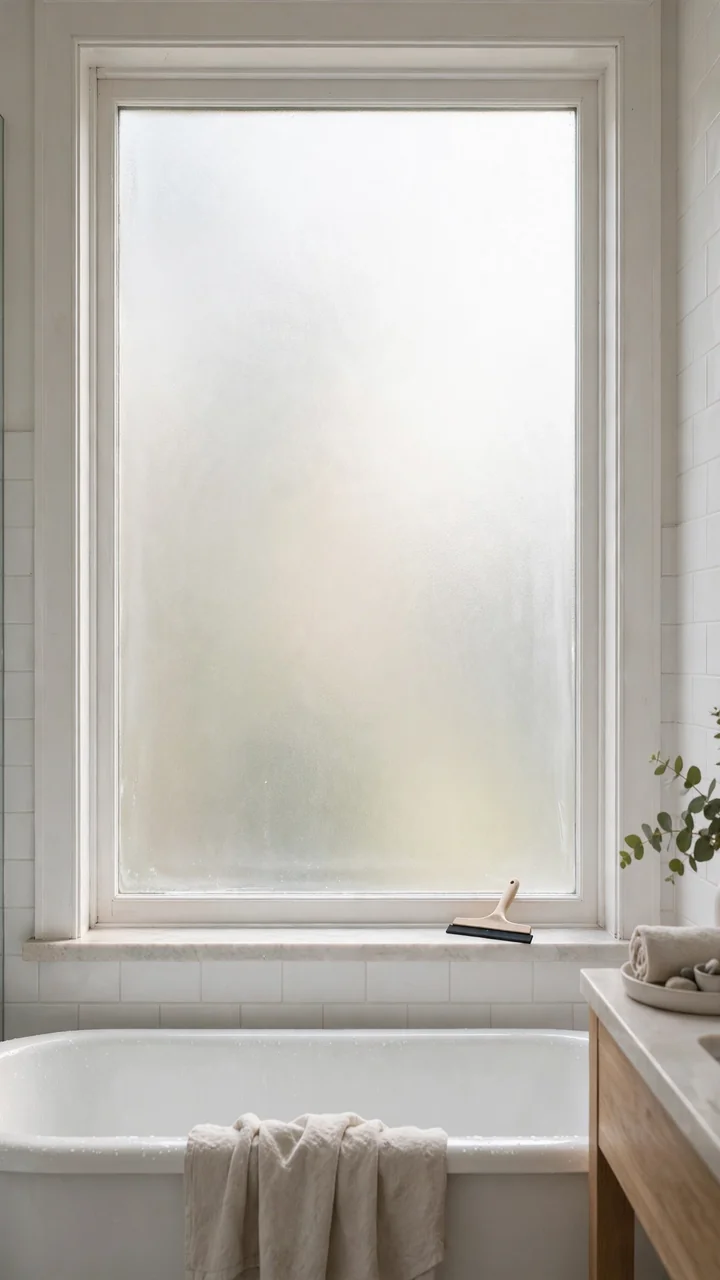
A bare bathroom window either lets the neighbors see in or makes you hang a heavy curtain that gets damp.
Frosted window film solves both problems. It blocks the view and still lets daylight in. Measure the glass, cut the film a little larger than the pane, then trim it with a utility knife for a clean fit. Many films stick with water alone, so you can peel and reposition them if the first try goes crooked.
A plain frosted look suits most rooms. A light linen pattern adds texture if you want something more decorative.
Clean the glass well, then dry it with a lint free cloth.
Spray the glass with soapy water and lay the film on top.
Smooth out the bubbles with a squeegee and trim the edges.
21. Lay Down One Runner Rug
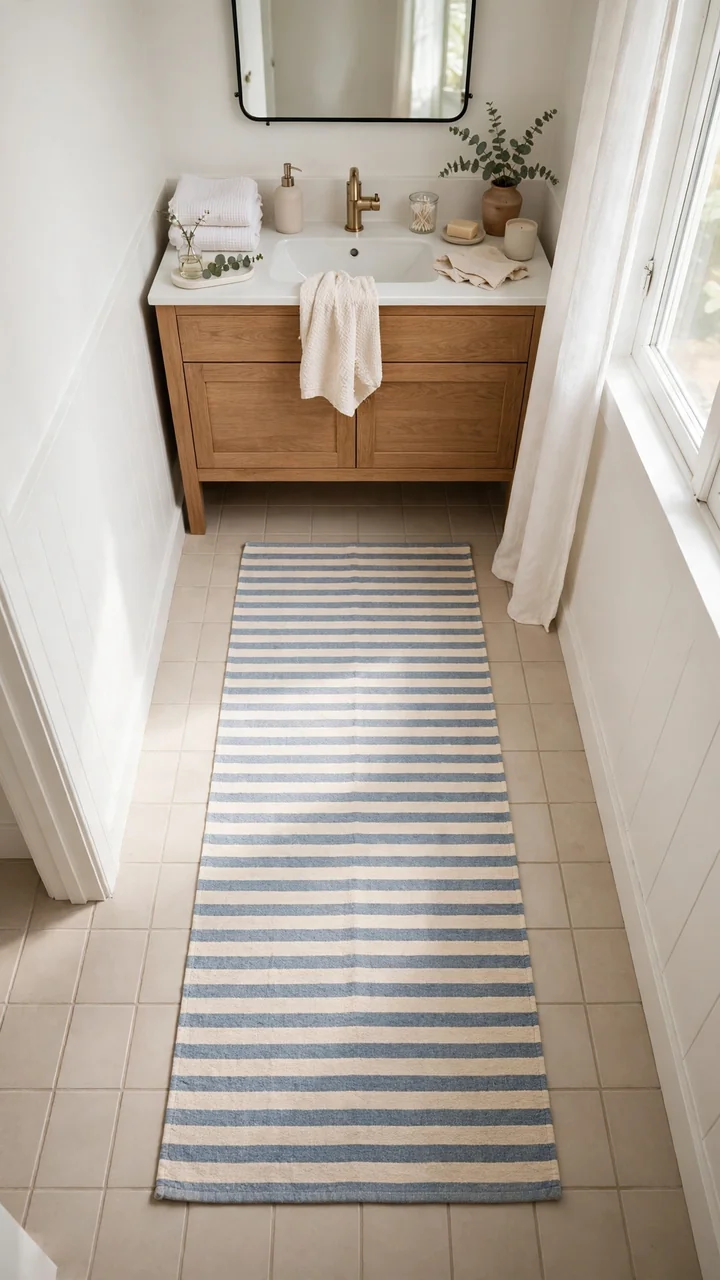
Three small mats scattered across the floor look random, and they slide.
One runner in front of the vanity or along the tub gives the room a clear focal point. Pick a low pile cotton or washable synthetic rug in a neutral stripe or soft gray. Add a non slip pad underneath so it stays put on tile or vinyl. Measure the walkway first, then leave a few inches of bare floor on each side so the rug looks planned.
Toss it in the wash every couple of weeks. A damp rug that never dries starts to smell.
Use a non slip pad under the rug.
Choose a machine washable fabric.
Leave a border of floor around it.
Thick shag that stays wet for days.
A rug that covers the whole floor edge to edge.
Mats with a hard rubber backing that stains vinyl.
22. Lean a Ladder Shelf by the Tub
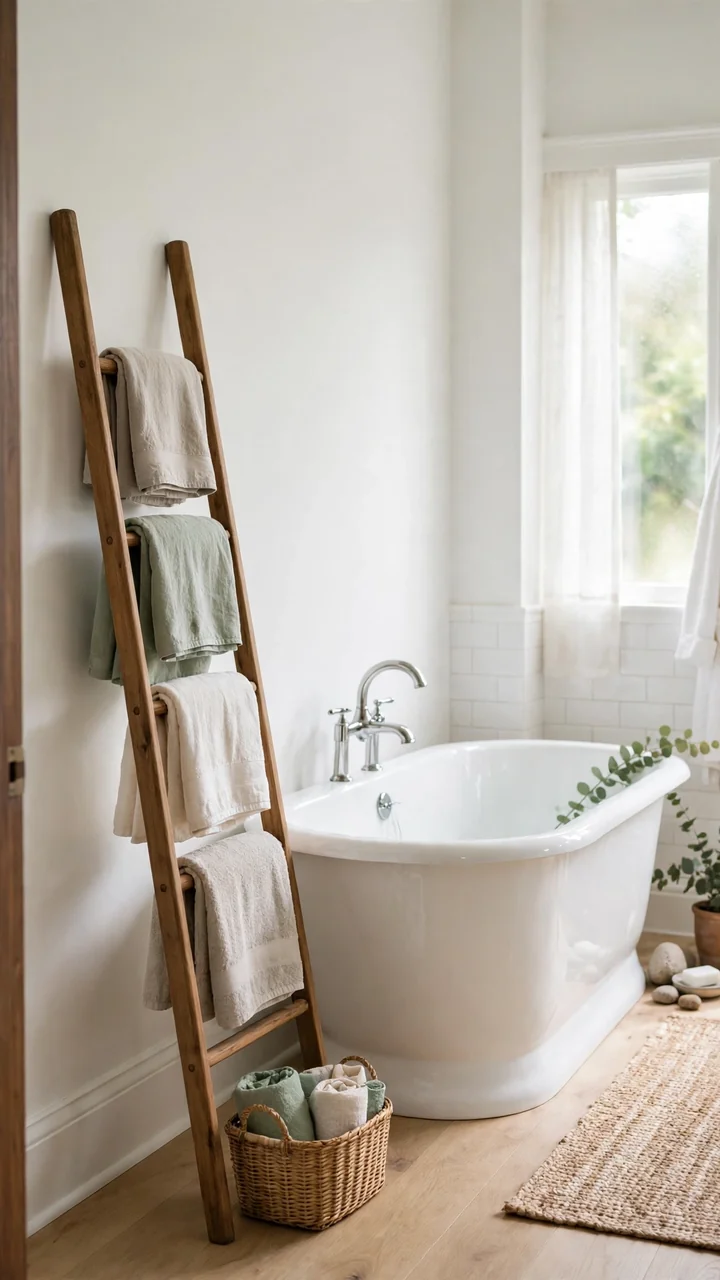
Towels piled on the toilet lid or the tub edge never look neat.
A leaning ladder shelf gives you vertical storage with no drilling. Look for a wood or metal model with four or five rungs, and fold a towel over each one. Roll a few extras and tuck them into a small basket on the bottom step. The open frame keeps air moving, so towels dry between uses.
Place it on a dry stretch of floor, away from the direct spray of the shower.
⚠️ Watch Out
Lean the shelf against a solid wall and test it with a gentle push before you load it. Skip this idea if small kids might climb it.
23. Replace the Vent Fan Cover
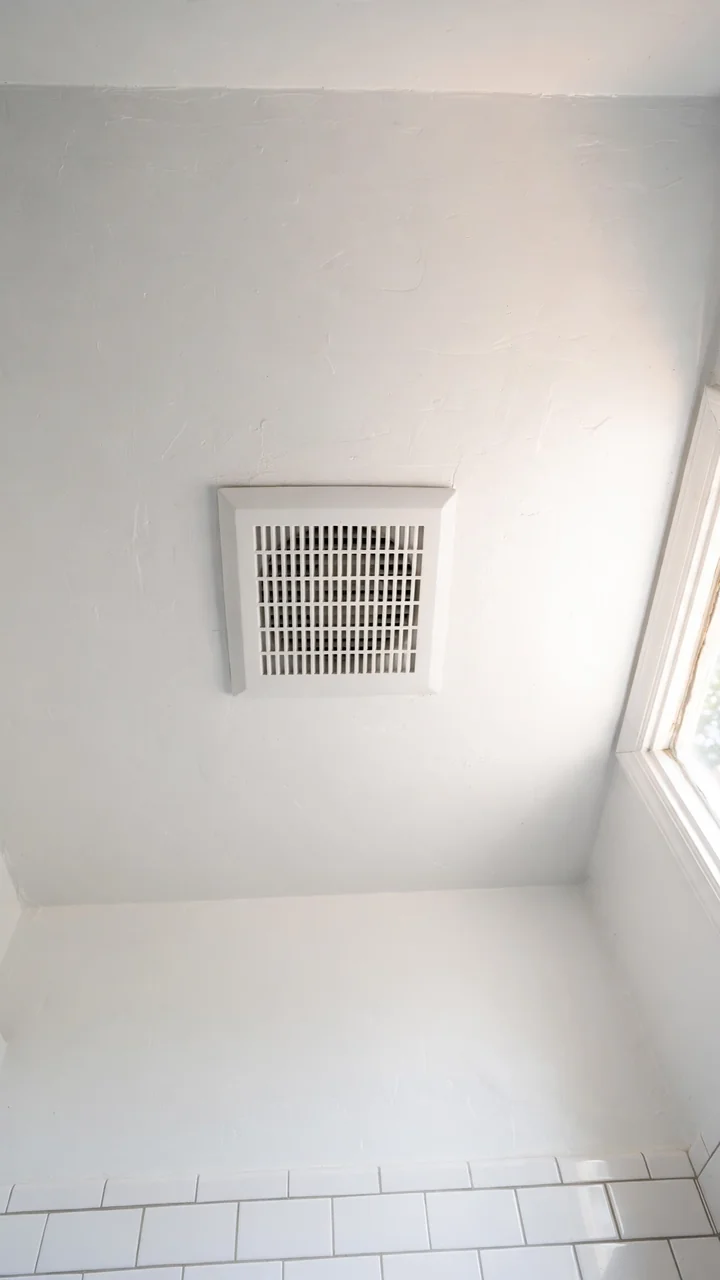
Look at the ceiling for a moment. A yellow, dusty fan cover pulls the eye up for all the wrong reasons.
A new cover snaps onto the same housing in most cases and costs very little. Pull the old one down, check the model number printed inside, and buy a cover made for that brand. While it is off, vacuum the dust from the housing and the fan blades. A clean fan clears steam faster and helps keep mold off the walls.
Run the fan during every shower and for about twenty minutes after.
Match the model number before you buy. A cover from the wrong brand will not fit the housing.
24. Keep the Counter to Three Things
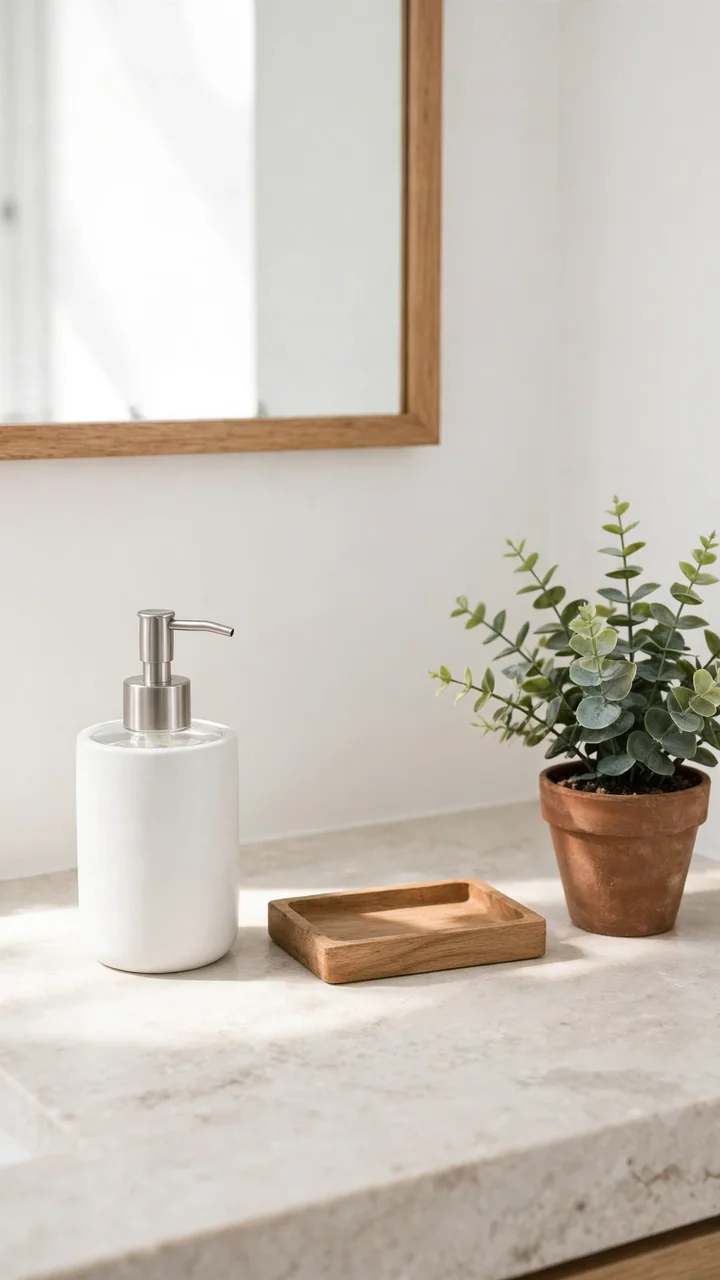
Crowded counters make a small vanity feel even smaller.
Here is a simple rule: pick three items and give everything else a home in a drawer or basket. A soap dispenser, a small tray for rings or a toothbrush cup, and one touch of green is plenty. Set them toward one side so you still have room to work. Group them on a small tray if you like, since it keeps the pile from spreading.
Do a quick wipe every morning. It takes thirty seconds and keeps the room looking freshly cleaned.
- ▸One soap dispenser in a single color.
- ▸One small tray or cup for daily items.
- ▸One plant, real or faux, in a simple pot.
25. Switch to Matching Soap Dispensers
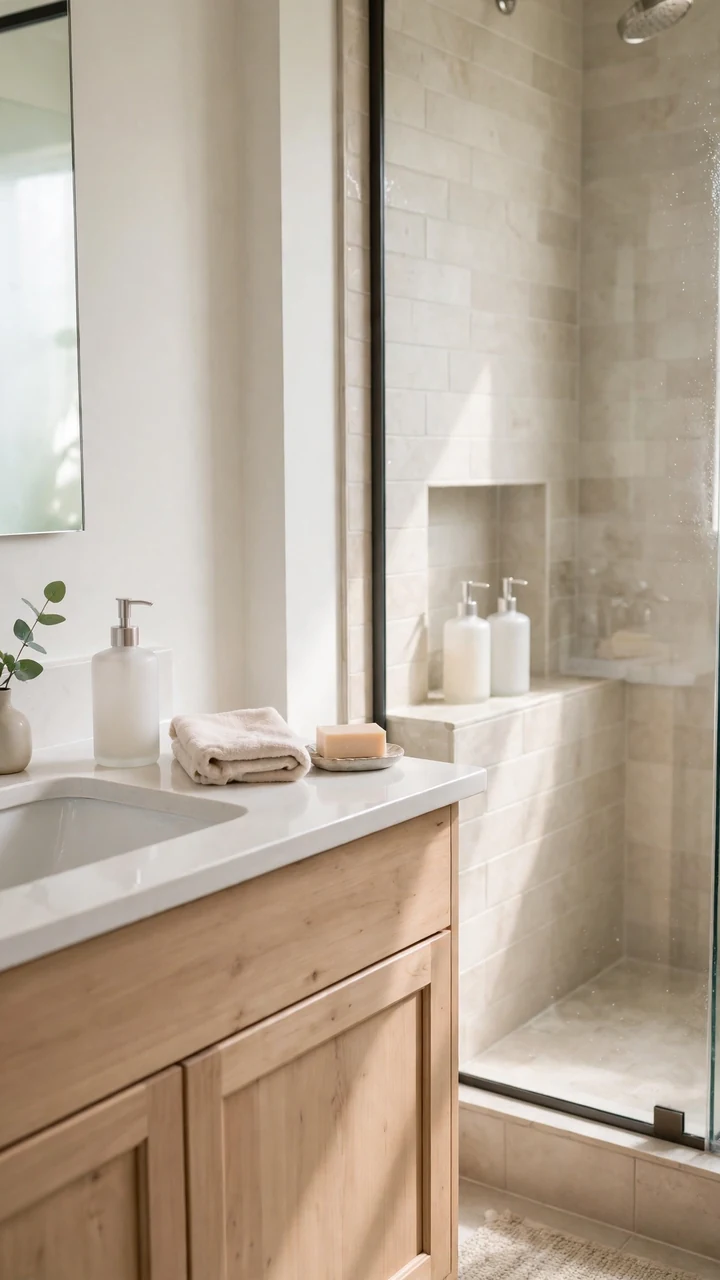
A mix of half used plastic bottles in loud colors ruins even a freshly painted bathroom.
Matching pump dispensers for hand soap, body wash, and shampoo make the room look finished. Buy refillable bottles in white, frosted glass, or matte black, and label them with small tags so no one mixes them up. Refilling from large jugs also costs less over time than buying fancy bottles each month.
Wash and dry the bottles before you refill them. Leftover soap can clog the pump.
Final Thoughts
A dated bathroom feels less heavy once you break it into small jobs. Paint the walls, swap the hardware, and change the light fixture, and the room already looks like a different place. The rest of the list can wait for the next paycheck, and every update works on its own.
These budget bathroom ideas for new homeowners work because they cost little and ask for patience more than skill. Start with the three that bother you most. Take a before photo so you can see how far the room has come.
Your first weekend plan
Save this list to your bathroom board, so it is ready the next time you walk into that room and wish it looked a little fresher.