You walk into your dorm room on move-in day and want it to feel like yours within an hour, not by the end of the semester. That is a fair thing to want, even with a small budget and your roommate’s boxes already stacked on the other side of the room.
Most dorm rooms start the same way. Two beds, two desks, bare walls, and a long list of rules about what you can stick to them. The good news is that college dorm bedroom decor on a budget does not need big spending or big changes. It needs a plan you make before you pack.
The 23 ideas below are low cost, safe for rented walls, and easy to try before you leave home. You will find fixes for the bed, desk, closet, lighting, and the space you share. Save the ones that fit your room, check your housing rules, and shop for the rest slowly. Your first week will feel calmer when you arrive with a plan.
1. Measure Your Room First
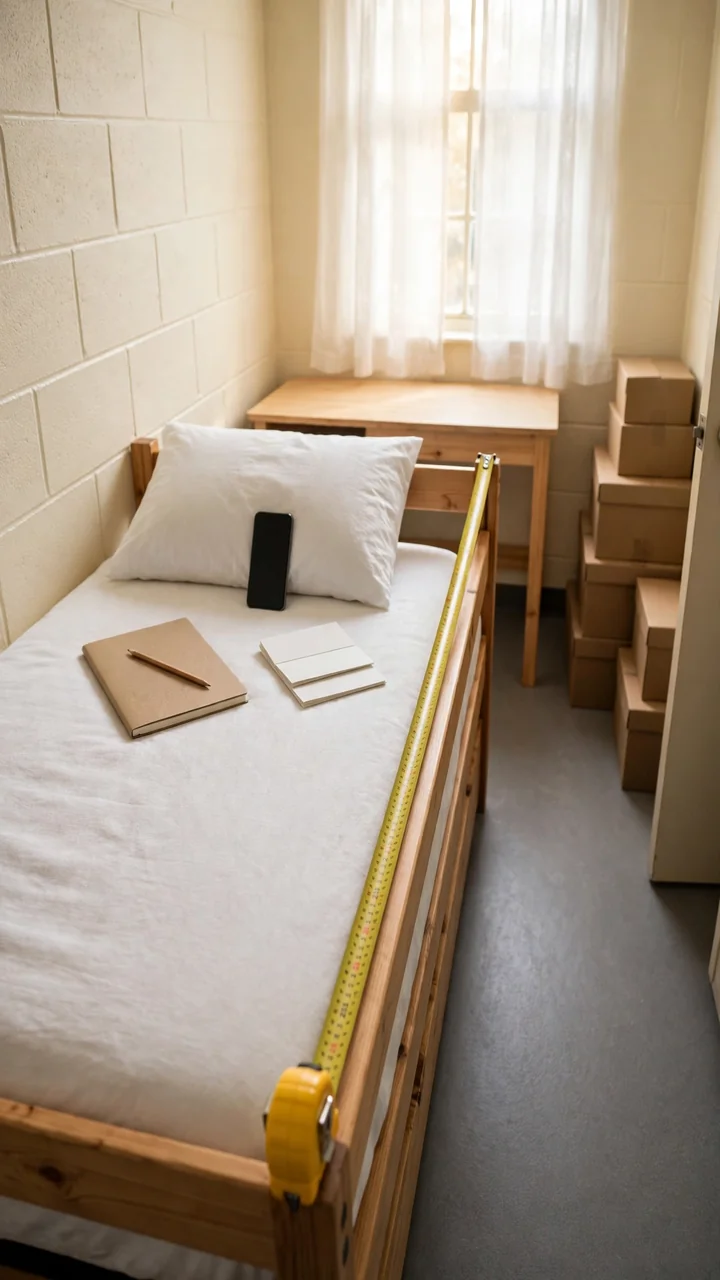
Measure before you shop. Every time.
Most schools post room sizes and a furniture list on their housing page. Read it, then measure the spots that decide what fits: the height under the bed, the window width, and the closet rod. A rug that is two inches too wide ends up back in the return line.
Put the numbers in your phone notes. Snap a quick photo of each spot too, so you can compare things in the store aisle.
Measure and check before you buy
2. Pick Two Colors With Your Roommate
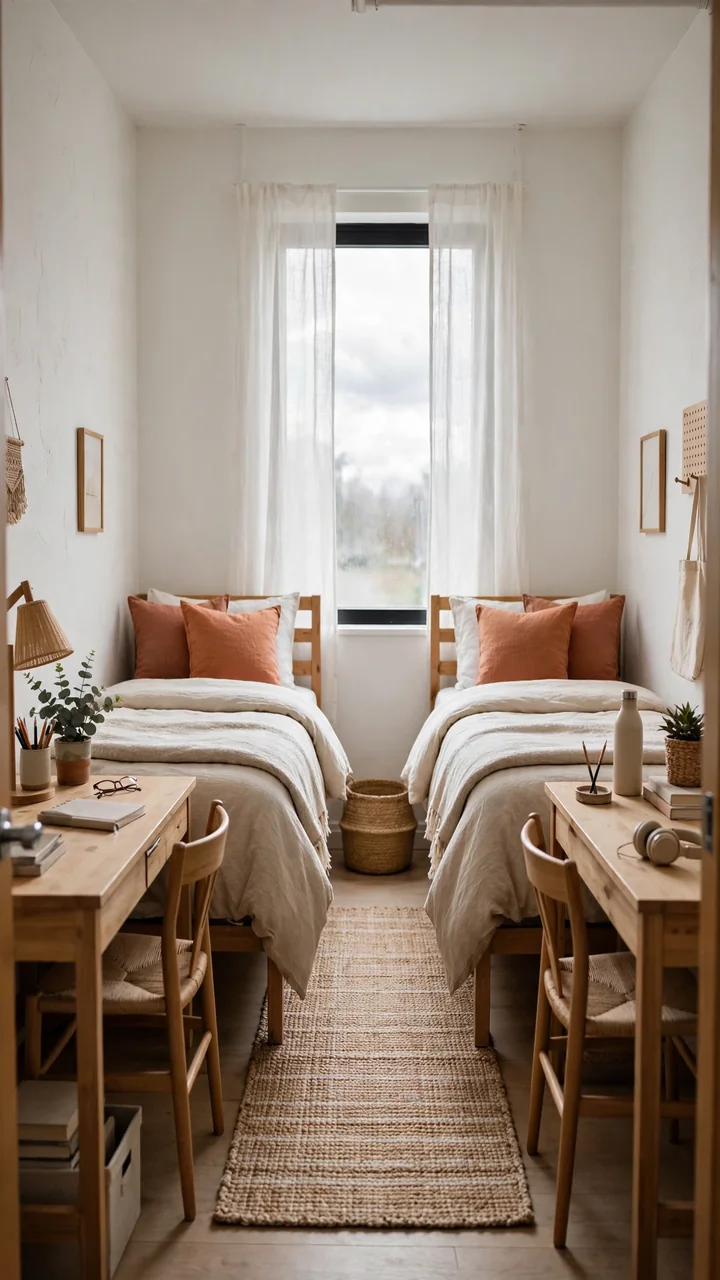
A shared room looks calmer when both sides follow one color plan. You do not need matching bedding. You only need to repeat the same two colors so the room reads as one space.
Try this split:
- One base color for big pieces like bedding and a rug
- One accent color for small things like pillows, frames, and a lamp shade
- White, wood, or woven baskets as the quiet third
Text your roommate a photo of your picks before either of you buys anything.
3. Layer Your Bed for More Comfort
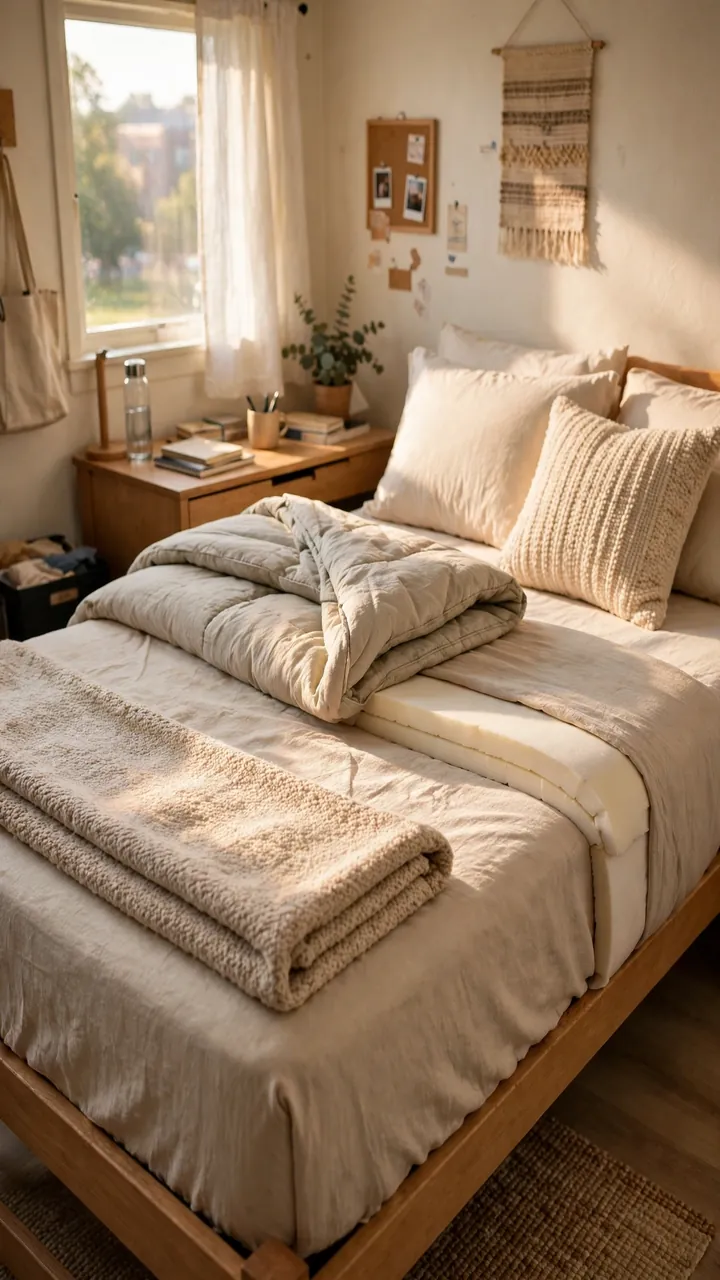
Thin, stiff mattresses are a classic dorm problem, and a pretty comforter will not fix one. Comfort comes from what sits under you.
Start with a topper, then build up. Foam toppers cost far less than a new mattress, but check your bed size first. Choose bedding in your two room colors so the bed also becomes your main decor piece.
Pack a spare sheet set too. Laundry day always lands at the worst time.
Lay a foam topper straight on the mattress.
Pull a fitted sheet tight over both layers.
Add a flat sheet and a washable duvet in your base color.
Finish with two pillows plus one accent pillow.
4. Lift Your Bed With Risers
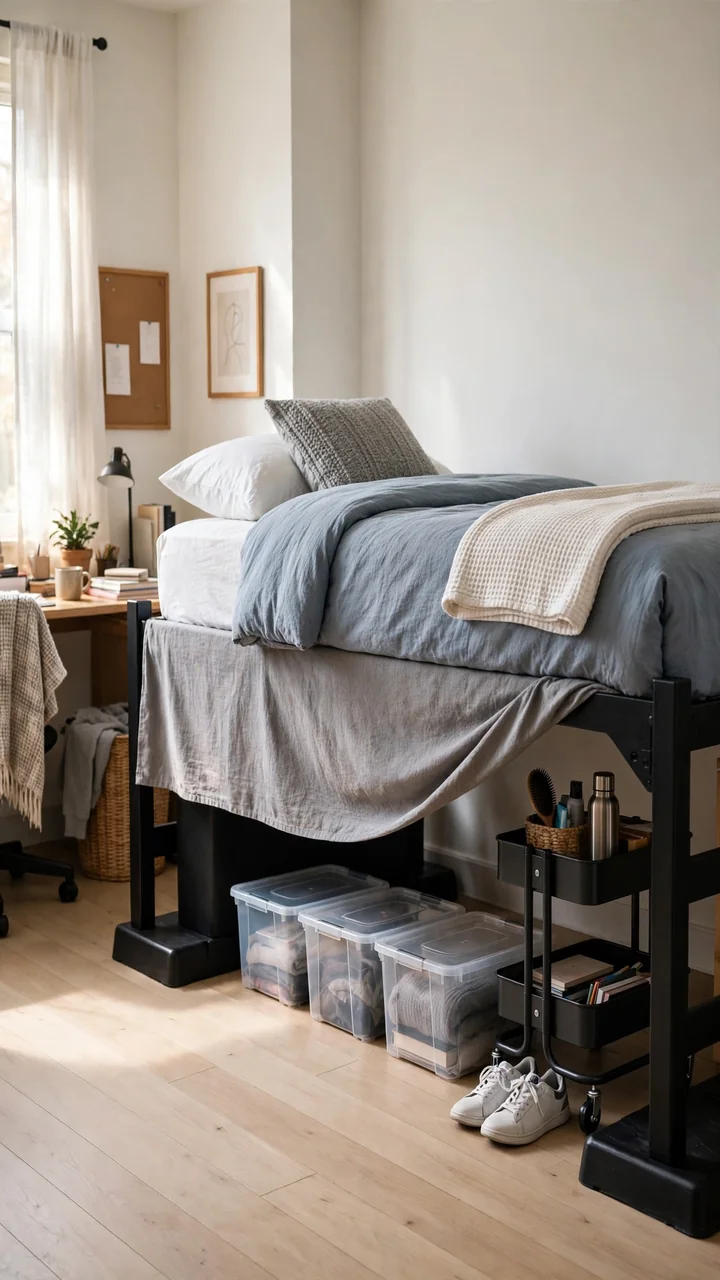
More floor space starts with the bed.
Risers raise the frame a few inches, and that gap holds bins, shoes, and a small rolling cart. Many dorms allow them, but some beds already adjust, so read your housing guide first.
Pick risers rated for the weight of the bed, the mattress, and you. Slide in flat bins instead of stacking boxes you have to unpack to reach. A long bed skirt or a draped throw hides the storage from view.
5. Hang a Fabric Headboard
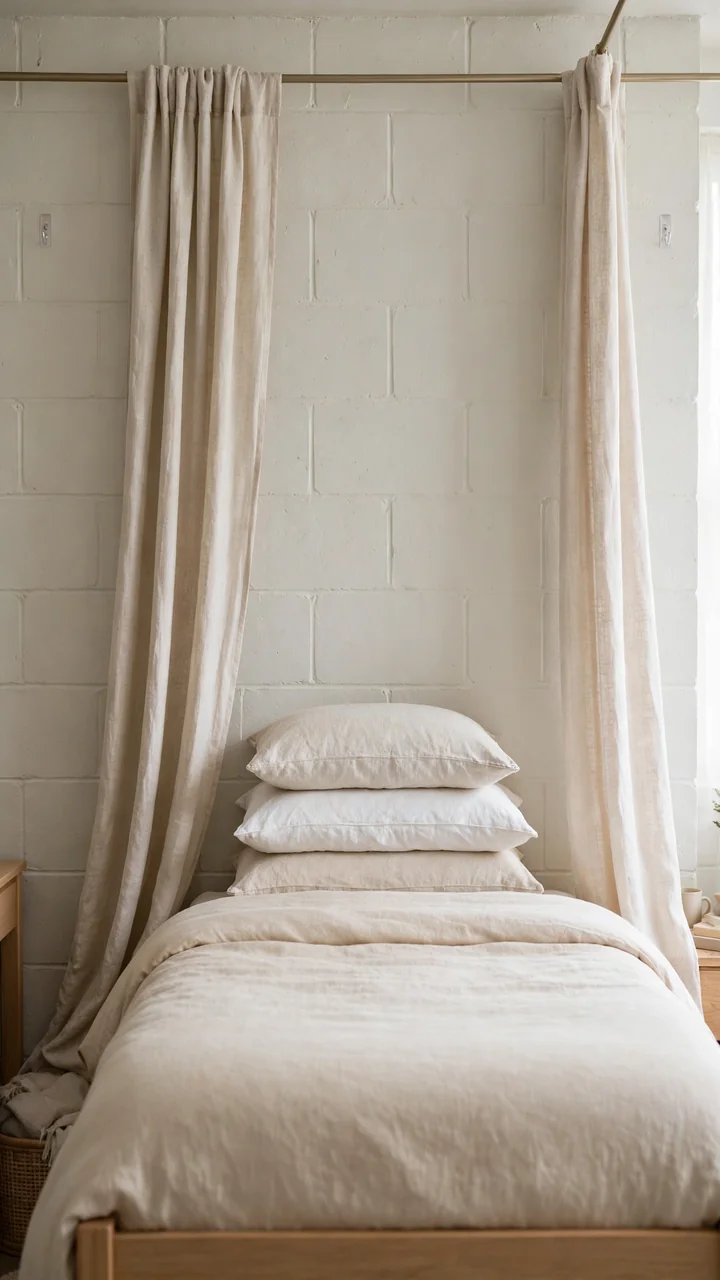
Look at the wall behind your pillow. Bare cinder block makes a bed feel like it is floating, and a soft headboard fixes that fast.
Hang a lightweight curtain rod on removable hooks, then drape a linen look panel or a plain flat sheet over it. Pick a calm color from your two color plan.
Keep the fabric light, since heavy cloth can pull hooks off the wall. And choose hooks rated well above the weight of the rod and fabric together.
💡 Quick Tip
Test one hook on a hidden spot first. Follow the wait time on the package before you hang the rod, and press each hook firmly for the full count.
6. Make a Gallery Wall Above Your Desk
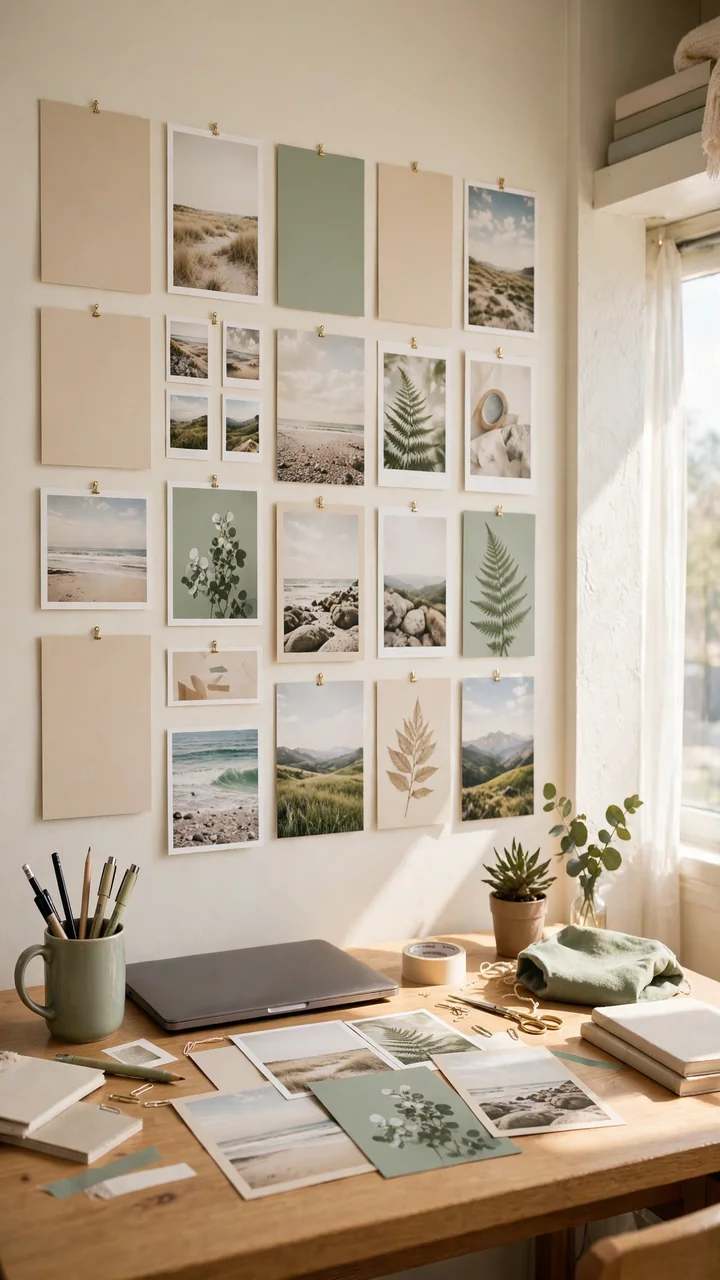
Bare walls make a desk feel like a waiting room.
A gallery wall fixes that for very little money. Print photos at a drugstore kiosk, then add postcards, ticket stubs, and small art prints in your two room colors. Keep every piece light so it stays put.
Before you stick anything up:
- Lay everything on the floor and shuffle it until it looks right
- Snap a photo of the layout so you can copy it onto the wall
- Leave a small, even gap between pieces
Hang the center piece first and build outward, so the whole group stays straight.
A blank wall above the desk, with one crooked poster and a lot of empty space.
Six to eight light prints in two colors, spaced evenly, with the biggest one in the middle.
7. Use the Right Removable Hooks
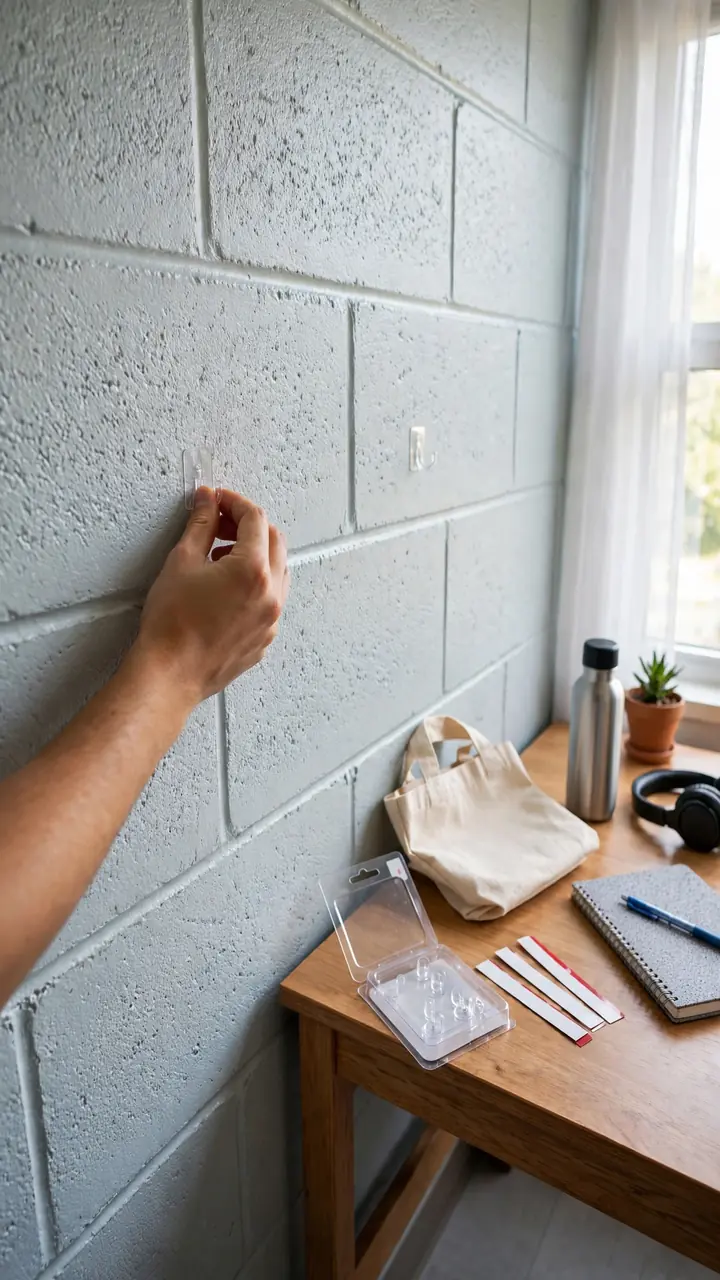
Not every wall holds tape the same way.
Painted cinder block is rough and bumpy, so many adhesive hooks slip right off it. Smooth painted walls are far kinder. Find out which one you have, then buy hooks to match. It saves you from a poster landing on your pillow at 2 a.m.
Pull strips slowly along the wall when you take them down, and keep the package so you have the steps handy.
| Cinder block walls | Smooth painted walls |
|---|---|
| Grip is weaker on the rough surface. | Grip is stronger on smooth paint. |
| Look for hooks labeled for textured walls. | Standard strips work if rated for the weight. |
| Test one hook for a day before loading it. | Wipe the spot clean and let it dry first. |
8. Hang String Lights Safely
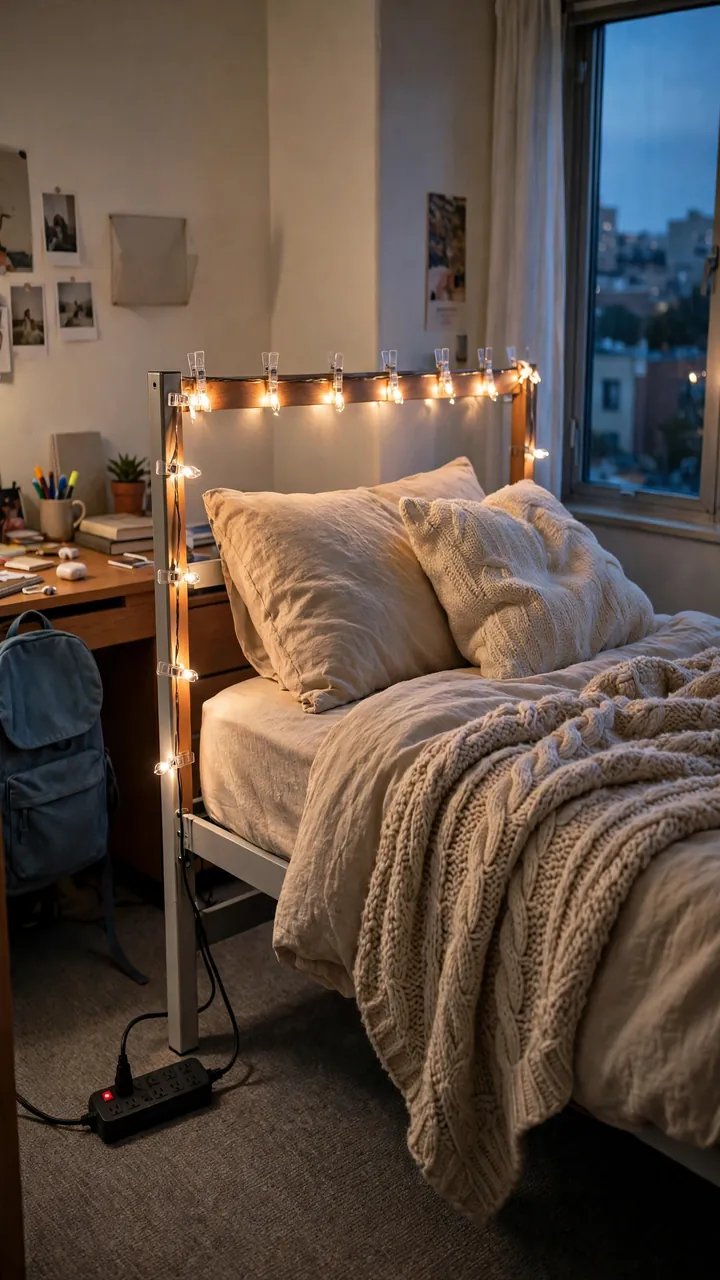
Warm light changes how a dorm feels at night.
Choose LED string lights, since they stay cool and use little power. Run them along the top edge of a bed frame, a shelf, or a curtain rod, and hold them with clips made for removable use. Plug them into a power strip with a switch, so one flip turns them off before sleep.
Check your housing rules first, because some halls limit lights.
Pick LED lights with a warm white glow.
Use removable clips made for lights.
Plug into a switched power strip.
Nails or staples through the wire.
Covering the lights with fabric or paper.
Chaining several strands into one outlet.
9. Add a Warm Clip Lamp
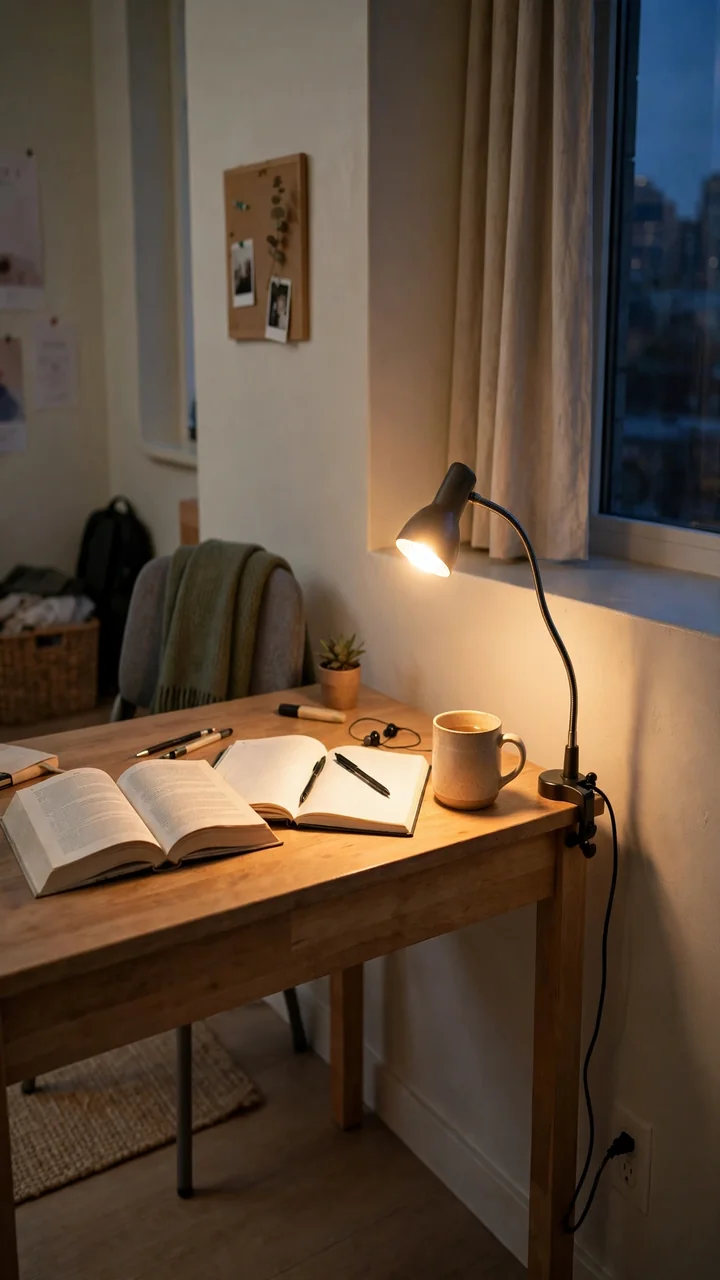
Overhead dorm lights often feel flat and bright, like a hallway at noon.
A clip lamp on the bed frame or desk edge gives you softer light without using any floor space. It is one of the easiest small dorm room decor swaps you can make. Pair it with a bulb labeled warm white.
Look for:
- A sturdy clamp that grips without scratching
- A bendable neck, so you can aim light at a book
- A cord long enough to reach the outlet without crossing the walkway
📌 Good To Know
Check the maximum bulb size printed on the lamp socket and stay under it. LED bulbs run cooler, which makes them a safer match for small clip lamps.
10. Keep Your Desk Clear With an Organizer
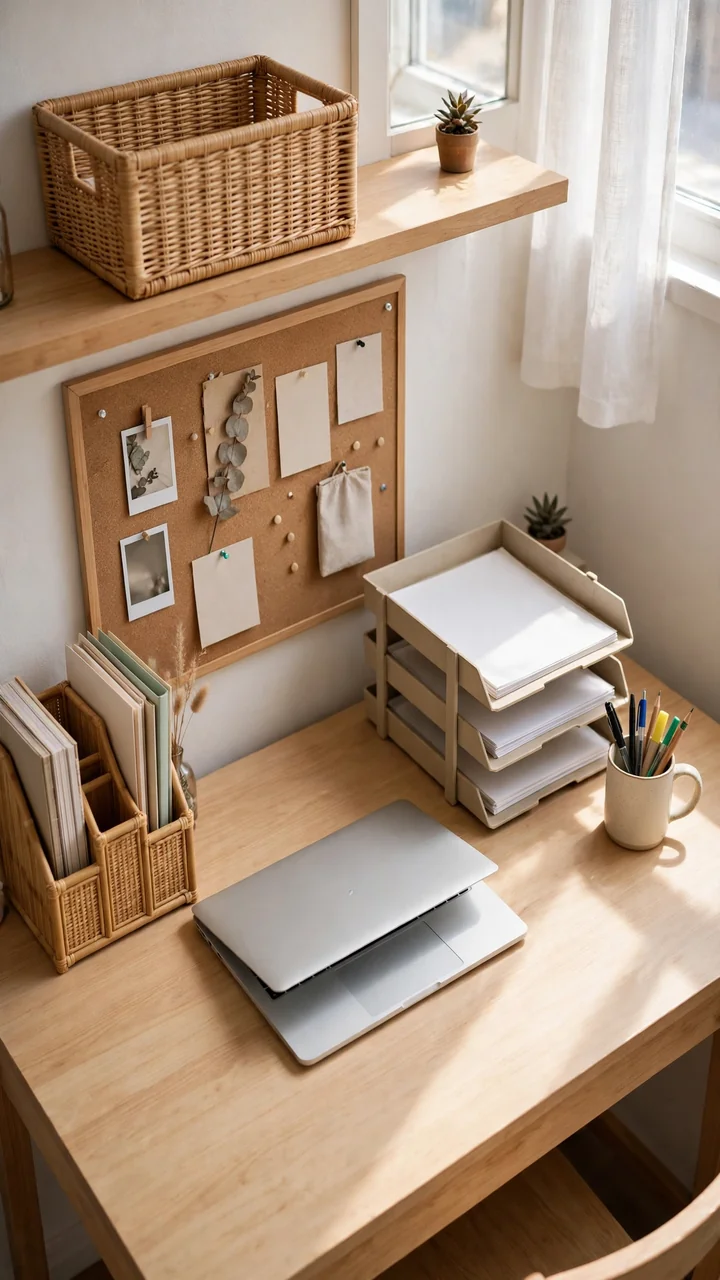
Tiny rule: nothing lives on the desk unless you touch it every day.
A vertical organizer pulls pens, notebooks, and folders up off the surface. A stacking tray holds loose papers, and a mug keeps pens within reach. Move the printer paper, spare chargers, and snacks into a bin on a shelf or under the bed.
These dorm room organization ideas cost very little, and a clear desk makes the whole side of the room look bigger.
Give every item a home that is off the desk surface, and your desk stays ready for studying.
11. Set Up a Charging Corner
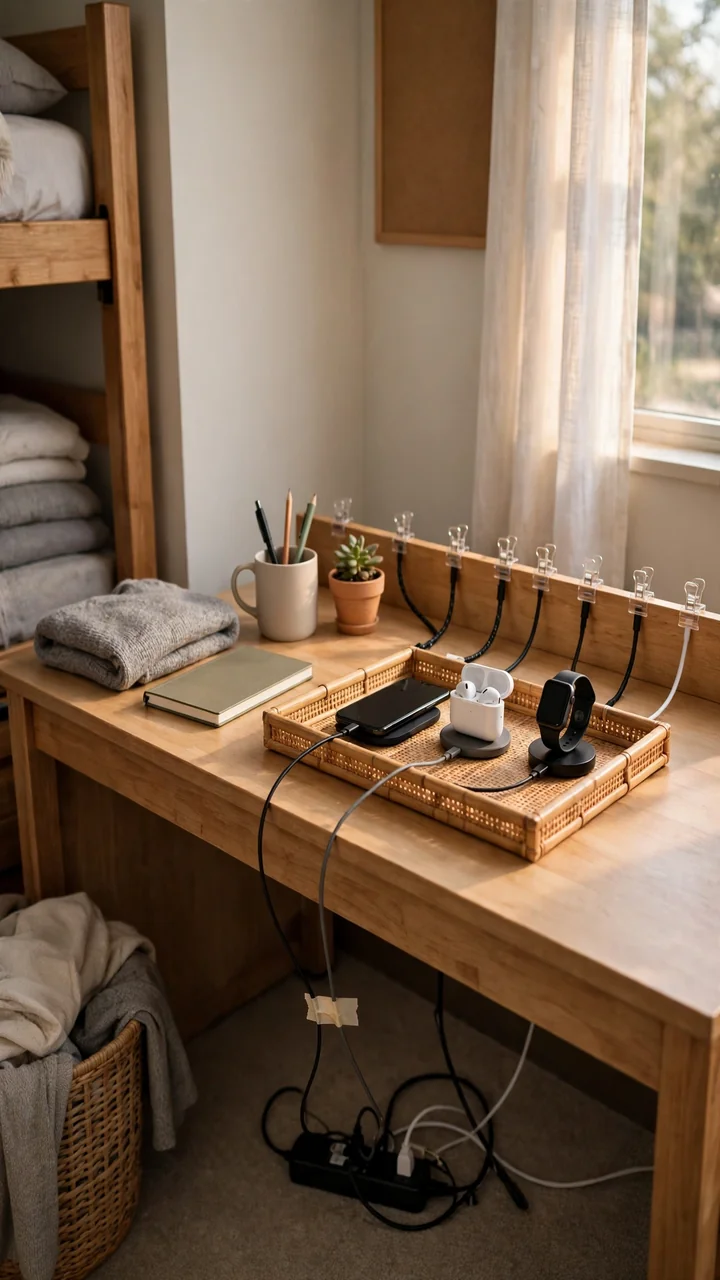
Count the cords on your desk right now. Phone, laptop, earbuds, maybe a lamp. Dorm outlets are few, so those cords tangle fast.
Pick one corner and make it the only place anything charges. A small tray or shallow basket holds the devices, and a power strip with surge protection sits behind it. Label each cord end with a bit of tape so you never unplug the wrong one.
Roommates can share one corner if the strip has enough ports.
Stick a cord clip or adhesive hook to the back edge of the desk.
Thread each charger through its own clip so the ends stay within reach.
Set the power strip on the floor or a shelf, not on a bed or under a pillow.
Park your phone and earbuds in the tray every night.
12. Add an Over the Door Organizer
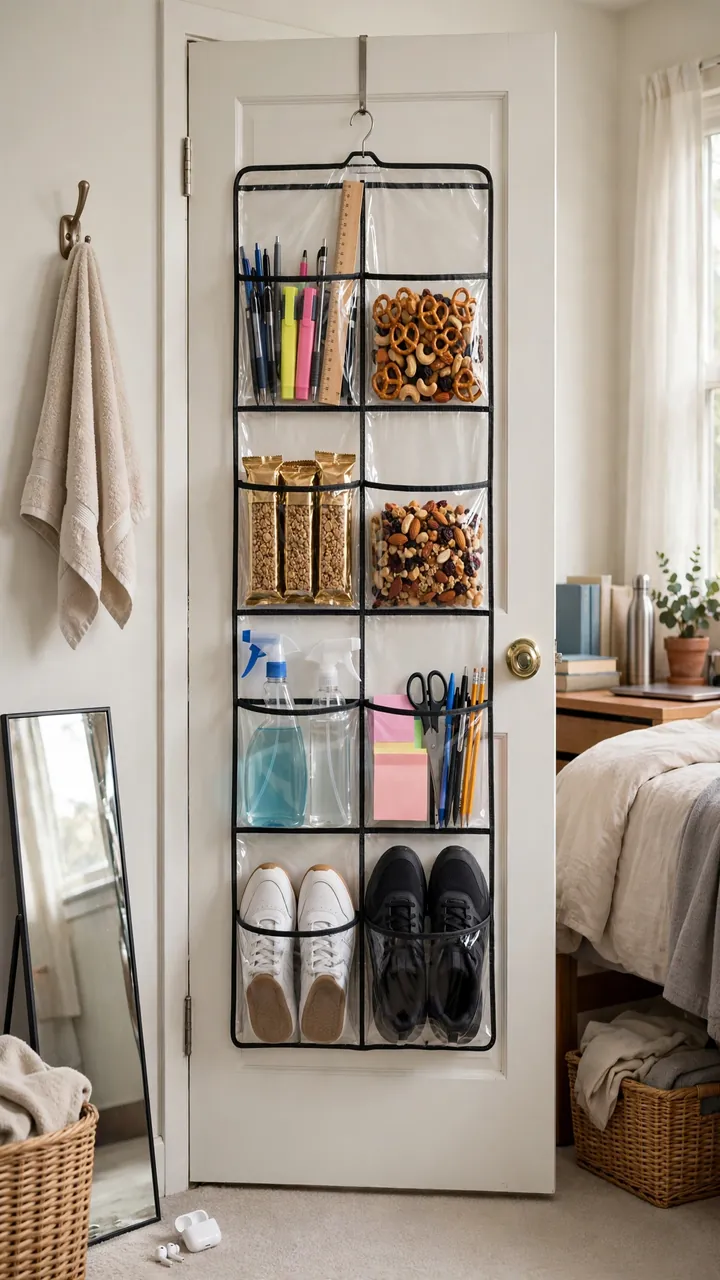
The back of your door is free storage, and most people ignore it.
An over the door organizer with clear pockets holds shoes, snacks, cleaning supplies, and school extras. You see everything at a glance, so nothing gets buried. It hooks over the top edge, so there are no screws and no sticky strips.
It is one of the cheapest dorm room storage ideas you can buy. Put heavy items in the bottom pockets so the door still closes smoothly.
13. Choose Under Bed Storage That Fits
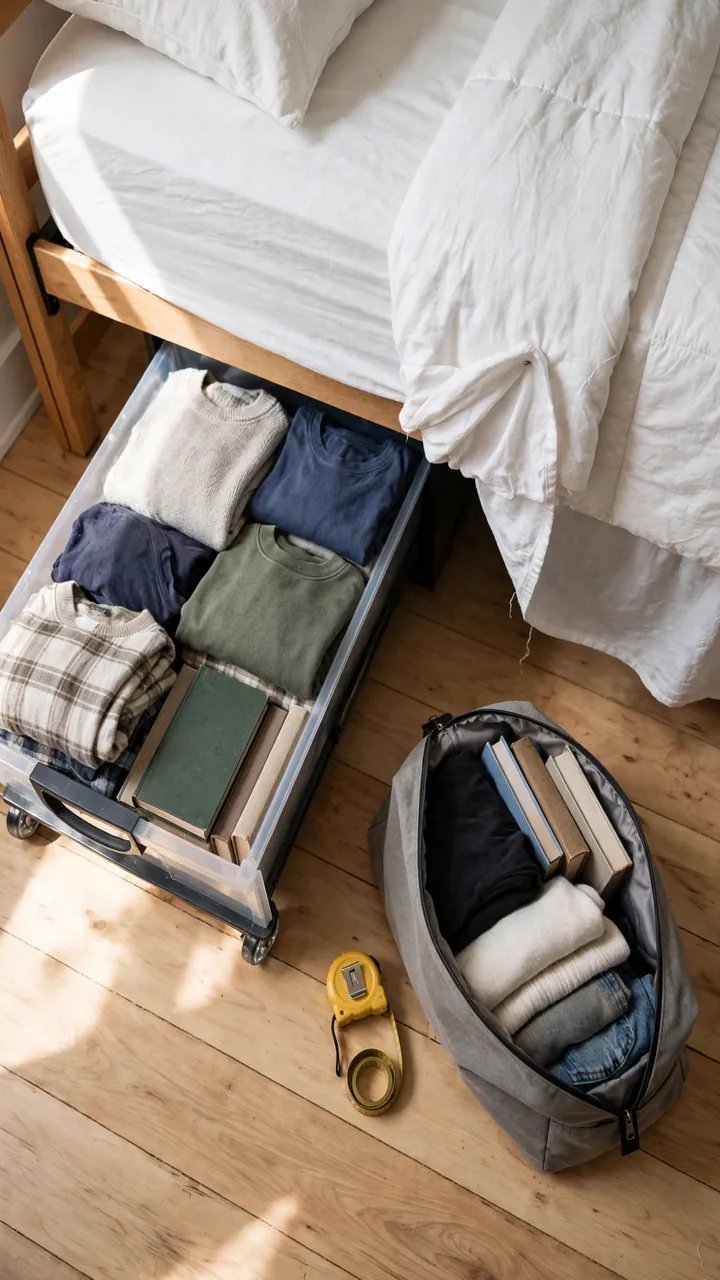
Measure the gap under your bed, then shop. A bin that is half an inch too tall will not slide in, and you will be stuck with it.
Hard rolling drawers glide out easily and hold heavier things like books and shoes. Soft zip bags squeeze into tight spots and fold flat when summer break comes.
Match the bin to what you store. Seasonal clothes go in bags, daily items go in drawers.
| Rolling drawers | Soft zip bags |
|---|---|
| Holds heavier items well. | Best for light clothes and bedding. |
| Needs clear floor space to roll out. | Slides in even where space is tight. |
| Stays rigid, so it is easy to stack. | Folds flat for the trip home. |
14. Double Your Closet Space
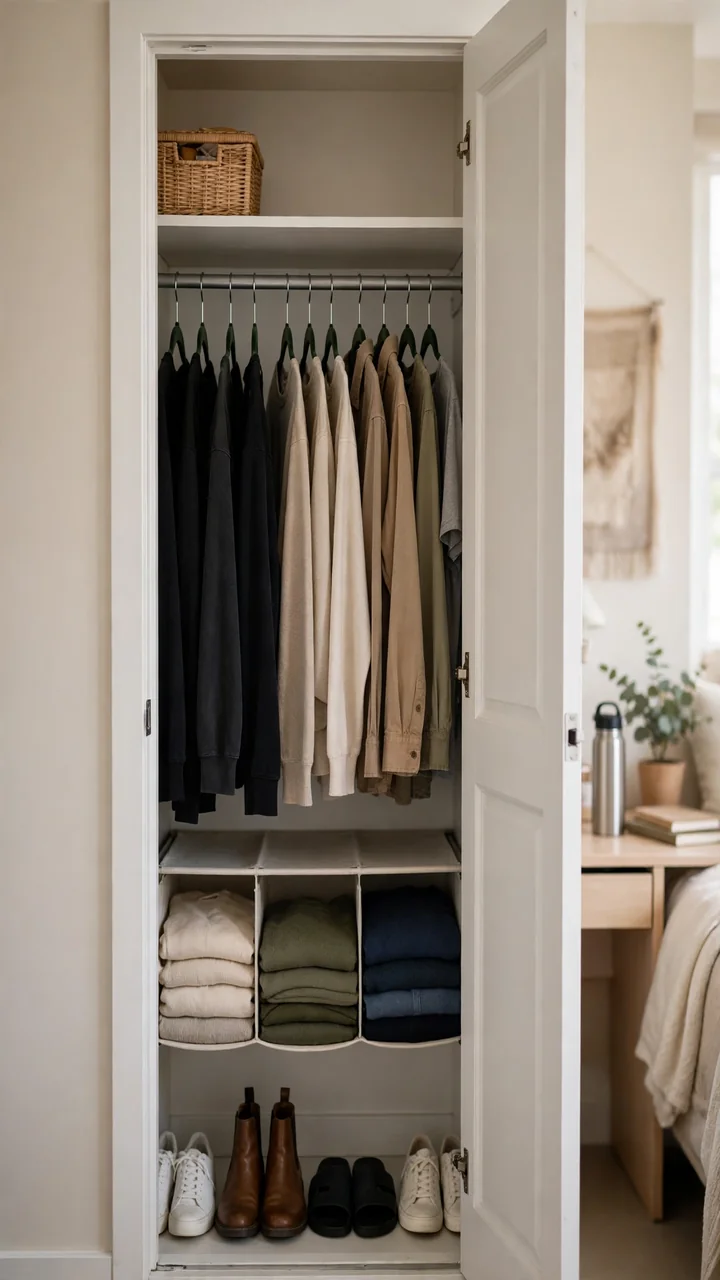
Most dorm closets waste their height. One rod, one shelf, and a lot of dead air above and below.
Swap bulky hangers for slim velvet ones, which take up far less room on the rod. Then add a hanging shelf below the clothes for sweaters and jeans. A second small rod hung from the first can hold tops above a row of pants.
Group clothes by type and color so you find things fast. Fewer hangers also means fewer wrinkles.
Thick plastic hangers packed tight, sweaters piled on the floor, and empty space above the rod.
Slim hangers sorted by type, a hanging shelf for folded pieces, and shoes lined up below.
15. Pack a Shower Caddy for Shared Bathrooms
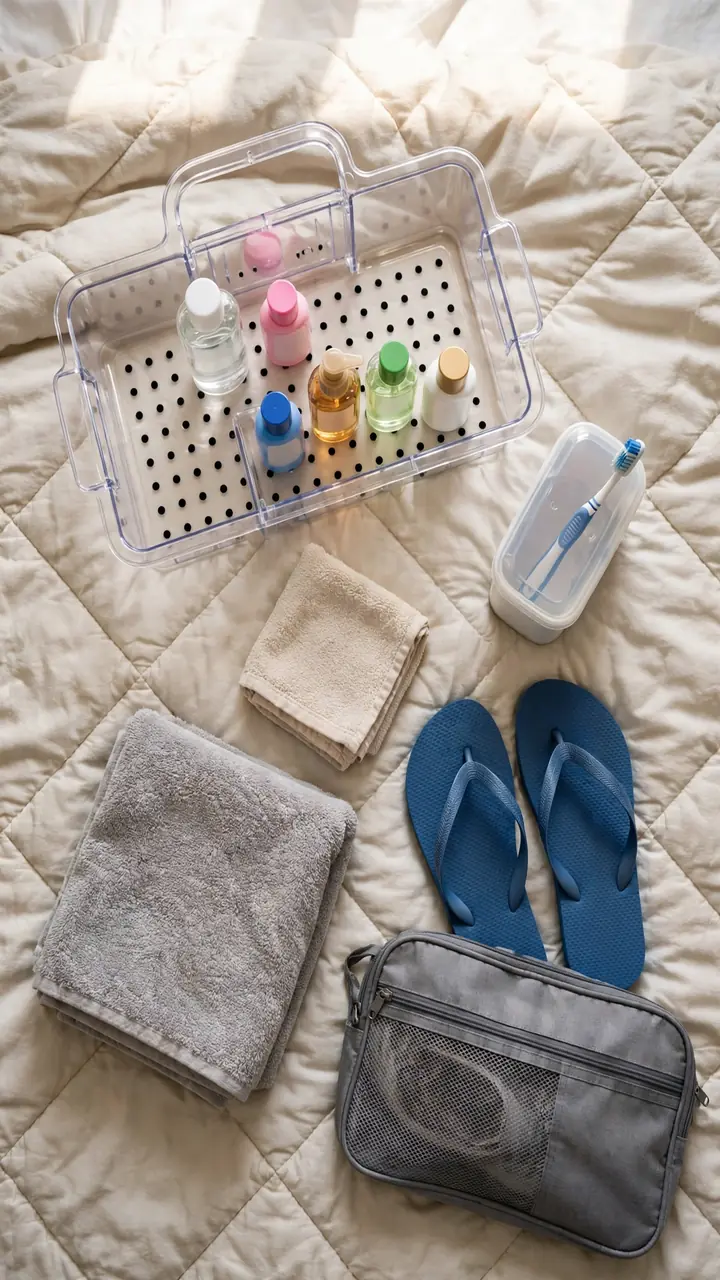
You are standing in a hallway bathroom with wet hair and one hand holding a towel. That is when you notice you left the shampoo back in your room.
A caddy with a handle fixes it. Pick one with drain holes so water does not collect, and keep only the daily basics inside. Shower shoes go in a separate bag so they can air out.
Wipe the caddy down once a week. Shared bathrooms get damp, and a clean one lasts the whole year.
What goes in the caddy
16. Lean a Mirror Against the Wall
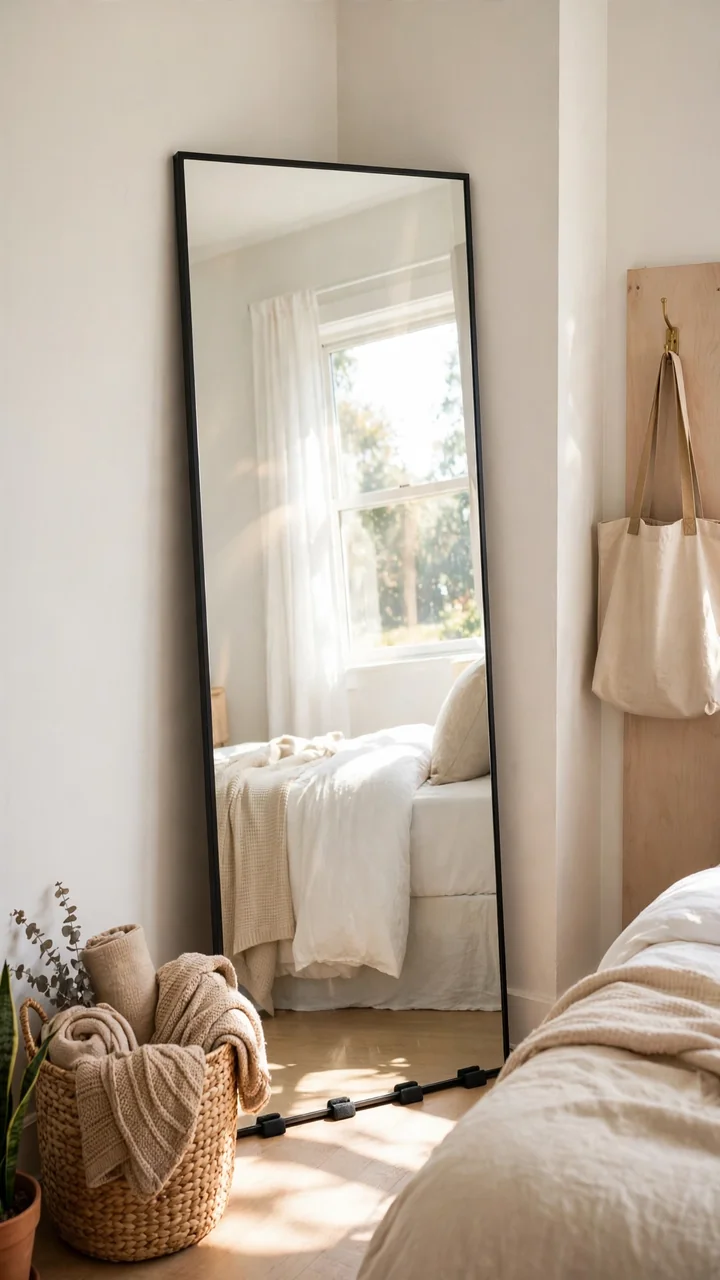
A full length mirror makes a small room feel wider.
Place it across from the window so it bounces daylight back into the room. It also gives you one less thing to fight over in the morning. A mirror leaning in a corner works well in small dorm room decor, and it needs no drilling.
Keep it away from the edge of the bed and out of the main walkway, where it can get bumped. Put felt pads or a rubber grip under the bottom edge so it does not slide on the floor.
Face it toward the window to catch light.
Lean it at a slight angle in a low traffic corner.
Add grip pads under the bottom edge.
Placing it next to the bed or the door swing.
Facing it toward a messy pile of laundry.
Drilling into the wall without asking housing.
17. Roll Out a Small Rug
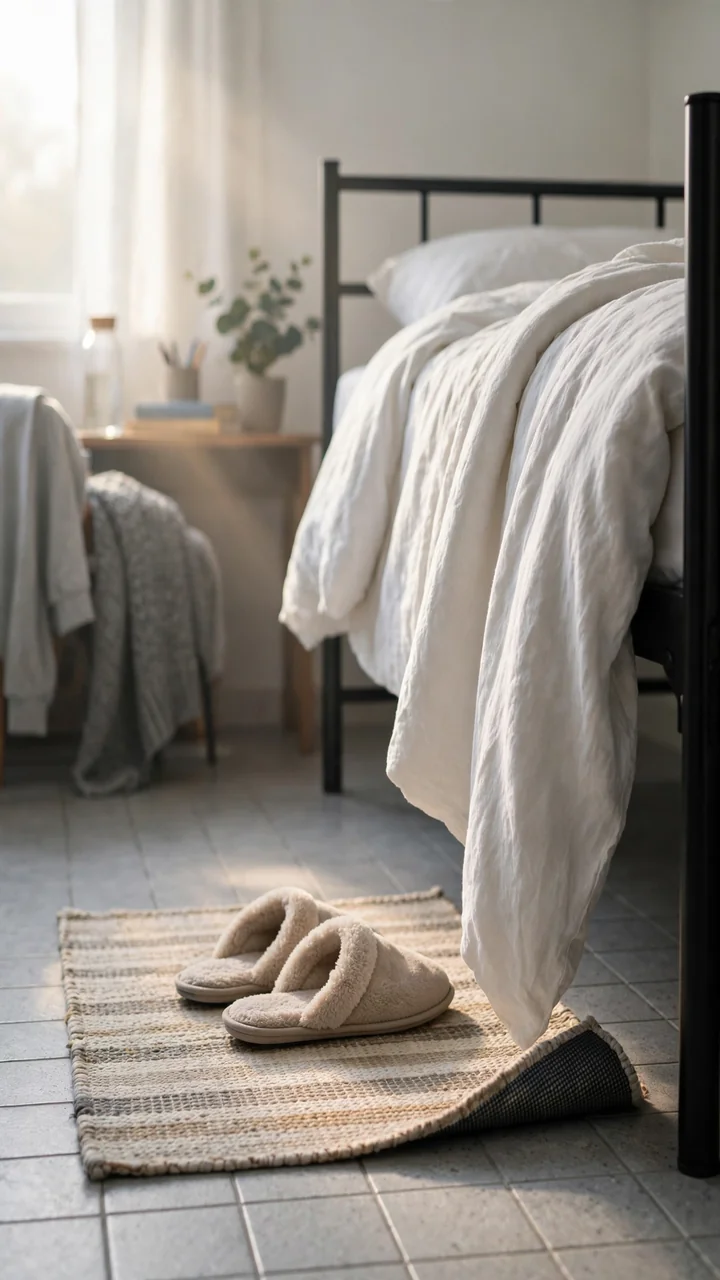
The usual rug mistake is going too big.
A huge rug eats the floor and bunches up against the bed legs. Pick a small one, about the size of the open space beside your bed. That is the spot where your feet land first thing in the morning, and cold tile is a rough way to start the day.
Choose a flat weave in your base color. It is easy to shake out and simple to carry home in May.
⚠️ Watch Out
Loose rugs slide and curl at the corners. Put a thin non slip pad underneath, and skip thick shag styles that catch on shoes and trip you in the dark.
18. Soften the Window With a Sheer Curtain
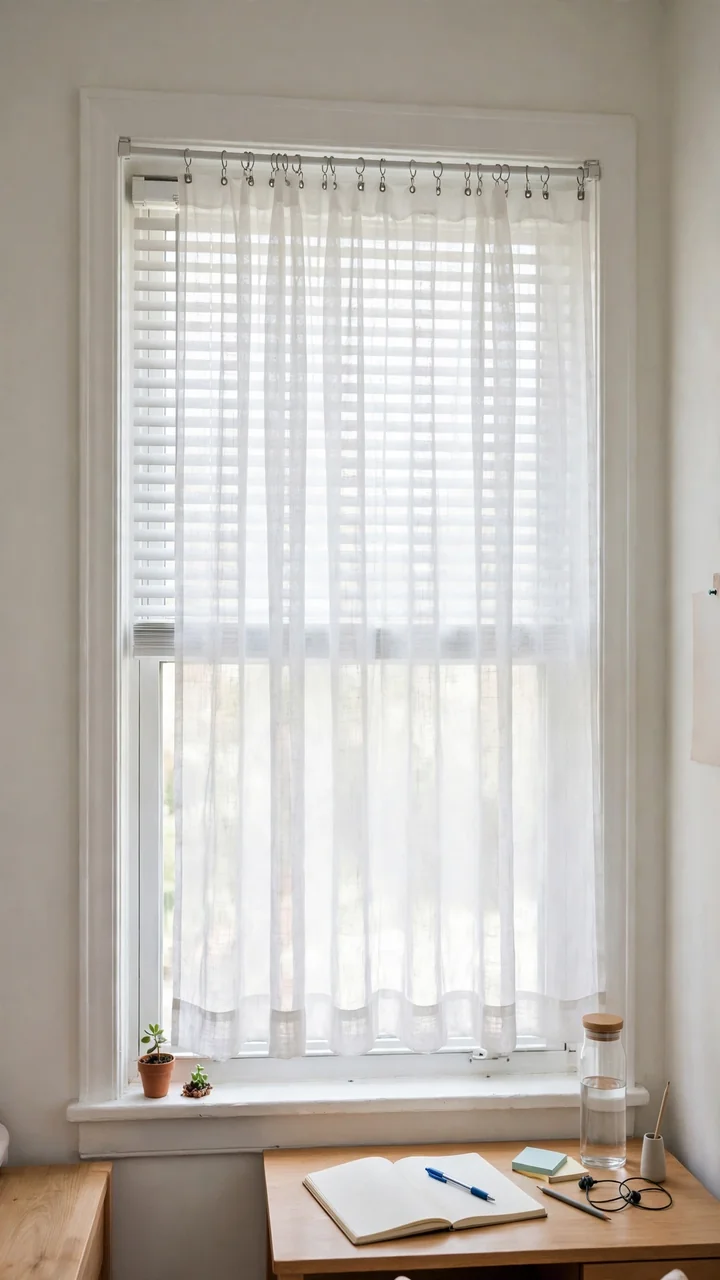
Cover the blinds, not the window.
Dorm blinds are usually stiff, plain, and a little dusty. A sheer curtain panel in front of them softens the whole wall and still lets daylight in. Hang it from a tension rod that fits inside the window frame, so there are no holes and no sticky strips.
Measure the width first. Then hang the panel a few inches above the frame so the window looks taller. Clip rings make it easy to slide open and shut.
19. Turn a Crate Into a Nightstand
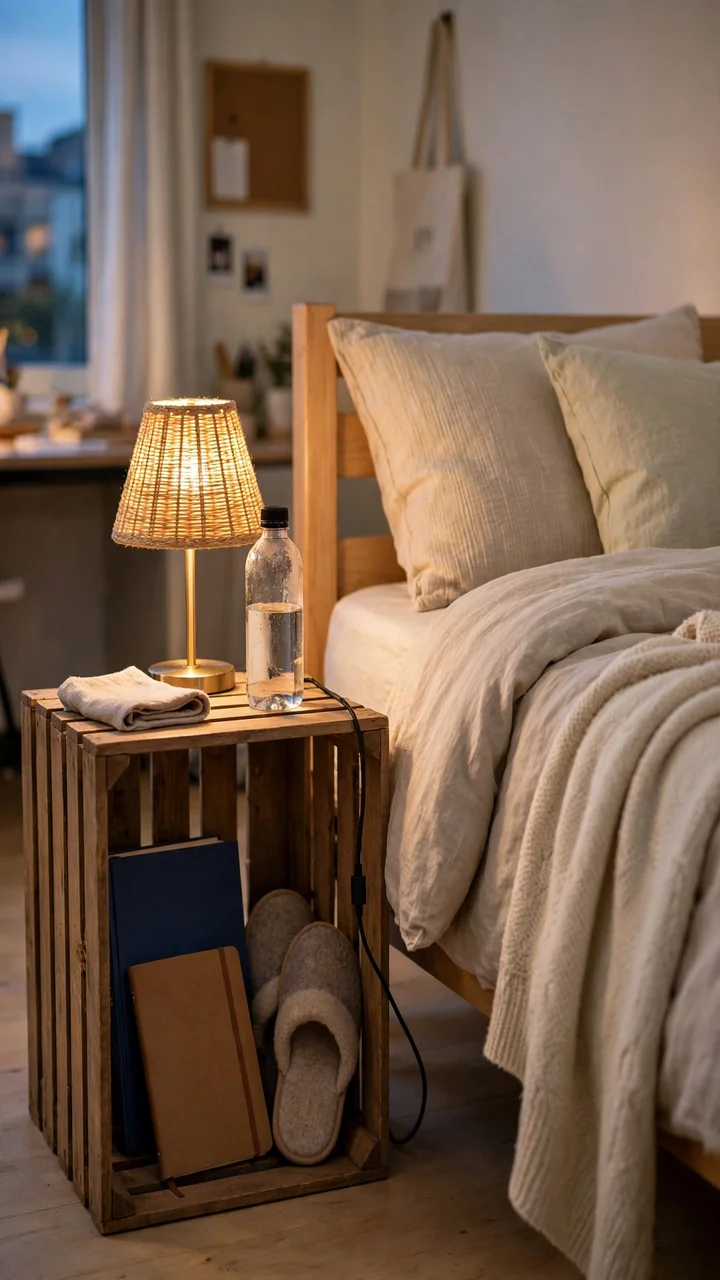
Flip a sturdy crate on its side and you have a nightstand.
A wooden crate from a thrift store or a plastic milk crate both work. Sand any rough edges, then set it beside the bed with the open side facing you. The top holds a lamp, and the shelf inside holds the things you reach for half asleep.
Lay a small cloth or board on top so cups and a phone have a flat spot. It costs a few dollars, and it saves you from dropping your charger behind the bed again.
- ▸Top: a small lamp and a water bottle.
- ▸Inside shelf: a book, a notebook, and lip balm.
- ▸Side hook: a pouch for earbuds and a charger.
- ▸Under the crate: slippers, ready for the morning.
20. Give Each Roommate a Zone
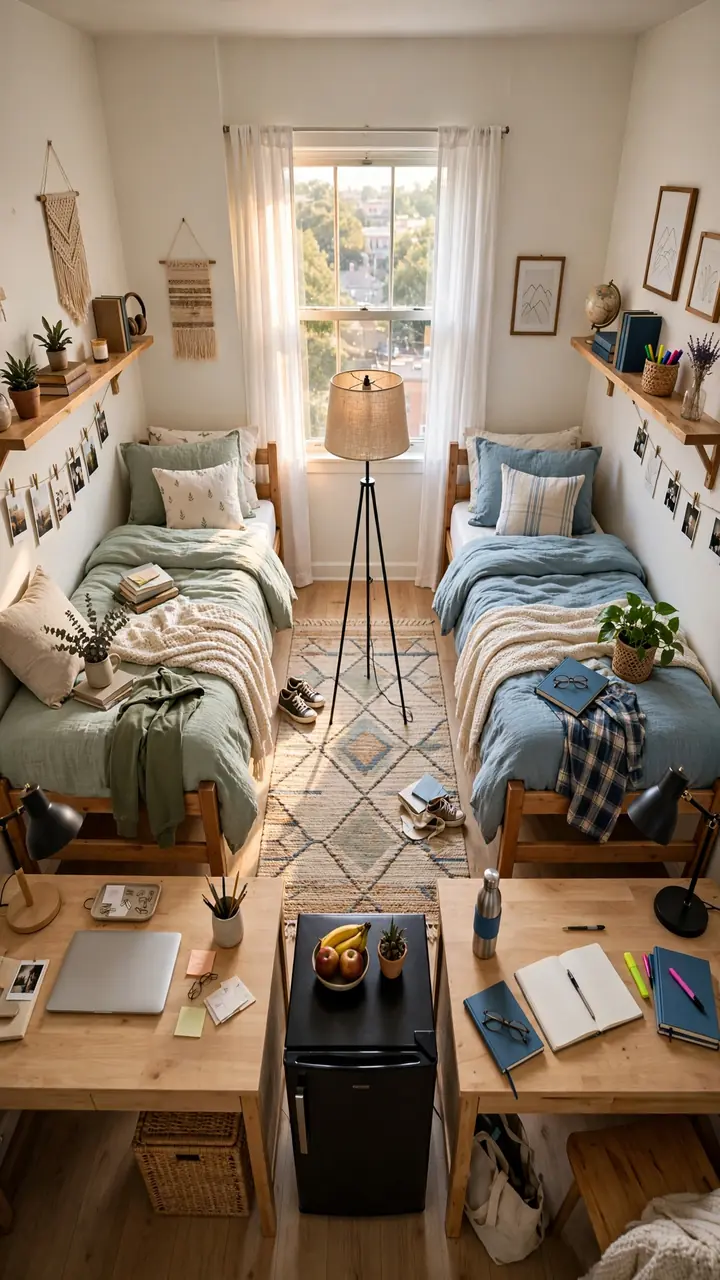
Sharing a room does not mean sharing everything.
The best shared dorm room ideas start with clear zones. Each person gets a bed, a desk, and one shelf or bin that is fully theirs. The middle of the room stays open for a rug, a mini fridge, or a floor lamp you both use.
Talk about the rules before the first fight. Quiet hours, guests, and who sets the thermostat are all worth five minutes on day one. A calm room starts with a simple conversation.
Give each person a space that is fully theirs, and agree on the shared middle together.
21. Shop Thrift Stores First
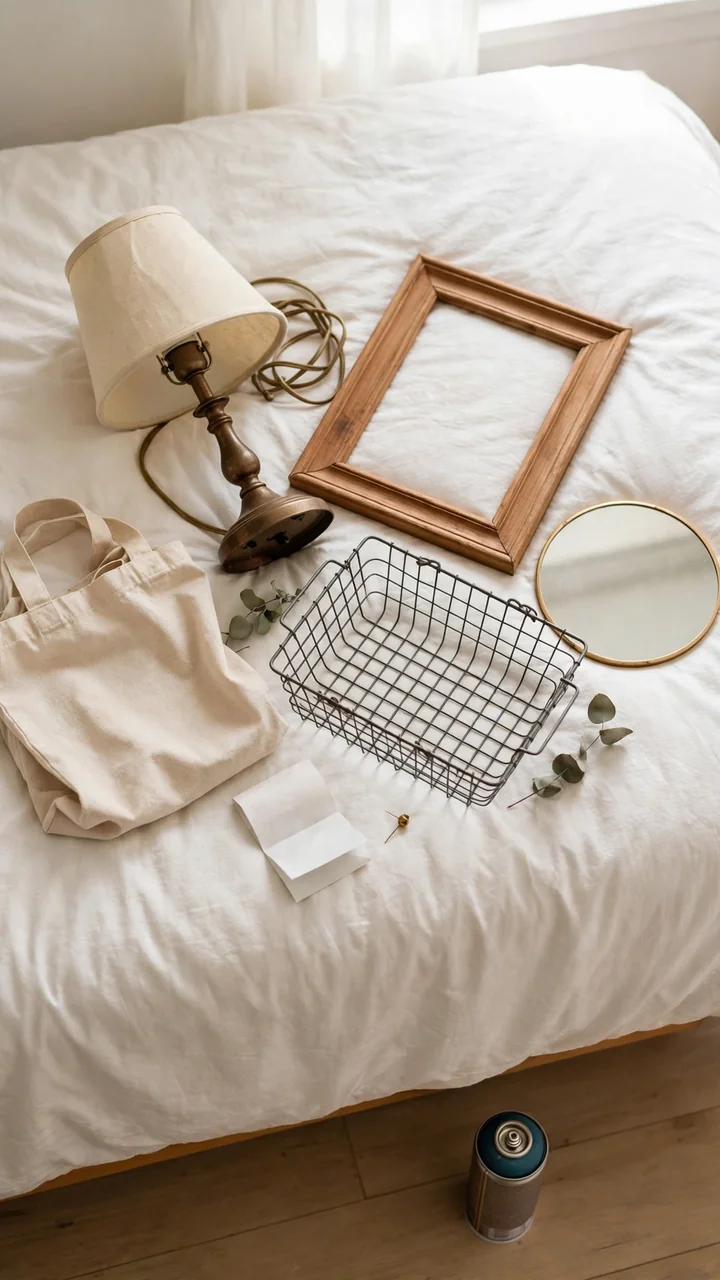
Check the thrift shelf before you check the big box store.
Lamps, mirrors, crates, picture frames, and baskets all show up secondhand for a fraction of the new price. That is budget dorm room decorating at its simplest. Keep a short list in your phone so you do not wander home with a pile of extras.
Wash or wipe everything before it enters your room. A coat of spray paint in your accent color can make a mismatched frame fit right in, but check that your housing allows it.
| Thrift stores | Dollar shops |
|---|---|
| Best for lamps, frames, mirrors, and crates. | Best for bins, hooks, baskets, and cleaning basics. |
| Stock changes often, so one trip is not enough. | Stock stays steady, so you can plan a list. |
| Wash or wipe every piece before it comes in. | Check the build, since light plastic can crack. |
22. Add One Easy Plant
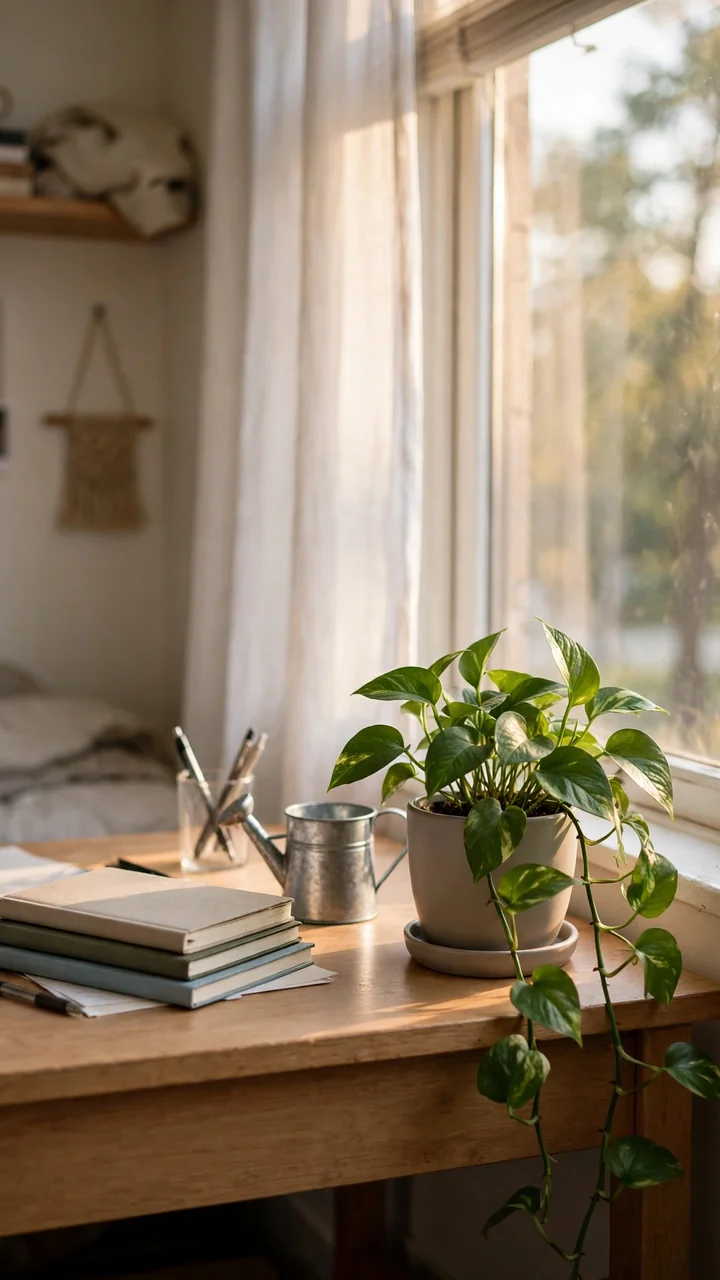
A plant gives a dorm room something living, and one is plenty.
Pick a forgiving type, like a pothos or a snake plant, since dorm windows can be dim and weekends can be busy. Set it on the desk corner or the windowsill, in a small pot with a saucer underneath.
Water only when the top of the soil feels dry. Overwatering kills more dorm plants than forgetting does.
If your roommate has allergies or pets visit the hall, check with them before you bring one in. A faux plant is a fine backup.
23. Set Up Your Room in Order
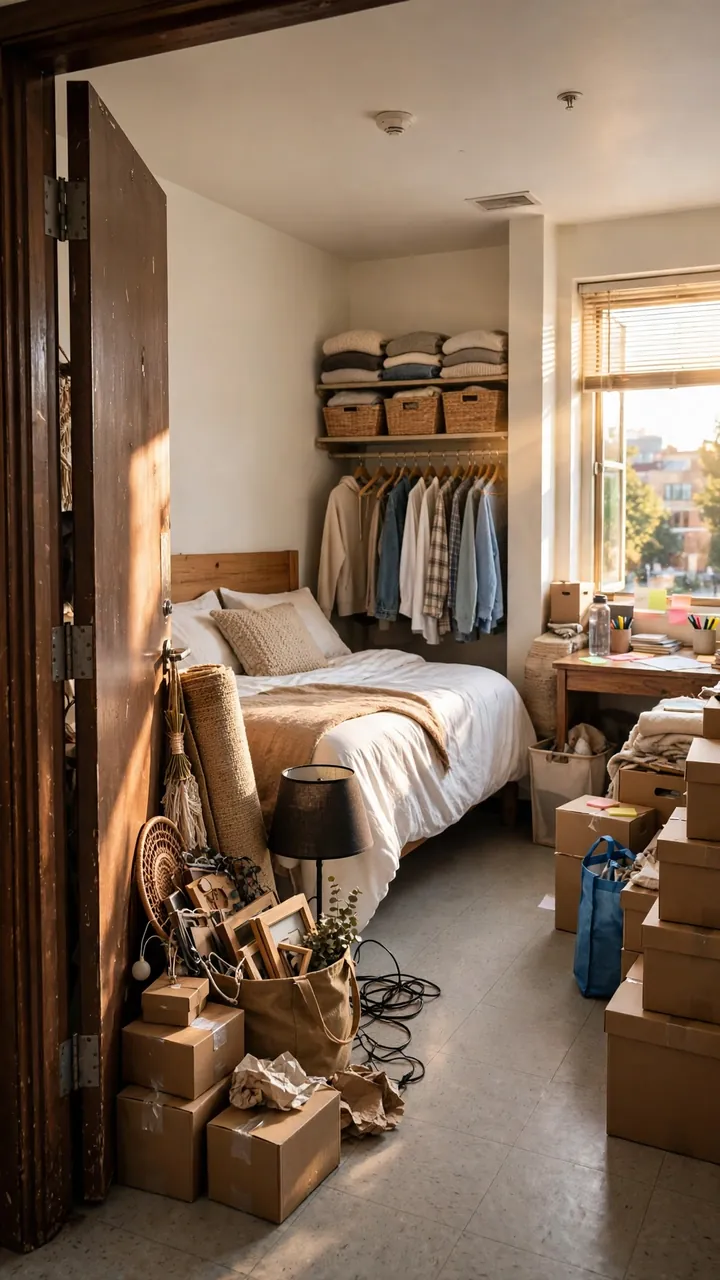
Boxes everywhere, a roommate already unpacking, and a to do list that keeps growing. Move-in day gets calmer when you follow an order.
Start with the big stuff, since it decides where everything else goes. Then work toward the small decor, which is the fun part. Leave the walls for last, because you will know your layout by then.
Do not finish everything on day one. Get the bed made and the lights working, then take the rest slowly through the first week.
Agree on the layout with your roommate and place the furniture.
Make the bed with your layers, so you have a place to sleep tonight.
Set up storage, the closet, and the charging corner.
Add the rug, lamp, curtain, and plant.
Hang the wall decor and string lights last, once the layout feels right.
Final Thoughts
A dorm room does not have to wait until the end of the semester to feel like yours. Pick three or four ideas from this list, buy them before you leave home, and let the rest happen slowly over the first week.
Start with the bed, the lighting, and one storage fix. Those make the biggest difference for the least money. The wall decor and the plant can wait until you know how the room works.
College dorm bedroom decor on a budget comes down to small, smart choices and a little patience. Save this list to your budget bedroom board, so it is ready the next time your room needs a refresh.