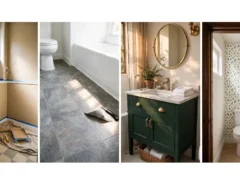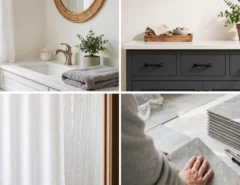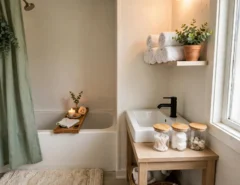
You want a bathroom that feels like yours. Not a beige box with a mystery stain by the tub and a light that makes everyone look tired.
The trouble is the lease. You can’t paint the tile, you can’t drill into the wall, and the fixtures stay exactly where the landlord left them. So most people give up and live with it.
You don’t have to. These renter friendly bathroom makeover ideas all come off cleanly when you move out. They use peel and stick products, tension rods, adhesive hooks, rugs, and a few smart swaps. Most are cheap, and many take less than an hour.
I picked ideas that cover the floor, walls, mirror, shower, vanity, storage, and lighting, so you can start with the spot that bugs you most. Test any sticky product on a small hidden spot first, since every wall and tile reacts a little differently. Grab one this weekend and see how far a small change goes.
1. Cover Old Floor Tile With Peel and Stick Vinyl
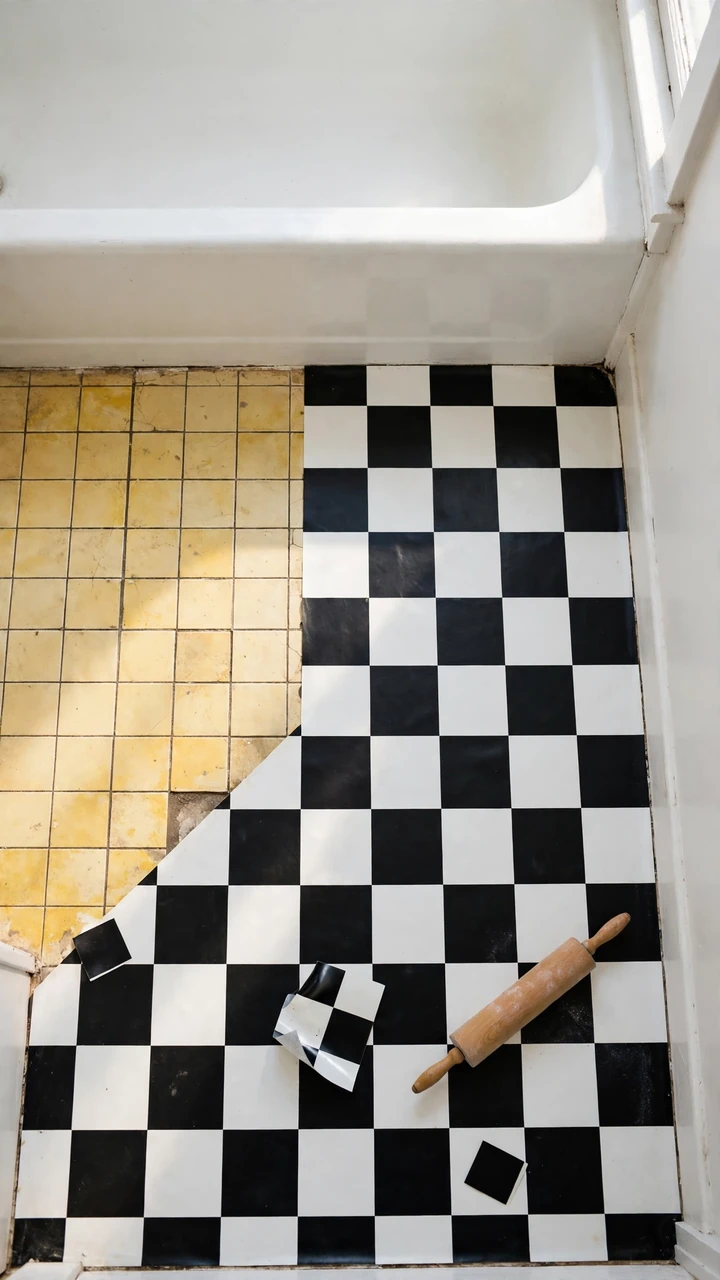
Cracked grout and yellow tile make a bathroom look older than it is.
Peel and stick vinyl squares or planks sit right on top of the tile, so you never touch the original floor. A black and white checker or a pale wood look both read as new. Pick thicker vinyl if your grout lines are deep, because thin sheets can show every groove.
- Scrub the floor and let it dry fully.
- Start in the center and work outward.
- Press each piece down with a rolling pin.
When it’s time to leave, warm the vinyl with a hair dryer and peel it up slowly.
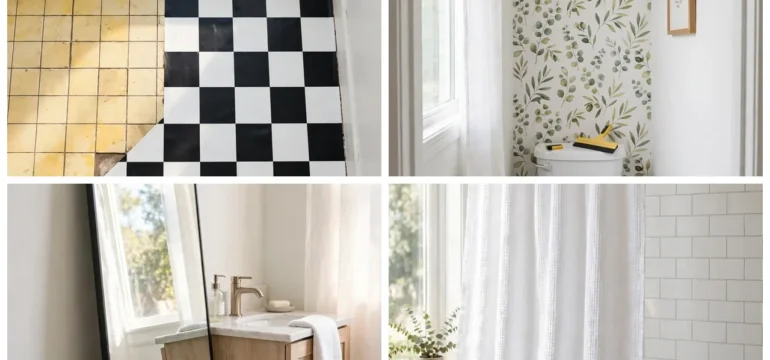
Yellowed tile, gray grout, and a floor you stare at while brushing your teeth.
Clean black and white checker squares, with the original tile safe underneath.
2. Add a Washable Runner Rug
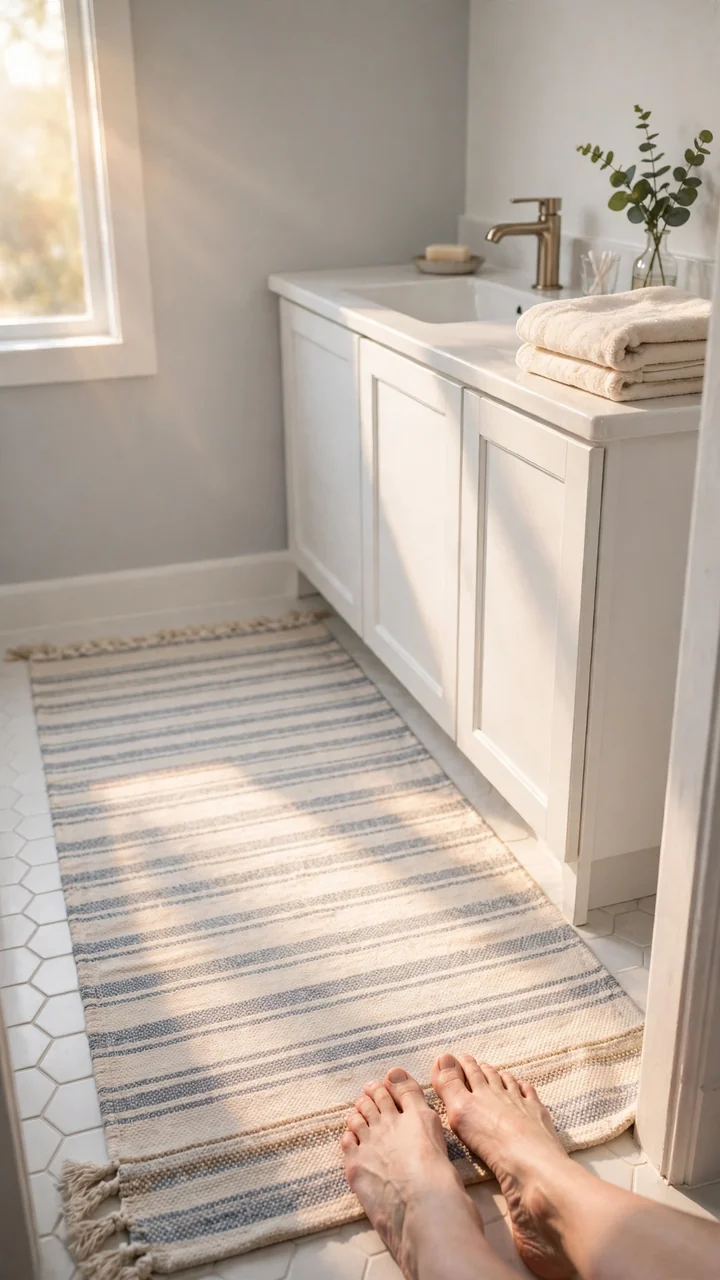
Pick a rug you can toss in the washer. That one rule saves you from a damp, smelly mat.
A runner along the vanity or tub covers worn flooring, adds color, and warms cold feet. Stripes or a muted pattern hide splashes better than solid white. Choose cotton or a quick drying microfiber, and size it so it reaches the edge of the vanity. Hang it over the tub edge after a shower so it dries between uses.
💡 Quick Tip
Check the backing before you buy. Some rubber backed mats can leave marks on vinyl floors. A felt or breathable rug pad is the safer choice, and lifting the rug now and then lets the floor dry underneath.
3. Stick Tile Behind the Sink
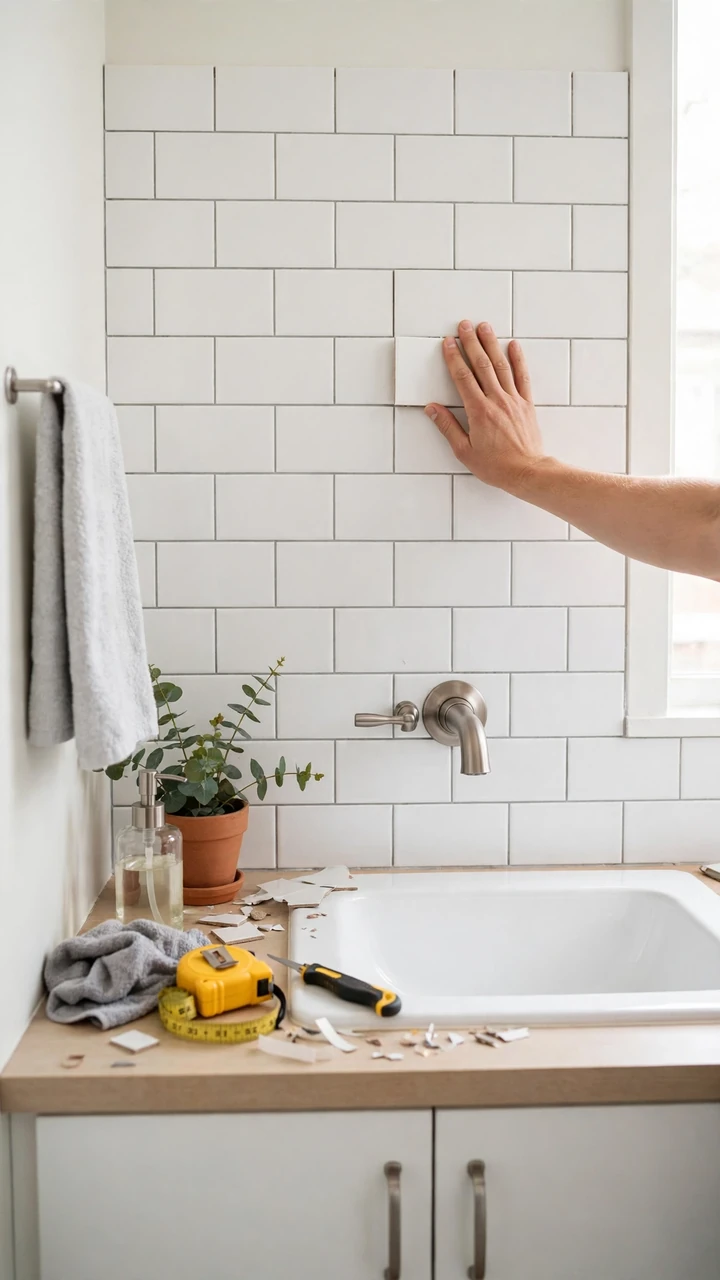
Measure the wall behind the faucet first, then buy a little extra.
Peel and stick backsplash tile covers a stained or dated wall in an afternoon. It’s one of the simplest temporary bathroom upgrades there is. White subway shapes keep things light. Soft gray or sage works if you want a bit of color. Gel tiles look thicker and more real than flat vinyl.
- Wipe the wall with a gentle degreaser and let it dry.
- Start at the bottom and work up so the rows stay straight.
- Trim the edges with a craft knife.
Painted drywall can lose a little paint when tile comes off. Stick one tile in a corner for a week first, and warm the tiles with a hair dryer at move out.
4. Try Removable Wallpaper on One Wall
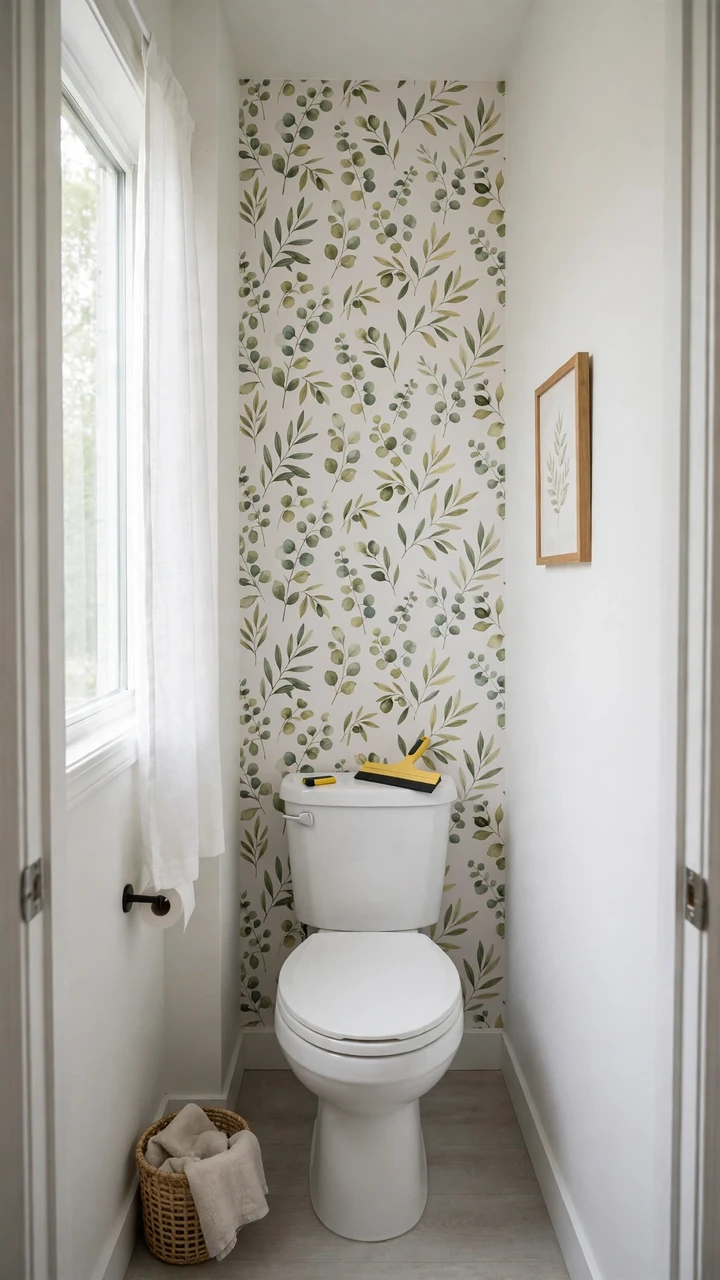
Wallpaper in a bathroom sounds like a bad idea. It works if you pick the right kind.
Choose a vinyl coated peel and stick paper made for damp rooms, and keep it away from direct shower spray. One wall behind the toilet or beside the vanity is plenty. A small print like fine stripes or a soft botanical is one of the easiest small rental bathroom ideas, because it adds interest without crowding the room. Run the fan during and after showers so steam doesn’t loosen the edges.
Wipe the wall clean and let it dry all the way.
Peel back a few inches at the top and press down with a smoothing tool, working toward the bottom.
Trim the edges with a craft knife and save the scraps for patching.
5. Frame Your Plain Mirror
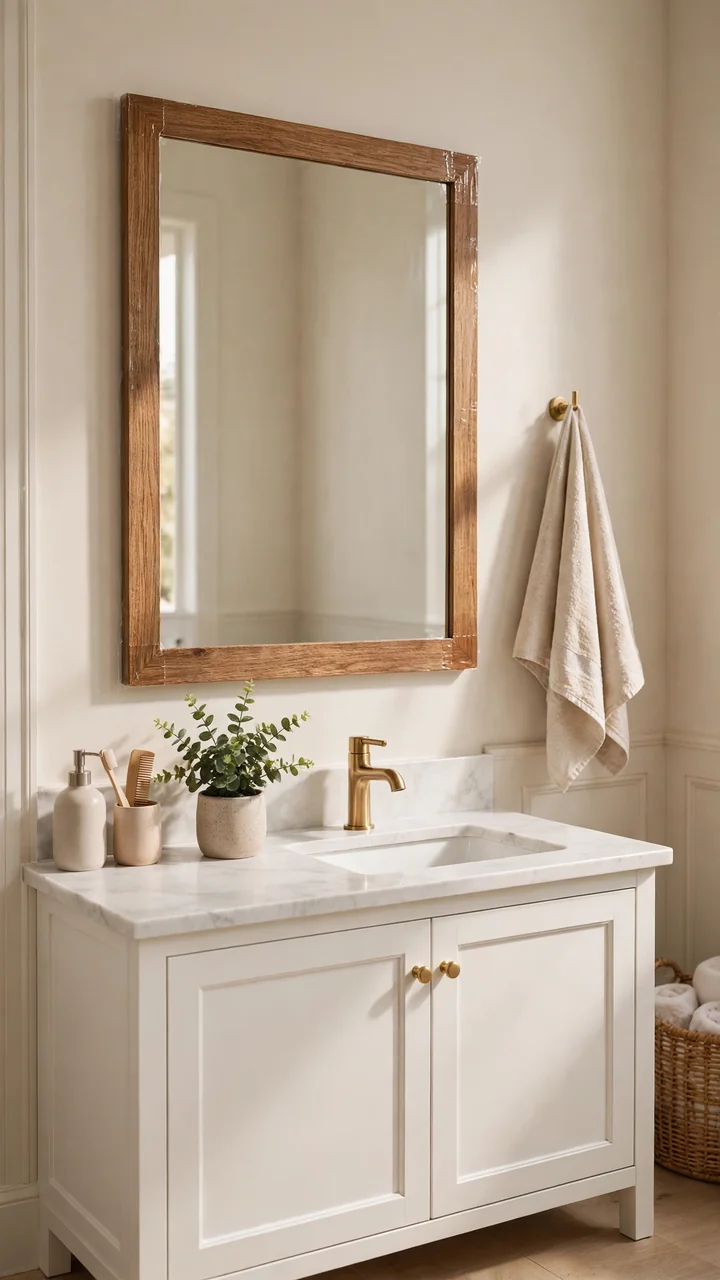
That flat builder mirror with bare silver edges is the first thing you see every morning.
Adhesive mirror frame strips stick around the edge and make it look custom. They’re a simple piece of removable bathroom decor that changes the whole wall. Measure all four sides first, then cut the corners at a clean angle.
Press the strips onto a dry, clean mirror and hold along each side for a minute so they grip well.
6. Lean a Big Mirror on the Floor
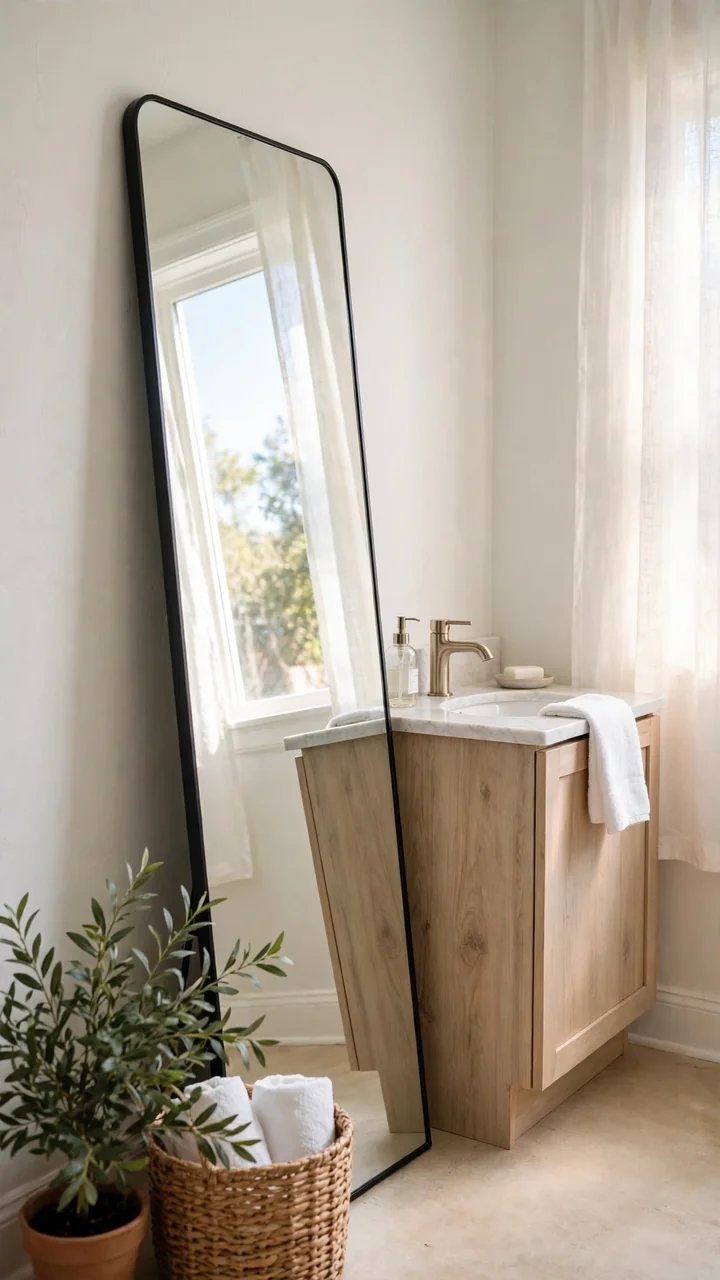
A tall mirror leaning against the wall makes a small bathroom look deeper. It needs no hardware at all, so it’s one of the easiest damage free bathroom decor moves you can make.
Pick a mirror with a sturdy frame and lean it at a slight angle. A thin non slip pad under the bottom edge keeps it from sliding on tile. Set it beside the vanity or in a corner, away from shower spray and out of the main walkway.
Skip this one if small kids or big dogs share your bathroom.
Before you lean it
7. Swap in a Textured Shower Curtain
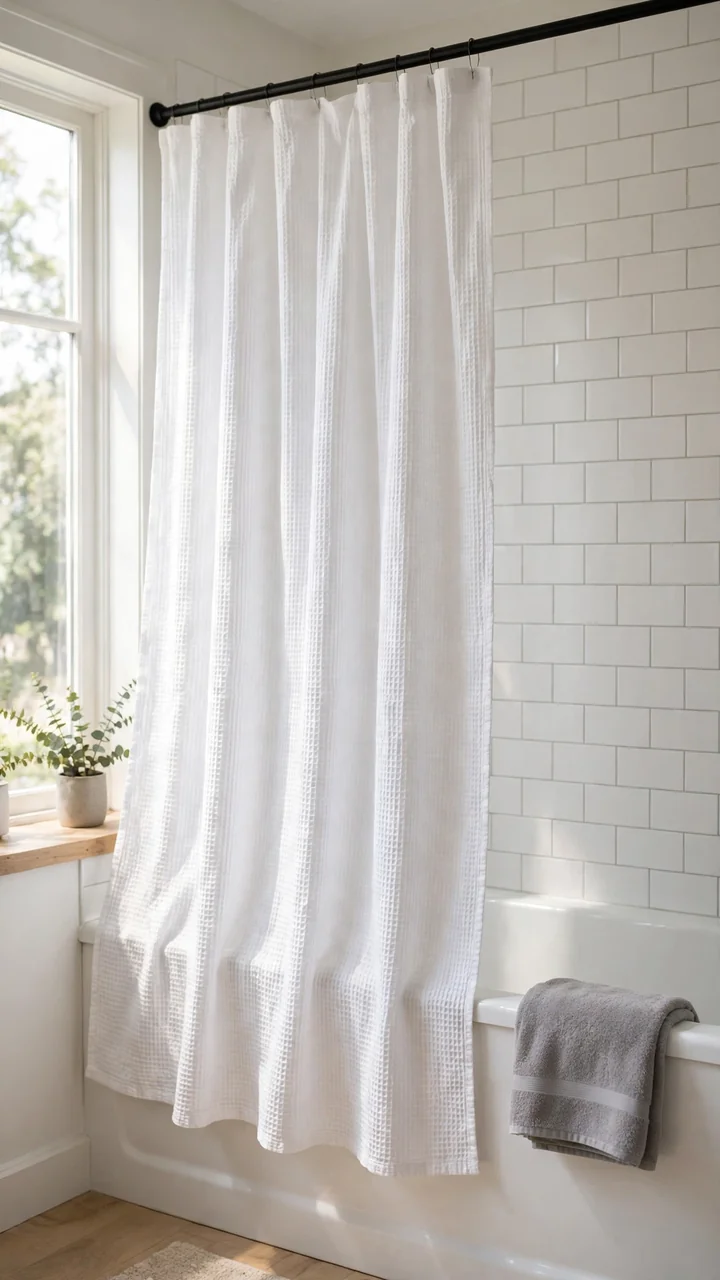
Plain white curtains get a bad reputation. The real problem is the flat, thin kind that clings to your legs and looks like plastic.
Texture fixes that. A waffle weave, ribbed cotton, or linen look fabric adds depth without adding a pattern. It’s a five minute swap and one of the simplest pieces of renter friendly bathroom decor to buy. Keep a liner on the rod so water stays in the tub, and wash the curtain on a gentle cycle so it holds its shape.
Choose a fabric with enough weight to hang straight.
Pick a neutral that sits well with your towels and tile.
Thin plastic that billows in and sticks to you.
Busy prints that fight with your floor or backsplash.
8. Layer Curtains With a Tension Rod
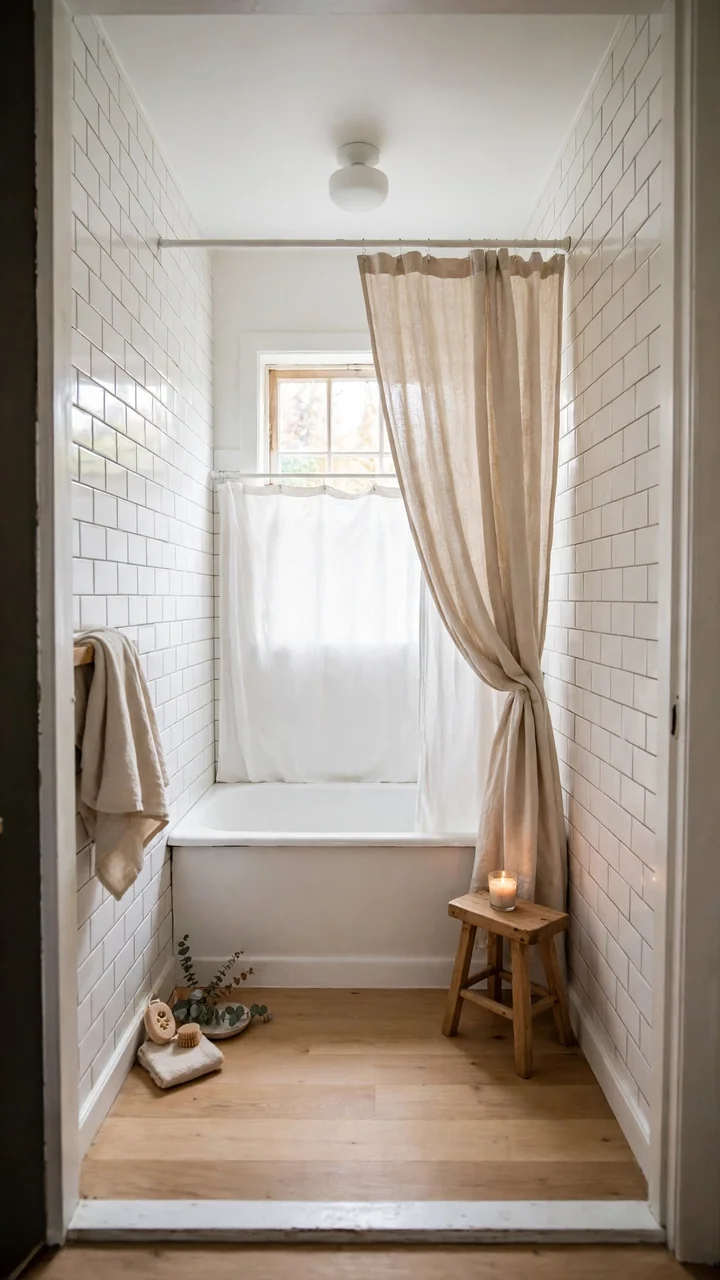
Most people stop at one curtain, and that’s the mistake.
A second tension rod, set a few inches above your original one, lets you hang a light outer curtain while the liner stays put. It frames the tub and pulls the eye upward, which helps in a tight room. Choose a rod with rubber tips and a lightweight panel, since heavy fabric can drag it down.
- Measure the tub opening before you buy.
- Twist the rod until it holds firm, then test it with a gentle tug.
Check it again after the first few showers, because humidity can loosen a rod.
⚠️ Watch Out
Tension rods can slip on wet or glossy tile. If your walls feel slick, skip this one. Never hang anything heavy from the rod, and leave shampoo caddies off it completely.
9. Match Your Curtain Hooks and Liner
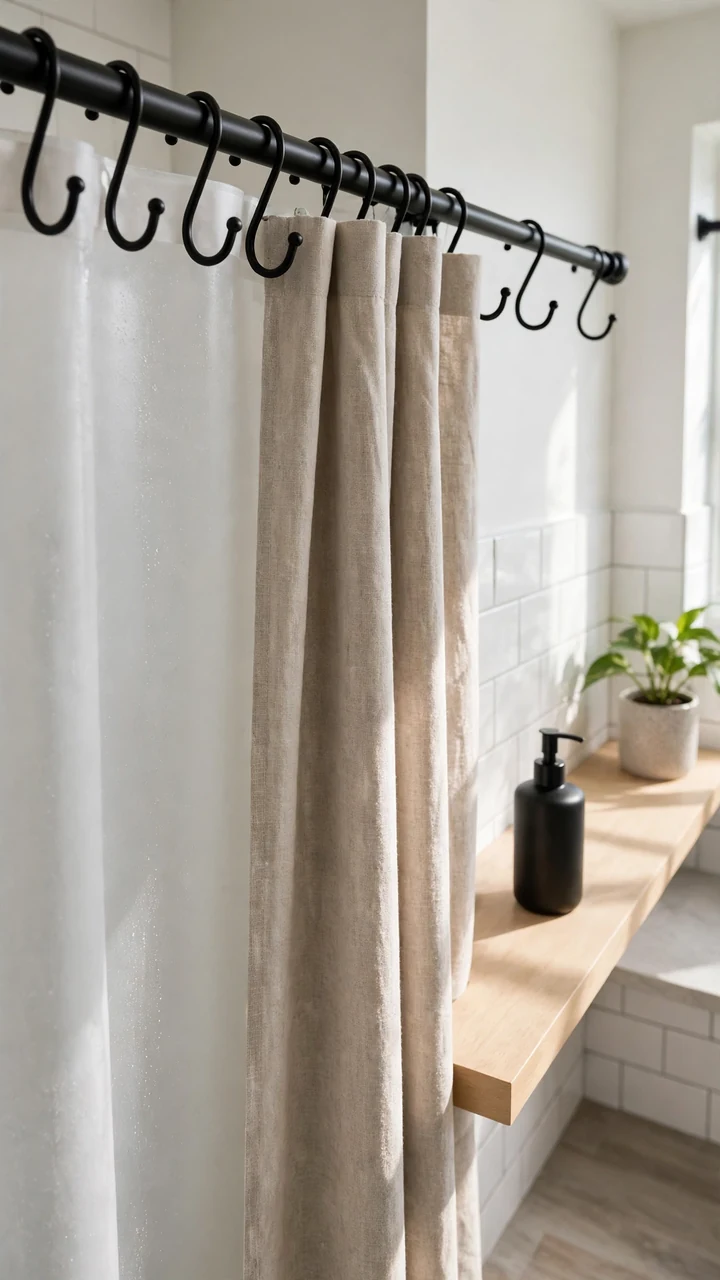
One simple rule makes a bathroom look planned: match your metals.
Trade plastic curtain rings for hooks in a single finish, like matte black or soft brass. Then repeat that finish in a soap pump, a towel hook, or a small tray. The hooks slide onto the rod you already have, so nothing gets installed and nothing gets removed. Add a white or frosted liner behind the curtain to keep the look clean.
Two or three matching pieces is enough. More than that starts to feel staged.
Pick one metal finish for everything you add, and the whole room starts to look chosen on purpose.
10. Hang Adhesive Hooks in the Shower
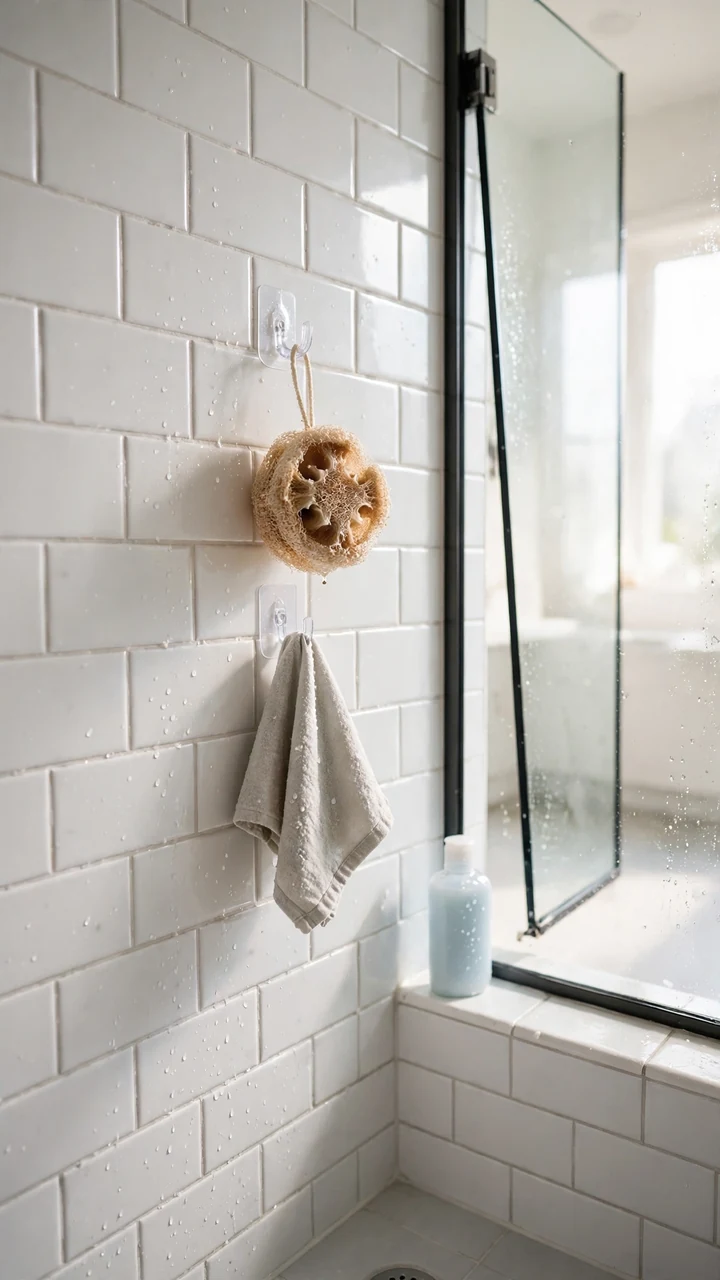
Wet shelves collect clutter fast, and the tub edge fills up with bottles and washcloths.
Adhesive hooks give you no drill bathroom storage on smooth tile or glass. A small pack costs very little, so this one fits a renter friendly bathroom makeover on a budget. Wipe the surface with rubbing alcohol, press each hook firmly, and wait the time printed on the package before the first shower. Stick to light items like a loofah or a washcloth.
Space the hooks apart so wet things don’t touch.
| Adhesive hooks | Suction hooks |
|---|---|
| Stick to smooth tile and glass. | Hold on flat, non porous surfaces. |
| Best for a loofah or a light towel. | Best when you like to move things around. |
| Need wait time before the first shower. | Can slip when steam builds up. |
11. Wrap Your Cabinet Handles
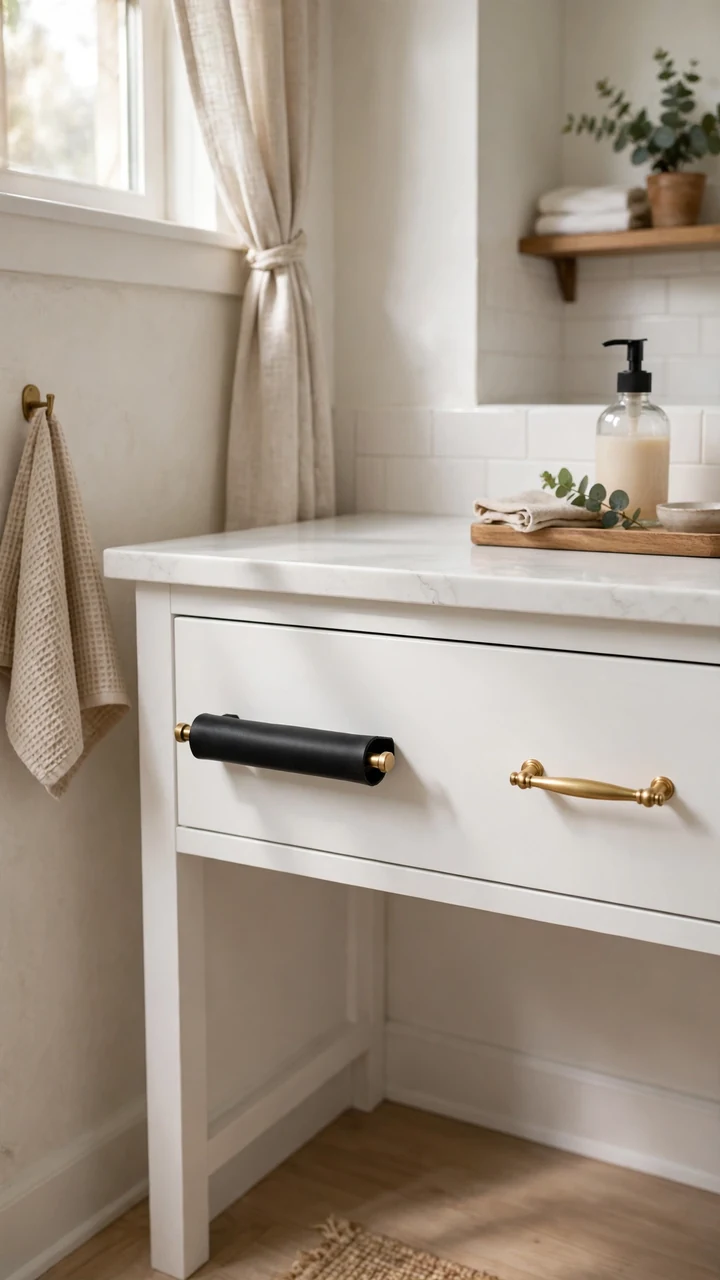
Old brass pulls make a vanity look tired, and you can’t unscrew them. You can cover them, though.
Handle wraps are some of the easiest temporary bathroom upgrades. Slip on leather loops, thin silicone sleeves, or adhesive vinyl strips in matte black or a wood tone all fit right over the hardware you already have.
- Measure the length and thickness of each pull first.
- Match the wrap color to your mirror frame or curtain hooks.
- Press adhesive strips on slowly so they don’t bubble.
Test one wrap on a back handle before you do the whole set.
Shiny gold pulls from another decade, scratched near the edges.
Matte black wraps on the same handles. Nothing was unscrewed.
12. Line Your Drawers With Peel and Stick Paper
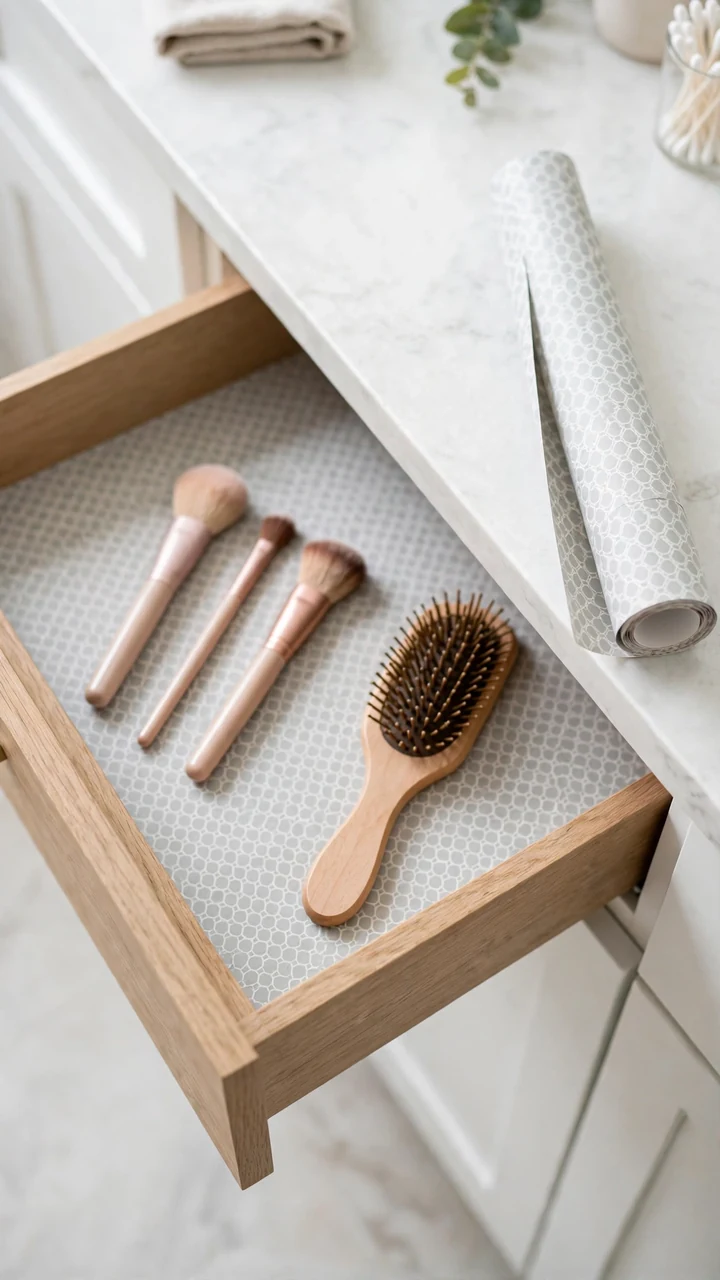
Nobody sees this one until they open the drawer, and that’s the fun of it.
Vanity drawers collect dust, old stains, and a faint smell nobody can explain. A fresh lining is one of the quietest peel and stick bathroom ideas you can try. Pick a thin, wipeable paper in a soft print or a light gray. Thick vinyl can make drawers stick, so check how snugly yours close before you buy.
Skip the cabinet under the sink. Leaks happen there, and a plain waterproof mat does that job better.
Measure the drawer floor and cut the paper a hair smaller than the space.
Wipe the drawer clean and let it dry all the way.
Peel back one edge, press across, and smooth out bubbles with a credit card.
13. Corral Bottles on a Countertop Tray
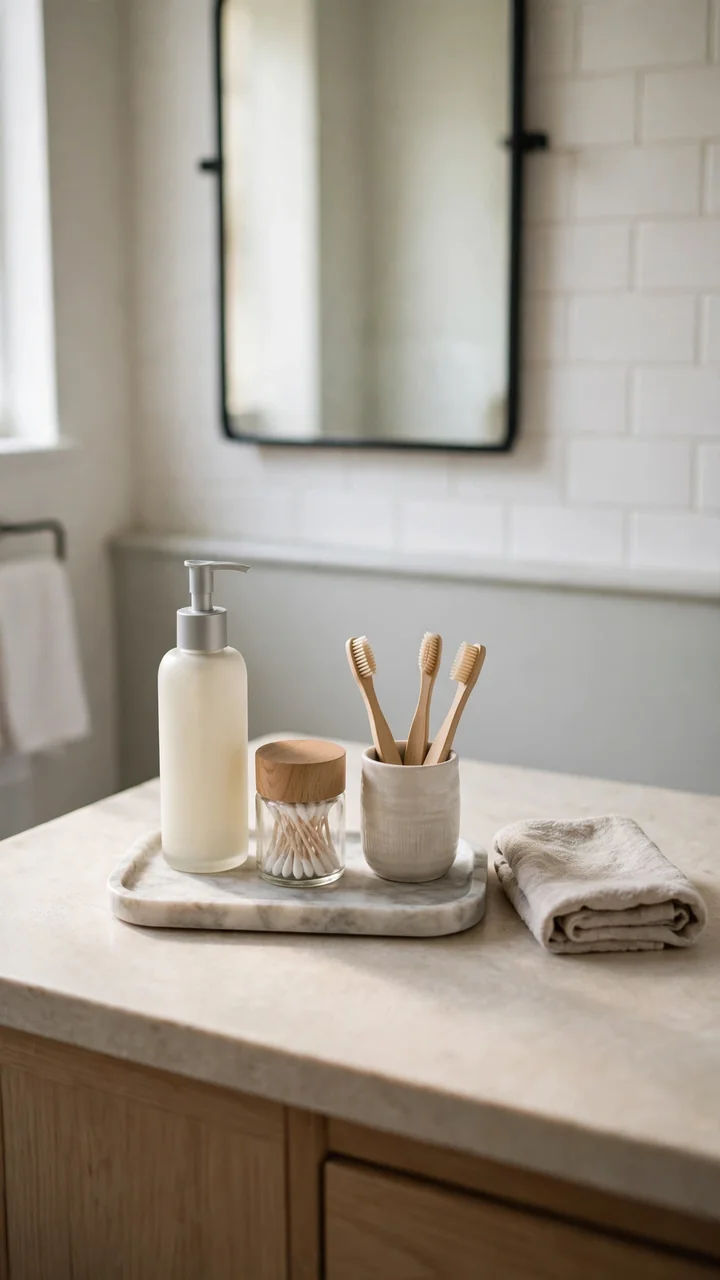
Half empty bottles scattered across a counter look messy, even when the room is clean.
A tray fixes that. Group your daily items together: a pump soap, a toothbrush cup, a small jar for cotton swabs. Metal, marble look, and wood trays all work. Stick to three to five items so it doesn’t feel crowded.
Vary the heights. Put one tall bottle at the back, a short jar in front, and leave a little empty space around them. In small rental bathroom ideas, that breathing room does a lot.
Best for narrow counters where nothing has a home yet.
14. Add a Tension Pole Shelf by the Toilet
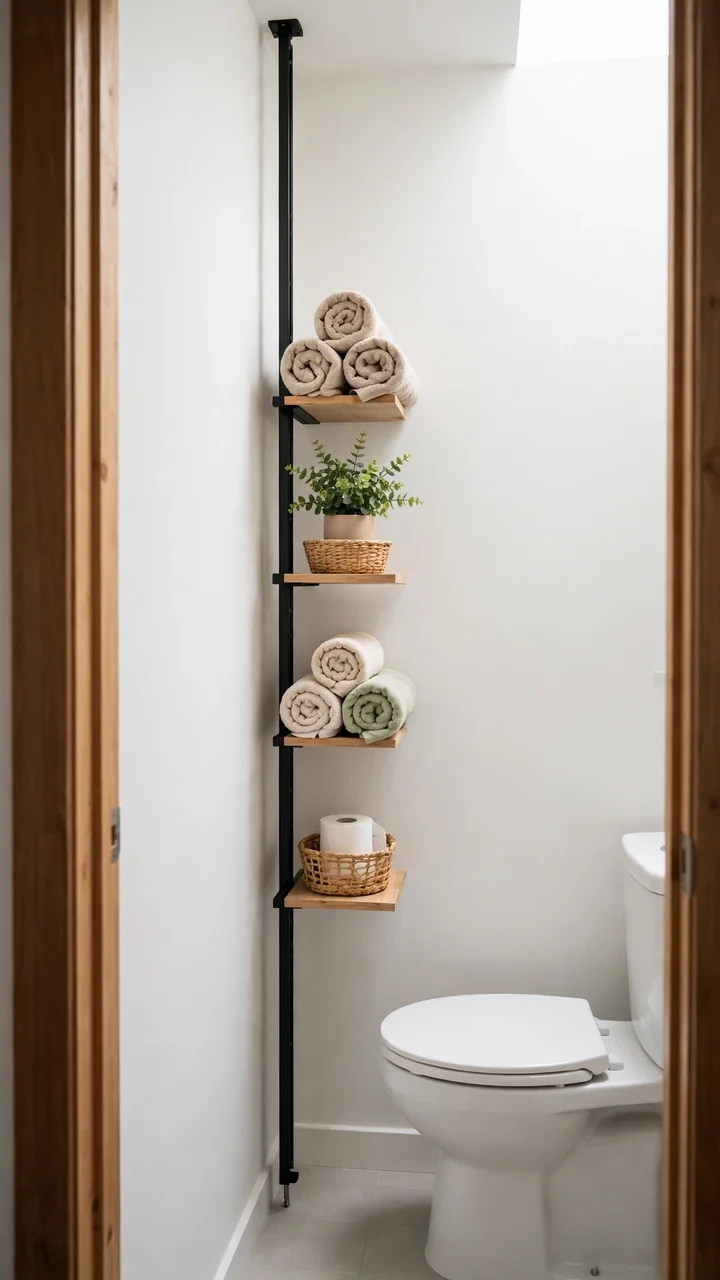
Most bathroom storage starts with a drill. This one skips it completely.
A tension pole shelf stands from floor to ceiling and holds itself in place with spring pressure. You get three or four levels for toilet paper, towels, and baskets. It’s no drill bathroom storage that fits the narrow gap beside the toilet. Put heavy items on the bottom shelf and light ones near the top.
Stick a small felt pad on the ceiling end if you worry about marks. Textured ceilings may not grip well, so a flat ceiling works best.
Check before you buy
15. Use an Over the Door Rack
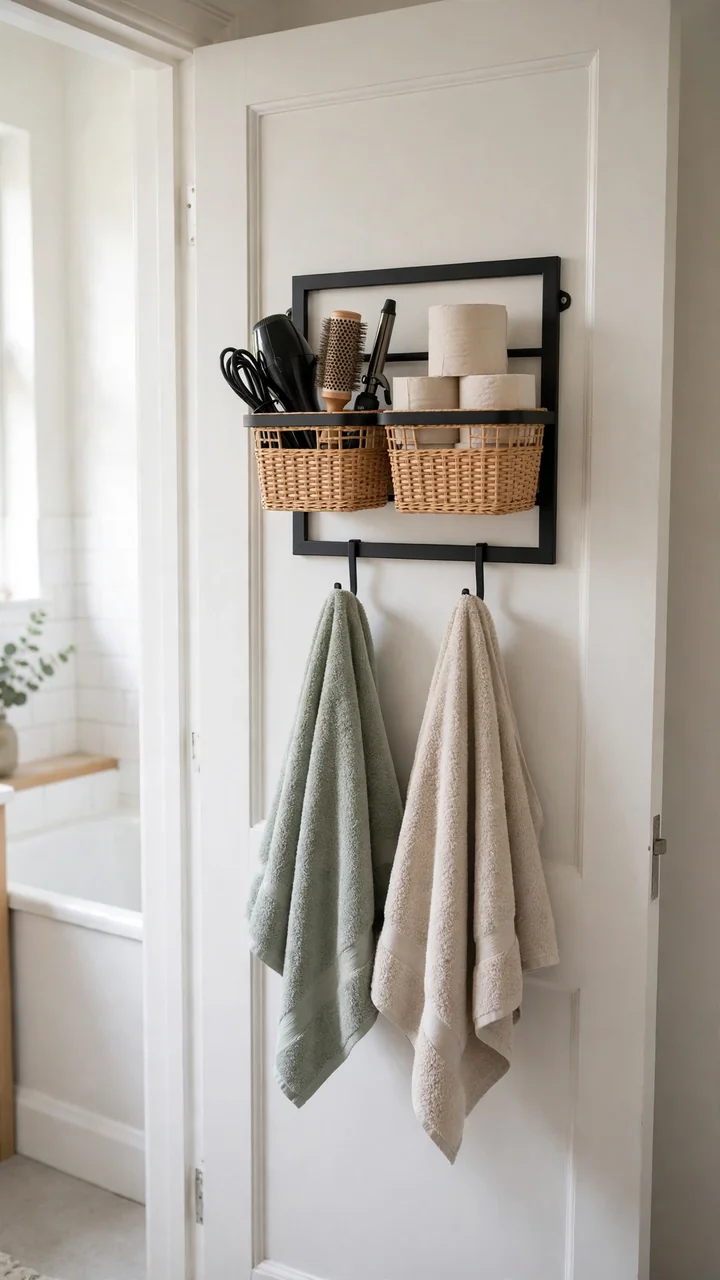
You don’t need wall space to get storage. You only need a door.
An over the door rack hooks onto the top edge and hangs down, so there’s nothing to drill and nothing to patch. Pick one with felt or rubber padding on the hooks. Use the hooks for towels and the baskets for hair tools, spare rolls, and cleaning wipes. Check that the door still closes fully before you load it up.
It keeps the floor clear. Tight bathrooms love it.
16. Tuck a Ladder Shelf in the Corner
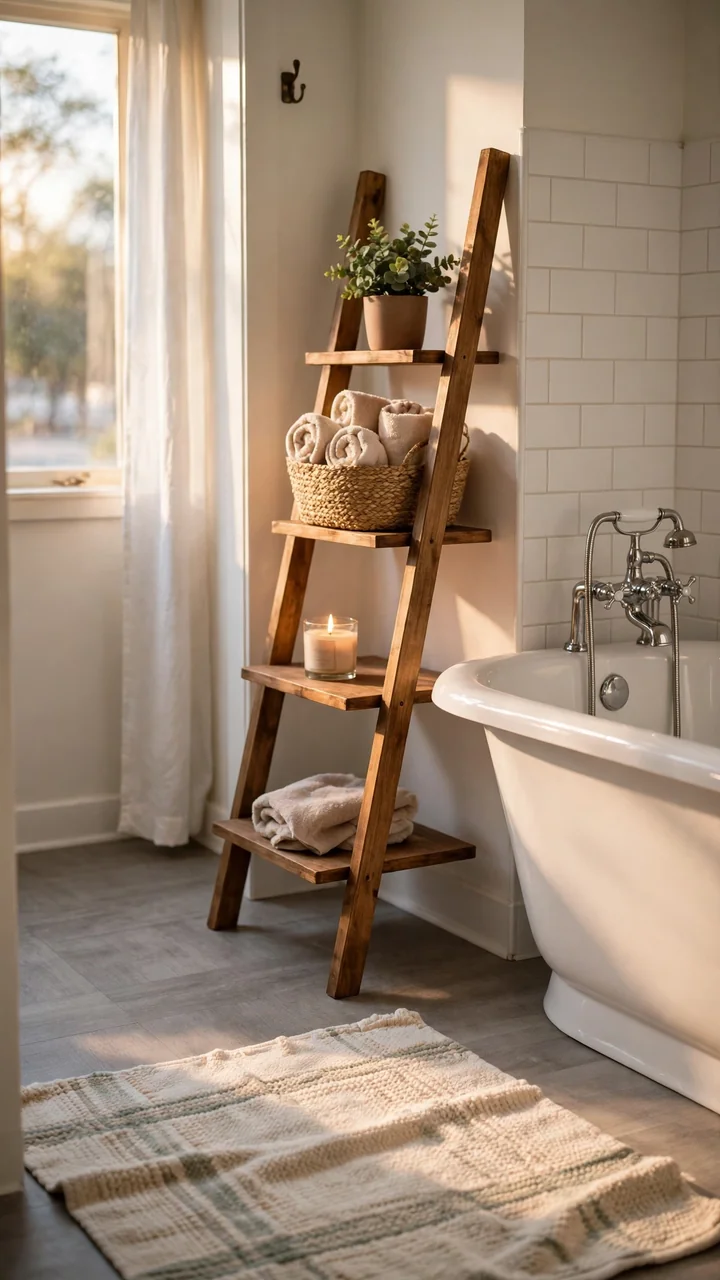
That empty corner by the tub is wasted storage, and most bathrooms have one.
A freestanding ladder shelf leans against the wall and needs no drilling. It gives you four or five open levels for rolled towels, baskets, and a plant or two. This is no drill bathroom storage that also looks like furniture. Pick a narrow one so it doesn’t crowd the walkway.
Without screws to hold it, stability matters. Put the heavy things on the bottom shelf and keep the top light.
- ▸Bottom shelf: a basket of spare towels.
- ▸Middle shelves: rolled hand towels and extra toilet paper.
- ▸Upper shelf: a small plant or a candle in a jar.
- ▸Top rung: nothing heavy, and nothing breakable.
17. Hide the Pipes With a Sink Skirt
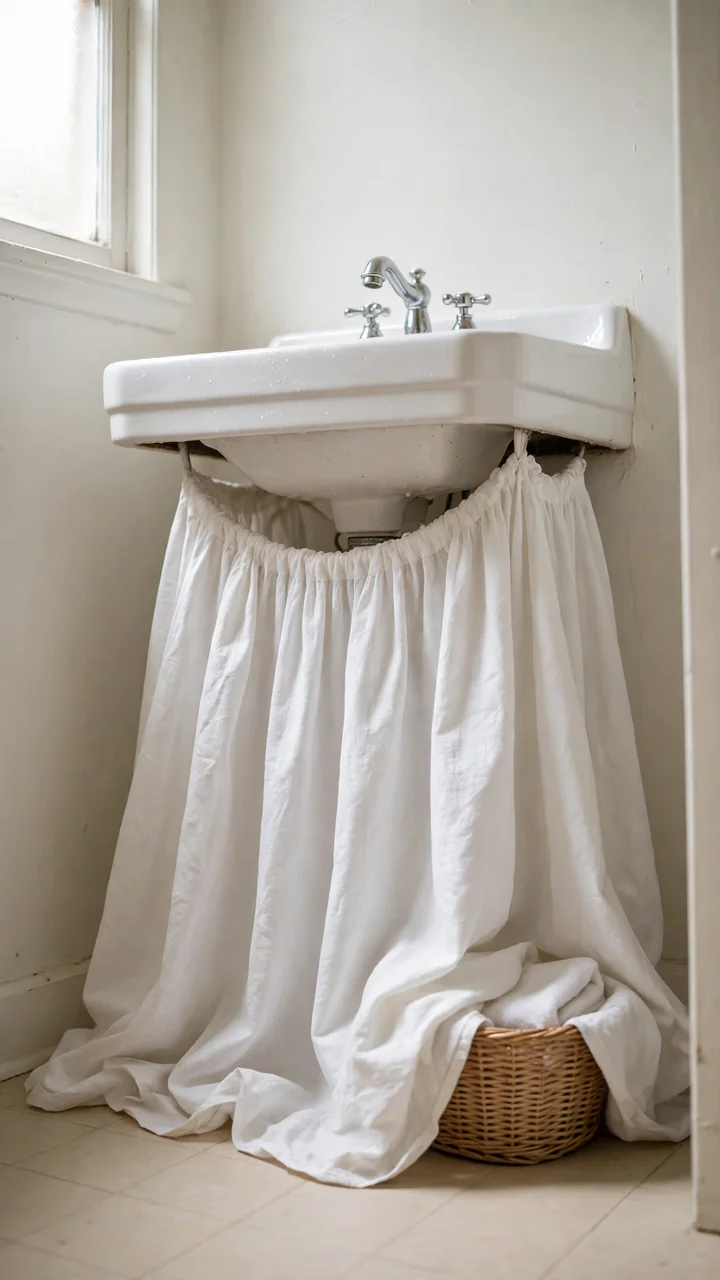
Exposed pipes under a pedestal sink make a bathroom look unfinished.
A fabric sink skirt covers them in a few minutes. Choose a washable cotton or linen look in white, gray, or a soft stripe. Most skirts attach with adhesive strips, so pick a removable kind and test one on a hidden patch of the sink edge first.
This works on pedestal sinks and open vanities. It won’t make sense on a cabinet with doors.
Measure the sink width and the drop from rim to floor.
Pick a fabric with some fullness so it hangs in soft folds.
Strong permanent adhesive on the sink.
Covering a pipe that drips before you fix the leak.
18. Use Stick On Lights for a Softer Glow
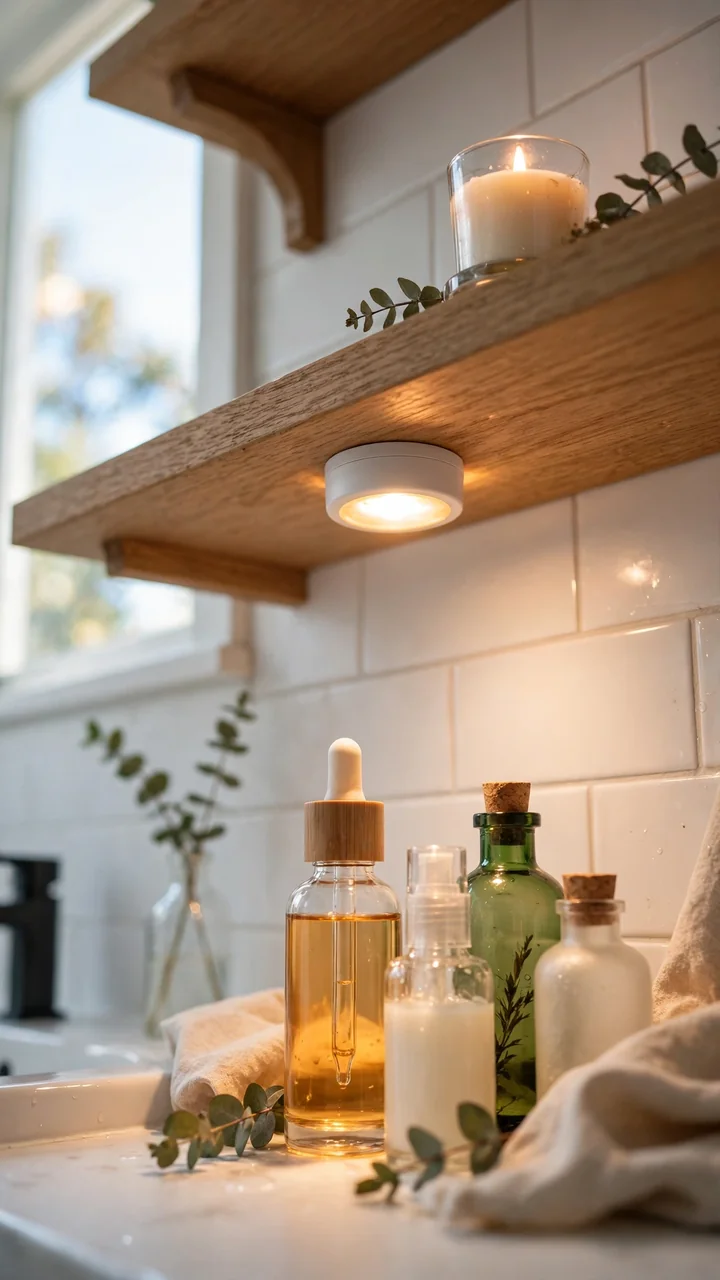
Battery puck lights stick on with adhesive and don’t need any wiring. That makes them handy removable bathroom decor.
Put one under a shelf, inside a cabinet, or beside the mirror for a soft glow at night. Pick a warm white tone, since cool white can feel harsh in a small room. Remote controlled or motion sensing versions save you from reaching for a switch with wet hands.
Keep them out of direct shower spray. Most batteries and sensors dislike a steady soaking.
💡 Quick Tip
Wipe the surface with rubbing alcohol before sticking the light on, and give the adhesive a day to set. Keep a spare set of batteries in a drawer, because these lights usually quit right when you need them.
19. Warm Up the Room With New Bulbs
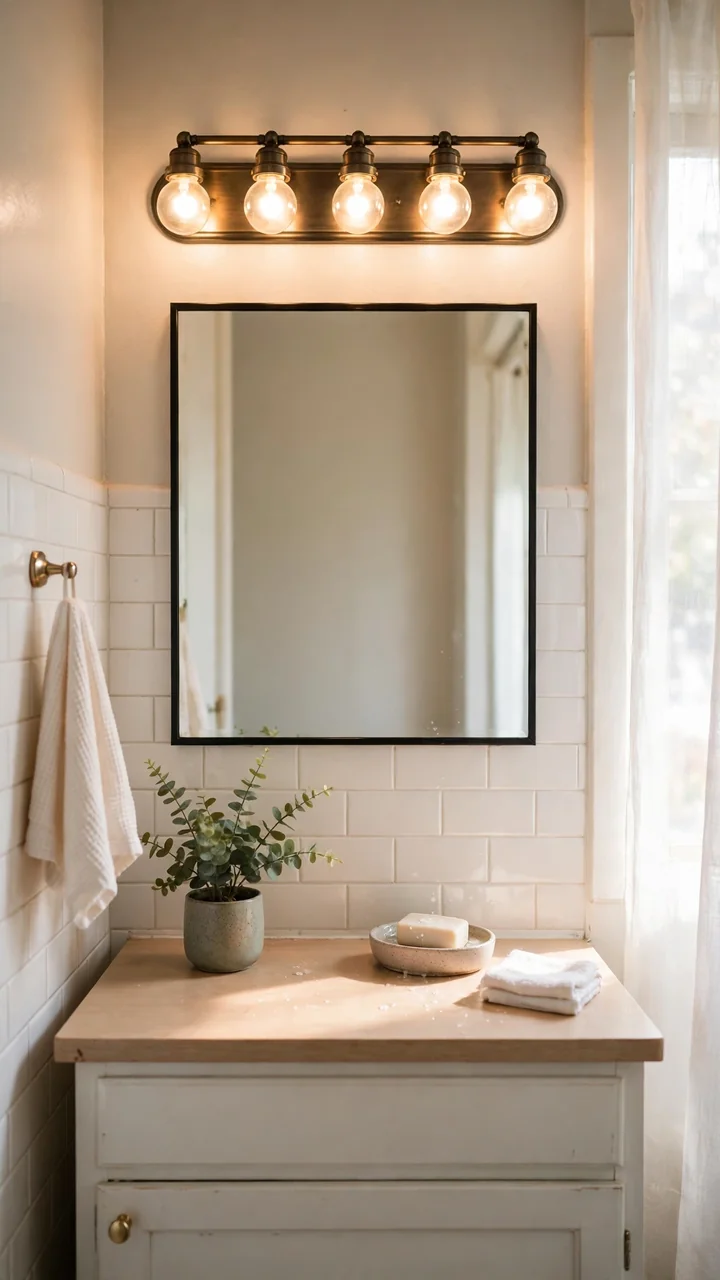
Cold light makes any bathroom look flat. Warmer bulbs fix that without touching the fixture.
Look for a warm white label, often marked around 2700K on the box. Check the base size and the maximum wattage printed on the fixture before you buy. Choose bulbs rated for damp rooms if your fixture is close to the shower.
- Match the bulb shape to the old one.
- Keep the old bulbs in a box.
- Put them back when you move out.
Light changes how everything else looks, so swap the bulbs before you spend money on decor.
20. Grow a Plant That Loves Steam
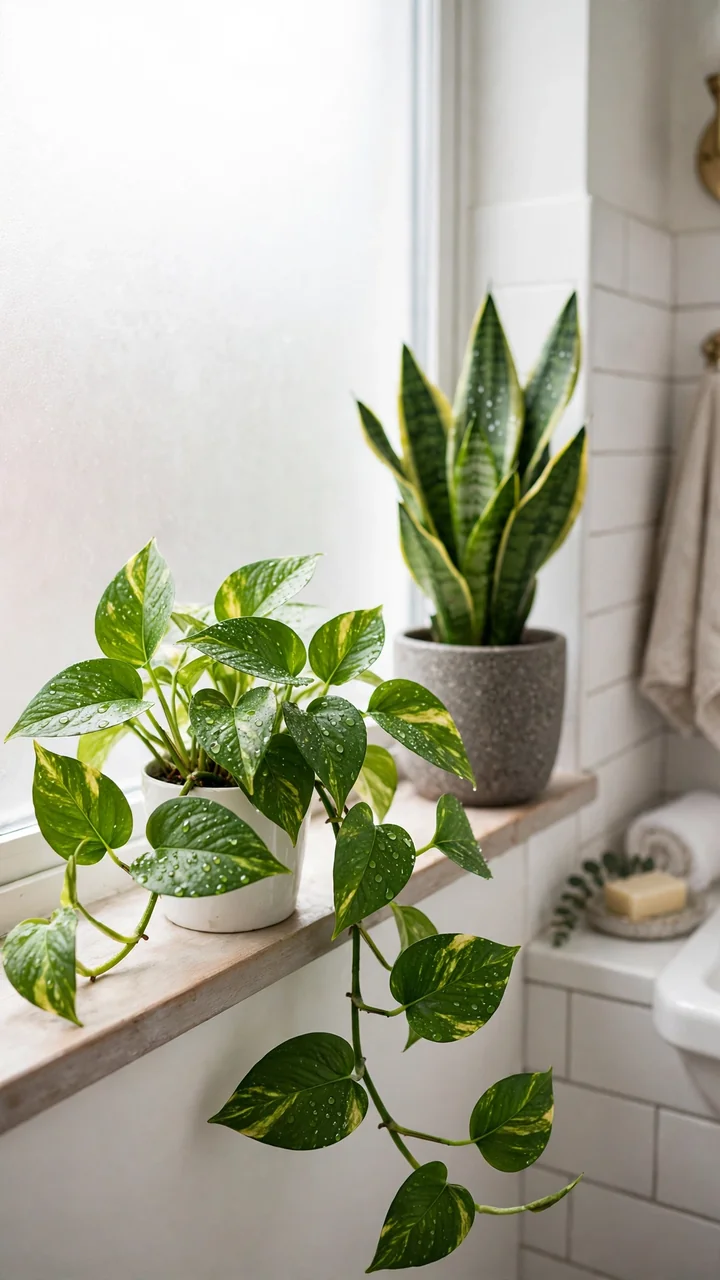
Choose a plant by the light in your bathroom first and by its looks second.
If you have a window, even a frosted one, a pothos or a snake plant handles the humidity well. Set it on the toilet tank, the windowsill, or a ladder shelf. No window at all? A faux plant with a good texture saves you the worry.
Pothos is not safe for cats and dogs, so check this before you bring one home if you have pets.
| Pothos | Snake plant |
|---|---|
| Trailing vines that drape over a shelf. | Tall, upright leaves that fit a narrow corner. |
| Happy in medium or low light. | Copes with low light and forgets to be needy. |
| Needs a pet safety check. | Also needs a pet safety check. |
21. Style Your Tank Top and Window Ledge
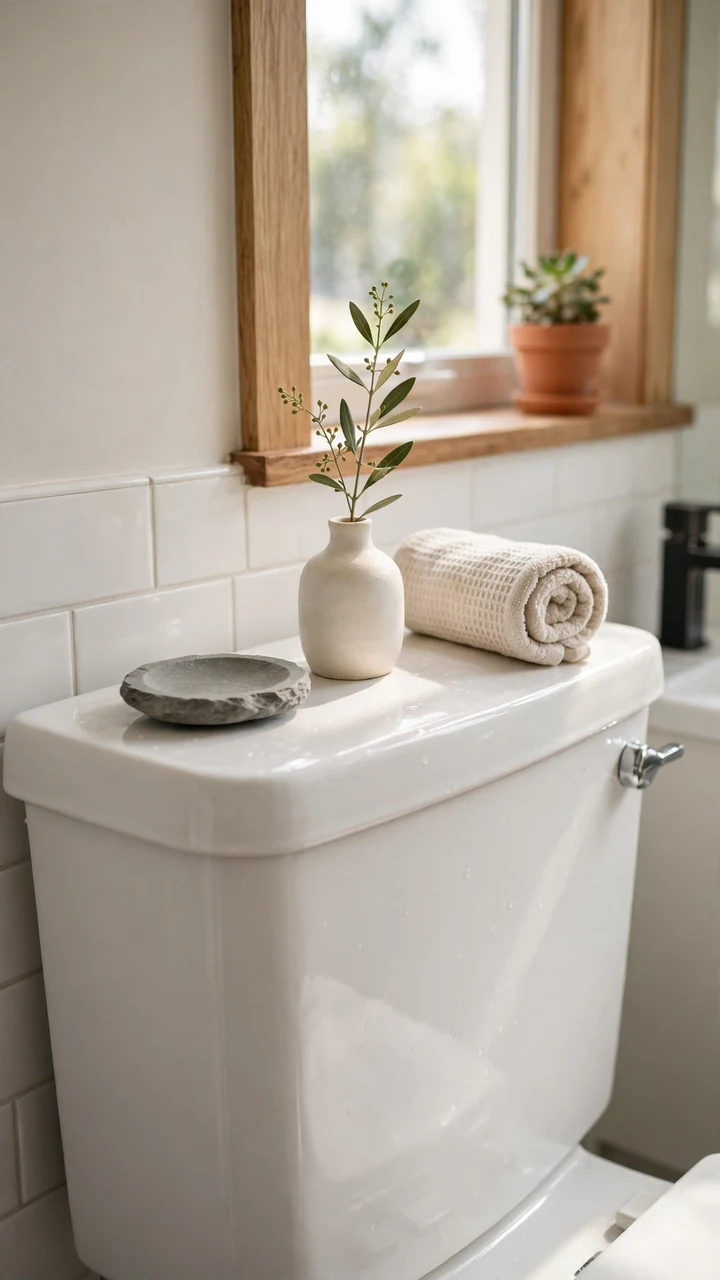
Flat surfaces collect clutter. Give them a plan, and they stop looking like drop zones.
The rule of three works here. Pick one tall piece, one short piece, and one soft piece, then stop. On the toilet tank, that could be a small vase, a stone dish for hair ties, and a rolled hand towel. On a window ledge, try a plant, a candle, and a little tray.
Keep the pieces light, since tank lids crack more easily than they look. Wipe the ledge often, because steam leaves a film on it.
Leave a gap between the pieces. The empty space is what makes it look styled.
22. Cover the Window With Frosted Film
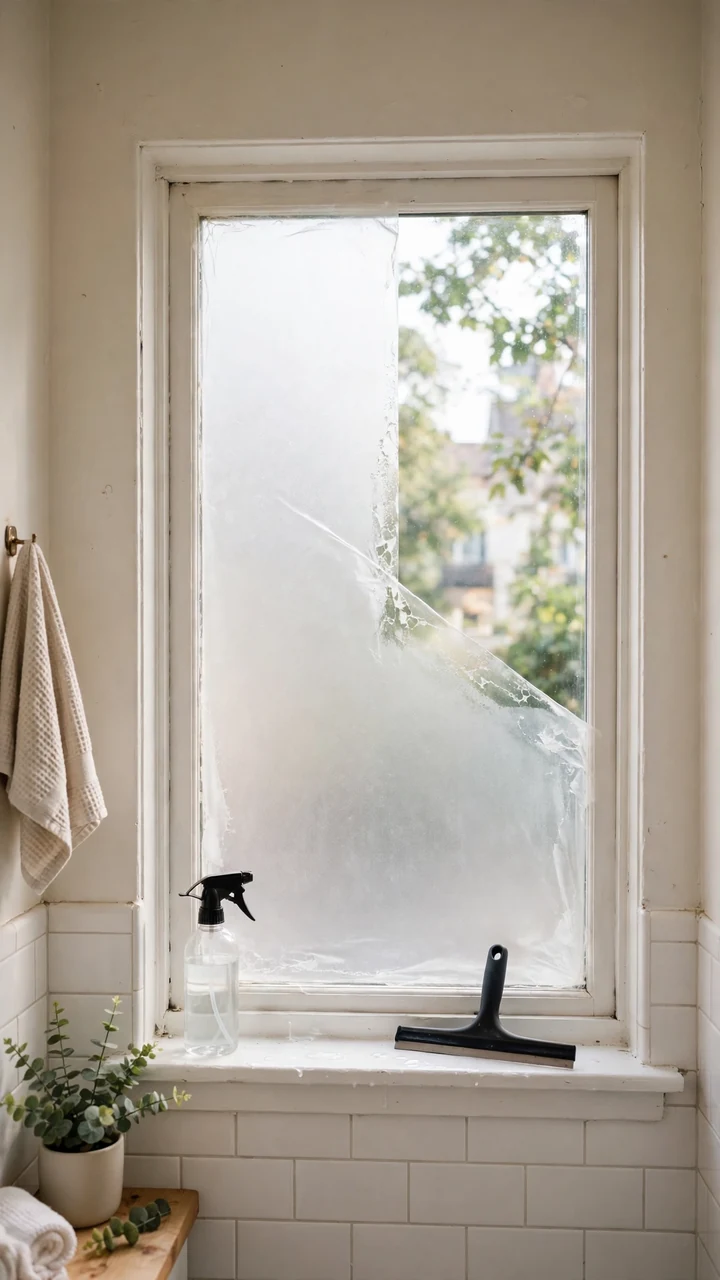
A bare bathroom window is awkward, and a heavy curtain can trap steam.
Static cling frosted film solves both. It uses water instead of glue, so it presses onto the glass and lifts off cleanly later. You still get daylight, and the neighbors get nothing. It’s one of the quickest temporary bathroom upgrades on this list, and it makes a small rental bathroom feel more private.
Pick a plain frost or a soft pattern like fine lines. Measure the glass first, then cut the film about half an inch smaller on each side.
If your lease has window rules, check them before you start.
Clean the glass and spray it with a little soapy water.
Lay the film on the wet glass and slide it into position.
Smooth out the water with a squeegee, working from the center to the edges.
Conclusion
You don’t need your landlord’s permission to make a bathroom feel better. You need a few smart swaps and a free weekend.
Start with the thing that bothers you most. If the floor makes you wince, lay down vinyl. If the light is harsh, change the bulbs. One small fix makes the next one easier to choose, and none of them put your deposit at risk.
These renter friendly bathroom makeover ideas come off as easily as they go on. Keep the packaging, label the old bulbs, and move out day stays simple.
Save this list to your budget bathroom ideas board, so it’s ready the next time your rental starts to bug you.